While we do not have an event quite so fine as The Duchess of Kent’s Grand Dinner and Concert to attend, we do have a lovely assortment of dinners, socials and balls to attend throughout the year as reenactors and interpreters.
These events often call for a special dress. They can also call for a special headdress.
The bandeau style headdresses wrap around the head with velvet or ribbon or lace. Be they symmetrical or asymmetrical, a focal point often lands center back. . “The most favorite cap of the season is formed of a round crown, set into a narrow band, which just encircles the head. This band is trimmed in various ways…” (Peterson’s, 1862)
Personally, I just love velvet. The softness. The texture. The way it moves. It is a beautiful material to work with and wear. I am looking forward to making several new headdresses this season. Currently, there are a few in my Etsy shop.
 This first example, from 1862 Godey’s, show a simple band with two millinette pads/ovals to which flowers are stitched. “This coiffure is very simple, and generally becoming. The rosettes are formed of pieces of bias silk about an inch and a half in width; the edges are cut out in point, and the silk box plaited and formed into a rosette, then sewed on to stiff net; the band can be formed into a rosette, then sewed on to stiff net; the band can be of velvet of silk, and a bow of ribbon to match the silk is often placed on one side of the band. One of more colors can be used; rose sublime and black make a good contrast.” This particular headdress is just calling to be made with the aide of one of my pinking machines.
.
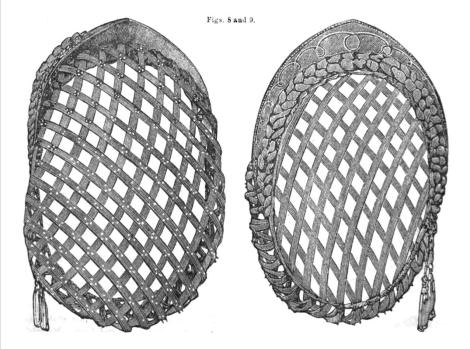
 This “Coiffure Zelia” head-dress loops heavy ribbon or velvet around the wired base, a “circular frame.” The heavy ribbon allows for fuller body. This season, I am looking forward to seeing pearls paired with velvet. I may even add turquoise as one description calls for.
“The Coiffure Zelia may be made of velvet or heavy ribbon tastefully looped upon a circular frame, and these loops are confined by pearl or gilt pendants. Black lace is quilled on the one side and terminates in a bow with floating ends behind. The centre is a pearl or gilt ornament to correspond with the pendants.”
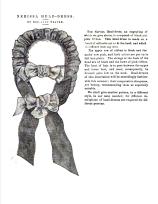
This Nerissa head-dress uses pink and black ribbon on a “band of millinette cut to fit the head, and which is stiffened with cap wire.” The description calls for box pleats. While the illustration fails at showing these, I think box pleats would be just lovely, as would directional pleats or tufts of alternating black and pink.
“The Nerissa Head-dress, and engraving of which we give above, is composed of black and pink ribbon. This head-dress is made of a band of milinette cut to fit the head, and which is stiffened with cap wire.
The upper row of ribbon is black and the under row pink, and both colors put on in full box-plaits. the Strings at the back are of black and the bows of pink ribbon. The knot of hair is to pass between the upper and lower bow, and must, consequentally, be dressed quite low on the neck. Head-dresses of this description will be exceedingly fashionable this summer; their comparative cheapness yes beauty recommending them as especially suitable.”
The Esmeralda Head-dress or the Coiffure Esmeralda appear in Peterson’s Magazine, V41-42, 1862 (right) and Frank Leslie’s Magazine, v 10, 1862(left). In both instances, the focal point is atop the head in front, rather than in back, though there is a knot or half bow in that location. The Peterson’s version specifically mentions being “on a foundation of millinette stiffened with a cap wire,” while both illustrations show the form in the illustration.

I have yet to decide if I will make any of the coronet style head dresses. There substantial structural base appeals to me. At the same time, I would want them to fit just right, while everyone’s head is different. Here are two beautiful coronets from Godey’s, July of 1862:
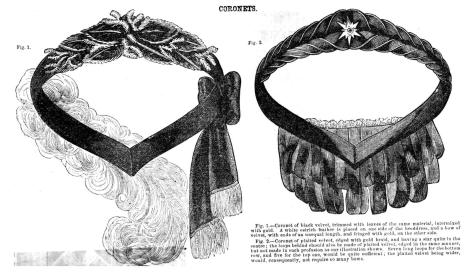
Of course, this similarly shaped coronet appeals due to my current work on To Neto or Not to Net: Revisited.
Looking for a head-dress for that upcoming occasion? Please take a moment to visit my Etsy shop to see those I have to offer.


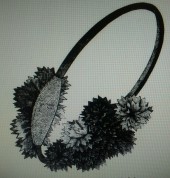
Me, on a very day wearing a black and red velvet bandeau. 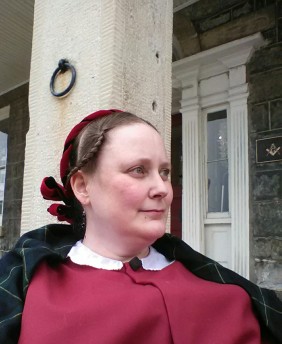


![IMGP2067[1]](https://annaworden.com/wp-content/uploads/2009/05/imgp20671.jpg "IMGP2067[1]")

![IMGP1881[1]](https://annaworden.com/wp-content/uploads/2009/05/imgp18811.jpg?w=300&h=200 "IMGP1881[1]")
![IMGP2003[1]](https://annaworden.com/wp-content/uploads/2009/05/imgp20031.jpg "IMGP2003[1]")
![IMGP1913[1]](https://annaworden.com/wp-content/uploads/2009/05/imgp19131.jpg "IMGP1913[1]")

 I have started a monthly project post that I hope to continue through the year. Each one will be something small with some guidance or direction on how to do it your self. They won’t quite be a thorough as the
  When sewing on the go, I am doing one of two things: Either I am sewing small things with pieces already cut or I am sewing straw. This means I need two types of scissors – One for cutting thread and one for cutting straw. To the right are some of the scissors I use in my various sewing kits for the thread snipping part and the occasional ribbon cutting. Two are reproduction. Three are antique. My straw cutting scissors are roughly 5″ long, an estate sale find. To have a rounded visual interpretation I should carry a larger pair of scissors as well. Admittedly, I remember these when I take my large box, but tend to forget them when I have my smaller kits.
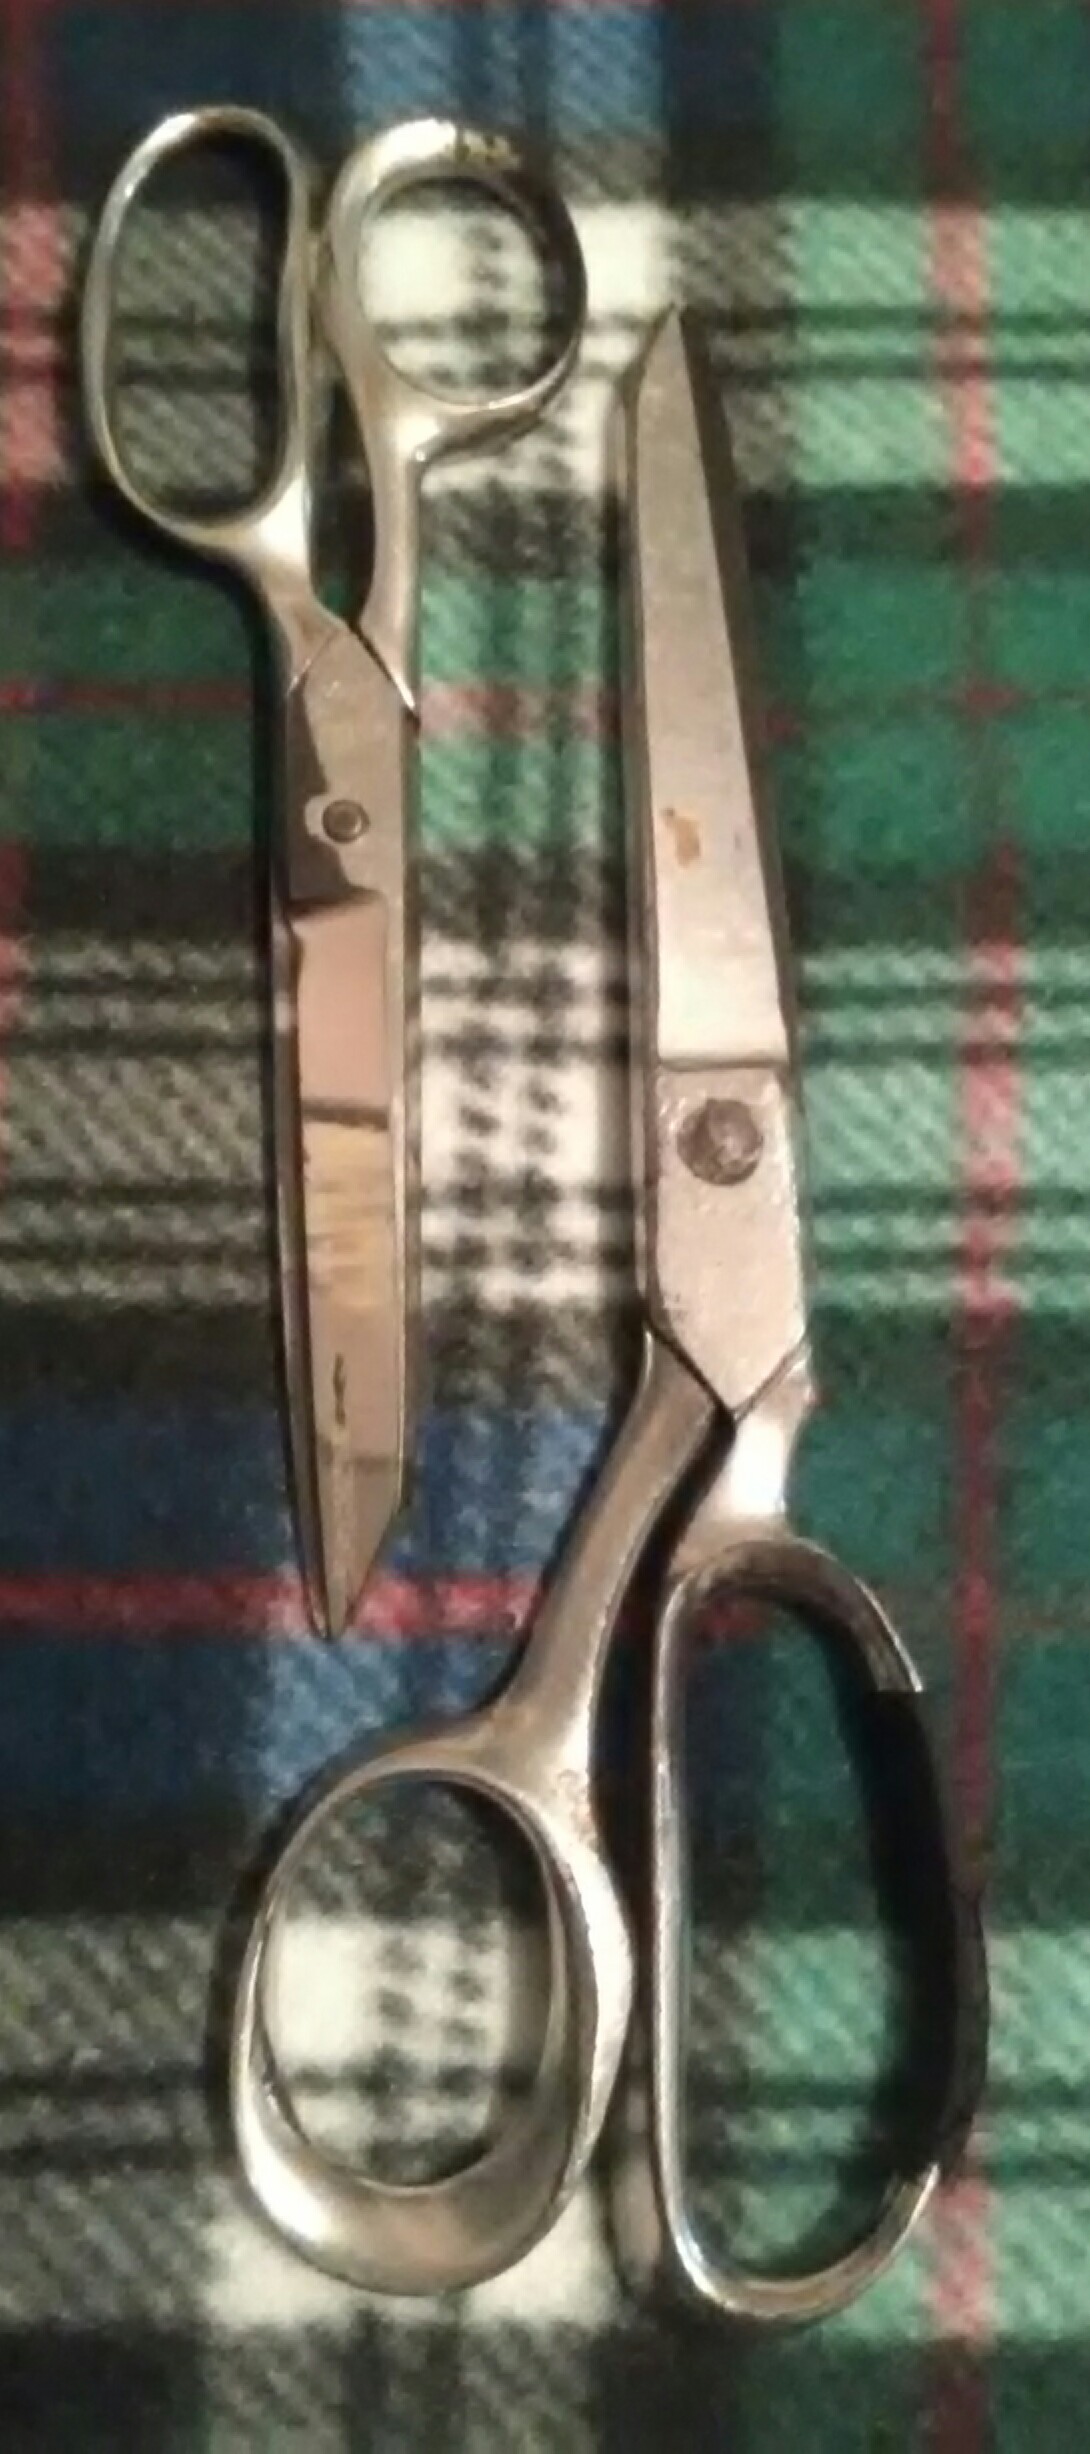
 Small Scissors options:


 The world of millinery went rather well this year. By the time the snow fell again, I made 57 straw millinery pieces this year. I lost track of the winter hoods. I also added a line of evening headdresses, focusing on simple, classic looks of the mid-nineteenth century.
 Thanks to some wonderful people, a trio of original bonnet blocks arrived early in the summer. I’ve only been able to really work on one,
  I did make it to a couple events. I am aware that I made it out to the Independence Day celebration in modern clothes. Though, I don’t remember much at all. I did make it to the
  I set up my Millinery Shop and
  In November, I offered two very different workshops at the Museum’s Domestic Skills Symposium. On Friday, I offered Tools and Trims, a completely different, kinda crazy workshop looking at how to mimic the trims of the later 18th and 19th centuries. I spent much of the year acquiring pinking machines and dies for this workshop. On Sunday, I offered a favorite with a twist: A Pin Cushion Sampler. This year the sampler included Victorian favorites: a strawberry, a walnut, a seashell and and acorn.
 Ah, the ugly. That which dictated much of my 2017. I mentioned in my
  On the other hand…. I did do pretty decent for someone who totally got her butt kicked by a 12mm stone. I actually feel pretty darn good about that. Despite utter exhaustion on many days and this weird pain in my side, I made some pretty great pieces this year, I kept the shop up, and learned a few things.
 In and around my experiments with lazy, I’ve made a few things. I started the month with
  I designed a
  The shop had a nice December. After a crazy year, I was of two hearts on the shop going into December. Part of me wanted to stock it with all sorts of goodies. Part of me was in dire need of down time. See above to figure out which won.


