Woven Ribbon Pin Cushions are eye catching and a fun way of using ribbon. Most remaining examples seem to be coming up on auction sites, often with the all too popular but not authenticated Shaker attribution. (I can not say whether or not ribbon pin cushions have a Shaker connection.)

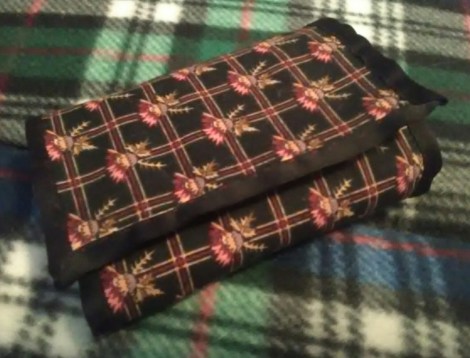
These pretty pin cushions combine two ribbons woven together either square on the cushion or on the diagonal. The ribbons are most often in contrasting colors, though not always.
A bow can often be found in one corner or connecting two corners. Sadly, the bottoms are not shown often enough to get a good survey of what materials are used. So far, one I have seen in photos has been edged with a cord.
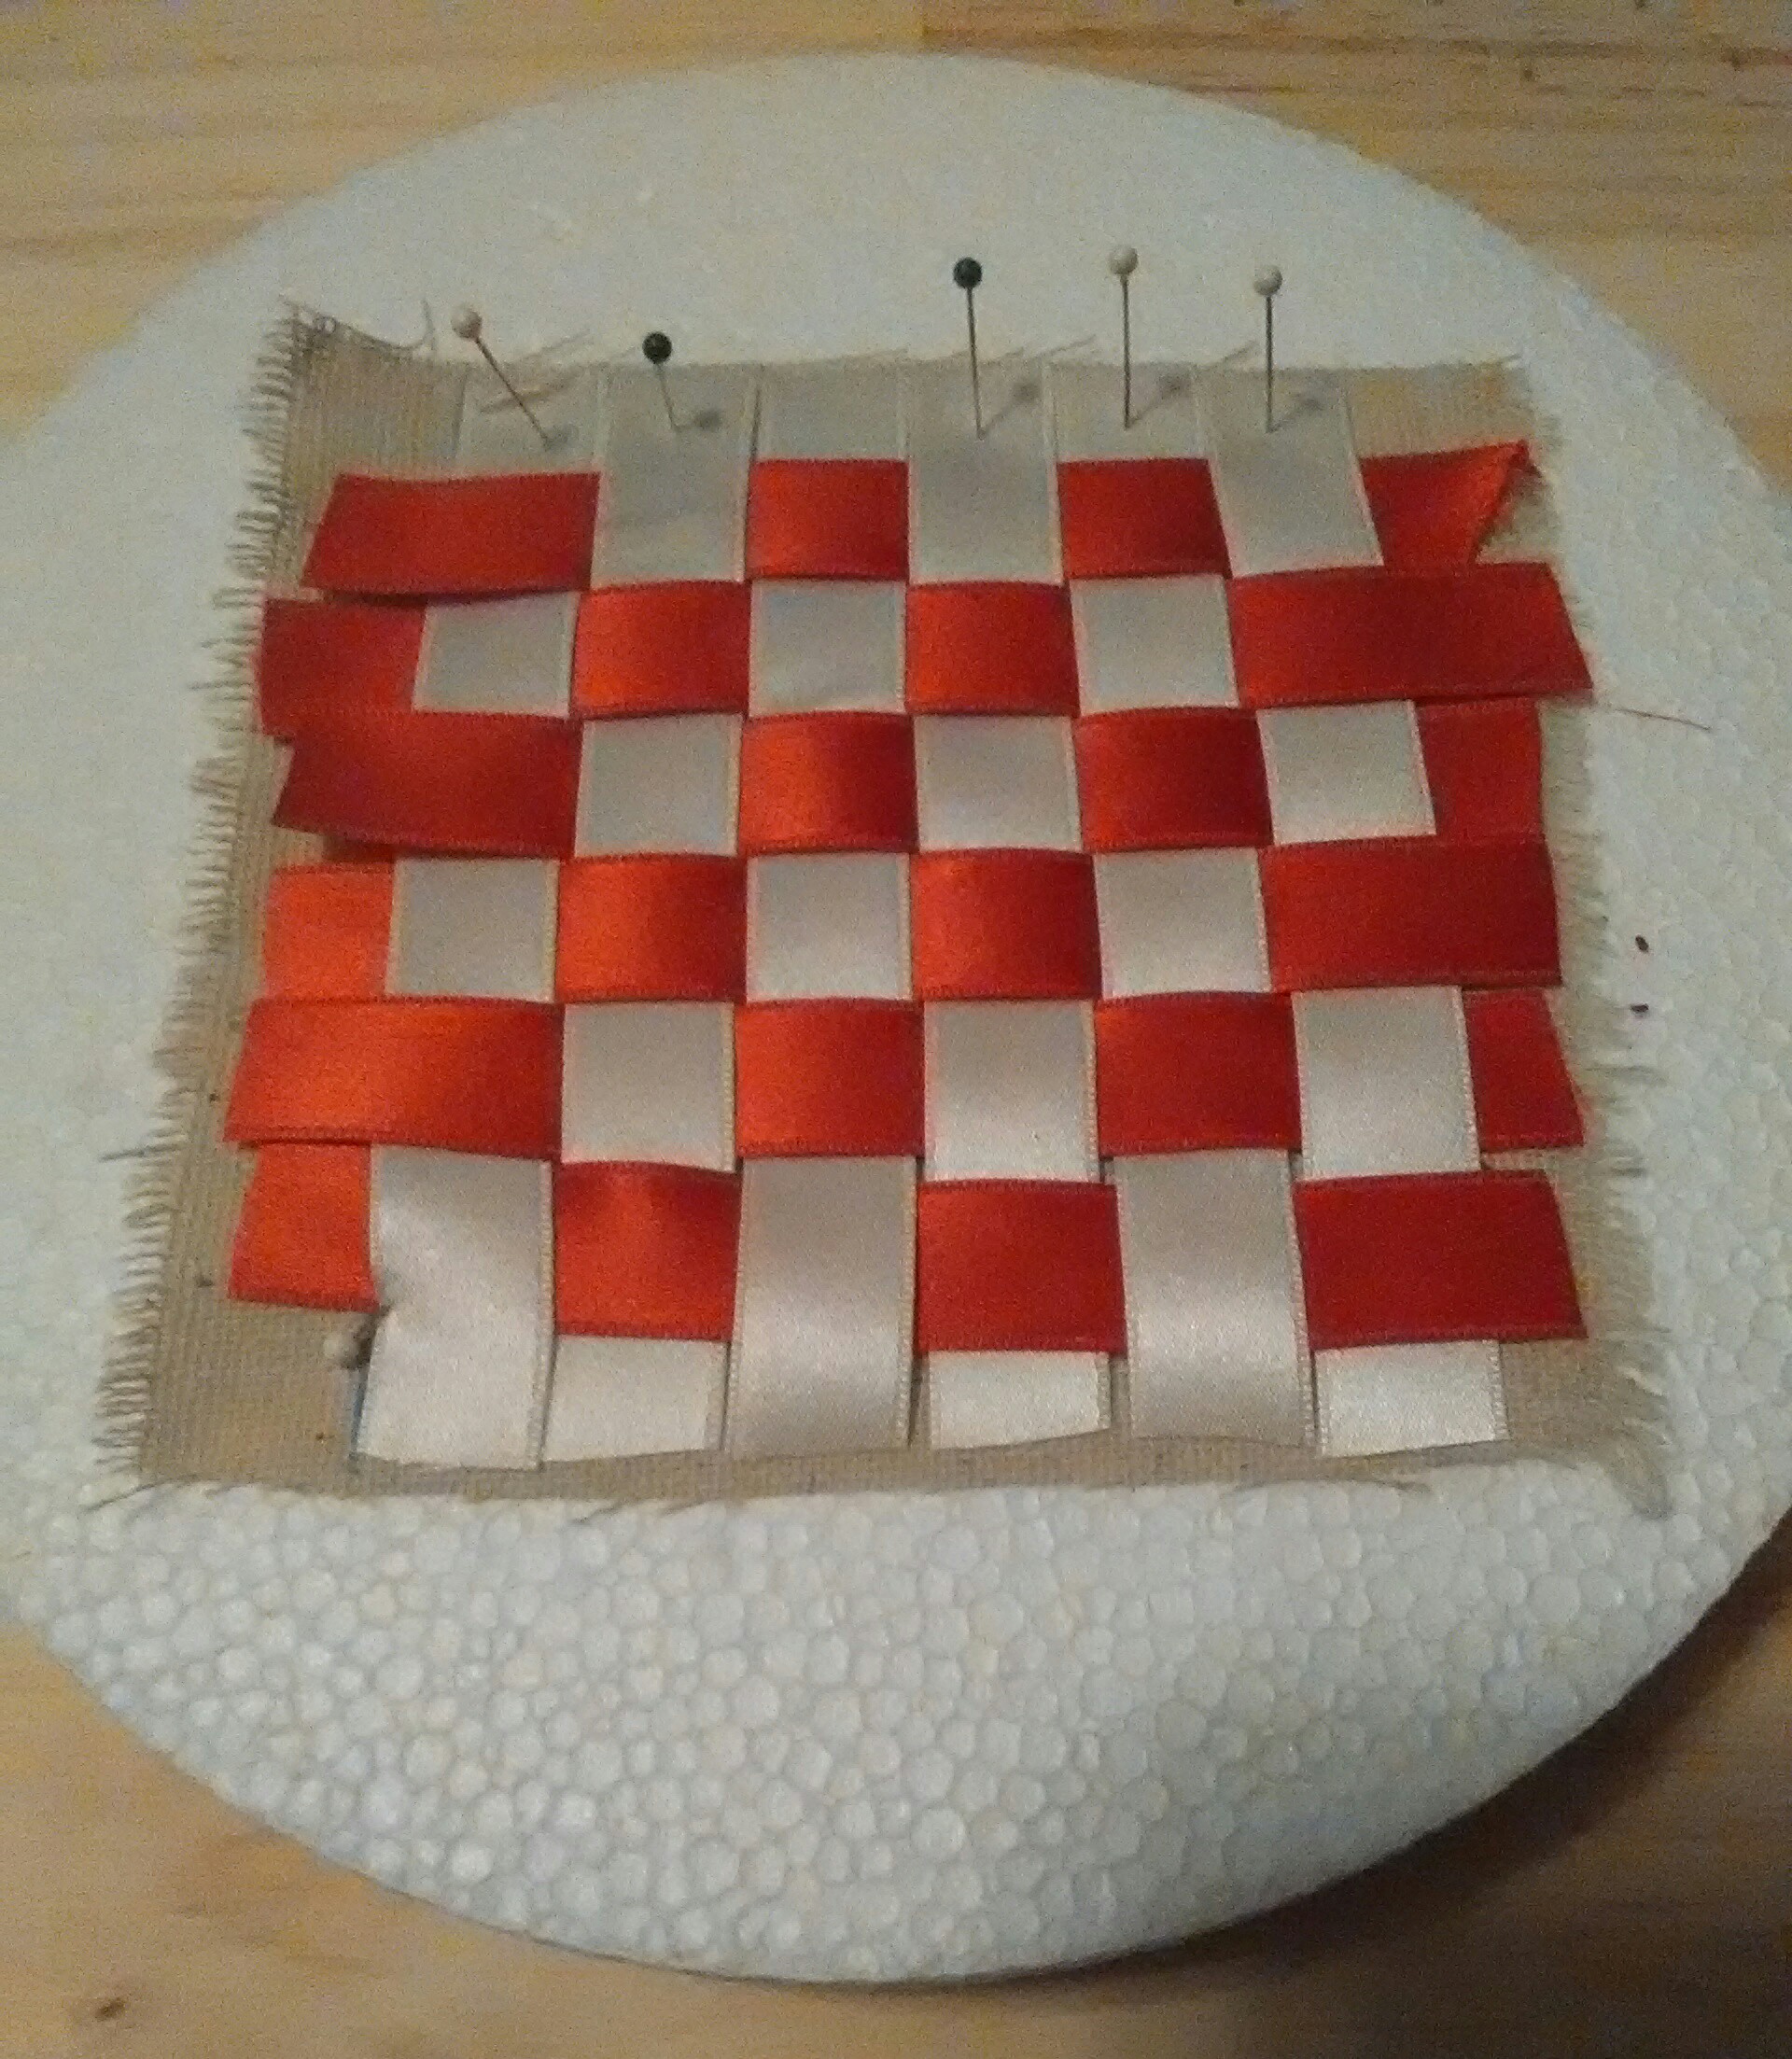
For the first few I made, I used the half inch cotton sateen ribbon from The Ribbon Store. I like the body and weave of this ribbon as well as its density of color. I found this ribbon was very easy to work with in this project because it was easy to weave, staying in place without flopping around, and had strong edges without fraying. I used a foam circle as a platform to pin and weave the ribbons on. Woven, the ribbons formed a roughly 3″ square. I basted the woven ribbons, at the cut ends, to a 4″ osenburg foundation. (I accidentally deleted these photos as I went to upload them. Sorry.) I used some ivory wool for the back. I had wanted to use a firm white silk taffeta. But, I can not figure out where I put that.


As you can see, I also used a wider white ribbon in the center of the green and white pin cushion.
While working on the cotton sateen examples, I had Carole at The Ribbon Store looking for silk ribbons and narrower cotton sateen ribbons. I wanted seasonal colors because I had a secondary idea in mind. She came up with a nice color assortment.


The silk ribbon acts differently than the cotton. No surprise there. This is most apparent while weaving the ribbon. The silk is slipperier and doesn’t want to snug up to it neighbors as well as the cotton. It is lighter weight and possibly less thick, or least less dense then the cotton. This effects how the sides of the cushion sit. I find the silk makes a smoother edge than the cotton, which can have more fullness. I suspect the cotton would wear better over many repeated pin stickings as the weave of the ribbon itself is tighter. I can’t say that I like one over the other though. Each has its own advantages.
Want to make your own?
You will need:
- 1 yard each of 2 different color ribbons about 1/2″ wide
- Backing fabric (wool or silk)
- Lining fabric (Photos show osenberg. Muslin works better.)
- Batting

Cut 6 4″ lengths of each ribbon. Cut 1 4″x4″ square of the backing fabric. Cut 2 4″x4″ squares of your lining fabric.
Place one layer of the lining fabric on a pin-able surface. You may find it helpful to mark a 1/2″ seam allowance and/or center points on the fabric.
Lay one color of your ribbon running vertically. Pin the tops of each. Begin weaving the second color starting at the pinned top, leaving a 1/2″ for the seam allowance. As you weave, be sure to keep the ribbons as snug together as they will allow.

When you have finished weaving, I recommend adding a pin diagonally in each corner, holding the ribbons to the lining. See the bottom left here:
Baste the layers of ribbon and lining together. Keep your stitch just about 1mm to the outside of the woven area (just outside the seam allowance.)

Layer all your layers: lining – ribbons – backing – lining. Stitch around three sides. On the 4th side, leave 2″ open in the center for turning and stuffing. Use the basting line as a guide, sew just on the inside of it. This should put you right on the edge of the ribbon weaving. I recommend very small stitches 1-2mm in length. If you tend to have loose stitches, try a back stitch to hold the layers together.

Trim the corners. Turn right side out.

Fill the cushion densely with batting. I prefer wool batting. Other options to consider are wood shavings, bran, walnut hulls and wool scraps.
Once full, close the opening with a whip stitch or hidden stitch. You may wish to add a bow or loop in the corner.

Oh, that narrow 1/4″ ribbon? For miniature versions of course. This one is just over 1 1/2″ square.

Are you one of the many readers enjoying my millinery blog posts?
Consider becoming a Patreon patron. Doing so helps support my work and helps me write more useful articles.
https://www.patreon.com/AMillinersWhimsy


 Directions:


 For the end caps, you need the tin circles, exterior and interior fabric. You may also want batting for pin cushion ends, and pasteboard or cardstock if that is your preferred method from Fanciful Utility.


 I laid the pocket right side down on the lining where I wanted it to be. (My plaid helped make that easy.) Using a running stitch, I attached the pocket. Then folded it up into place. I basted the pocket along the edges.


 Please be sure to read the Announcing post with directions for ordering your Tin Tube, made by the Genesee Country Village and Museum’s Tinsmiths and suggested materials list.


 I am going to assume most of us are using an exterior material that is more difficult to sew through.
 Starting at the center of the closure, lay your ribbon binding on the exterior of the exterior piece, with about half overlapping. This should like the selvage up so it just covers the holes you made. Sew the ribbon around the perimeter of the exterior material. All the way around. Be sure to miter corners tightly.
 To the right is a sampling trio of hollow sewing cases. The top is the accompanying illustration for a housewife published in Peterson’s Magazine in 1862, Arthur’s Home Magazine in December of 1863, August 1864, and Godey’s Lady’s Book in 1864 (directions follow). The bottom left is an undated sewing case of similar construction that I suspect is late 19th century based on the sewing and accompanying advertisement. (The image in Pinterest links only to a Flicker account that I have not been able to find the original image or location in.) To the right is another broken Pinterest link. This one is noted as an early twentieth century example attributed to Shakers. The use of this material can be found earlier. The seams appear to be hand sewn.


 Recommended materials (dimensions given with leeway for cutting.)


