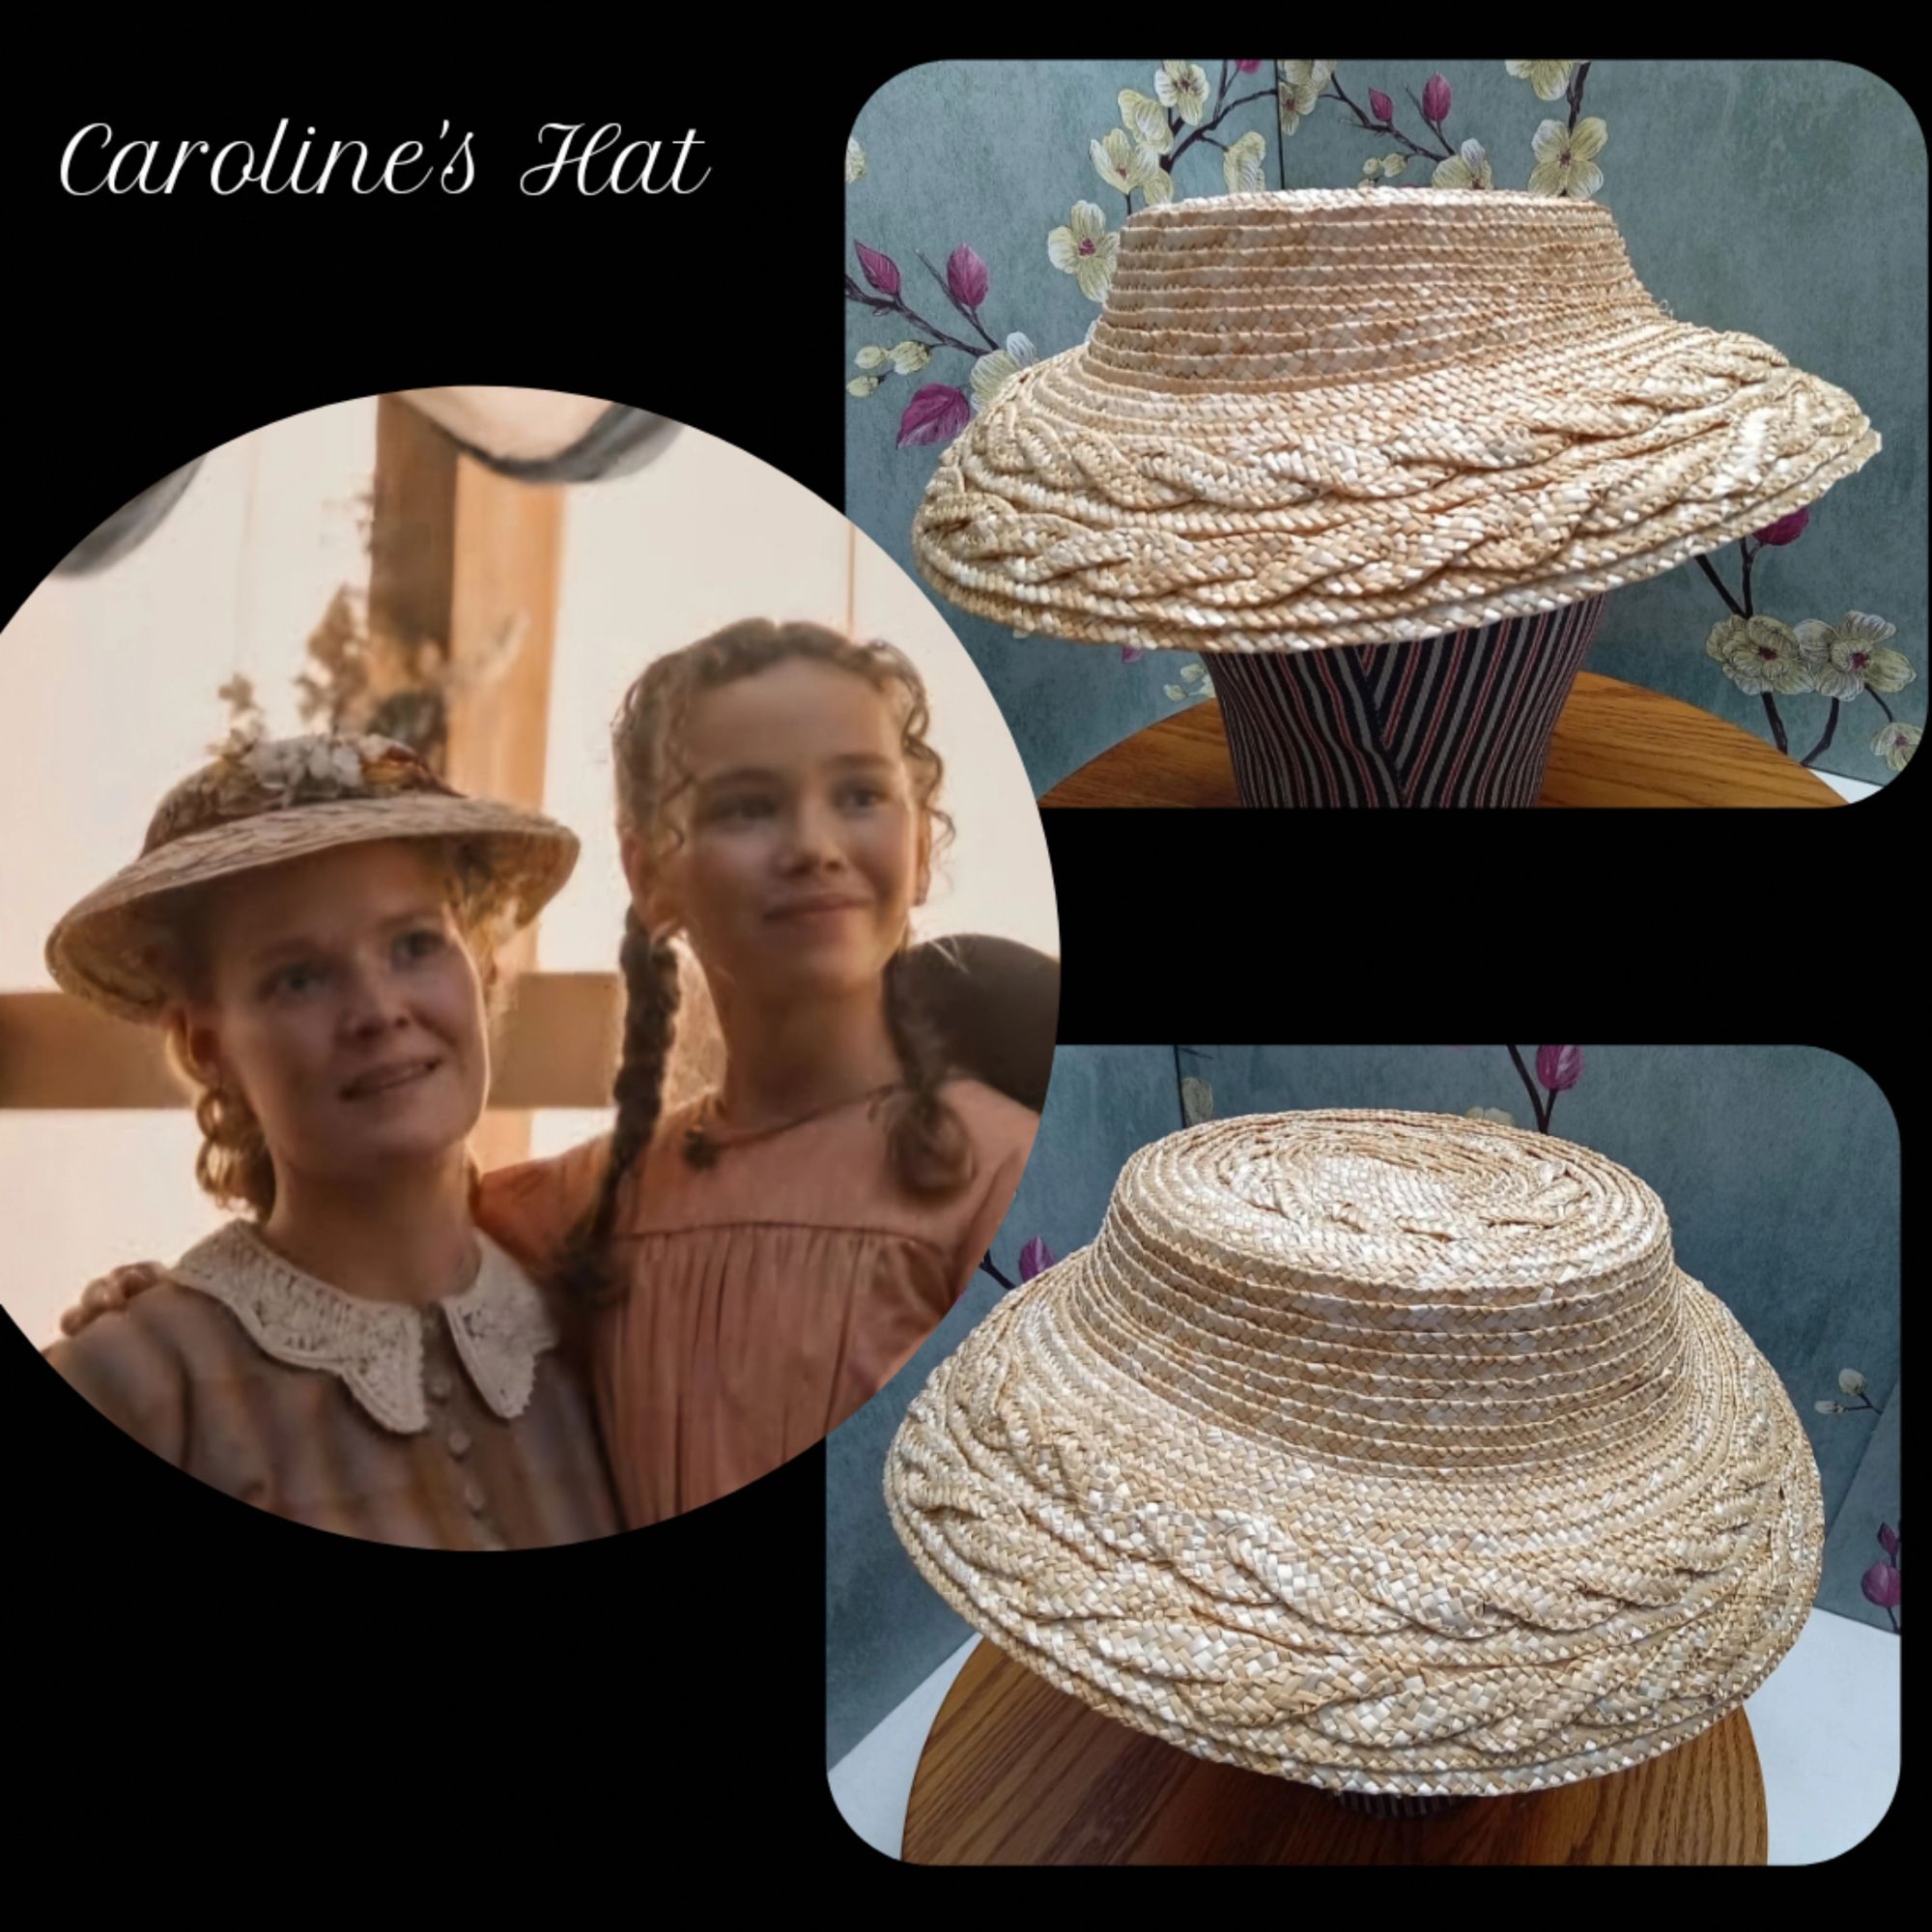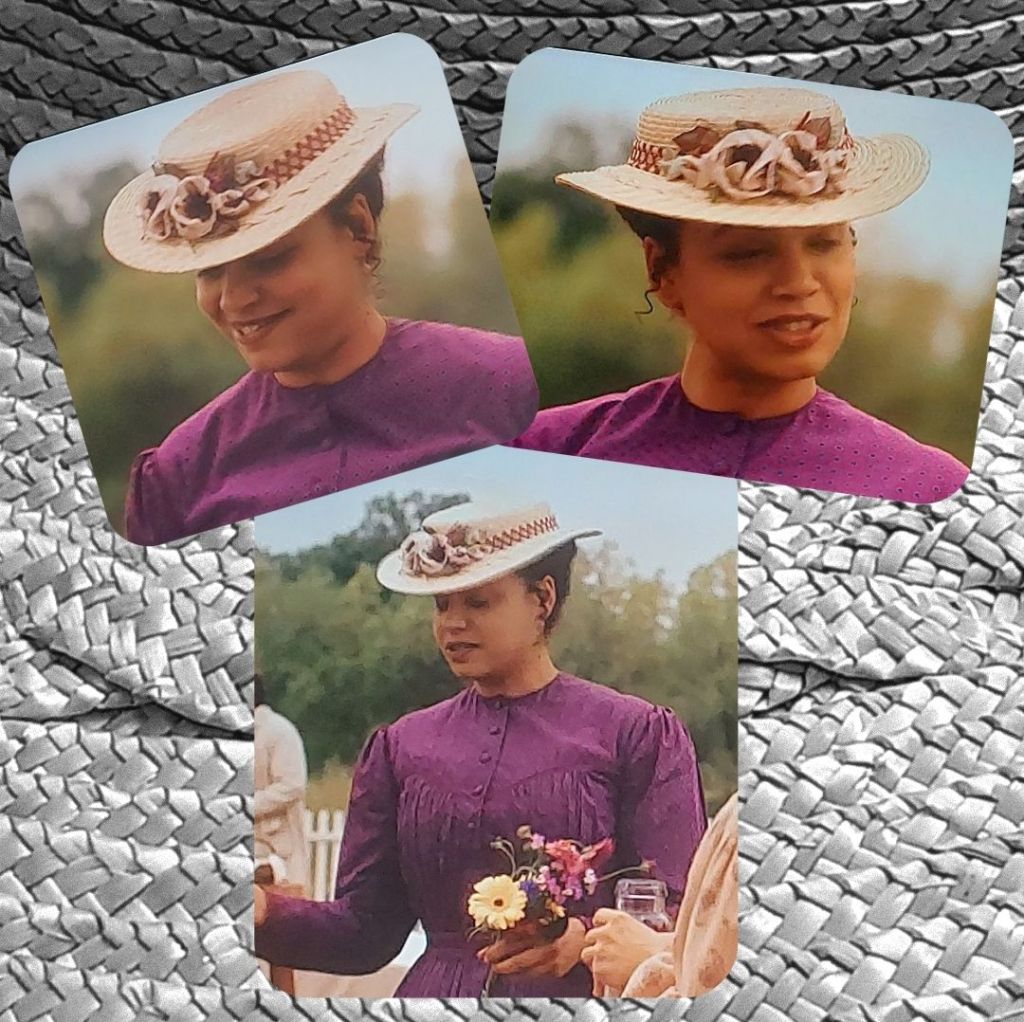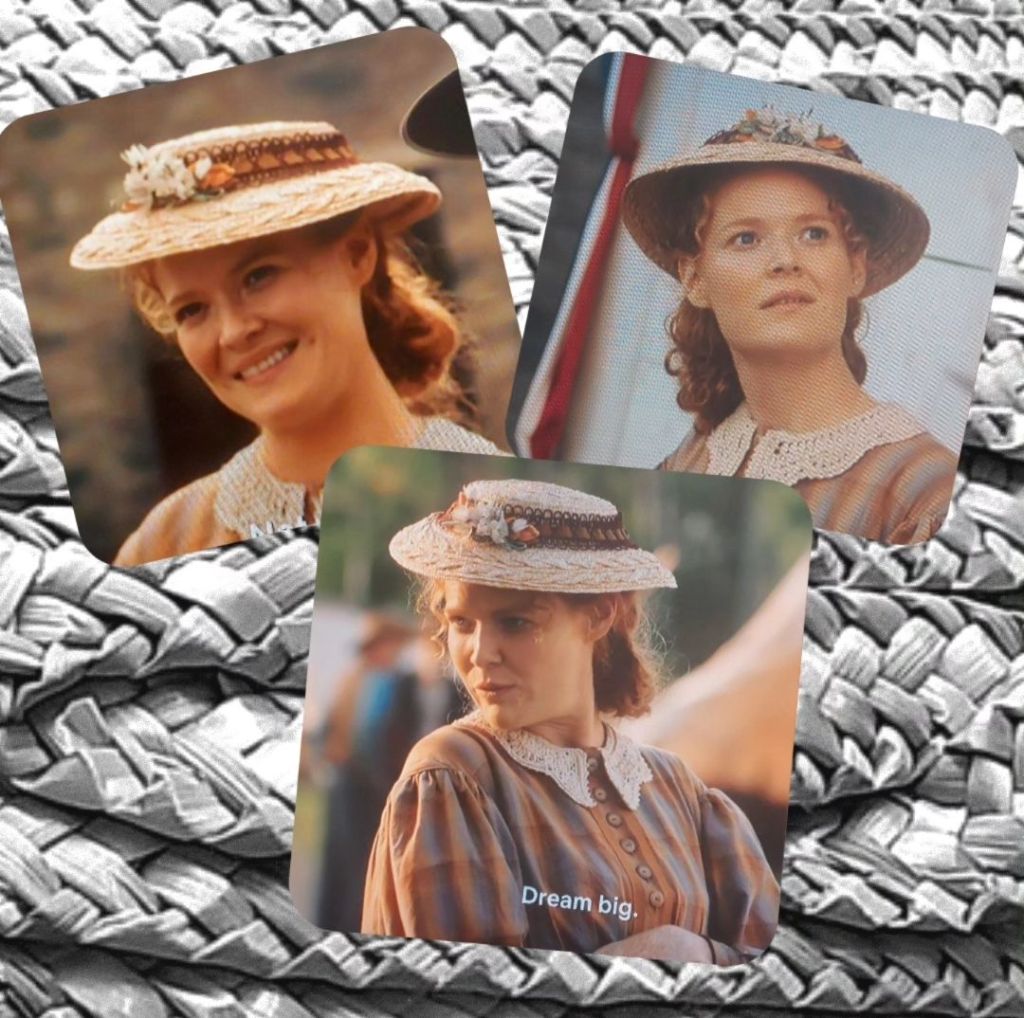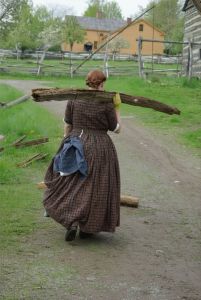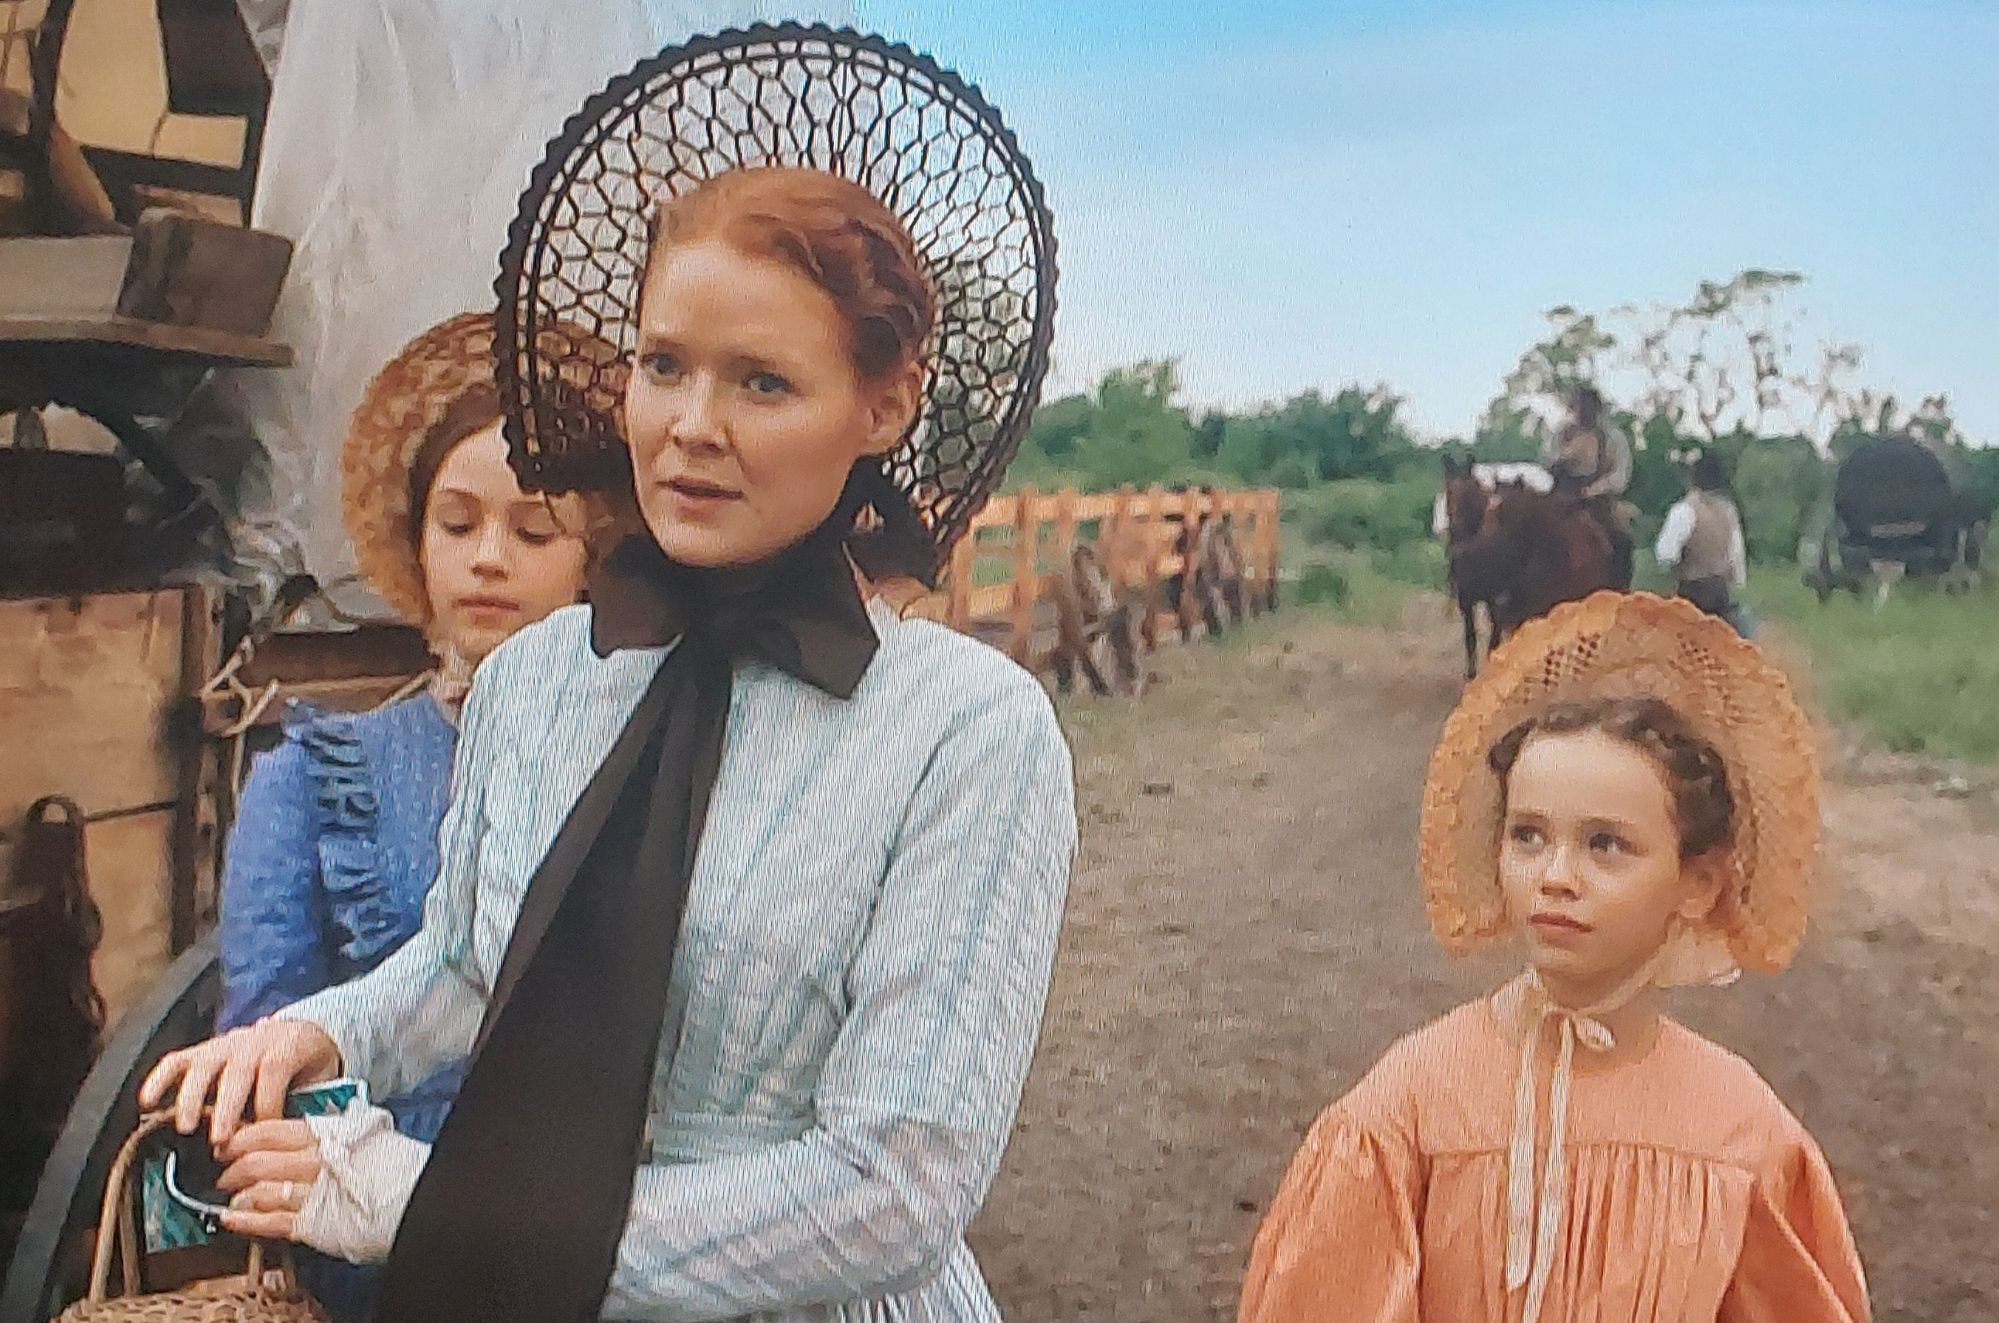
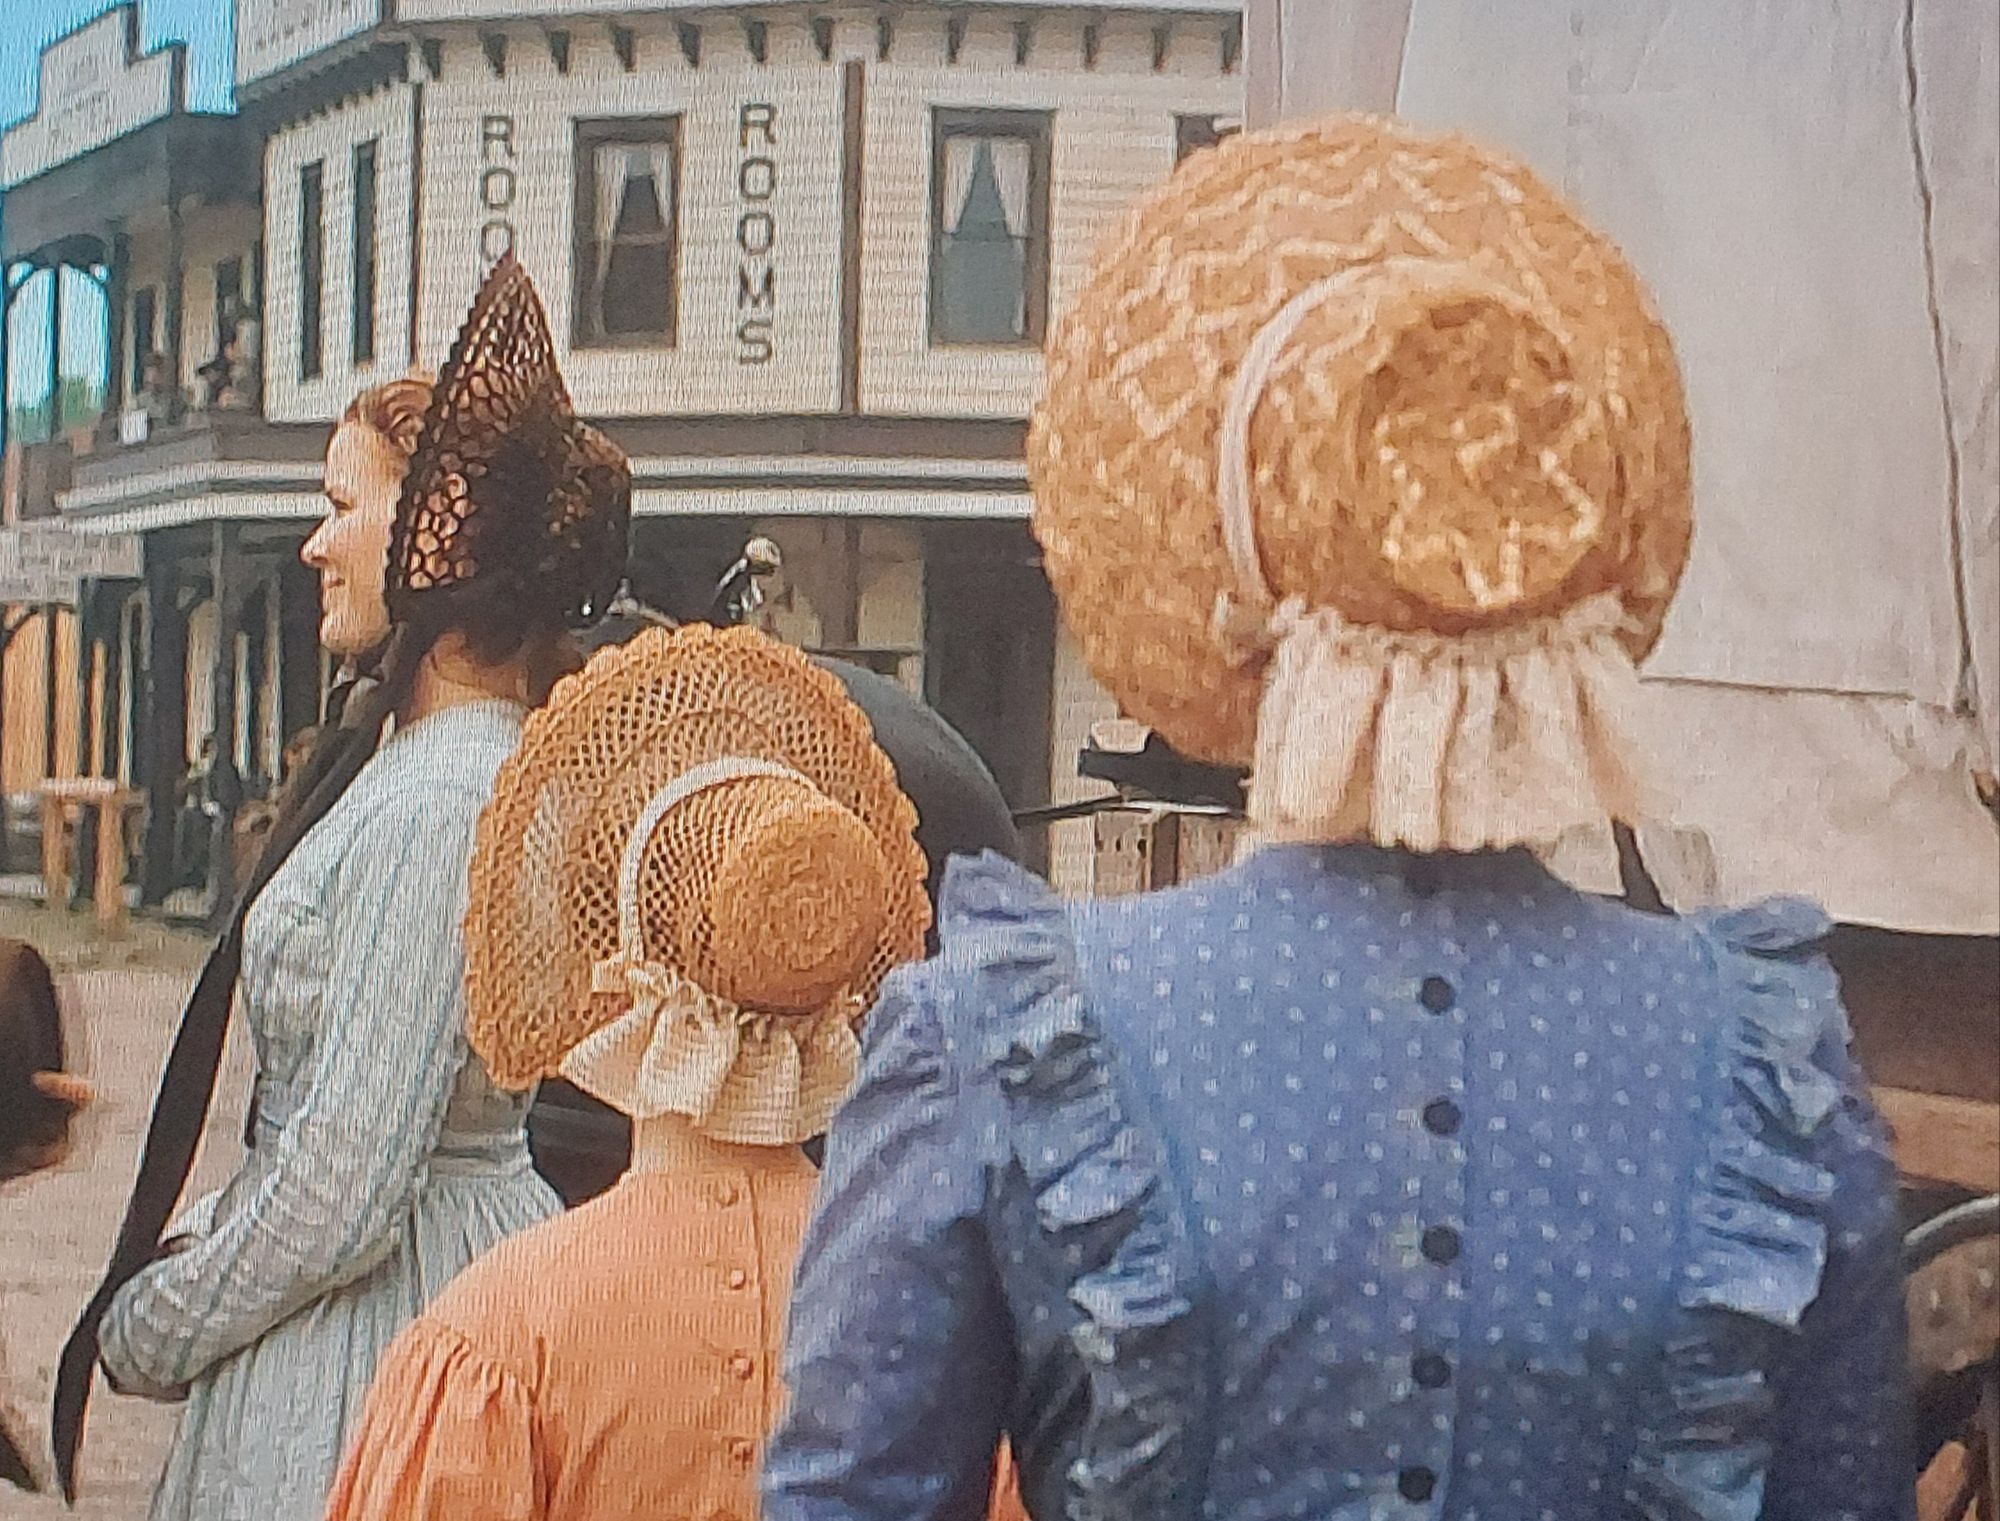
I have had a myriad of questions about the straw bonnets Caroline, Mary, and Laura are wearing as they enter Independence for the first time. Questions in post comments, private messages, text messages, in-person, and on the live watch party. Questions ranging from what “are they?” to “how accurate are they?” to “did you make these.”
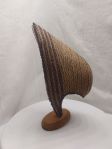
The shortest, easiest question/answer is: No, these bonnets are not my work. I primarily work with straw plait. Initially, I thought these bonnets were made from fancy straw loosely shaped forms called capelines and blocked to shape. I’ve since learned Caroline’s and Laura’s are both a fancy straw braid, Caroline’s being antique straw and horsehair. I am in awe of these materials and would love to see how one would come out blocked on one of my original bonnet blocks.
Moving on, I will start with what are they.
These are fashion bonnets from the 1860s. Fashion bonnets differ from sunbonnets.
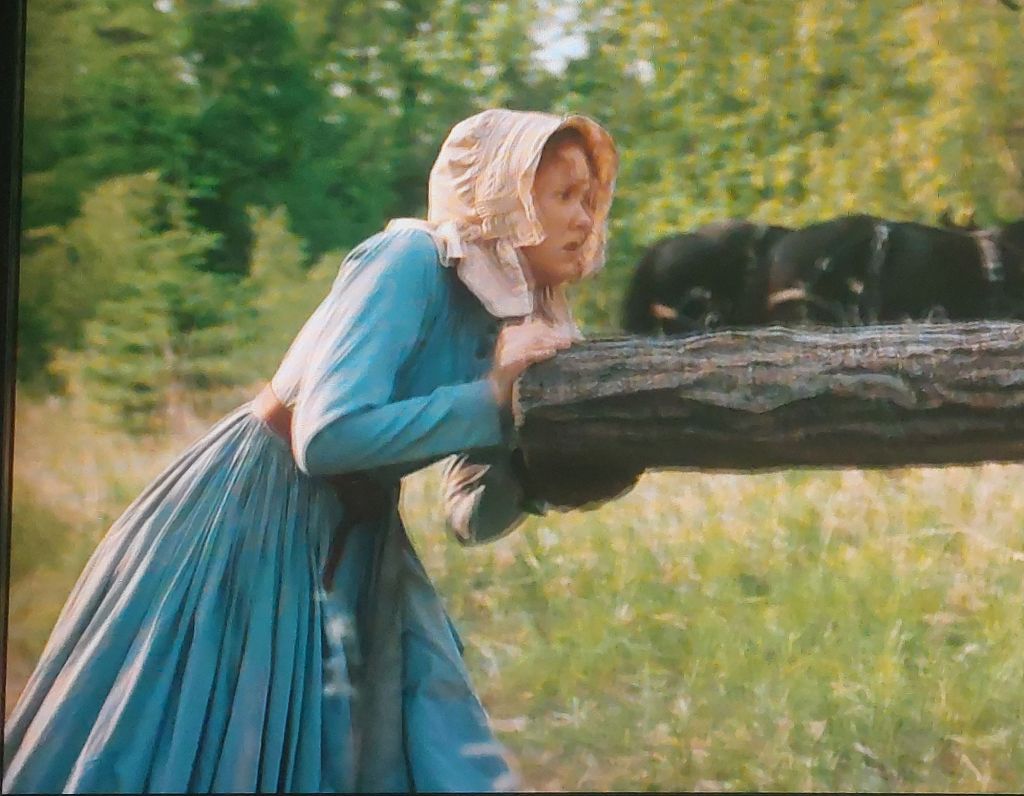
Sunbonnets being the type of bonnet many associate with Little House on the Prairie. Sunbonnets were made of cloth with the purpose of protecting the face, head, and shoulders from the sun. The brims were supported with either cording, quilting, pasteboard, or a combination.

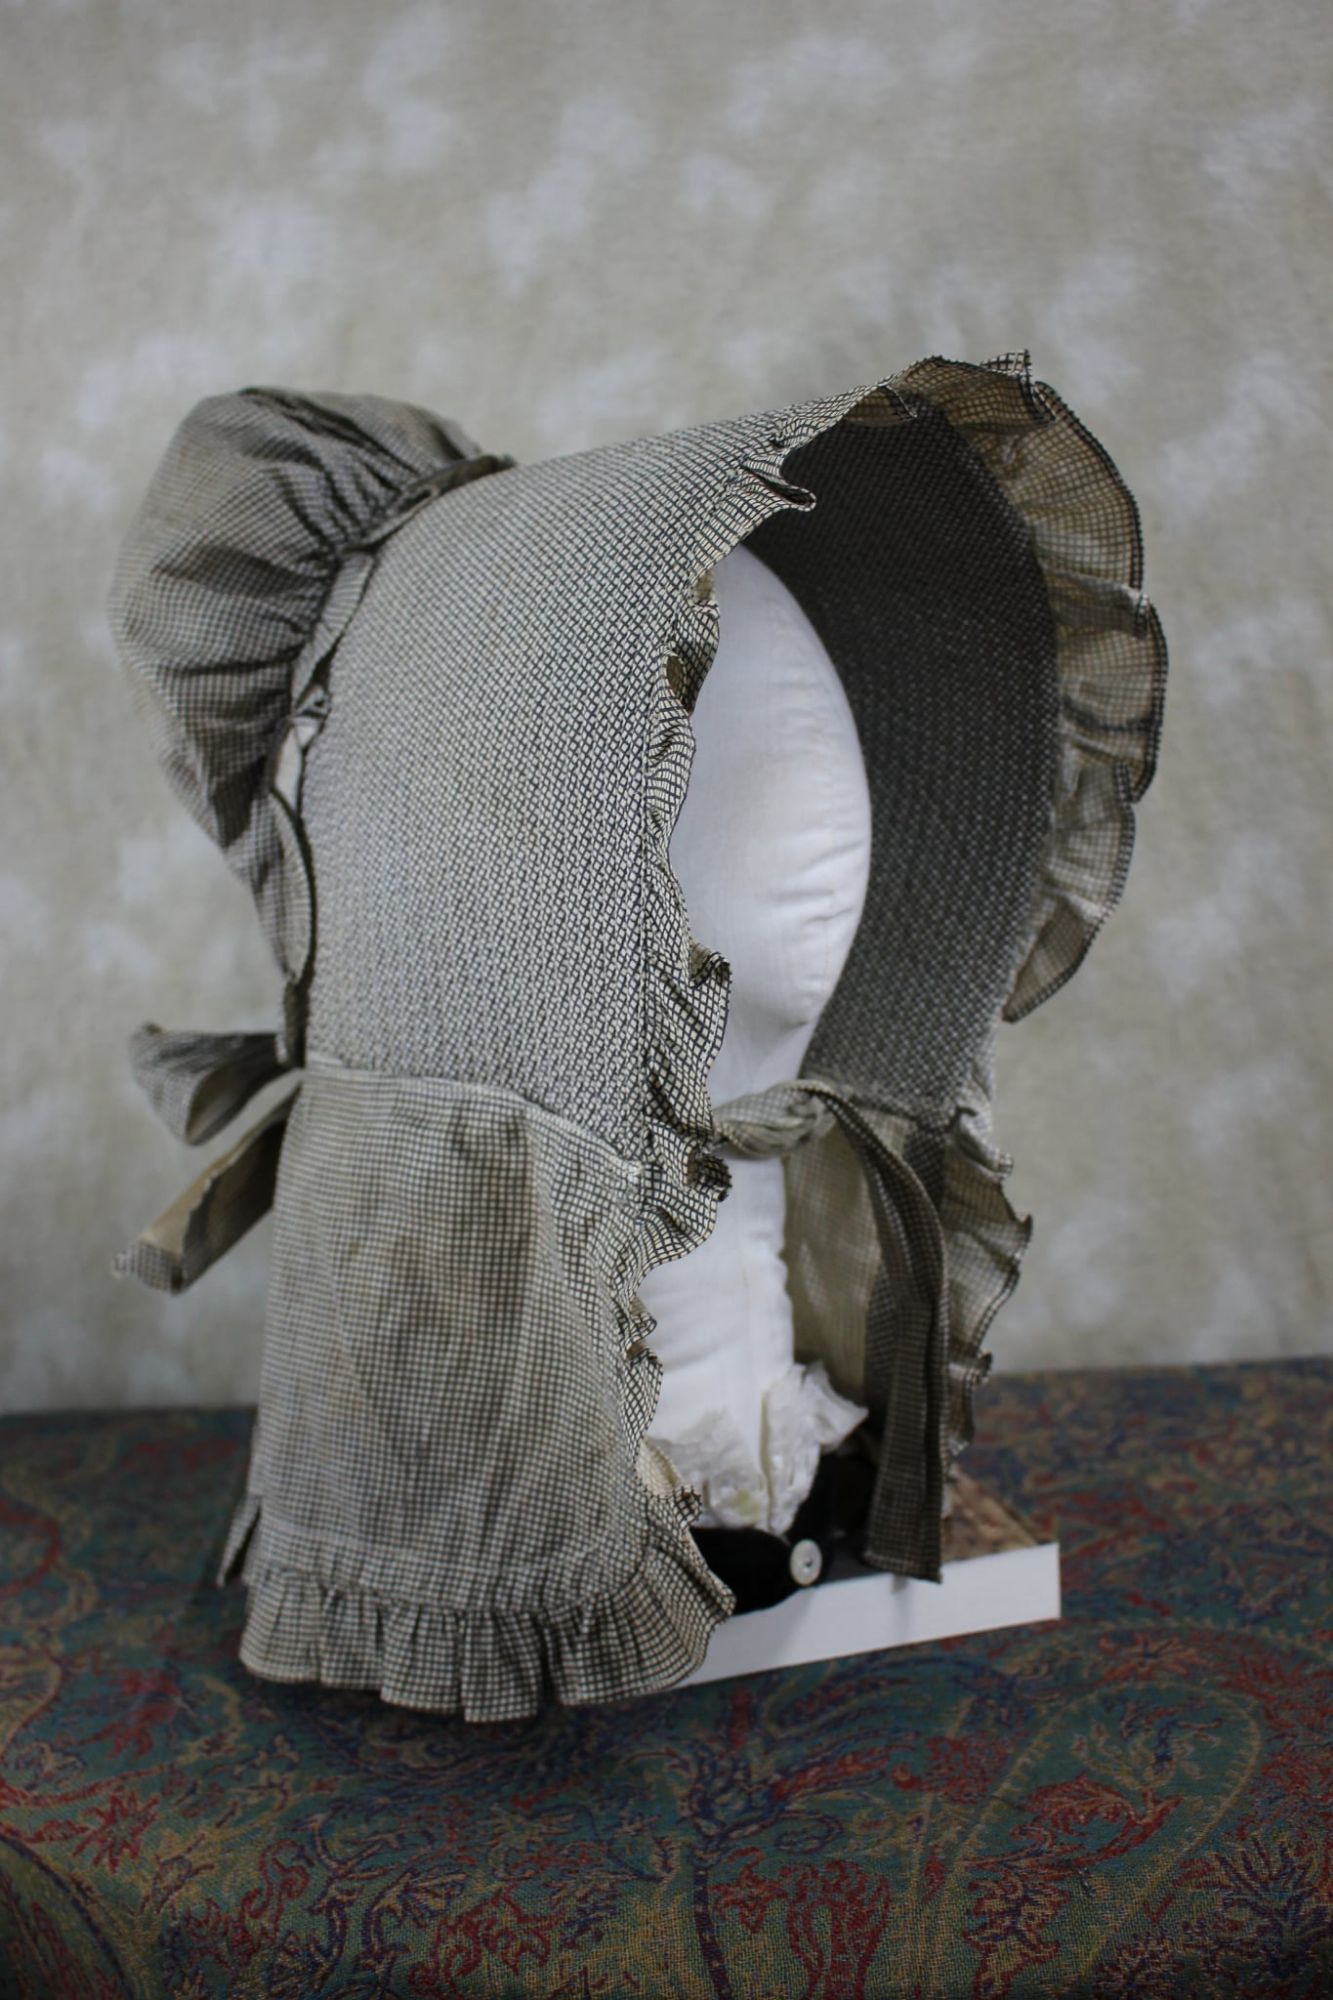
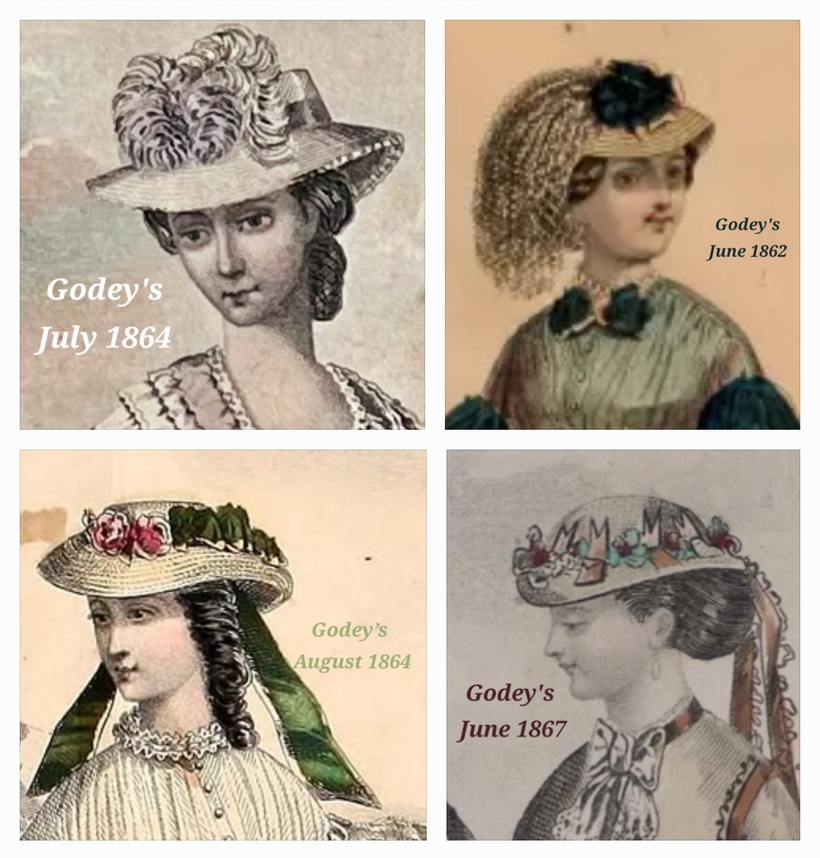
Fashion bonnets were for fashion. They provided no sun protection in the later 1850s through the 1860s, as the edge of the brim barely reached the hairline. Fashion bonnets could be made of straw or made with a buckram/willow/wire foundation and covered in silk. (I will focus on straw.)
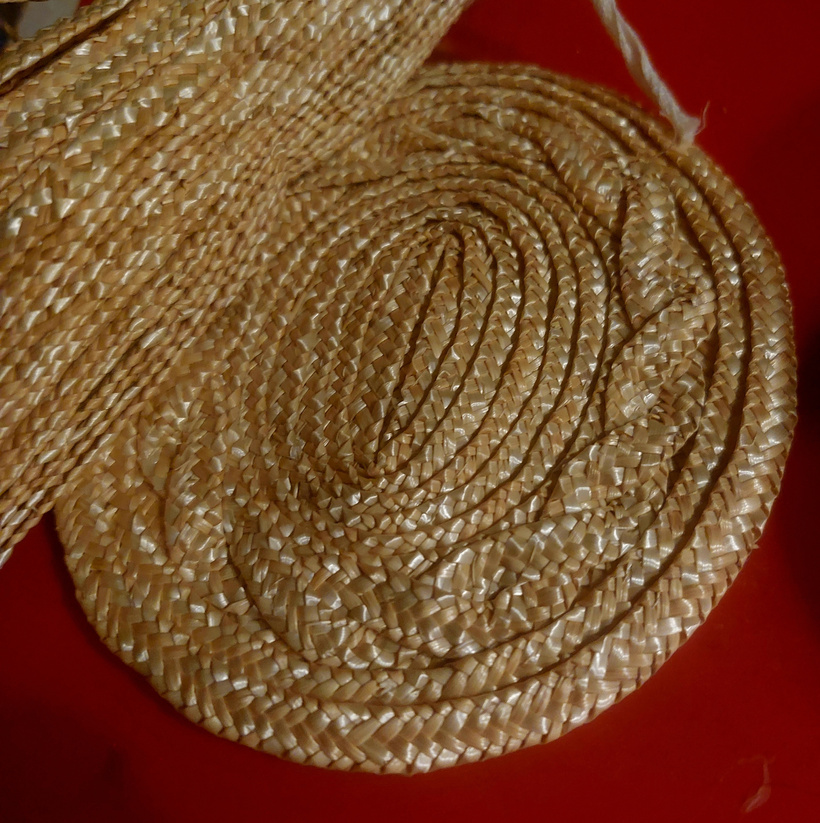
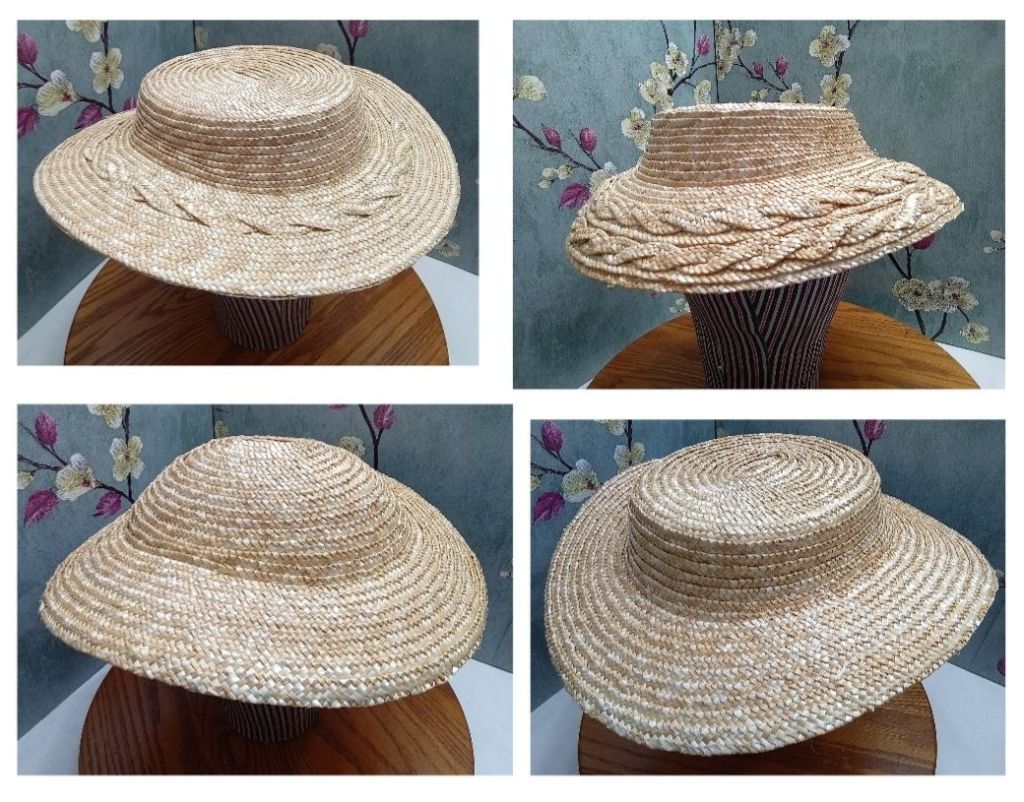
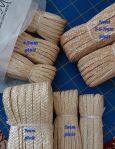
The most common straw bonnets, those worn by the vast majority of women of the era, were made using straw plait sewn into fashionable shapes for bonnets and hats. Straw plait is wheat or rye straw braided into long lengths. Little House on the Prairie fans may recall a passage where Laura describes Ma/Caroline braiding oat straw and sewing it into hats for the family. This is essentially the same process used to make straw hats and bonnets in this era. Straw bonnets had advantages over silk bonnets. First, during the summer they breathed well, helping keep the head cooler. Second, straw bonnets could be redecorated, reblocked, and to some extant recut to reflect changing fashions.
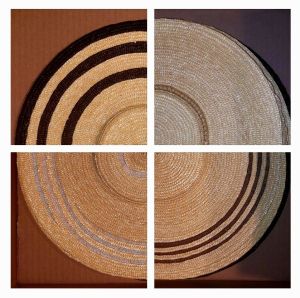
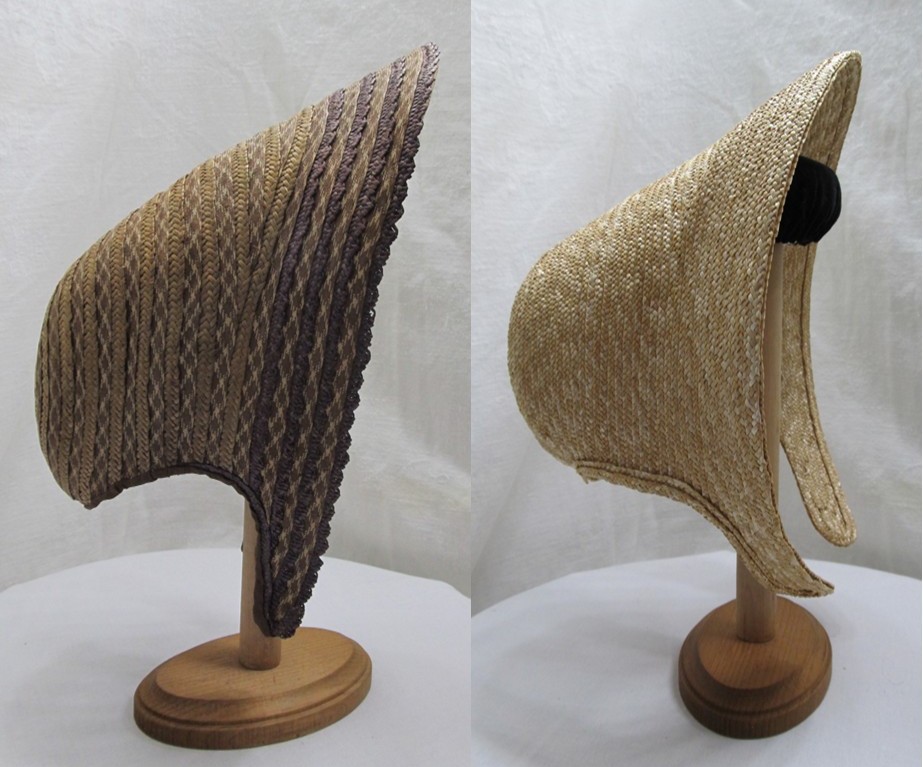
Straw was also used to create fancy braids and weaves with beautiful open designs. At times, other fibers including wool, silk, horsehair, and grasses were also worked together to create intricate designs. This fancy straw made fancy straw bonnets. These fancy bonnets were more costly than plain straw plait. Below, are two examples of this type of straw bonnet from the Metropolitan Museum of Art’s collection.

I believe this is the type of bonnet Caroline, Mary, and Laura are wearing.
To me, these bonnets are a nod to the life they left behind, their “old life” as Jemma James puts it. Symbolically, these are bonnets of comfortable income, bonnets of “back east.” As the season progresses, these bonnets are left behind by Caroline and Laura as the family shifts into their new life. Mary continues to wear her’s, which I suspect signifies her holding on to that part of herself and longing for her family and friends.
Historical Accuracy vs On-Screen
You will notice similarities and differences between the MET examples and the Ingalls’ bonnets. Both have beautiful open work straw. Both sit on the back of the head. Both have round/circular bonnet tips. Both have bavolets, the curtain of fabric on the back of the bonnet over the neck.
I was Very pleased to see the circular bonnet tips and bavolets. These are two areas often portrayed incorrectly both in living history and on-screen millinery.

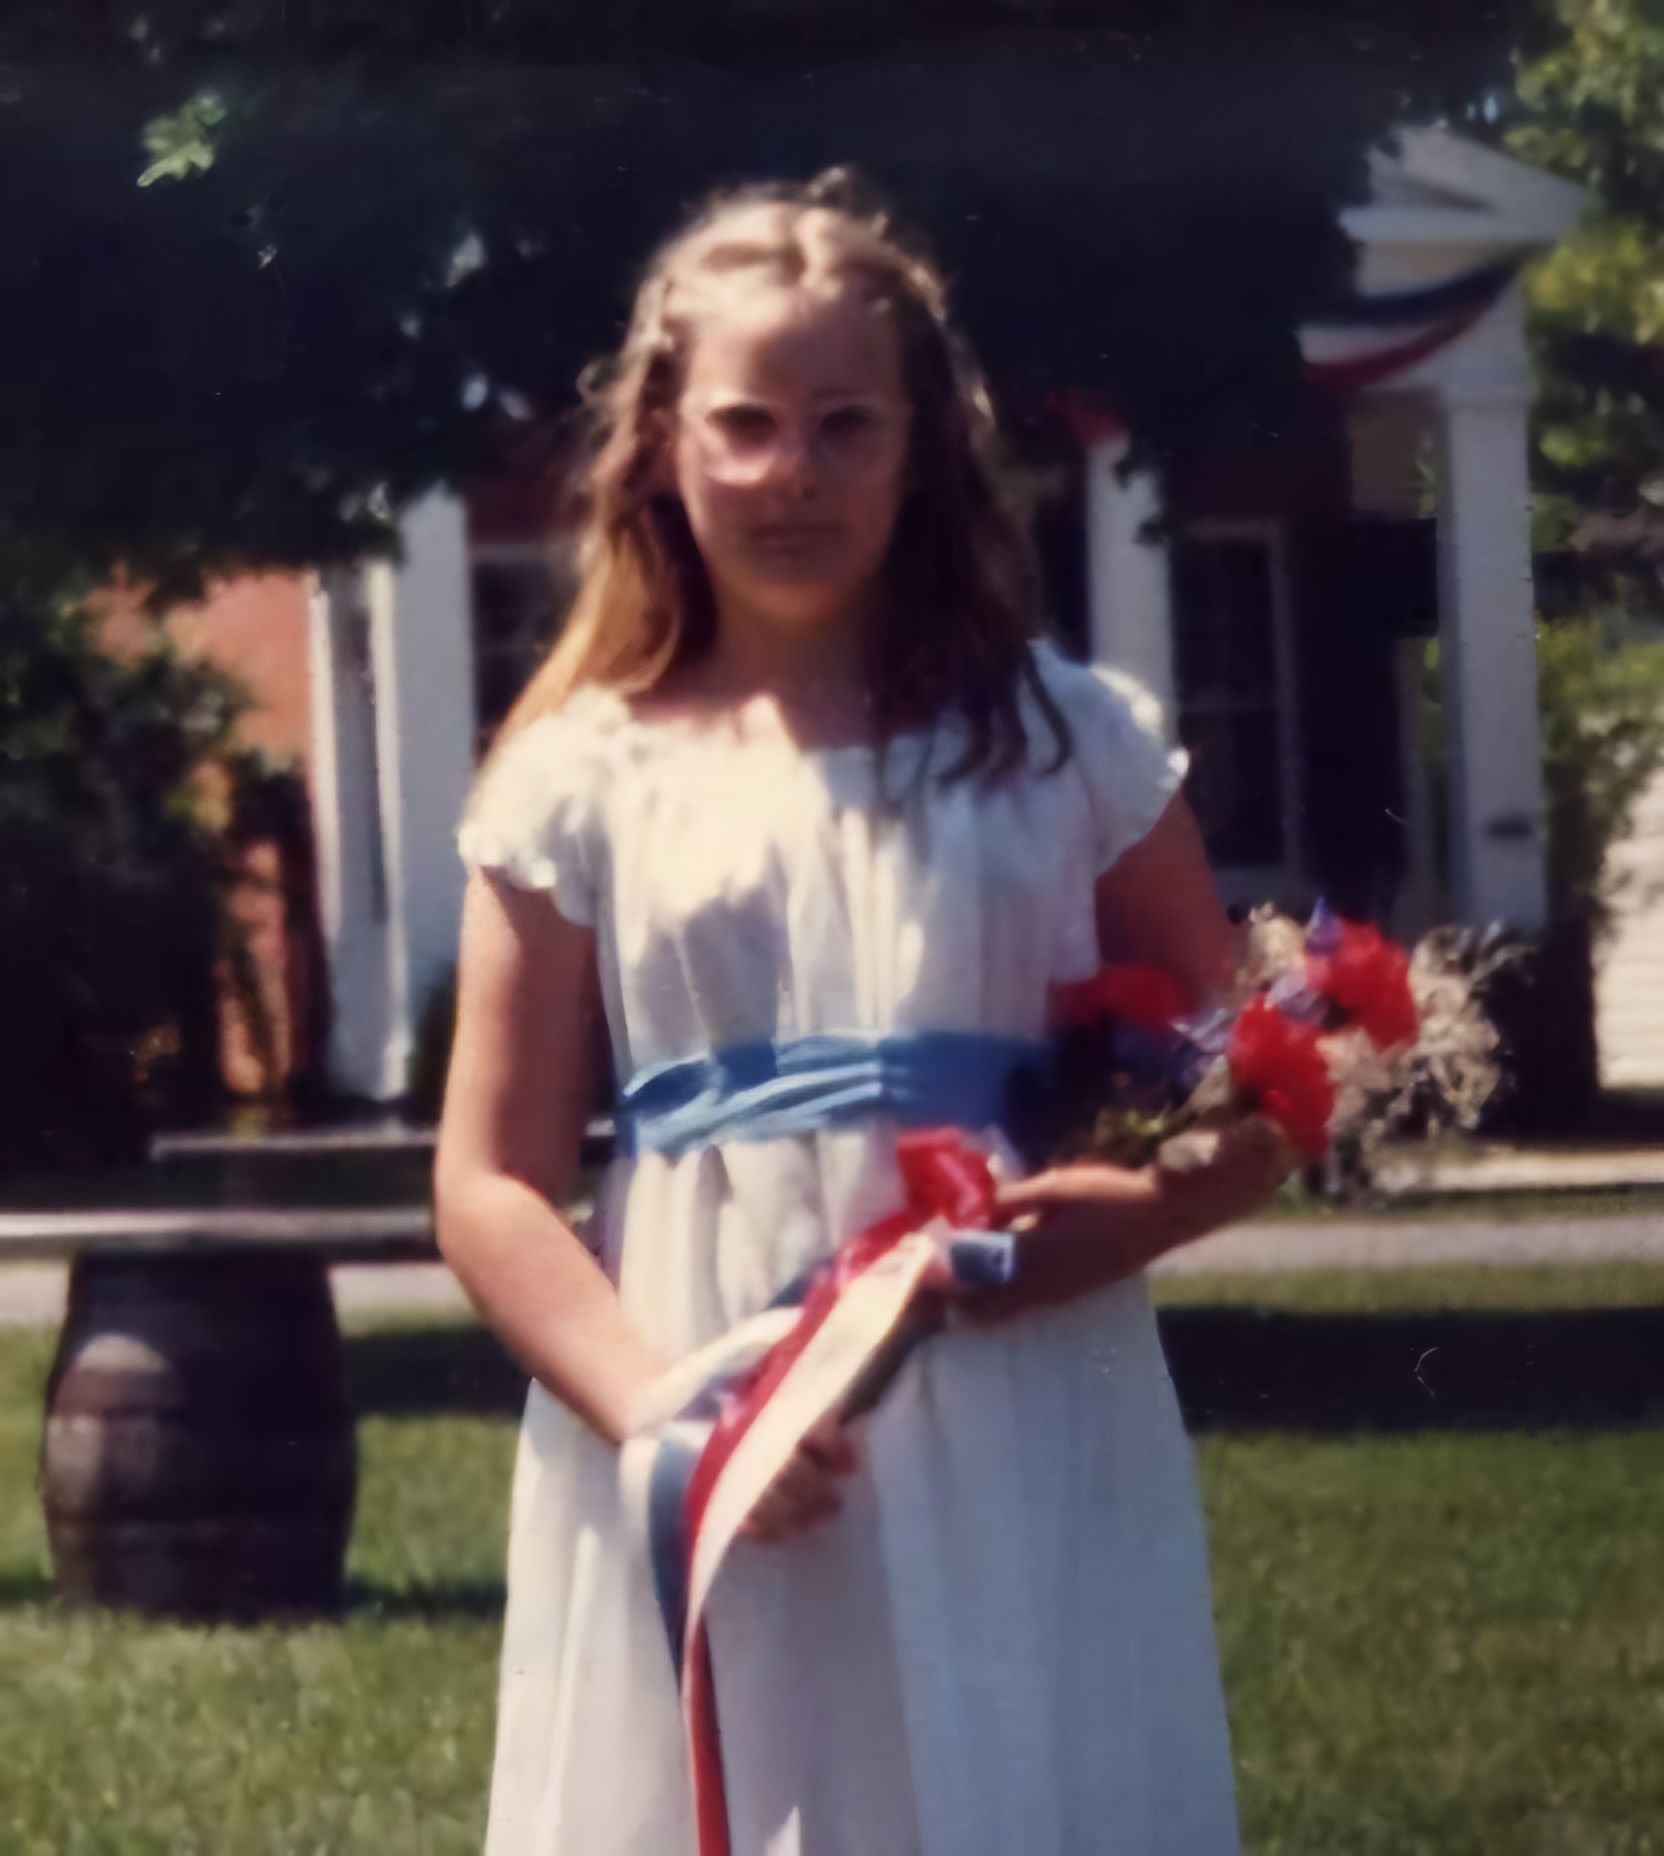
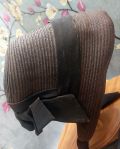
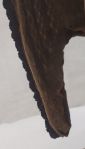
Two distinct differences are the shaping of the brim and the lack of cheektabs. The brims on the show flare up and out away from the face. While I do not know for sure, I suspect this was to ensure a clear view of the face without any shadows. We can see such shadowing when Jemma James comes to visit (right). See how the edge of this brim casts a shadow on her face? While this works with this scene, it would have distracted from entering Independence scene.
I find this to be a good balance between history and cinema.
And….
I happen to love the opportunity for discussion.
Enjoying this article? Consider tipping on Ko-Fi or supporting on Patreon.
For More Information….
on historically accurate sunbonnets see Marna Davis
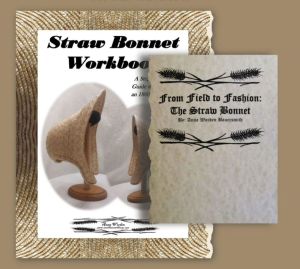
on the Straw Cottage Industry, read my booklet From Field to Fashion
on making straw bonnets read my Straw Bonnet Workbook
on an in depth look at the history of the straw industry read Straw Plait
on silk fashion bonnets, look to Timely Tresses.