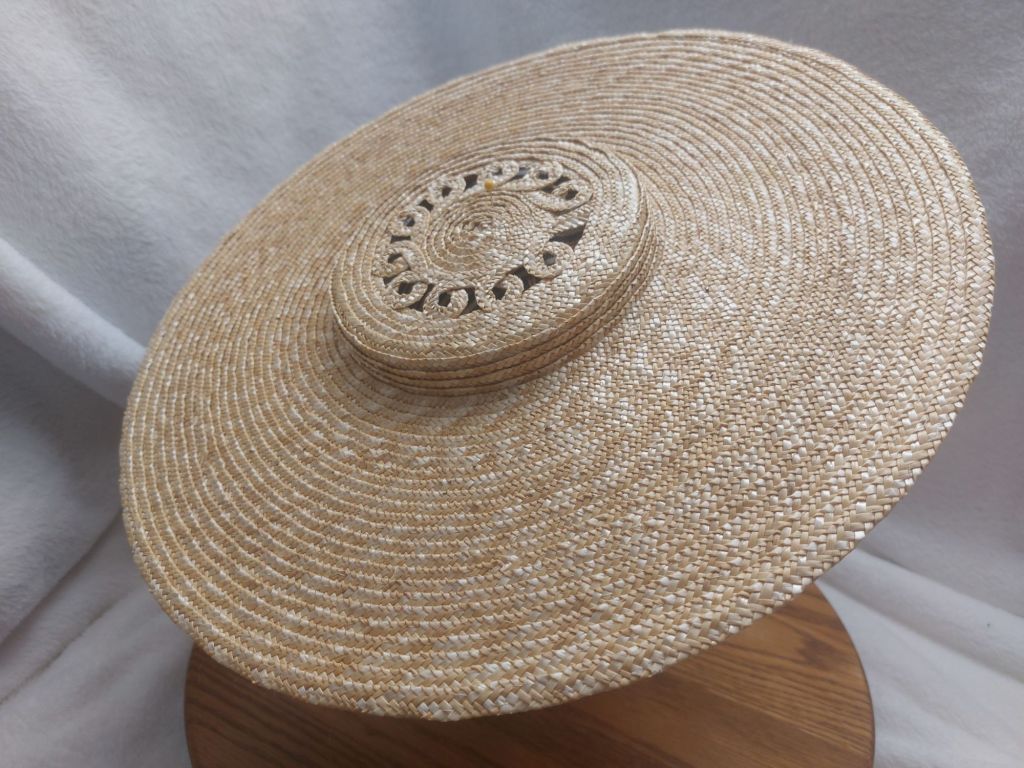
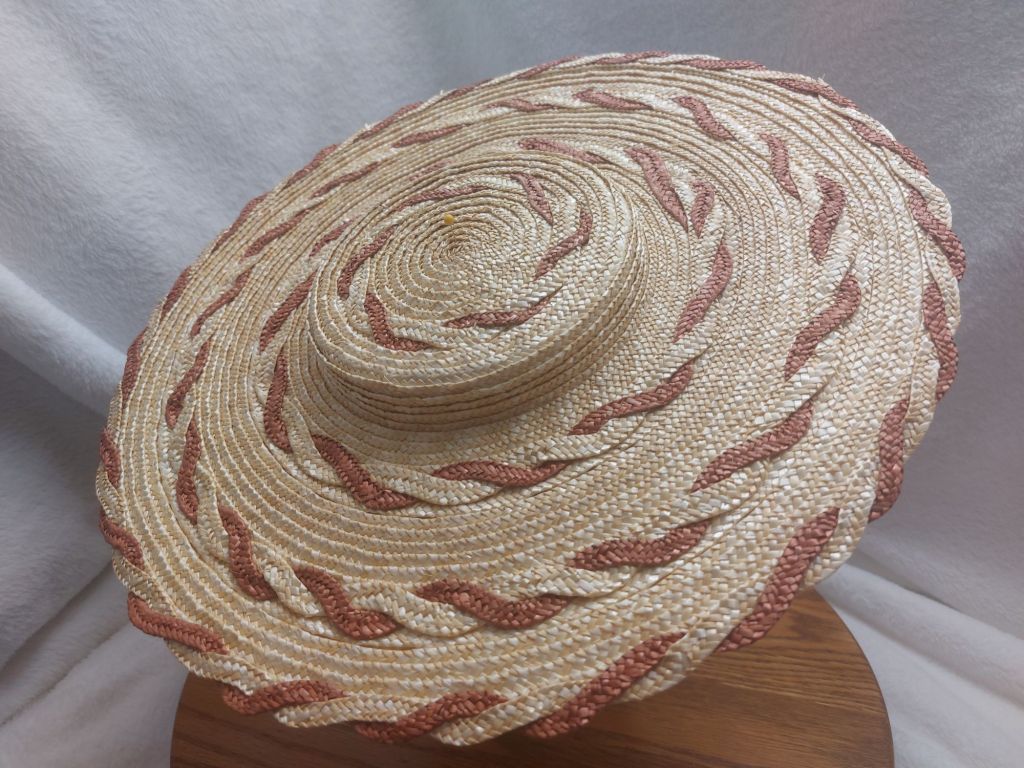
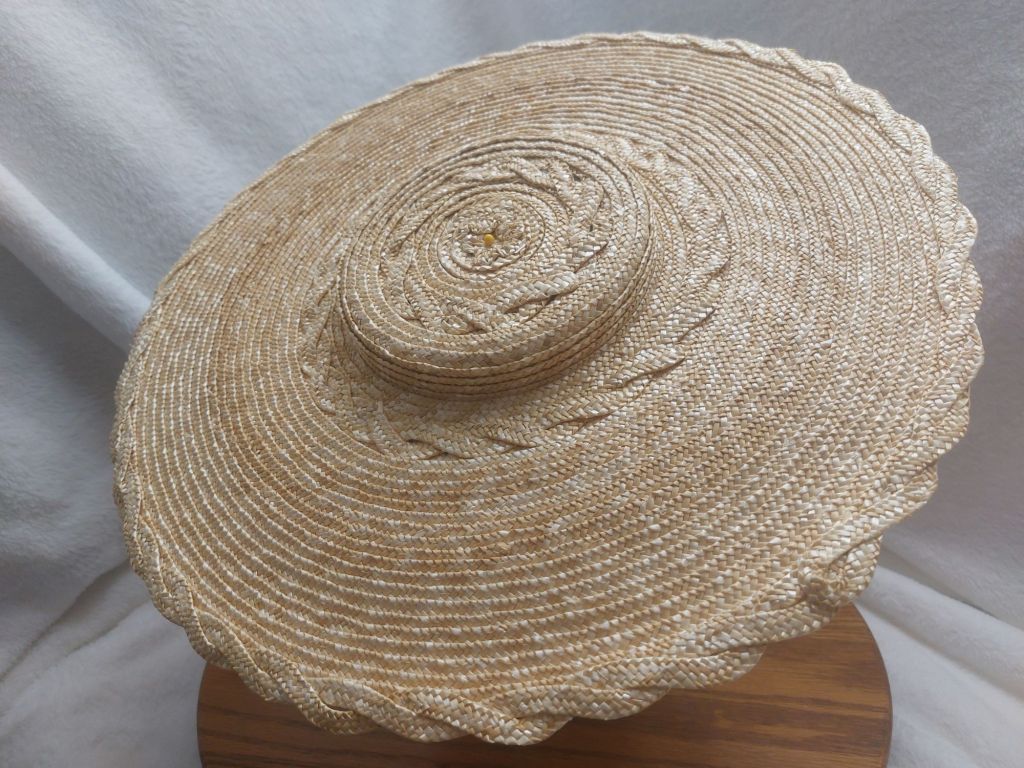
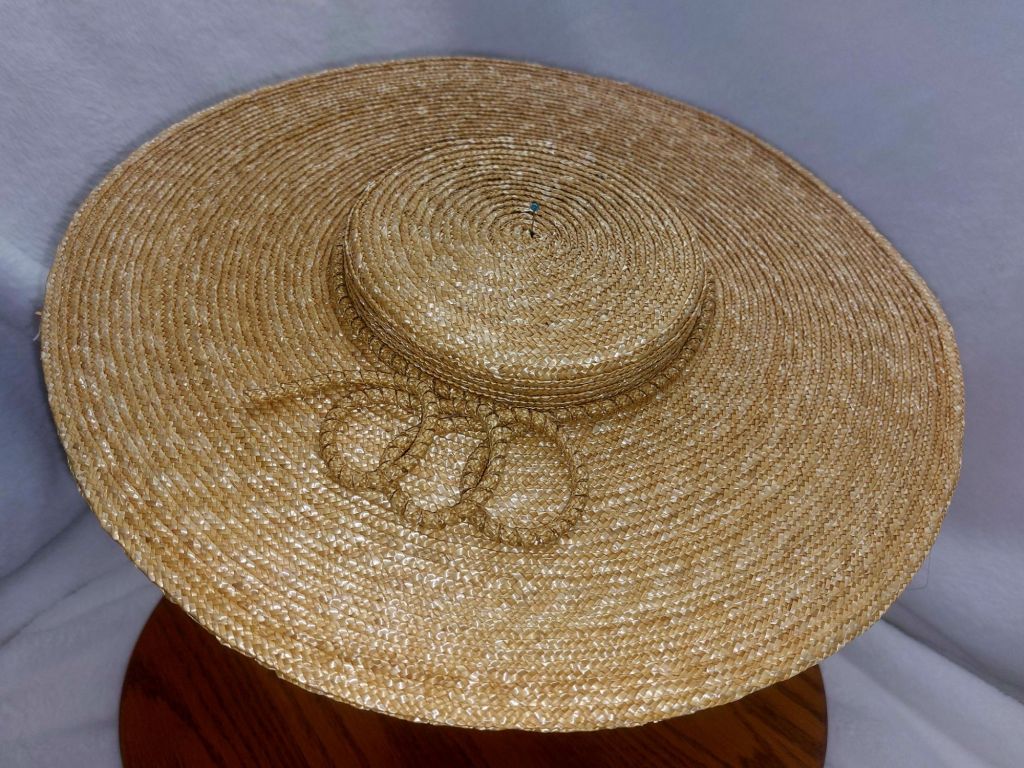
Today is the first shop drop of the month. At 6pm, Eastern Time, I will be adding a beautiful assortment of Bergère hats. Each is handsewn and blocked using lovely 6mm straw plait.
This is also my birthday month! I wanted to do something fun. So, I’ve marked all patterns & e-books 25% off.
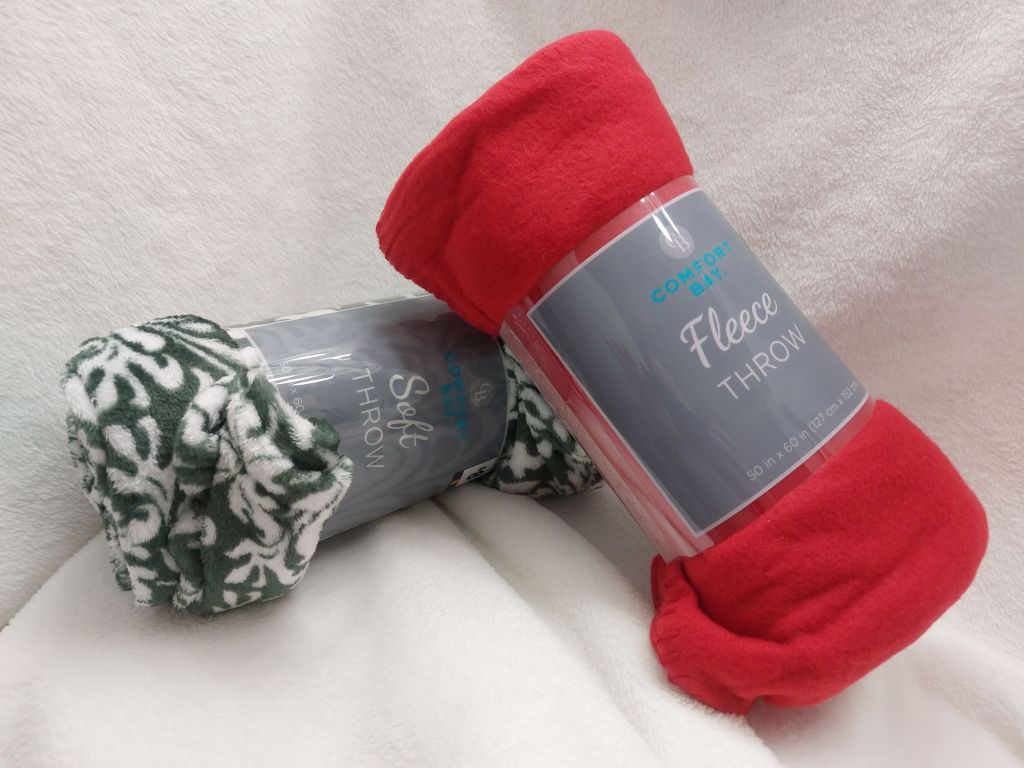
With the deep freeze and blanket ingredients snow many of us are facing in the coming days, I propose a fun distraction with a Snow Sewing Challenge:
Fleece Blanket Challenge
Step1 – Grab an inexpensive blanket while you are out sticking up on milk & batteries.
Step 2 – Pick a period pattern from any era in history.
Step 3 – Make the garment or accessory using the fleece blanket.
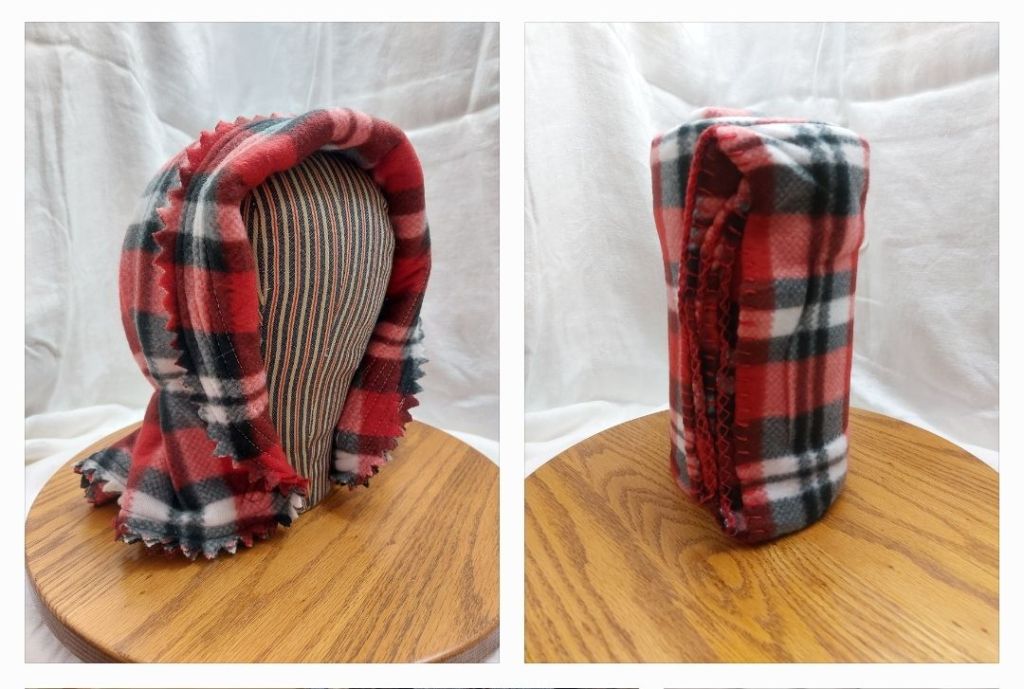
This challenge is meant to be a bit of fun in the depths of winter. This can also be a way of making a functional garment to stay warm.
Of course, I would love to see some fleece versions of my winter hoods. Other ideas could include: a fleece waist, fleece petticoat, fleece mantle, fleece drawers.
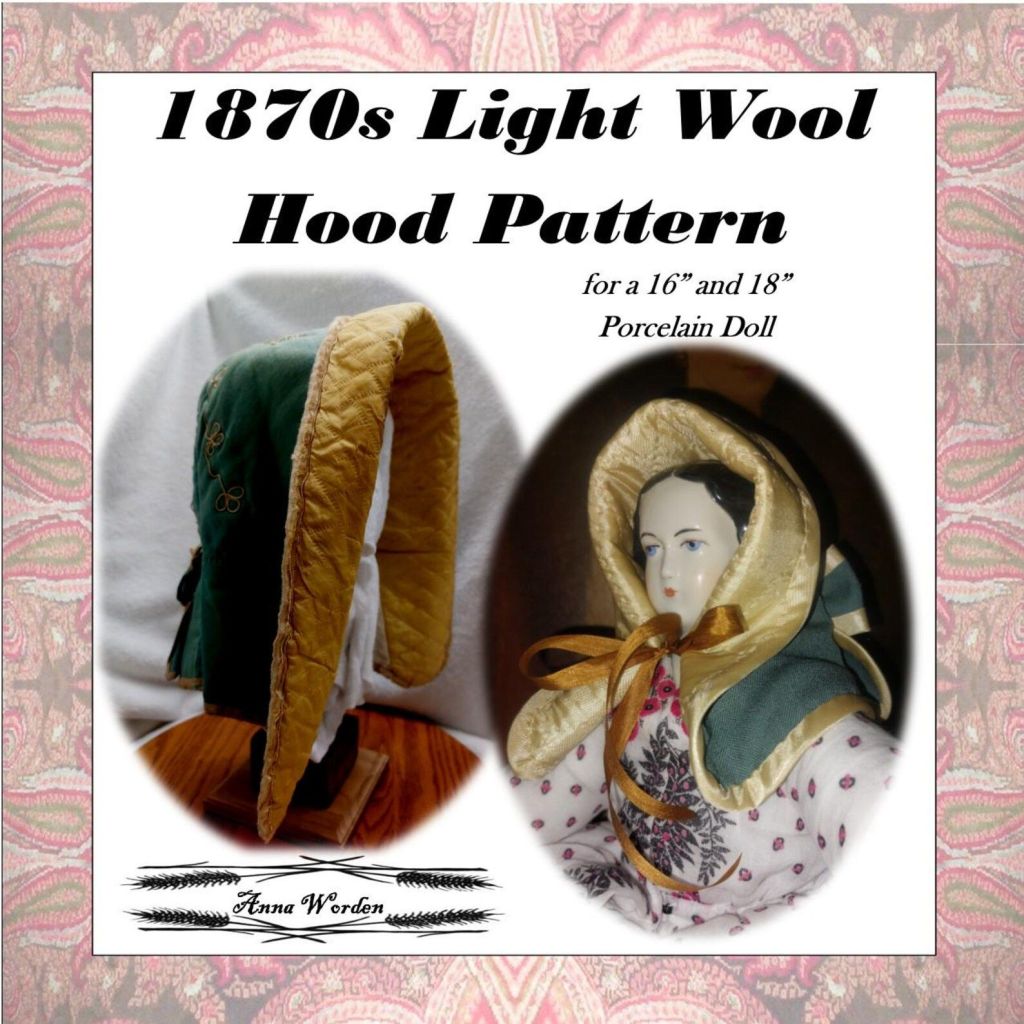
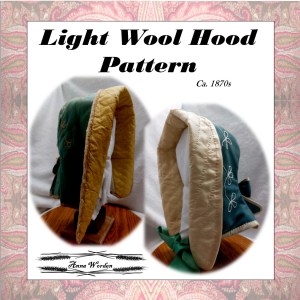
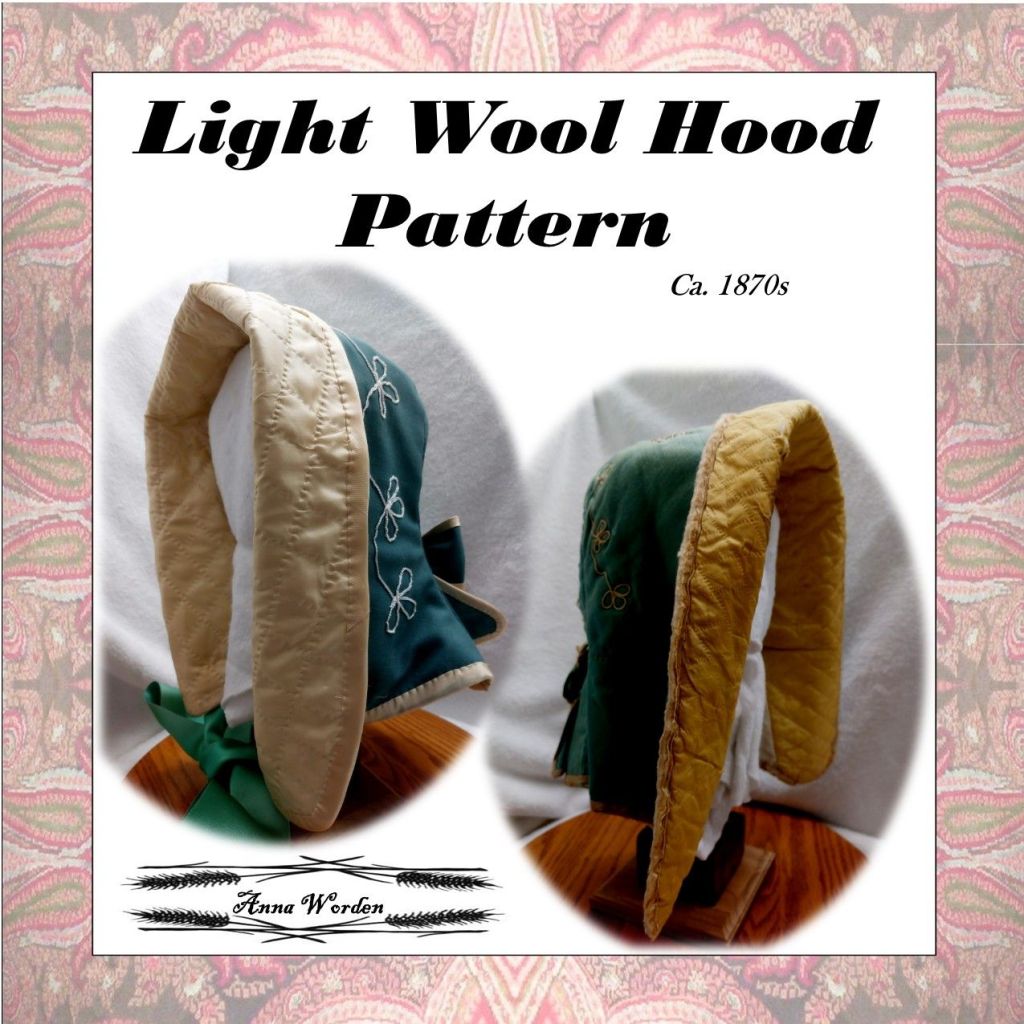
I am excited to announce my newest pattern for 2026 is now available in my Etsy shop!
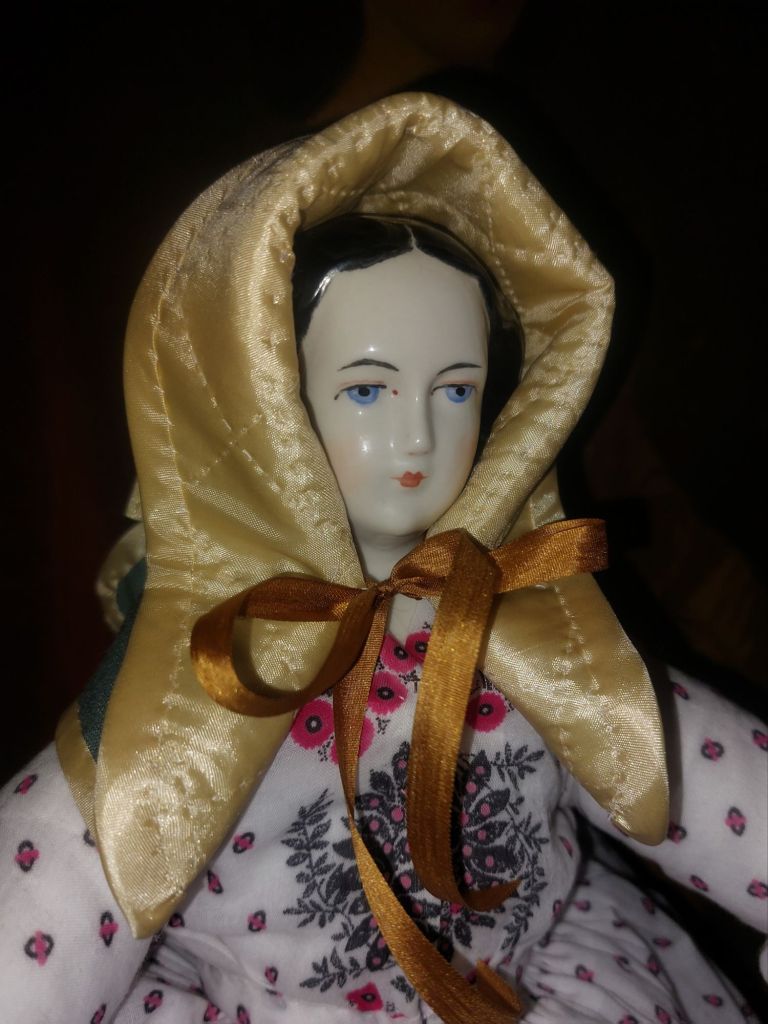
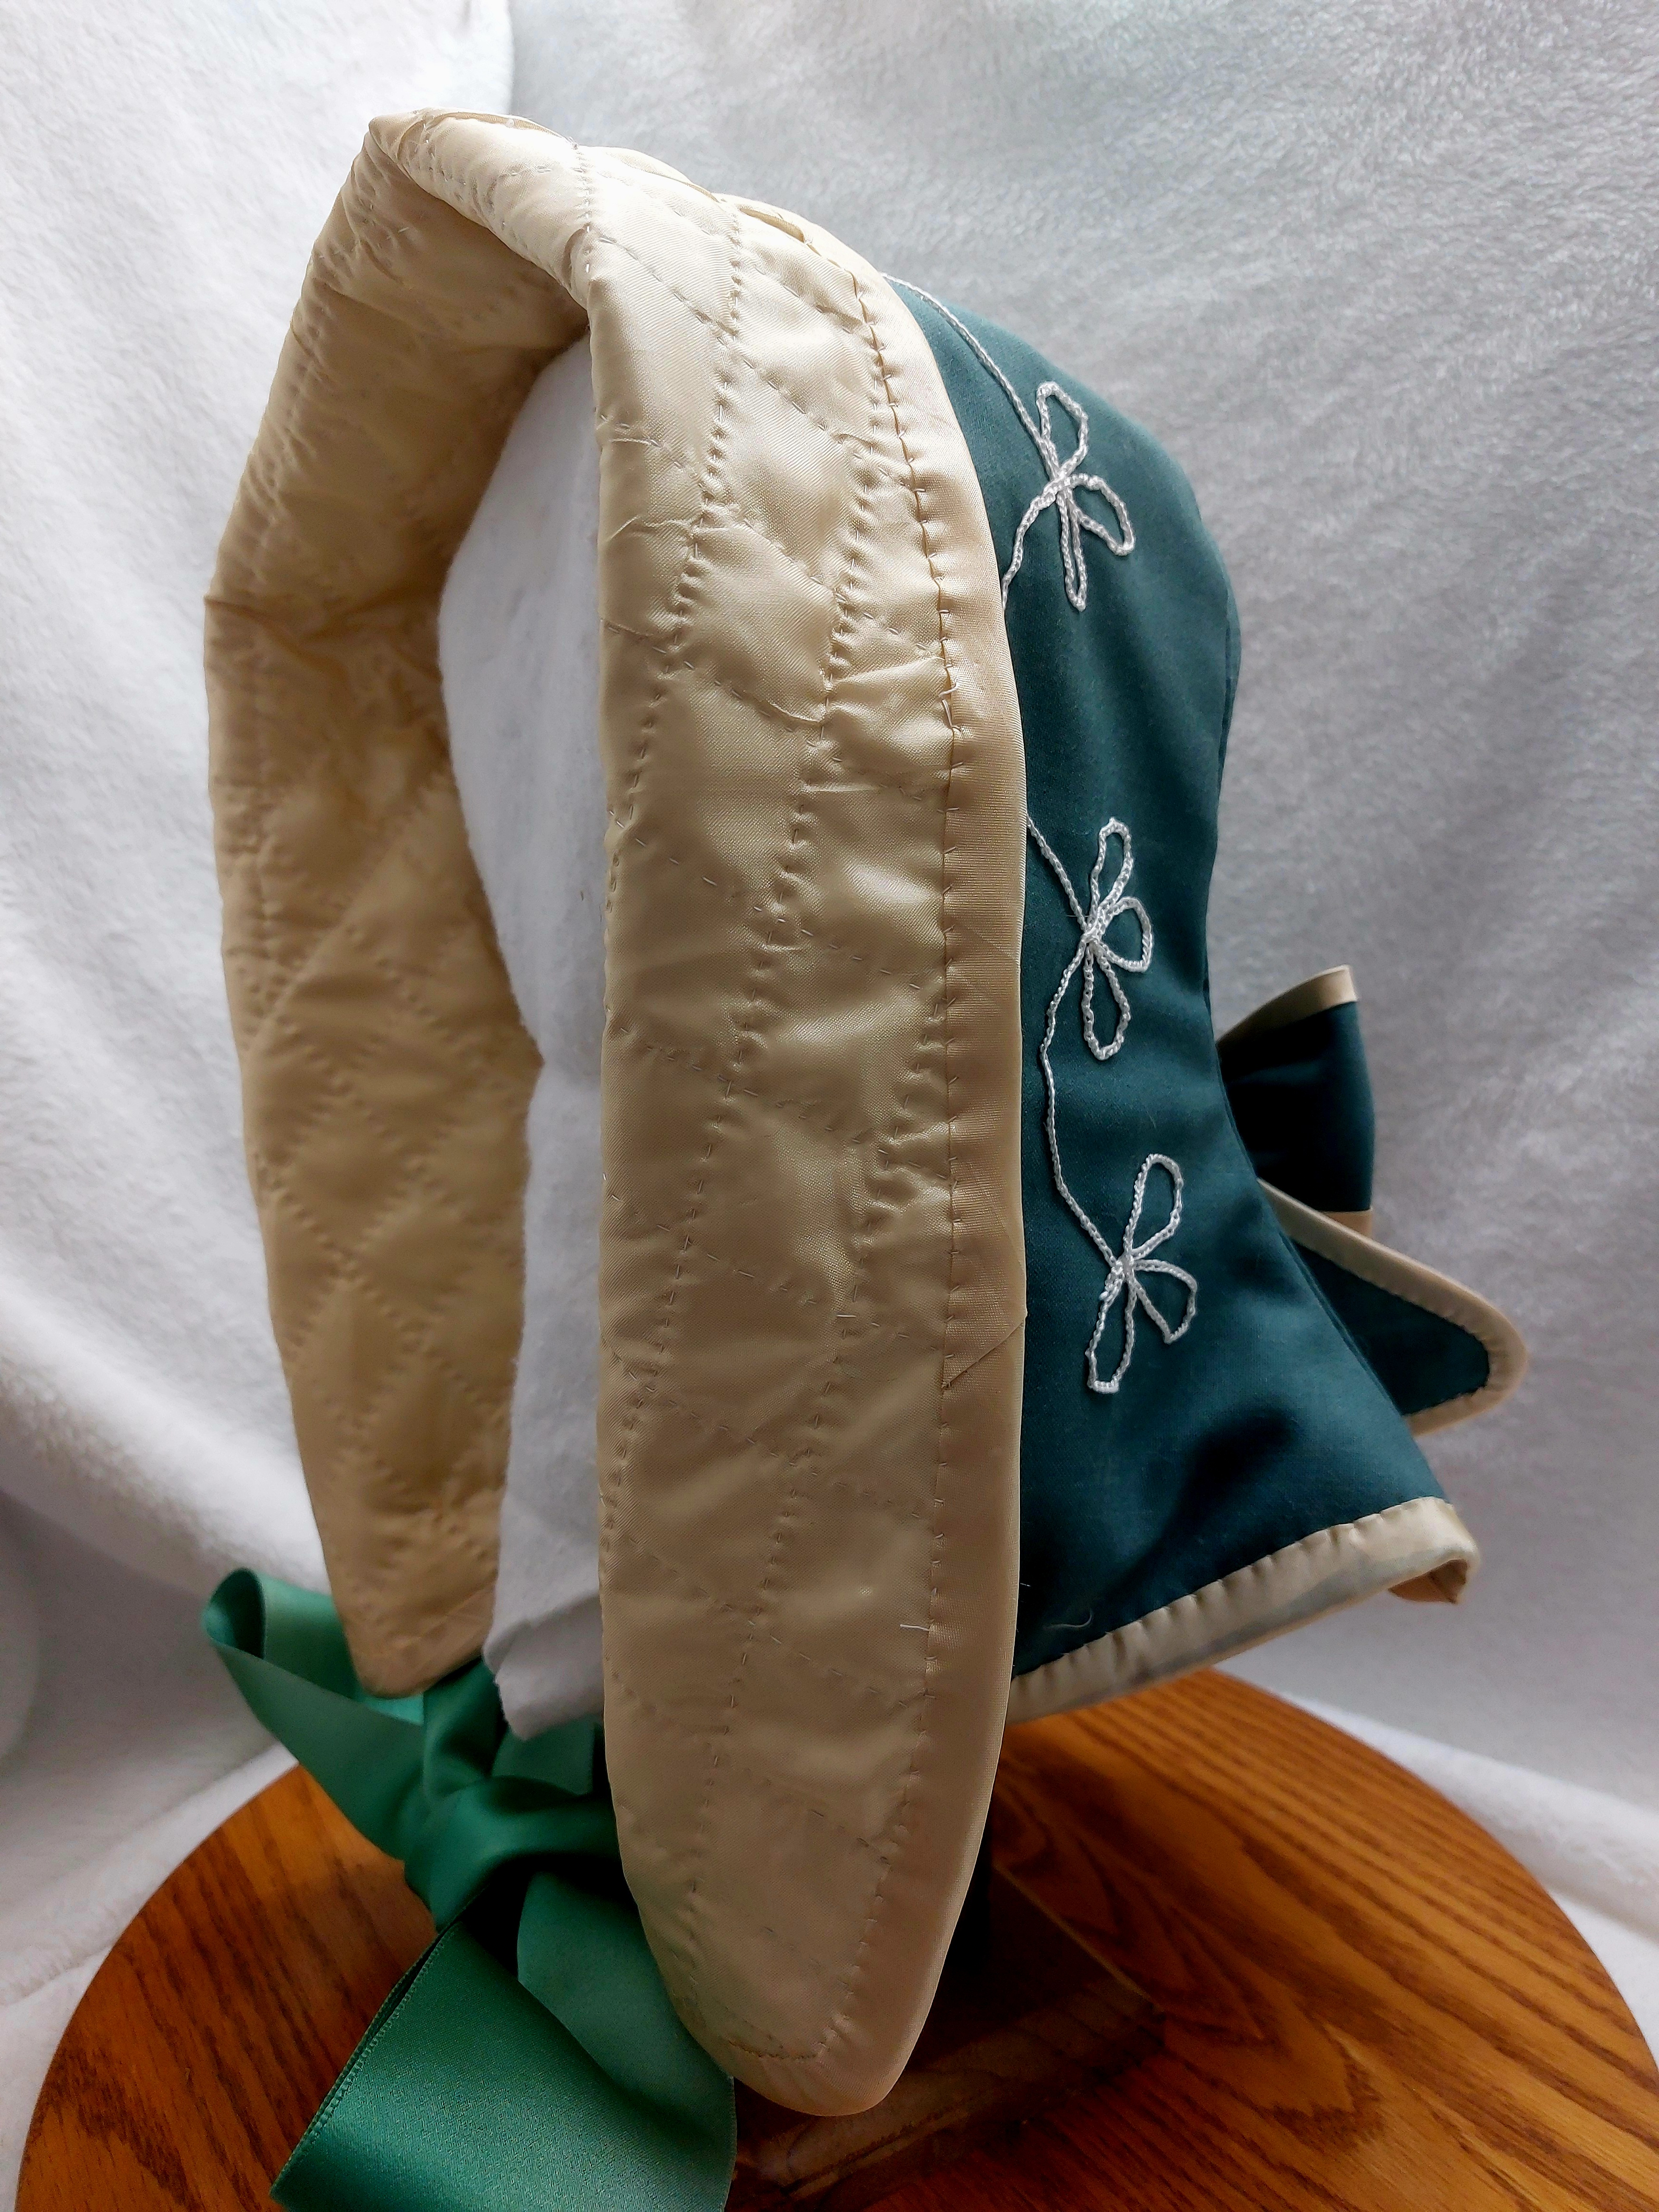
This 1870s Light Wool Hood Pattern has been a long time coming. This beautiful hood has been in my collection for years patiently waiting its turn.
While my previous hood patterns focused on function, hoods that could keep you warm and/or dry, this hood is more about form.
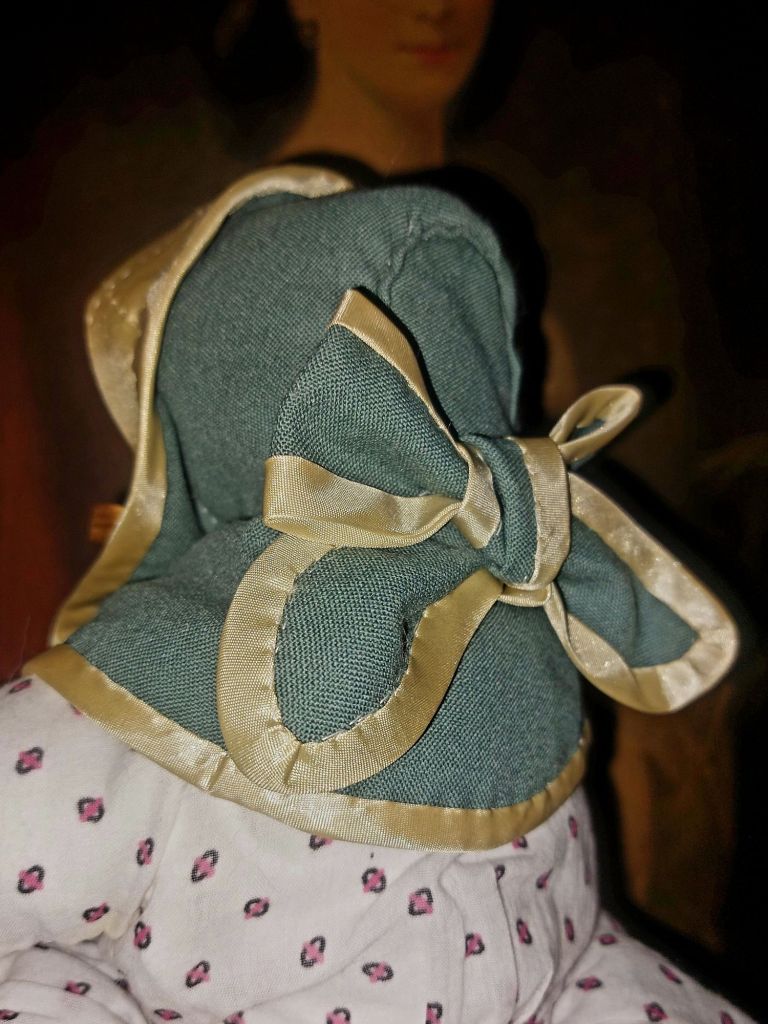
The person who made this original hood from which I pulled this pattern, was skilled creating a simply beautiful hood. The easy two-piece construction has lovely lines with a flare into the bavolet along with finishing details that are just darling.
With this pattern, you can follow closely to the original wool hood or opt to make a couple variations for a lasting, accurate hood to wear with your 1870s impression.
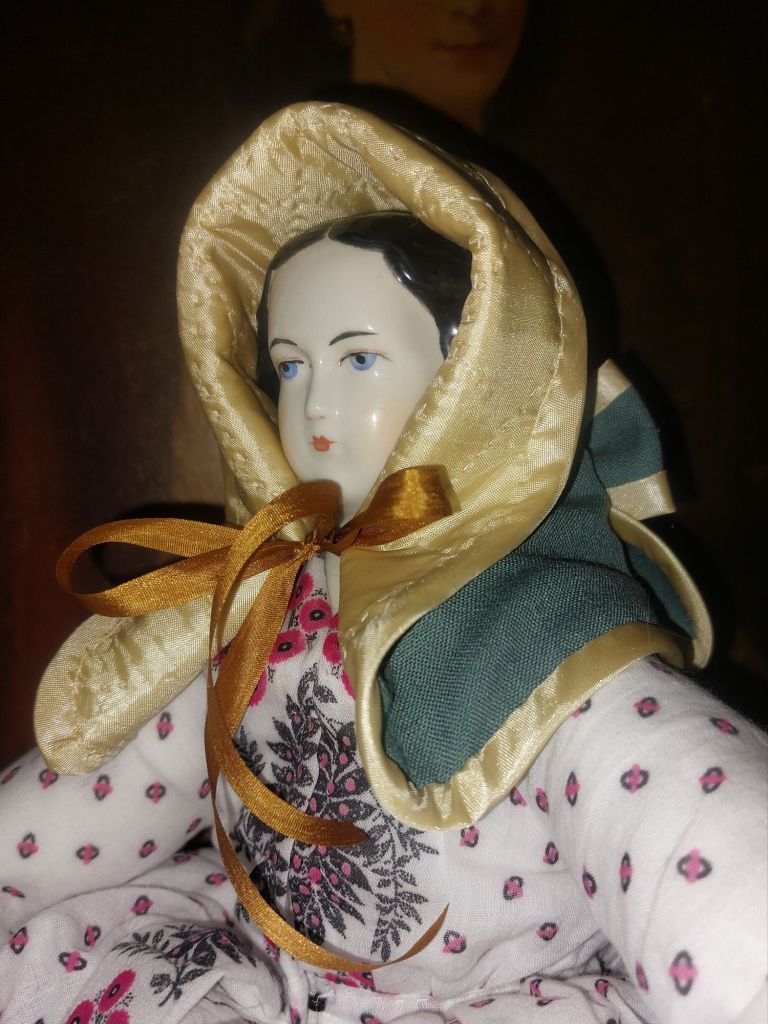
PS – I plan to have the doll version of this pattern available ASAP
PPS – A couple Saturday morning reflections and thoughts:
I made a couple of variations, including one inch instead of half inch quilted diamonds plus enlarging & flipping the trim design.
The main construction of this hood is pretty quick. It is the quilted lining, hand binding, and bow that take a little time. This could easily be a single week or weekend project. If ordering or looking through your stash, you will want a half yard of the exterior fabric and lining fabric.
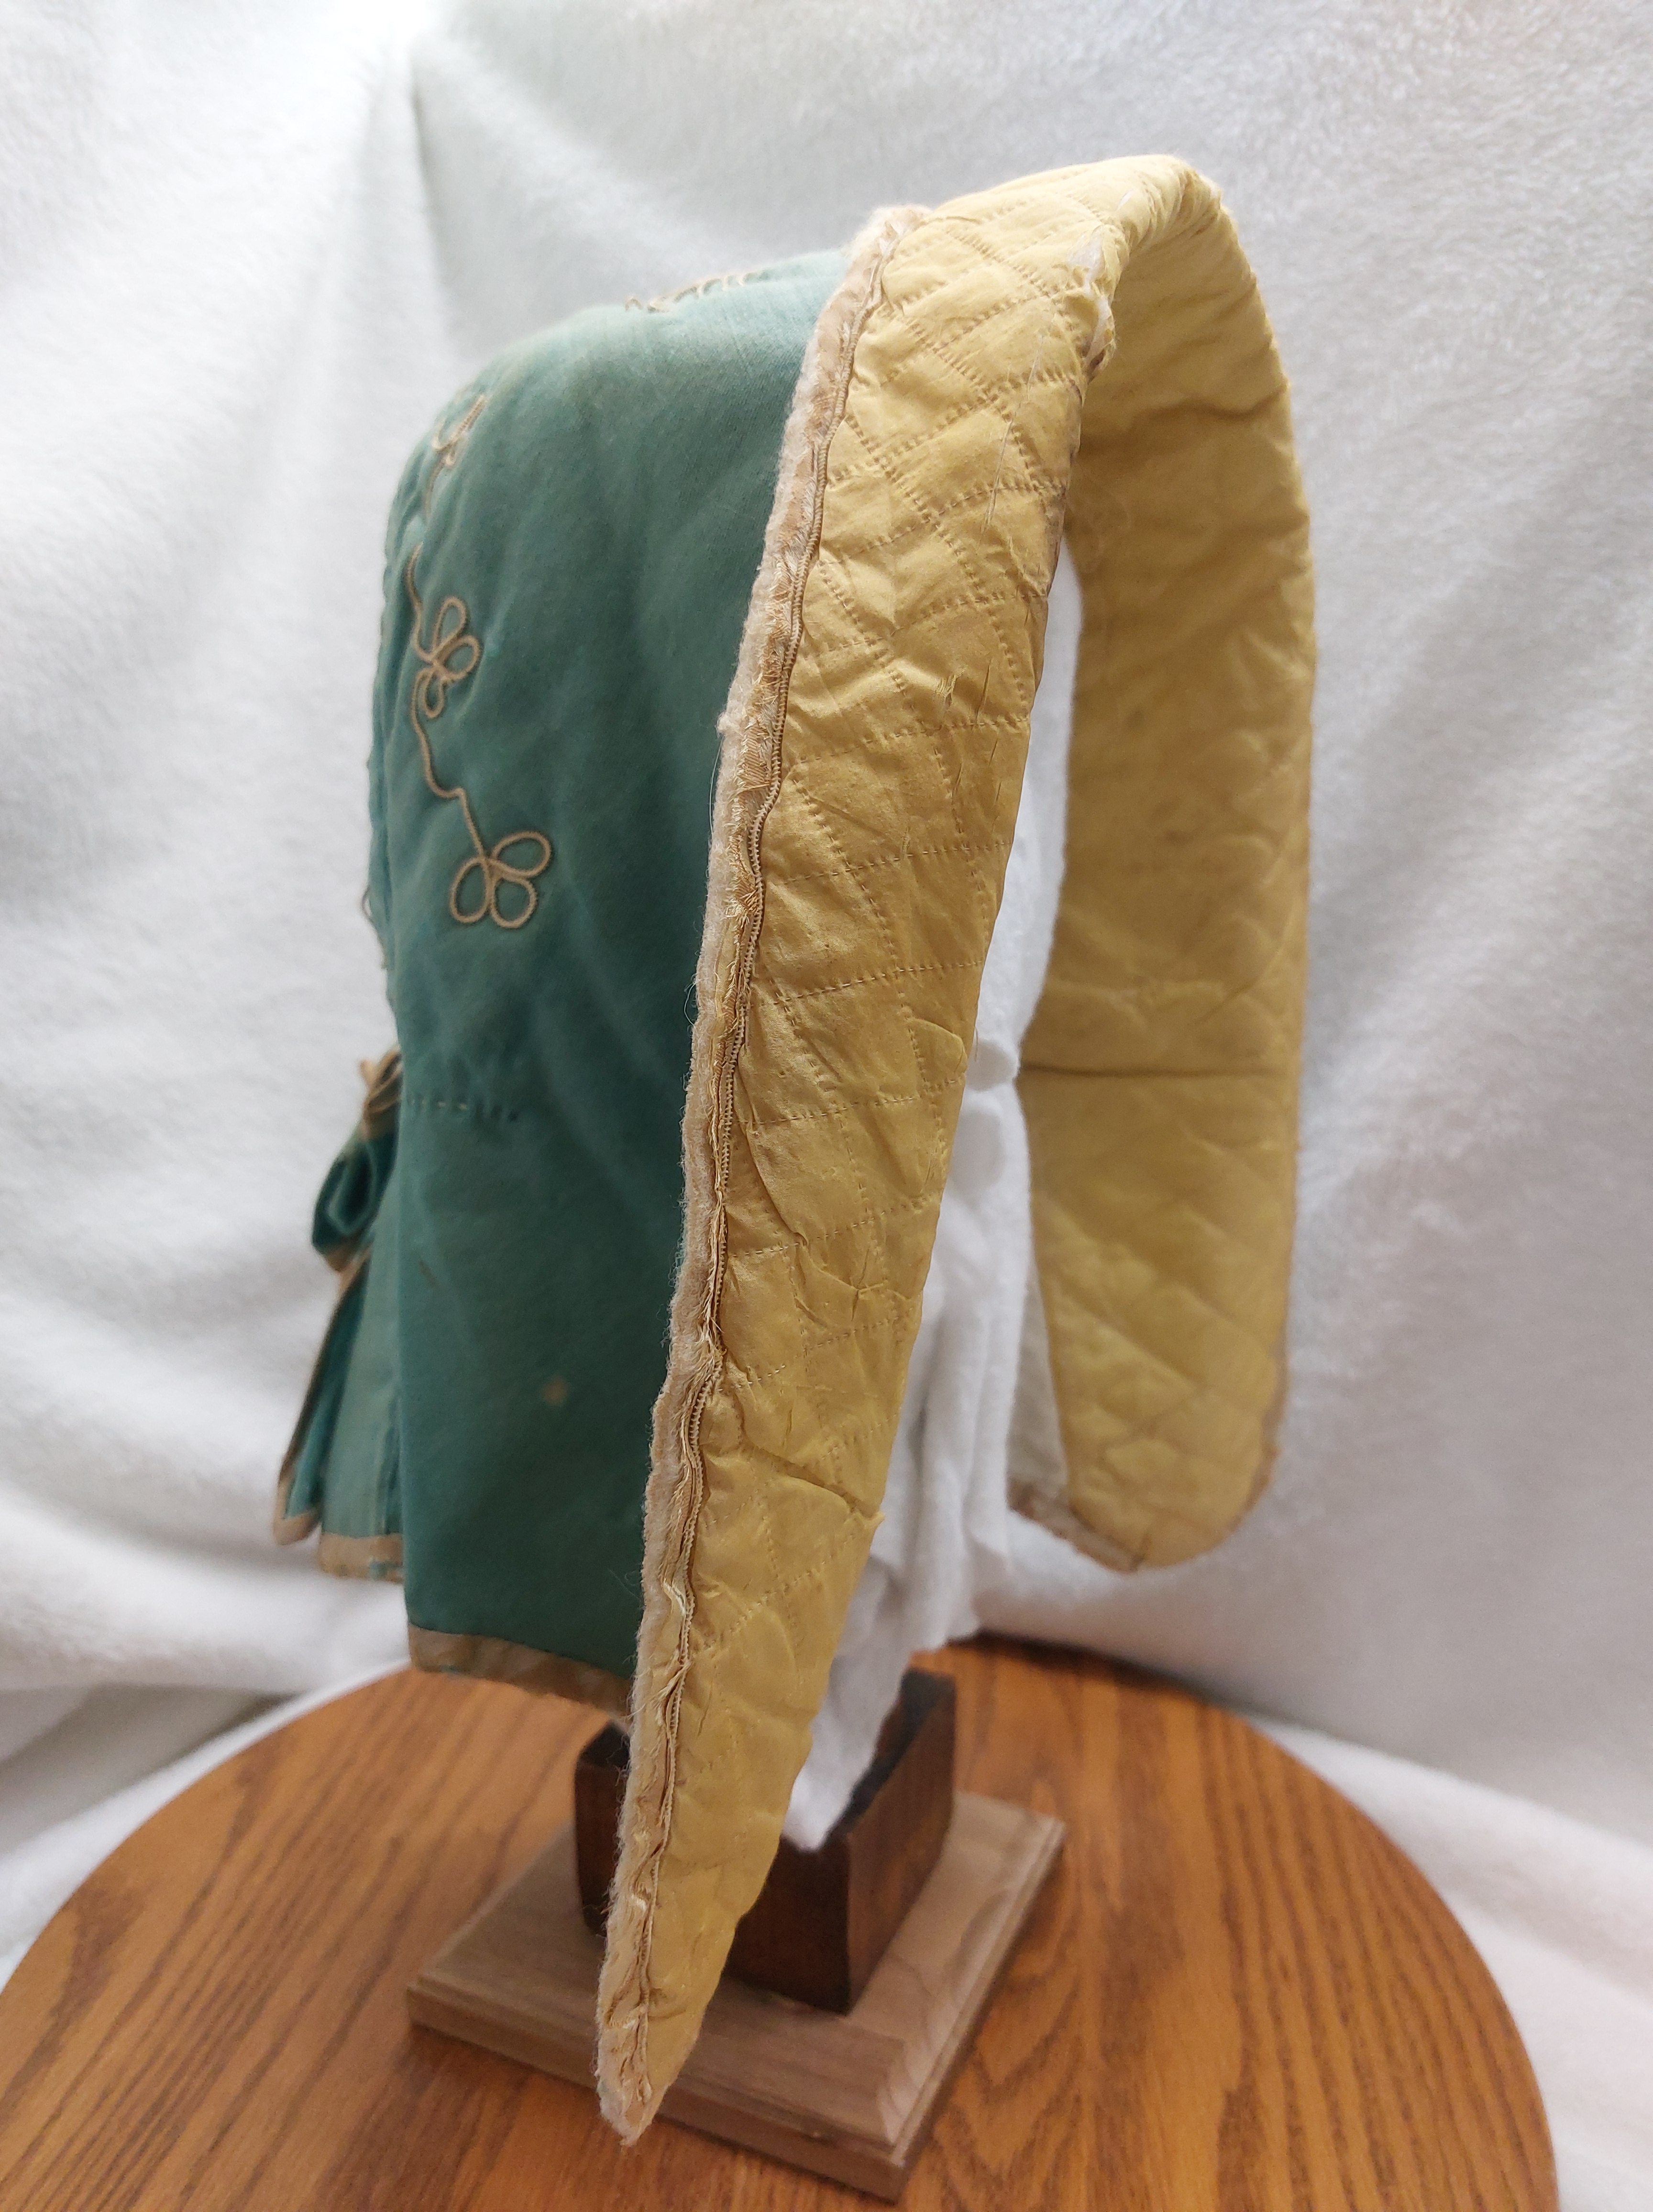
The hood is lighter weight compared to hoods I’ve previously patterned. This makes it appropriate for milder winter days as well as fall and spring. To increase the warmth, a double layer of wool batting and a second layer of silk lining could be used.
It is only 8 days into the new year, yet I’ve been busy, busy.
Somehow, I managed to pull off a week’s catch-up work in 2 days for another department while technically on recess. I’ve been working at double, maybe triple speed this week as we dive into our January crunch time for exams. I’ve still been determined to get this pattern done.
And
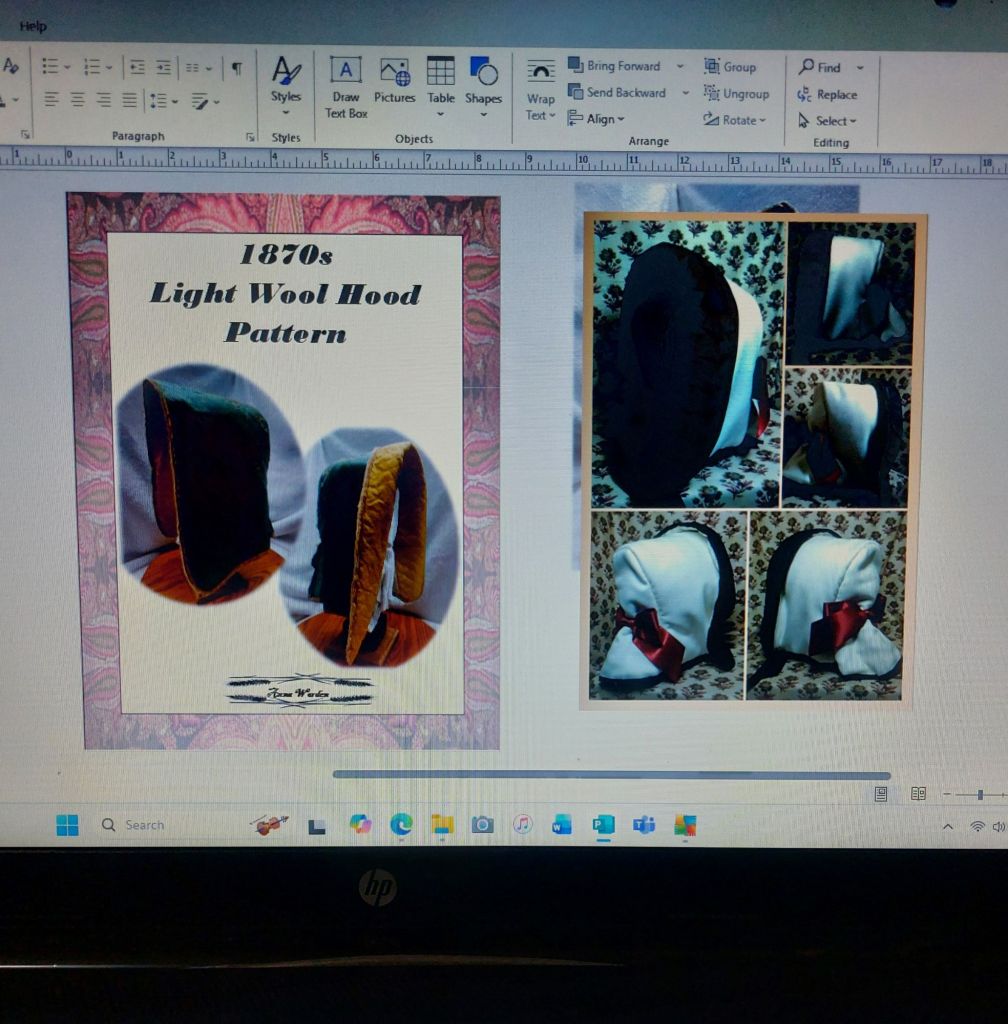
It is nearly ready!
If you are on Patreon, you have access to my proof copy.
Once I am happy with it, and sure I didn’t miss something from staring at a computer screen for 12 hours, I will upload it to Etsy for everyone.
Right is the original. Left is my version. Both are blueish-green wool exteriors with canary yellow quilted silk facing inside.
I still need to create the doll version. I have 2 doll sizes drafted. I think I am still on track to have those ready by the end of January for you.
This new year is especially significant to me. I am starting the year as Anna Worden rather than by my married name, and I am also nearing a landmark birthday. I’ve never been good at setting traditional New Year’s Resolutions or such. I do find value in focusing on a theme and arcing intention this year.
For this year, my theme is to embrace and celebrate myself. My broader aim is to move beyond survival mode and into a period of growth.
Connections – Which of my readers are authors?
As I think about this year and what I hope to grow, I find myself reflecting on how much I value connection. This is particularly true of my many readers who have followed along for years. This year, I want to grow these connections. Starting off:
Over time, I’ve learned that a good number of my readers are also writers. Many of you have reached out to me with thoughtful questions about history, clothing, and millinery while working on your own projects, and I’ve always been glad to help where I could. What I’ve realized, looking back, is that I didn’t always take the next step and ask about the books themselves.
That’s something I’d like to change.
If you are an author, I would love to hear about your work. If you’re comfortable sharing, please leave the title of your book (or books) in the comments. I find myself in a place where I want to read more of what others have written. I’d like to fill my 2026 reading list with authors I know, supporting your work as you have mine.
Coming in January – Many have been asking for 1870s and 1880’s hood patterns. I am listening! I am currently working on an 1870s Light Wool Hood Pattern. Initially, I wanted to have this pattern ready for New Year’s Day. I’ve really pushed myself through recess to get it done for you. But, this hood is just too darling to rush. It will be available sometime this month with 2 sizes and a doll size. Of course, paid Patrons will have access to this pattern here.
Coming in February – I have my first program of the year scheduled at the Wehle Gallery at the Genesee Country Village & Museum. I am looking forward to sharing often overlooked or mis-identified Pen Wipes with visitors, including a make-n-take option.
Bergère Hats – I will begin sewing Bergère hats as soon as I finish the pattern mentioned above. I want to do my best to make a hat for everyone who wants one for this 250th year.
I do have additional plans that I am not quite ready to share. I will as soon as I have them more firmly in place.
Looking back on 2025, this was a year of collection and reflection for me. In reflection, much of the year was spent collecting truths about myself, noticing what holds my attention, what fills me with a sense of contentment, and what brings me joy, event when time felt scarce or energy drained.
Some of the most meaningful work I did this year looked very different form my usual practice, or what I usually share. I spent part of last winter and spring working with students in a wood tech class – trading needle & thread for power tools, drills & saws. While the current trend in sewing calls for being in the moment, this work truly required full attention in the moment to ensure everything was done correctly and everyone was safe. It was exhausting some days. It was also fulfilling and reviving. By the end of the school year, as my attention had to shift to exams, I made a table with a chess board top, just like all of the students. This experience reminded me how content I feel when I am physically making something with my hands.
That thread of making, designing, and seeing things take shape ran through the year in different ways. While most years I make and create, this year felt different. My mindset began to shift. I suspect it will continue to shift further.
In recent years, much of my attention was on connecting my work with those who came before me; 19th-century milliners, sewers, and makers. At some point this year, I started to come back to myself, asking: where in the creating process do I find joy? Contentment? Fulfillment?
I realized what I love about creating is the discovery, the exploring, the puzzling out, the figuring out how something can go together. I also find joy in sharing what I learn or dream up. Late this year, I began sharing some of the little project thoughts, the ideas that come to mind, that I sketch up, but may or may not actually make, on my Patreon feed because I love the idea of someone making the things I dream up or someone taking my little thought and growing it.
As this year wraps up, I find myself less interested in measuring output of the past year and more interested in staying with me, continuing my collection & reflection. I am stepping into the new year with a clearer sense of what beings me back to myself: making with my heart as my hands, puzzling things out, and sharing the process along the way.
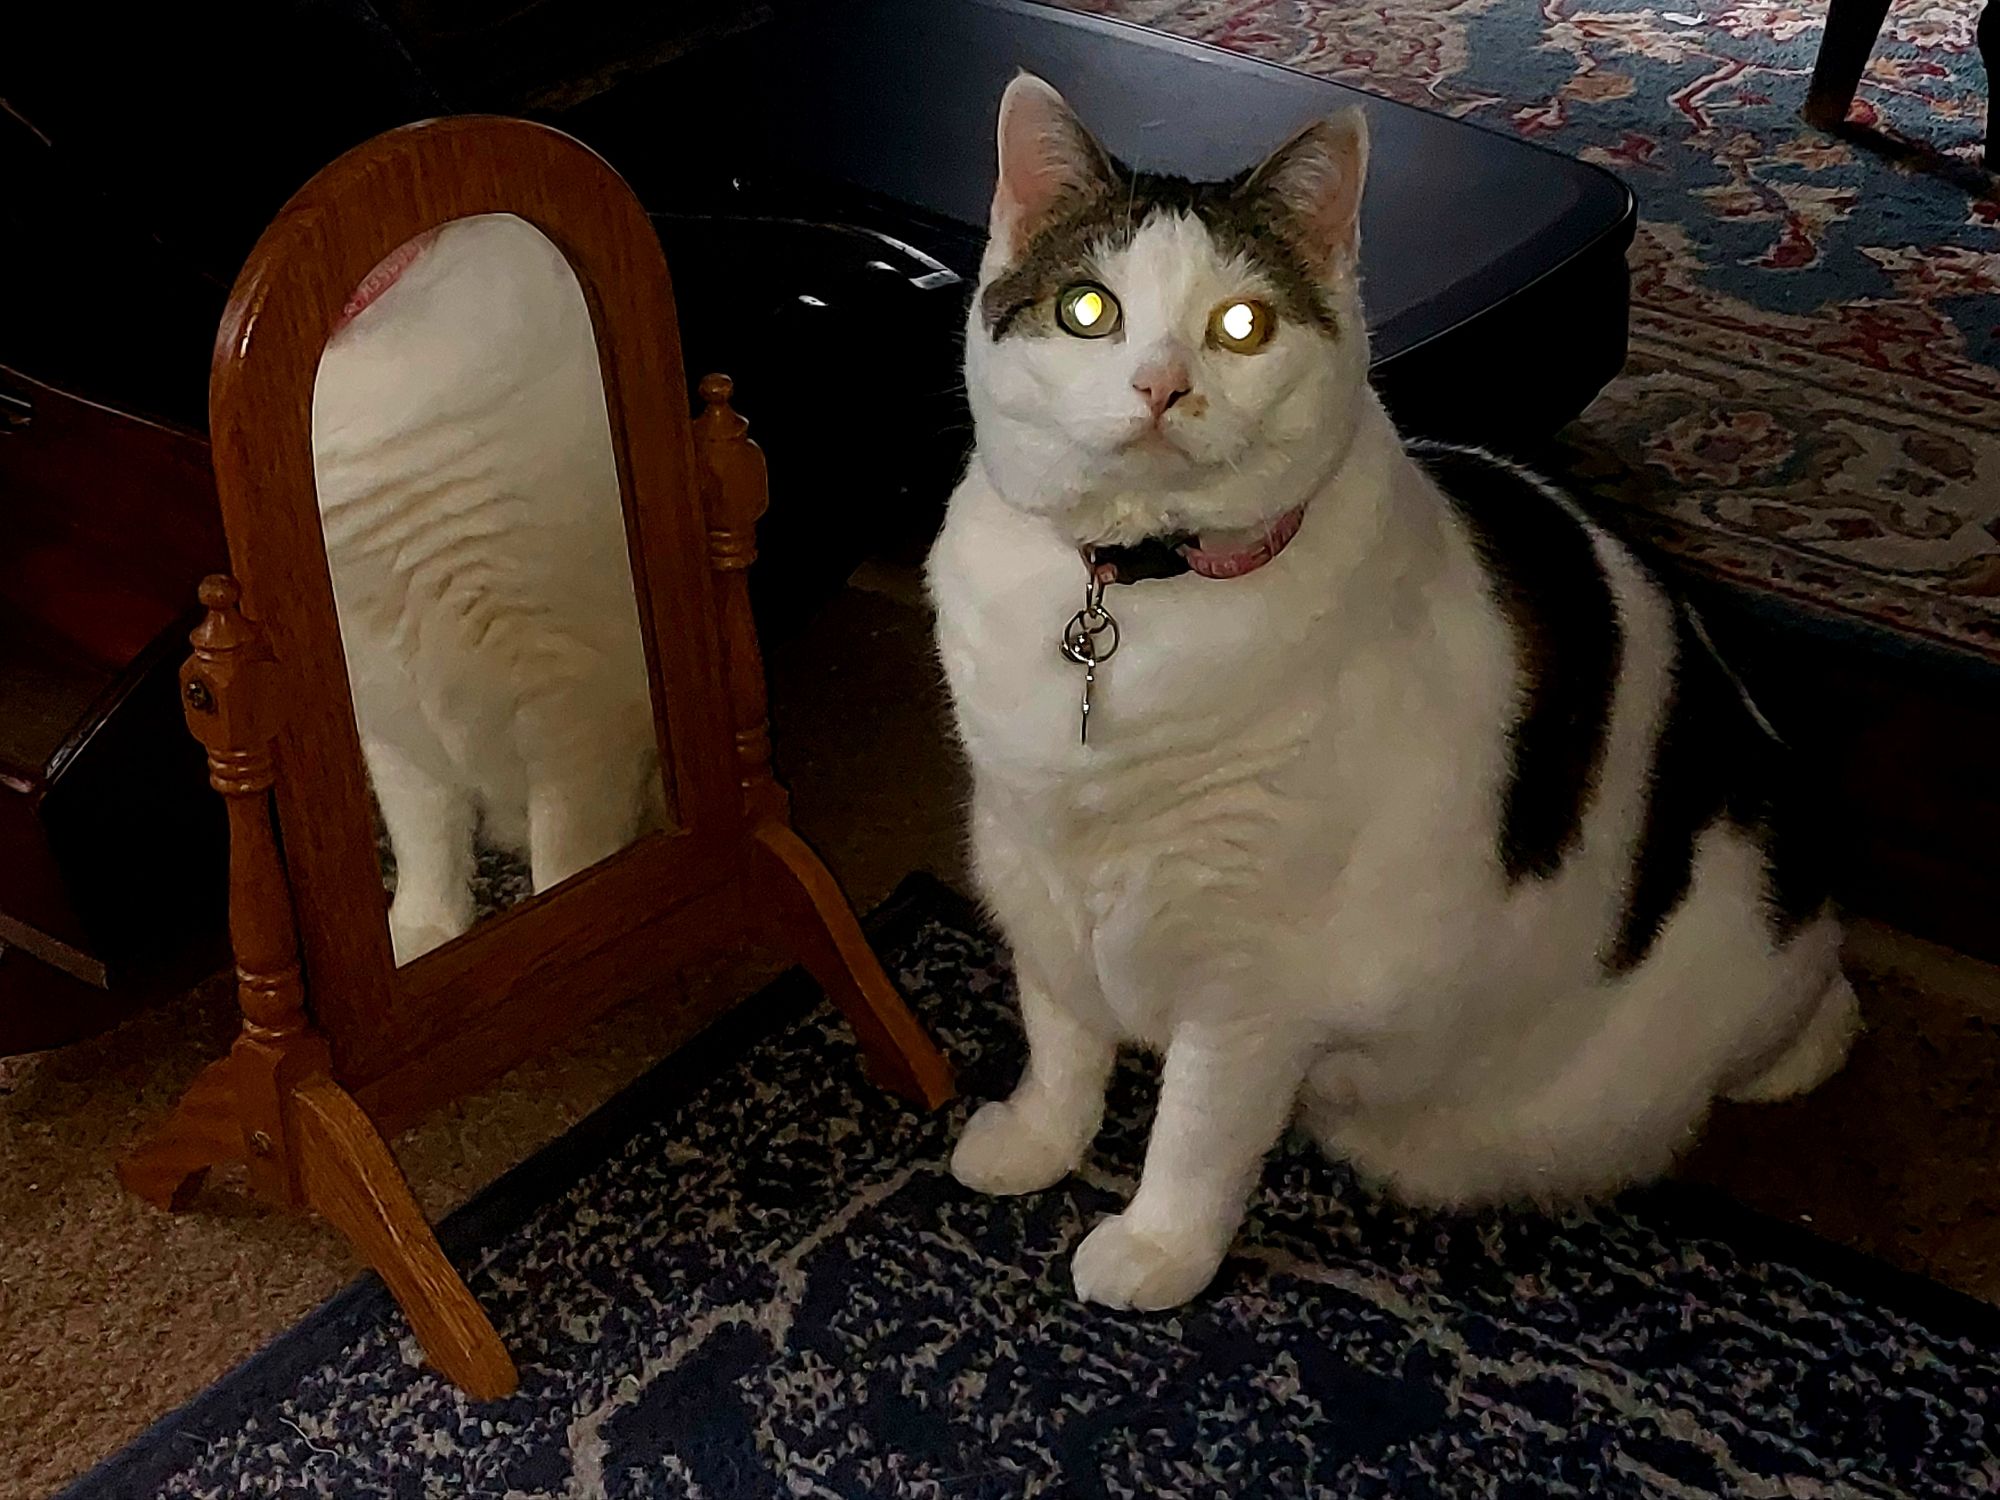
PS – Cats also thing self-reflection is important.
Photo Summary of the Year:
Since I know you love photos…..
Initially, one of my goals for the year was to do a few “modern” programs – meaning small group programs dressed in modern clothes, using a PowerPoint. In the Spring, I did just that. I packed up a portion of my collection, including bonnets and newly cleaned bonnet blocks, and headed off to share a look inside the millinery trade with the Antiques Society of the Finger Lakes as the Geneva History Museum. It was a nice night with a wonderful audience.
I learned a few things that night. First, I can keep talking on topic even when the power goes out. If it hadn’t come back on so quickly, I would have been okay working my way through my display items with a flashlight. Second, presentations that keep me out until after 10 need to not be on a school night. 5 am comes a lot earlier than it used to.
Cats vs Dogs was a complete divergence from my more serious norm. It also felt like a much needed one. In the end, my goals were achieved. Nearly every visitor that come through the door connected in some way with the cats and/or dogs. Some shared stories of their own pets. Some mentioned their allergies. Some shared memories of fabric cats their grandmother had. One even named the reddish-brown dog “Reddington” and wanted to be sure I would remember.
I am very excited this horsehair bonnet joined my collection. I realized after opening it, I may at some sub-conscious level been acquiring an assortment of display bonnets for presentations. I now have a plain, natural 1860s straw with the parts separated, a black straw mourning 1860s bonnet (currently still working on the repairs), a striped straw 1860s bonnet, an 1860s horsehair bonnet, an 1860s drawn bonnet, an 1880s black straw bonnet, and an 1880s squash (loofah) bonnet that can accompany programs. Actually transporting them still scars me though.
This image brought me joy when I first saw it and each time since. It feels like a challenge in a tintype.
It screams: Recreate me!!!
I would absolutely love to see a site recreate this as a photo opportunity for visitors or for someone to recreate the whole image. If you do, I will get a better resolution image for you.
Favorite millinery of the year? That would likely be these:
First, the bad news: I am not going to have my new pattern done by New Year’s Day as I wanted. Each step is taking a bit longer than I anticipated. Okay, maybe I’m being particular. Plus, this hood has a sweet trim design that took about 5 hours to digitize and 5 hours, so far to apply.
Next, mixed news: I had arranged to work this week, which is technically recess. But, that fell through. On one hand, this leaves me a week’s pay short in my budgeting. On the other hand, this gives me more time to complete this hood pattern.
Finally, good news: I plan to offer this pattern in a doll size as well. Actually, 2 doll sizes: Both an 18″ porcelain doll size and an 18″ modern doll size. (aka: A size to fit dolls like American Girl Dolls.) The doll sizes should be ready in January.