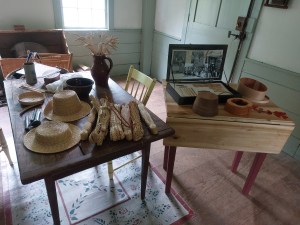
A cottage industry at its simplest is product creation in the home.
Product creation in the home, cottage industry, simultaneously provides income for the home, ideally utilizing the resources immediately or locally available, and contributes to the economy of rural and developing areas. When the product created went from the home to a larger manufacturer, as was the case with sewing straw bonnets or hats, this was known as piece work. This is not to say home manufacturing solely occurs in rural or developing areas. Product development can also be done in urban homes, where it is often referred to as home manufacturing instead of cottage industry. In this case, the materials are often provided. Flower making or band-box making would be examples of this.
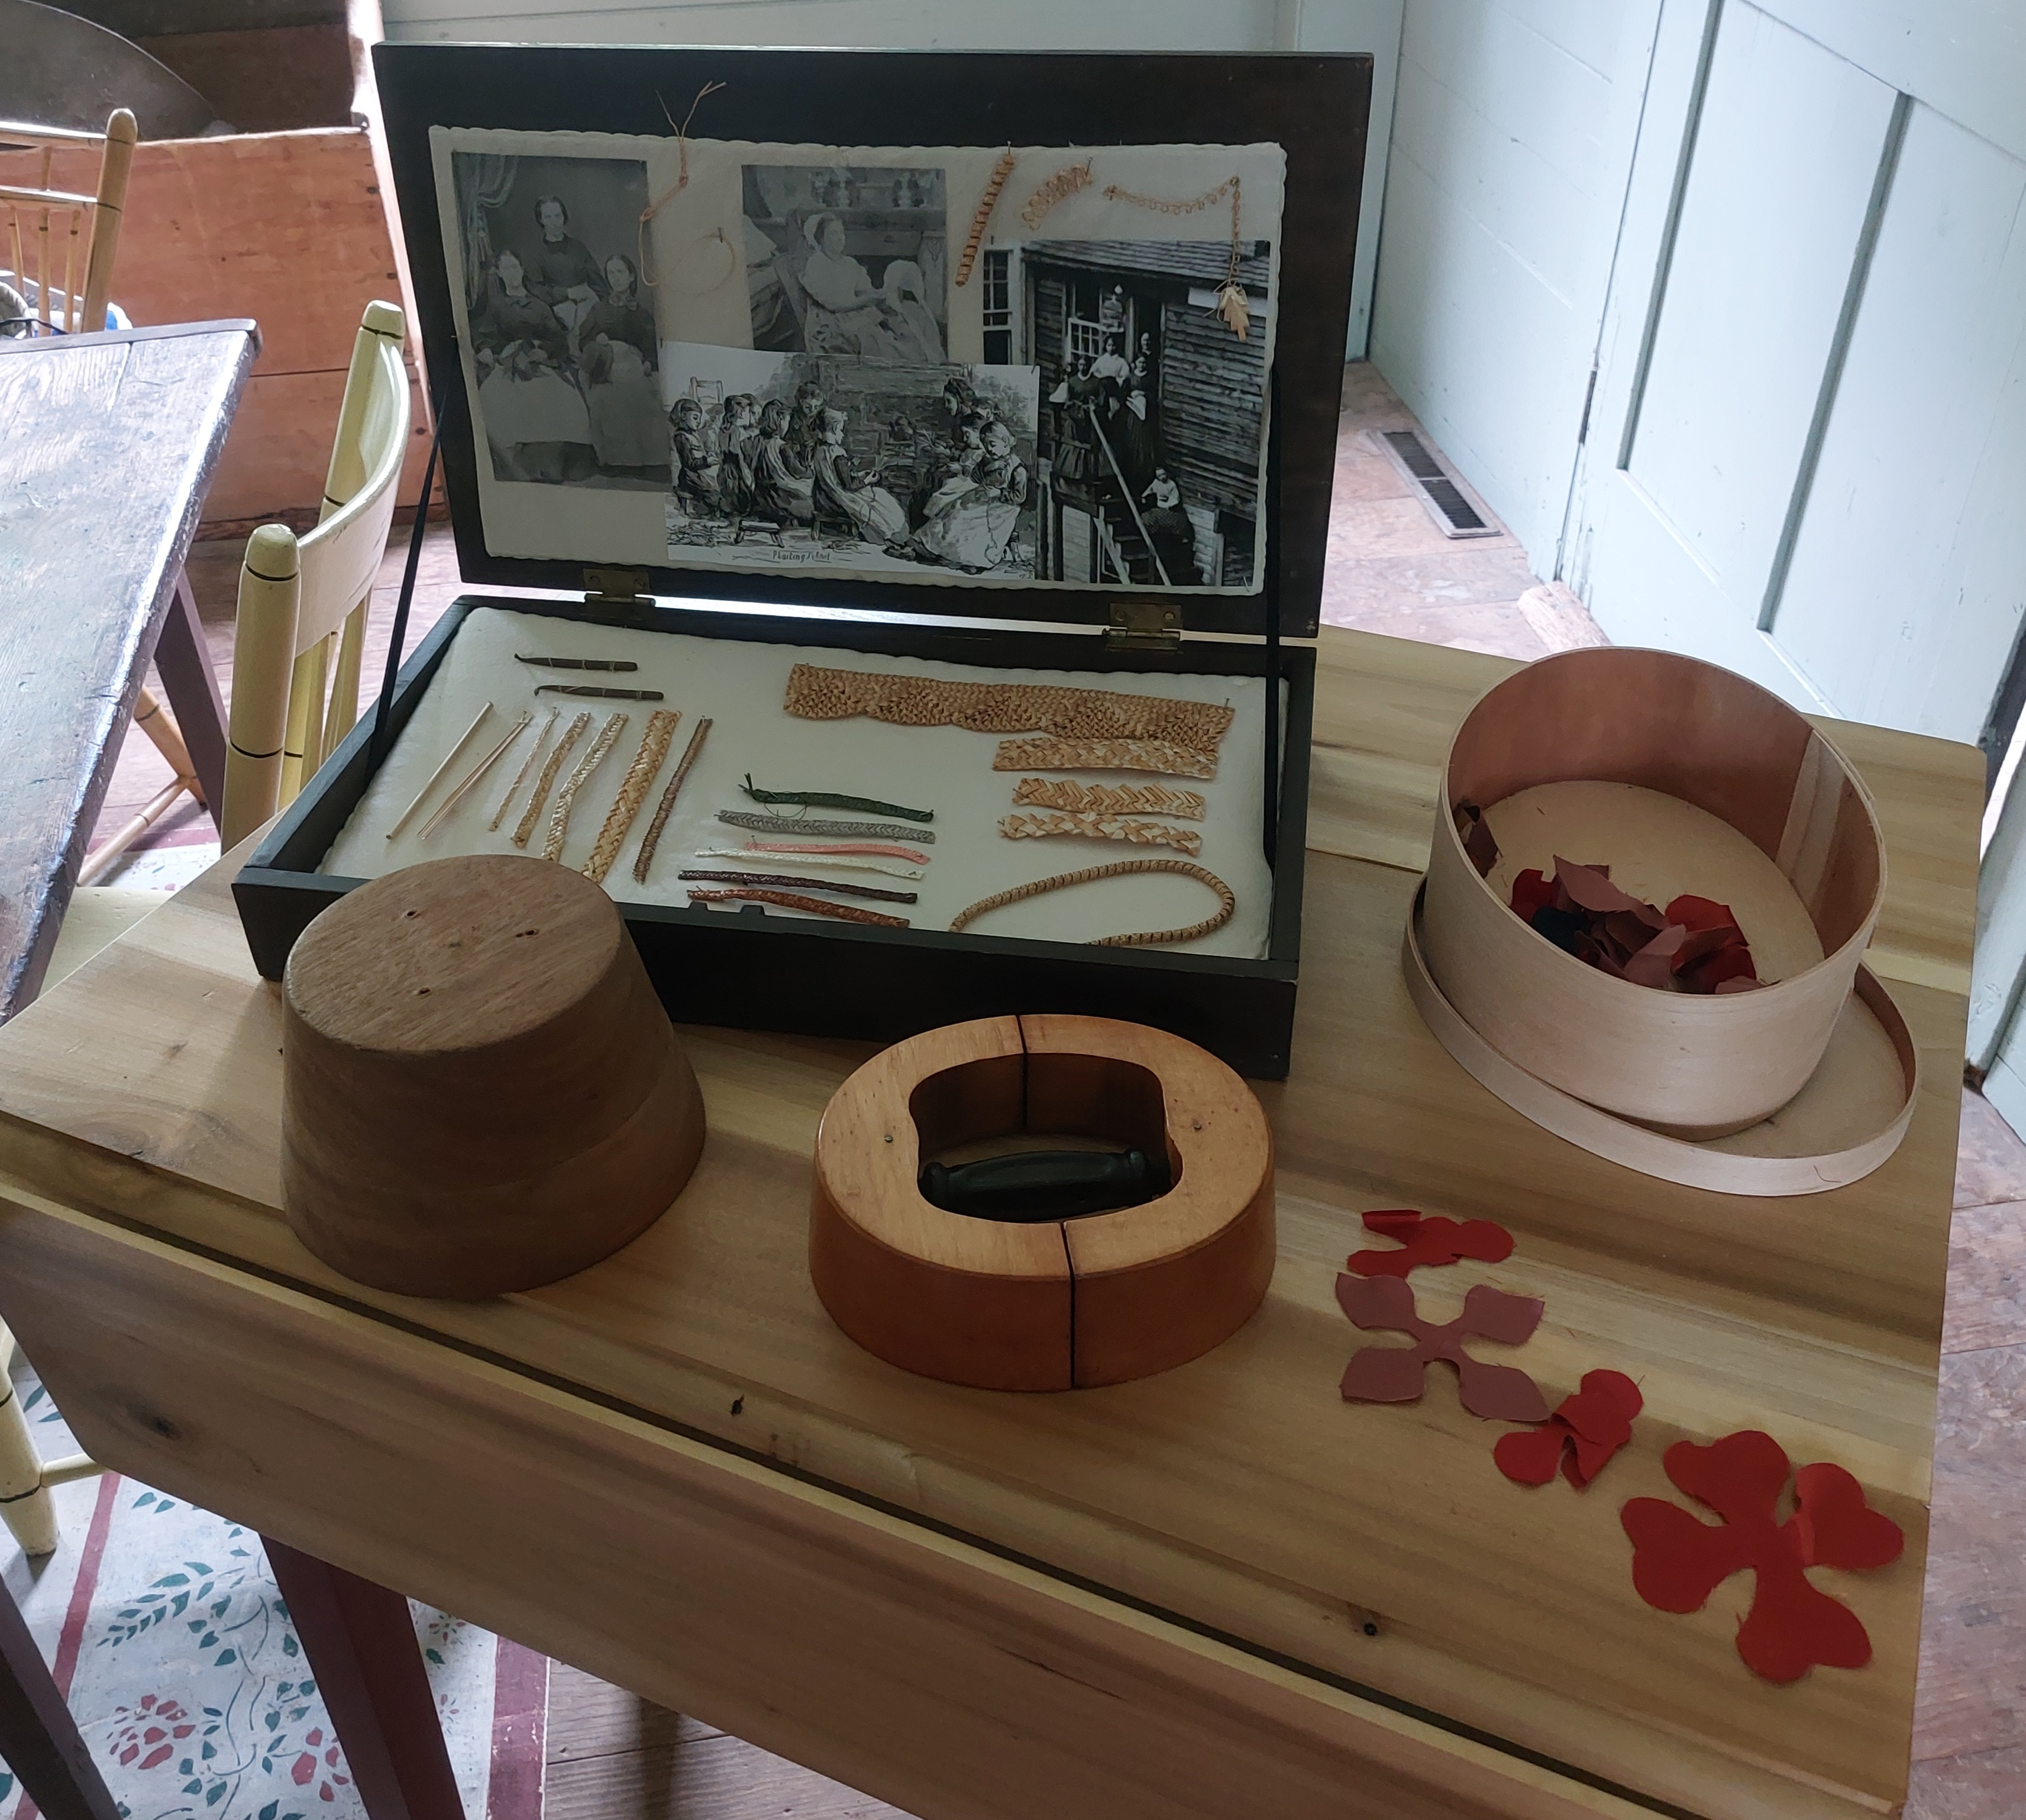
Straw plaiting and straw sewing as cottage industries in the 19th century were prominent in England and Italy in Europe, and in the New England through New York areas of the United States. (Some areas, such as Luton in England, continued plaiting well into the 20th century.) Straw cottage industry took fibers easily grown in these regions, commonly wheat and rye, and transformed them into money earning product. (more details in From Field to Fashion) The workflow differed between the US and England. In England, straw markets were the norm. Plaiters and sewers exchanged their goods for the best price of the day based on their materials and work. In the US, an industry representative would come to collect finished work in exchange for pay. (I did read a single passage saying a woman could take her work to the local dry goods store with the merchant acting as the industry representative. I need to find additional support for this to be sure of the actuality.) These pieces (bonnets and hats) would then go a factory to be wired and finally sized (blocked and stiffened.) At this point, they were ready to go to straw goods stores and millinery shops.
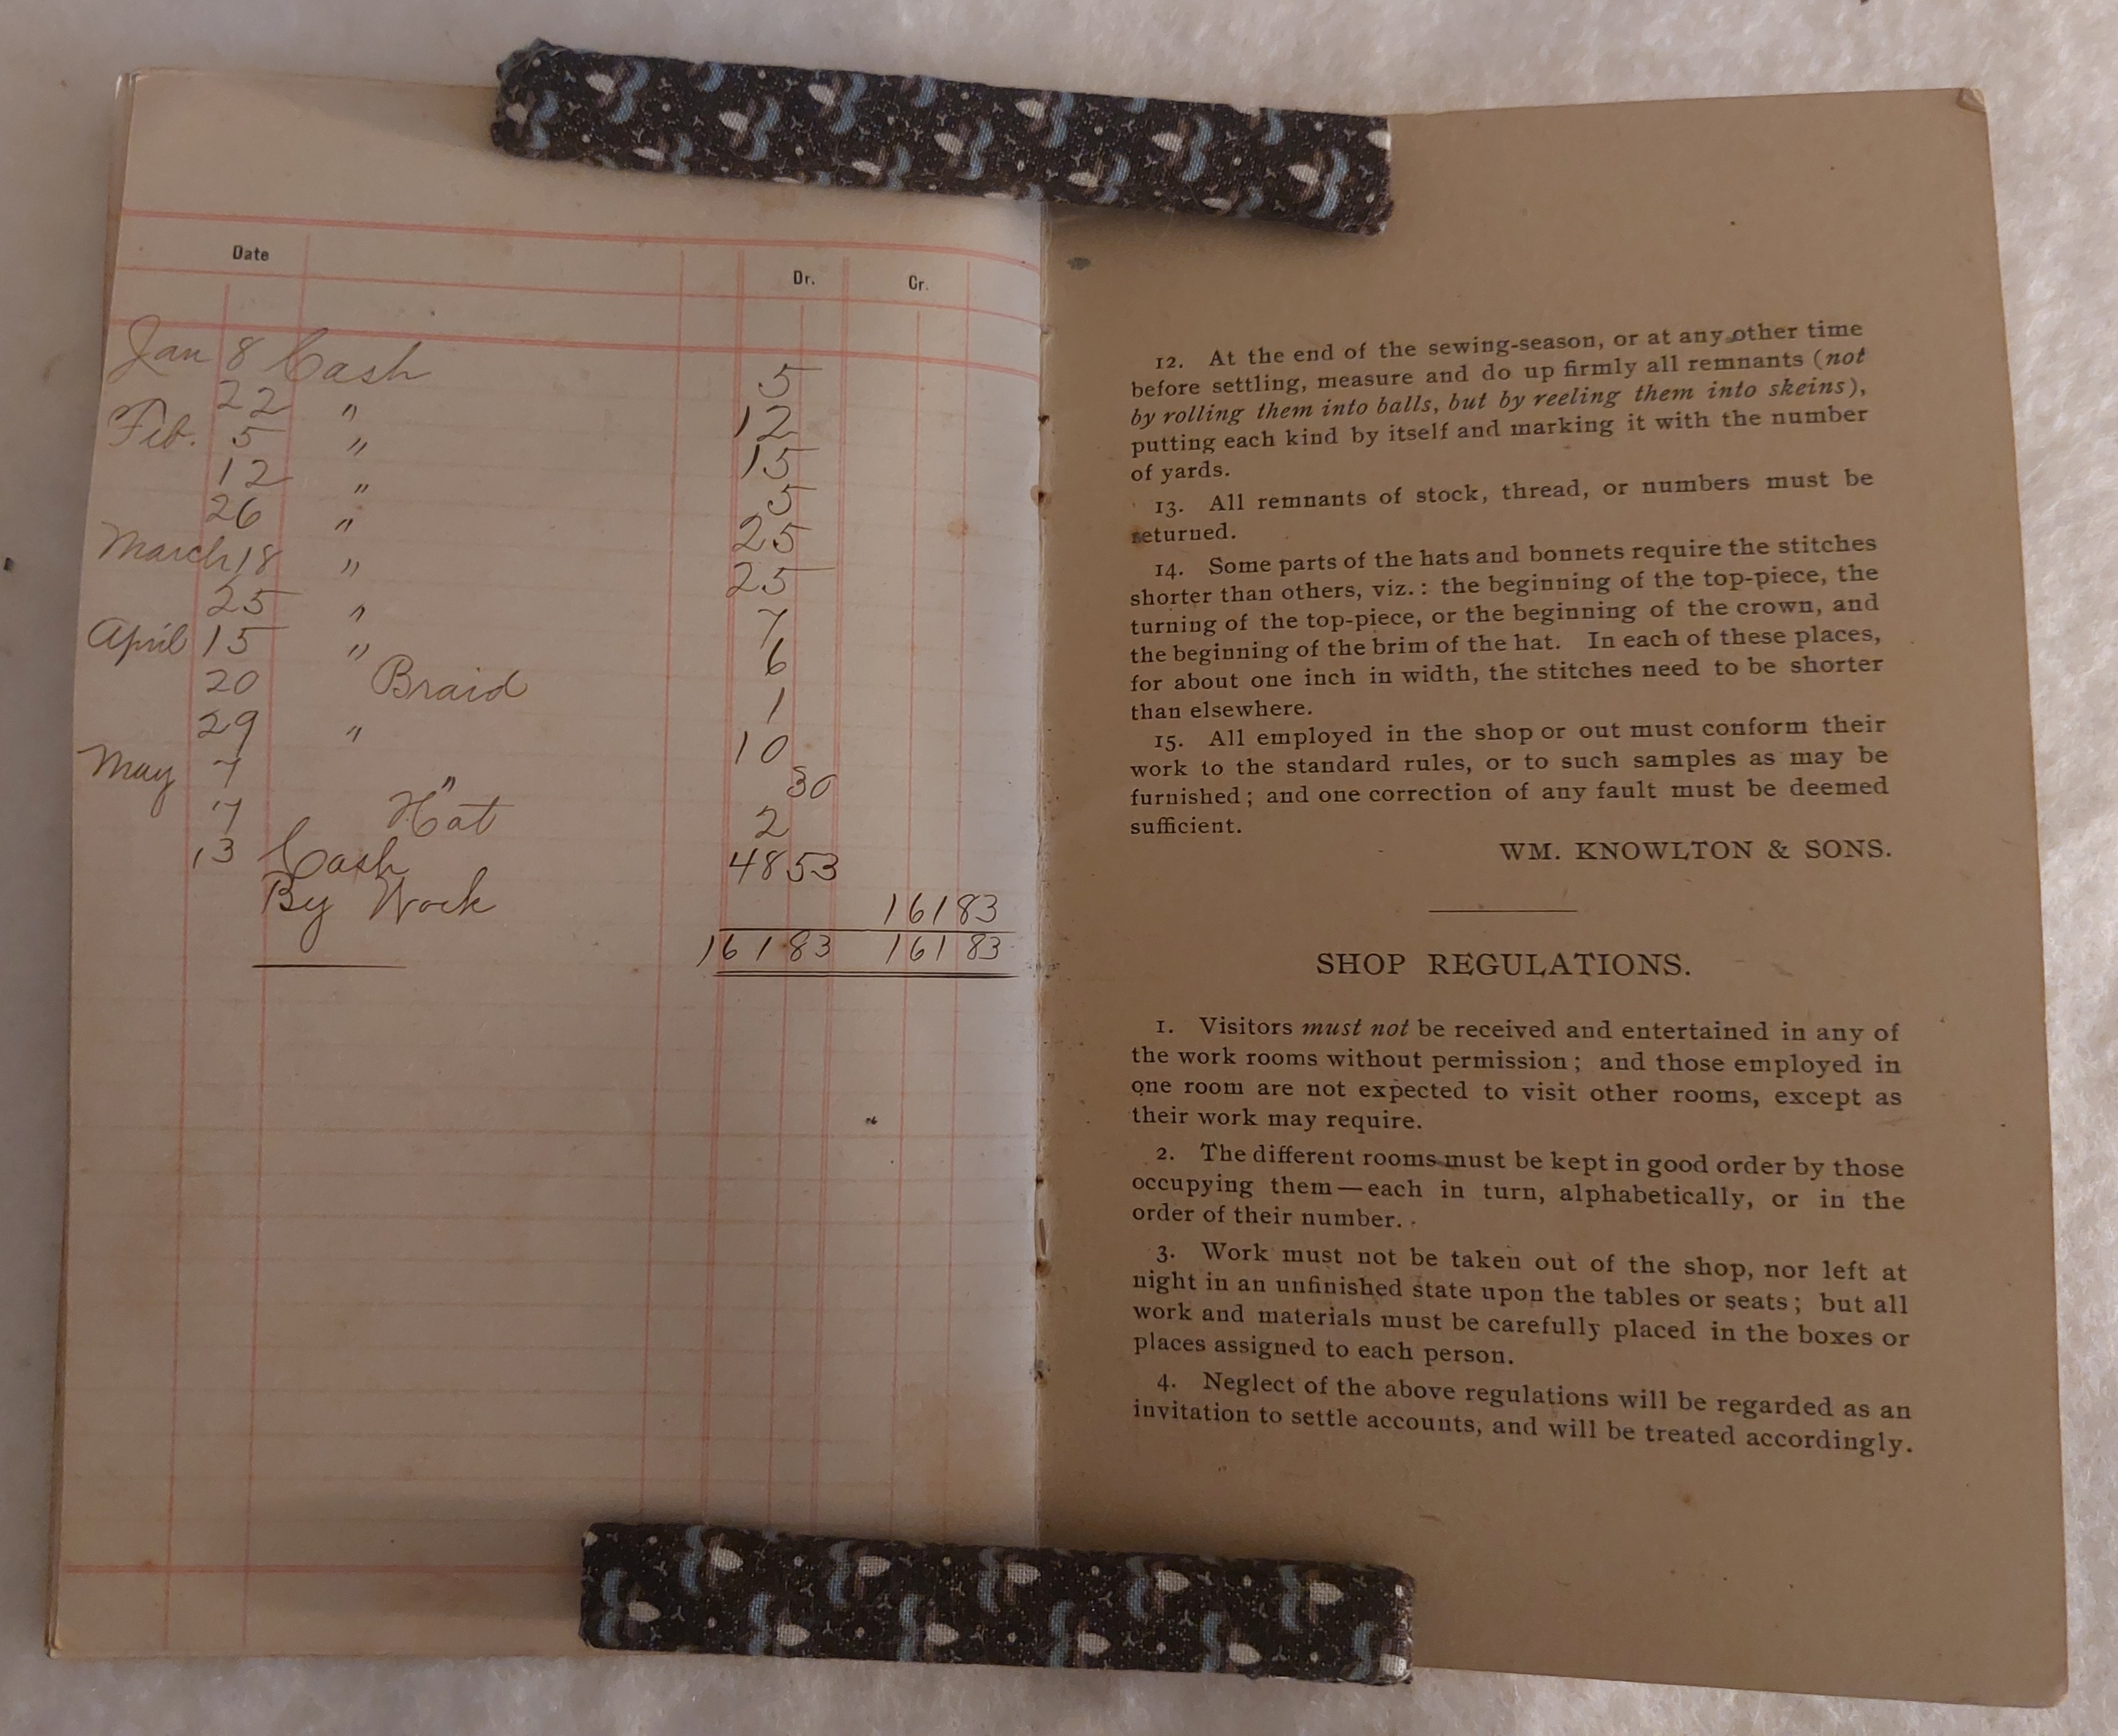
I used to think straw sewing as a cottage industry in the US faded out by the turn of the century. Then, I discovered this log book for tracking straw sewing from 1904. Likely, this sewing was done by machine. This is based on the year and by the number of pieces this person could get done in a month. The booklet gives directions for sewing and shop regulations inside each cover. The pages give space for tracking: Date – Block – Pattern – Goods – Price – Amount


Do you enjoy reading my blog? Do you find it helpful? Please consider supporting through Patreon or Sending a Tip.