The week or weeks, I’m not quite certain with how busy it has been, I’ve spent time with my new millinery block. Here are the first two 1880s bonnets I made with it.
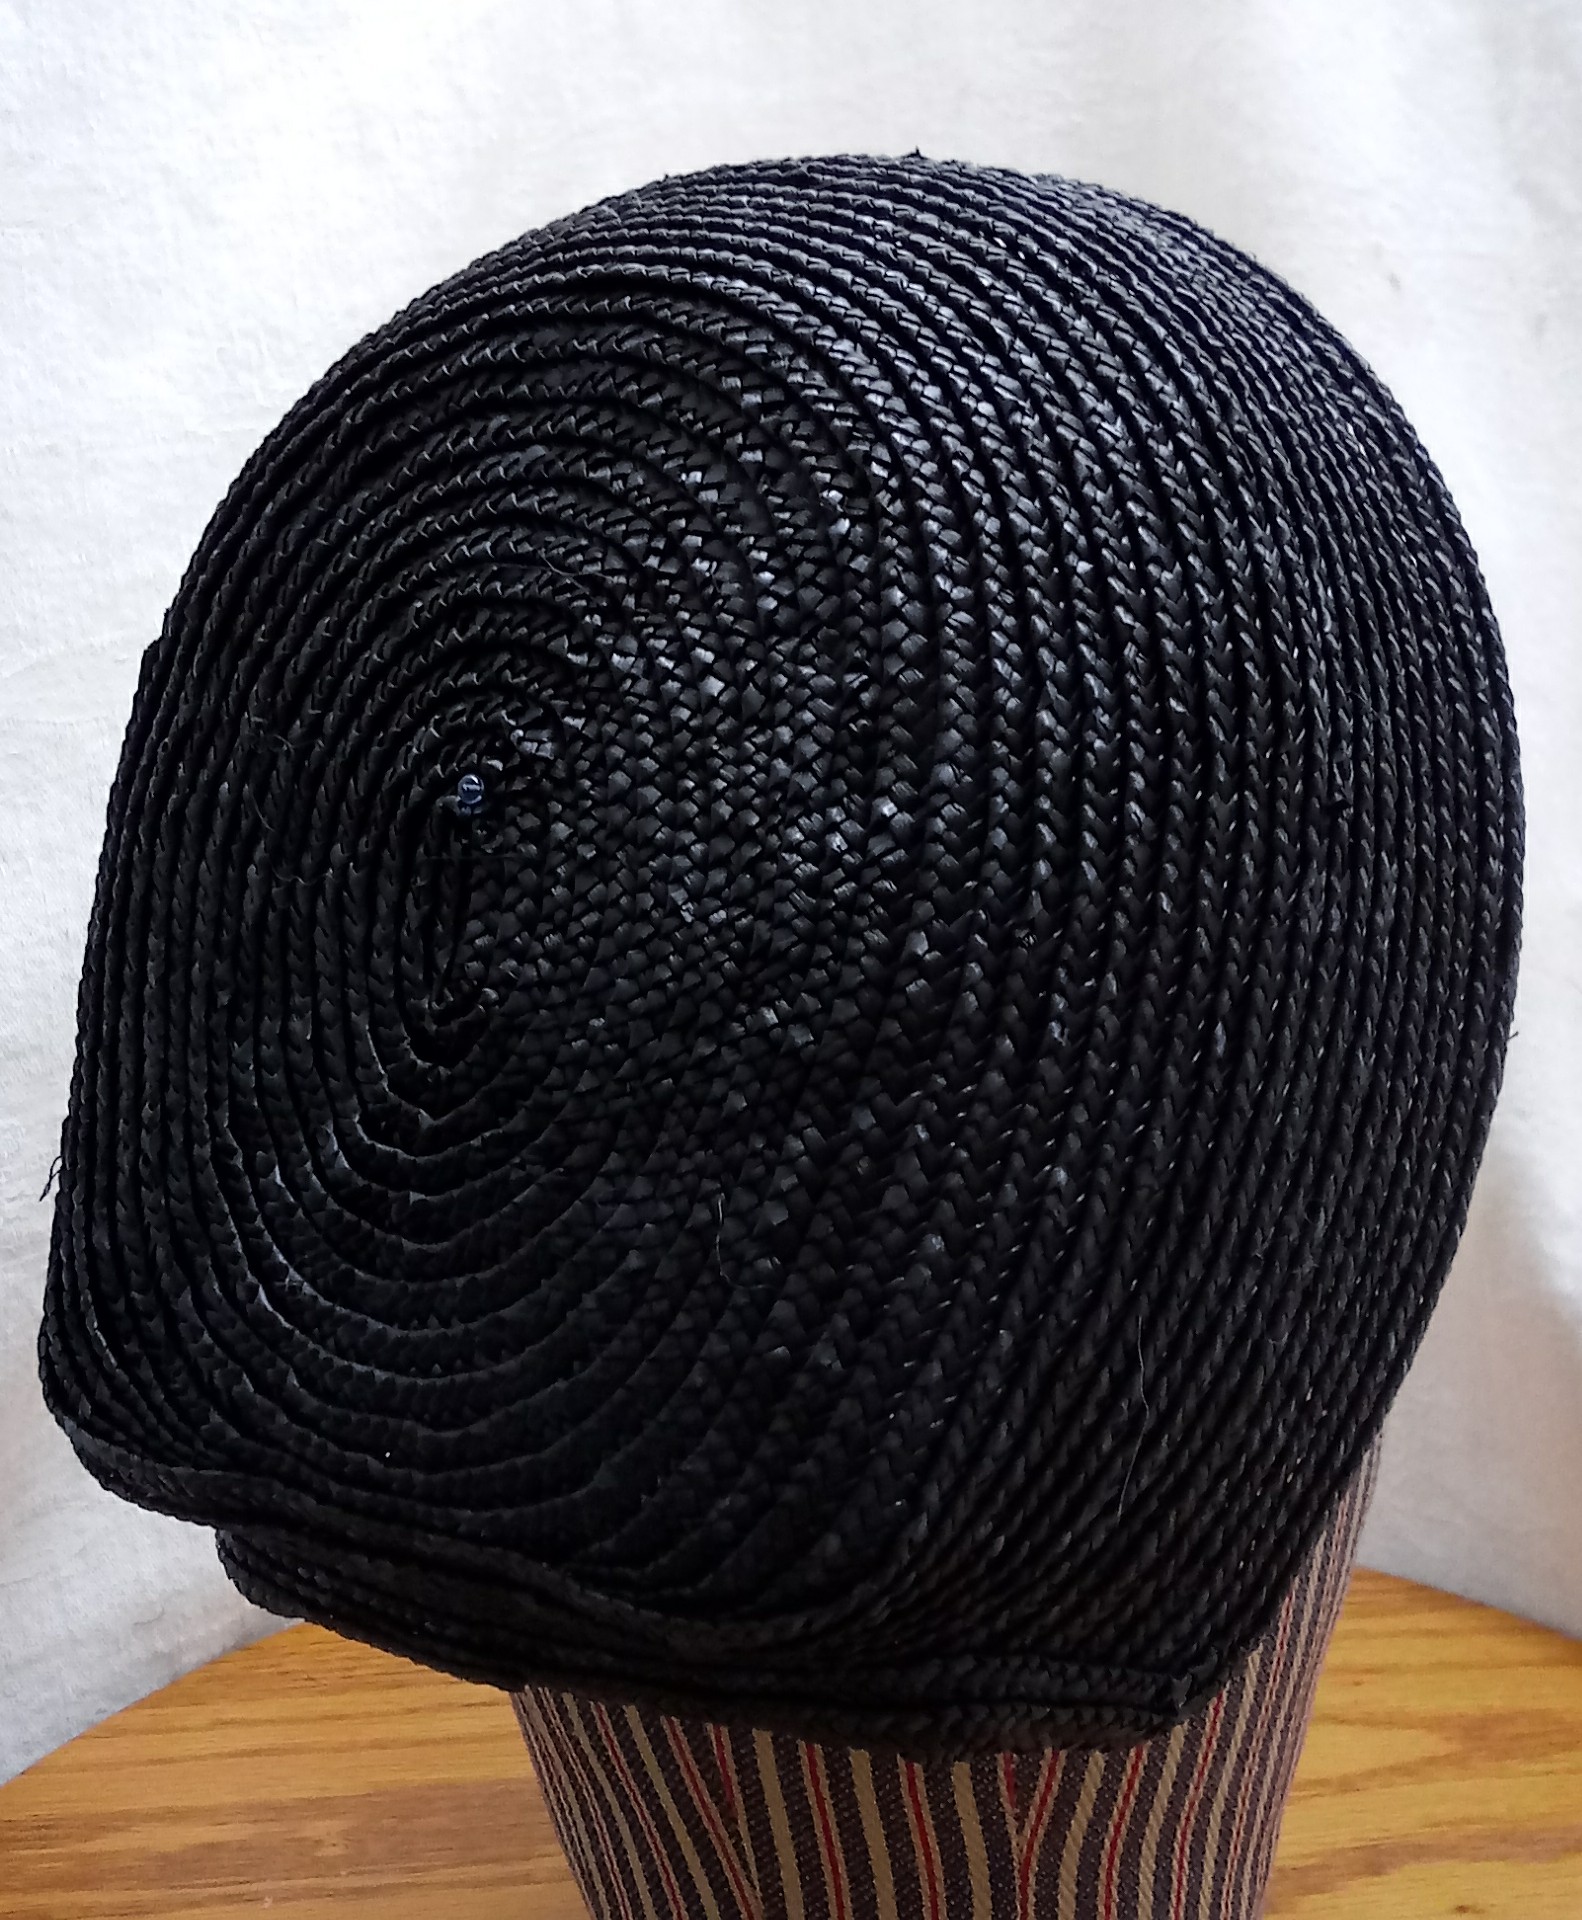
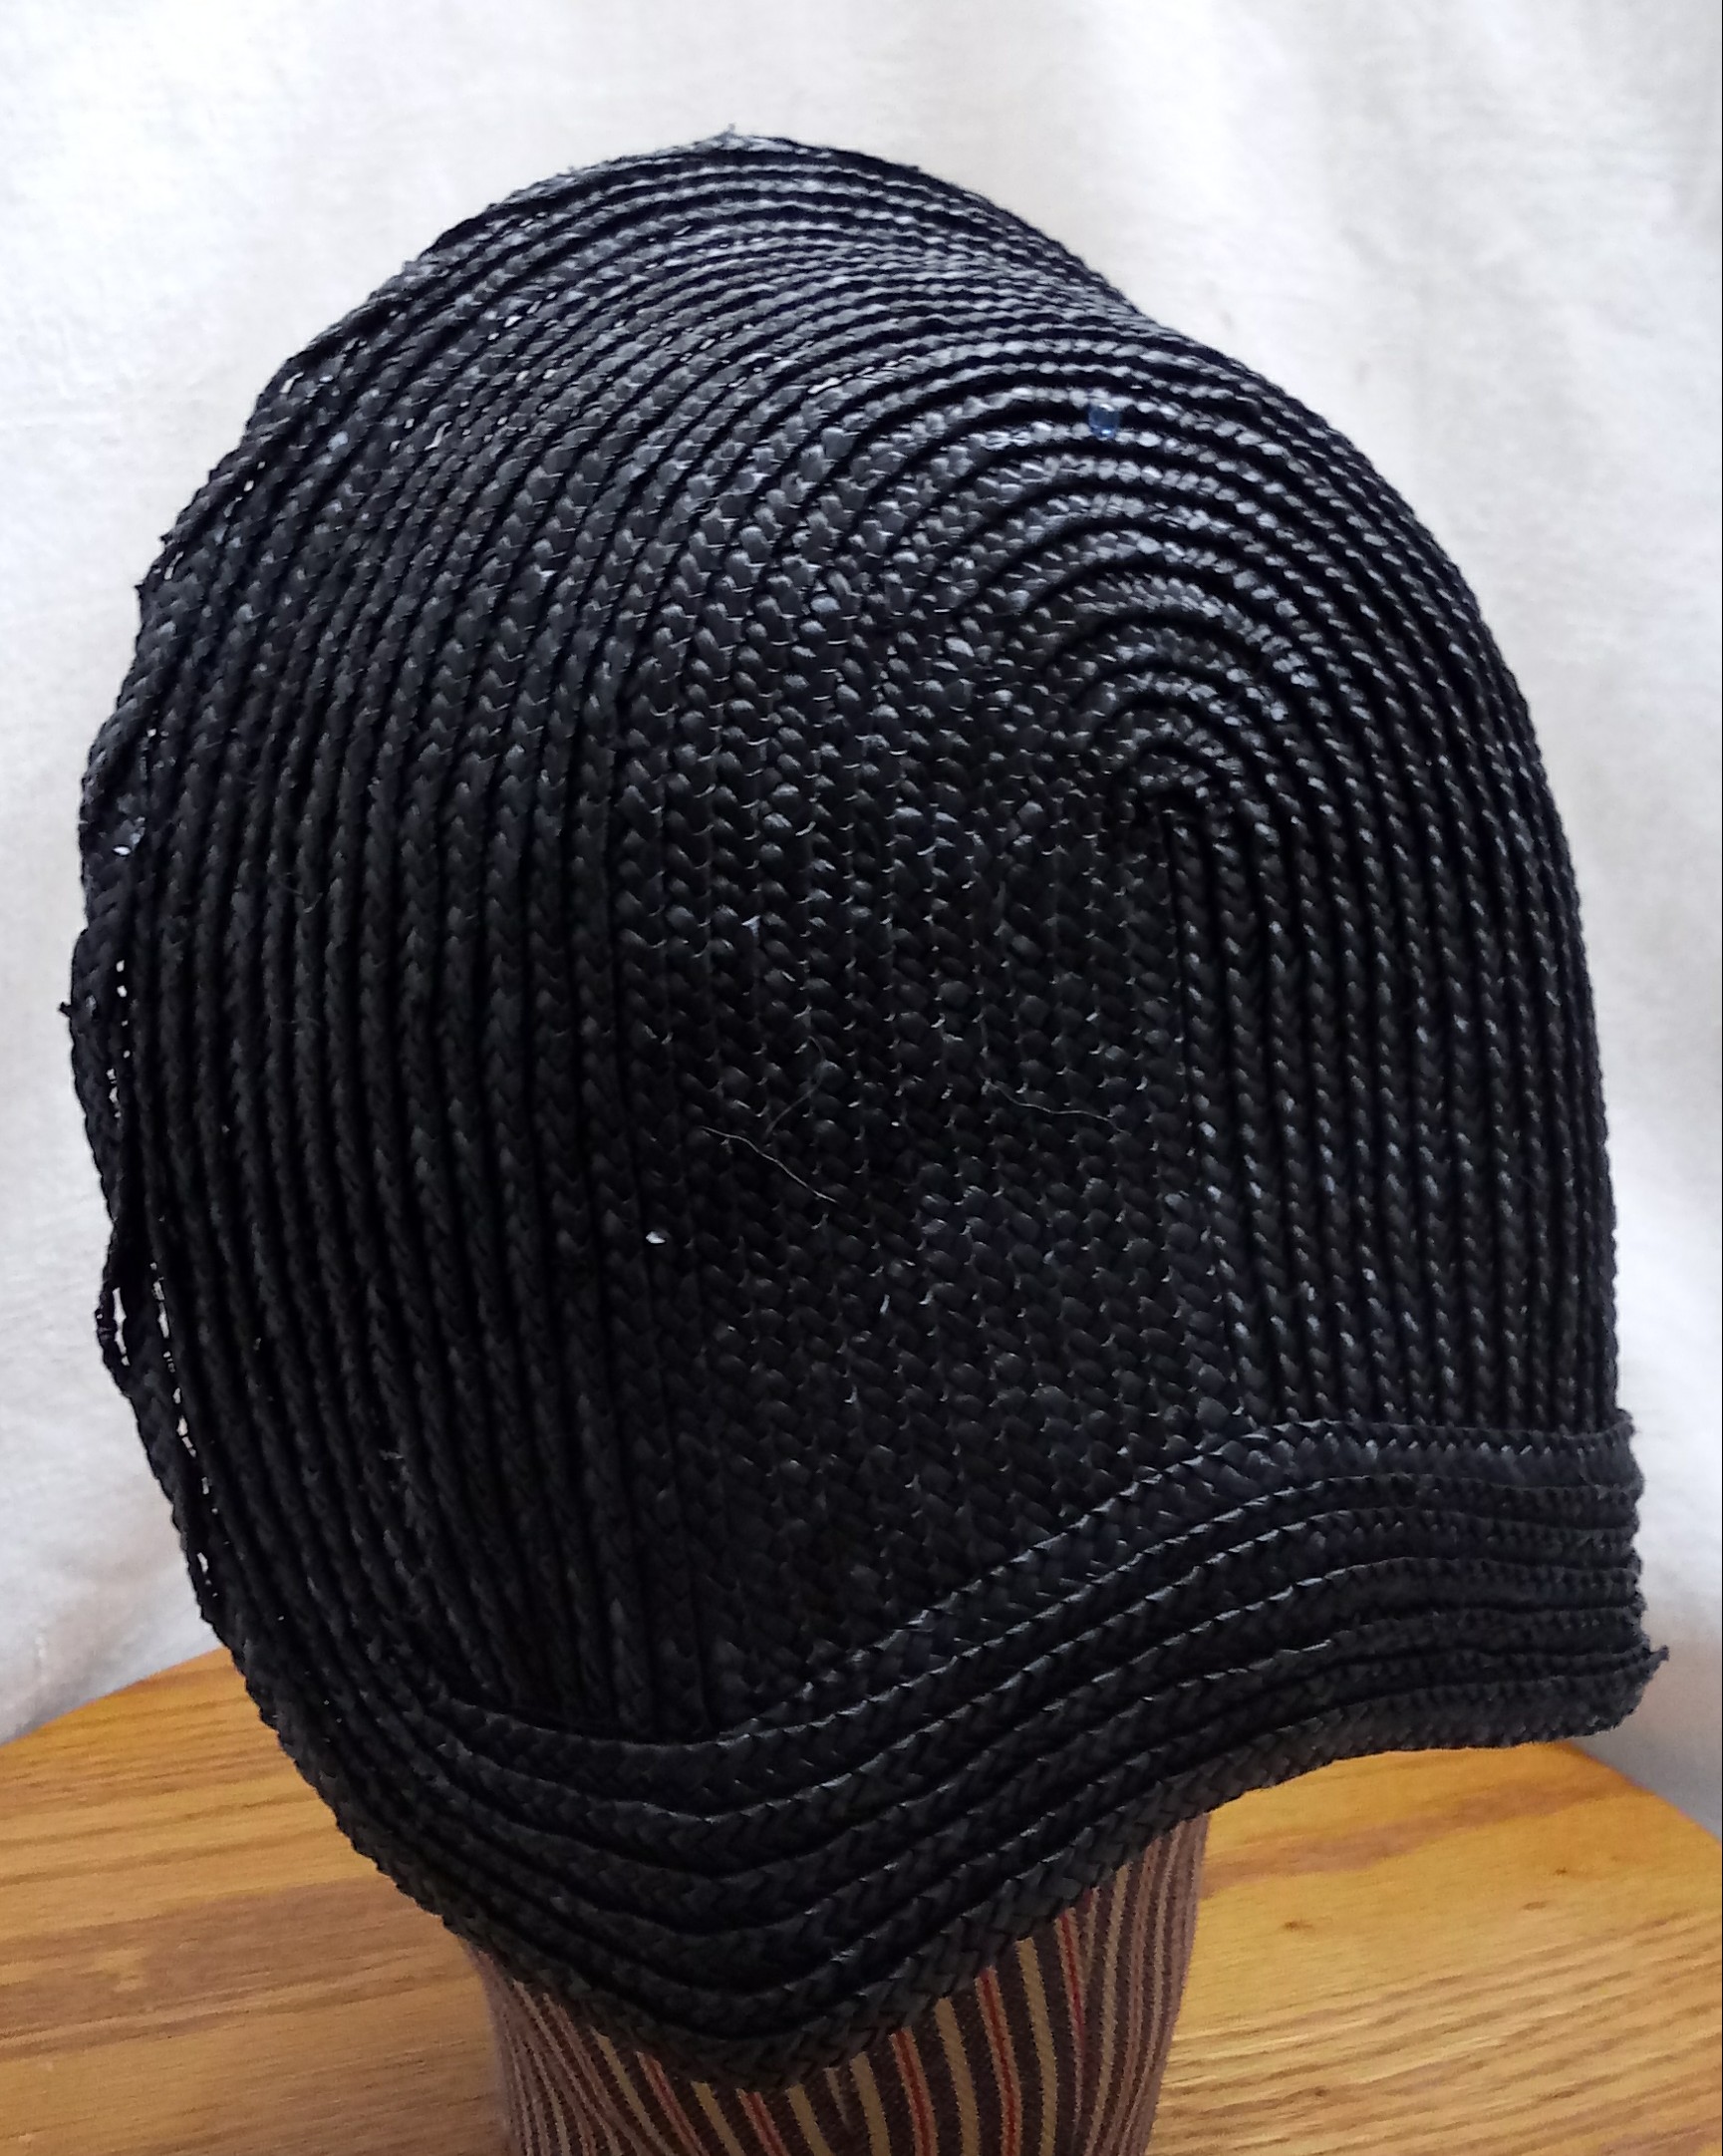
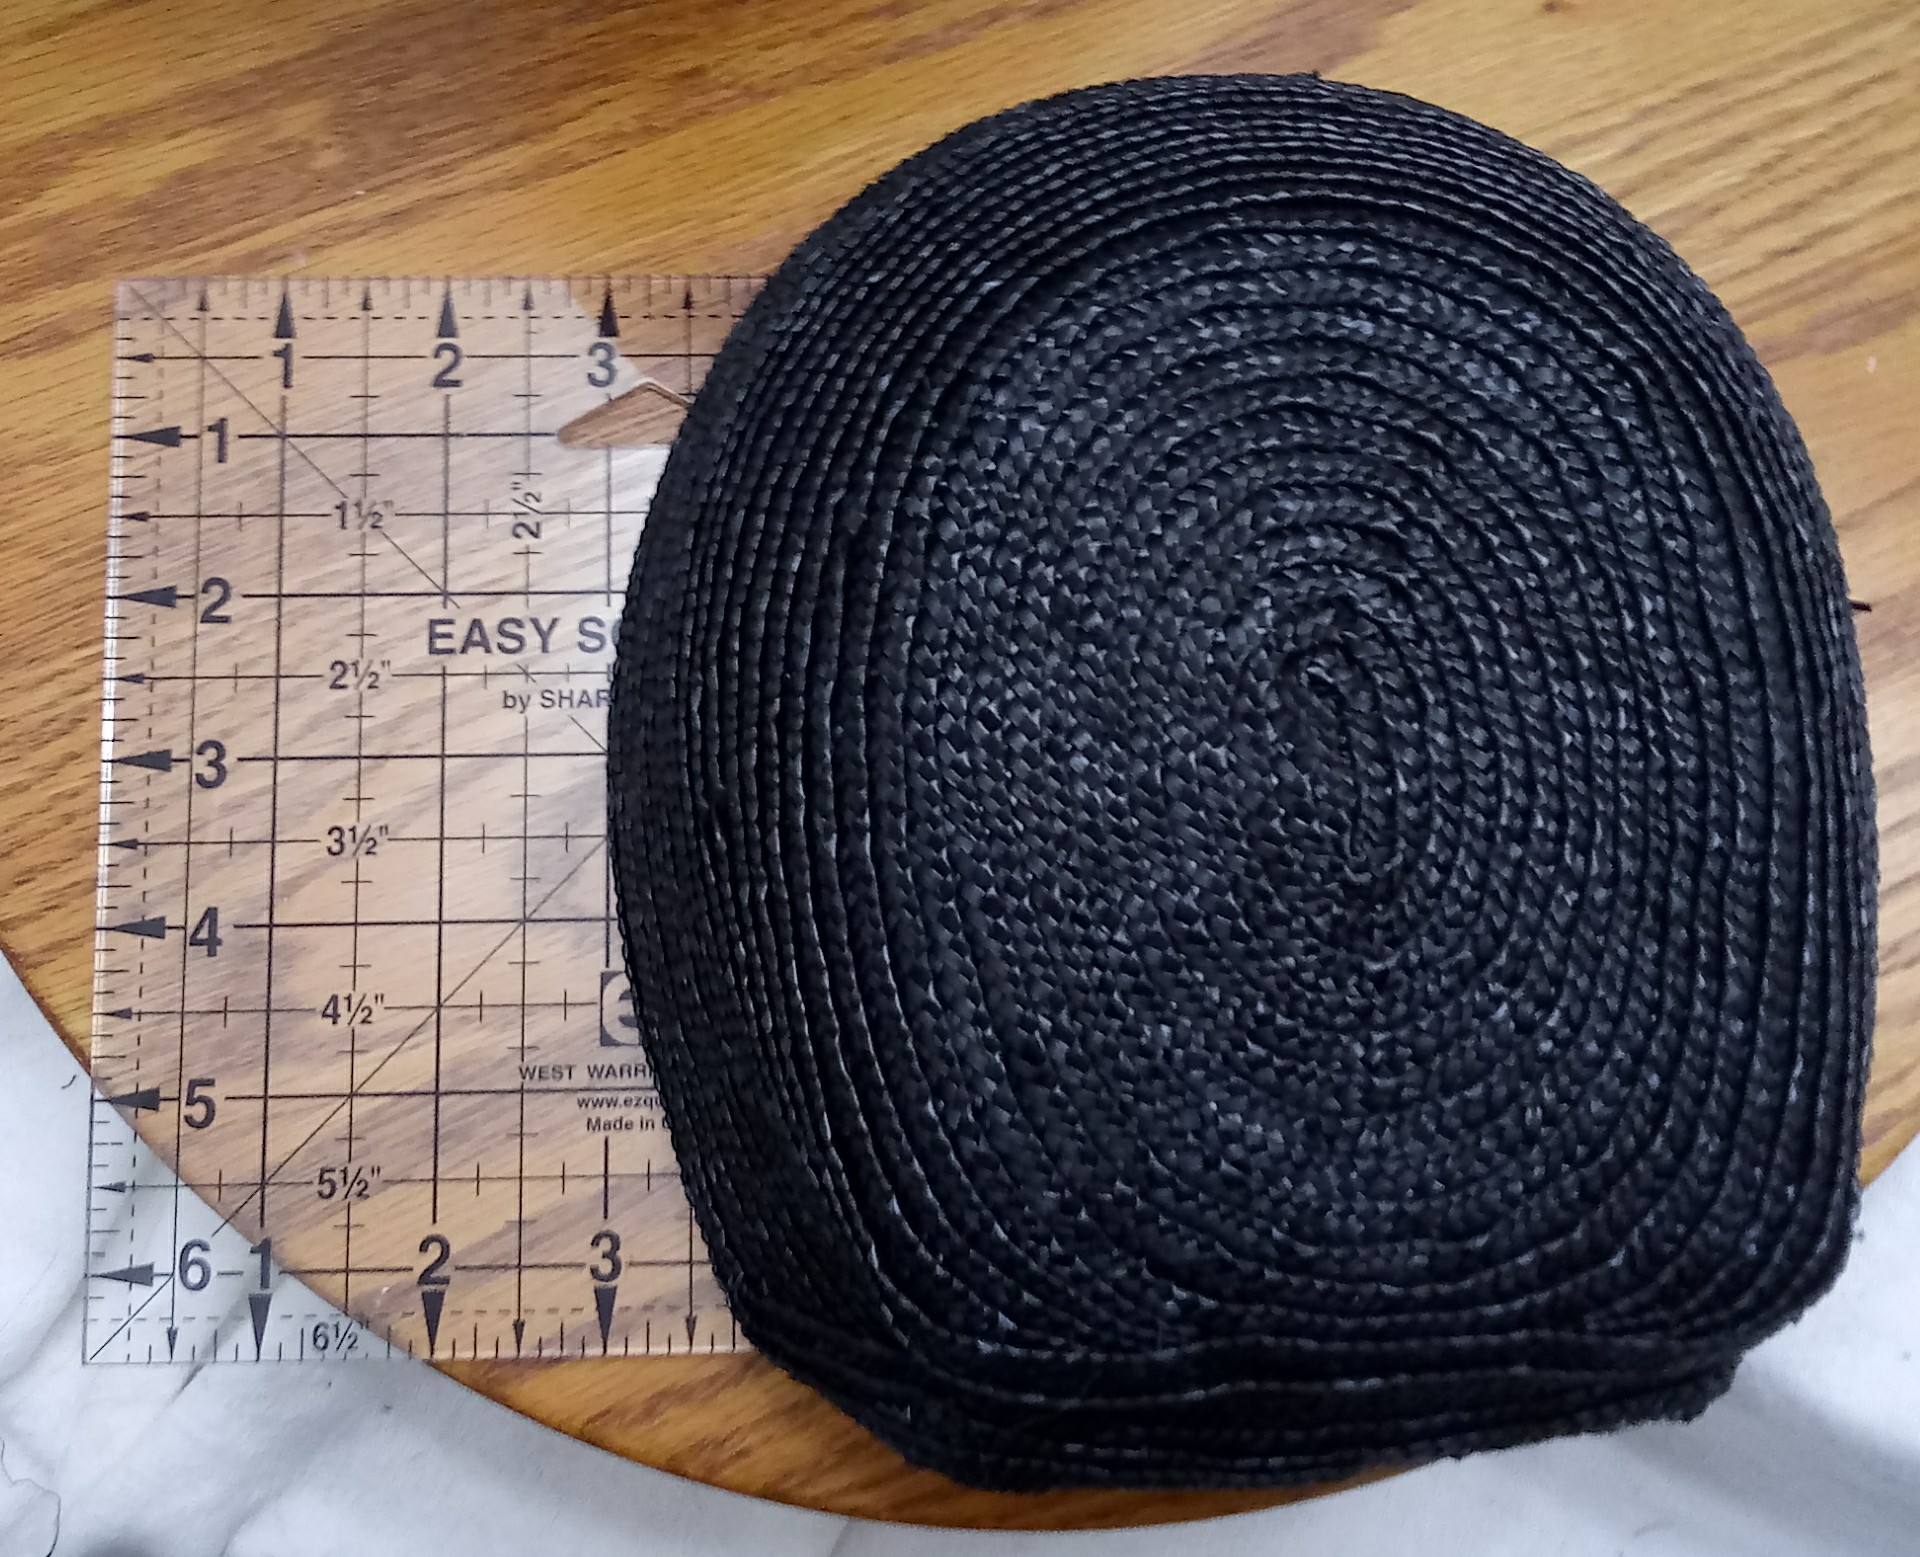
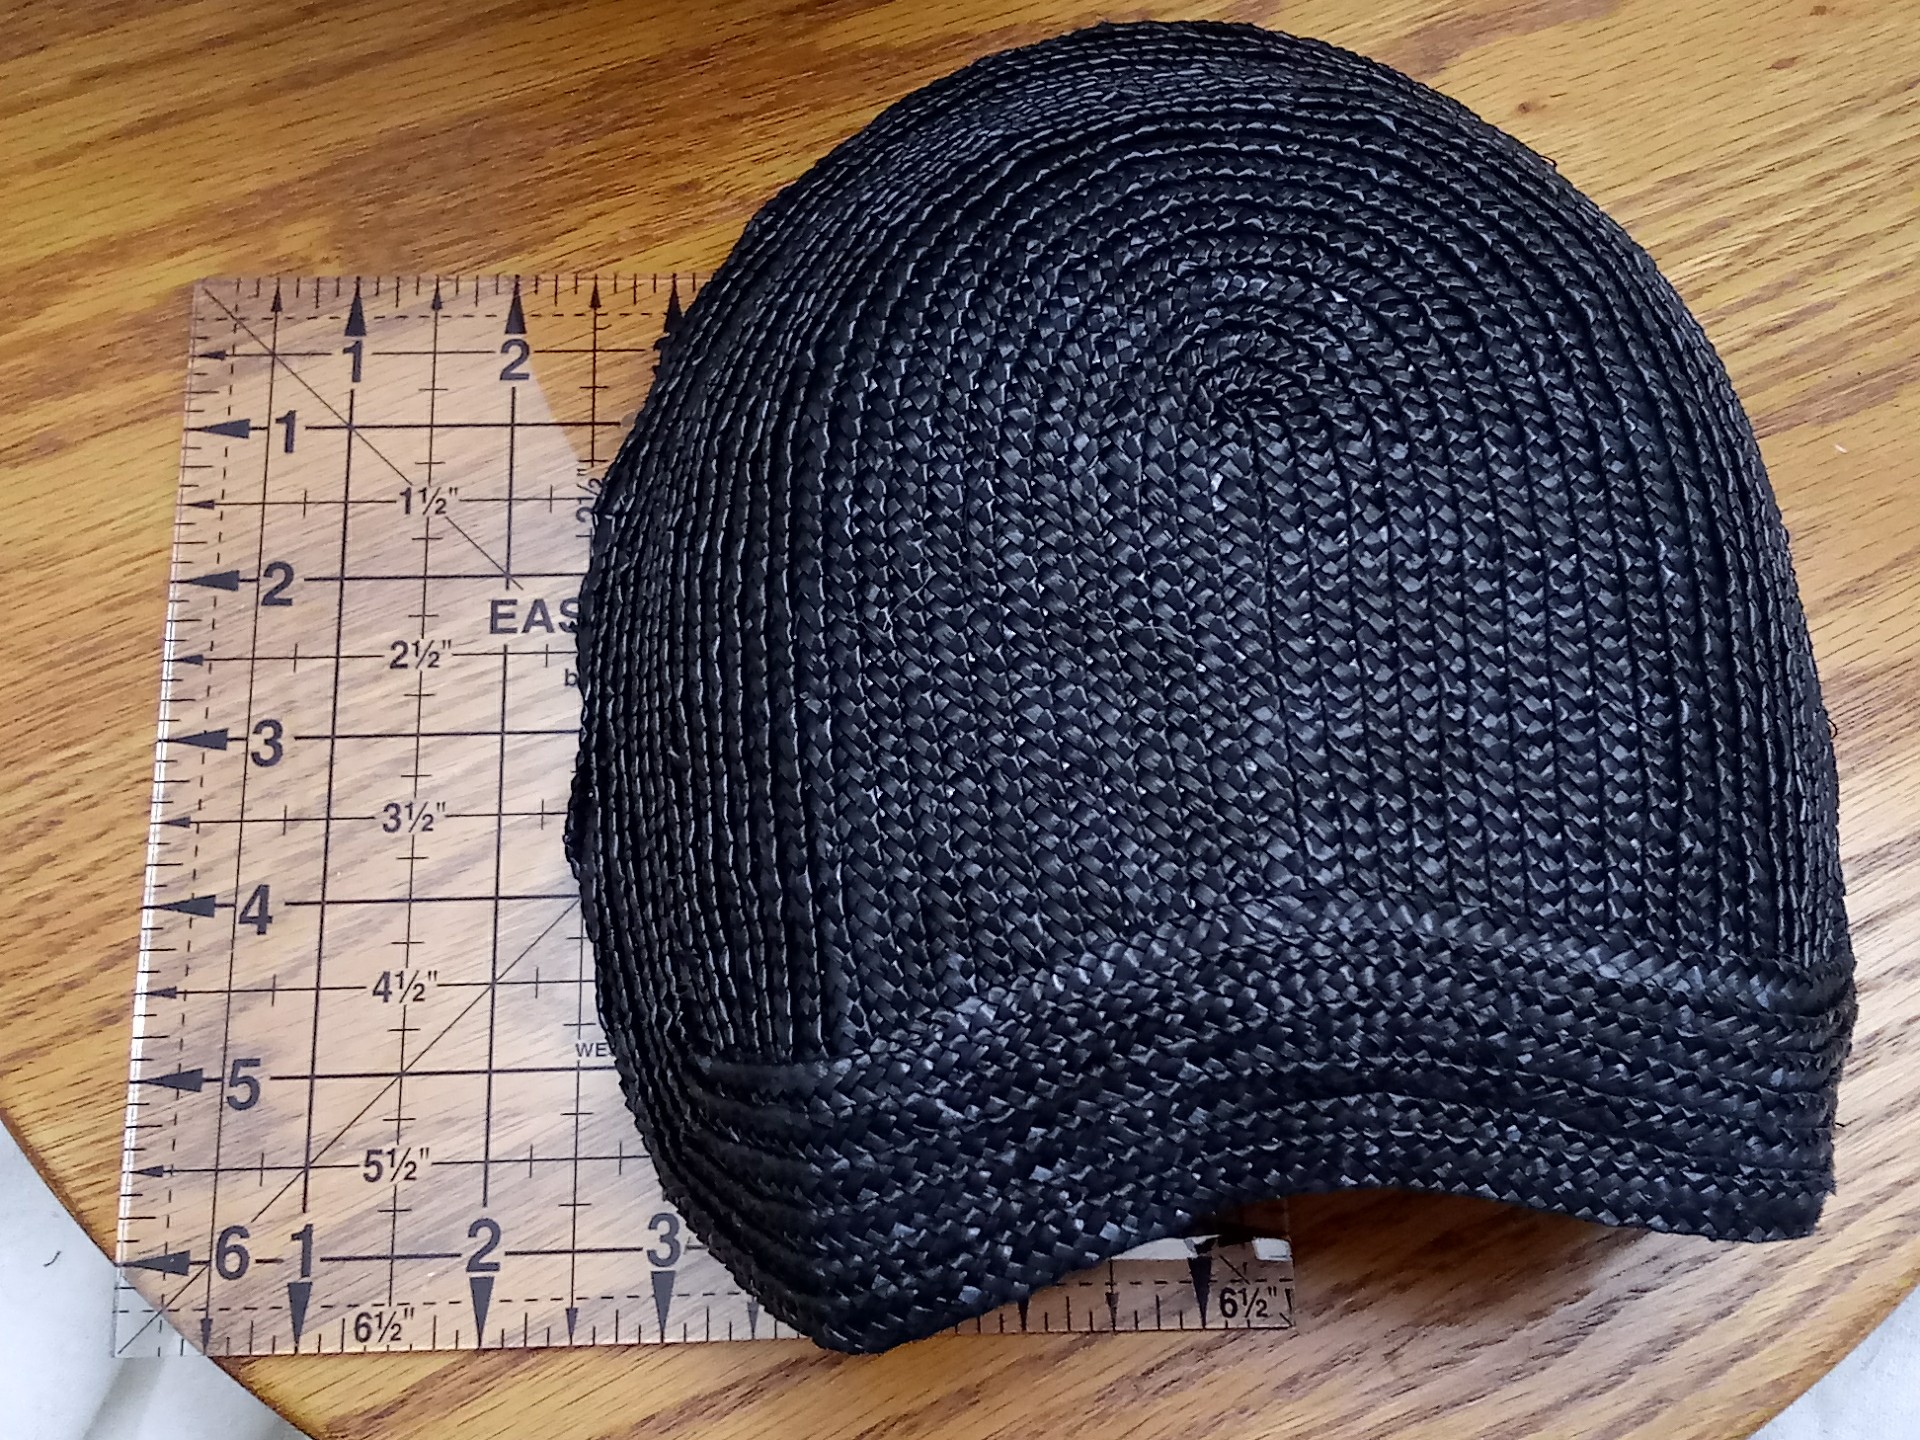
I tried two different styles, each based on what I see in originals. On the left, the first has a more circular, though slightly oval back and closed lower crown with a deeper “brim.” On the right, the second has a horseshoe or arch back with an open lower crown and a decorative brim edge.
Before continuing, I need to share that I am having difficulty with the naming of the bonnet parts because they diverge so much from what I am accustom to in the 30s through the 60s. Being so petite, these bonnets do not encompass the back of the head the way their predecessors did. While the 1860s bonnet perched on the head, the 1880s bonnet perches on tip-toe. There is little definition between the crown and brim. On the block itself the change is just a few degrees of an angle. So, I find myself saying “yes, that still is the brim.” or “yes, that is the crown.”
Back to the bonnets.
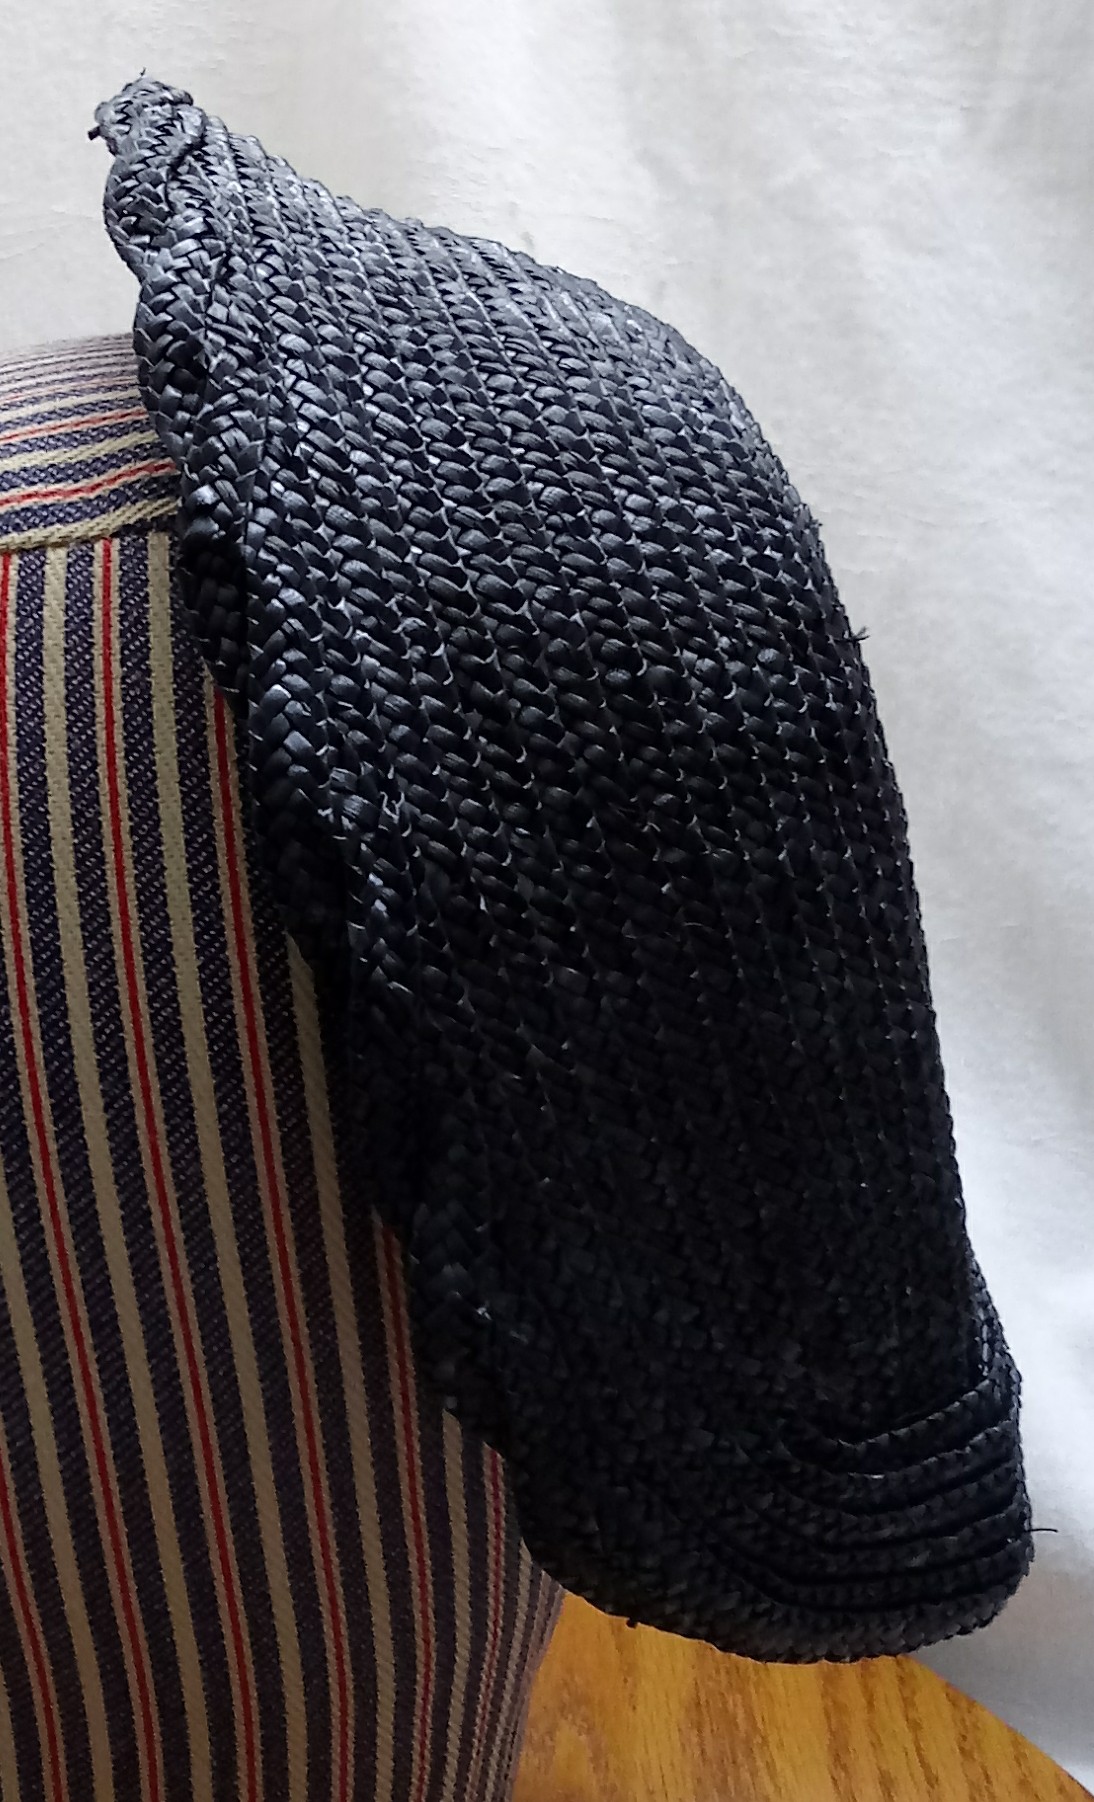
Here they are in profile. My model head does not show well how they will sit on the full 1880s hair style, which would suspend it above and behind the head. I found the block to create a bonnet slightly larger than I expected. Placed on my own head, the bonnets feel large. I have a small head and far from volumous hair though. Once lined and trimmed, I anticipate they will fit most well. I observed this type of bonnet often had a light weight polished cotton, often cream, brown, or black, gathered towards the center back in a way to cup the hard and hair.

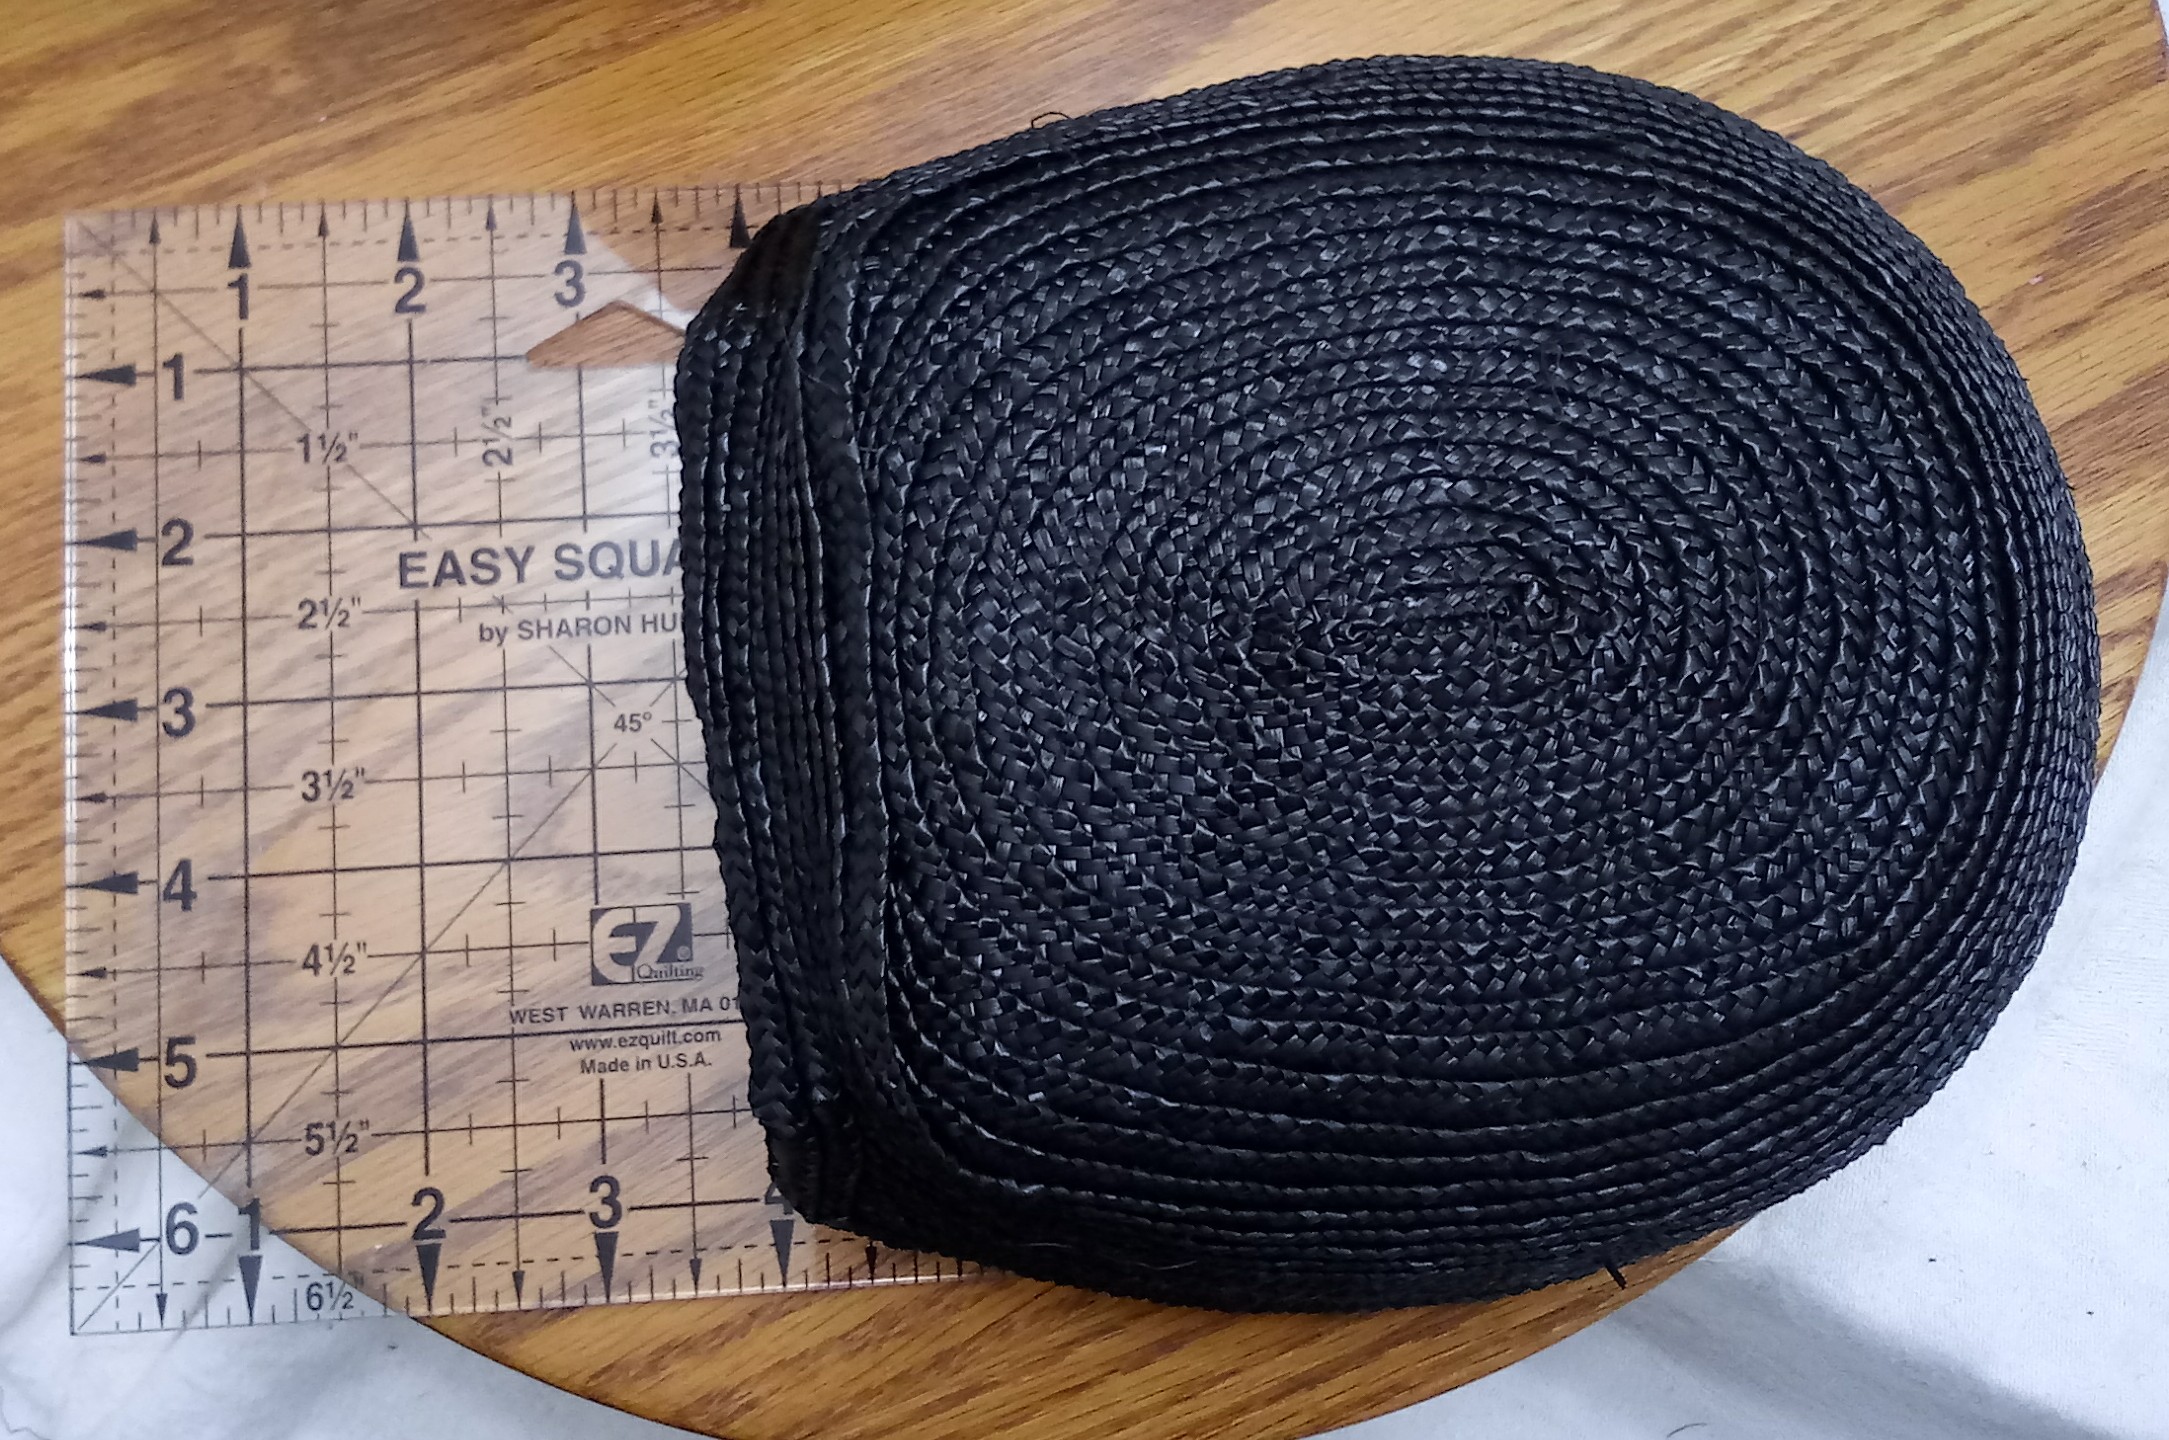
Looking at the backs of original bonnet crowns, I saw circles, near circles, and archs or horseshoe shapes. I started the first bonnet, left, with an almost circle. This proved to not be the right proportion for this block. It tooms some fiddling. I do not anticipate starting for this block this way again. A circle may work better. The arch, or horseshoe, worked well for this block creating a back that fit with the block very well.
I was surprised to find this block, though smaller than my norm, to be more fiddly. This may change over time. I still need to better understand the nubs at the base of the crown.

For the first bonnet, I wanted to work around the whole block to get to know the shaping. This method creates the bonnet style with a full, closed crown. When working the rows around the whole bonnet, I found the plait wanted to flare ar the bottom of the crown, almost like a straw bavolet would. As this area is ofen covered with trims in photos, I need to examine more straw pieces of this style in person to decide whether to force the straw not to do this. I could easily see this style done with a decorative edge. I also see this as possibly working for a bonnet with a wider, deeper brim. Though, it may create a larger bonnet size wise.
For the second bonnet, right, I wanted to try the open bottom for the crown with the inverted V I was seeing on some bonnets. This block seems to be very well suited for this. I am please with the overall shape as well as the decorative edge. I have several decorative edged ideas in mind for this shape with the hop of mimicking the plait combinations of the time without access to those plaits.
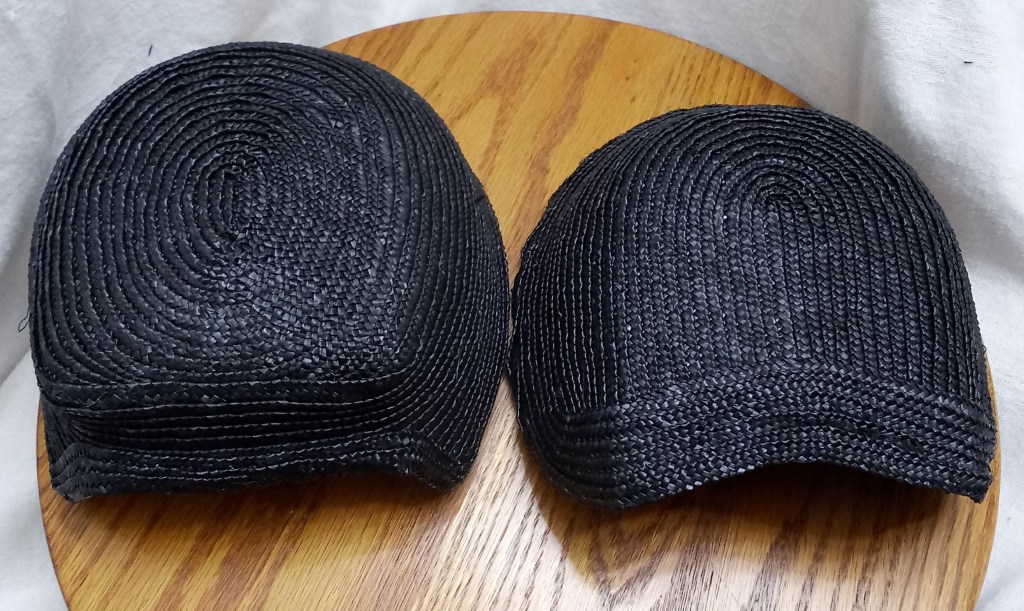
These photos should give a sense of the sizes. The second bonnet is the smaller of the two. The first was blocked to the size of the block with the finishing rows added after. The second was blocked to the size of the block, including the vining decorative edge.

I will be adding these to Etsy momentarily.


Leave a comment