I completely forgot how much fun balls can be. Btw, I mean the round, spherical kind not the dancing kind. Though, those can be fun too.
“the little ball, the great, the empty ball, and the leathern ball.” (Ebenezer Landells)
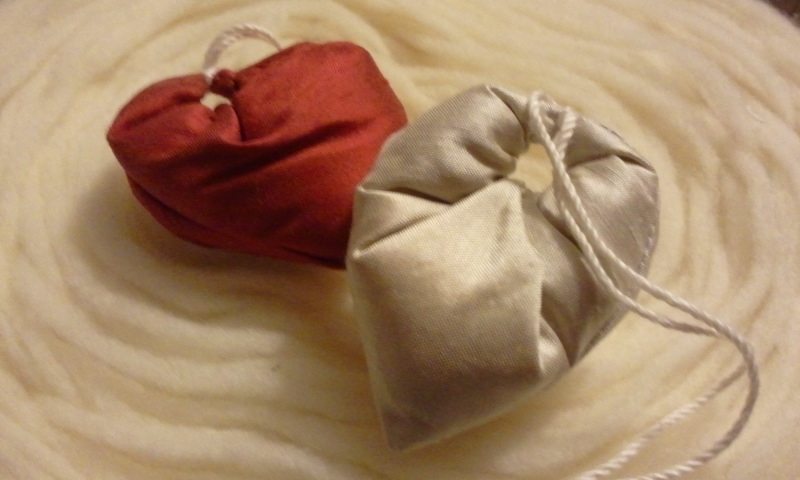
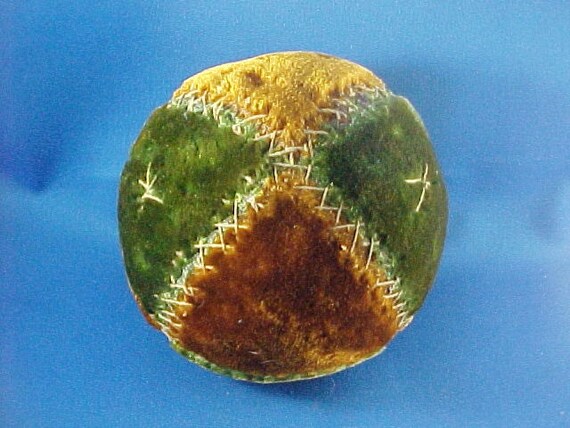
Back when I taught Pioneer Days Camp at Stone Tolan, I included a ball project for some of the weeks. I took the ball design from The Girl’s Own Toy-Maker, by Ebenezer Landells. In this book, the author suggests sewing the ball of cloth or leather, alternating colors and filling with bran. The same author writes a little more about balls in his companion book The Boy’s Own Toy-Maker. Here he suggest, for a handball, the use of India-rubber or cork wound round with worsted (a woolen yarn/string) until the size of an orange.
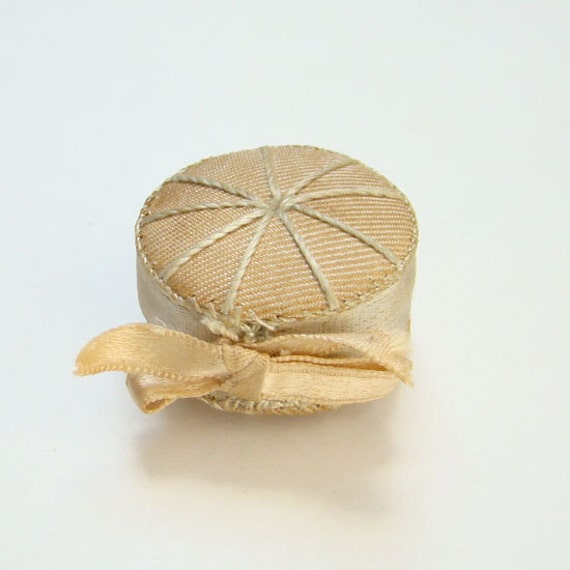
While these written directions obviously intend these balls to be toys, we also find balls that were used for pin cushions. Eliza Leslie writes of a twist on the ball pin cushion, transforming it into a ball needle-book. I have yet to make this one.
These ball pin cushions is what has recently reminded me how much fun balls can be.
 I have been filling most of my balls with wool wadding rather than bran. Have you ever tried using something like bran with small children? Let’s just say it can get a tad messy. Other filling options of various function and authenticity, could include walnut hulls (I have a lovely one with lavender from the quilt shop), rice, sand, emery (for small pin cushions), sawdust or small beans.
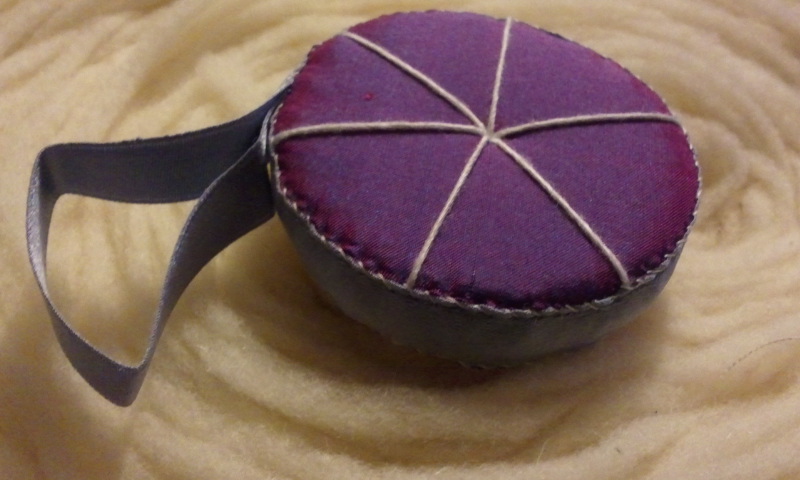
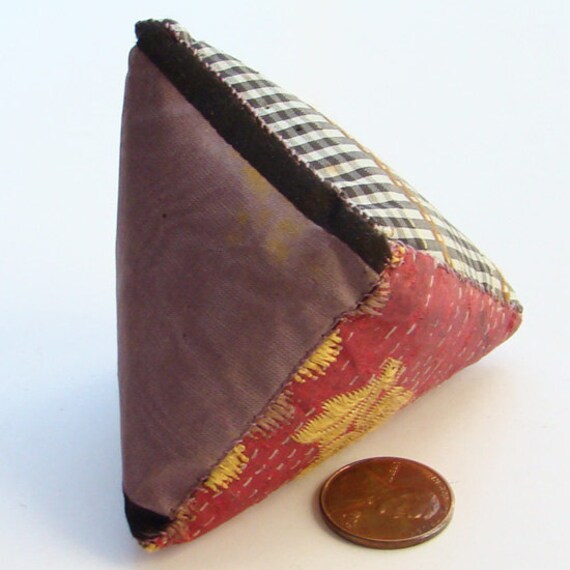
 I like using the shape from above. For lack of a better word, I’ve been calling it a petal because it sorta looks like a flower petal. If you are worried about the proportions, there is a simple formula to use:
- SW=2H
- S is the number of segments
- W is the width of the segments
- H is the height of the segments
- So, a 3″ tall petal would need to be 1″ wide if you want 6 segments or petals.
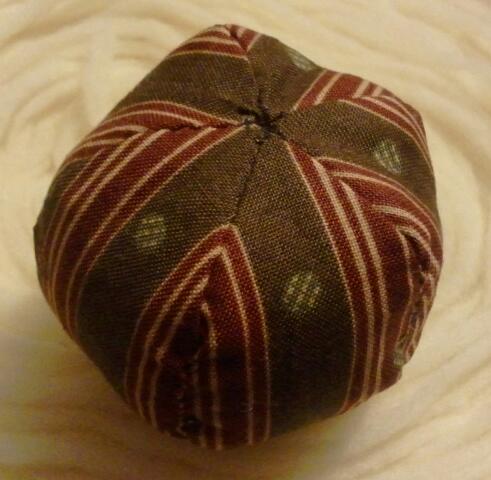
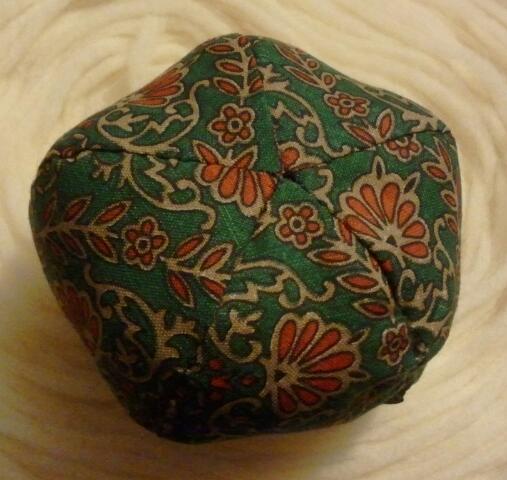
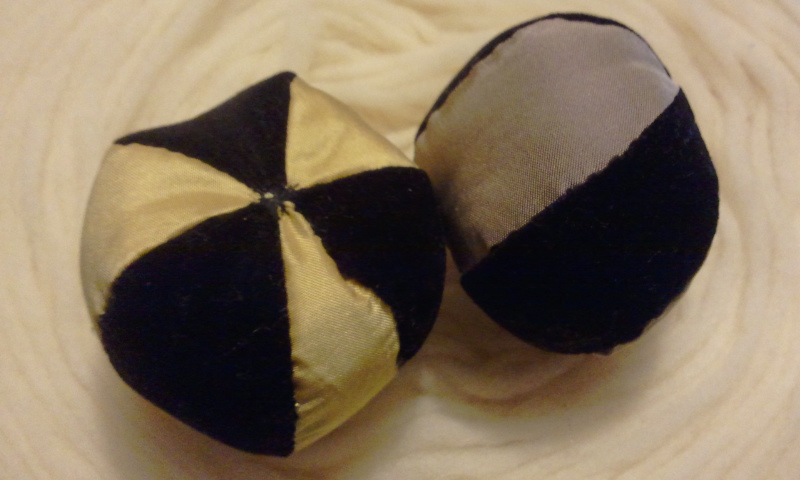
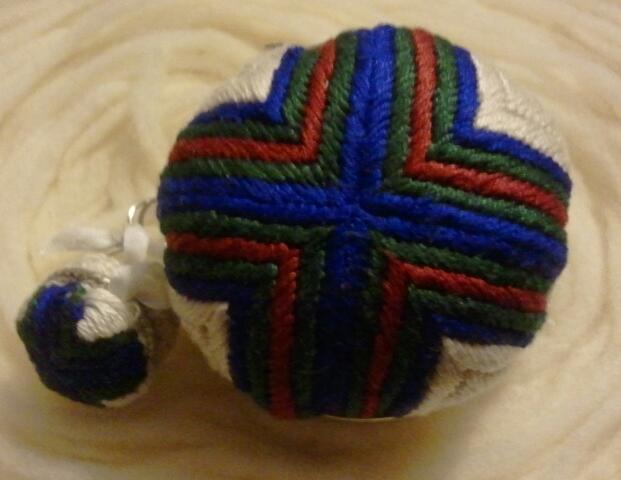
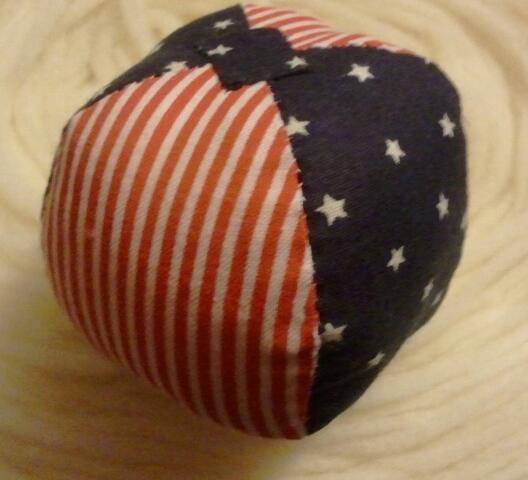 Of course, the fun part is selecting the fabrics. With an even number of petals, you can alternate fabrics. With an odd number, you can use an assortment of fabrics. There are an endless number of combinations. Alternating velvets and silk taffetas can create a play on texture.
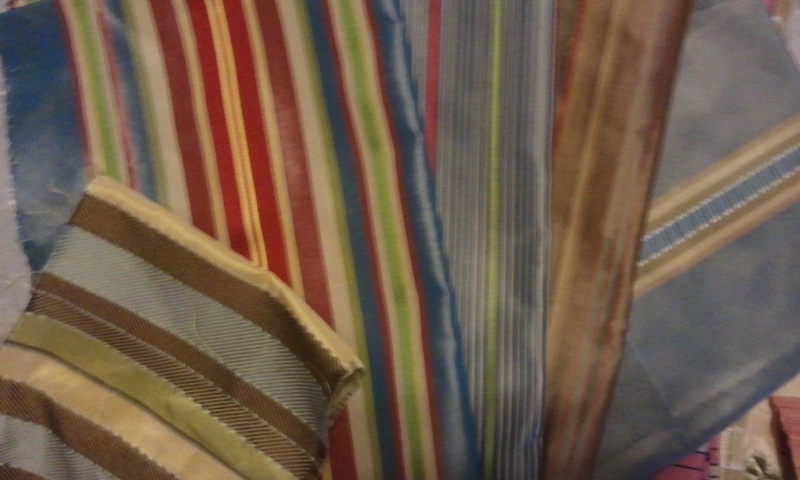
 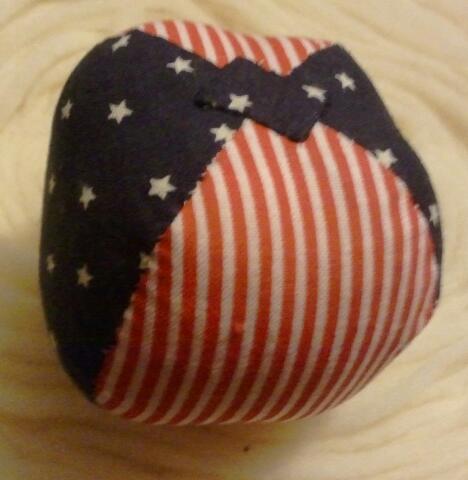 Using red and white stripes in combination with white stars on blue can make a patriotic ball. The stripes in a corded fabric can be angled to play with a single color.
 Many other ways of making balls that seem to pop up over time – triangle, octagons, etc. I’ve started a pin board just for these here.
For more toys and games, I recommend
- An American Girl’s Book by Eliza Leslie
- The Little Girl’s Own Book by Eliza Leslie and Lydia Maria Child
- The Girl’s Own Toy-Maker by Ebenezer Landells
- The Boy’s Own Toy-Maker by Ebenezer Landells

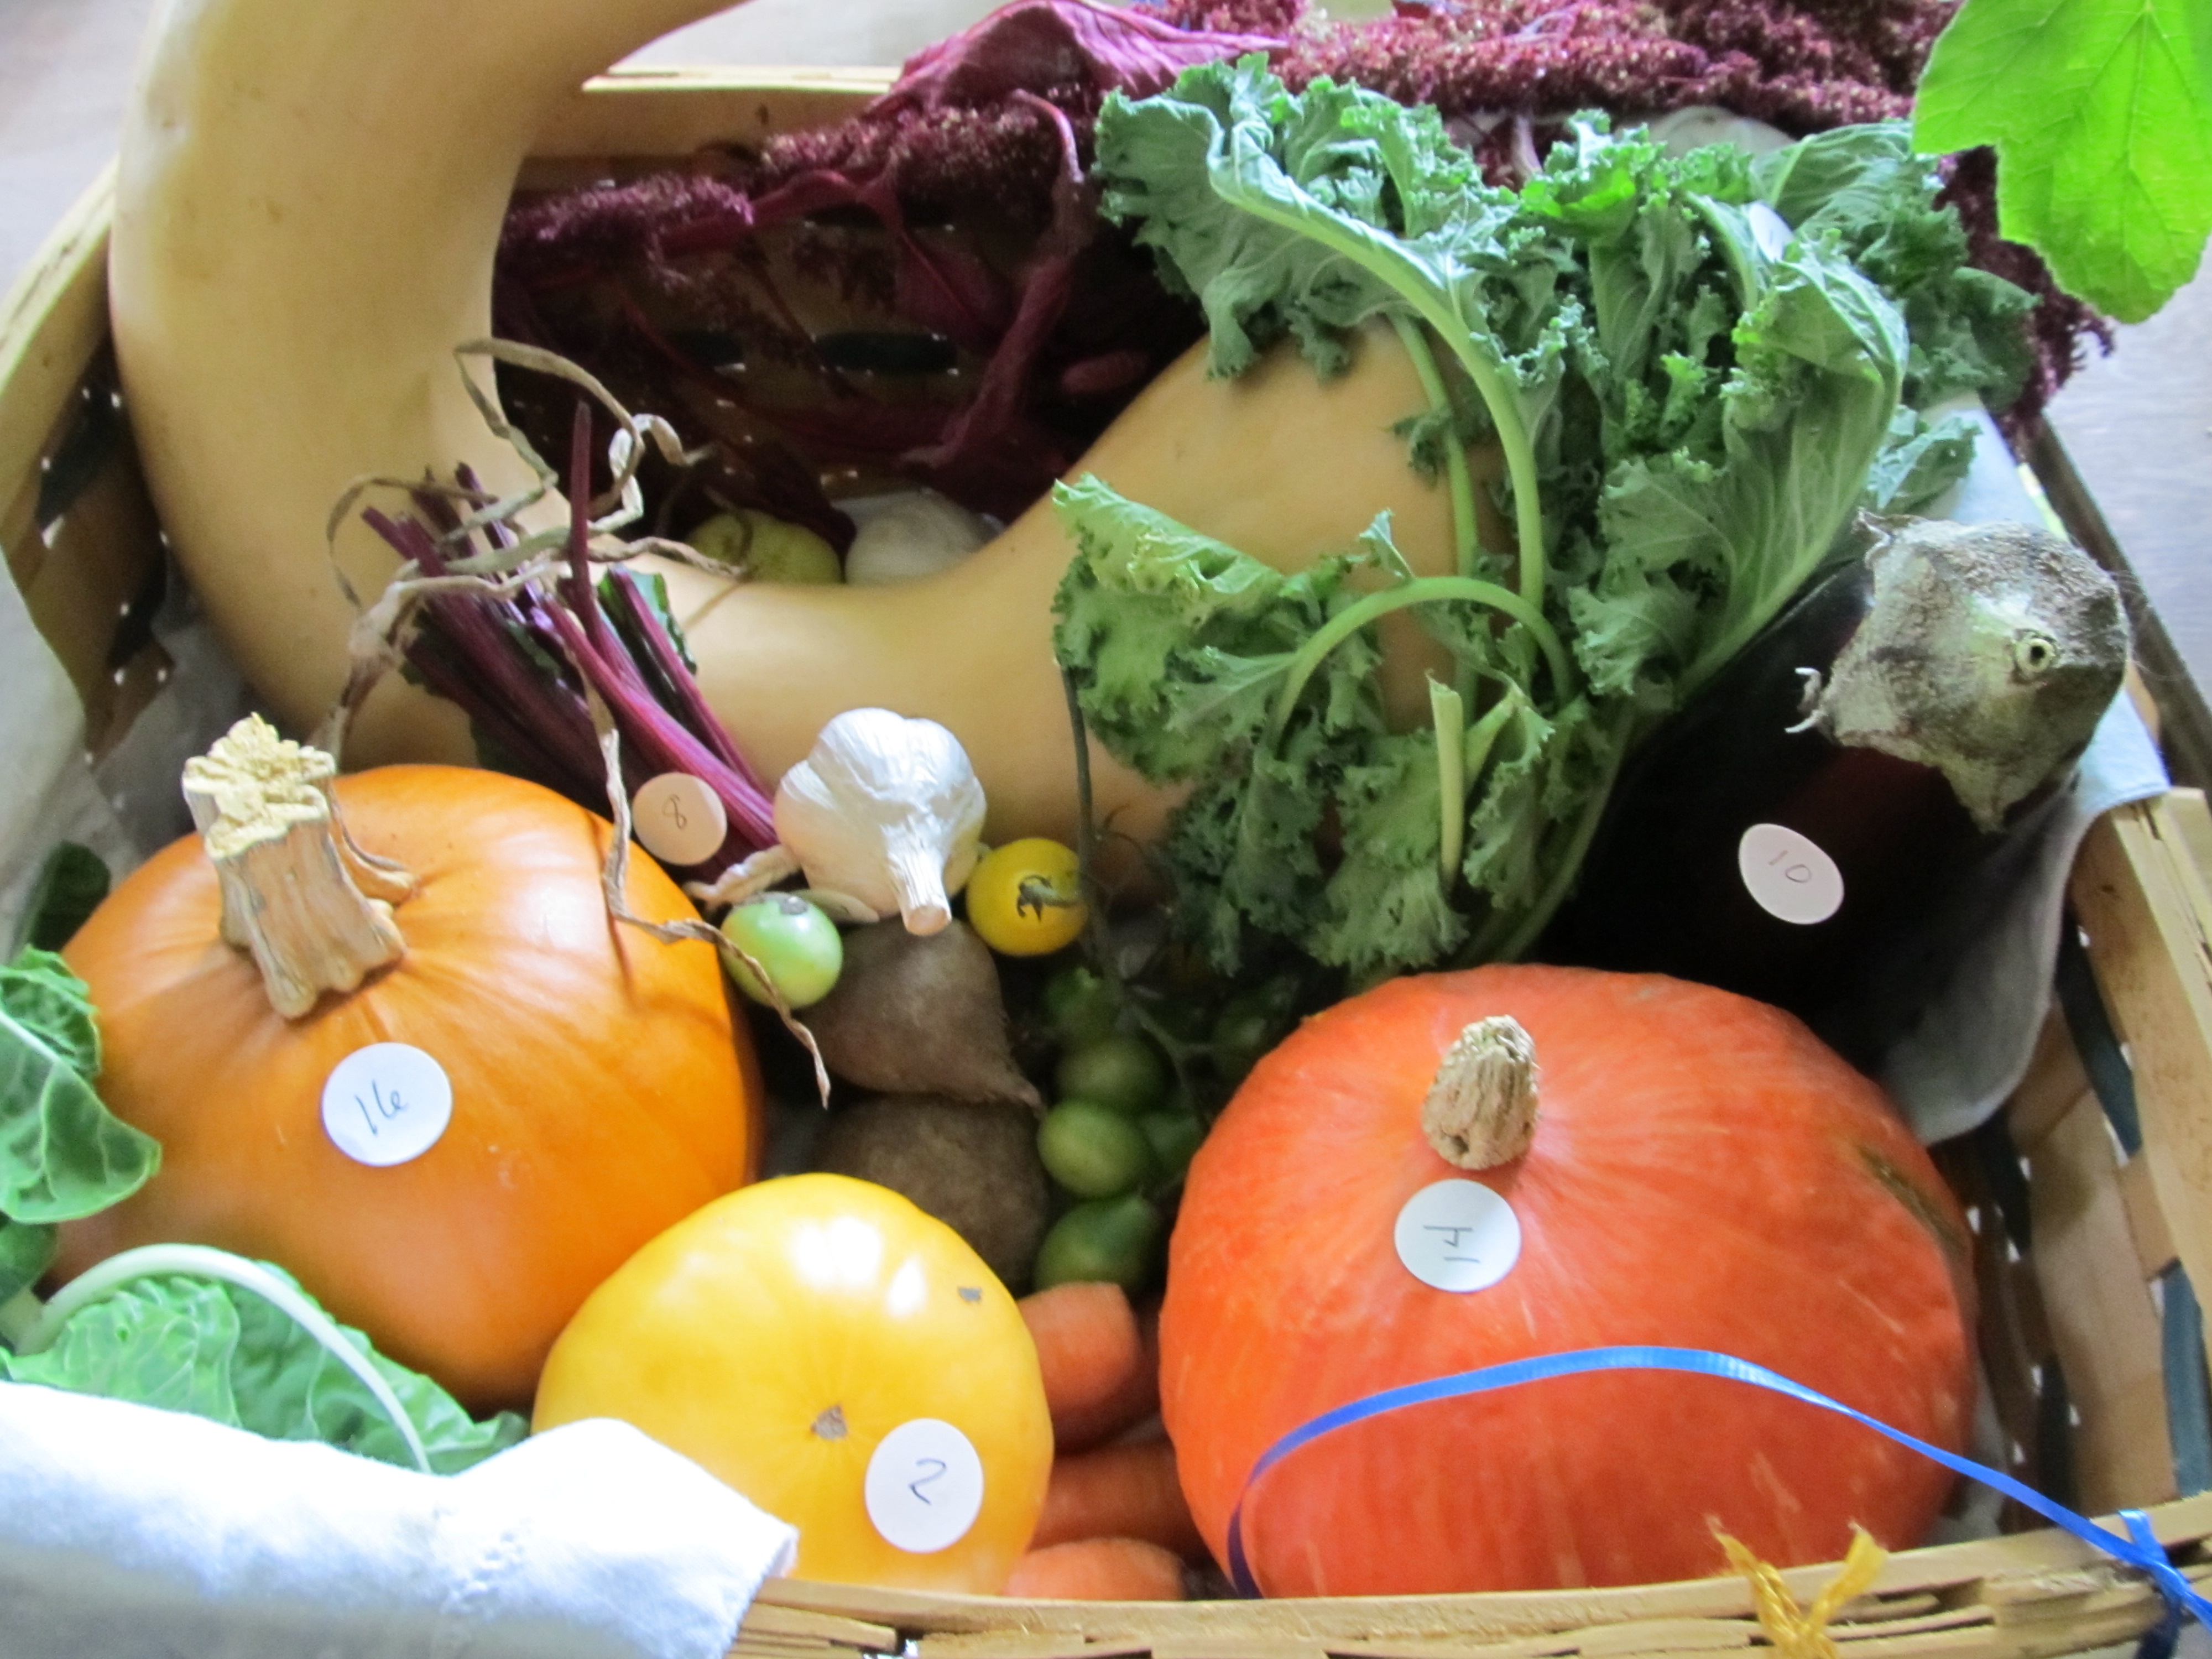
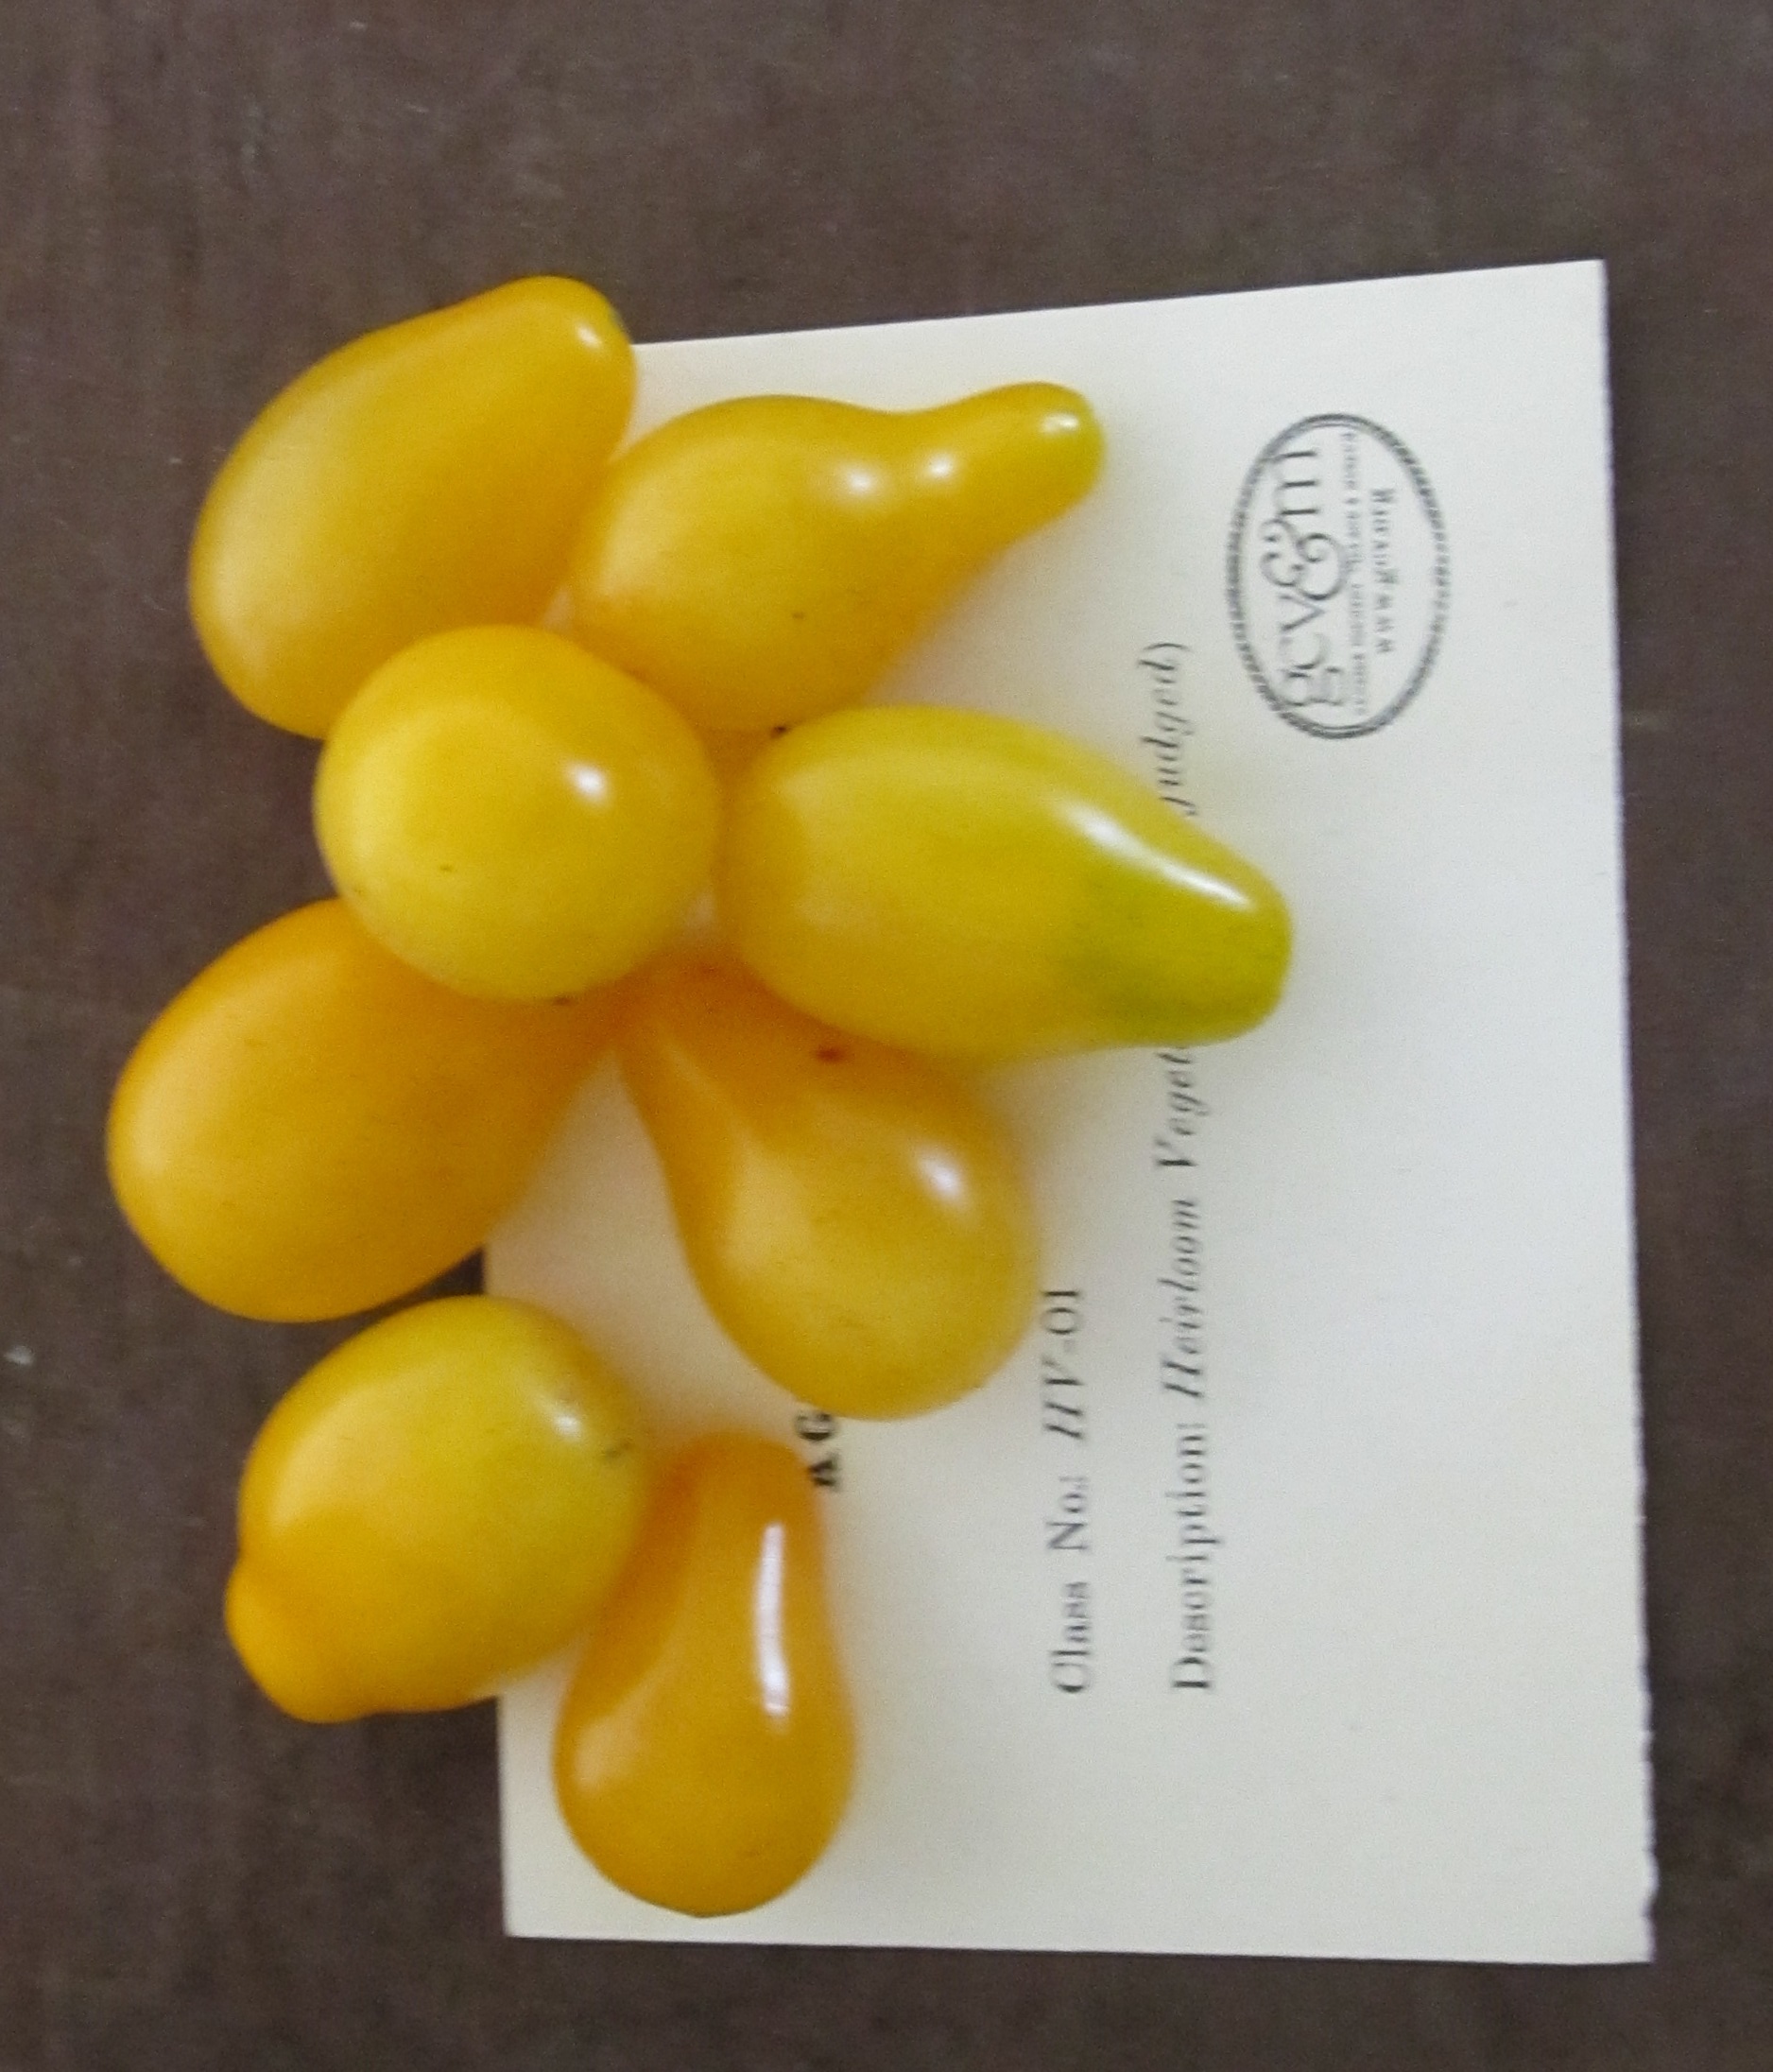
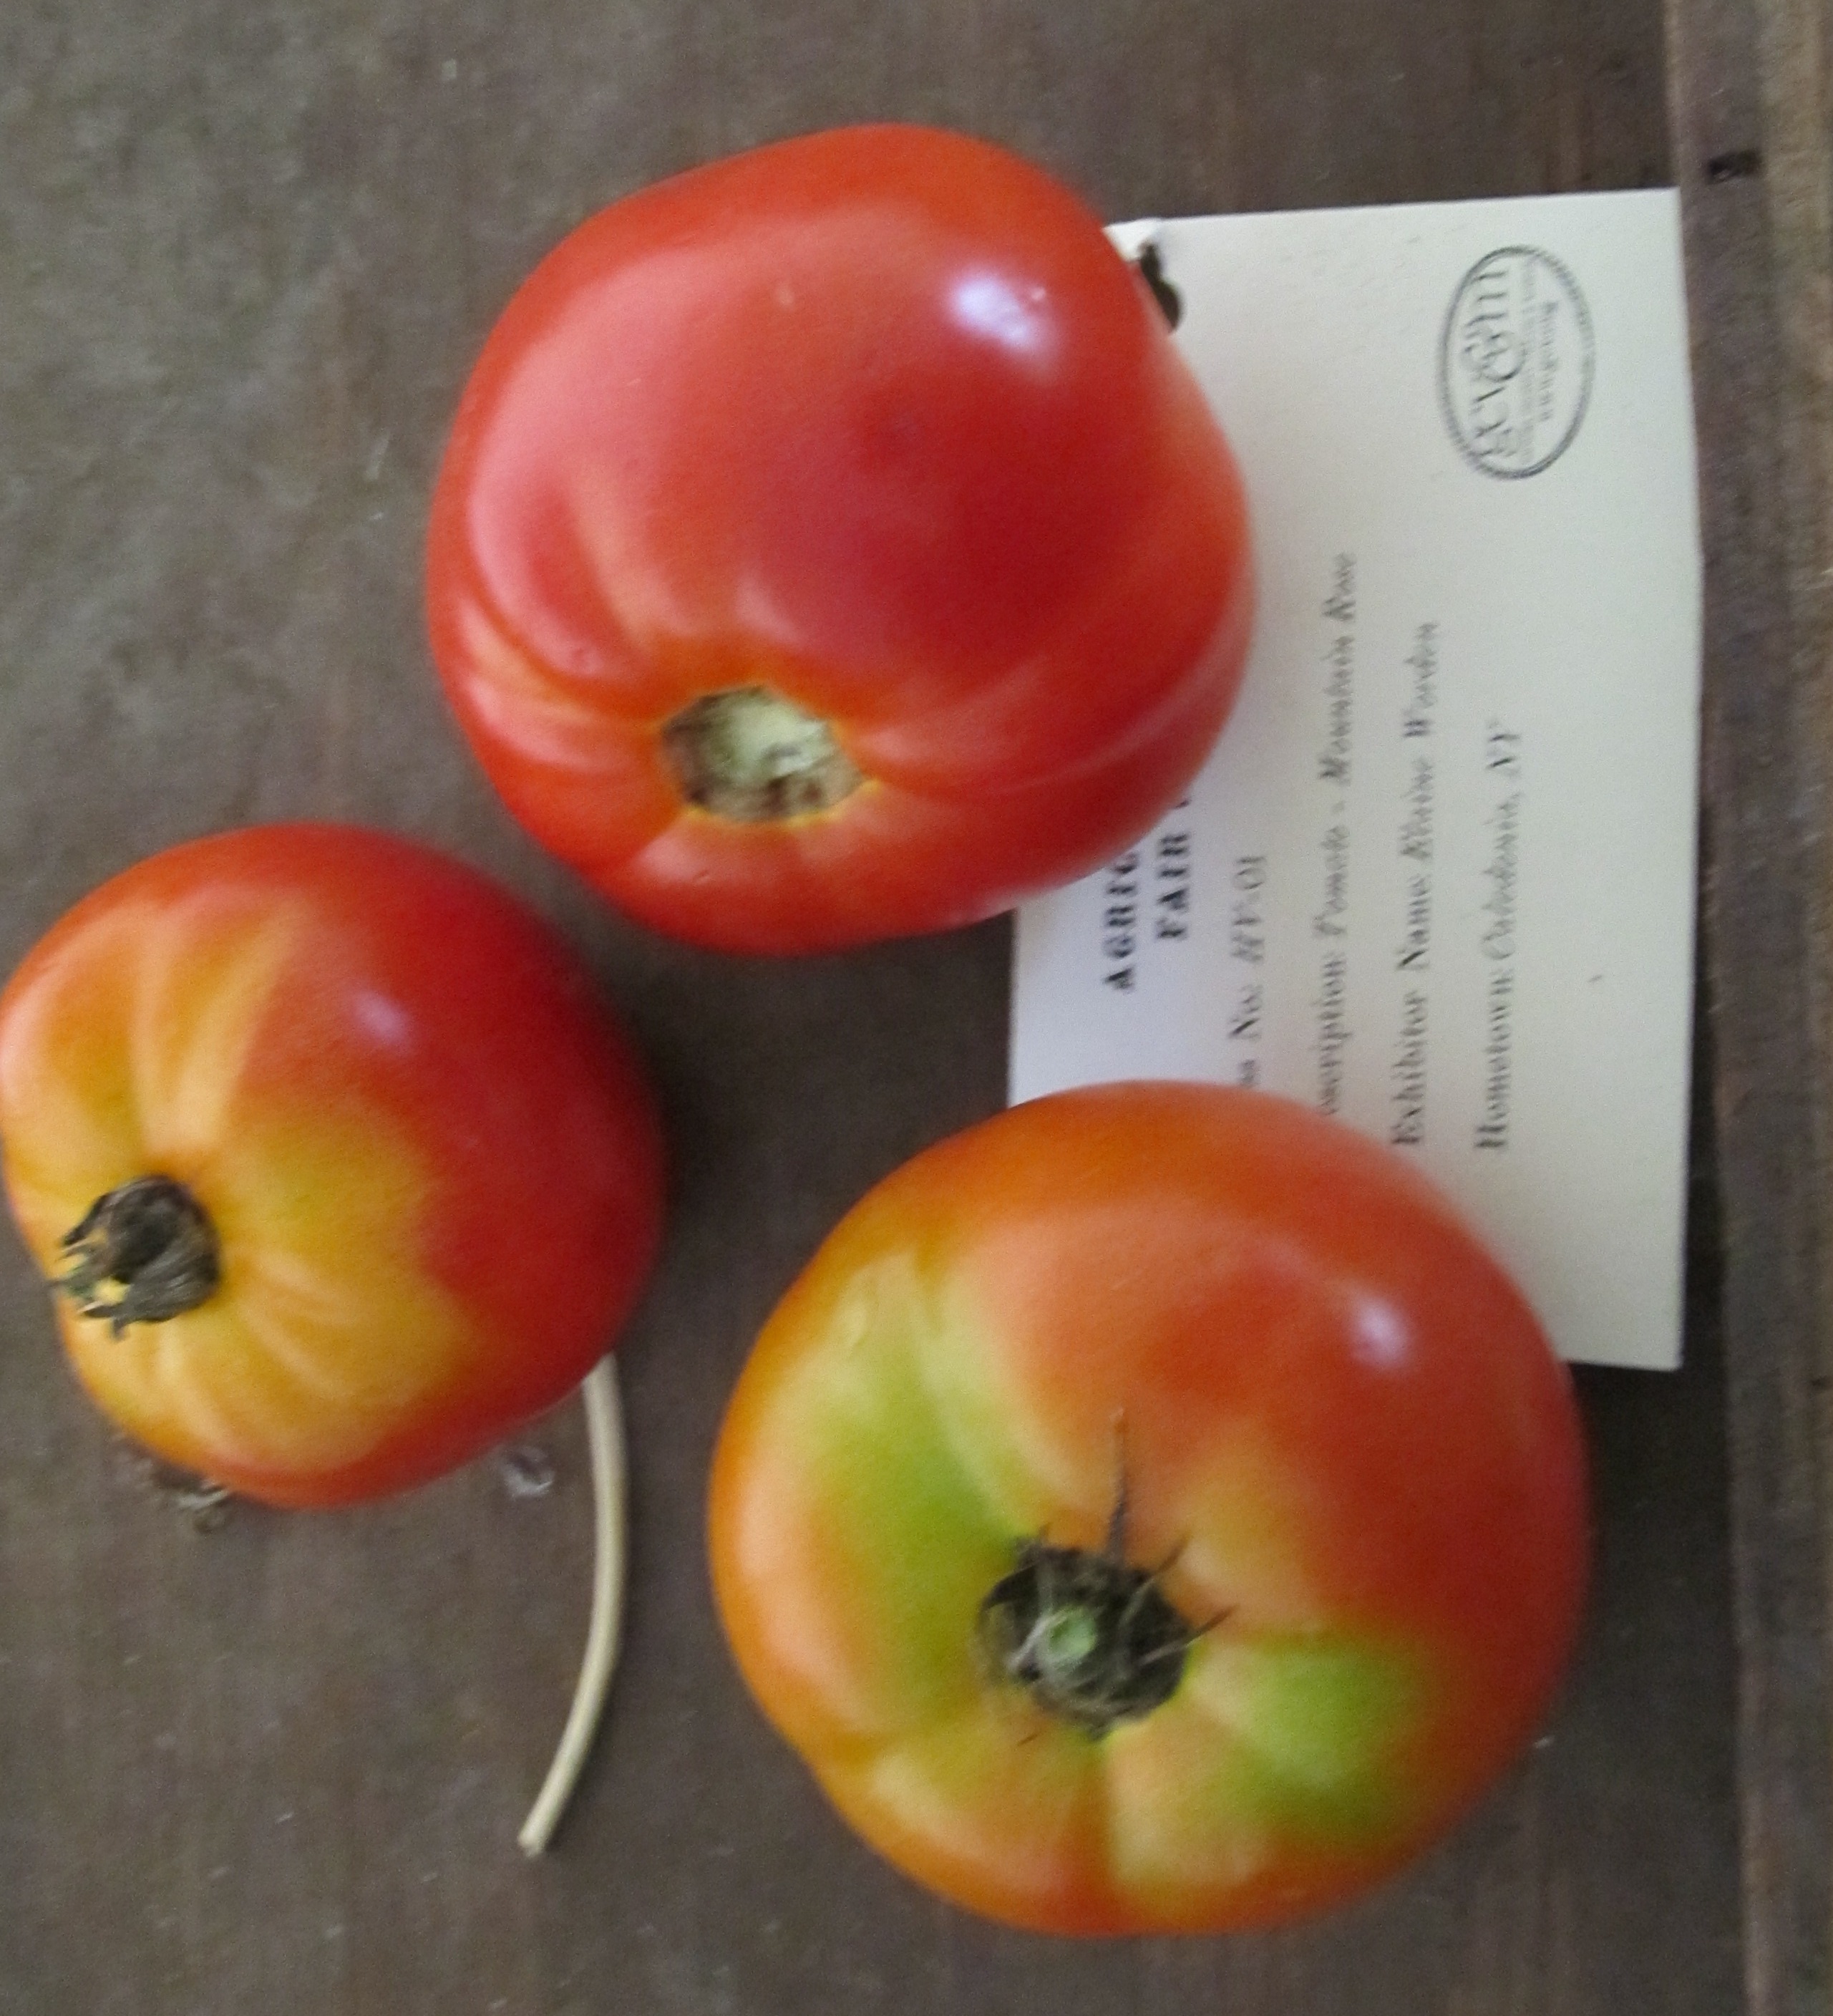
 Cheese has always been one of my favorite entries to see. I think it comes down to the cheese Grandma used to bring home at the end of the season. My favorite was the less than authentic peppercorn filled cheese. To this day, one of my comfort foods is simply pasta with a good hard cheese grated on.
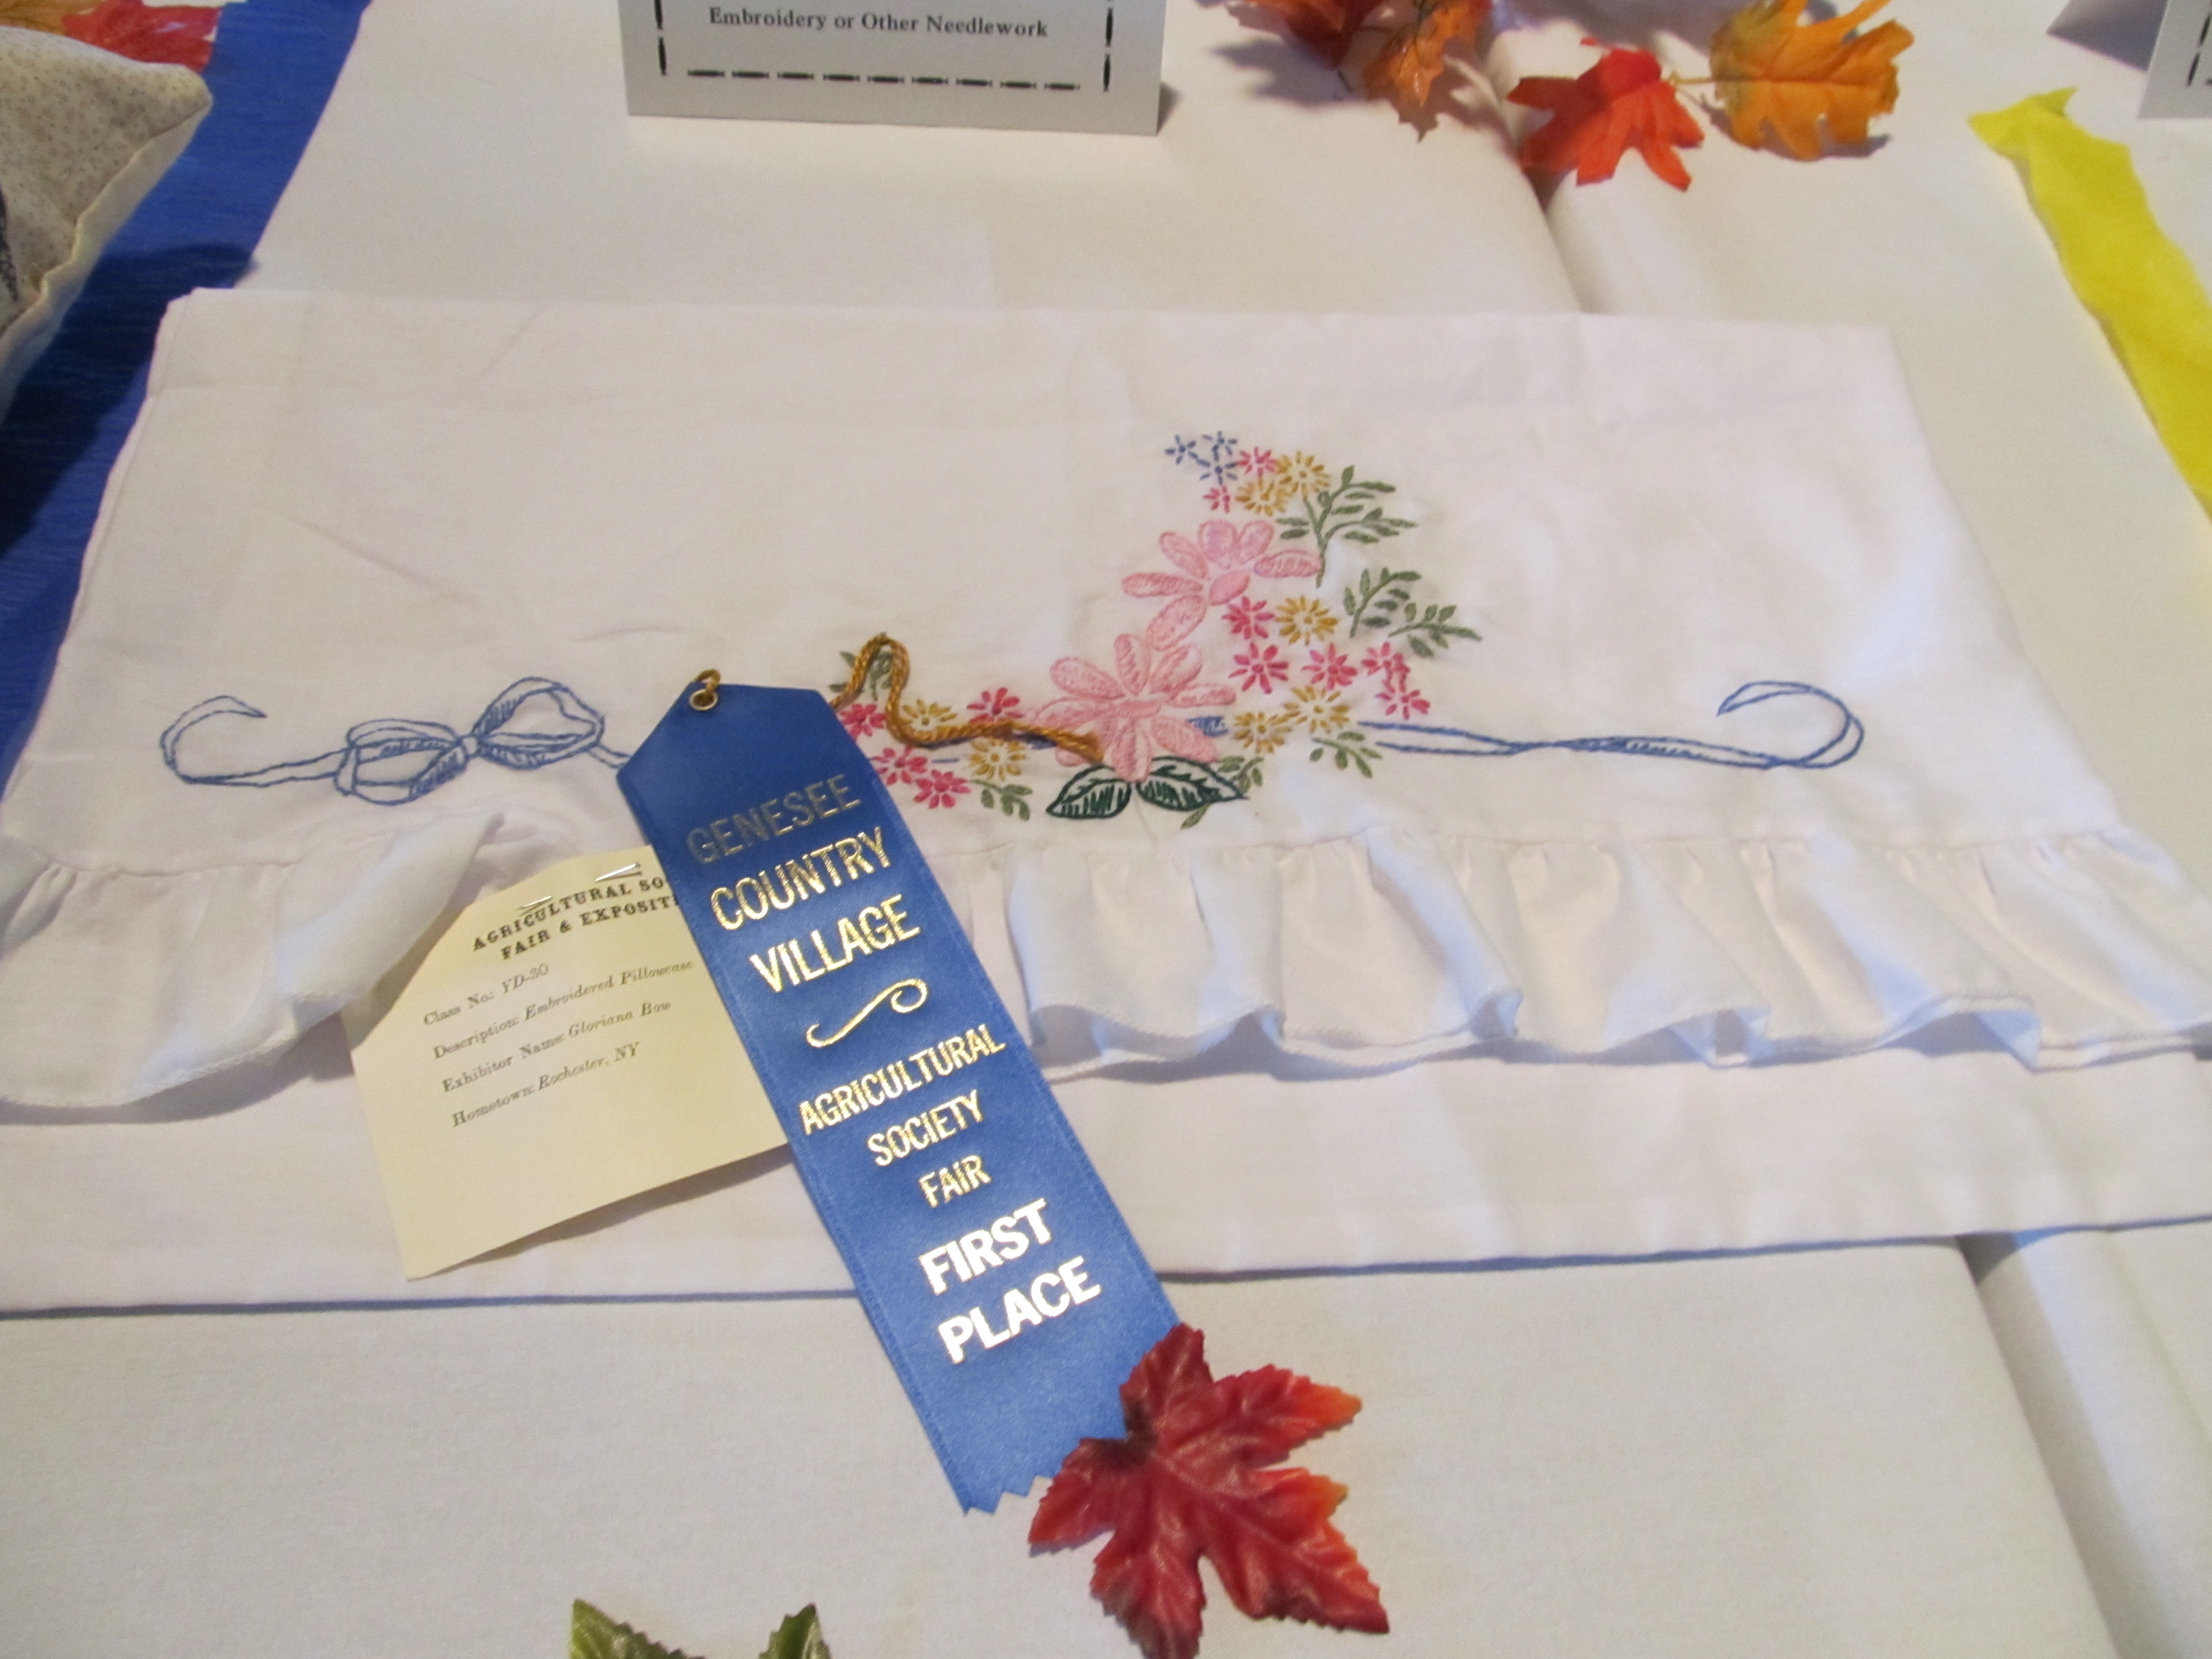
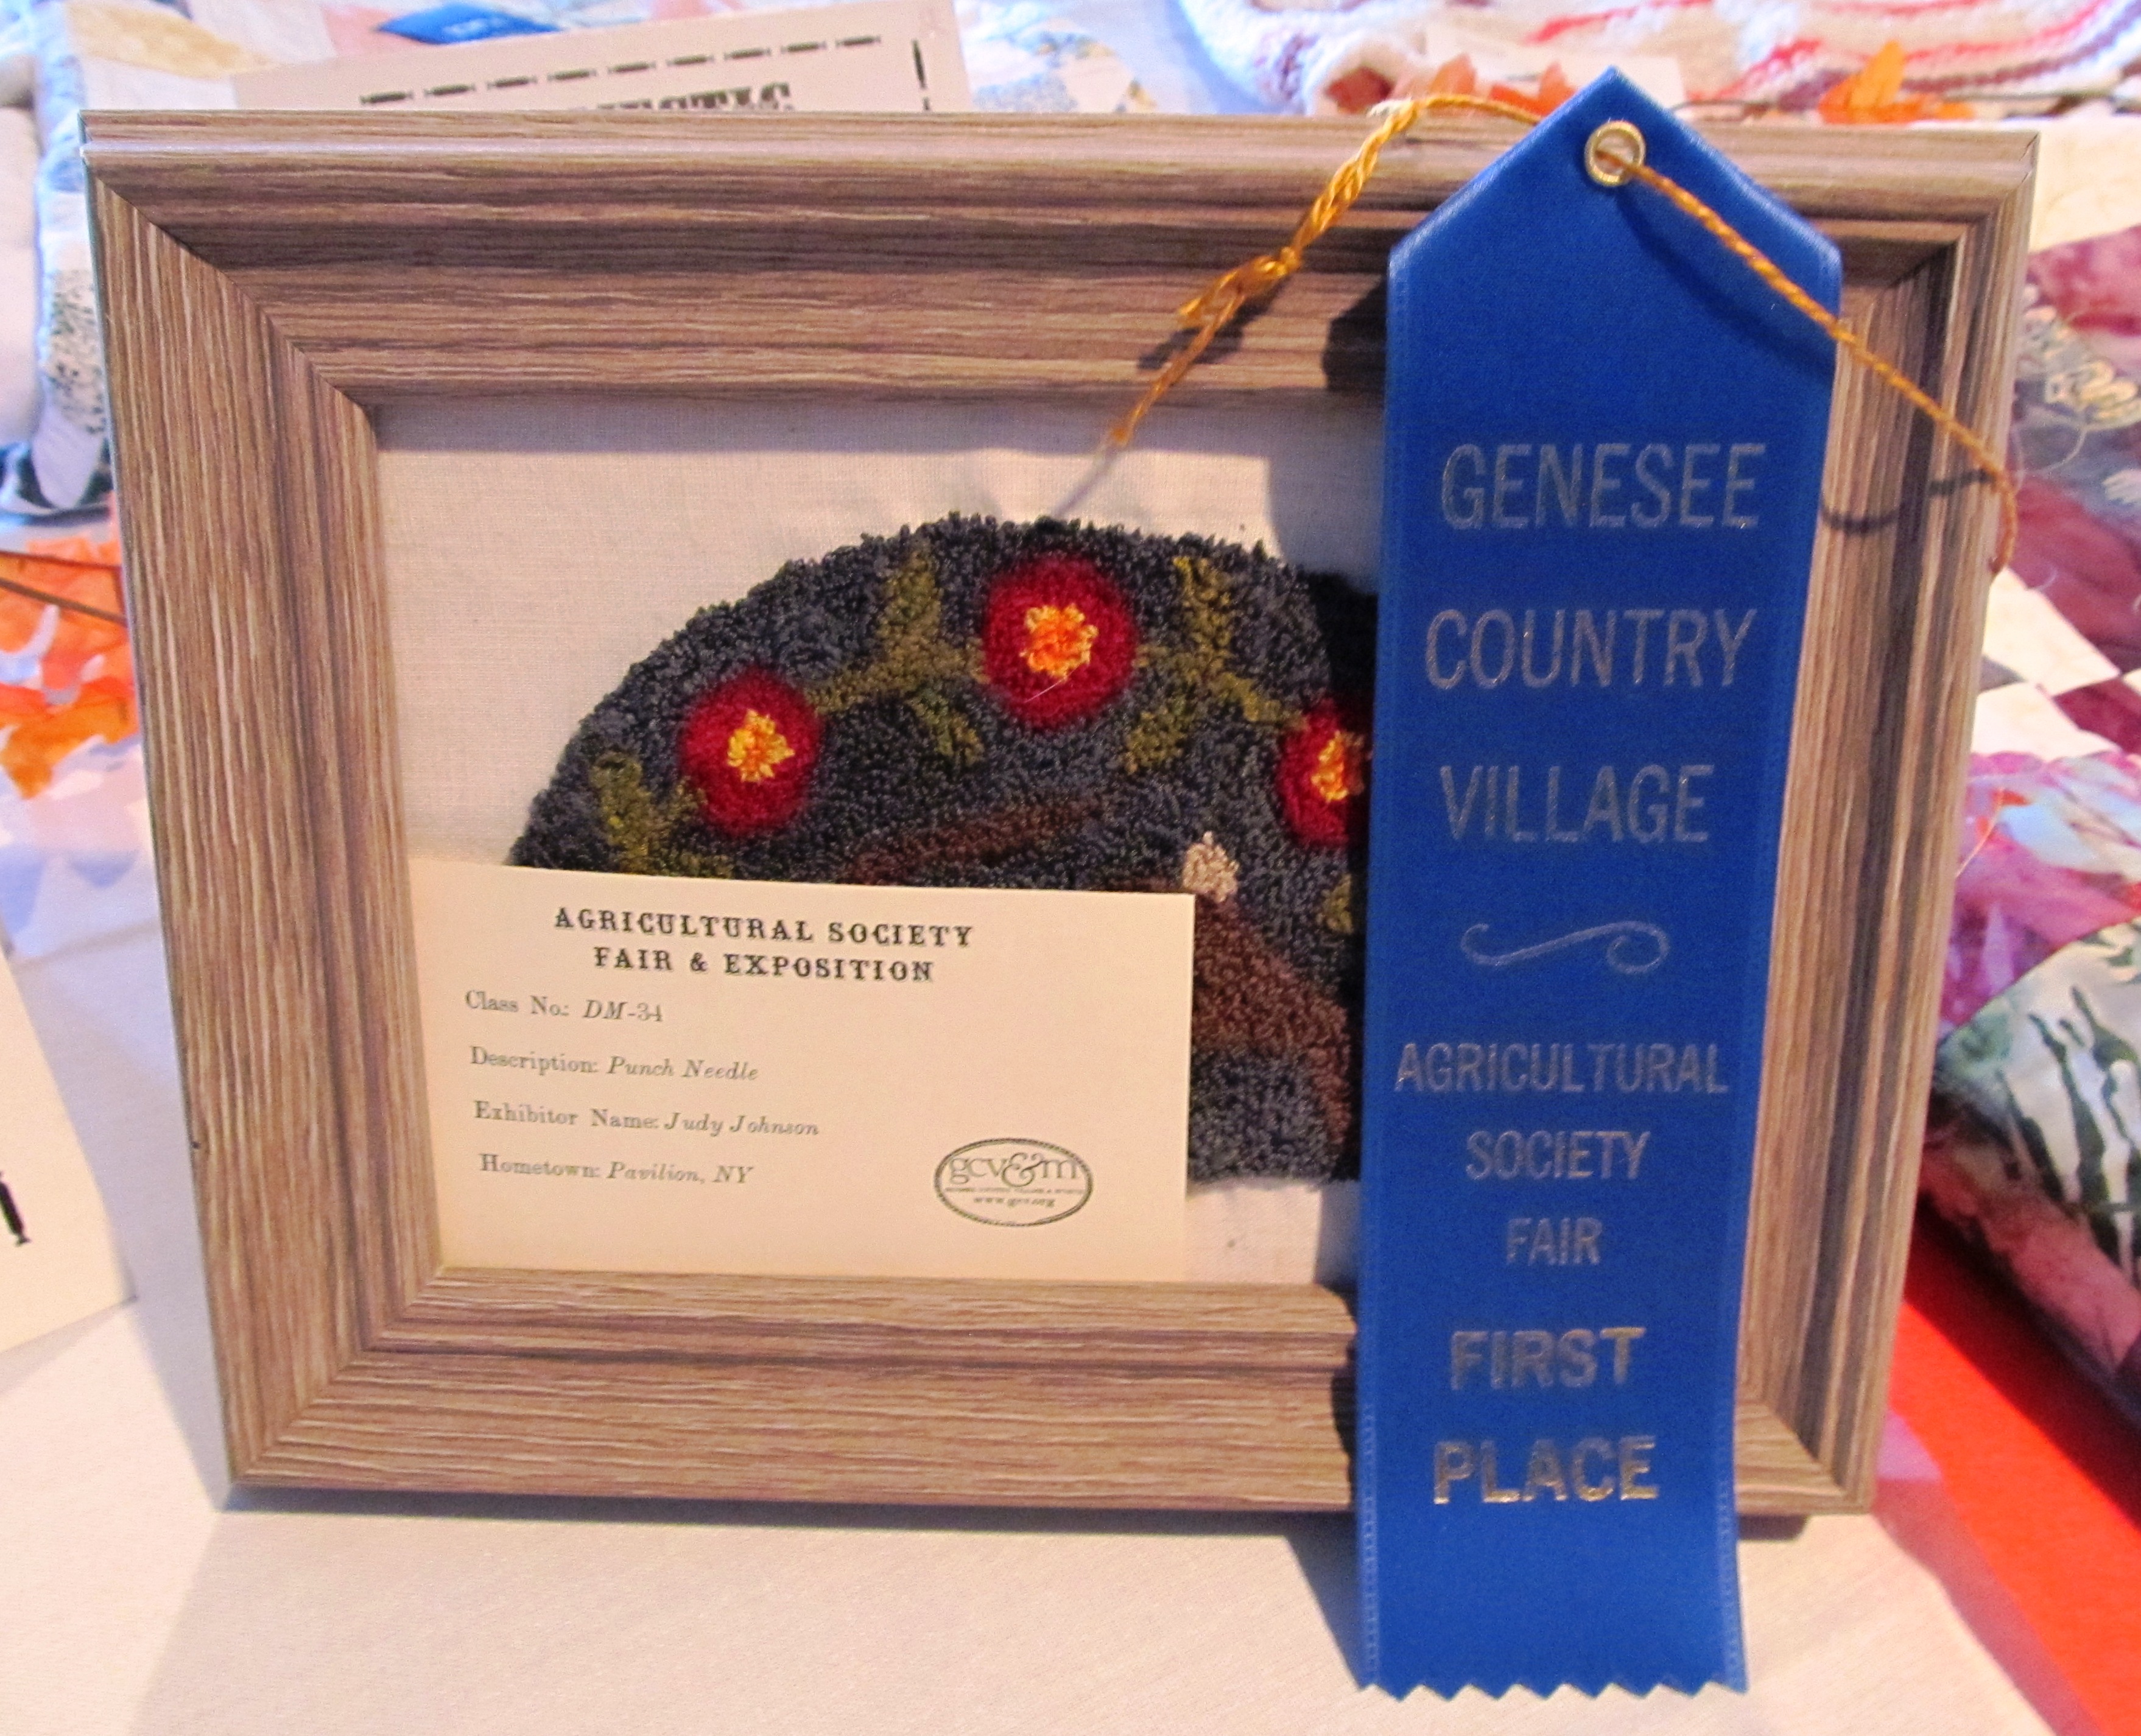
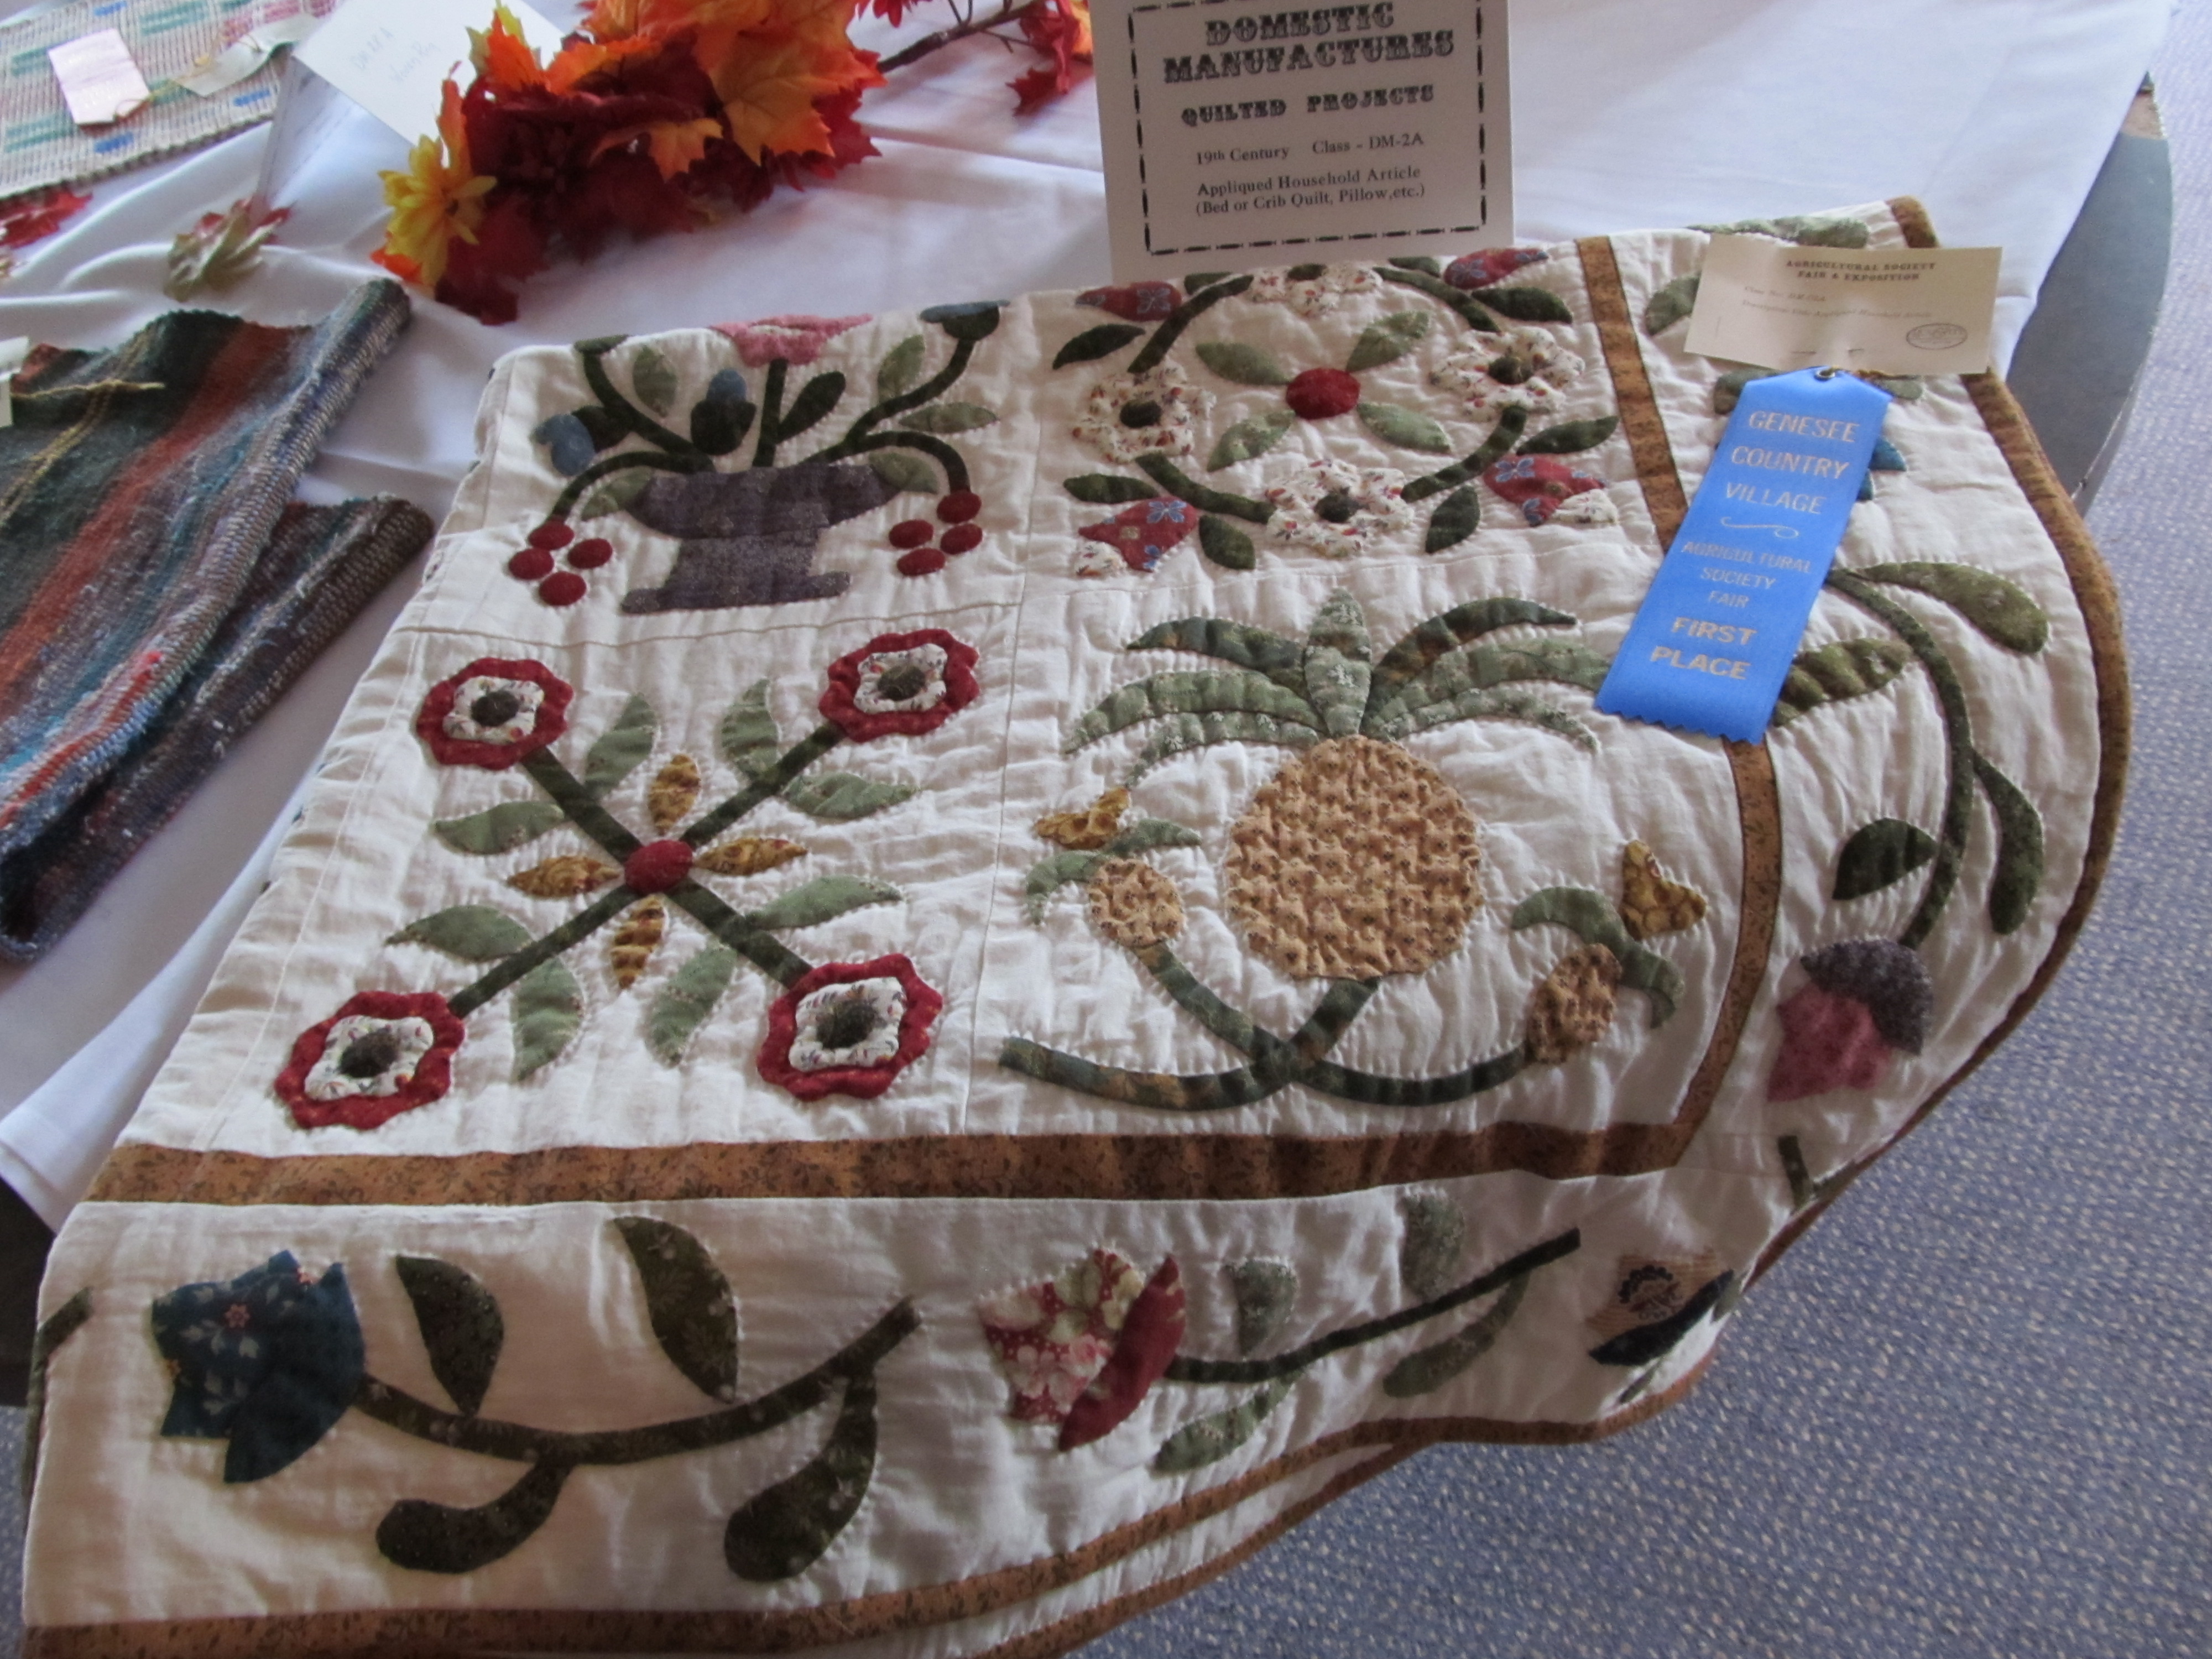
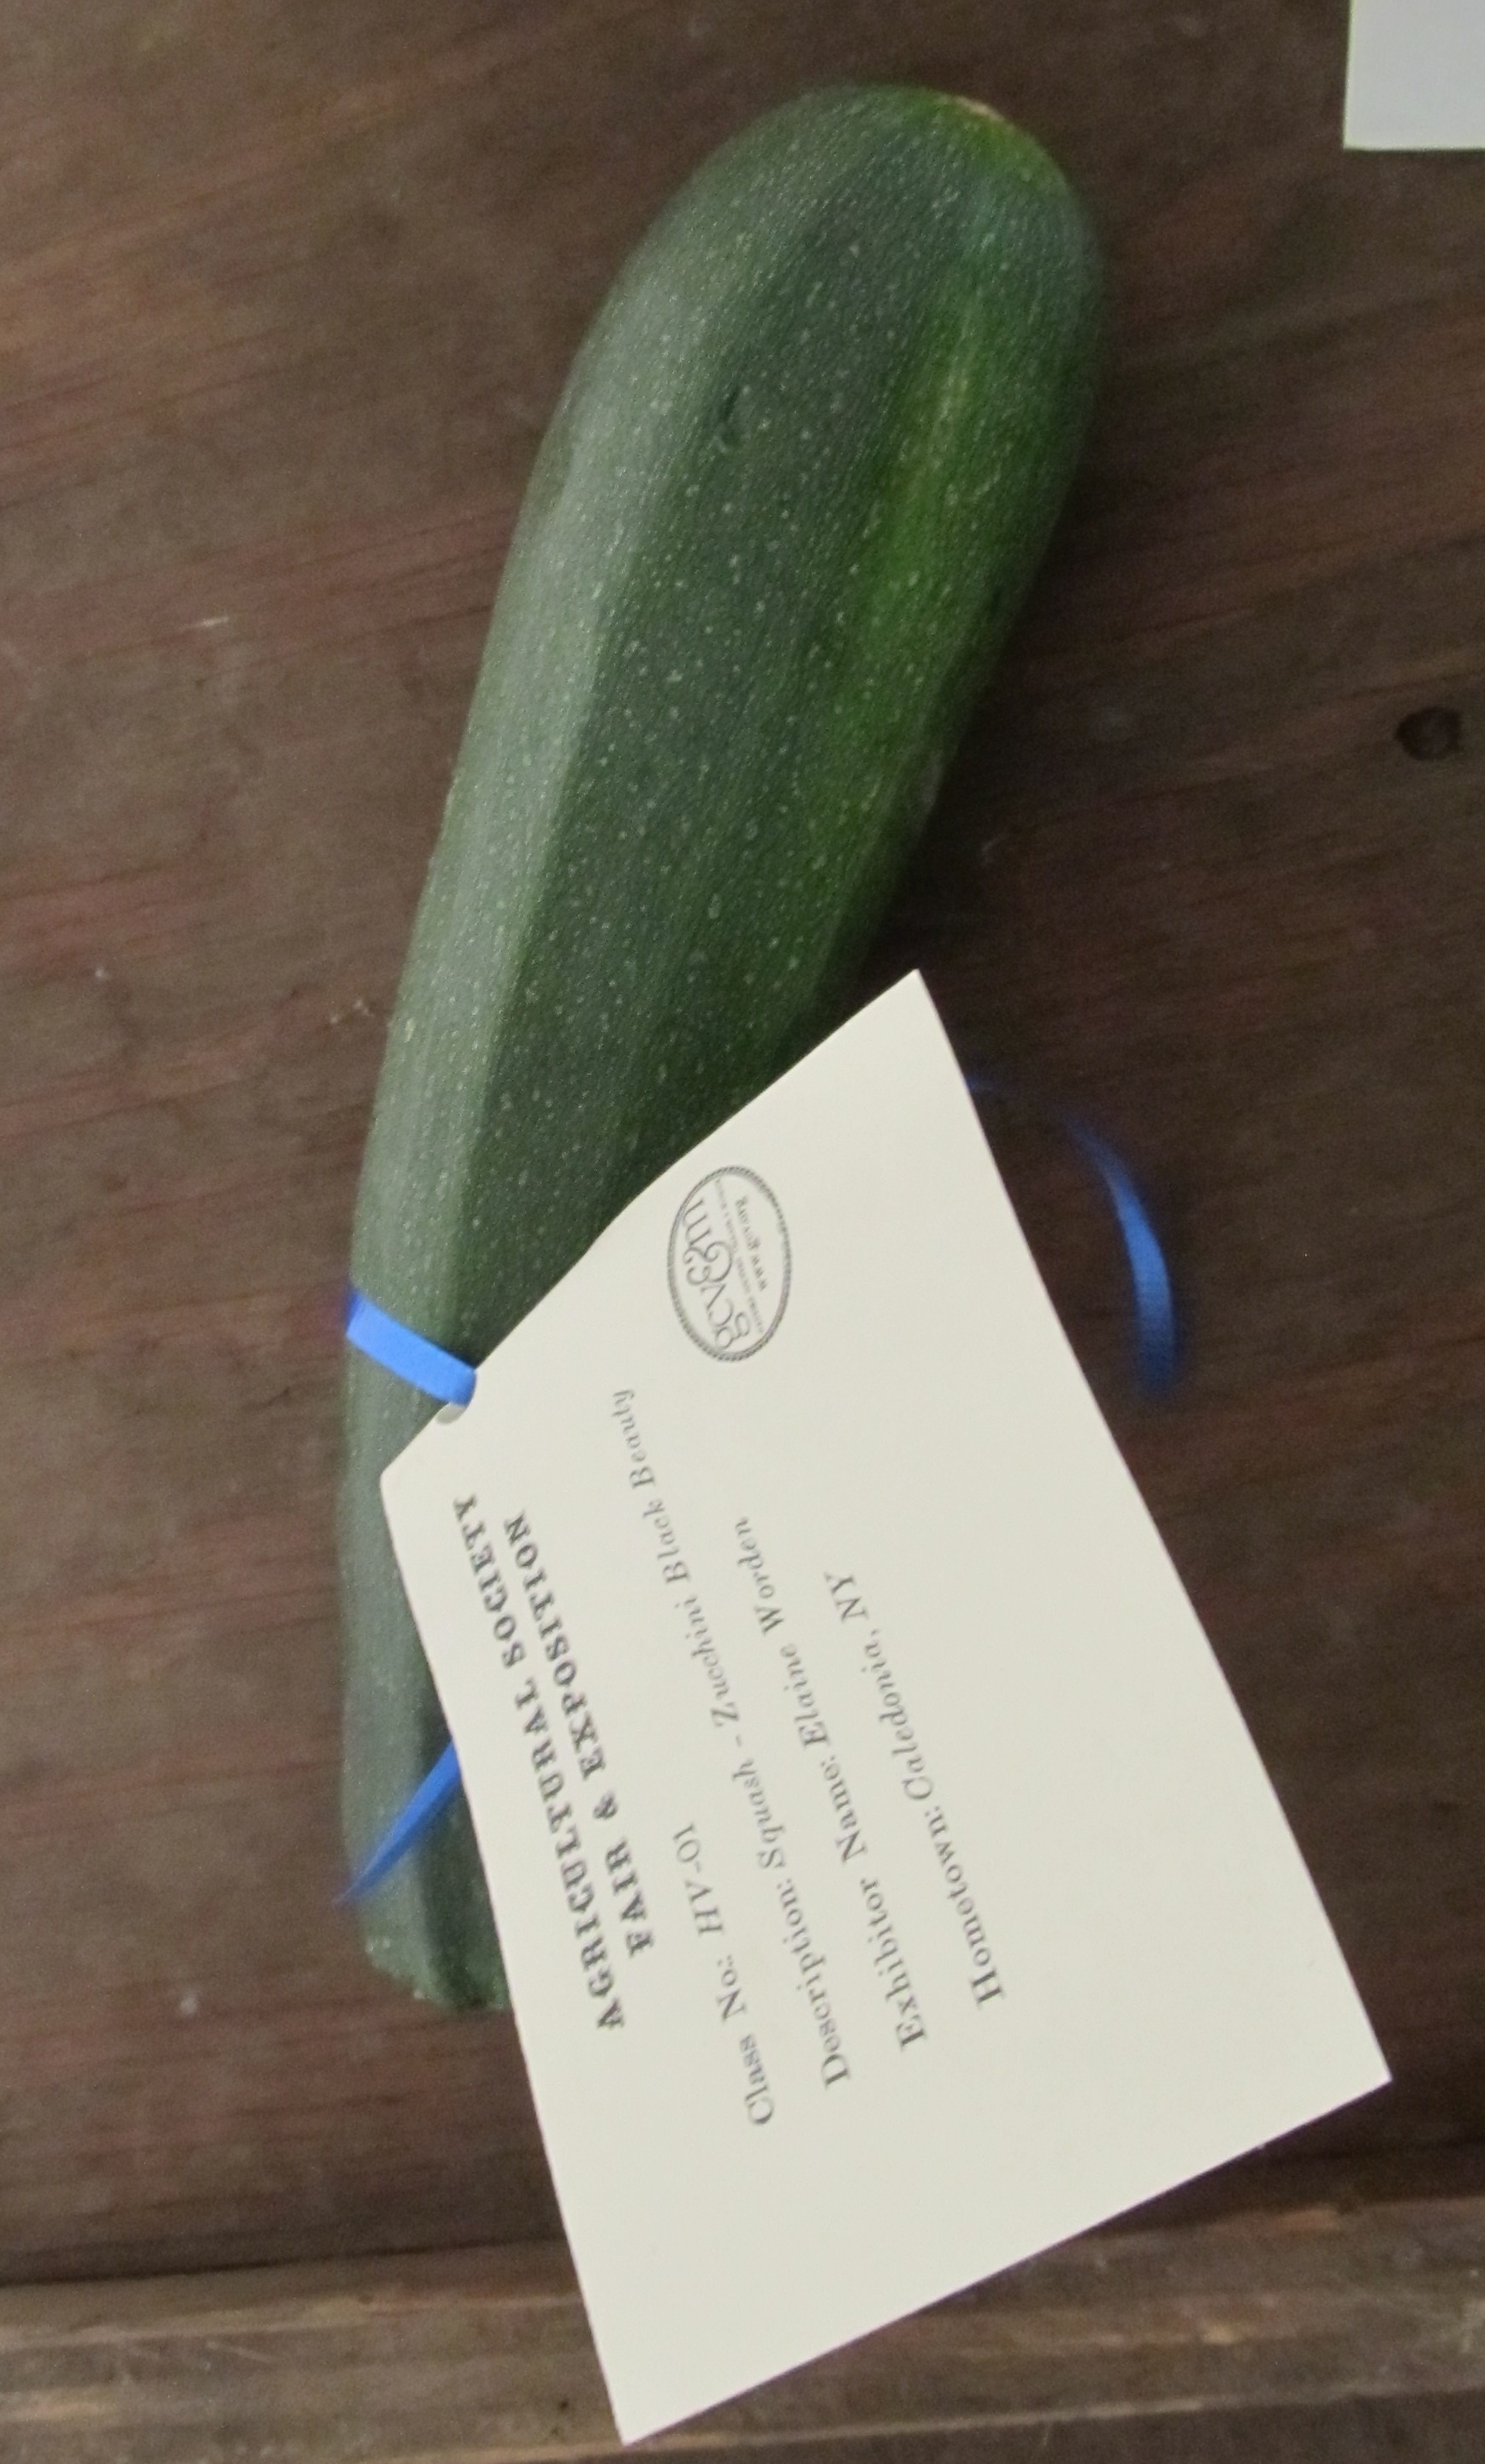
 Each of the hooked rugs entered this year were beautifully done. There was just something about this one though. I think Grandma would have loved it. It is playful, pleasing and just the right balance of colors. Love it.
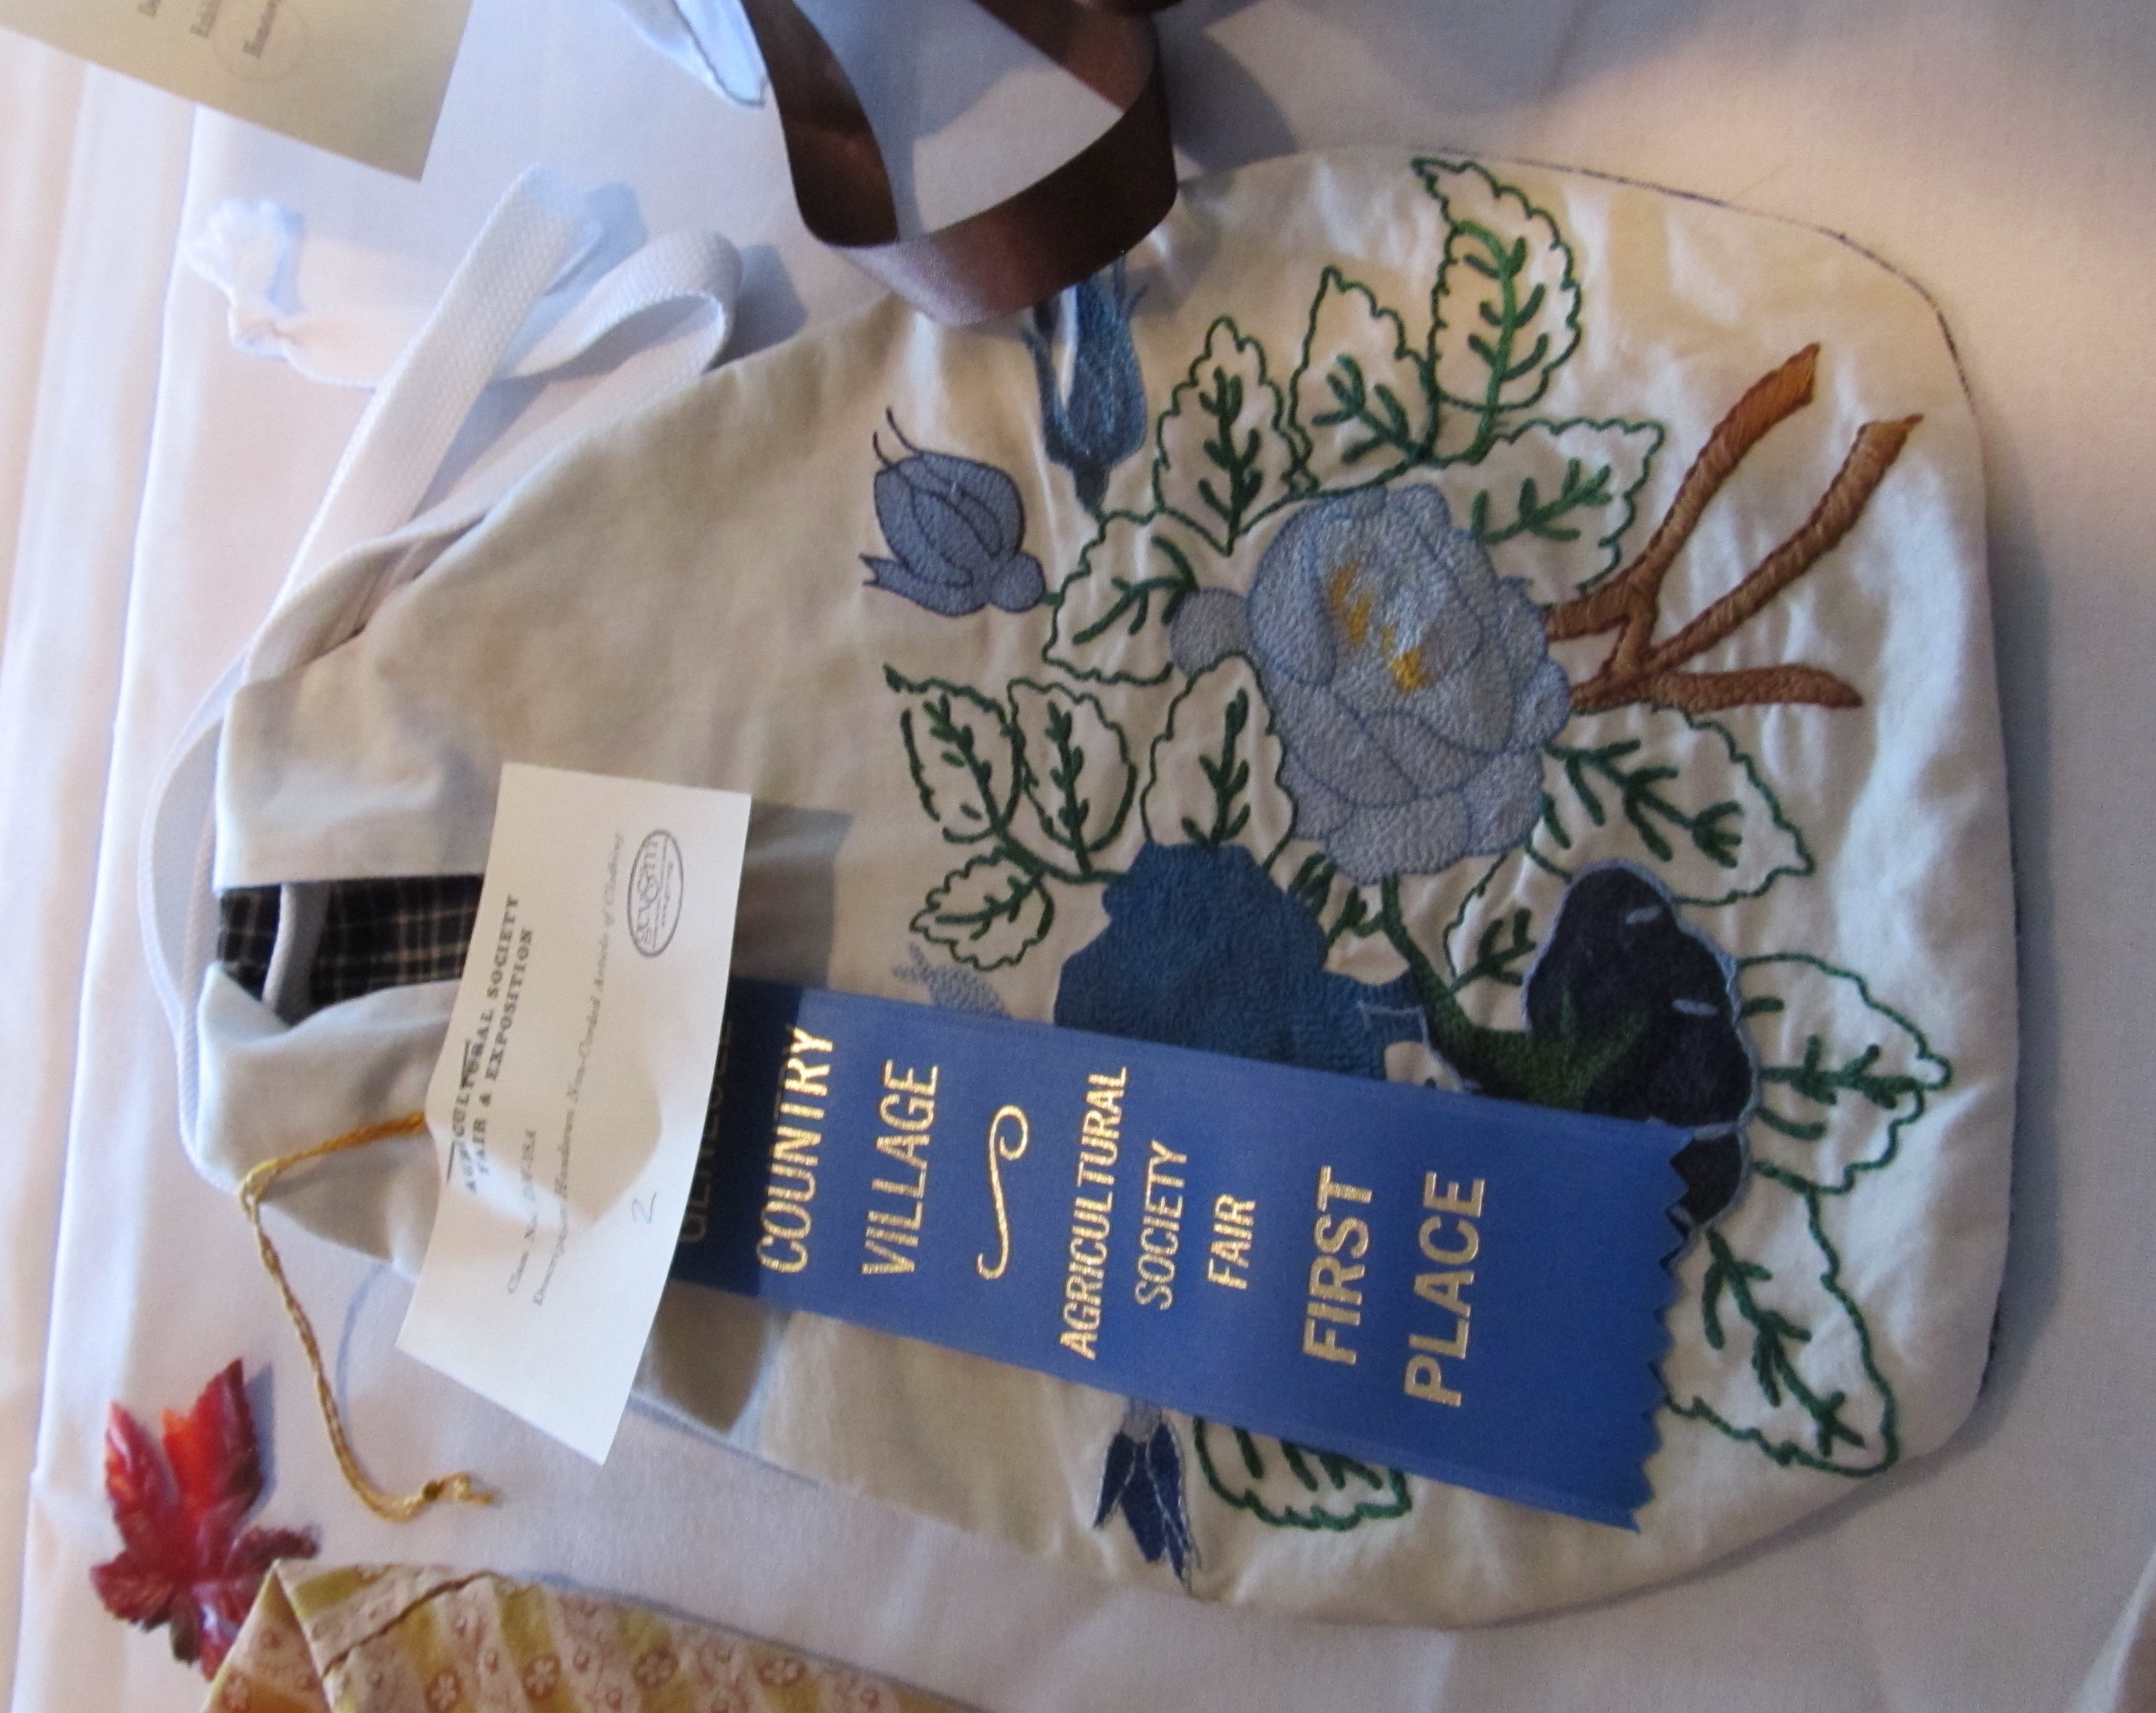


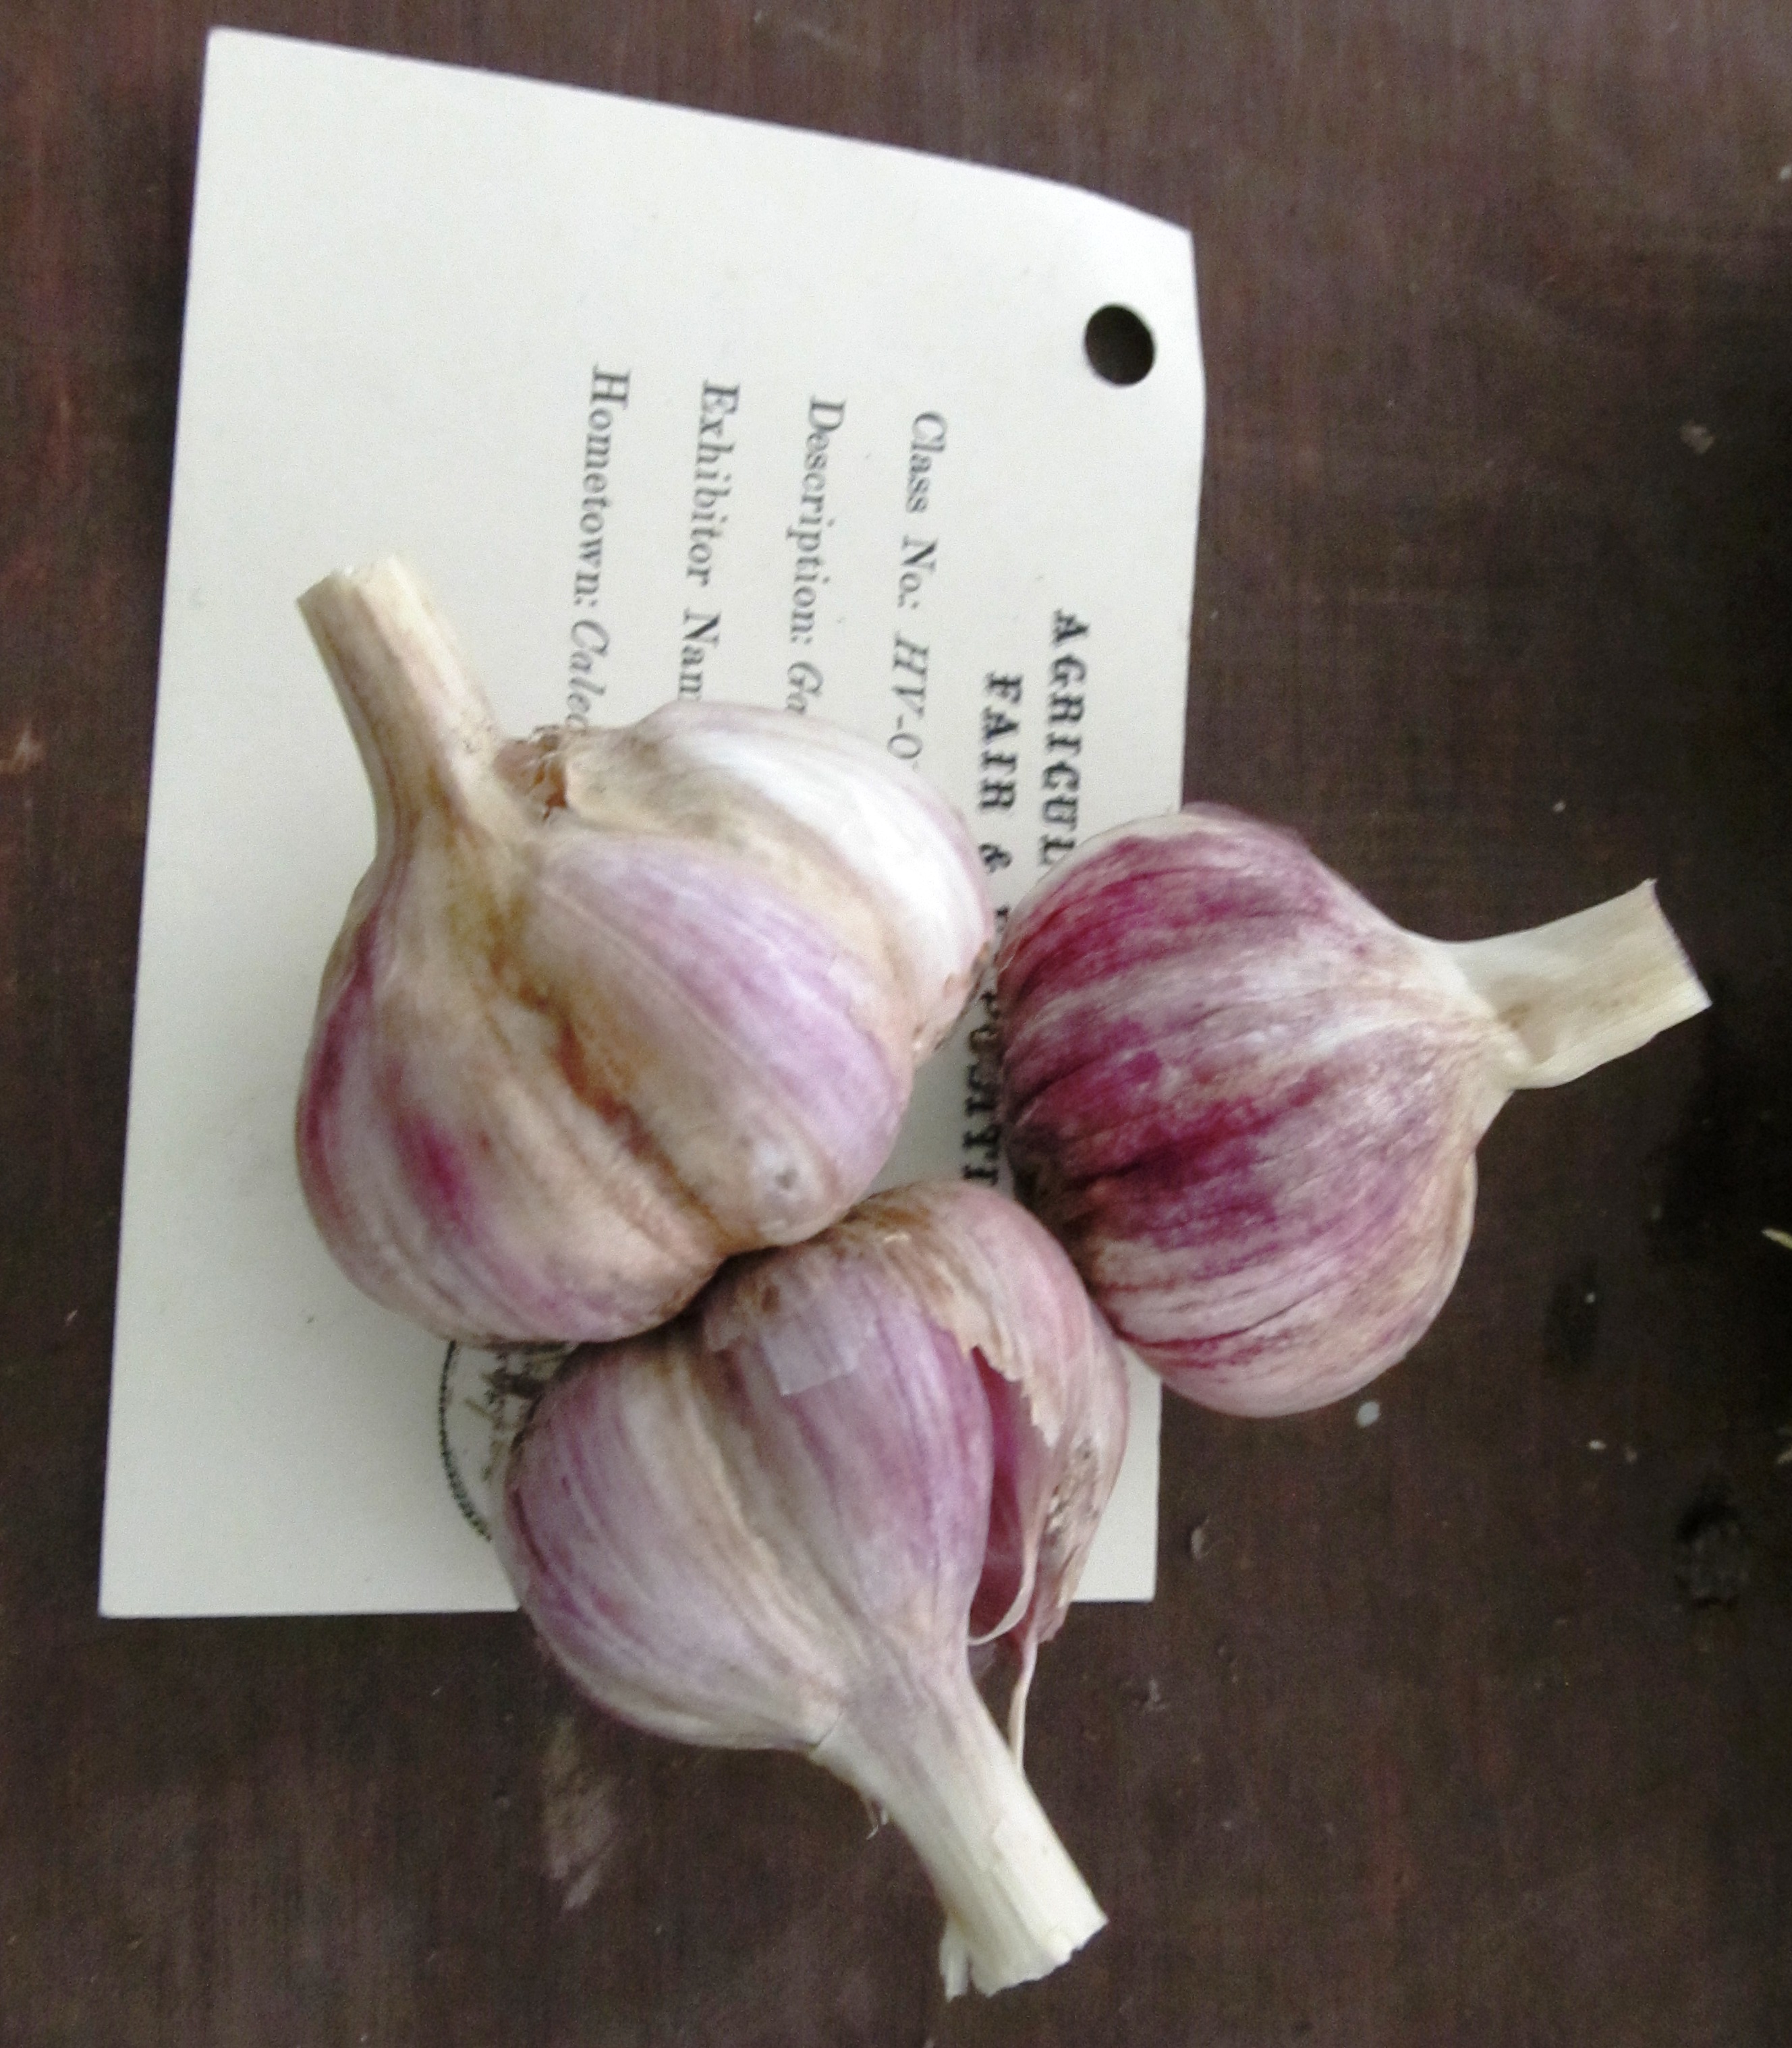
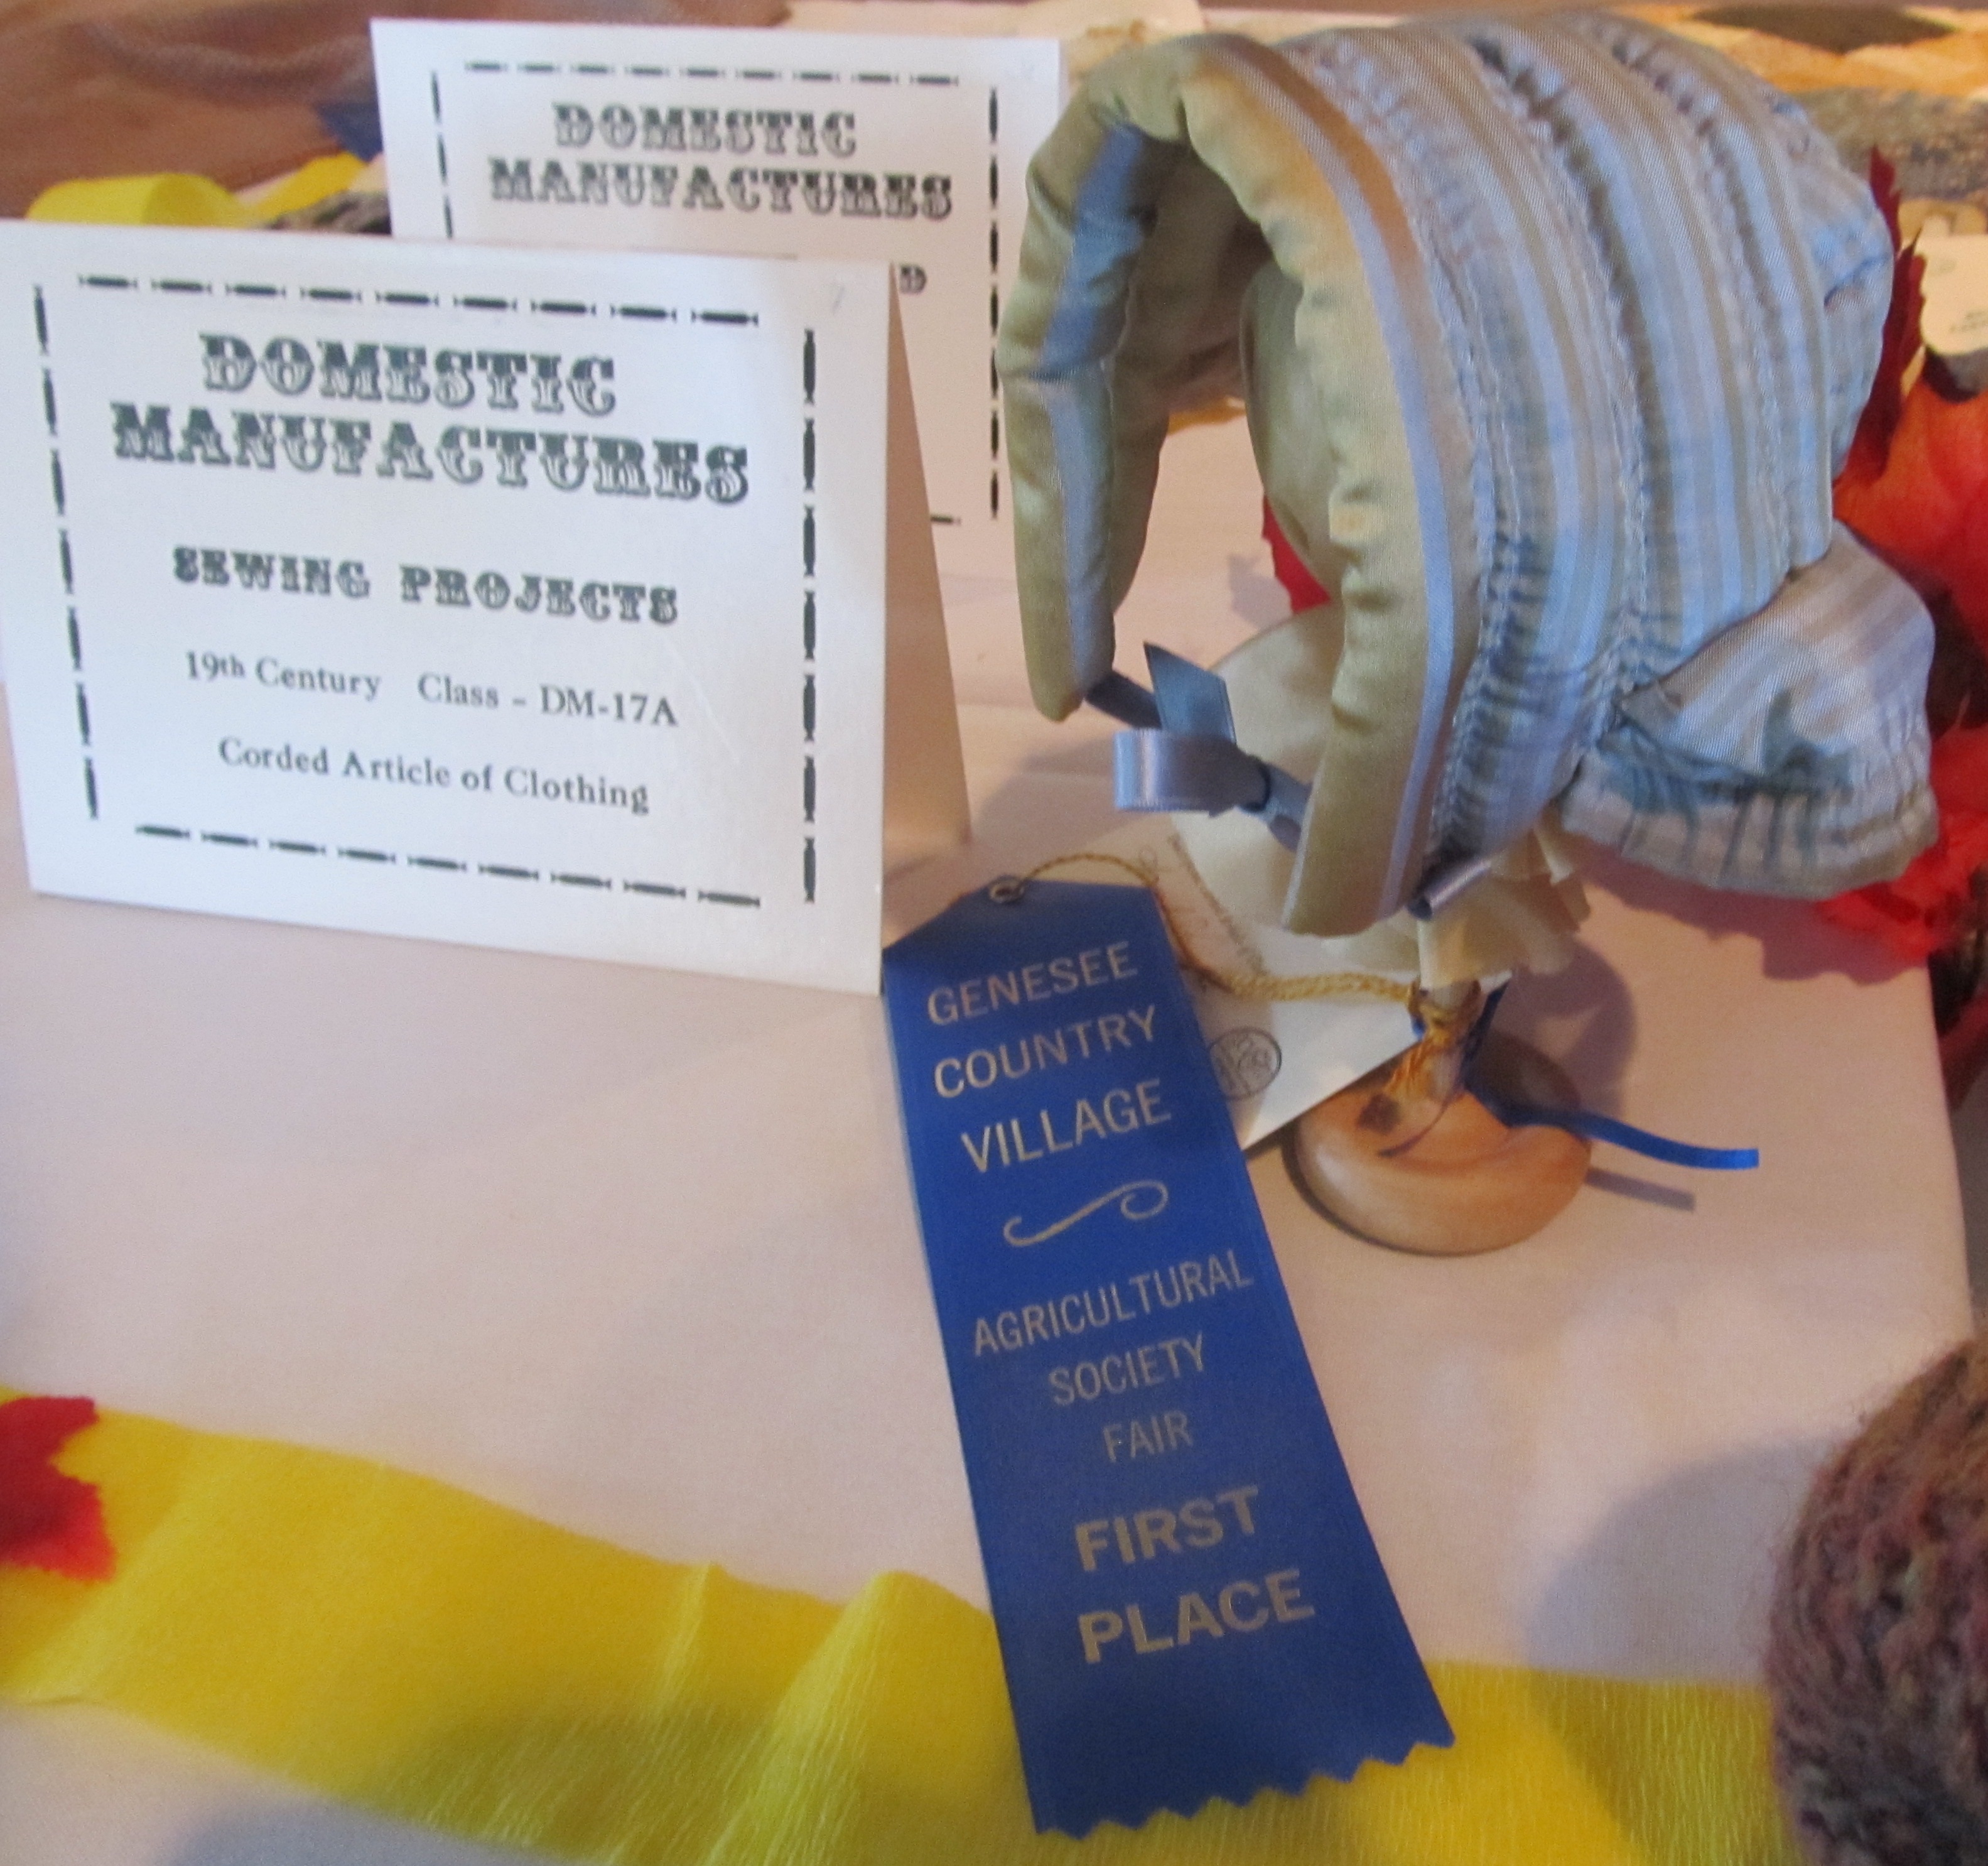
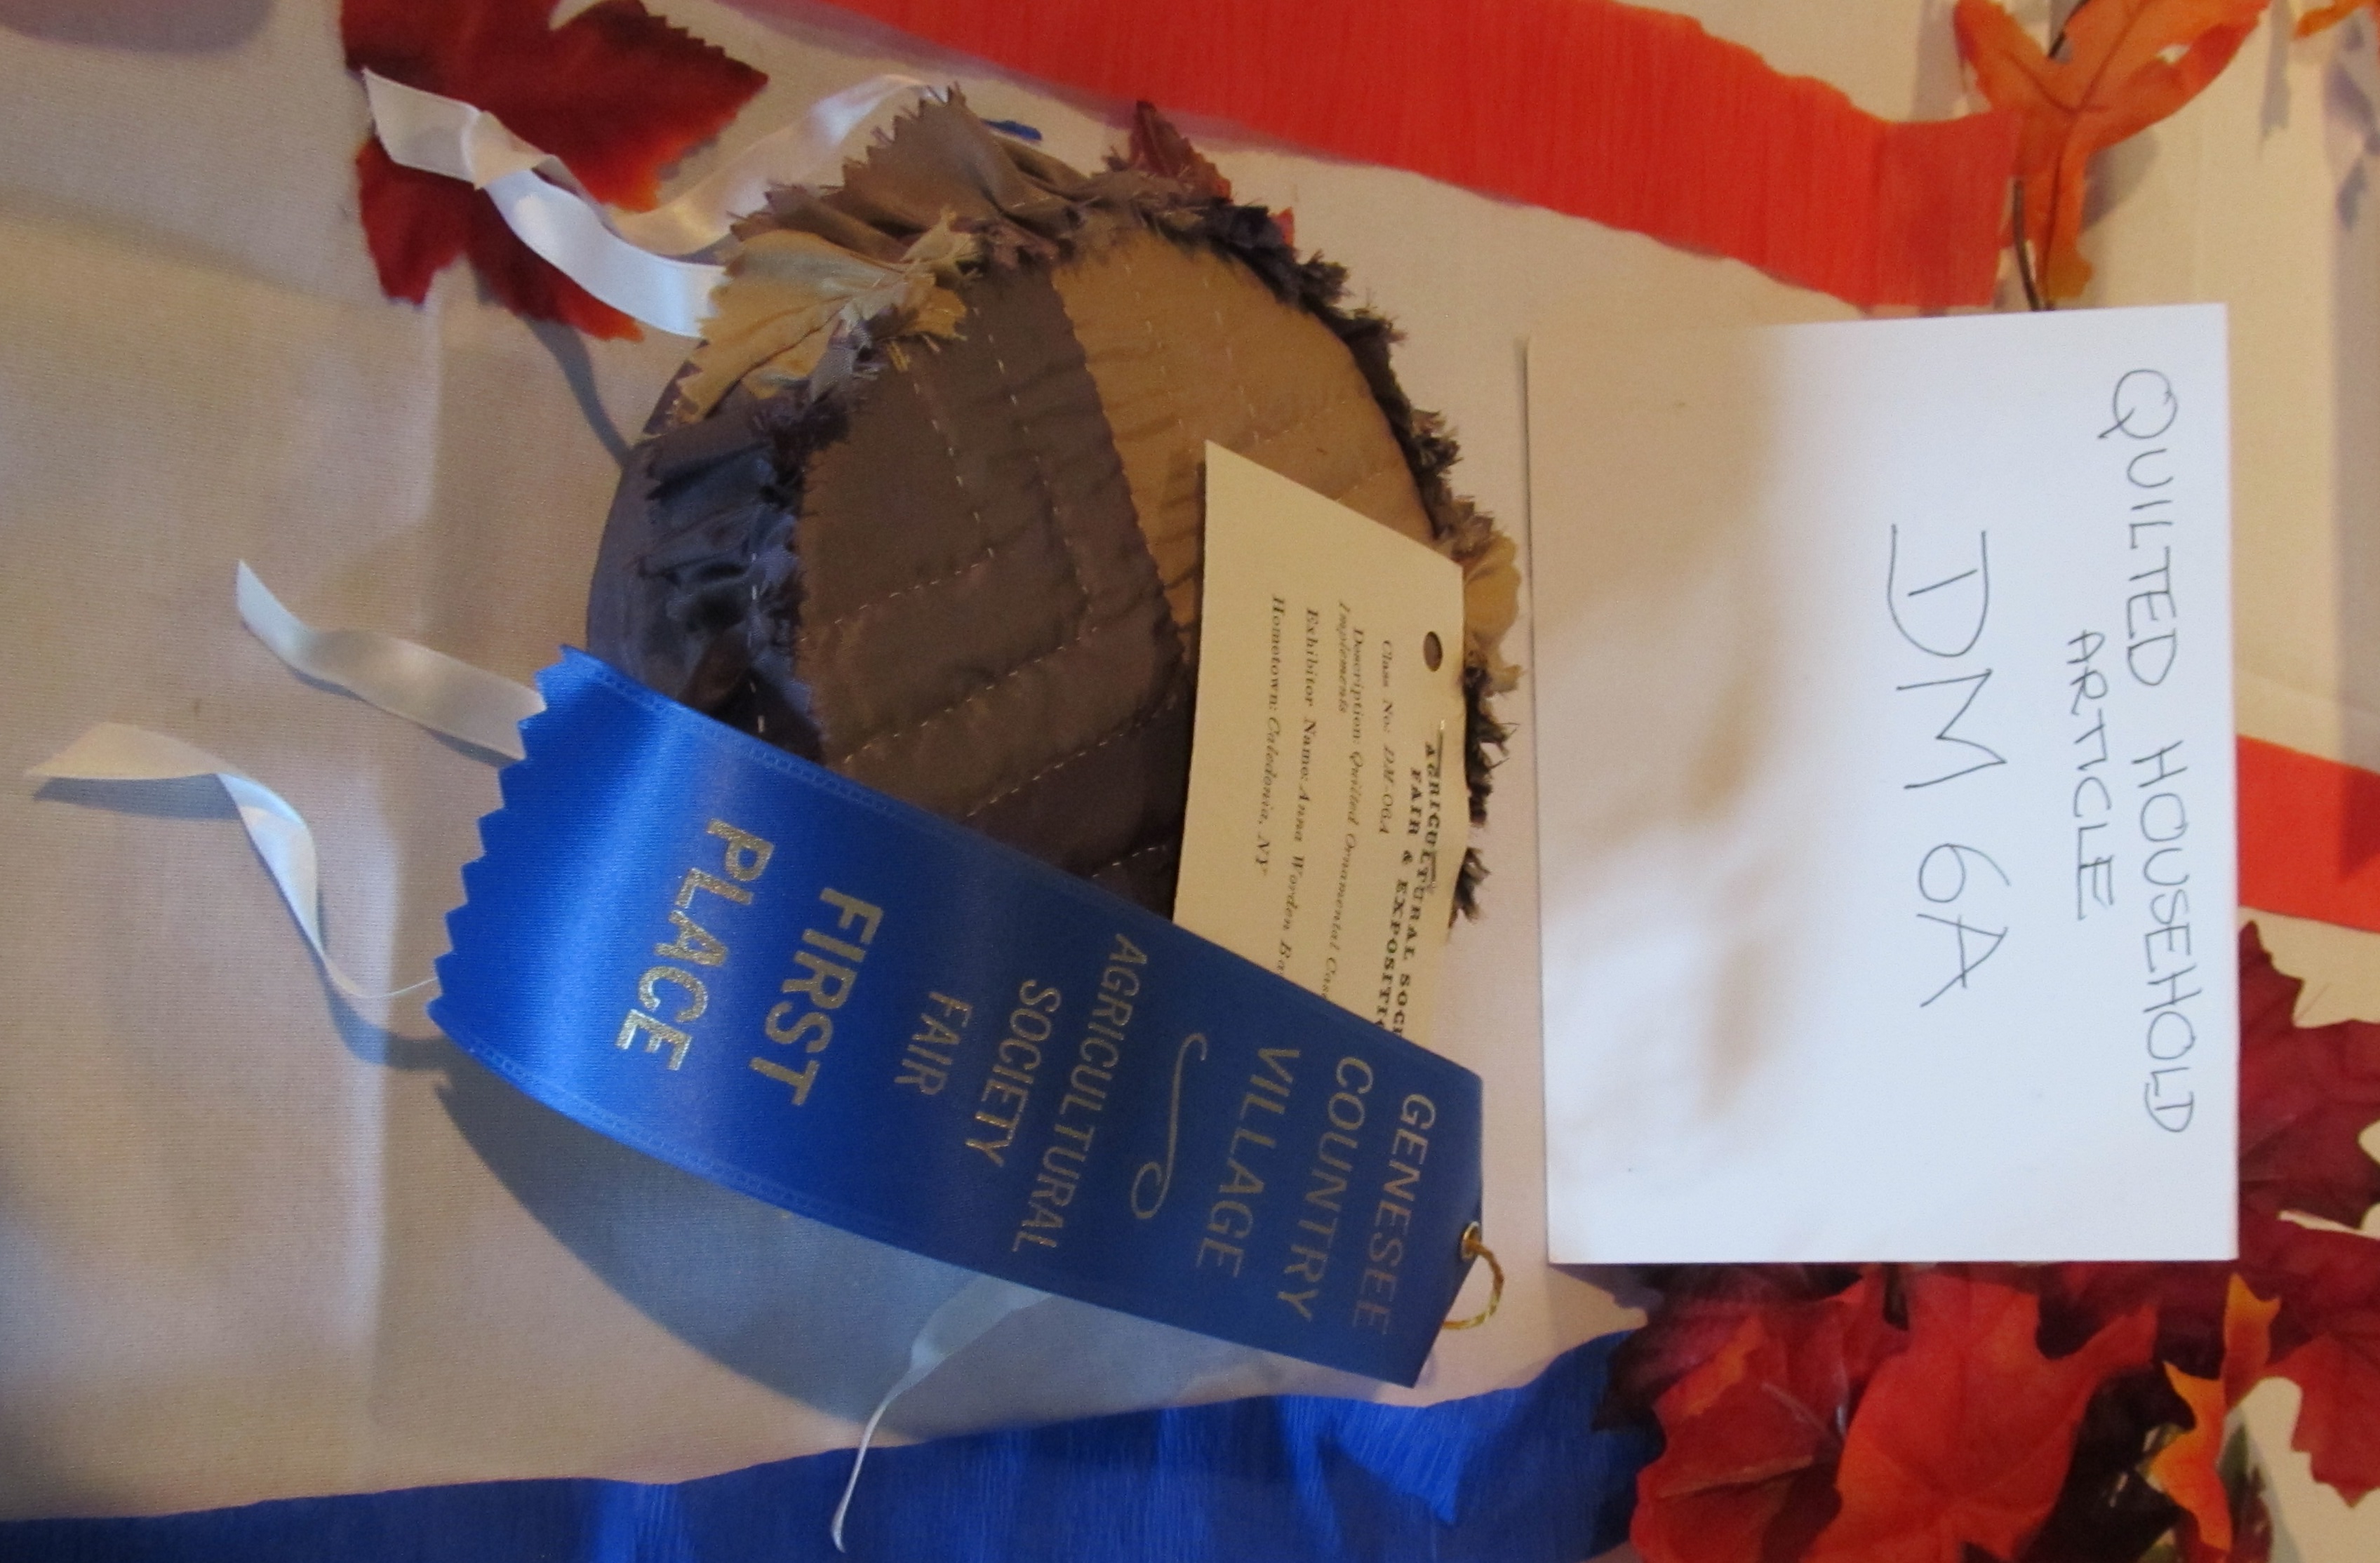
 It was fun scaling down the winter bonnet patterns to doll size. I did one in a quilted style using a double twist pattern and one in the corded and wadded style that I find to be nicely warm. These are for dolls with 9.5″ to 10″ heads.


