Finally… a Whimsy Wednesday video after… um…. well… a few weeks.
The new playlist I mentioned is called: Making Items That Would Make Good Gifts.

Finally… a Whimsy Wednesday video after… um…. well… a few weeks.
The new playlist I mentioned is called: Making Items That Would Make Good Gifts.
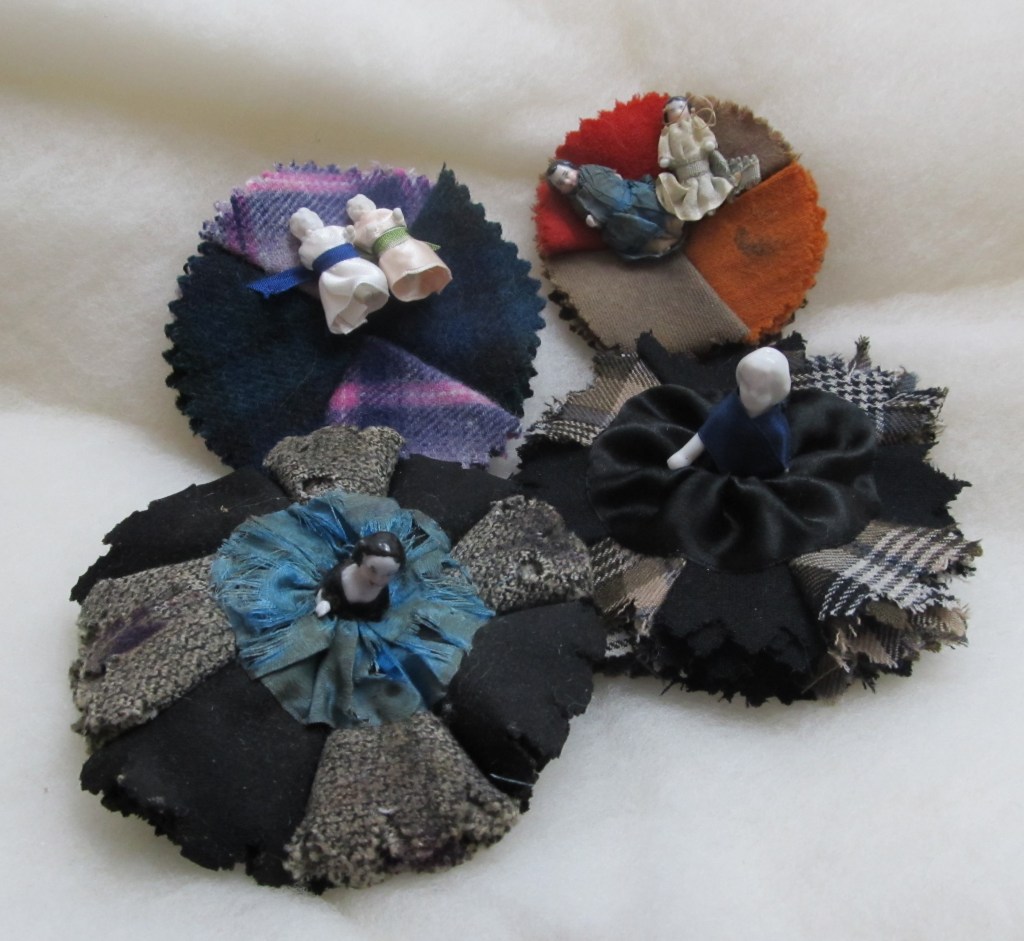
Whether penning a letter to a far a way sister or updating the household ledger, using a pen and ink called for the use of a pen wipe, or pen wiper. Through the Victorian era, pen wipers could be quite simple, entirely utilitarian, or quite decorative, comprising utility and fancy. In either case, a pen wiper was simply its name: a wiper for the pen. An inked pen could be dabbed off or cleaned upon the layers of wool.
At their simplest, a pen wiper was simply layers of wool layered upon each other or rolled together. The layers tacked together or secured simply. The wools used tend to be fulled, flannel, or worsted, holding its fibers tight as not to fray. Often the edged were pinked. With plain black wool being most frequently used as it disguises the discarded ink best, we see an assortment of colors, solids, and plaids used in pen wipers.
Directions for making pen-wipers were published in ladies magazines as well as books for young girls. They were often recommended as gifts. Lydia Child gives us a nice introduction to pen-wipers in her Girl’s Own Book:
“Pen-Wipers
These are very necessary accompaniments to a neat writing desk. The most common ones consist of two circular pieces of black velvet, neatly bound and caught together in the middle with two or three circular pieces of black broadcloth between them, for the purpose of wiping the pens. Some, instead of velvet covers, have bits of black broadcloth covered with bright-coloured round pieces, about as big as a wafer, laid oe over another, like the scales of a fish.
The butterfly is likewise a common form. The wings are of embroidered velvet, and the leaves between are of black broadcloth.
The most convenient pen-wiper is made of three pointed pieces of broadcloth, about half of a quarter of a yard long. Each piece is about an eighth of a yard, or two nails, wide at the bottom, and goes of to a point at the top. Each one is stitched up separately, and turned wrong side outward, when it looks lot unlike a tunnel. After they are made, the three are all joined together at the seams, and a tasteful little bow is placed on the top. The bottom can be bound or embroidered with gay colours, according to fancy. This form is peculiarly convenient, because the pen can be run into these little tunnes, and wiped without any danger of
inking the fingers. Pen-wipers should always be made of black flannel or broadcloth; other colours soon get
spoiled by the ink.”
Eliza Leslie includes directions for simple pen wipers. The first is essentially a book with pages of wool to wipe the pen upon:
“A Pen-Wiper.
Take two old playing-cards, and cover them on both sides with silk, sewed neatly over the edges. Then sew the cards together, so as to resemble the cover of a book. To form the leaves of the book, prepare six or eight pieces of canton crape; double them, and cut them to fit the cover. With a pair of sharp scissors scollop them all round, and then lay them flat and even on the cover, and sew them in with a needle-full of sewing-silk. On these leaves of canton crape the pens are to be wiped. Black is the best colour.”
The next is a garland of wool as a pen wiper.
“Another Pen-Wiper.
Cut our a great number pieces of canton-crape about the size of half a dollar, and of as many dif erent colours as you can procure. Lay them evenly in separate piles; let on pile be black, another red; some ples of blues, and some green. Let there be an equal number of pieces in each pile. Then stick a needle with a thread of silk in it, through the centre of each pile, and fasten the pieces together. When all your various piles are ready, make a small hole through middle of each, with a pair of sharp-pointed scissors, and run a silk cord through them all, as if you were stringing beads; arranging the dif erent colours according to your taste. You may make a string of pen-wipers of any length, from a quarter of a yard to a whole yard.
These are very useful to hang over a desk where a great deal of writing is done, and may be acceptable presents from little girls to their fathers.
They will look for the better having the edges scolloped. You may either fasten each cluster of pieces permanently to the string, so as to repairing stationary, or you may leave them to slip up and down like beads.”
Leslie’s third pen wiper comprises pasteboard and wool sandwiched between:
“A Third Pen-Wiper.
Cut out two circular pieces of pasteboard about the size of a dollar, or larger if you choose, and cover them with silk on both sides. Then get some canton crape; cut it into round pieces to fit the covered pasteboard, and scollop their edges in very small points. You may prepare eight to ten pieces. Put the leaves of crape between two pasteboards, and fasten them all in the centre, stitching them through and through with strong silk and a coats needle. Conceal the fastening, by covering it one each side with a tuft of ravelled of floss of a bright colour.
Come the turn of the century, Helen Campbell’s The American Girl’s Home Book of Work and Play (1902) has more elaborate penwipers in the chapter on gift making. First uses a baby’s shoe:
“Baby-Shoe Penwiper.
Cut out of black cloth four circles three inches wide, and pink the edges. Fold each one across; then fold it again, so that the shape is like a quarter-circle. Take a baby’s shoe of red or blue morocco, and fill it with the folded circles, placing them so that the pinked edges project at the top. A pair of shoes will make two penwipers, and they are very pretty. If liked, the shoe can be fastened to a larger circle of pinked broadcloth.
A note regarding “Canton crepe” – Canton crepe as a recommendation puzzles me. When I look it up, it seems to be silk rather than wool. Canton crepe shows up frequently in searches for the 1920s as blouses and dresses. In advertisements, it is listed with other silks and/or from silk merchants. In the 1870s, searches show “Canton crepe bows”, again more likely silk rather than wool.
Based on feel, wool for pen-wipers tends to be a very tight weave in a medium weight with firm body. Some appears to have been filled with a soft surface, while some is quite smooth.
This fall edition of In Detail may be of particular interest to my doll focused readers.
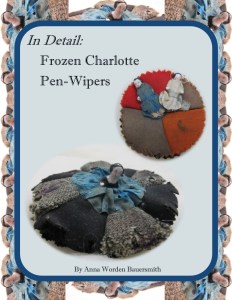
On Detail: Frozen Charlotte Pen-Wipers takes a close look at not one, but two pen-wipers made with frozen Charlotte dolls. The 22 full color pages detail the dolls and pen-wipers, and includes directions for making your own.
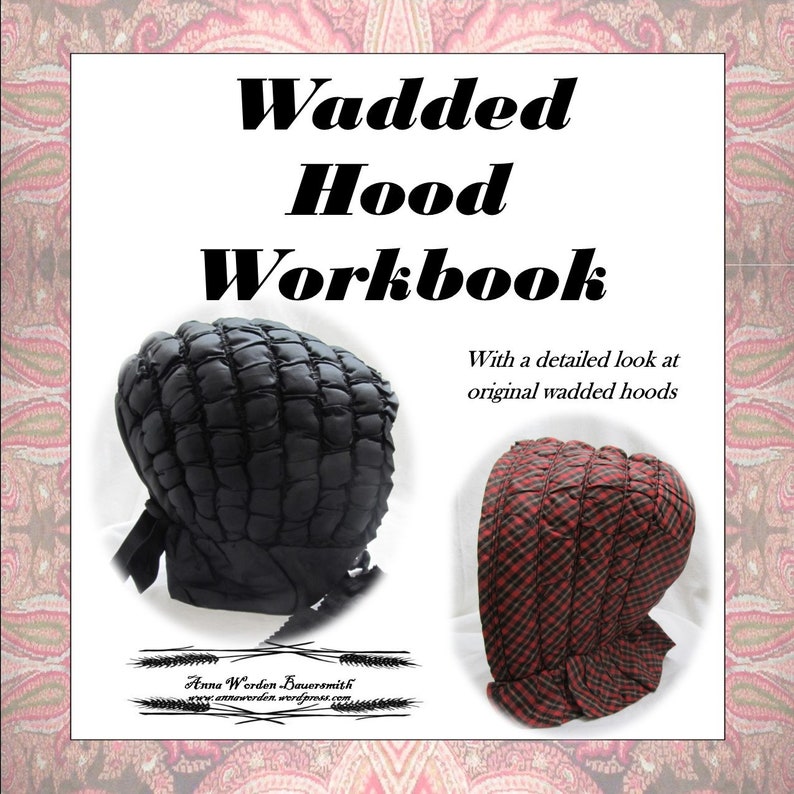
Do you have your Wadded Hood Workbook yet?
Order and download your today!
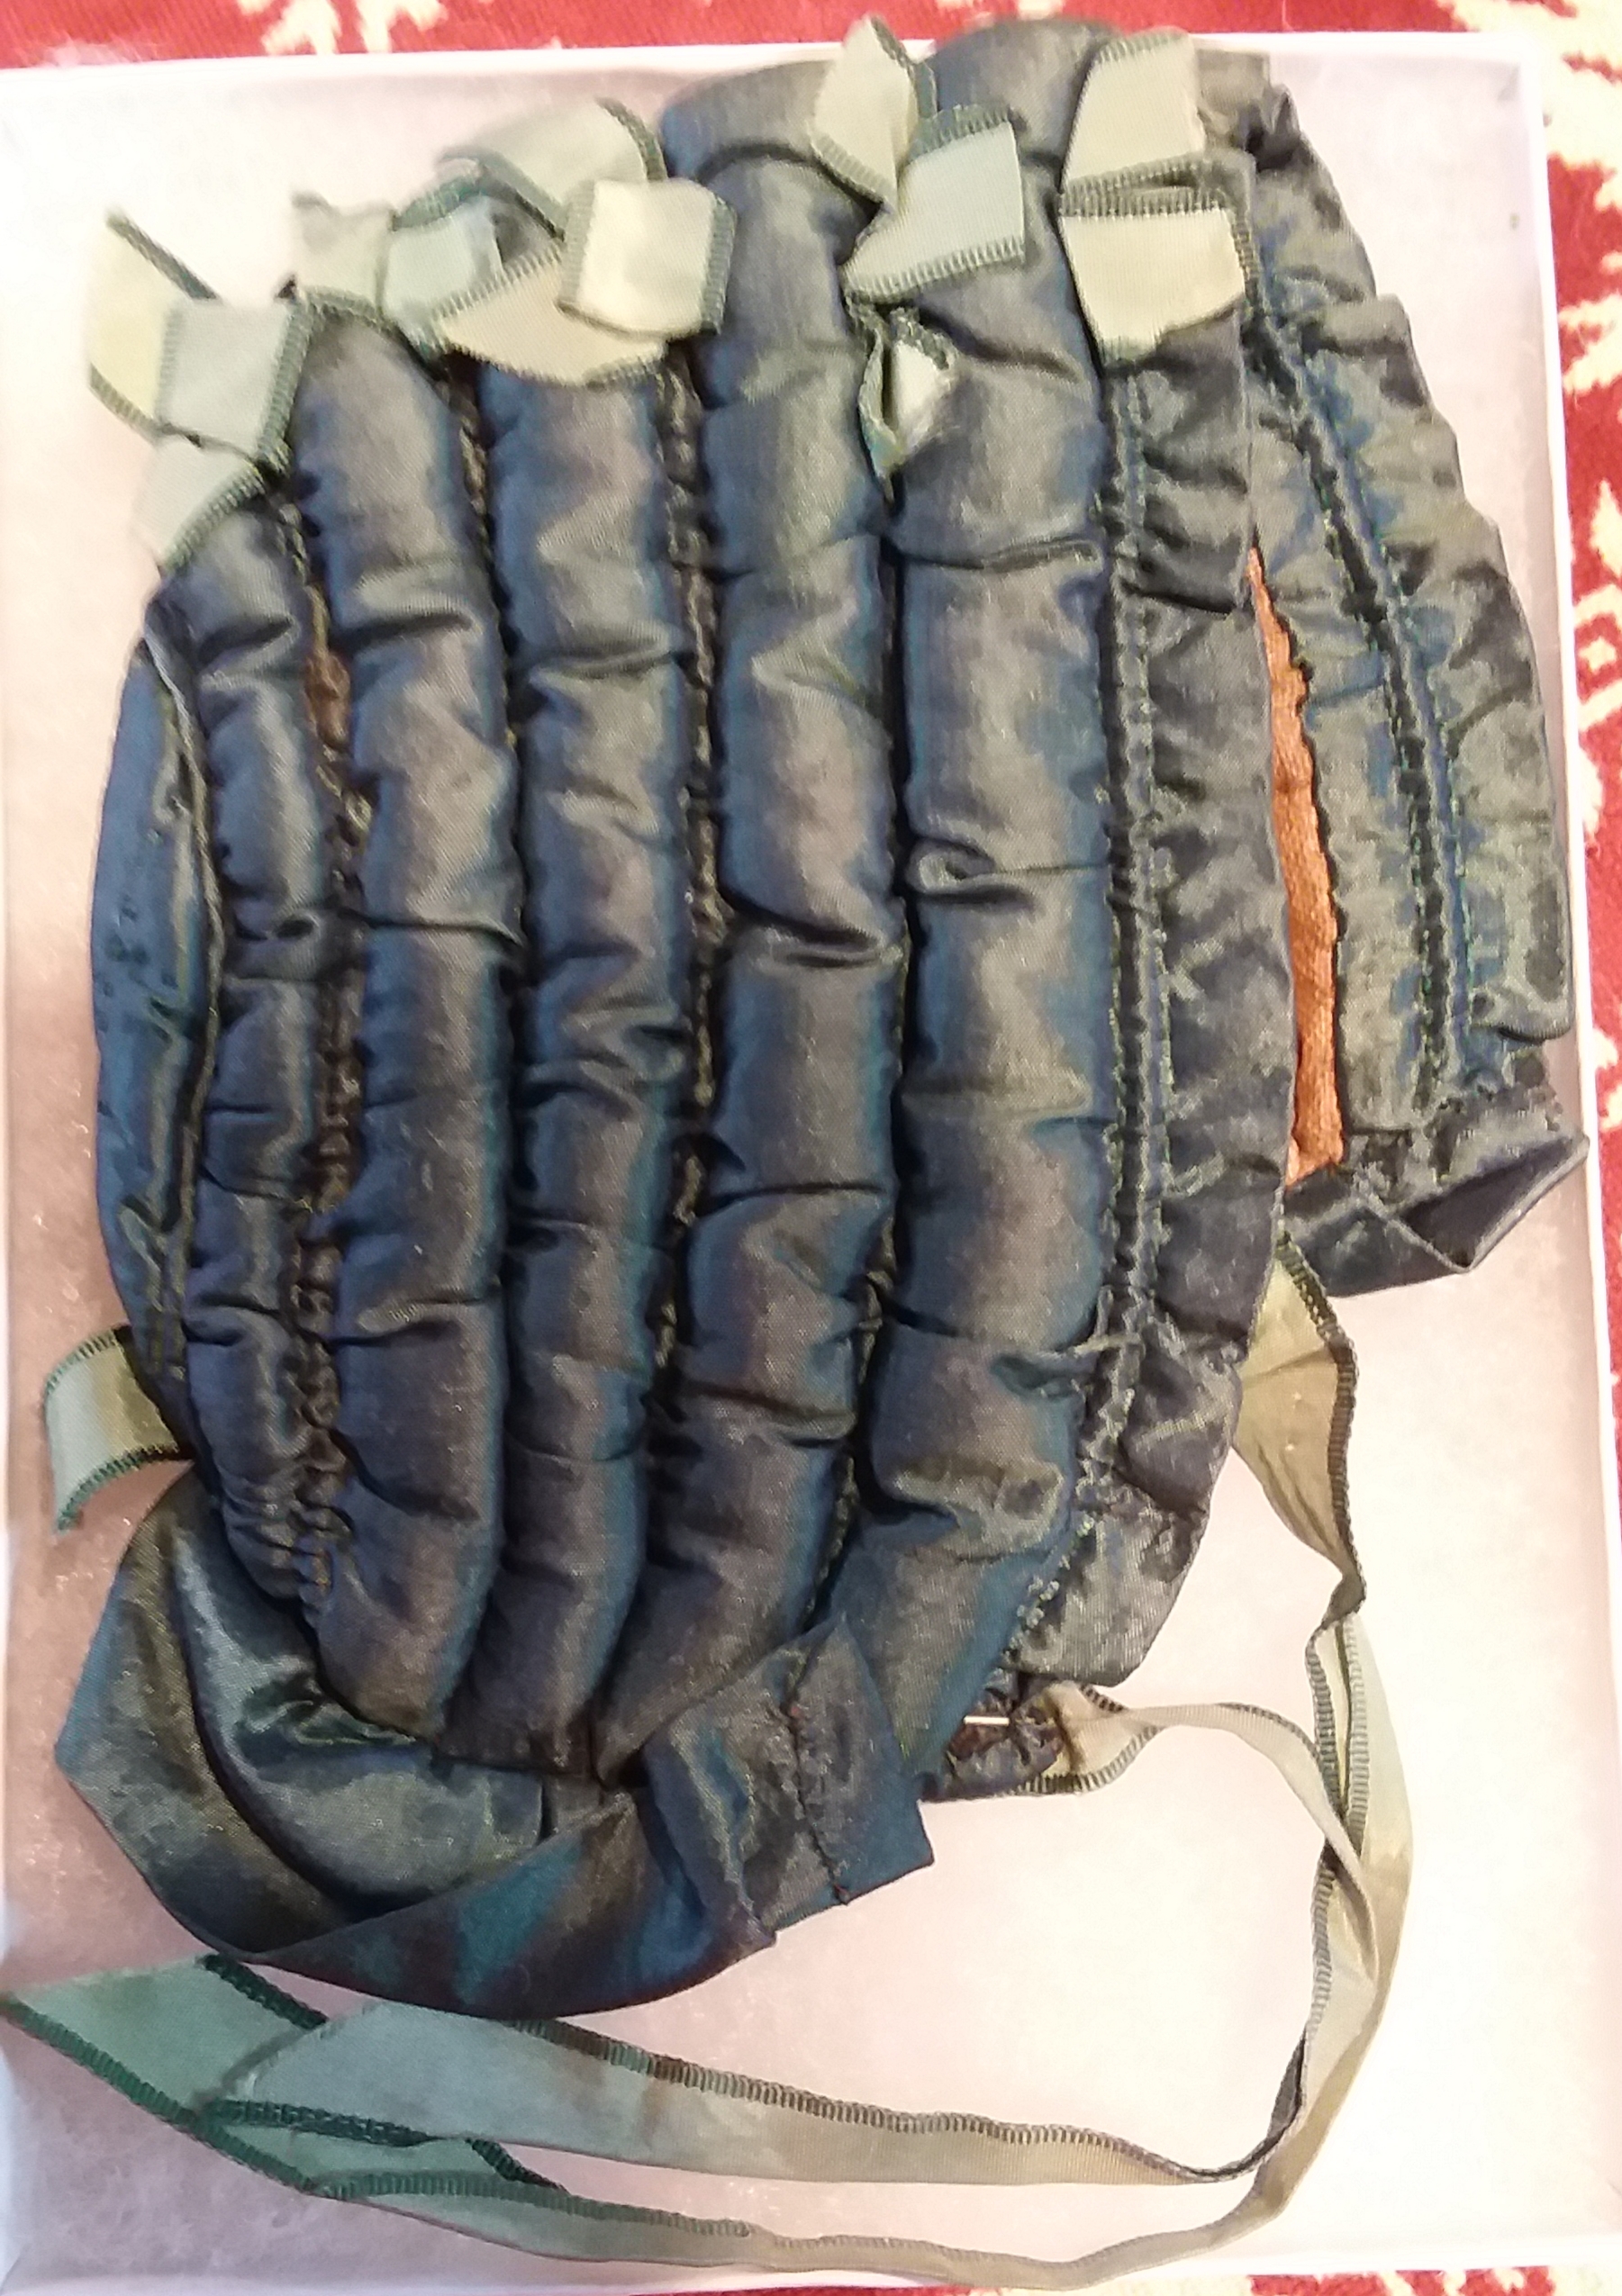
A “Pumpkin” hood or bonnet is a wadded bonnet, most commonly made of silk on the exterior and polished cotton, cotton or silk on the interior. Wide, full channels are filled to a full loft with wool batting either lightly or densely. The channels are separated by smaller channels, single or multiple, that are drawn in by cord or ribbon. The front brim may or may not have a decorative ruffle, attached or tucked from the base exterior fabric. These usually have a petite to moderate bavolet either lightly filled with batting or without batting.
Some other terms that seem to apply: Wadded bonnet/hood, “Ugly”, a “Kiss-me-quick”.
Most museums seem to start their dating of wadded, pumpkin style hoods in the second quarter of the century. Some do push earlier, as far as the late 1700s/early 1800s, such as this example from the Boston Museum of Fine Arts.
As domestically made winter hoods were a utilitarian garment rather than a fashionable one, their appearances in fashion literature is limited. I see one set of passages referencing a wadded hood or bonnet, drawn in, worn close to the face that may help us give wadded hoods drawn close to the latter 1830s:
In the Ladies Pocket Magazine, of 1838, London, we see a mention of wadded bonnets as a fashionable item. Of English fashions – “Wadded bonnets which before were very much in vogue, are now almost the only ones adopted in promenade dress, and it must be confessed nothing could be better calculated for the season, particularly when they are worn, as in often the case, over a blond morning cap of the demi-cornette form.” (In this passage, wadded pelisses and wadded mantles are also mentioned.) Of Paris fashions “Winter has set in with all its rigour, but that is of little consequence to our elegantes, who, occupied with the grand dinners, balls, and fetes that are always given in the commencement of winter, have deserted the promenades. Novelty in out-door costume is consequently out of the question, velvet or satin mantles, which are trimmed and sometimes lined in fur, that their busts are defended by a large fur palatine, their hands doubly shielded by fur cuffs, and a muff, and their pretty faces guarded by a large wadded bonnet, which completely meets under the chin, we have said all that can be said of out-door dress.” The year prior, the same publication tells us: “We may cite with confidence, among the new bonnets will be very fashionable, the capotes a conlisse ouatees, or wadded drawn bonnets; the are a most comfortable head-dress, composed of satin or pou de soie, lightly wadded, and simply trimmed with ribbon. They differ a little in shape from the other bonnets, sitting closer round the face.” This may or may not be the beginning point of the wadded, pumpkin style bonnet. Neither publication includes an illustration of this practical winter wear in the midst of the popular large bonnets of the era.
In that same time period, we see wadded and quilted hoods/bonnets constructed for children in The Workwoman’s Guide. The illustrations suggest the quilted versions have larger crowns that are volumous in some cases. It is important to note the difference between this shape and the Pumpkin shape. I believe this is the construction that evolves through the rest of the century as the quilted bonnet.
Blackwood‘s suggested I should look at “quilted wadded capotes” as well as “bonnets” and “hoods”. Though, this February and March 1843 Peterson‘s suggest capotes were quilted, rather than wadded with loft.
One of only photographs clearly depicting a wadded “pumpkin” style bonnet/hood is a bit of tease. While taken in 1897, the photograph does not show contemporary/current wear, rather historical costume wear. This photograph is held by Deerfield.
Yes, evidence suggest wadded hoods were worn in the 1860s. The 1860 painting, School Girls, by George Augustus Baker, shows the girl on the left in what could be a red silk wadded pumpkin bonnet. The artist did several studies for this painting, including Little Girl in a Red Bonnet, which is undated.


I had a nice unboxing video going until…. Clara. This is take 2


A Wadded Hood, also called a Pumpkin Hood, is a style of sewn winter hood made in much of the nineteenth century and later eighteenth century. This type of hood is also known as a wadded hood or an “ugly.”
The wadded hood was commonly made with three pieces: the brim, crown, and bavolet, with the crown and brim occasionally combined. Rather than being quilted, the brim has parallel channels sewn across the head which were filled with wool wadding or down. Between these channels, narrower channels of cord help draw up the brim and give it light structure. Occasionally, some of these channels are cane or wire, though not as often as in quilted styles. The crown of this style tends to be small, with a row or two of additional wadding. The bavolet ranges from rather a rather short couple inches to as much as four inches.

The wadded hood is one of the, if not the, warmest style hood as it hugs the head snuggly. The draw back is there is no protection for the face.
The exterior fabric is most frequently silk taffeta. The smooth, tight weave helps with moisture control. Dark solid silks out number the plaids and lighter colors, which were also used. The linings tend to be polished cotton or cotton sateen in neutral browns and creams. Most pieces have a facing of the exterior silk.

I find wool wadding to appear more frequently in originals than down. The wadding fairly evenly fills the channels, though not as firmly as some quilted hoods. These hoods are quite soft. The bavolet tends to be very lightly filled, though I suspect some loss has occurred over time for some pieces.
When decorated, a bow tends to embellish the center back of the crown at the neckline. Some pieces also have a row of smaller bows or mock-bows along the top of the brim.
I am trying to squeal or cry as I write this…….
Finally! After 5 years in the wanting and the making….
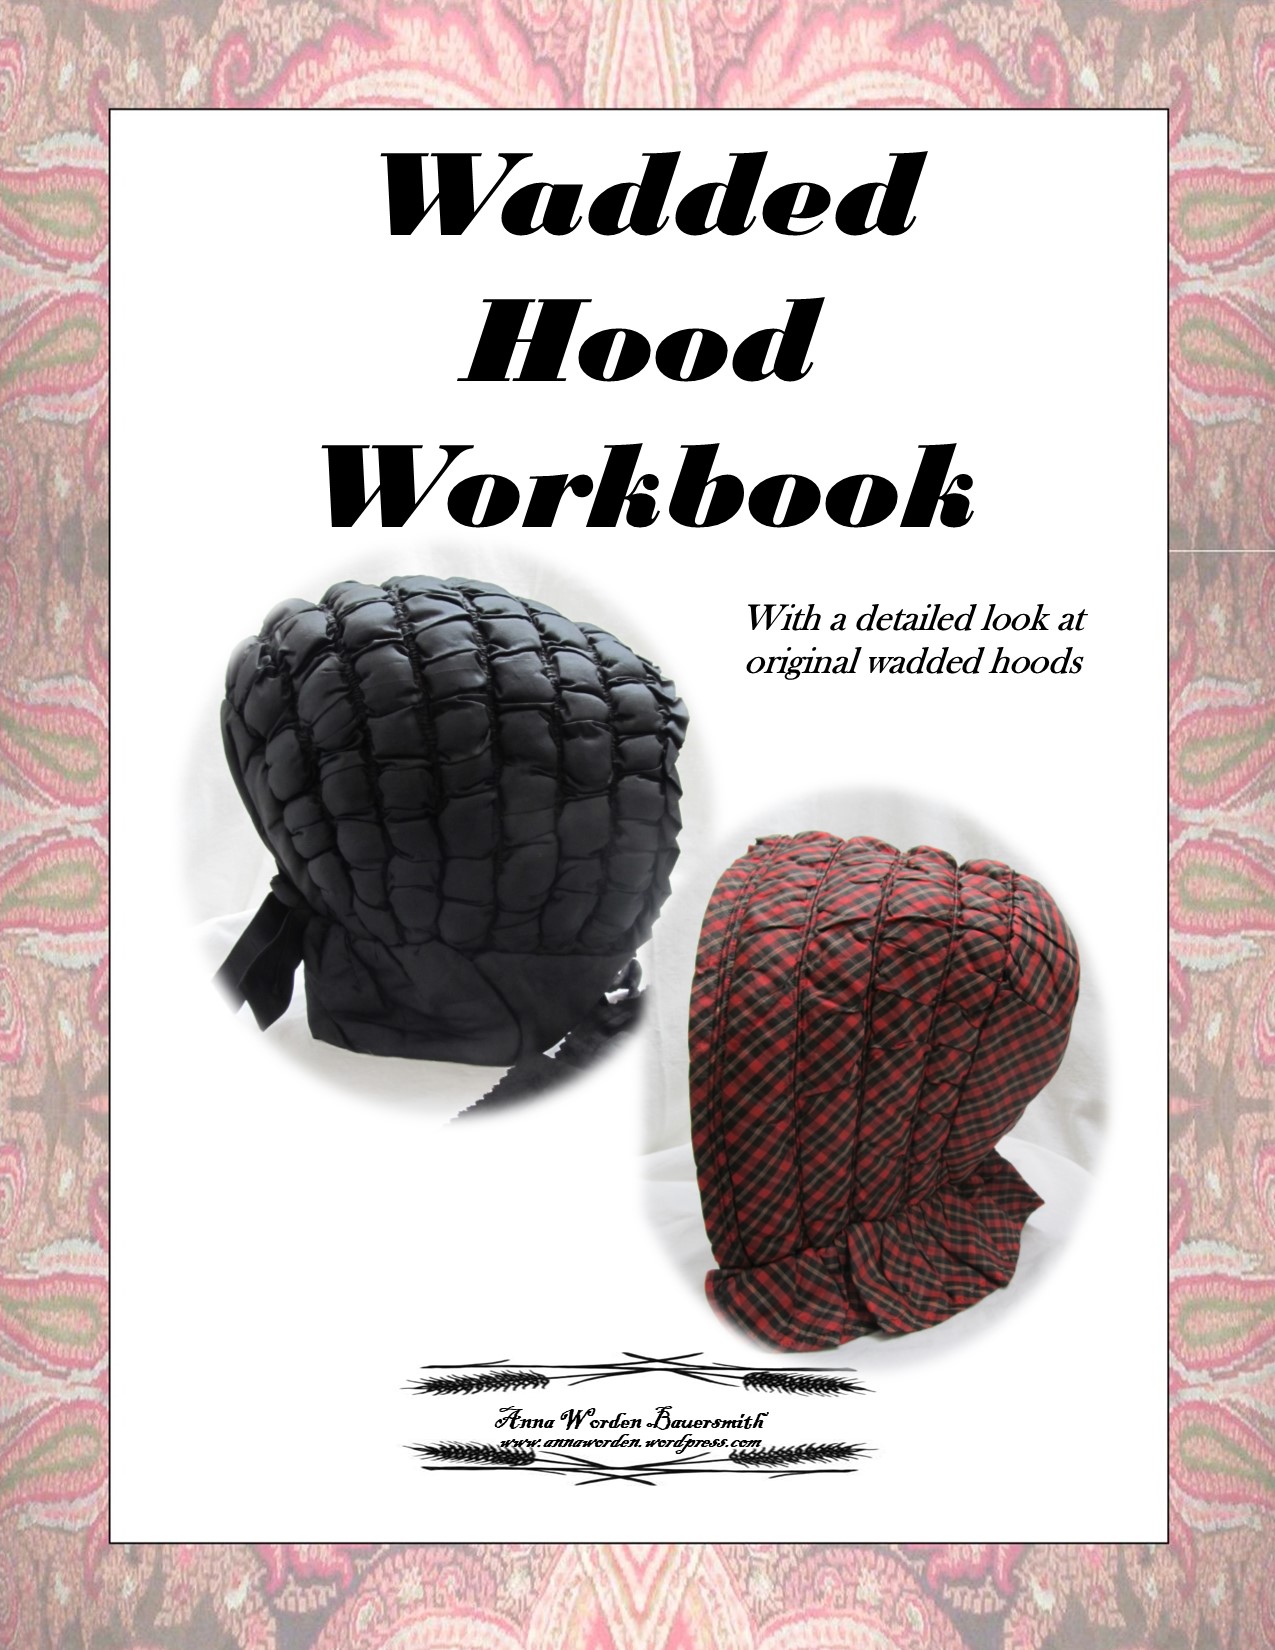
This pattern, become workbook, contains a detailed look at a half dozen original wadded hoods from my collection and directions for making not just one wadded hood, but directions for combining methods into a nearly endless assortment of wadded winter hoods!
The workbooks starts a close look at original wadded hoods from my collection.
Next, it shows you how to make your own wadded hood with original cuts and methods. This includes multiple brim, crown, and bavolet options.
This purchase includes 3 downloads:
I tried to figure out just how many different ways of making a wadded hood: 5 brims….. 2 facings….. 3 crowns….. 2 bavolets…. mathematically that works out to 60 variations!
Find my new
I apologize for the lack of videos lately. I have been so tired and distracted by the time I get home from work, I have nothing left for a good video. I also haven’t felt like I have much to say. I will get my act together an do better. I want to do some small crafts for the holiday season. Maybe some 19th century things. Maybe some ornaments. I am not sure.
In the meantime, I have changed the settings on some favorite videos from unlisted to public. I also updated titles and descriptions. This will make them easier to watch on YouTube. The unlisted videos I linked though the blogs are only visible on the blogs or link. So, you can still search and find them here.
I added a new playlist for the hand sewing videos. After the last couple, I received comments about how calming they are and how people like listening to my voice. I hadn’t thought of this before. So, I am going to try to record more with this calming idea in mind. They may have some women’s employment history. They may have stories. I’m not sure.
For years now, I’ve wanted to have my silhouette cut by Lauren Muney of Silhouettes by Hand. When I heard Lauren would be attending the Genesee Country Village’s Fall Festival and Agricultural Society Fair, I knew this would be my chance. I was so excited. I set the money aside for weeks so I wouldn’t touch it.
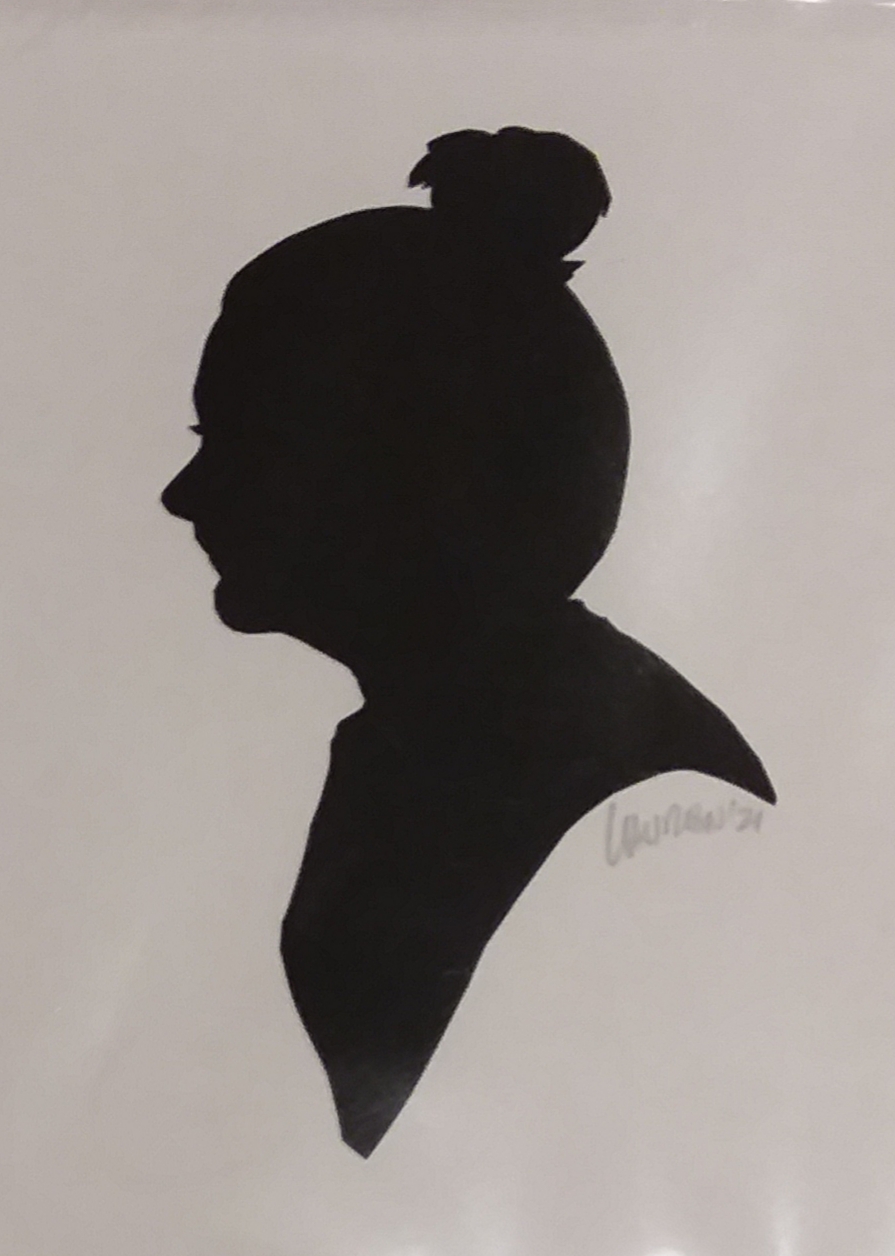
On Saturday, Lauren cut my first silhouette. I followed her direction via FB to simply wear a messy bun. Glad I did. I love how this turned out. She captured the fun detail of my hair. I absolutely love my nose, which I’ve long wondered about since my nose apparently was a discussion point among hospital nurses as a baby.
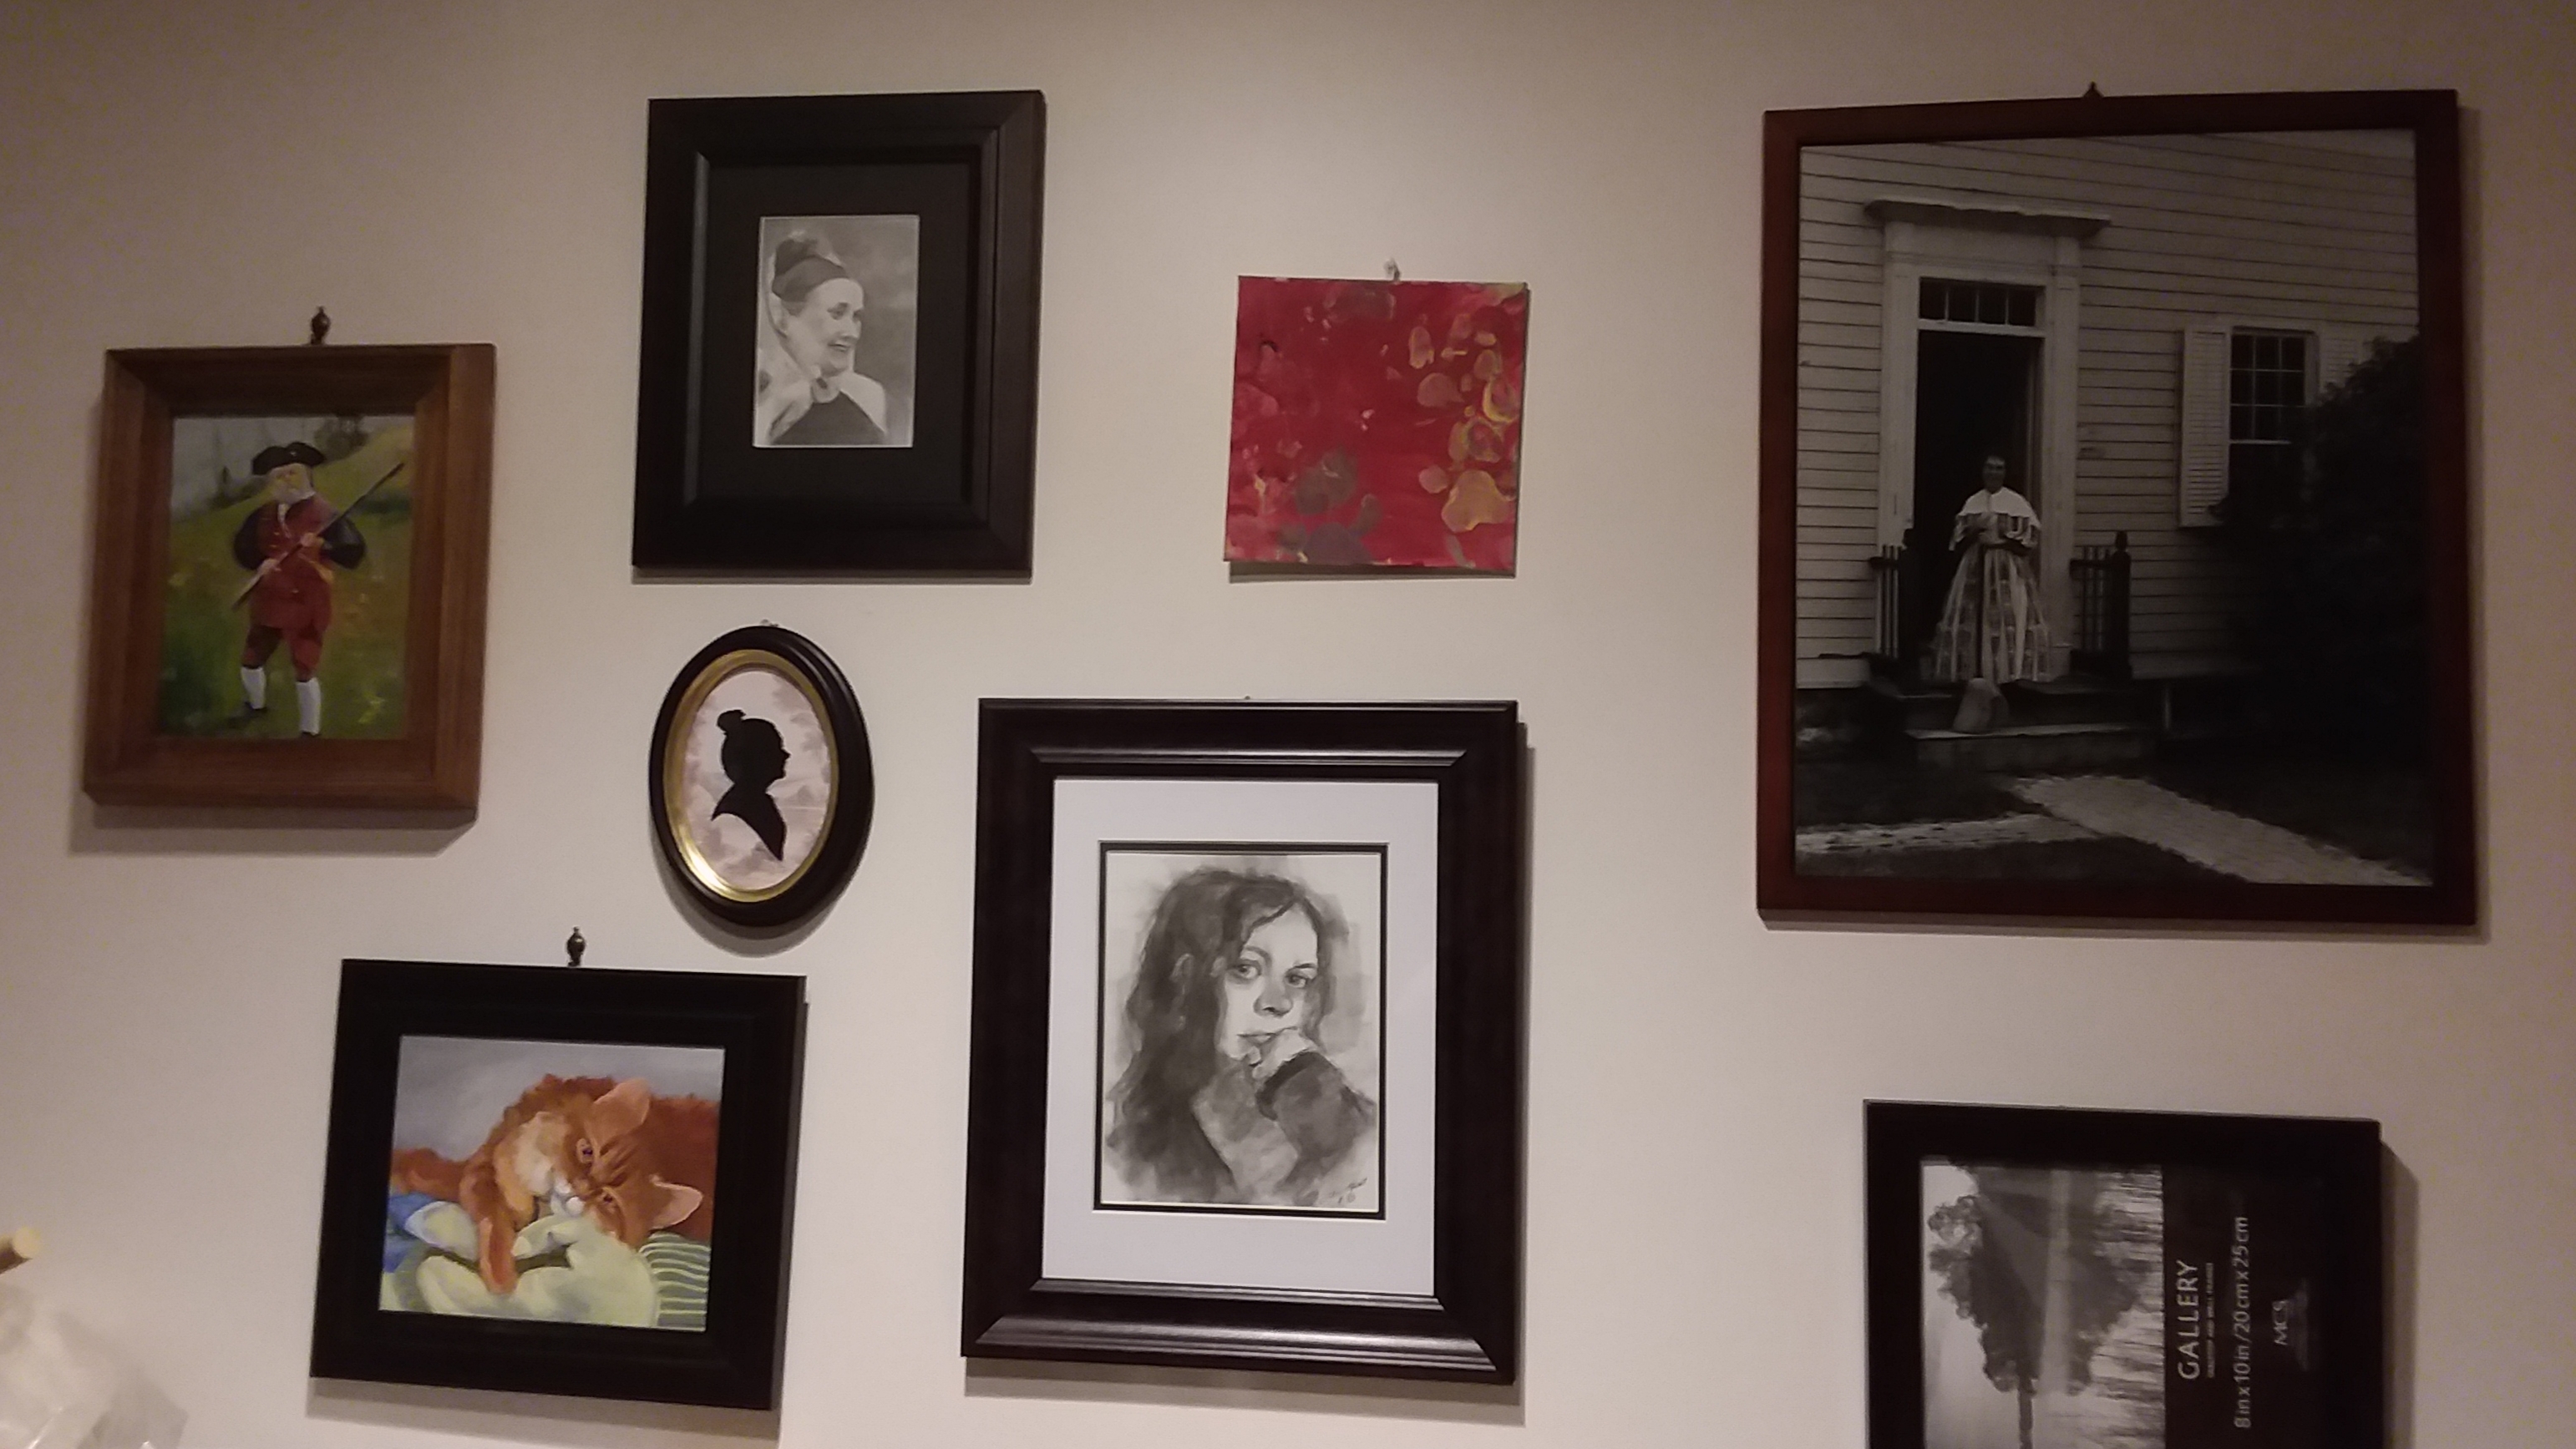
This silhouette was backed with a natural white background and a scenic background. The latter is now set in a period reflective oval frame with a golden rim. This has joined my growing portrait wall. (Below)
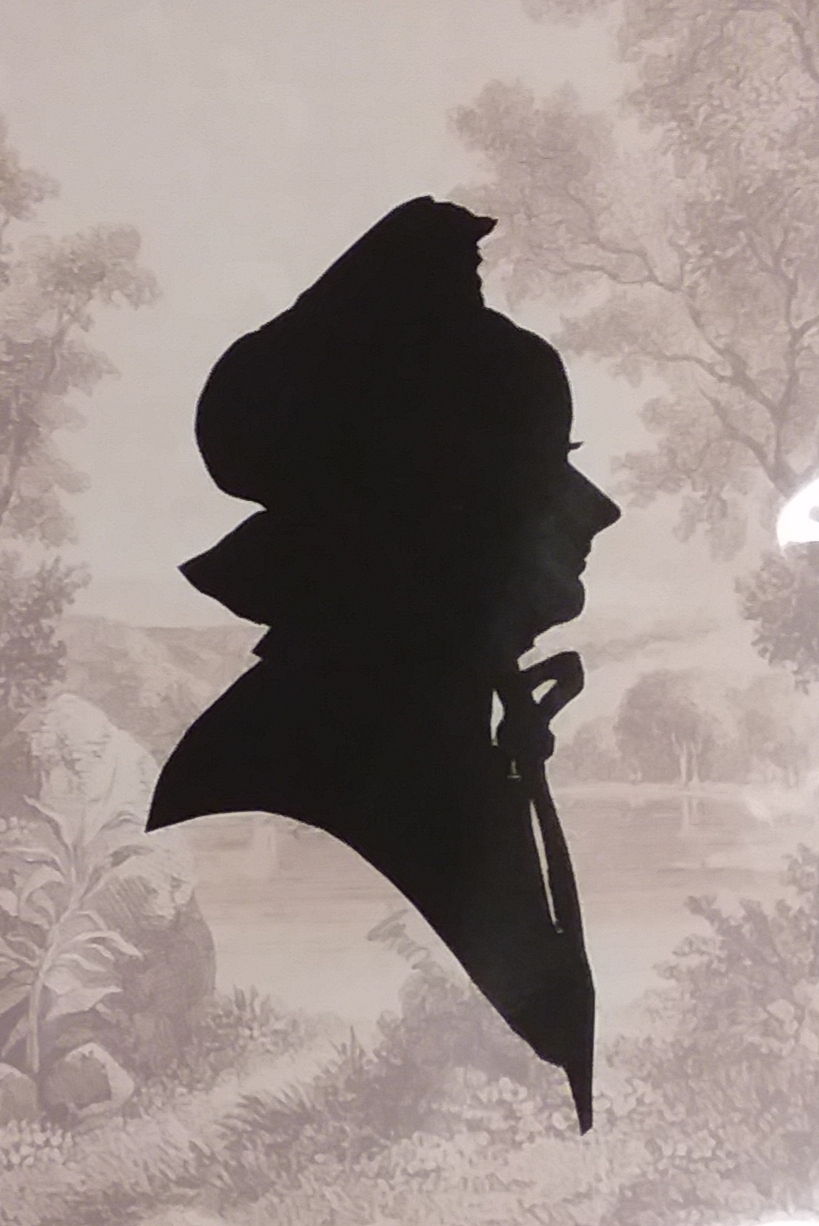
Sunday, which was quite the rainy day much more reflective of the common weather for this weekend. I returned to the village with one of my bonnets (in a band box in a plastic bag in a canvas bag,) my soft crown straw with hand worked brim points. I would like to say I picked this particular bonnet, but reality is it was the one I could reach first on the great tower of band boxes. There are so many details in this silhouette.
I did a hat fitting for some of my dolls to see who could wear the current mini Whimsy Witch Hats.
https://dontpaintthecat.wordpress.com/2021/10/04/which-witch-hat-fits-which/
This is the extent of my millinery work this evening. I need to flip the projects in the work room, meaning transition the materials set up from Whimsy Witch Hats to winter


