Milliner Shop

In a short hour or so, the Milliner Shop was set up, all ready for the Genesee Country Village’s Civil War event. A big thank you to Anneliese and Lily for their assistance. 

Let’s start with a fun “What’s wrong with this picture?”
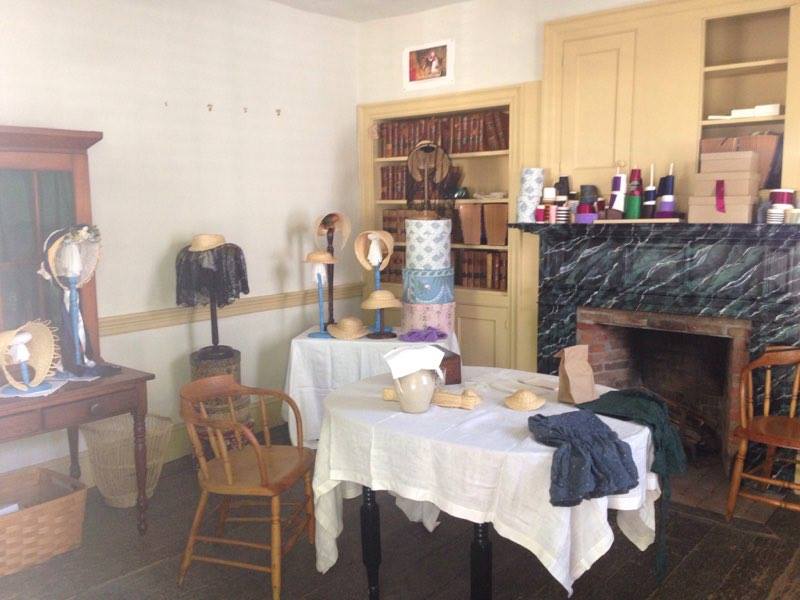
In all the preparation for transforming an Insurance Office into a Millinery – bonnet stands , band boxes, appropriate paint, appropriate papers, ribbons, bonnets, hats, veils – somehow I did not think about sitting down …. in a cage… in these three lovely, matching chairs. 

Ooops. Slight problem, especially since each of my chairs were home awaiting their much needed tlc. 

Luckily, I got the okay to borrow two chairs from Hosmer’s . 

Much better.

This even gave us a chance to color check the paint colors. The hat stands are a shade lighter than the chair. Peter tells me Prussian blue had a range of shades, depending on how much white was added. So, mine just has more white. 

Looking around the room:

Here are the three fashionable bonnets on display. Each is one one of the new stands. The one one the left is the batwing soft crown with the blue and plaid silk. The one on the right is my personal bonnet, a soft crown with sheer check organza. Below is a bonnet with a decorative brim using antique straw threads. In the basket below are my slippers and a box of fabric scraps that would make some cute doll clothes or such. I plan not to bring that box back home. 

To the right, is a stack of my recovered band boxes, and my personal bonnet box. This one came from a local stationary shop. It is perfect for holding my bonnet. Atop the boxes is one of my yardsale find stands holding a wide brim hat. This hat is appropriate for a recreational scenario or a dress reform impression. Draped on the hat is an antique lace that may or may not be considered a veil. (Digging deeper into this.) 

In the corner, is a little table filled with assorted bonnets and hats. As we were setting up, I started to think I should have brought my second table and more stands. The top most, on the boxes is a cottage bonnet draped in my newest veil, one I made with silk net and lace. (Coming soon, I will have a post comparing the light control of different veils.) In the center is a coarse straw bonnet that would be worn by a poorer or institutionalized woman. On the left is my example of a woven straw bonnet, by Vivian ! Murphy. The two hats on the stands are children size. The one resting on the table is a large crown fashion bonnet. The top box is the one I made, sewing a heavy pasteboard. The other two are recovered. 

I am tickled that the ribbons filled this mantle. I think it looks pretty”in use” rather than just display. Lily did a nice job. Can you tell which rolls are real and which are fake? 

I forgot to get a photo of the sign. As the lettering was a fail, and despite sanding off the black paint, the tracing depressions show through the new ground coats, it looks very much like the “work in progress” it is. I’ve decided to say the young man who was painting it for me took off to enlist as the trips came near. But, as we expect this fighting to be over by the end of the summer, he can finish it soon enough. 

Today’s Millinery – Fancy Edge Hat

Today, I offer a millinery piece I have looked forward to making and I am having a hard time letting go of. It will be available in my Etsy shop as soon as I pick the price and hit the button.

IMG_9027This hat is trimmed in a fancy vintage plait. I have all of the plait that was offered, but there wasn’t much of it. It combined a scroll of twisted straw threads and arrangements of flat straw.

This stylish fashion hat is made with a beautiful natural straw with speckling in the plait and a vintage fancy straw edge.

The crown is flat on the top. It is sized to fit an average size head. The brim is fashionably shaped, dipping in the front and back.

**Full disclosure – The fancy straw plait is backed with a faux horsehair that did not exist in the 19th century. I have stiffened the fancy plait to hold the shape of the hat. I highly suggest not wearing it in the rain or holding the hat by the edge.**

IMG_9029


Published in: on March 15, 2016 at 5:20 pm  Leave a Comment  
Tags:

Paisley, Plaid, and Purled: Shawls of the Mid-Nineteenth Century

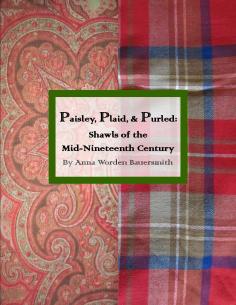
PPandP book coverNow Available!!!

Exclusively as an Ebook in my Etsy Shop!!!

At long last, I offer you Paisley, Plaid, and Purled: Mid-Nineteenth Century Shawls. I am very excited to finally share my extensive research on mid-century shawls began over a decade ago.

PP&P is 120+ pages long looking at each of the shawls worn during the mid-nineteenth century, including the Civil War era. Learn about the types of shawls, where they came from and how they were worn along with much, much more.

PP&P includes over two dozen CDVs displaying period shawls, photos and illustrations. It also includes over 30 original directions for shawls including sewn and knit shawls.

Contents:
1. Introduction & Methodology
2. Shawl Culture
3. The Shawls
4. Domestically Made Shawls
5. Shawls for Living History
Bibliography & End Notes
Appendix Including a Glossary of Terms, Manufacturing, Production, and Tariff Statistics, and Exhibition Examples.

Published in: on January 1, 2016 at 1:00 am  Comments (5)  
Tags:

Paisley, Plaid, and Purled…..Coming New Year’s Day

PPandP book cover

Published in: on December 28, 2015 at 4:16 pm  Comments (3)  
Tags:

Announcement: Paisley, Plaid & Purled Going Digital!!!

PPandP book cover

I have decided to release Paisley, Plaid, & Purled: Mid-Nineteenth Century Shawls as a digital publication.

I will be locking myself away during my Thanksgiving recess (and possibly Christmas recess) to reformat for the digital release.

Paisley, Plaid, & Purled will be exclusively available through my Etsy store come the new year.

Published in: on November 18, 2015 at 6:00 am  Leave a Comment  
Tags:

Agricultural Society Fair – Part 1 – Entries

This year, I decided to give myself an extra little challenge – Make my entries in doll scale. I set this goal for myself at the beginning of the year. While I didn’t manage to find the time to make as many pieces as I wanted, I was able to make few. There are also a couple human size pieces as well.

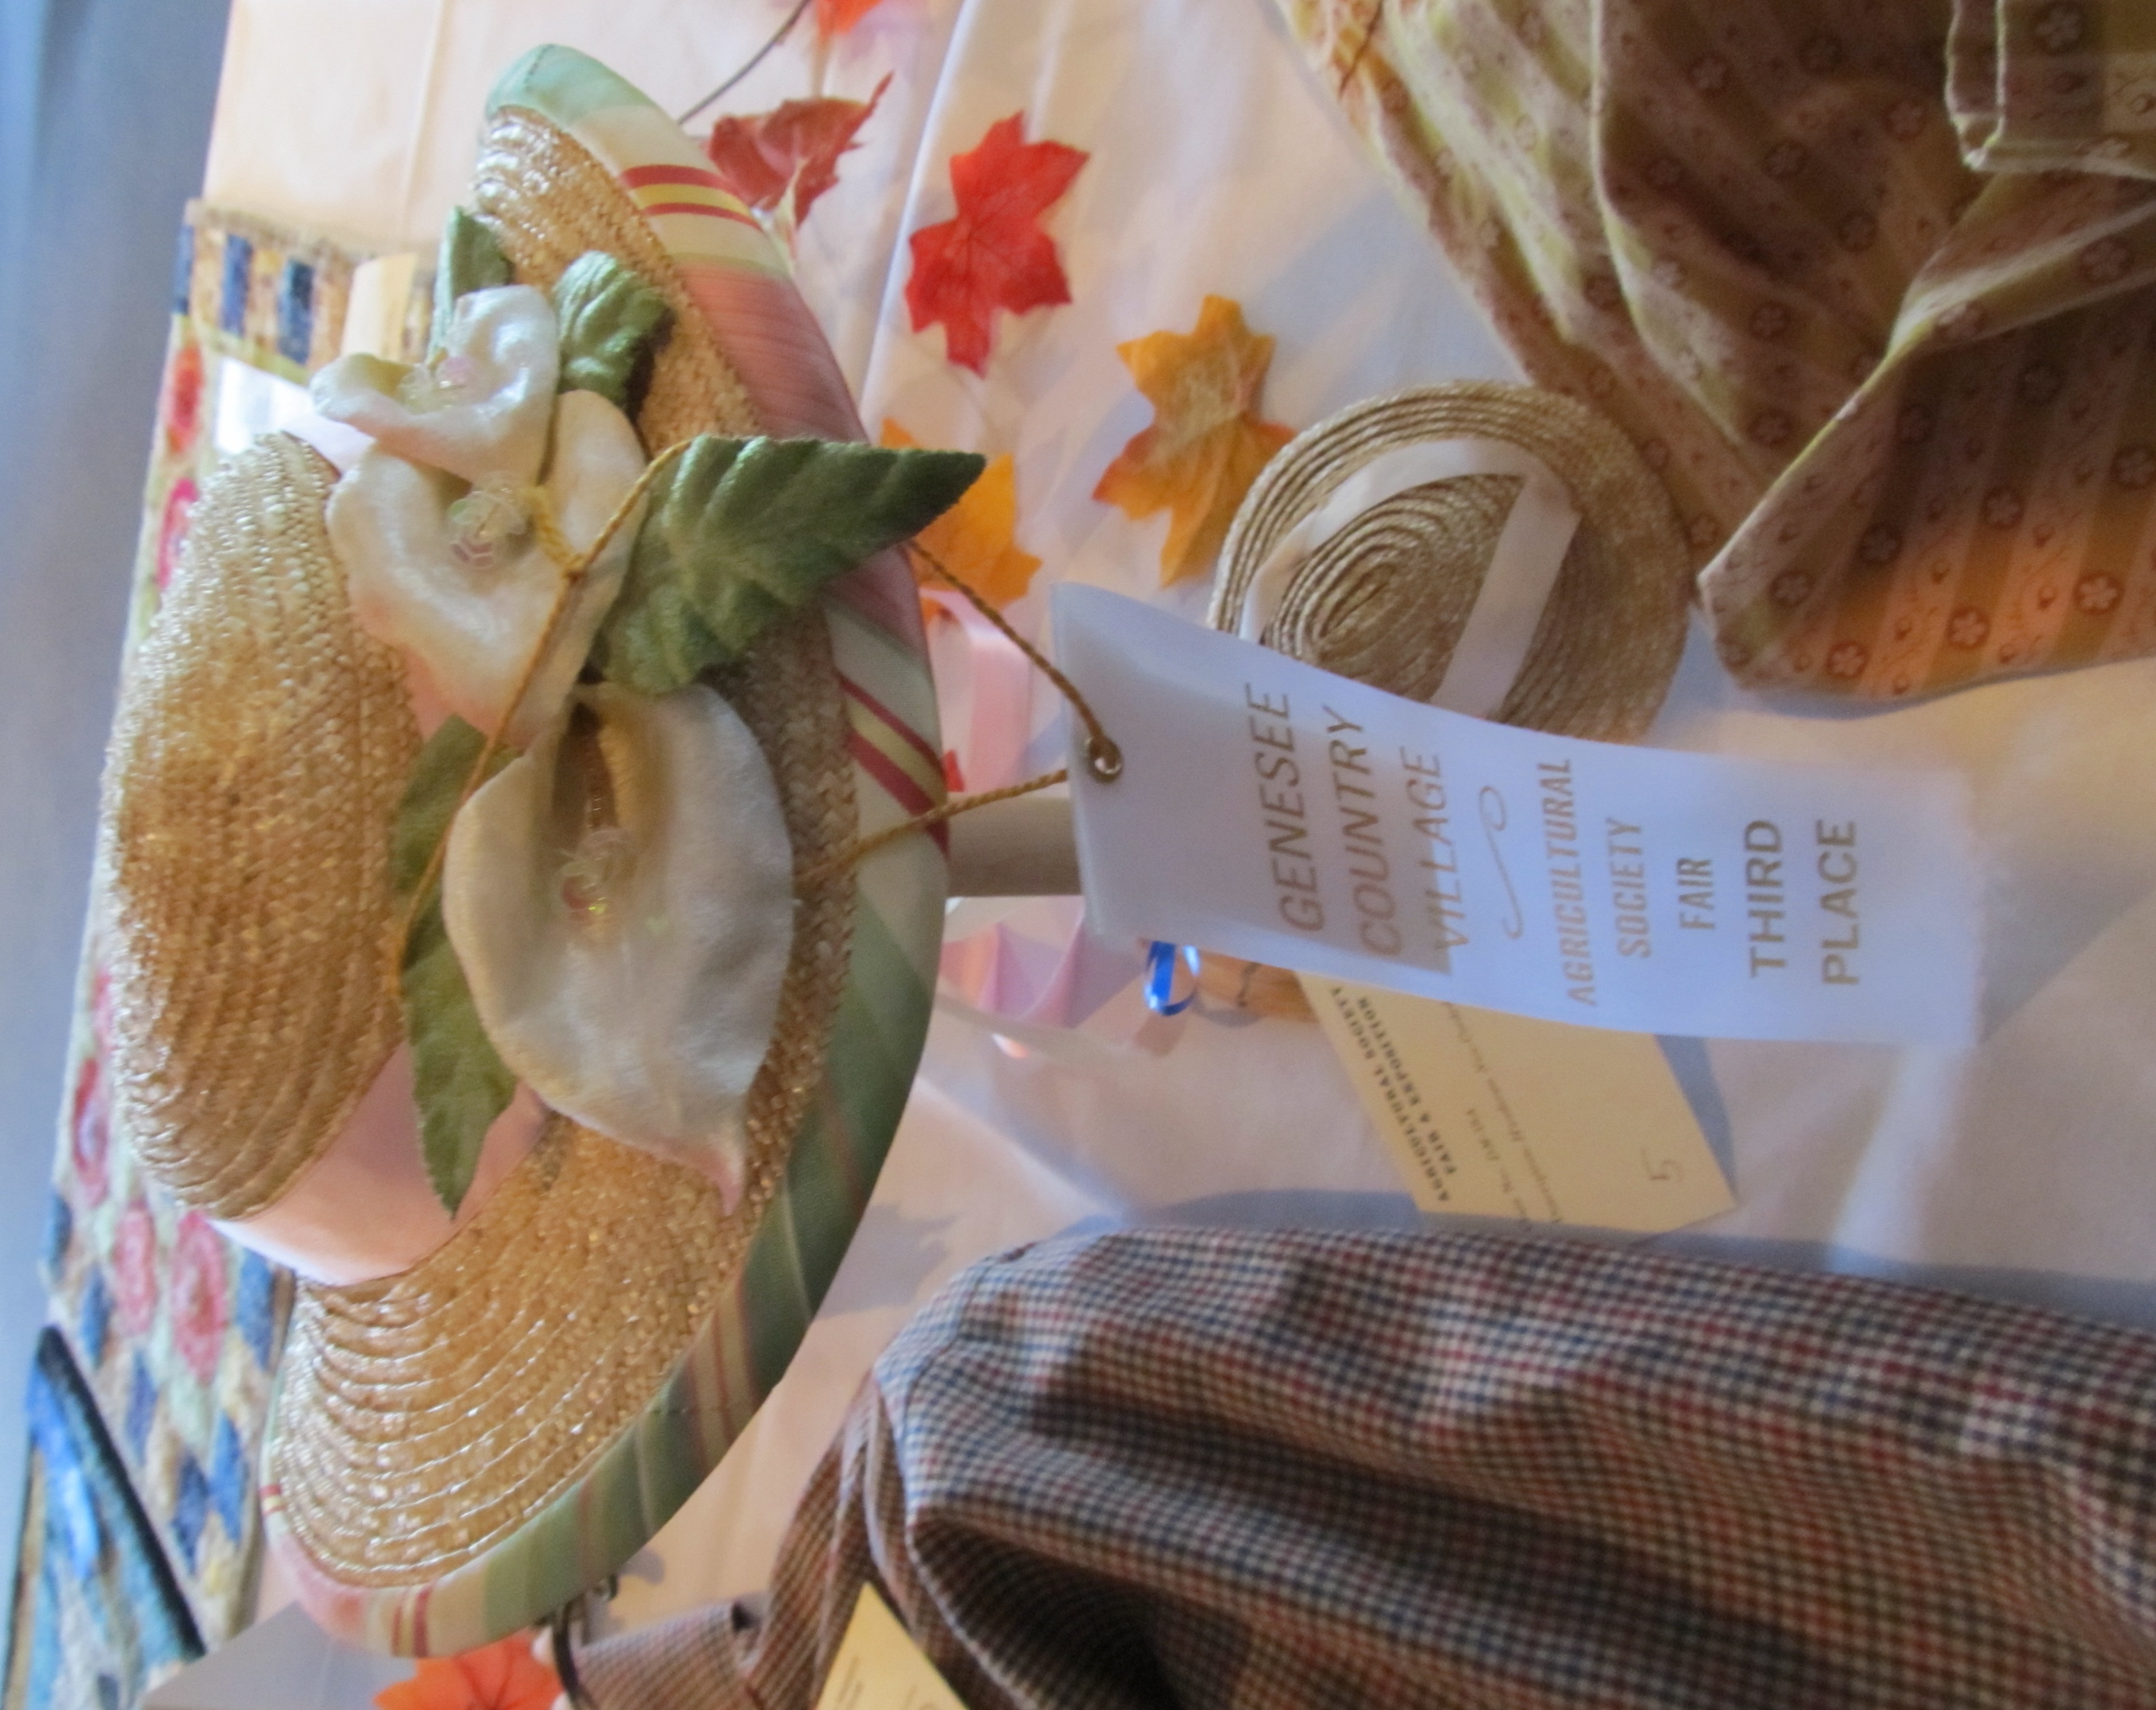
IMG_7915Since I spent so much time this summer making straw hats and bonnets, of course, I needed to make a pair of straw hats, one doll scale and one human scale. The full size straw hat was a favorite of this summer with its bias plaid silk lining and calla lilies. The doll hat is in the same style, simply trimmed with ribbon. If I ever find lilies small enough, I will be happy.

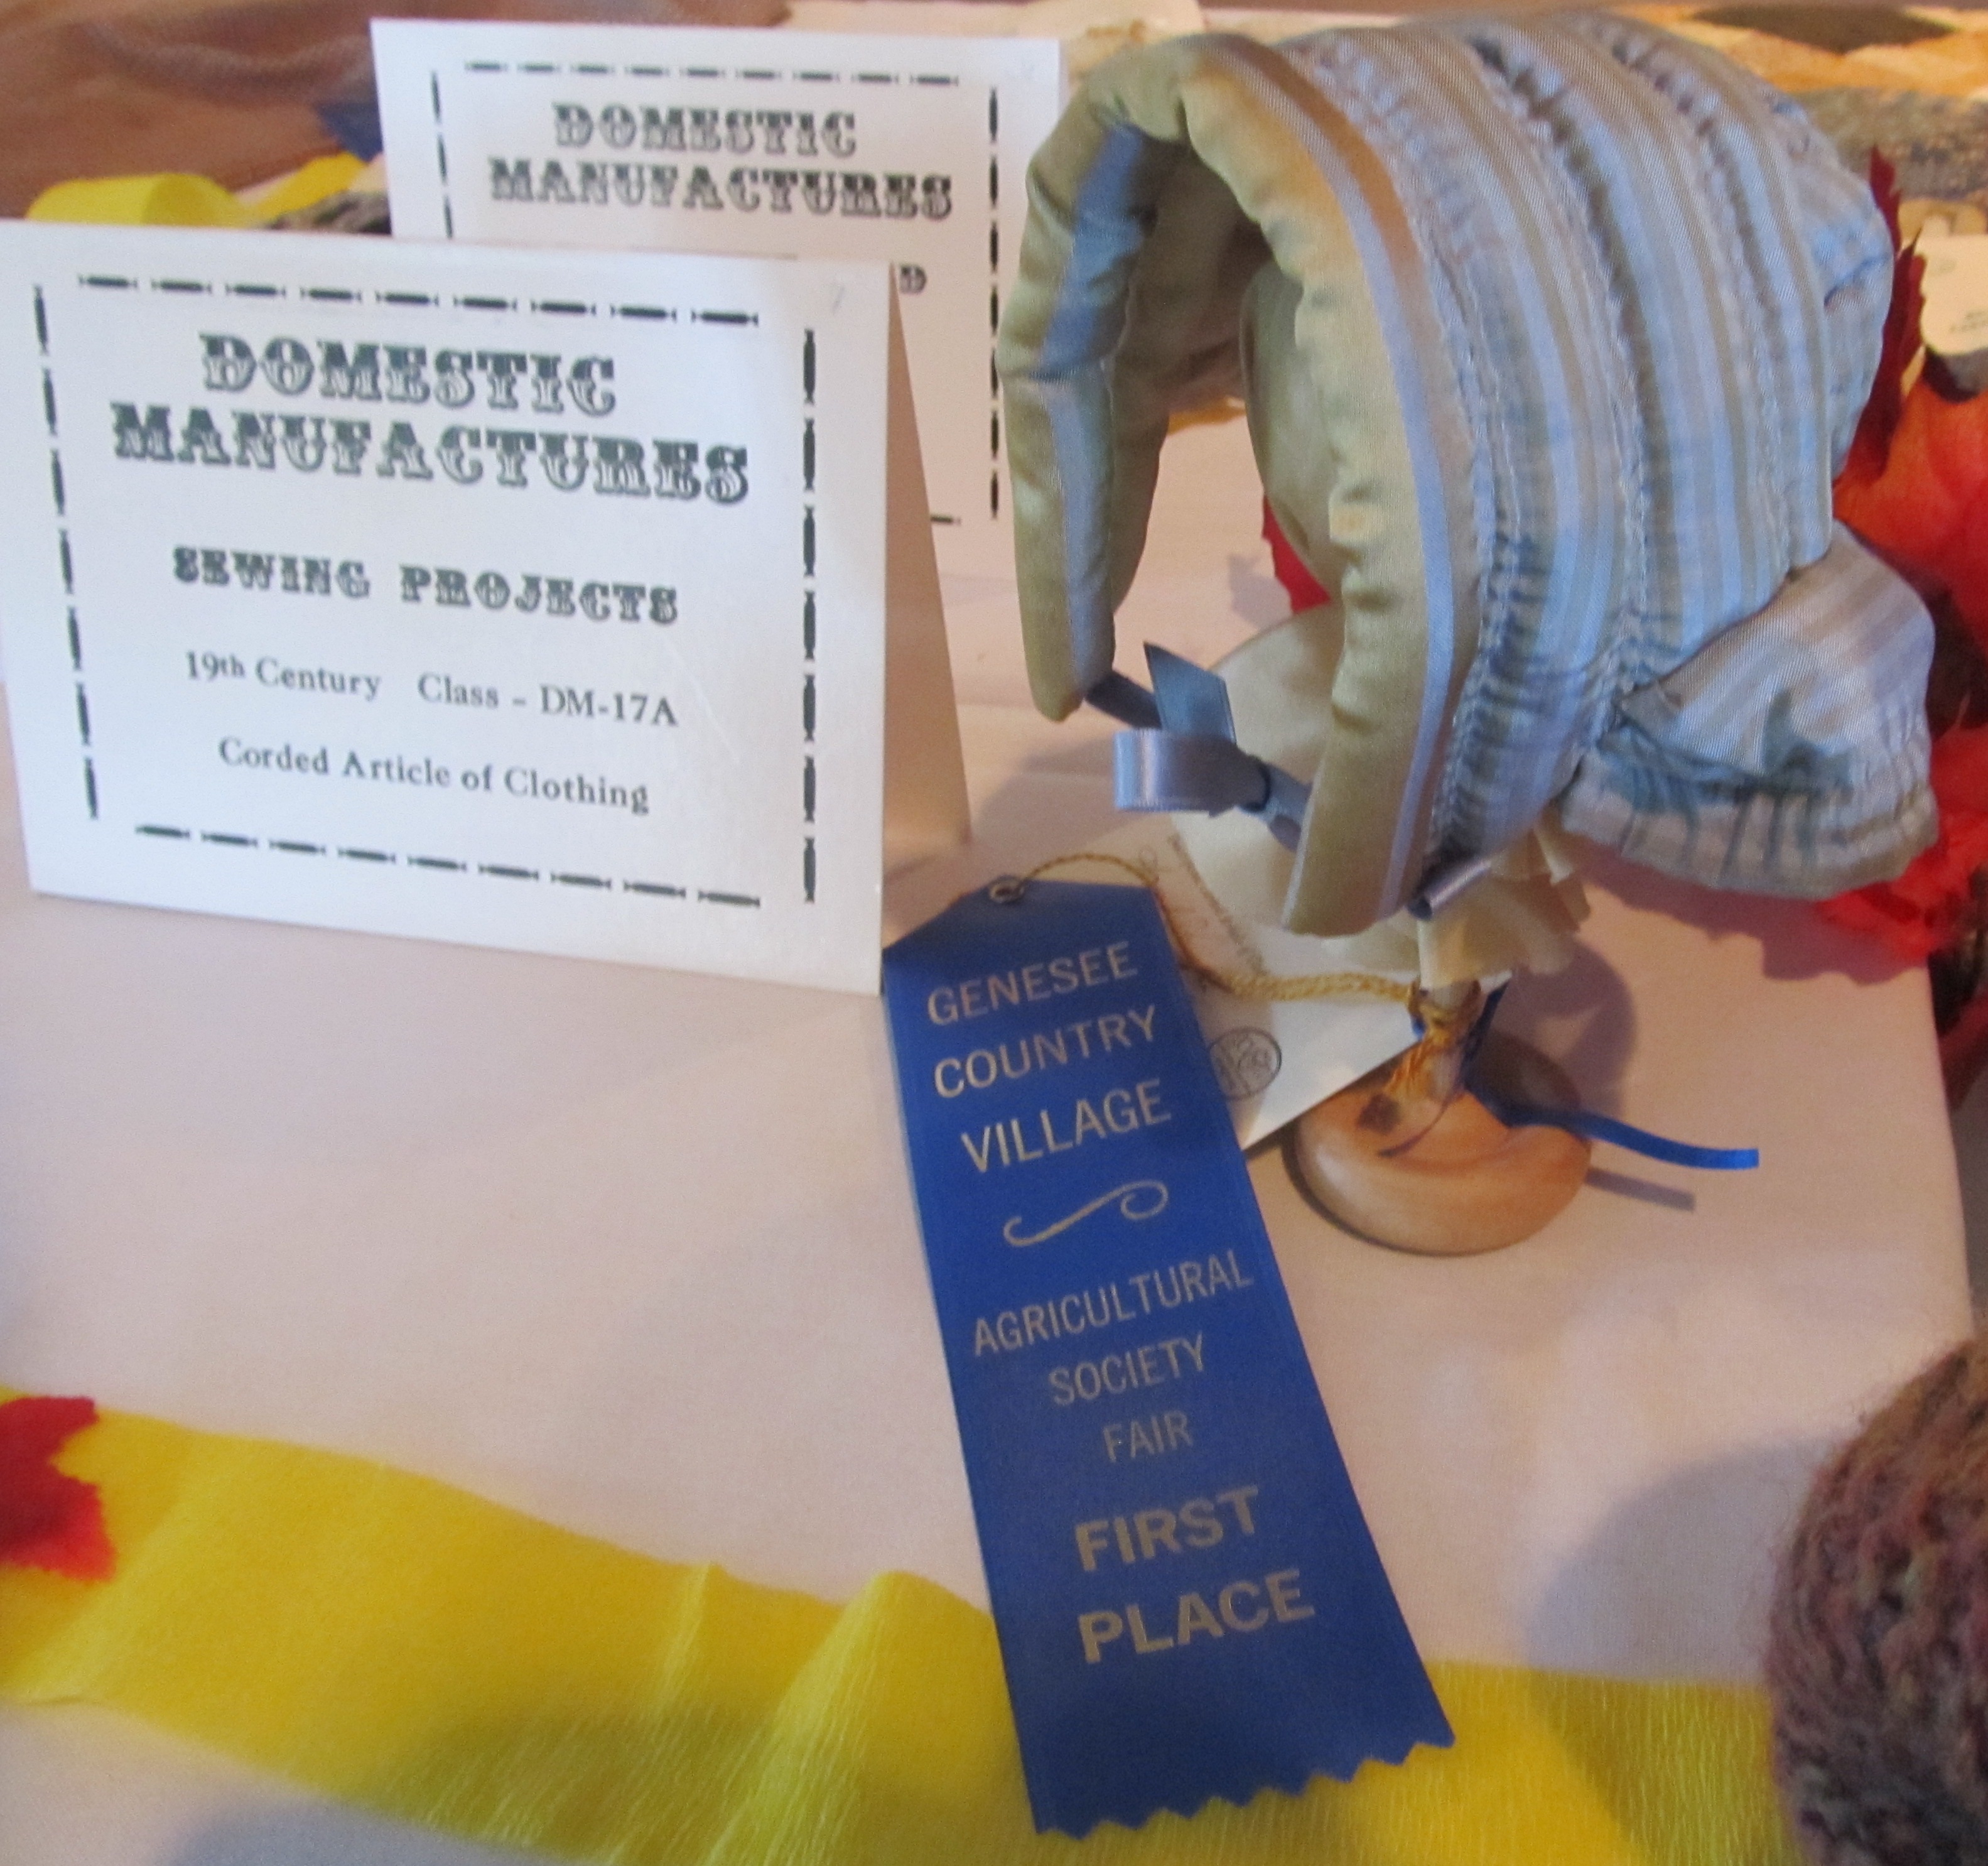
IMG_7921IMG_7917It was fun scaling down the winter bonnet patterns to doll size. I did one in a quilted style using a double twist pattern and one in the corded and wadded style that I find to be nicely warm. These are for dolls with 9.5″ to 10″ heads.

IMG_7918I had lots of fun with this little doll quilt. Triangular piecing was both easy and relaxing. But, as I was almost finished, I realized I needed to bind that curved edge I created. Thankfully, it was a lot easier than I thought. I am tempted to do a full size one in this design. Sometime.

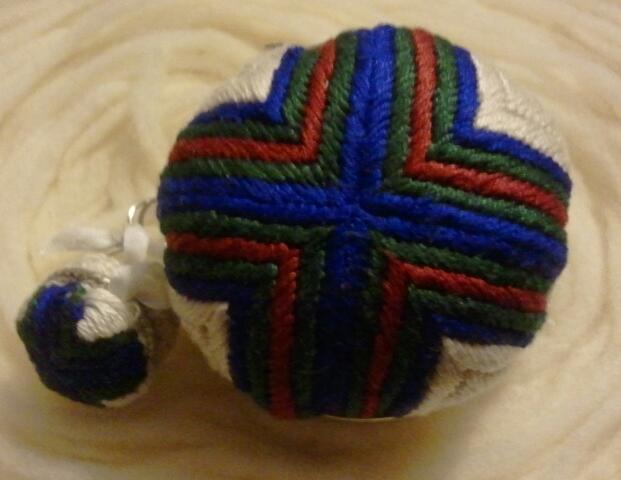
IMG_7908When Mandy found these steel rings, I knew I wanted to do an embroidered pin ball. I did a trial run with simple embroidery on wool. Then jumped into the needlework for this one. Needlework like this is not something I have done much if any of. Some parts were enjoyable. Other parts, well, they made me think “aren’t I done yet?” After finishing the full size one, I wanted to see if I could do the doll size one.wpid-2015-10-01-06.13.49-1.jpg.jpeg wpid-2015-10-01-06.14.02-1.jpg.jpegOne challenge was deciding on what to use for the ring. I pondered an actual ring, but didn’t find one in the right size as I was working. The next challenge was turning the embroidered linen right side out at that small of a scale. I think it came out pretty cute.

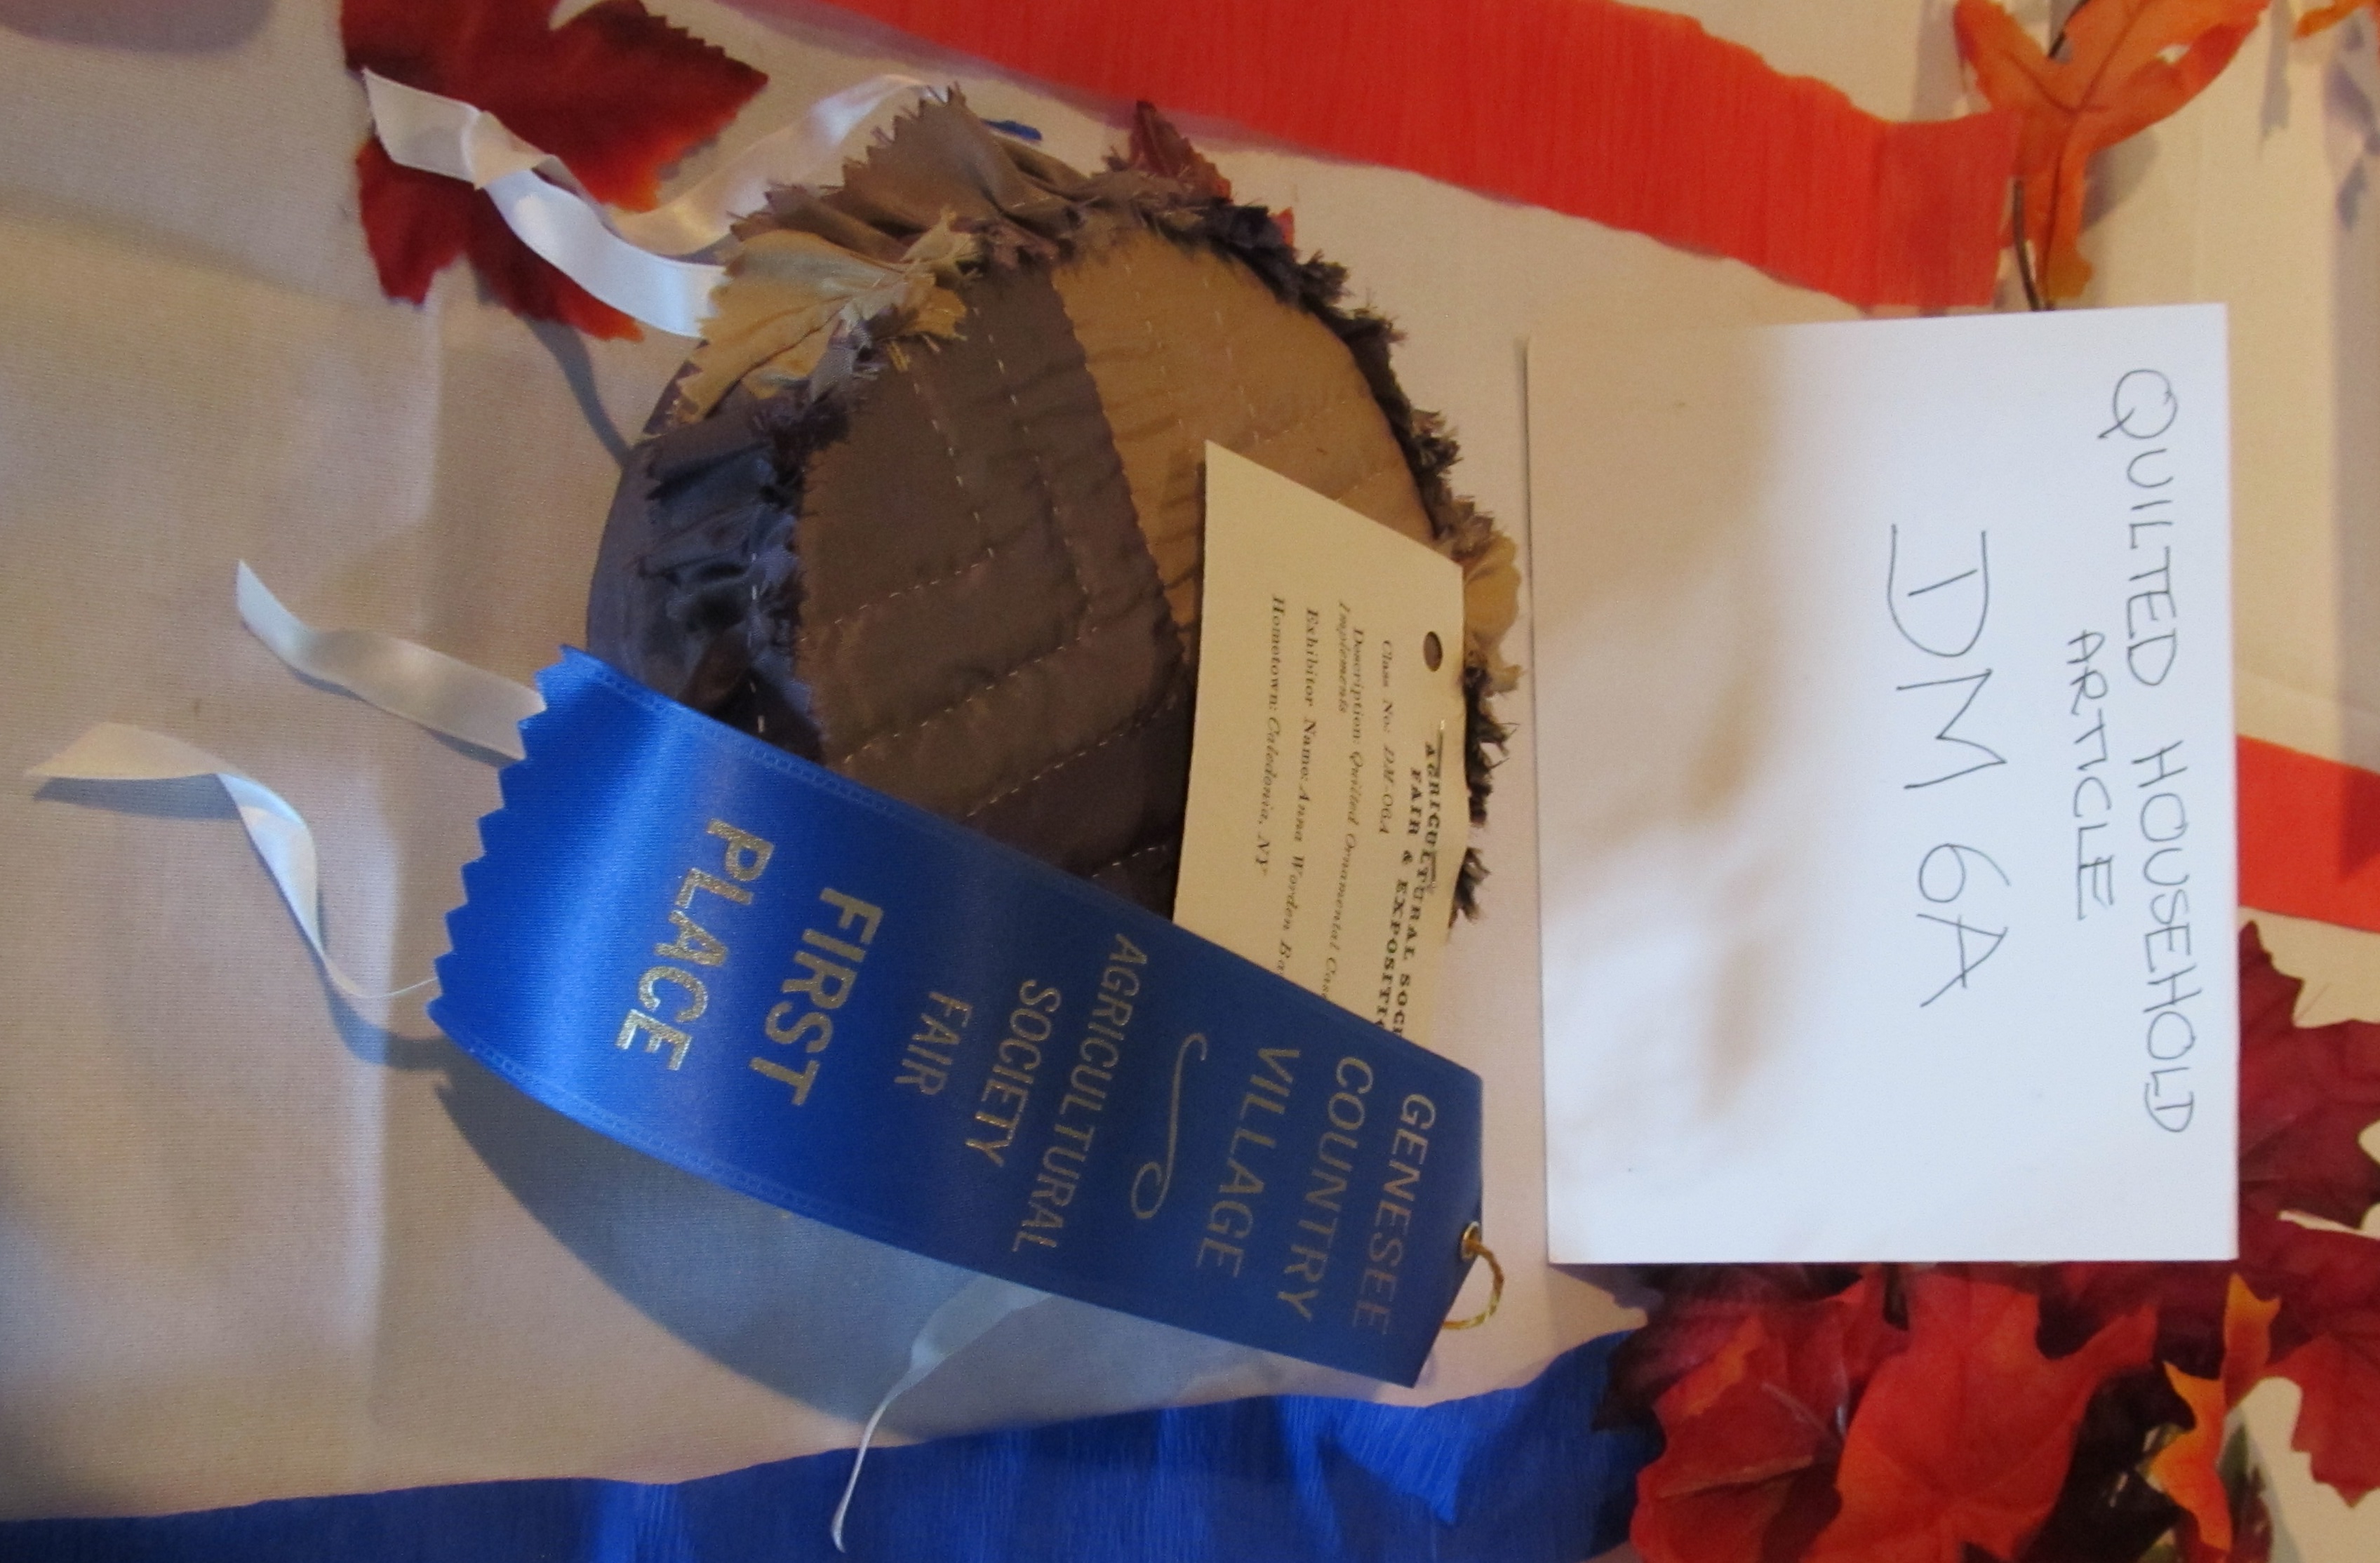
IMG_7923I had every intention of doing my household quilted item in both doll and human scale. Then, as I made the full size one, I decided this was the one and only I was making… ever. This quilted tool case was inspired by an 1872 illustration in Peterson’s Magazine. It could hold sewing tools or toilet tools nicely.

Workshop – Pocket of Pockets

wpid-2015-10-01-19.31.19.jpg.jpegI am very excited that I will be facilitating two Fanciful Utility workshops at the upcoming Domestic Skill Workshop hosted by the Genesee Country Village and Museum during the first weekend of November.

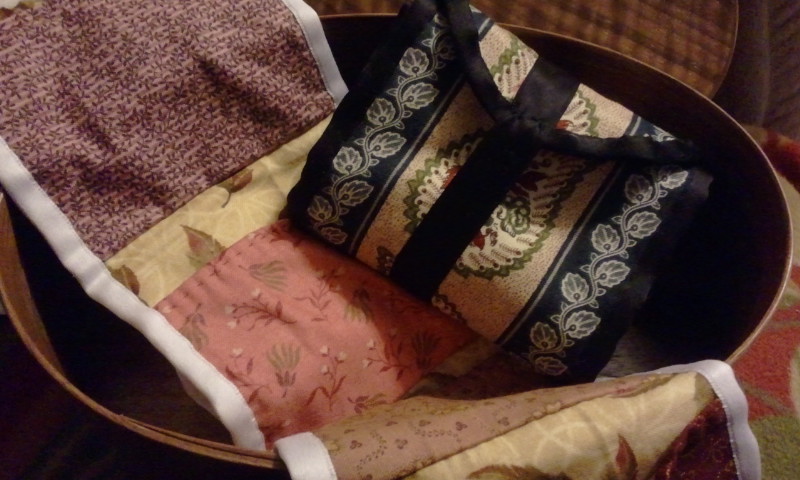
IMG_7791The Sunday afternoon workshop will be a “Pocket of Pocket” Work pocket. Attendees will make one of the most versatile and useful work pockets. Each can choose among a wide assortment of period cotton prints to make their rolled pocket. The workshop directions will be easy to follow for beginner sewers and open enough for those who are more experienced.

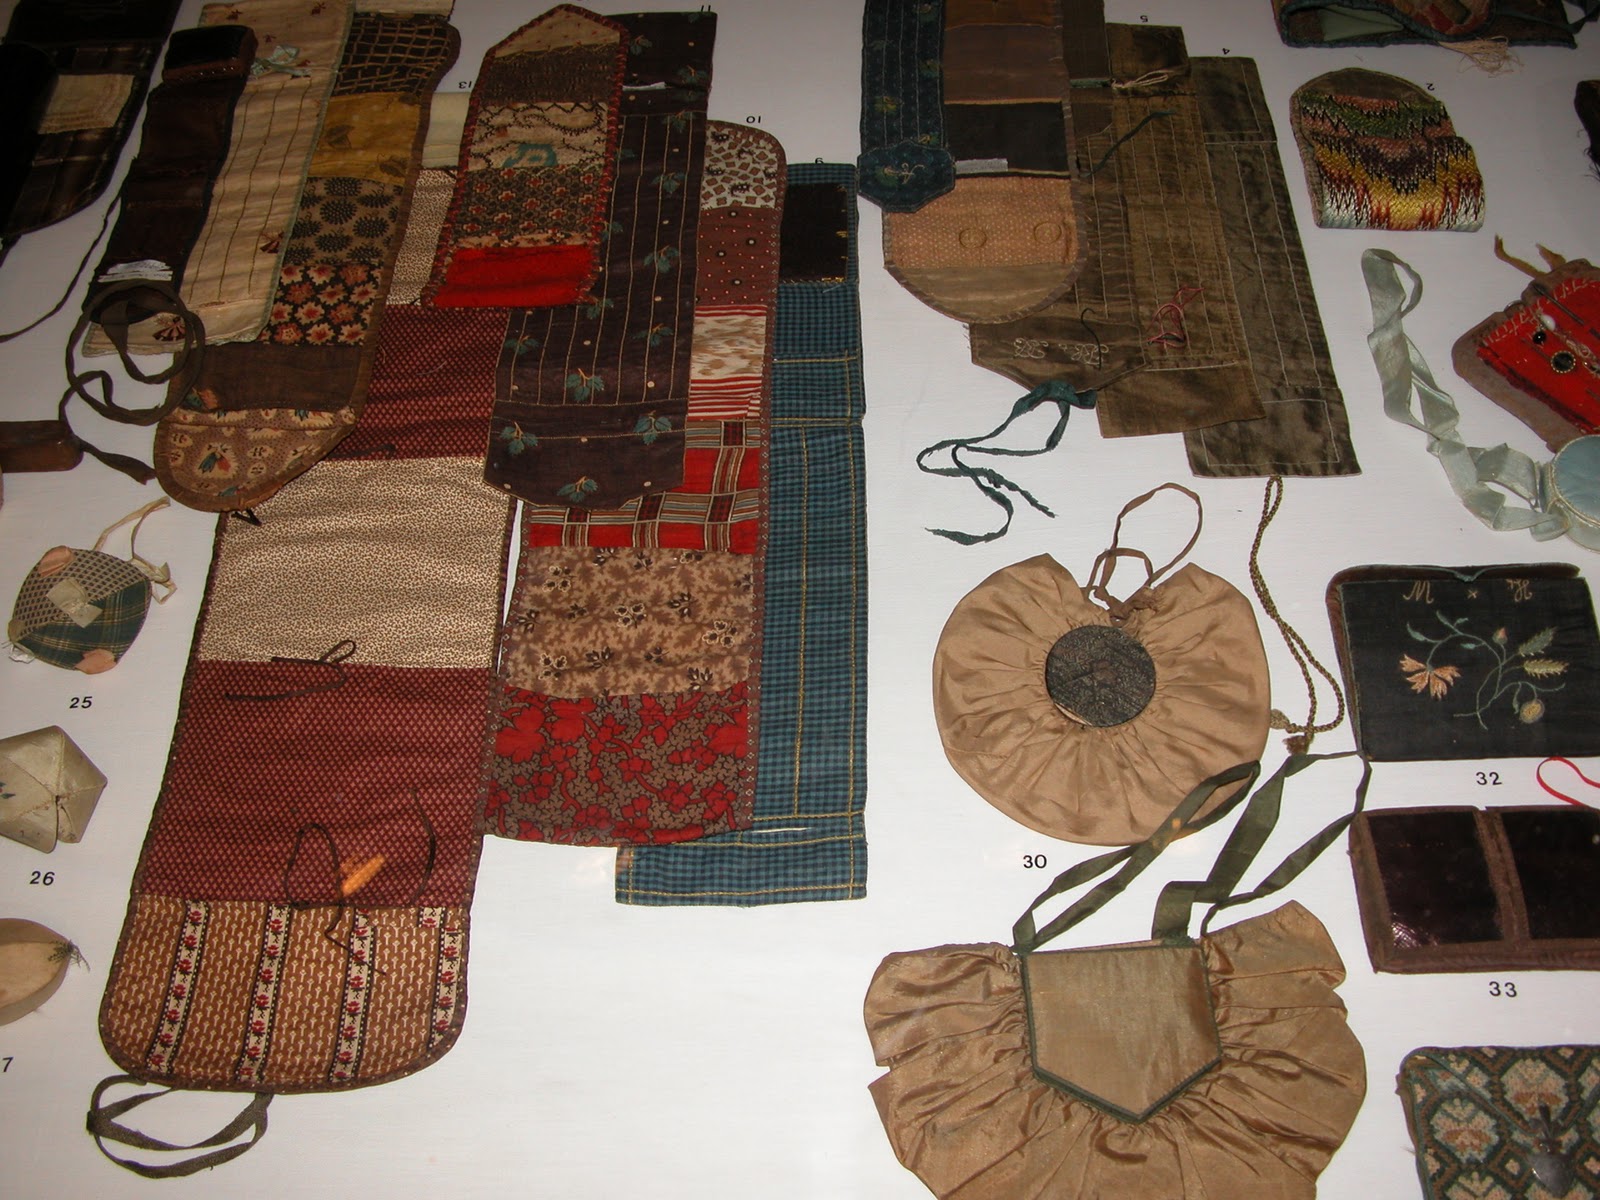
wpid-2015-10-01-19.32.08.jpg.jpegOriginal work pockets, made of a row of pockets which roll up, can be found spanning from the 18th century through the 19th century. Their pockets held numerous sewing needs, nicely organized. Some pockets were made with various prints of a single color or shade such as this Turkey red example or this blue example. Other pockets used an assortment of prints, stripes and plaids. This example used a plaid, print and check for the pockets.  The size of the pockets varied through time as well. On the left hand side of this photo, you can see many different sizes.
wpid-2015-09-30-14.54.07.jpg.jpegwpid-2015-09-30-14.51.38-1.jpg.jpeg

Published in: on October 2, 2015 at 6:01 am  Leave a Comment  
Tags:

Workshop: Pin Cushion Sampler

I am very excited that I will be facilitating two Fanciful Utility workshops at the upcoming Domestic Skill Workshop hosted by the Genesee Country Village and Museum during the first weekend of November.

The morning workshop will be A Pin Cushion Sampler. Attendees will be able to make two or three pincushions of their choice during the workshop. Don’t worry, all attendees will take home the directions for each of the cushions. I have put together an assortment of pin cushions that will meet a range of sewing abilities, beginner to experienced alike, as well as meet a variety of sewing case needs.

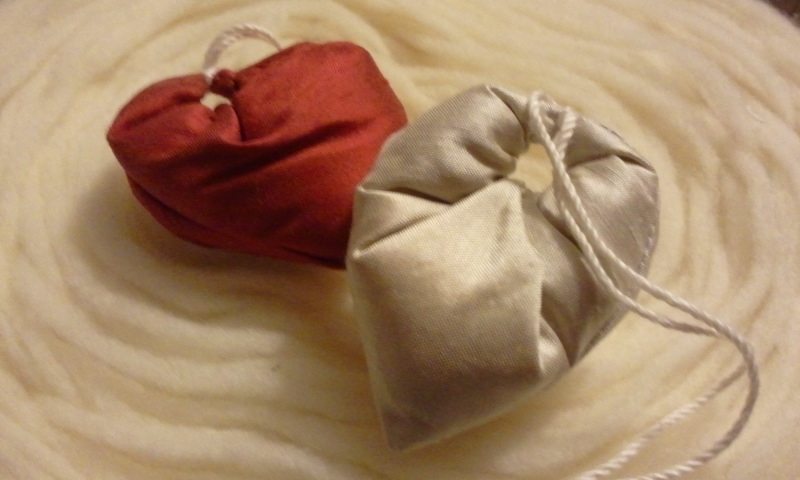
wpid-2015-10-01-06.15.38.jpg.jpegThe easiest pin cushion is the heart shaped cushion from Eliza Leslie’s American Girl’s Book. This simple, silk cushion is both easy to make and quite pretty. It can be made small (as our cushion will be) or rather large to suit the needs of the sewing box.

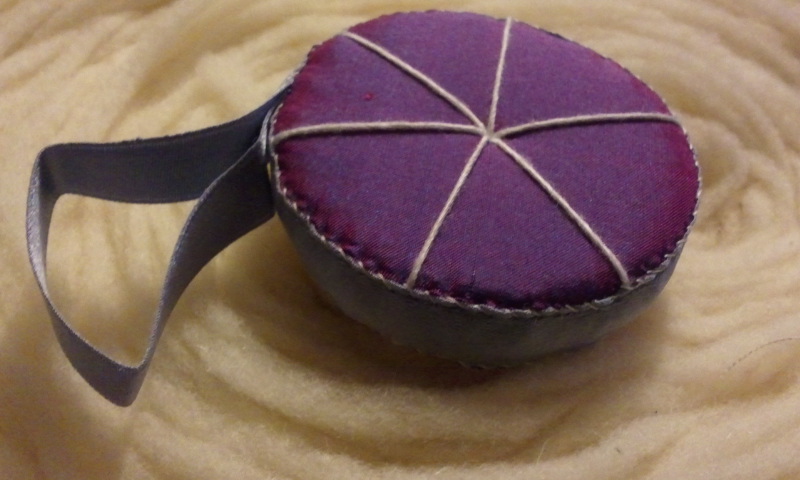
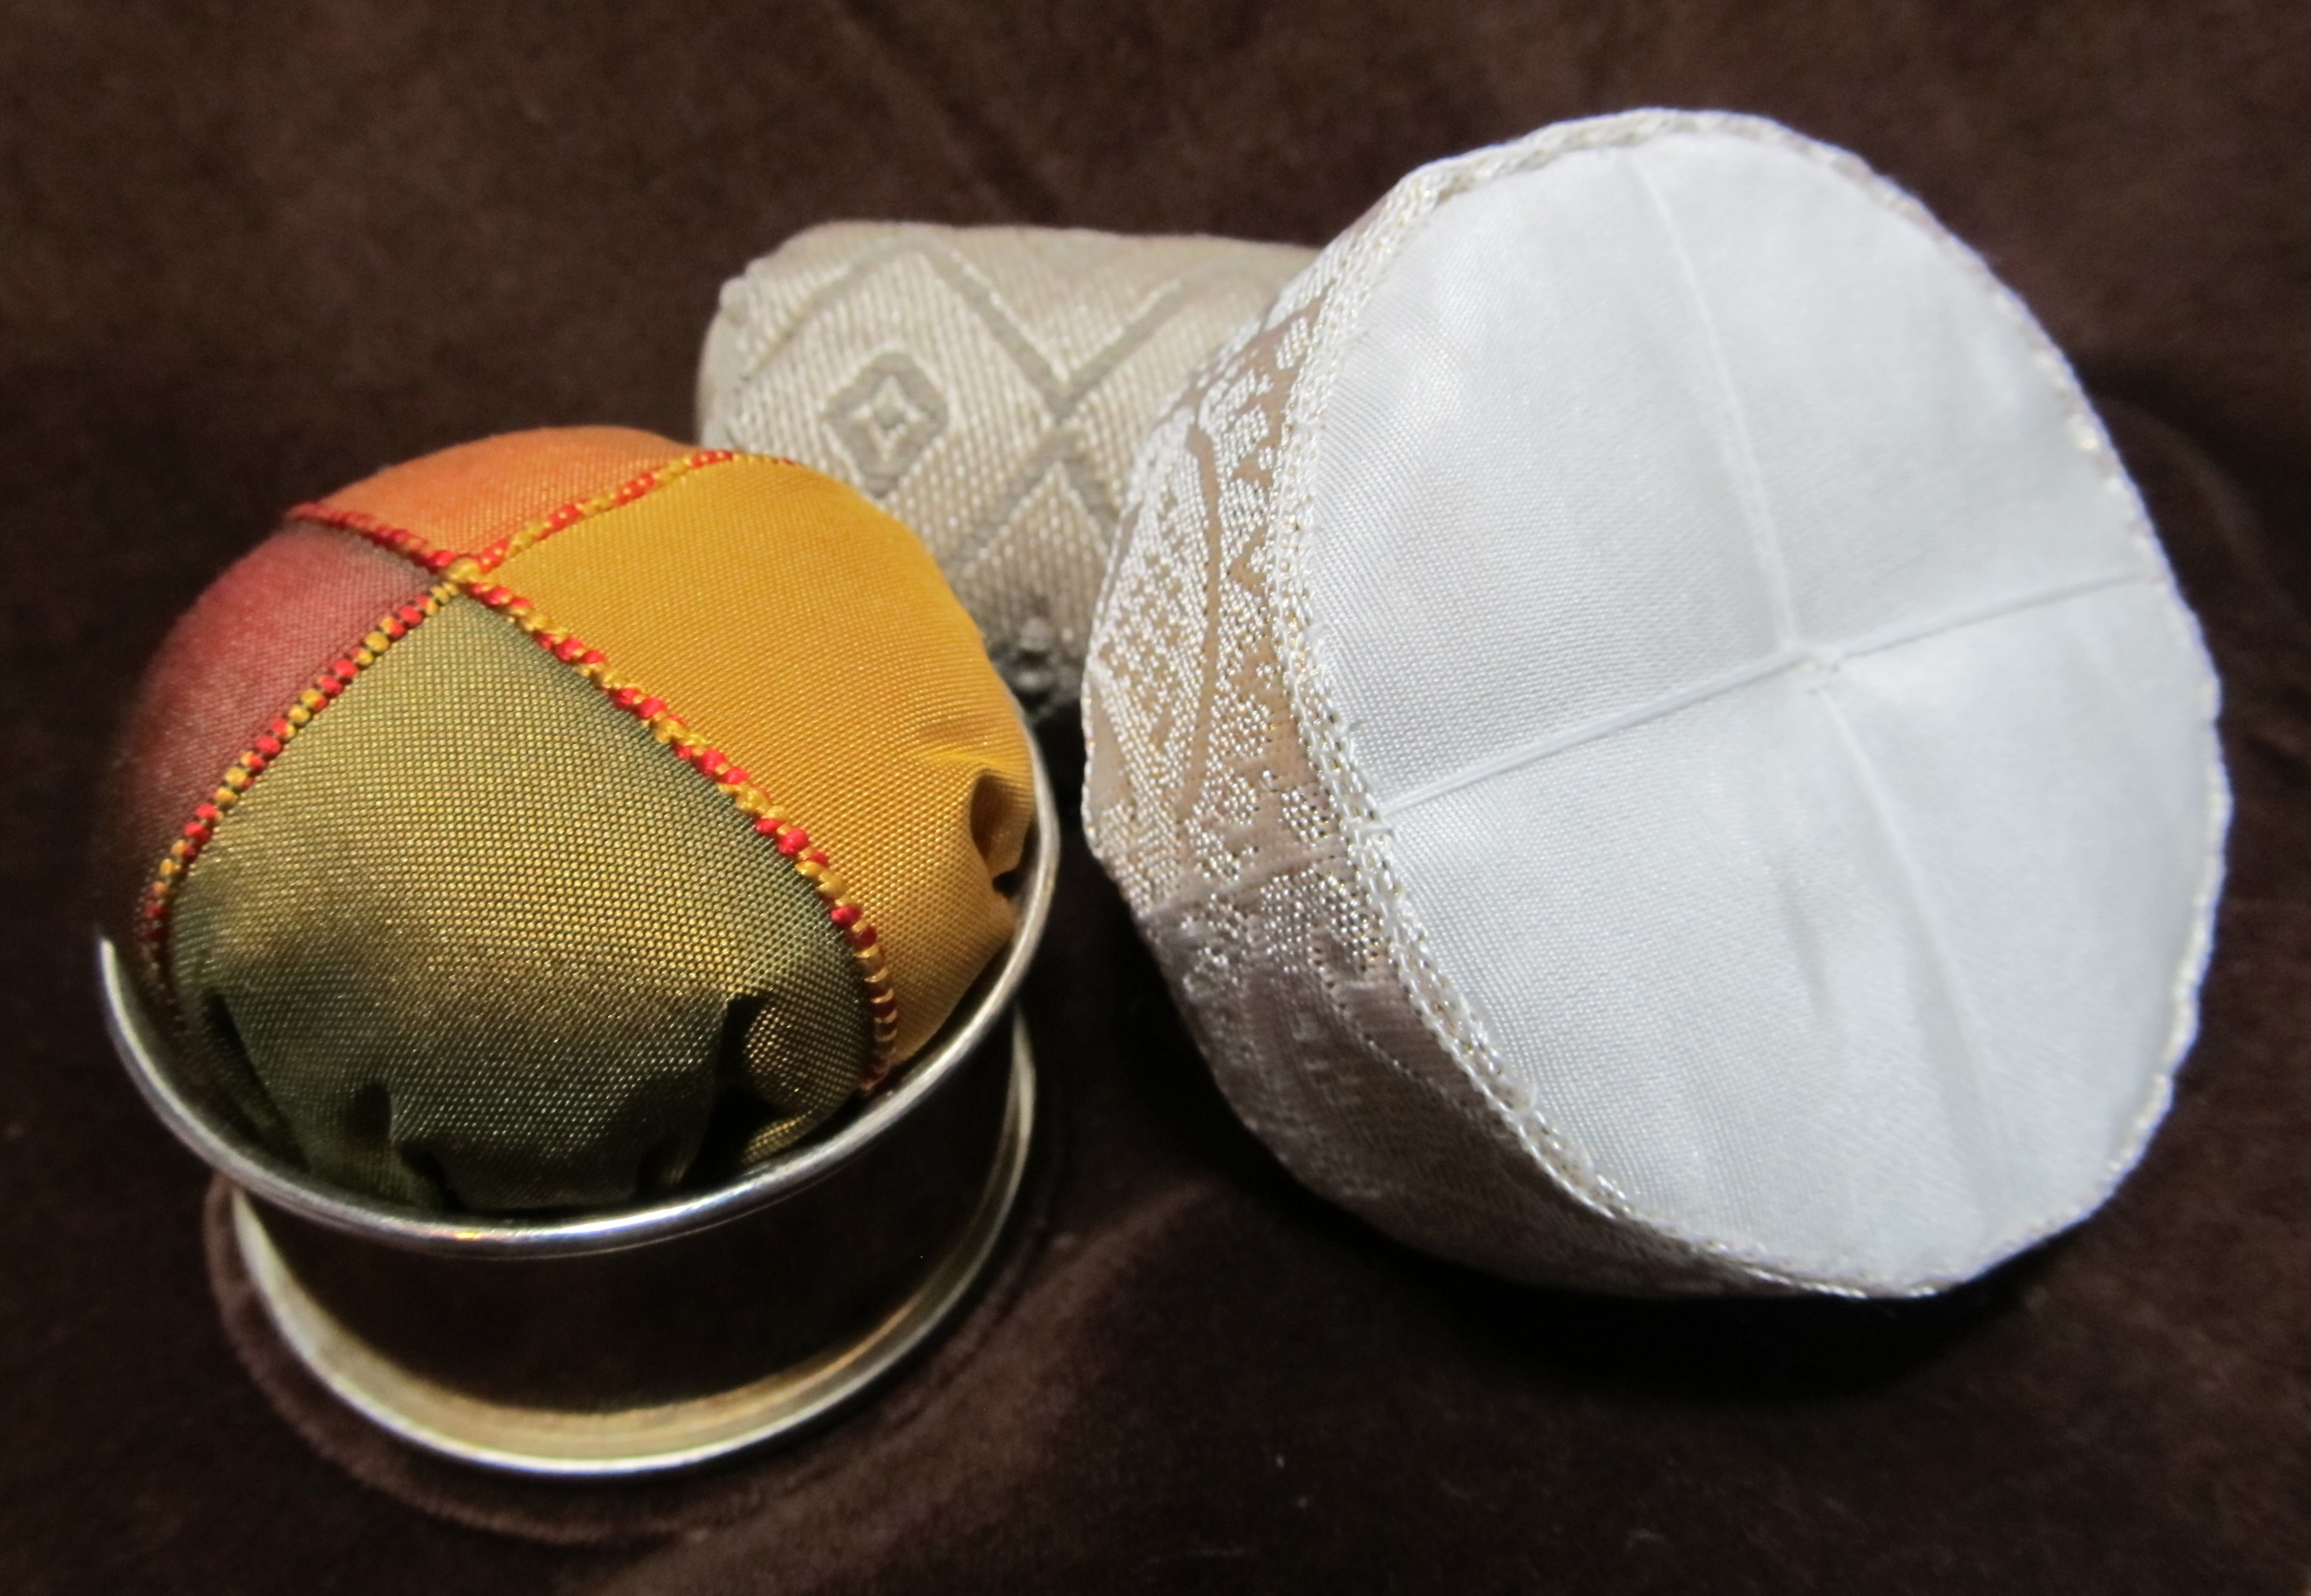
wpid-2015-10-01-06.15.20-1.jpg.jpegThe most challenging cushion is this multi-media ring pin cushion, made with a silver tone ring and silk. In making this cushion, you will practice covering pasteboard, manipulate the batting and finish it off with a pretty silk. Multi-media pin cushions such as this one were popular throughout the century.

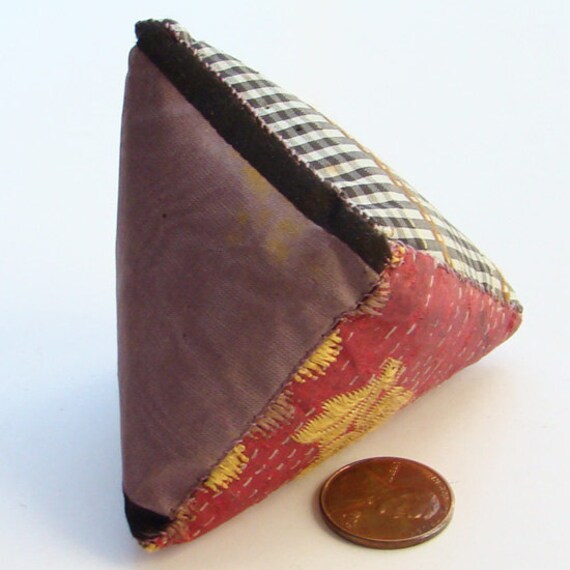
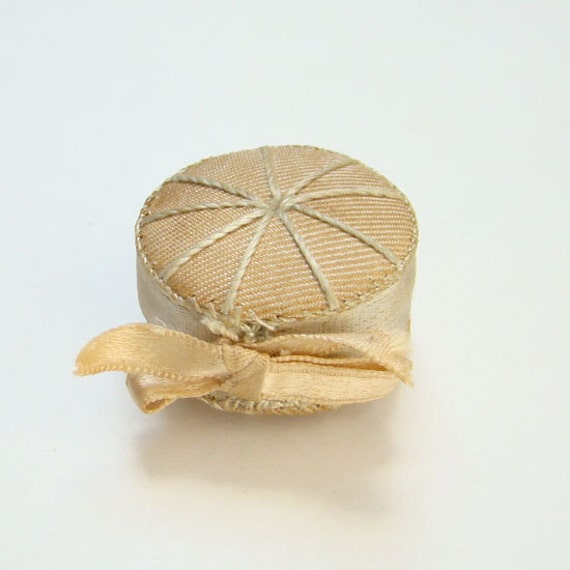
wpid-2015-10-01-06.16.50-1.jpg.jpegFor those looking for a small, whimsical pin cushion, this pyramid cushion will suit. This cushion will be worked in firmer fabrics, including wools and velvets. This cushion is inspired by this adorable original. (I’ll have some pretty ribbons you can add as well.)

wpid-2015-10-01-19.25.29.jpg.jpeg

If you love ribbon, this ribbon pin cushion may be the one for you. This cushion uses Fanciful Utility techniques in a unique way to create this pretty cushion. It is inspired by originals such as this one.wpid-2015-10-01-06.14.57-1.jpg.jpeg

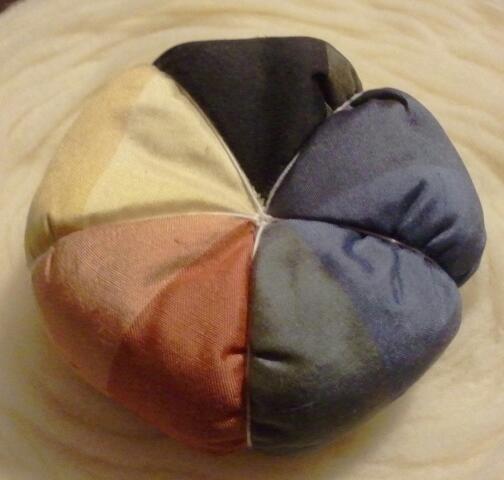
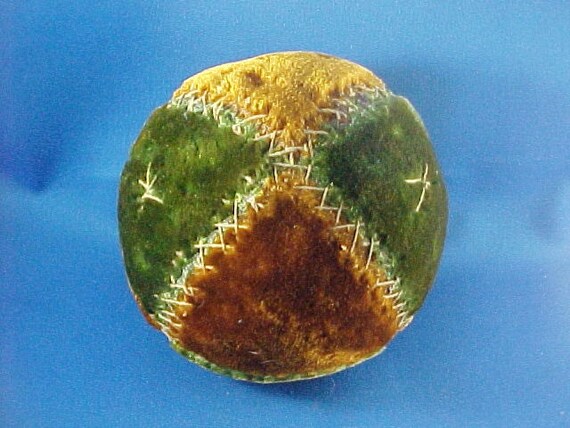
For those with a playful eye, this ball pin cushion is a fun choice. We will be making ours with silk pieces. Originals can be found in an assortment of materials.

wpid-2015-10-01-06.14.34-1.jpg.jpeg

Variations of a gored pin cushion are found in both published books and originals. This cushion is easy to make, while being very versatile. As these are similar to the ‘tomato’ pin cushions, I am going to bring along some simple circles too in case those are the preference.

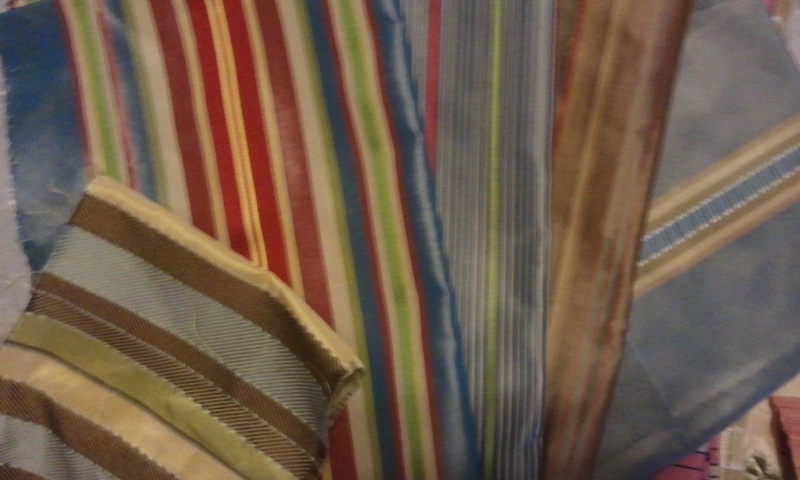
Oh, I almost forgot…. Here are some of the fabrics we will get to play with….

wpid-2015-09-28-18.03.22.jpg.jpegwpid-2015-09-30-14.54.07.jpg.jpeg

Published in: on October 2, 2015 at 6:00 am  Leave a Comment  
Tags:

Domestic Skills Symposium at the Genesee Country Village & Museum

The Genesee Country Village has announced their Domestic Skills Symposium for this fall. Please read the invitation below and download this Registration Form:

Genesee Country Village & Museum is pleased to announce registration is now open for our 2015 Domestic Skills Symposium!

The Symposium will be held November 7, 2015 at Genesee Country Village in Mumford, NY. We have planned a full schedule of presentations for Saturday, and optional pre- and post-symposium workshops and tours of interest to women and men. Like last year, the Symposium also features a full luncheon composed entirely of delectable 18th and 19th-century period receipts!

Complete details for optional workshops and the Symposium are available on our web site at

Please plan to join us!

Sincerely,
Deanna Berkemeier

I will be teaching two Fanciful Utility workshops on Sunday:

IMG_7664

A Sampler of Pincushions (Limit 15)

Anna Worden Bauersmith, author of Fanciful Utility, will instruct attendees in making their choice of two or three small period styles of pincushions. All materials for your chosen designs will be provided and instructions for all designs will be given to each attendee. Participants should bring: a sewing basket with scissors, thimble, pins, needle, seam ripper, marking pencil/pen and a notepad.

IMG_7666

Make a “Pocket of Pockets” (Limit 15)

Using the techniques from Fanciful Utility, make one of the most useful and versatile rolled work pockets. Also known as a sewing case or housewife, this work pocket is made of period correct fabrics in a row of pockets, bound with ribbon. Use it to hold your thread winders, flat tools, small scissors, buttons, a cloth measure and still have plenty of room for more. The pocket-of-pockets is rolled or folded up and tied closed with a ribbon. Participants should bring: a sewing basket with scissors, thimble, pins, needle, seam ripper, marking pencil/pen and a notepad.

2015 Domestic Skill Symposium Registration Form

IMG_7668

Published in: on August 24, 2015 at 5:22 pm  Leave a Comment  
Tags:

Canandaigua Lady Excursion

This is information for the small group of us taking an excursion on the Canandaigua Lady.

We are each making our own reservations for this excursion. Please call Sara at: (585) 233-5019  (585) 396-7350 to schedule the July 10th tour at 6:30 without the meal and with upper deck access. (You can order online, but there is a $6 fee.)Please comment below or in the Facebook event page that you have made your reservation.

Afternoon/Evening Excursion on the Canandaigua Lady

Date: Friday, July 10th, 2015

Boarding time:  6:15

Cost: $22.00

Duration: 2 hours (630-8:30)

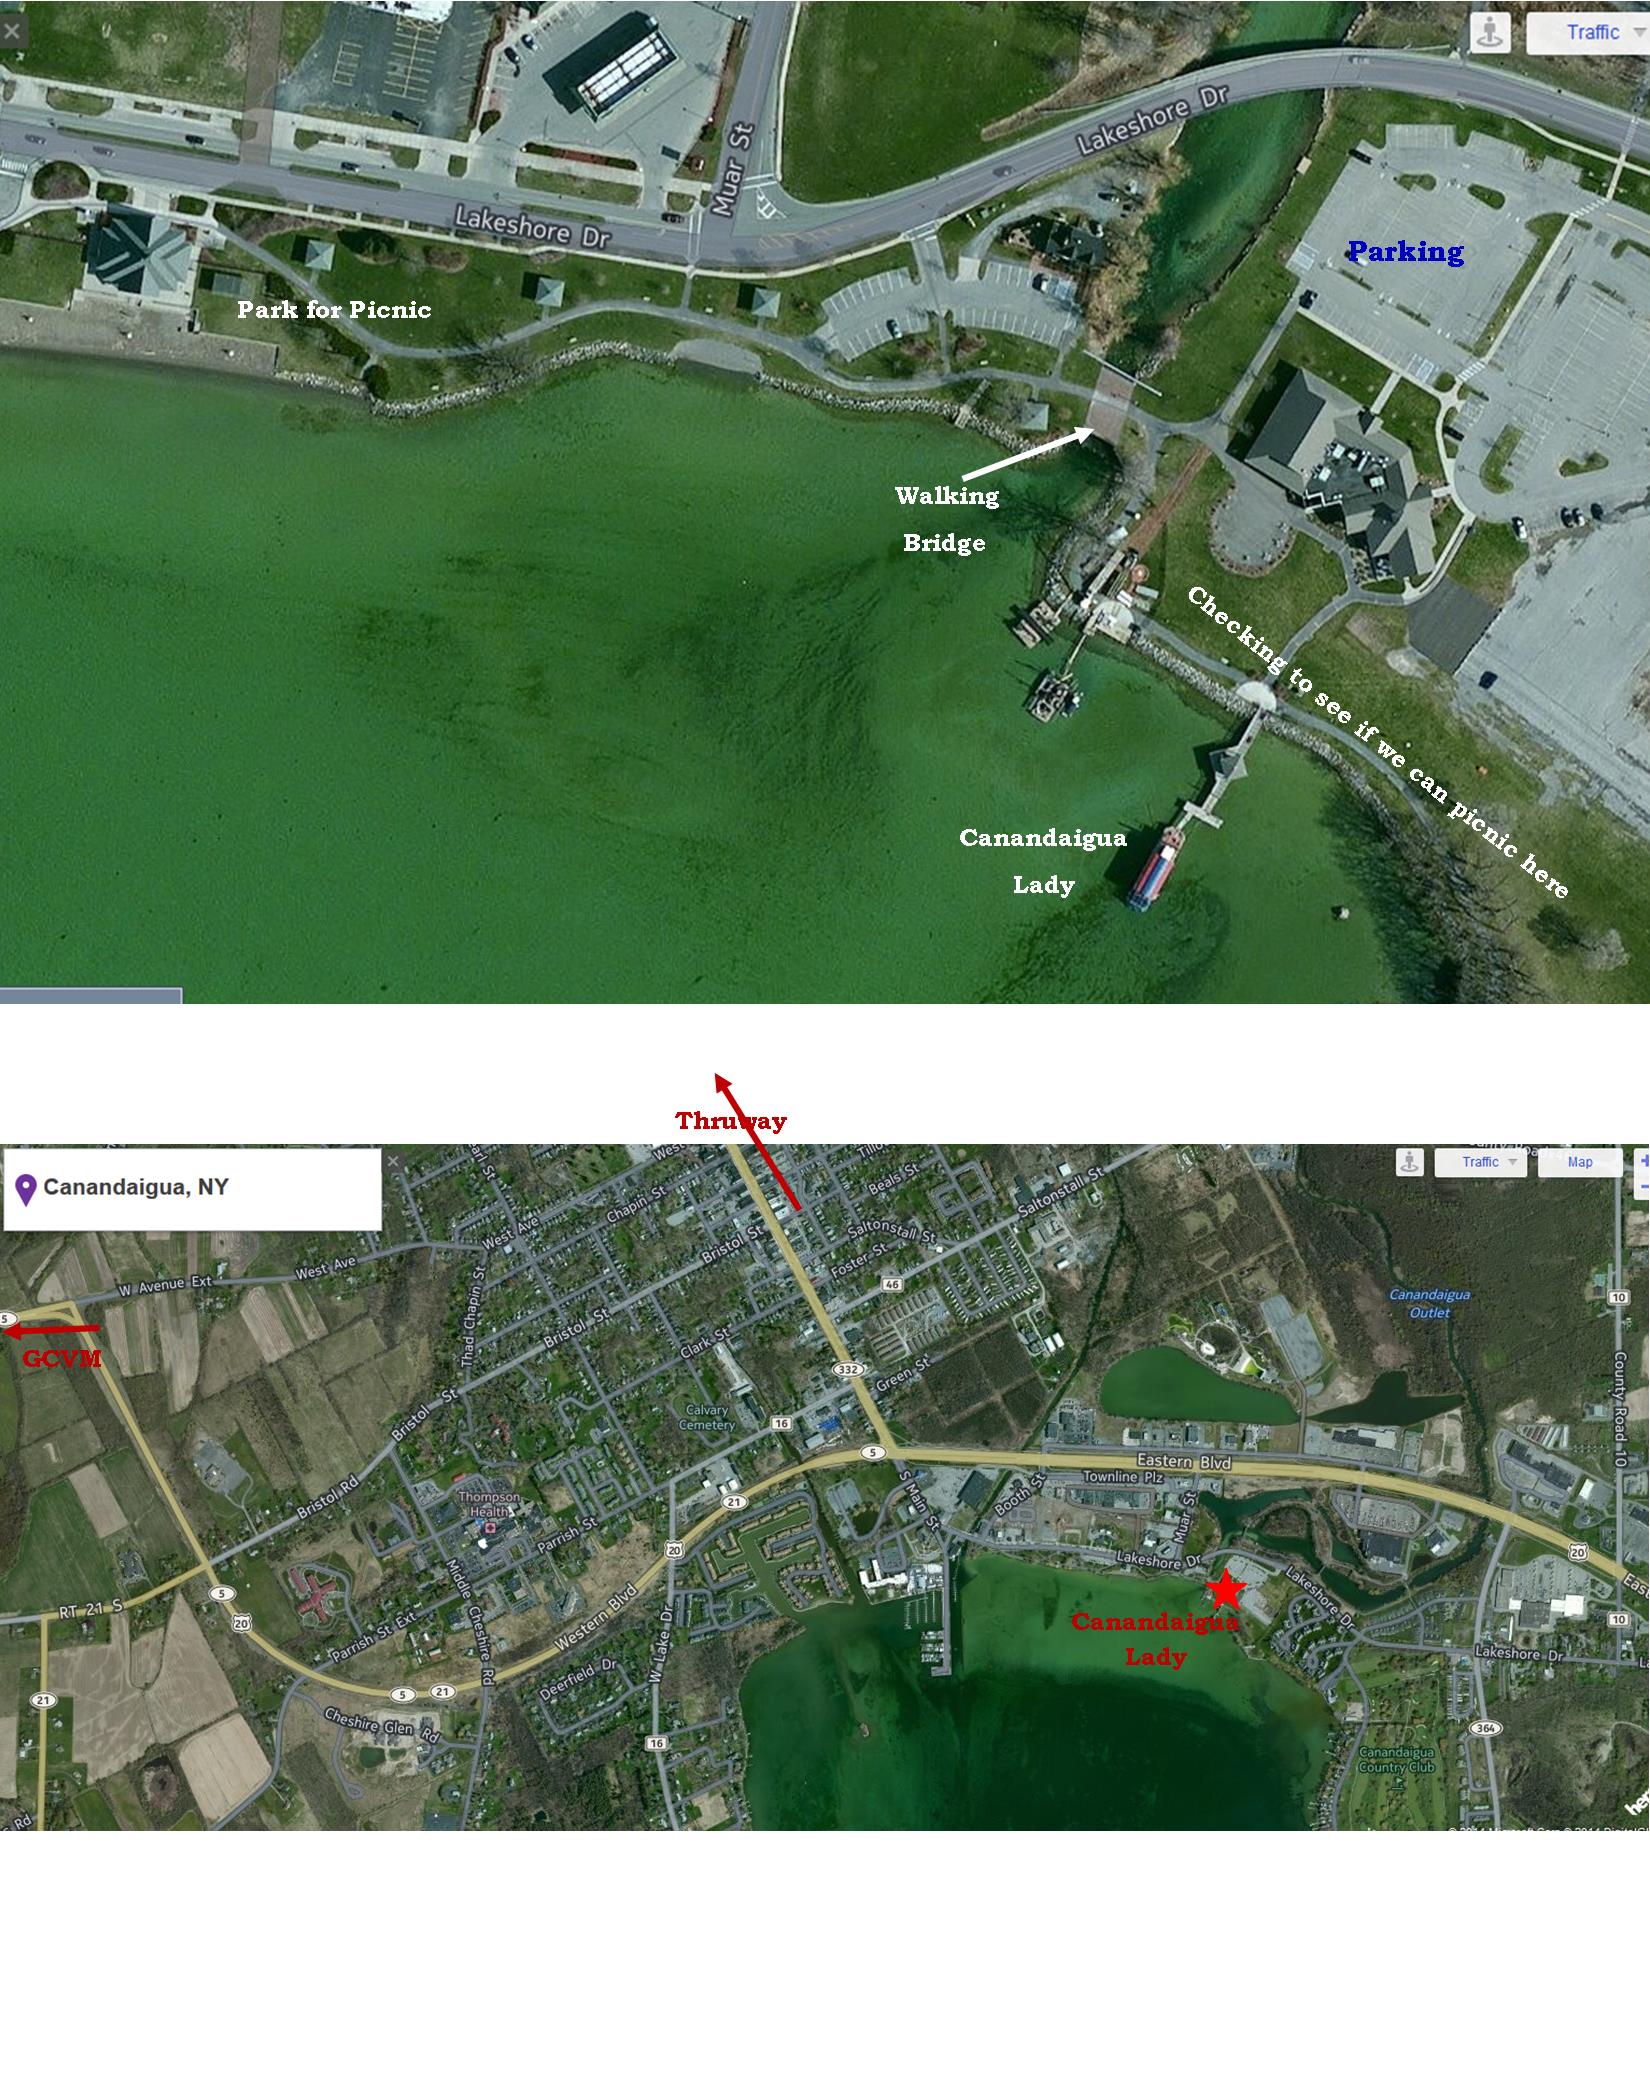
Address: Docked at 205 Lakeshore Drive in Canandaigua, NY

Pre/Post Picnic at Kershaw Beach Park (adjacent to the boat launch.)

For our picnic, please bring:

  • A picnic blanket
  • Food for yourself in period containers
  • If you bring food to share, please bring a list of ingredients
  • Period entertainment if you wish.

***I will add to this page as we develop more information. Please be sure to check back.***

Map: Map

Historical Inquiry:

I am looking for mid-century images and textual references of the steamboat passengers.

An image of Canandaigua Lake and one of her steam boats in the mid-century:

Joseph Wood on Canandaigua Lake http://www.hallofnewyork.ny.gov/finger-lakes

Account of a picnic on the lake and a steamboat – Village Life in America, P27

Picturesque Canandaigua, 1899

A late century photo of the pier and a steamboat.

An illustration of a Water Cure resort on a different lake.

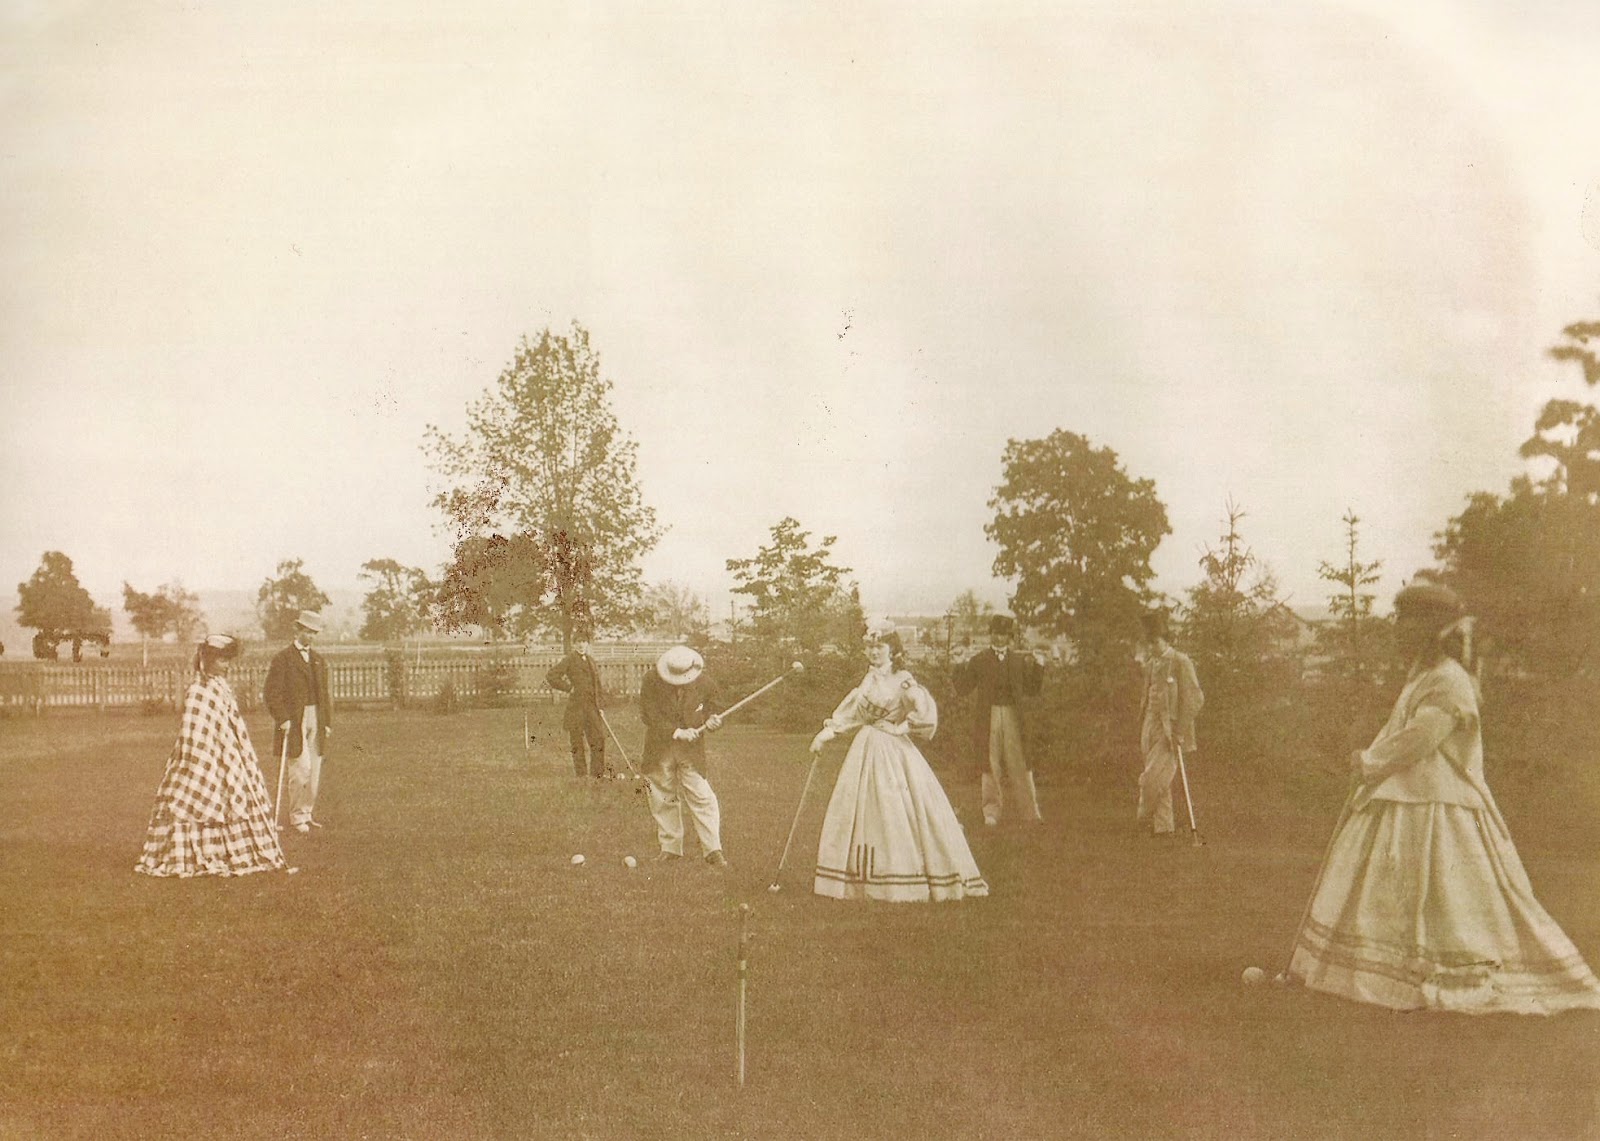
Cr0quet at Sonnenberg, not dated. (approx 1867-70. Visual of recreation in Canandaigua.)

This looks like a similar size steamboat in 1858. It is a river boat though. Some women and children shown.

Published in: on March 18, 2015 at 6:30 am  Leave a Comment