Today’s Millinery – Fancy Edge Hat

Today, I offer a millinery piece I have looked forward to making and I am having a hard time letting go of. It will be available in my Etsy shop as soon as I pick the price and hit the button.

IMG_9027This hat is trimmed in a fancy vintage plait. I have all of the plait that was offered, but there wasn’t much of it. It combined a scroll of twisted straw threads and arrangements of flat straw.

This stylish fashion hat is made with a beautiful natural straw with speckling in the plait and a vintage fancy straw edge.

The crown is flat on the top. It is sized to fit an average size head. The brim is fashionably shaped, dipping in the front and back.

**Full disclosure – The fancy straw plait is backed with a faux horsehair that did not exist in the 19th century. I have stiffened the fancy plait to hold the shape of the hat. I highly suggest not wearing it in the rain or holding the hat by the edge.**

IMG_9029


Published in: on March 15, 2016 at 5:20 pm  Leave a Comment  
Tags:

Quilted Winter Hood E-Pattern – Now Available

I finally have my Quilted Winter Hood available as an E-PatternIMG_2482.

This will save on printing costs and turn around. This also means you get your pattern instantly through Etsy’s easy download system.

Just like the print version, you get a directions booklet and pattern pieces. I reformatted the direction booklet in a larger scale for easier reading.

Quilted Winter Hood E-Pattern 

Now on Etsy

Published in: on August 3, 2015 at 2:50 pm  Leave a Comment  
Tags: ,

Hats of Mine

I realized something today. I had a few people asking if I make hats for adults as well as children. I do. Of course I do. Oh, but they sell so fast, few people ever see the listings. Ooops

Here are some of the hats I’ve made. (These are just the photos I have on hand right now. I’ll add more asap.)

This slideshow requires JavaScript.

Published in: on May 21, 2015 at 6:00 am  Leave a Comment  
Tags:

Fanchons for 1865

There are only two Fanchon bonnets left in my Etsy store.

Here are a few finishing ideas.

image

A Hood For Everyday Wear

image

This is the hood I cut for myself in December. I finally got round to quilting and sewing it. As I am hoping these last two weeks were the depth of our cold, I don’t think I’ll keep it.

image

It has a cream silk exterior that has applique-esque windowpane padded stripes on it. It is a soft silk with flat slubs. Inside is my favorite cotton lining.  Just love this blue & red print. The batting is a super soft wool.

image

image

https://www.etsy.com/listing/219178299/victorian-style-winter-bonnet-in-quilted

Published in: on January 19, 2015 at 6:58 pm  Leave a Comment  
Tags:

The Tear-Drop Tip

One of my more recent collection additions has an elagant tear-drop shaped tip surrounded by tightly gathered stripe silk and a fluffy puffing of wool.  It is on of those construction componants that just catches you with “how did she do that?”
It is also one of those things that just call to me, from the other room, “make me”… “figure me out.”
The original tip is made of layers about a third the weight/thickness of pasteboard. Theses layers are also wrinkled and crushed inside the layer of silk on the outside and lining on the inside. The best I can tell (for want of one of those probe cameras) there is a gathering of silk between the layers of almost pasteboard, but it isn’t enough material to be the gatherings from the body of the hood. (I think I figured out what she did with that bulk. Rather nifty.) The teardrop is piped with a thick silk covered cord. I went from thinking “that is going to be a pain” to “ah, that takes care of that.”
I’ll get around to doing the photos of this piece soonish.
Now, my creation of the week was all about figuring out this tip. The rest of the hood is just a basic wadded construction.

image

image

image

Published in: on January 17, 2015 at 2:47 pm  Leave a Comment  
Tags:

The Ultimate Winter Wind Hood

IMG_5679 Here we are, the first bonnet of 2015.

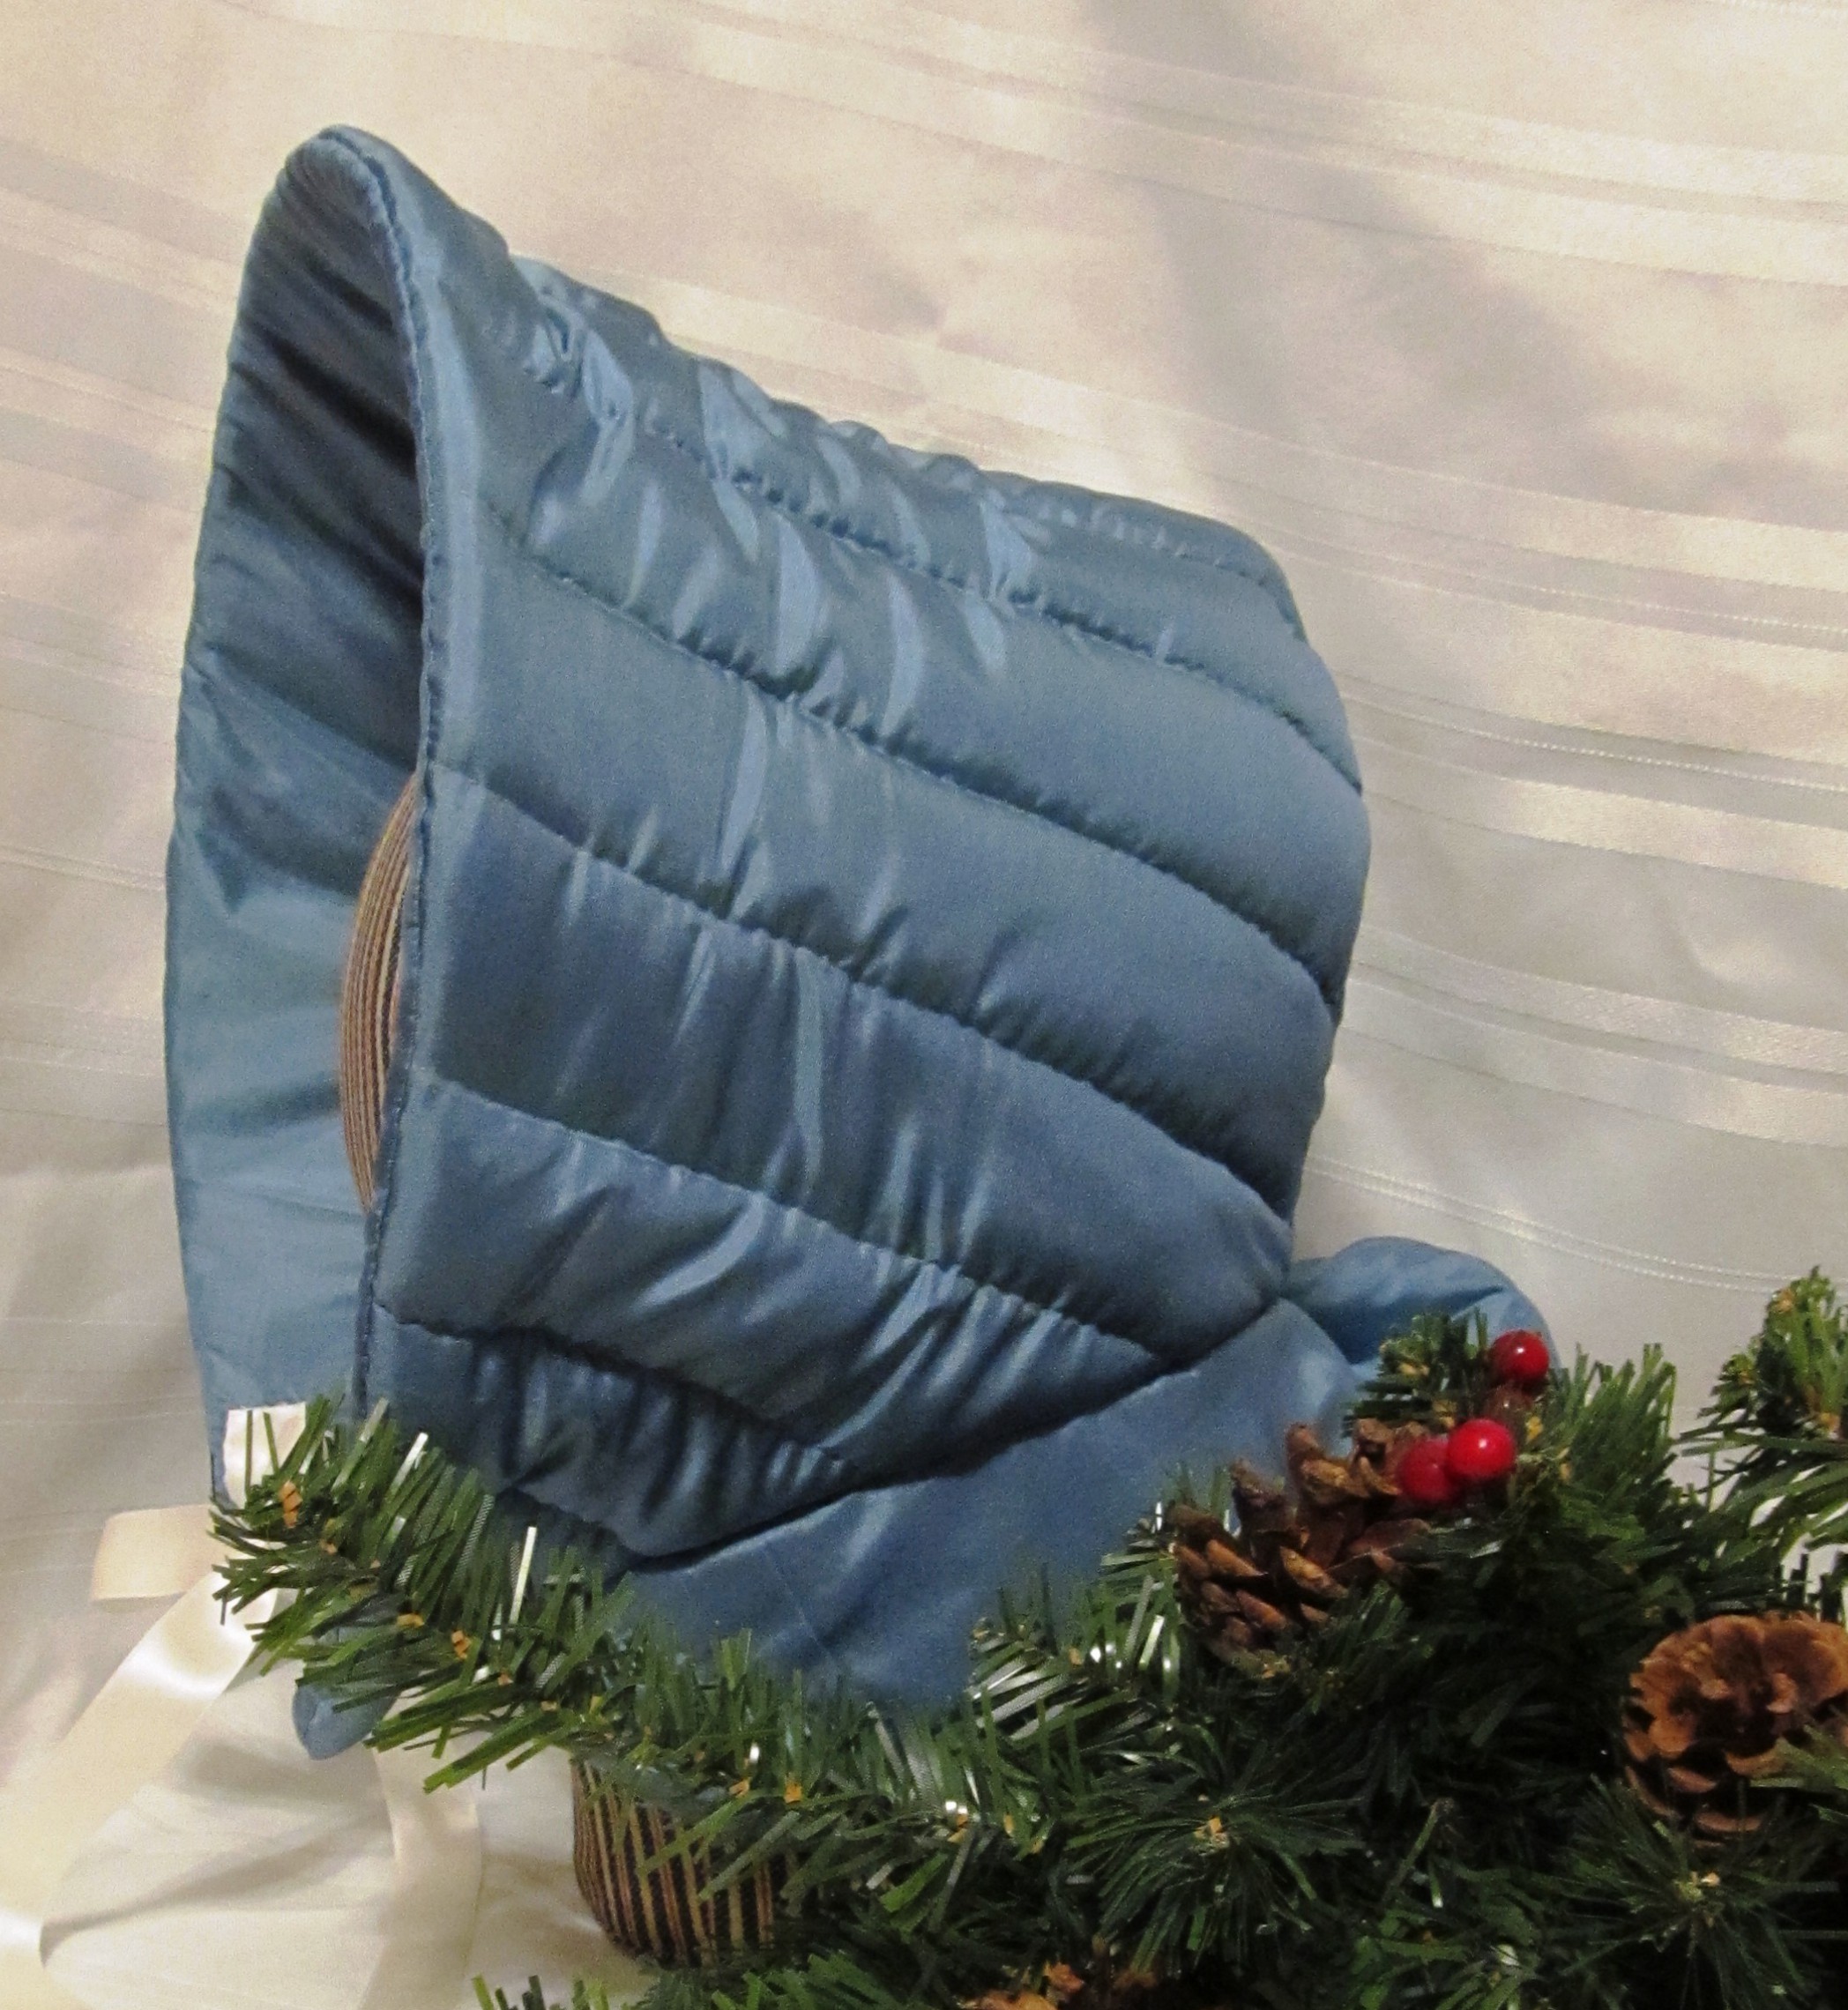
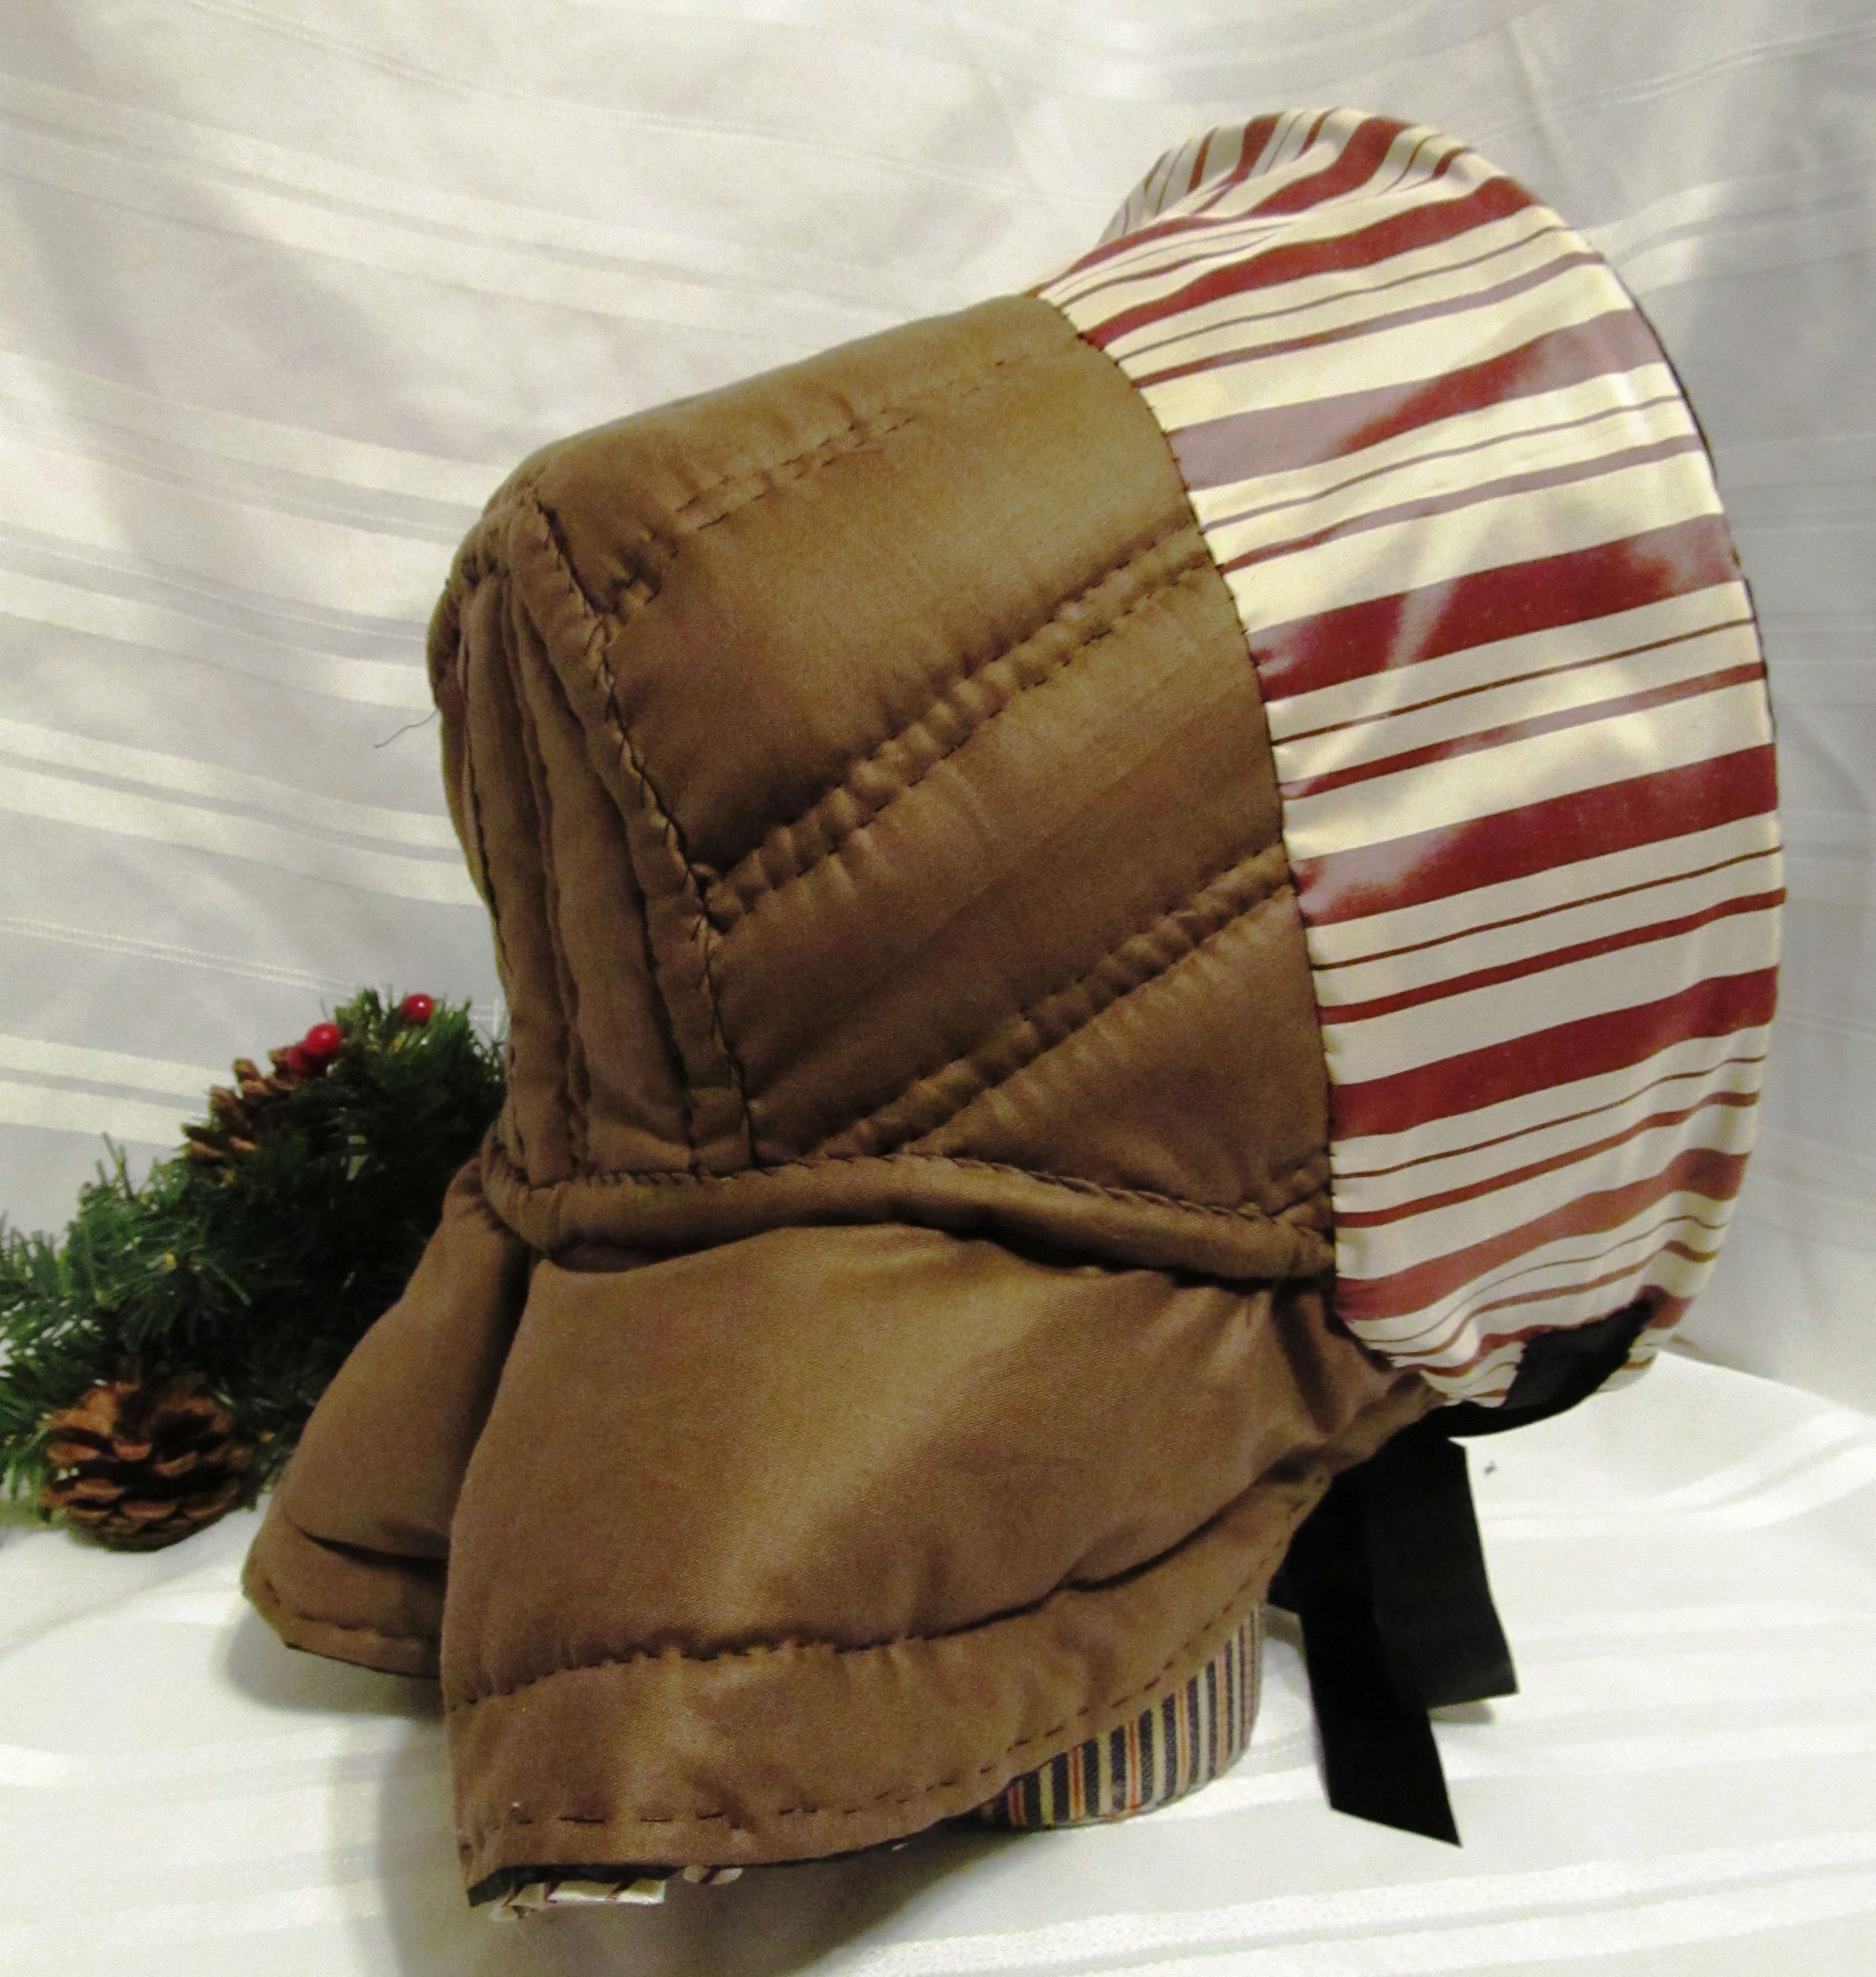
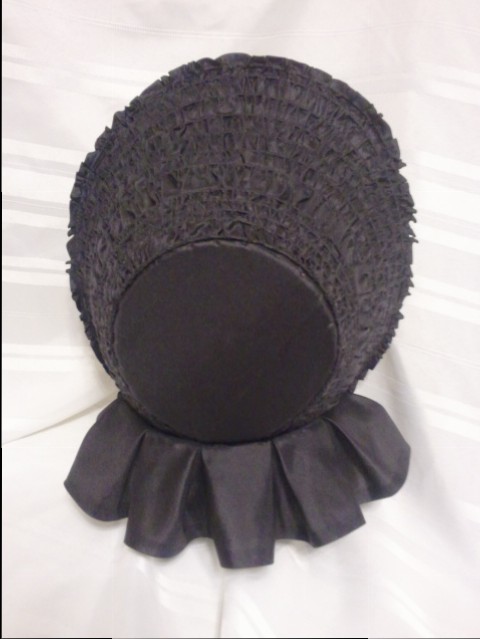
This winter hood is taken directly from an original in my collection. The original is a dark, royal blue on the outside with black silk on the inside. I went all black for this one. This is one of those hoods where I really wanted to know why it went together the way it did. IMG_5694 All the measurements are as exact as I could get. I kept with the original seam construction as well, right down to the use of salvage which I’ve come to love for its great reduction in bulk. I did make two additional changes besides the color. The original has a piece of half inch broken cane. As it is only a fragment and the pinholes that previously held it only showing in a small area, I could not determine exactly where it ran. I have not included that. There is a piece of black ribbon attached flat along the bavolet seam on the outside that is just off. I suspect it was either added later to cover pinholes from where a decorative ribbon was placed or to cover wear. (Here is the Etsy link.)

IMG_5701
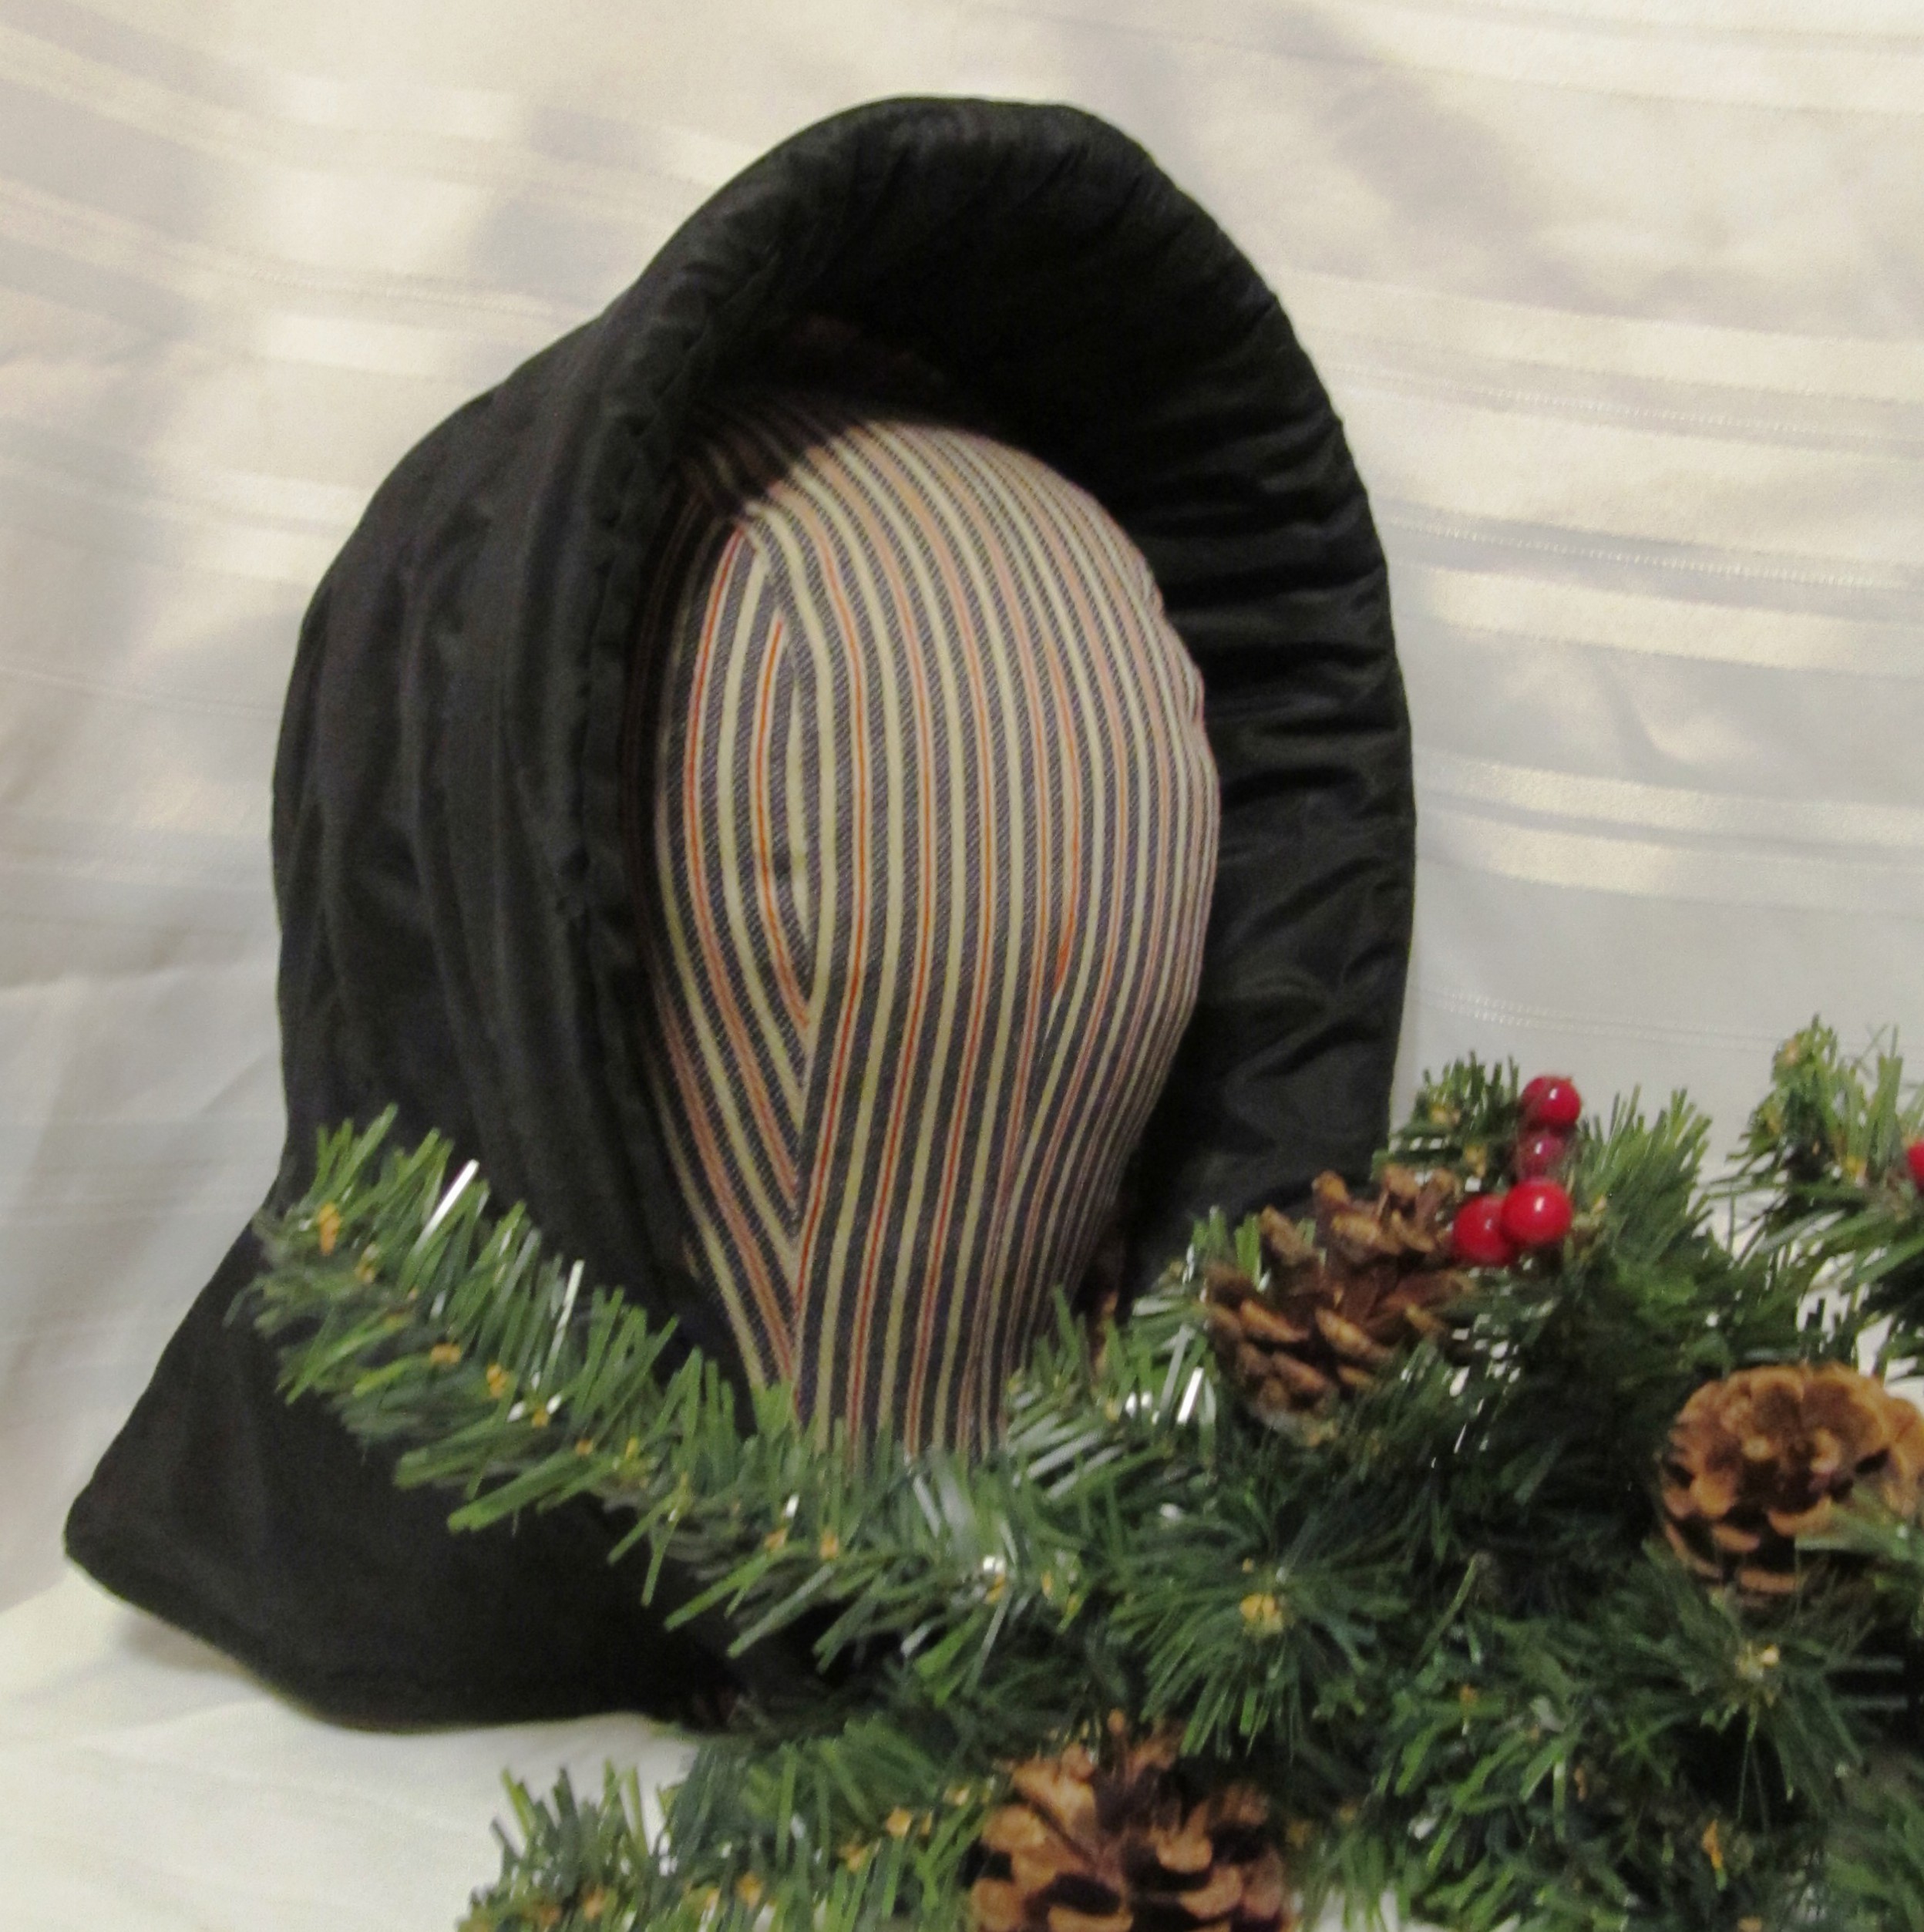
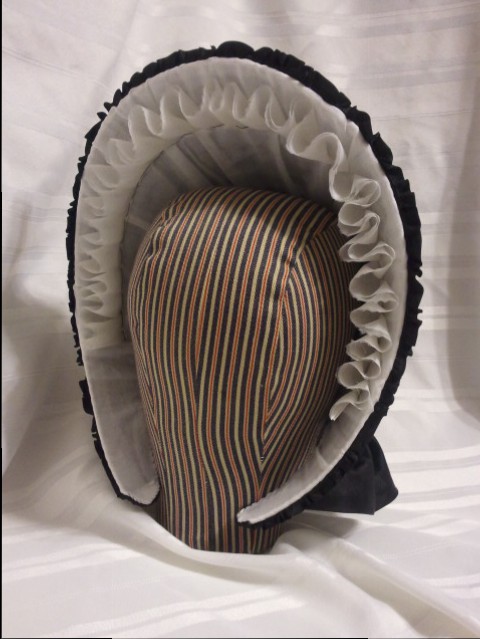
Now, I’m sure you are wondering why I’m calling this “The Ultimate Winter Wind Hood.” When I finished it and tried it on, I was greatly impressed by how wind resistant this hood is. The brim comes very forward of the face. At the same time, the ribbons inside the brim draw the interior of the hood down around the head, holding it snuggly and comfortably in place. The photo to the left an show you sort-of how those ribbons draw the interior down.

IMG_5697The bavolet that appears flat and rather long is just right for keeping the wind off the neck. It sits right around the neck so to not let the wind catch underneath.

Trying it on was truly a moment of understanding.

IMG_5692
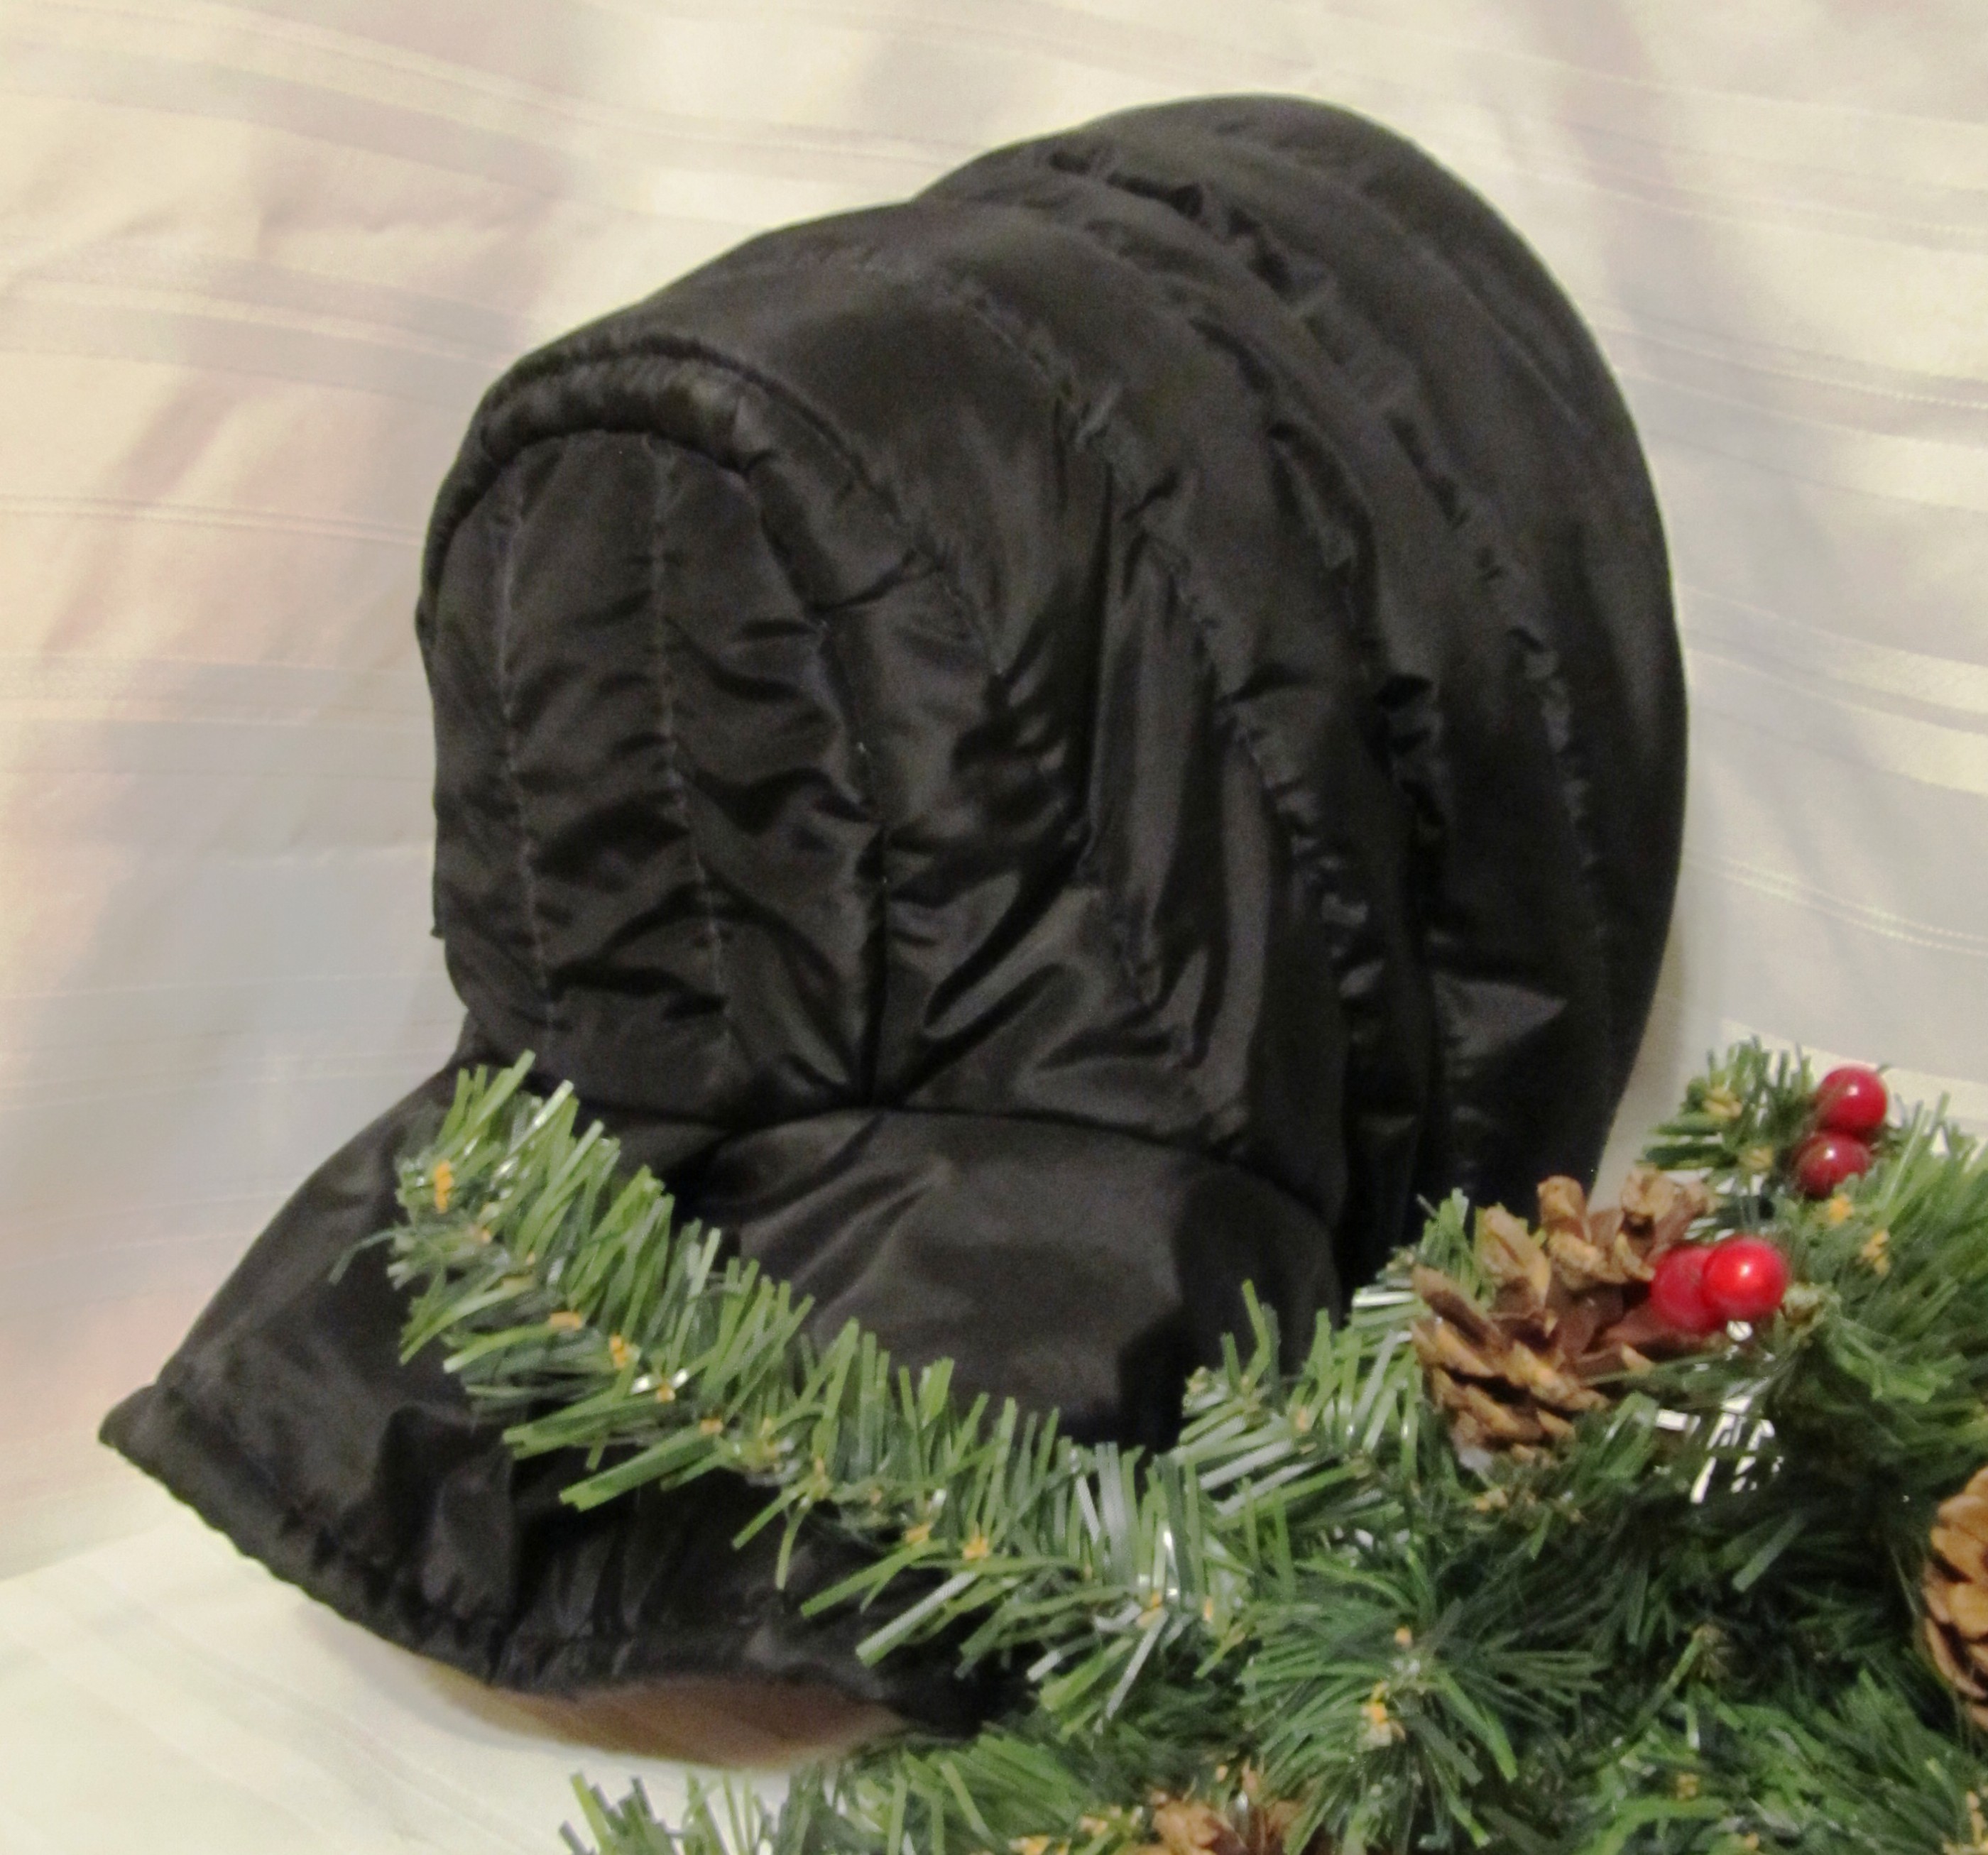
Back to the exterior, you’ll see an interesting combination of quilting. All the quilting is made of diagonal stripes spaced at 1.25″. But, the front of the brim and where it turns under to the inside the quilting makes diamonds, while the mid to back section of the brim is simply diagonal stripes. I happen to really like the way the look comes together. The bavolet and tip both have the full diamonds. (I can tell you, this is a lot of quilting.) IMG_5685

For 2015, I’m going to try to share the time and materials for projects. (which I know may be a little weird since many of the pieces will be available for purchase. But, I really like how others share their numbers on their blogs and for challenges.) So, here we go…

  • research and drafting – I didn’t count.
  • Cutting, marking, quilting and sewing – 19 hours
  • Approx 2/3 yard of black silk taffeta
  • Approx 2/4 yard of 1/2″ wool batting doubled
  • 4 yards of 1/2″ black silk taffeta ribbon
  • 1 yard of 1 1/4″ vintage black silk faille ribbon
  • Black cotton thread which I almost ran out of.
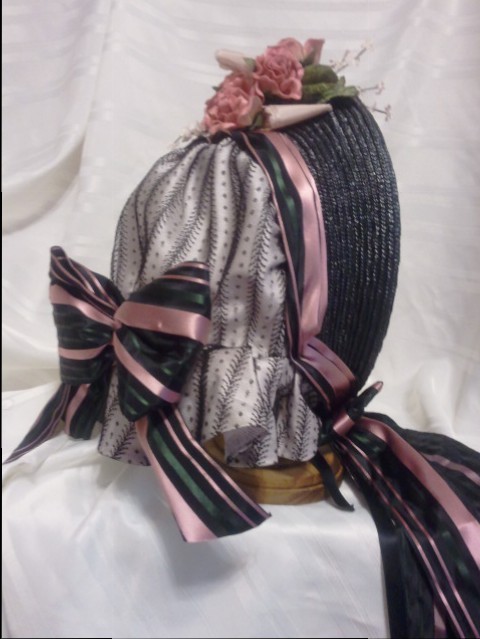
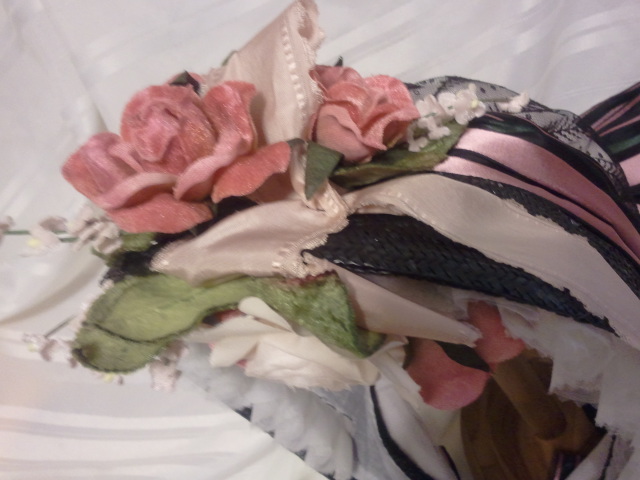
Keeping Snug and Warm

With the incredible early snow and cold this past week, I felt I should have more winter millinery ready for people. So, I’ve been sewing in over-drive. Here are a few of the results:

??????????????????????????????? ??????????????????????????????? ??????????????????????????????? ??????????????????????????????? ??????????????????????????????? ???????????????????????????????I’ve been on a ‘pretty inside’ kick. Mind you, only about a quarter of the interiors of the original hoods I’ve been studying have the interior finished with neatness in mind.

??????????????????????????????? ??????????????????????????????? ???????????????????????????????


Published in: on November 24, 2014 at 7:33 pm  Leave a Comment  
Tags:

Pink & Black Soft Crown

wpid-2014-09-28-17.28.35.jpg.jpegWhen I finish bonnets they usually spark an “Oooo” or a “yeah” or some wordy expression. This one, goes on its stand and just gets a smile. I am so pleased with how this came together, I just enjoy looking at it.

This was a custom piece for a client. For many weeks we picked through silk colors, ribbons and flowers to get just the right combination.

wpid-2014-09-28-17.29.04-1.jpg.jpegThe straw brim is a black plait from England. The soft crown and bavolet are a combination of a pale pink silk taffeta and a beautiful, delicate black antique lace. The soft crown has the stripes of the lace running vertically, while the stripes on the bavolet are running diagonally, bias-esque.


wpid-2014-09-28-17.29.30.jpg.jpegAn amazing ribbon drapes over the top of the bonnet along where the brim and crown meet, then down the cheektabs for the ties. This ribbon is a black taffeta with pink and dark green satin stripes. A large bow of this same ribbon sits at the base of the crown, just above the bavolet. Combined with the pink damask ribbon in the flowers, there are nearly 5 yards of ribbon on this bonnet.


wpid-2014-09-28-17.30.19.jpg.jpegThe flowers are a combination of dusty rose and pink velvet roses with a pale pink rose and little pink velvet blossoms. The arrangement inside the brim is connected to the bouquet atop the brim by a soft pink damask ribbon that winds in and out of the flowers.

Getting the right balance was important to me. Too much weight in the back makes a bonnet slide; while too much weight in the front makes a bonnet feel heavy. I think this balances pretty well with the bow and flowers counter weighting each other. So, it is pretty and balanced. Happy me.

wpid-2014-09-28-17.28.39.jpg.jpeg


Published in: on October 3, 2014 at 4:52 pm  Comments (2)  
Tags:

Black Silk Drawn Bonnet

wpid-2014-09-15-18.09.52.jpg.jpeg   This black silk drawn bonnet was a custom request. The new owner is adding her own flowers and ribbons.

wpid-2014-09-15-18.10.44.jpg.jpegThe silk is a flat black tissue taffeta. I like this silk because it is so similar in weight and weave to silks I’ve seen on original bonnets. It draws up nicely on the thinner cane and allows for tight gathers without looking bulky or adding too much weight, while also drawing lightly giving nice waves to the silk.

The buckram form base is shaped to have a nice flaring brim, fashionable yet flattering.

wpid-2014-09-15-18.09.27.jpg.jpeg

Inside, is a cotton sheer lining and a silk organza frill ready for flowers to be added. The bavolet is lined with white cotton net.

wpid-2014-09-15-18.11.44.jpg.jpegI’m sure some are wondering if this bonnet could be dressed for mourning. Yes, it could be. One could add matte black ribbons and simply fluff out the frill (I like to ship the frills un-fluffed) for a mourning impression. For later in the mourning period, purple ribbons and simple white flowers could be added.

Published in: on September 25, 2014 at 4:26 pm  Comments (1)  
Tags: