
This is information for the small group of us taking an excursion on the Canandaigua Lady.
We are each making our own reservations for this excursion. Please call Sara at: (585) 233-5019 (585) 396-7350 to schedule the July 10th tour at 6:30 without the meal and with upper deck access. (You can order online, but there is a $6 fee.)Please comment below or in the Facebook event page that you have made your reservation.
Afternoon/Evening Excursion on the Canandaigua Lady
Date: Friday, July 10th, 2015
Boarding time: 6:15
Cost: $22.00
Duration: 2 hours (630-8:30)
Address: Docked at 205 Lakeshore Drive in Canandaigua, NY
Pre/Post Picnic at Kershaw Beach Park (adjacent to the boat launch.)
For our picnic, please bring:
- A picnic blanket
- Food for yourself in period containers
- If you bring food to share, please bring a list of ingredients
- Period entertainment if you wish.
***I will add to this page as we develop more information. Please be sure to check back.***
Map: 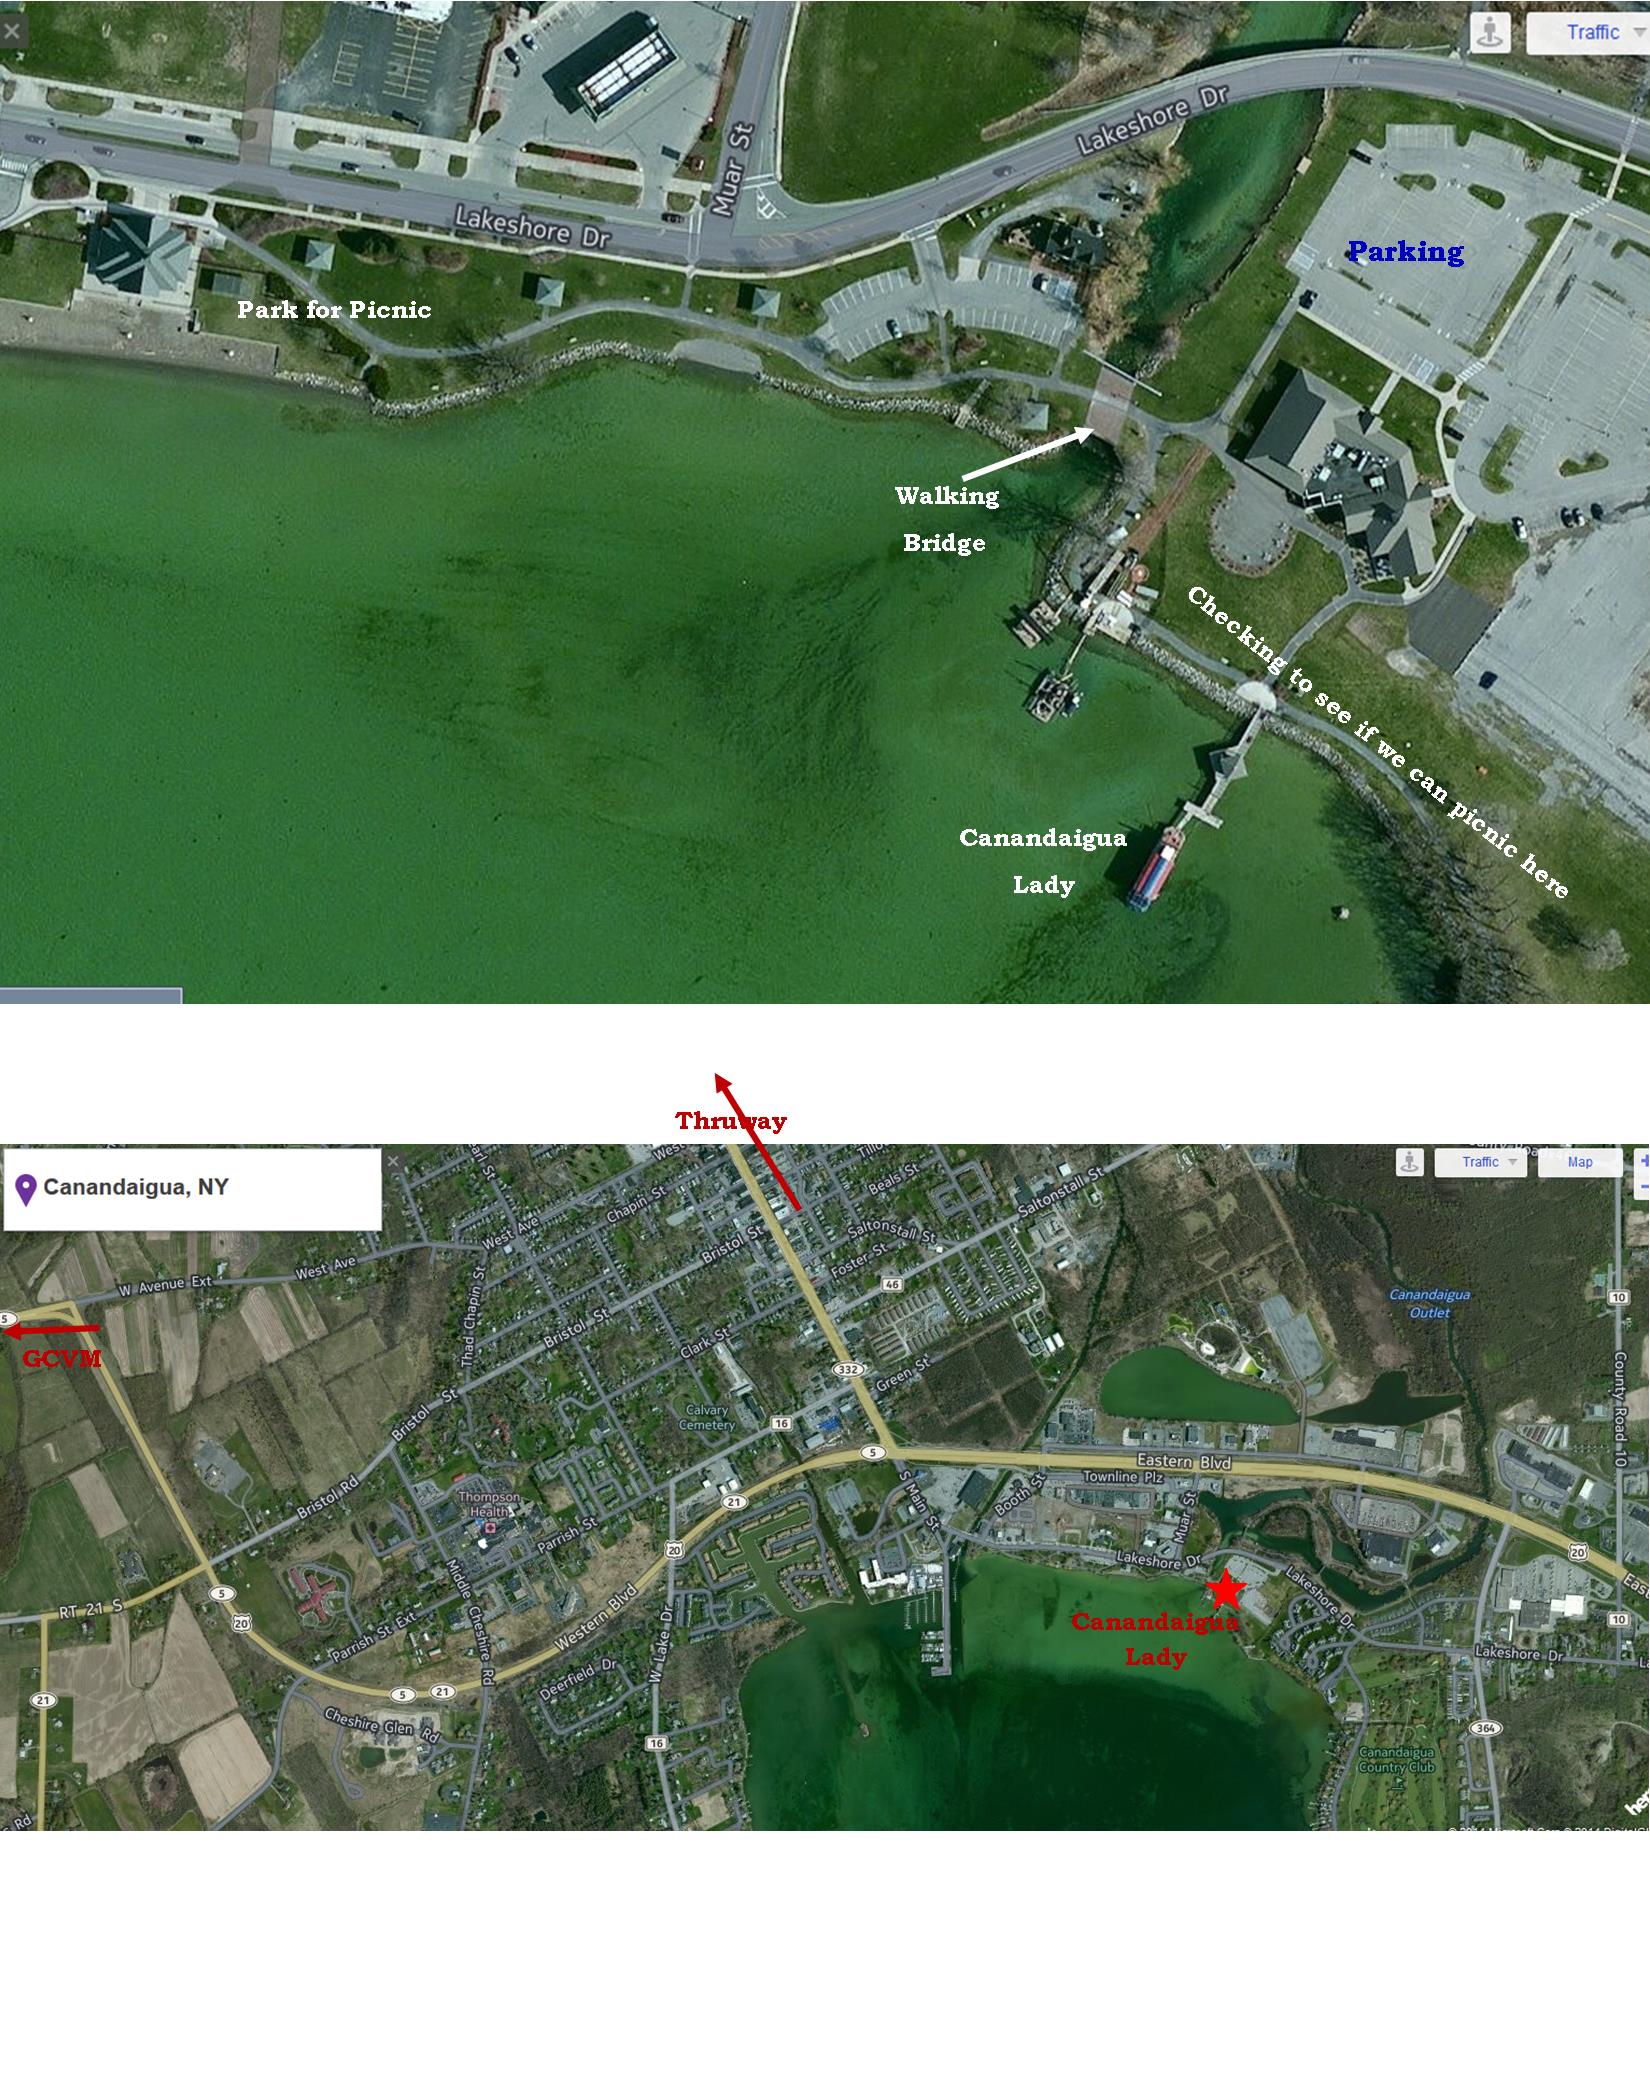
Historical Inquiry:
I am looking for mid-century images and textual references of the steamboat passengers.
An image of Canandaigua Lake and one of her steam boats in the mid-century:

Joseph Wood on Canandaigua Lake http://www.hallofnewyork.ny.gov/finger-lakes
Account of a picnic on the lake and a steamboat – Village Life in America, P27
A late century photo of the pier and a steamboat.
An illustration of a Water Cure resort on a different lake.
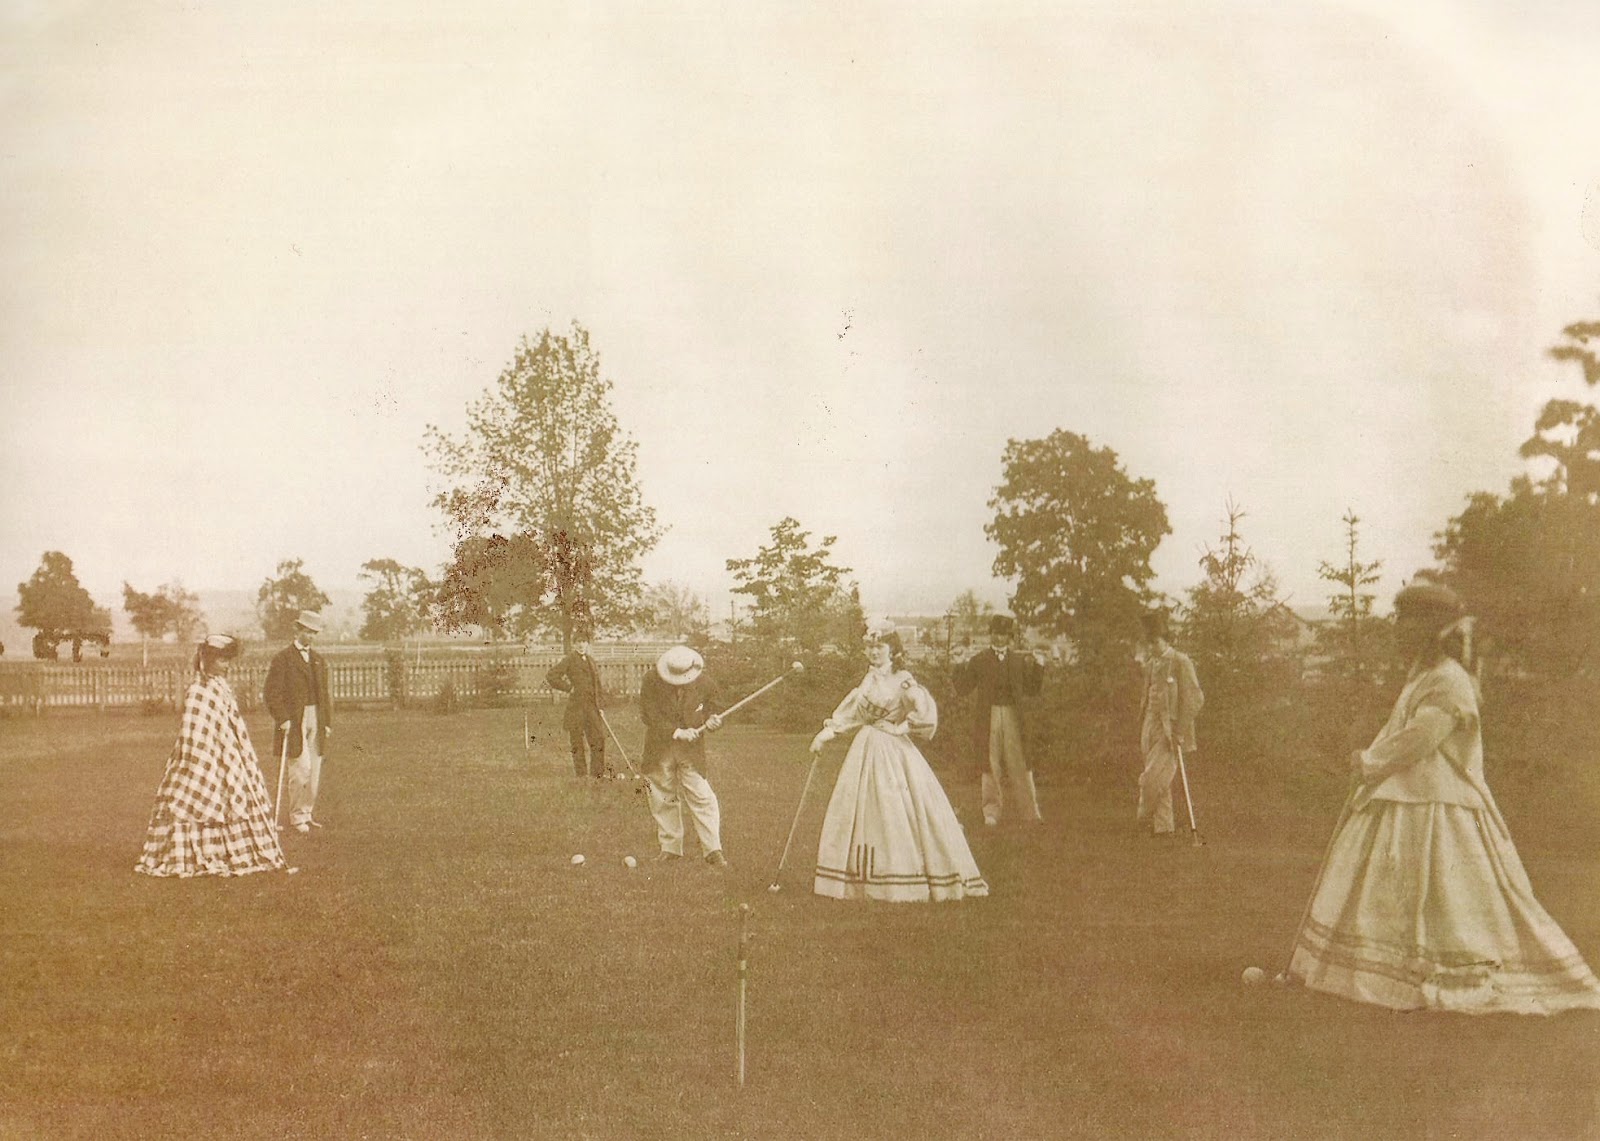
Cr0quet at Sonnenberg, not dated. (approx 1867-70. Visual of recreation in Canandaigua.)
This looks like a similar size steamboat in 1858. It is a river boat though. Some women and children shown.


 All the measurements are as exact as I could get. I kept with the original seam construction as well, right down to the use of salvage which I’ve come to love for its great reduction in bulk. I did make two additional changes besides the color. The original has a piece of half inch broken cane. As it is only a fragment and the pinholes that previously held it only showing in a small area, I could not determine exactly where it ran. I have not included that. There is a piece of black ribbon attached flat along the bavolet seam on the outside that is just off. I suspect it was either added later to cover pinholes from where a decorative ribbon was placed or to cover wear. (
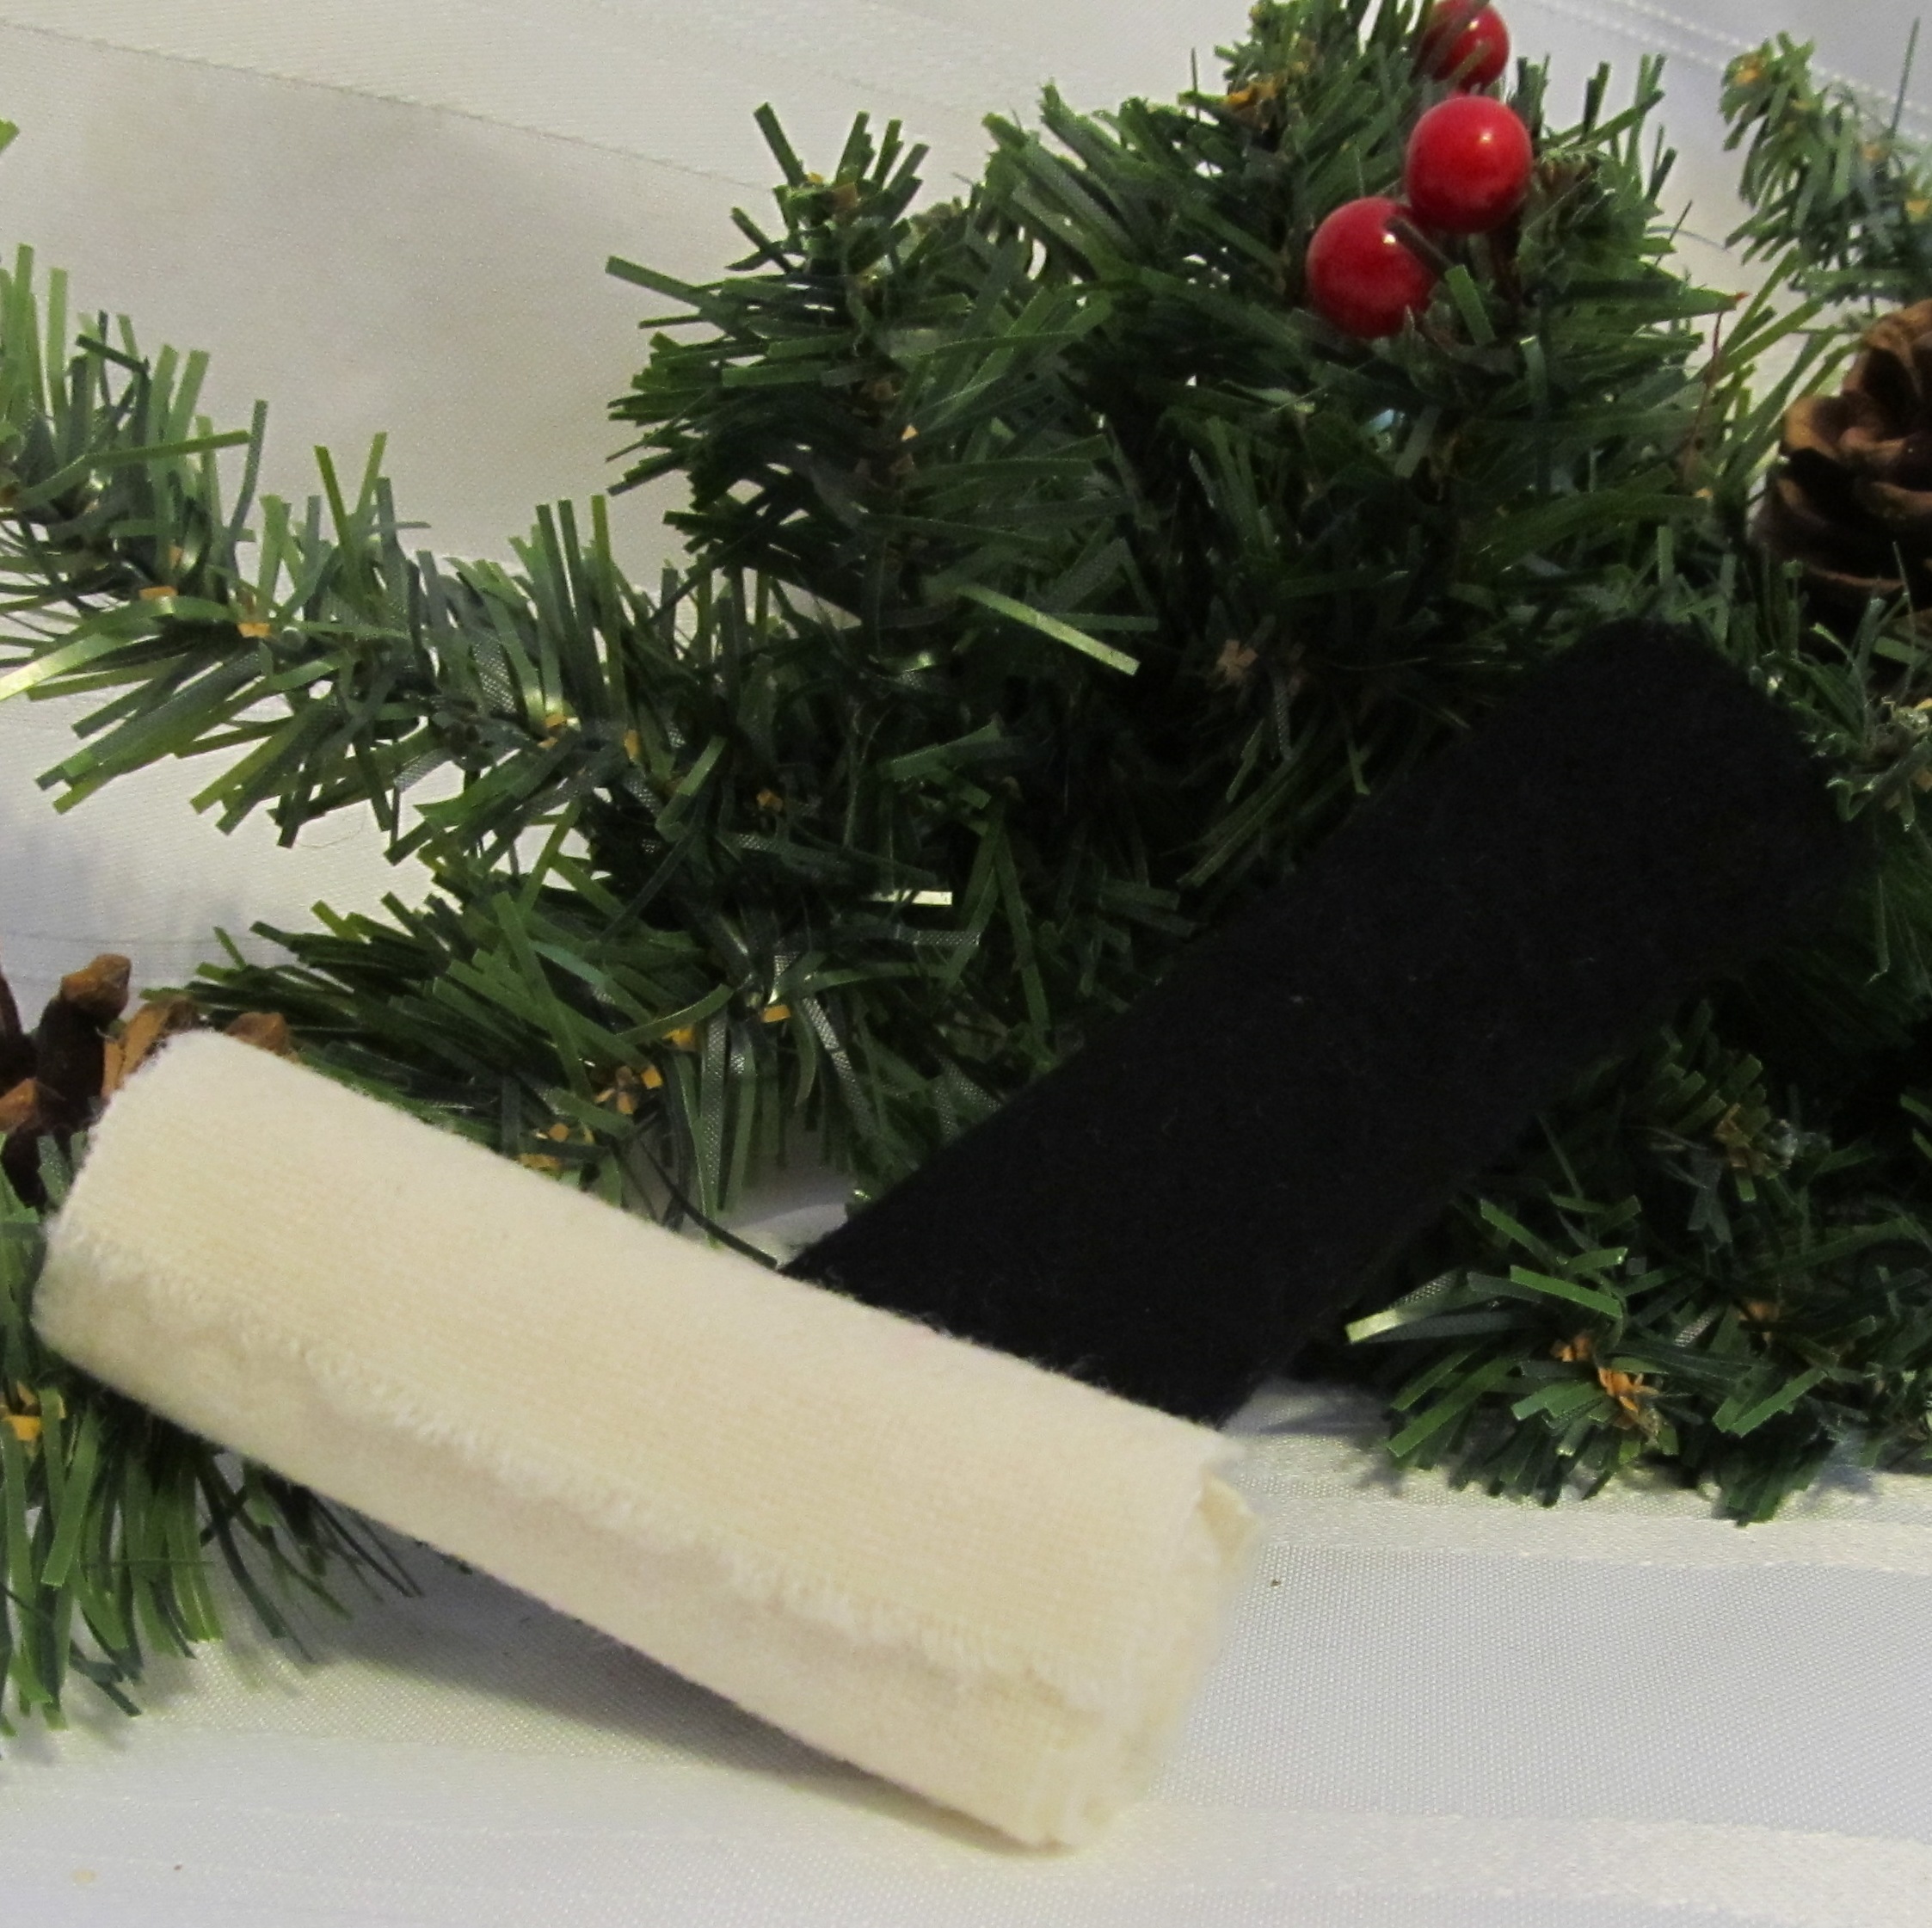
 Now, I’m sure you are wondering why I’m calling this “The Ultimate Winter Wind Hood.” When I finished it and tried it on, I was greatly impressed by how wind resistant this hood is. The brim comes very forward of the face. At the same time, the ribbons inside the brim draw the interior of the hood down around the head, holding it snuggly and comfortably in place. The photo to the left an show you sort-of how those ribbons draw the interior down.
 The bavolet that appears flat and rather long is just right for keeping the wind off the neck. It sits right around the neck so to not let the wind catch underneath.
 Back to the exterior, you’ll see an interesting combination of quilting. All the quilting is made of diagonal stripes spaced at 1.25″. But, the front of the brim and where it turns under to the inside the quilting makes diamonds, while the mid to back section of the brim is simply diagonal stripes. I happen to really like the way the look comes together. The bavolet and tip both have the full diamonds. (I can tell you, this is a lot of quilting.)


