April Reflections

I started off April with some new ribbon and new CDVs. At least, I think that was still April. With winter lingering on, I am not quite sure where March ended and April began. But anyway, Ribbon… I lucked upon some very pretty vintage ribbons. Pinks, purple, blue, green, black…. and stunning stripe. The purple is oh-so-close, but not quite an exact match to some of the mourning pieces at the Wehle Gallery in the Victoria’s Closet Exhibit:

20190413_101047-1.jpg

Speaking of the Victoria’s Closet Exhibit, I was able to spend the day in the exhibit during the Sneak Peek. While guests got an early look at the collection of 1850s garments and accessories, I showed them how straw plait was sewn into hats and bonnets.

20190413_172453.jpg

This demonstration kicked off my “Spring Break” from school. I decided to challenge myself to offer a hat or bonnet each day of break. I did pretty well until I ran out of straw.

After I ran out of straw, I decided to make a velvet ribbon hairnet. After starting said velvet ribbon hairnet, I decided I don’t like making velvet ribbon hairnets anymore. Sigh…..

and then straw was delayed…

and then straw was delayed some more…..

I decided in the meantime to make velvet ribbon hairnets. Promptly, as I wove the first net’s ribbon and began stitching each of the 122 intersections together, I recalled how much I dislike making ribbon hairnets. Said hairnet has worked its way to the edge of the coffee table trunk, where it is occasionally glanced at with disdain. At some point, the net must be finished; the only motivations being the need for the clips holding it to the board and the want to not have another random UFO, let alone one comprised of 10 yards of vintage velvet ribbon.

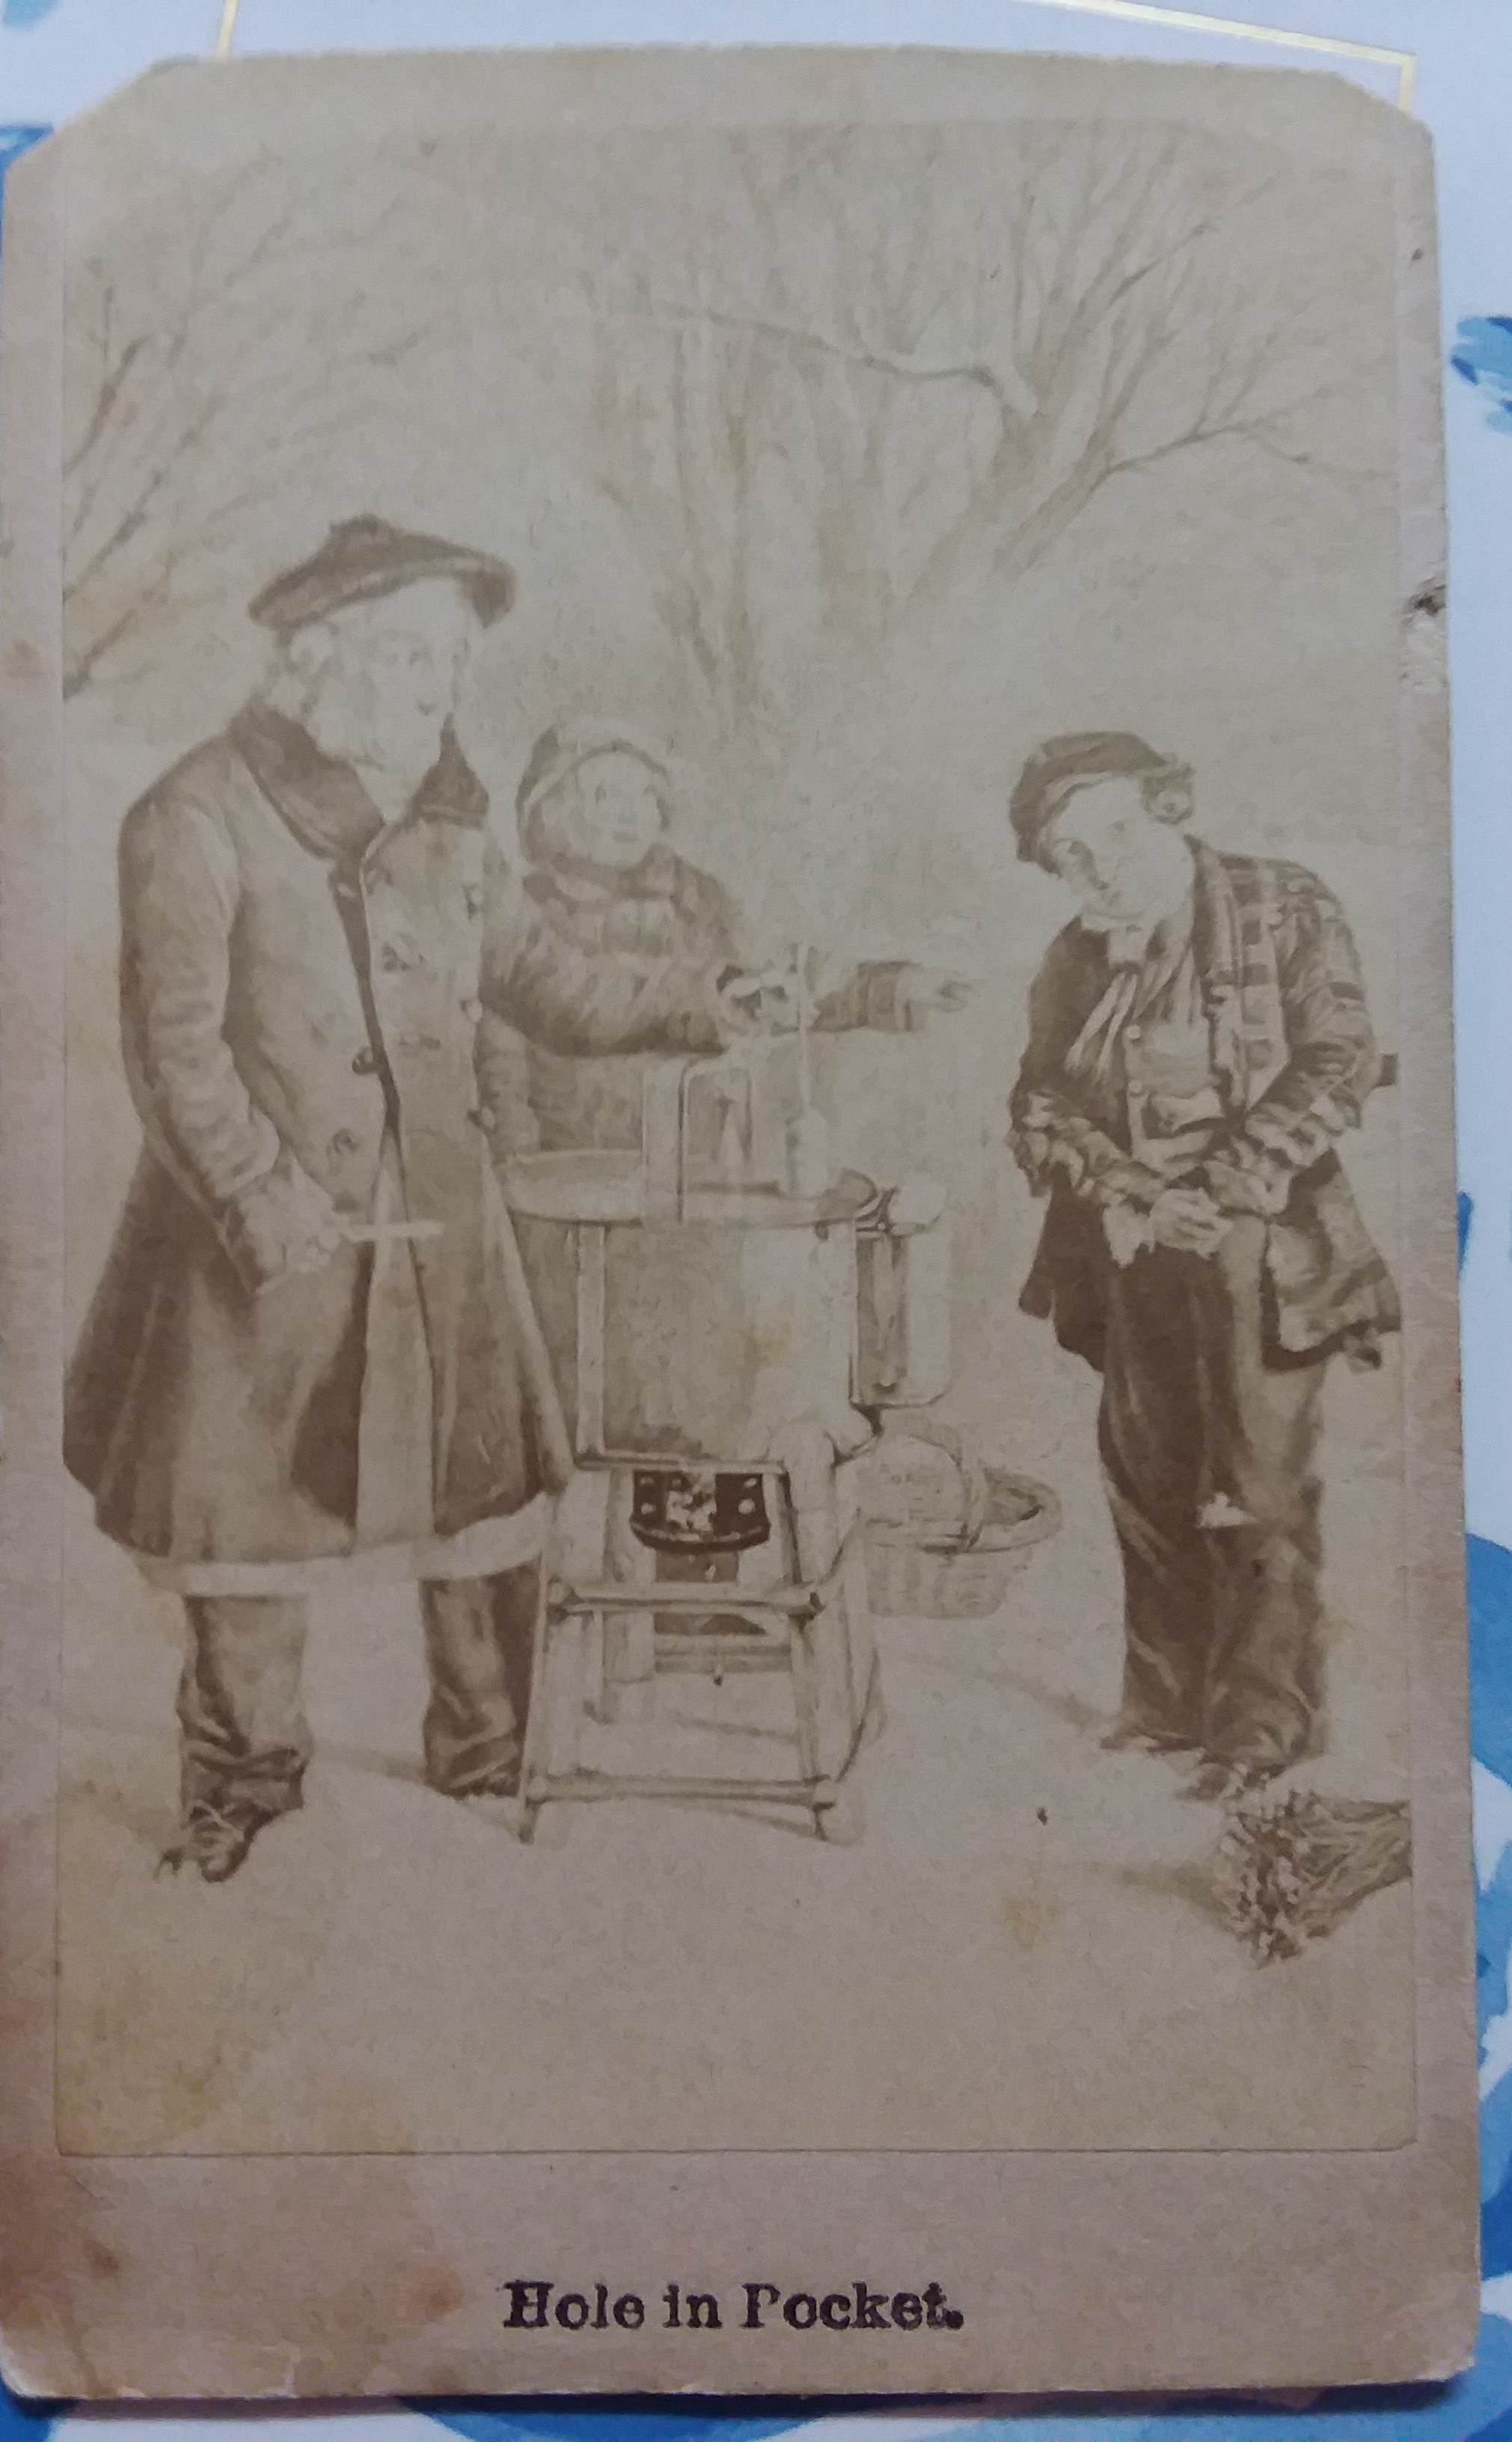
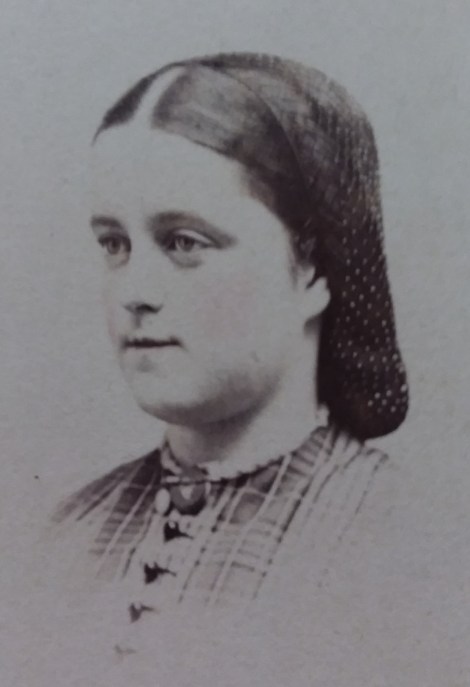
I added a few CDVs to my collection. Some of these are still traveling according to the USPS tracking….

Finally straw arrived on Friday evening… One last hat for April… Which I am finishing as I write.

Be sure to catch the post where the mystery hat block is matched up with the hat it likely makes.

I almost forgot. I was going to do a numbers things. 9 pieces plus 3 decoratings….. That is about 105 sewing hours.

Published in: on April 29, 2019 at 4:00 pm  Leave a Comment  

Millinery Connections: Unusual Hat

A friend just sent me a photo I forgot about. I had looked at this photo years ago when preparing for a candle-light tour scene. That was well before focusing on straw millinery.

Jackson’s Grave, circa 1864-1865

She thought of me when seeing two hats in the photo decorated similarly to the hat I currently have listed. screen shots:

But, when looking at these two hats, I couldn’t help but notice the unusual hats nearby. Three of the hats have wavey brims making them sorta fram the face like bonnets while still being hats. Each has two large waves with a dip in the center for the front. It is unclear what the back has.

This caused quite the mental pause…. As I though of one of the trio of bonnet blocks delivered to me two summers ago.

This hat block has been a mystery to me with its shallow crown and soft transition to a very unusual brim. Here, it is seen from the side. To the left is the front with two wider waves creating a dip center front. To the right is the back with three narrower waves. The sides turn down enabling a ribbon to attach over the outside of the brim and tie under the wearer’s chin, as in the photo.

I love when blocks connect with originals or photos. Thank you friend.

Published in: on April 28, 2019 at 4:53 pm  Comments (1)  

Toilet Envelope

This useful little project comes from Godey’s Lady’s Book, 1868. (Note: this is post war for those sticking to Civil War years.) This Nifty little folding case seems quite useful. But once again the short directions are as clear as mud.

Toilet envelope.

The object of this cover is to preserve the dressing table while combing the hair, and to keep the articles wanted in that operation, such as combs, brushes, etc. Fig. 1 shows the envelope folded; fig. 2 the same open. It is formed of piqué 22in square, and edged all round with a cross strip of piqué, 1 inch wide sewn with seam stitch. This strip hides the beginning of the Van Dyke’s which edge of the cover. These Vandykes are made of double piqué; each is made separately. On one side the cover has a smaller covering of cloth, which is bound with silk ribbon, and buttoned on the four corners. Tape is sewn for the strings, as can be seen from the illustration.

Published in: on April 22, 2019 at 6:00 am  Leave a Comment  

Common Hat Styles (1860-65)

Common hat shapes during the American Civil War era.

There are 2 main componants to a hat from this era: the crown and the brim. Both thd crown and brim were particularly shaped to reflect the styles of the time.

When selecting hat for an 1860-1865 impression, please keep in mind the situation you are in as well as your impression. In many cases hats had specific purposes and places. These include those for the seaside, watercures, the garden*, and recreation. There are seperate posts for these. I welcome you to explore these. There are also hats appropriate to those of poorer situations, institutionalized or previously so situations, and blockaded situations. (*note: a garden hat is different than one for gardening.)

common 1

common 2

common 3

common 4

This next style is called a “Mousquetaire” hat or a “Postilion” hat.
Mousquetaire hats have tapered crowns that rise about four to five inches, not quite double the height of other fashion hats of the early 1860s. The brim is shaped, with a curve dipping front and back. This brim is narrow, only a few inches wide. The decorations are primarily at the center front, reaching the height of the crown. A ribbon may or may not circle the crown with a bow or arrangement in the back.

Additional variations (I have yet to make graphics for):

  • Smaller hats including Torque and porkpie
Published in: on April 18, 2019 at 12:18 pm  Comments (1)  

Straw Sewing Demo

Today was the Genesee Country Village and Museum’s annual Antique Show & Sale featuring a special sneak peak of Victoria’s Closet, display original garments and accessories from the 1850s. I was invited to demonstrate sewing straw bonnets and hats for guests.

My hands did get tired around one o’clock. I took a walk around with the camera to show you the exhibit.

Here are just a few of the beautiful pieces on display for the exhibit:

When I saw the photos of this mourning display, I immediately thought of the purple ribbon that just arrived. I wanted to see how close the color was. I find, in person under the gallery lights, mine is a touch more blue.

*note: Ive decided I hate my collar. I should have taken a friend up on the offer to make one. But, no, I did this in a rush, badly. As I rolled the hem, I stretched the edge creating flying hem. Then as I basted it on, I did something to draw up the neck edge poorly. Lesson learned: Do what I do well. Let others do what they do well.

Published in: on April 13, 2019 at 5:48 pm  Comments (1)  

Velvet Ribbon Hairnets

I have found I have an over abundance of narrow velvet ribbon left from last November’s workshop. I figure, I can either make a bunch of the headdresses with the side poofs or a bunch of ribbon hairnets… Or a few of each.

Way back in 2007, I wrote up some quick directions for the Sewing Academy Forum. I know several people have used these directions over the years, writing about them on their blogs or other social media. But, I realized I hadn’t ever put them here. So, here you are…

Ribbon Hairnet Directions ala 2007:
A quick 7 am modern method of making an easy ribbon net….. Let’s see if I can make any sense this morning.
This is for a simple, basic ribbon net with no decorations, made with silk or velvet ribbon cut while woven. There is a way to do it with one long piece of ribbon. I don’t think I am awake enough to describe that clearly. It really is better with pictures.
You are going to want a surface to work on, either something to pin the ribbons to or to hold the ribbon ends. For the first ribbon net I made, I used a large 12 or 14 inch embroidery hoop. A large pillow will work nicely as will a piece of cardboard. Draw a circle 12 to 14 inches in diameter depending on the size of your head and the amount of hair you have when done up. Use a compass or a dinner plate. Now decide how close you want your ribbons to sit. If you have 1/2″ wide ribbon, 1/4″ space is good. If you have 3/4″ ribbon 1/4″ to 1/2″ is good.
Cut two ribbons 2 inches longer than you circle is wide (14″ or 16″). Center them in a + on your circle. Pin each end at the edge of the circle. This marks the center of your net. If you need to mark out a grid for your ribbon placement, just measure your spaces and ribbon width away from center on all 4 sides. Or, you can just eye it. Measure 4 lengths of ribbon for above, below, right and left of the center +. Cut them and lay them down in place, the decided distance from the previous ribbons. Repeat in sets of 4 until you reach the edge of the circle.
Weave the ribbons over & under each other as you would a basket bottom. I like to work from the center out. Adjust your ribbons so they are set your chosen distance apart. Pin each end on the circle. With a matching thread, tack each + point with thread. When all the + points are stitched, work on the edges. Unpin one ribbon end. Turn the end under creating a half inch loop. Stitch the loop securely. Repeat this for every ribbon end.
When all the ends are looped, take a length of ribbon or plain elastic and run it through all of the loops. The elastic will need to be roughly 3 times the diameter (less than the real circle’s circumference) to bring the sides of the net in once the elastic is tied. The ribbon can be 3 to 4 times the width depending on how much ribbon you want to tie the net with.
That would be so much better with pictures.

Published in: on April 12, 2019 at 7:41 pm  Leave a Comment  

Straw Sewing Demonstration

Join me next Saturday, April 13th, for a sneak peek of Victoria’s Closet: Fashions of the 1850s, during GCV&M’s Antique Show and Sale!

Find me in the Wehle Gallery demonstrating sewing straw millinery.

(The question of the moment…. Can I link a FB video directly into WP? ….. Yes, I can!)

Published in: on April 3, 2019 at 10:50 am  Leave a Comment  

A Lesson in a Card

20190401_113850.jpg

Flipping through a stack of CDVs for sale, I am usually looking for straw bonnets, straw hats, shawls, hairnets; I am not usually interested in filler cards, even though some are pretty cute. This one caught my attention and peeked my curiosity though. I wasn’t sure what was going on in the somewhat faded image. Sure, the boy seemed to be short on coin, that may have slipped through the hole in his pocket, as suggested by the title/caption. But, what is it he was wanting to buy? Cotton candy came to mind, because that certainly is what that machine looks like. But, the timing just wasn’t working in my head. Okay, I am still struggling with what I think the timing of the image looks like and the timing I am learning about cotton candy.
I have learned a few things looking for an explanation of this card:

  • Cotton candy was also called “Candy Floss” and “Fairy Floss” at first, early in the 20th century. A type of yarn for knitting was also called “Fairy Floss” during the mid-19th century.
  • Cotton candy needs electricity (duh me) and is as much about science as it is about candy.
  • It’s predecessor was spun sugar. (Desert of Spun Sugar) (1836 directions for the Spinning of Sugar) (1850 directions for Spinning Sugar)
  • The Saint Louis World’s Fair was properly know as the Louisianna Purchase Exposition. It lasted for 7 months, not the 3 to 14 days we are used to now. (more) I surmise the wooden “fairy floss” boxes may exist somewhere.
  • Cotton candy or Candy floss machines were marketed all over the place from about 1905-1915. (more)

My doubts… It may be that it is cold out still, but I think it is cold there, they are dressed for the cold, and cold is not conducive to the wanting of cotton candy. Okay, I am not really a fan of cotton candy in any weather. The machine simply does not look like the machines the early advertisements. I don’t know if this card is showing something other than a cotton candy machine, or if the earliest versions were different than what is being advertised. This is an early mention of Fairy Floss at the fair. The illustration is minimal, not showing enough. This image seems to combine a treadle machine base with the table-top candy machine. I just can’t imagine getting up the speed needed by foot. I want an index of filler cards. I am sure there is one out there, but I am just not finding it. (My tablet just wants me to go to pinterest or buy things. Um, not the goal here.)

Closer view

20190330_150000.jpg

The back – I find this amusing: “for Willy from Willy”20190330_150008.jpg

———————————————-

ADDITIONS:

Per comment below, here are some 1905 images of chestnut roasting by street vendors.

Published in: on April 2, 2019 at 6:00 am  Comments (4)  

Hairnet CDV

Saturday I found myself headed east along what had been the turnpike throughout the 1800s, in search of the illusive gutted writing slope*. While I did not find the needed special box, I did find a few other goodies, several of which were from 50% off and 75% off booths.

Of course, this CDV jumped out of the “sale” pile into the “mine” with that hairnet!

20190330_151120.jpg

This hairnet is so easy to see, it is a beautiful teaching tool. There are several things to notice: ~ The net is fine, very fine. It is likely made of silk. The beads appear to sit at the cross points of the net. Some appear to have a bit of shine to them. The net sits at or just forward of the halfway point of her head, going from ear to ear. She has opted to wear the net over her ears. I suspect this is because she dressed her hair to sit over her ears as well. Her hair is dressed inside the net, with braids starting above/behind the ears and draping very low on the nape of the neck.

Do you want to know more about hairnets? To Net, or Not to Net: Revisited takes a close look at hairnets, how they were worn, and how they were made, with images like this throughout the book.

*1 – The quest for a gutted writing slope is for a particular project with an all too closely looming deadline. What is a writing slope? Here is a video of an absolutely stunning one. I want one that is plain on the outside and empty on the inside.

Published in: on April 1, 2019 at 4:39 pm  Comments (1)  

Hairnet CDV

Saturday I found myself headed east along what had been the turnpike throughout the 1800s, in search of the illusive gutted writing slope*. While I did not find the needed special box, I did find a few other goodies, several of which were from 50% off and 75% off booths.

Of course, this CDV jumped out of the “sale” pile into the “mine” with that hairnet!

20190330_151120.jpg

This hairnet is so easy to see, it is a beautiful teaching tool. There are several things to notice: ~ The net is fine, very fine. It is likely made of silk. The beads appear to sit at the cross points of the net. Some appear to have a bit of shine to them. The net sits at or just forward of the halfway point of her head, going from ear to ear. She has opted to wear the net over her ears. I suspect this is because she dressed her hair to sit over her ears as well. Her hair is dressed inside the net, with braids starting above/behind the ears and draping very low on the nape of the neck.

Do you want to know more about hairnets? To Net, or Not to Net: Revisited takes a close look at hairnets, how they were worn, and how they were made, with images like this throughout the book.

*1 – The quest for a gutted writing slope is for a particular project with an all too closely looming deadline. What is a writing slope? Here is a video of an absolutely stunning one. I want one that is plain on the outside and empty on the inside.

Published in: on April 1, 2019 at 6:00 am  Leave a Comment