This is a new kind of post for me. I am quite literally going to be rambling. I’m using the speech to text feature in my phone so I can post while sewing. We will see how this goes, because as most of us know, text to speech doesn’t always hear us correctly. This means this could get very interesting or at least a bit funny.
So… color…
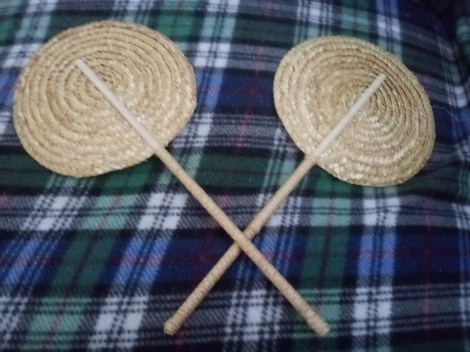
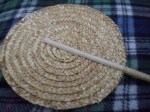
As most of you know I am working on straw plait of a variety of colors this season. I currently have the green straw in my hands. This is actually a color that was available last year but it is a favorite.
Of course, working with straw of different colors brings about the question: “What colors did they have?”
Reading the different history books on the straw industry it appears up through the 1840s colors primarily stuck to natural straw, white, black, Gray, and the dark blue. It was 1850s and the coming of aneline dyes then brought about additional colors for straw. Now of course none of the industrial history writers seem to find important enough to tell us which colors. Here is Straw Hats, and the History of Their Manufacture, an 1922 publication focused on the Luten, England production, to give you an idea of how that looks.
The Useful Arts Employed in the Production of Clothing, an 185q publication looking at the clothing industry, gives more clarity on colors with these notes on blue, yellow, and red.
Turning to advertisements, we have a little more help and a lot more vagueness.
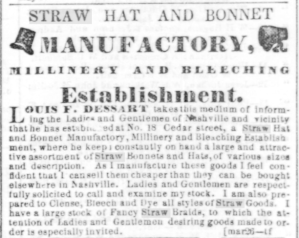
Nashville Union and American, July 31, 1857
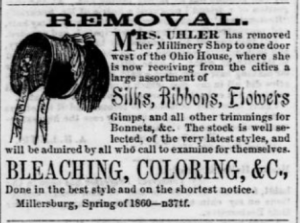
Holmes County Republican, May 31, 1860

Thanks to Vicki Betts’ research.

Thanks to Vicki Betts’ research.
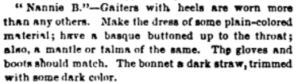
Advertisements such as these tell us that straw hats and bonnets were available in different colors, and dining services are available. Specific colors mentioned seem to be limited to Browns, greys, black, and white, lots of whites. We also we also see they at stripes and polka dots we’re available as well.
Fashion descriptions are a bit more helpful. Godey’s lady’s book and the English women’s domestic magazine and I’m drawing a complete blank on this other publication I want to talk about oh yeah Madame Demarest, give us a little more insight.


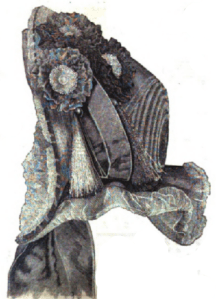
Fig. 1. – A Neapolitan braid, gray and white….. (Godey’s —–)
Then there’s this one …. dear editor “um, what? Could you possibly be less clear?”
Some times we forget books we’ve read. And, sometimes, we are reminded in the oddest ways. While looking at fashion descriptions in 1861 Godey’s I found a little passage on the sulfer bleaching process in the “Chemistry for Young” section….
This little clip reminded me of my old friend Scientific American. The September 1st, 1855 edition offers us this rather lovely column describing the processes for dyeing straw in many colors, including shades of purple, green, yellows, reds, pinks….
One thing I should be talking about is: Where are all the extant original straw bonnets in different colours?
The absolute vast majority of remainingmid-19th century bonnets and hats are natural straw. There are a few black a few white. I can specifically recall only one green, and that’s a green grey, in a digitized museum collection. Working with the different straws, I have definitely come up with a theory: dyed straw was simply too fragile to last. I have had one Hank of black straw that I refused use because it felt like it was disintegrating in my hand. This wasn’t even an old Hank of straw. This is a new Hank. A straw bought from a current millinery Supply. (Don’t worry it’s different than the one I use now.) If that straw with supposed modern technology and dye processes couldn’t hold up through my hand sewing, I just can’t imagine dyed straws lasting decades.
These are just ramblings while I sew, with a few images saved on my tablet. For more indepth research and discussion, please read From Field to Fashion.