Are You Ready for Your Cold Weather Events?

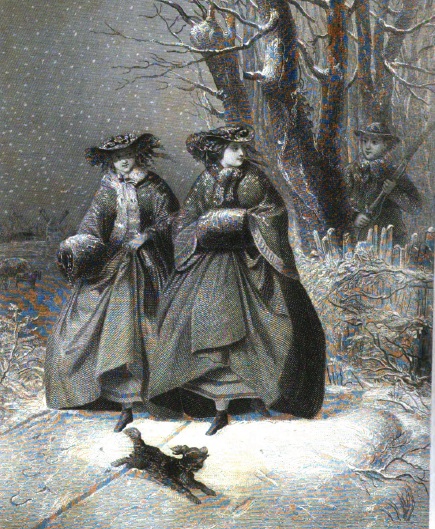
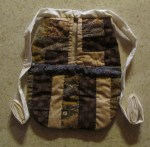
For those of us in the northern states of the country we usually see the onset of fall as the ‘end of the season’. But, many of us have cold weather activities ahead of us. This could be ceremonies for Veteran’s Day and Rememberance Day, Yuletide and Christmas events for our living history sites or even festive caroling in our communities.

For each of these events, the weather can get down-right Cold!

Keep in mind – Layers are the Key to Warmth. This means your 1) Underpinnings 2) Dress 3) Outerwear and 4) Accessories.

Here is a list of items that can help you keep warm:

For your dress, consider:

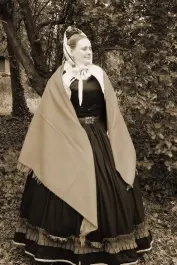
For outerwear, think beyond the cape that will let cold air in and encumber you arms. Consider:

Accessories help keep your hands and head warm. Consider these:

Published in: on November 2, 2011 at 1:23 am  Leave a Comment  
Tags:

12 Homemade Gifts of Christmas – Day 12

The twelfth and final homemade gift is my husband’s pic – A quilt. Last year I assembled and quilted my husband’s quilt right in the living room while he slept on the couch. (He was working 12 hour nights and was impossible to wake up otherwise.) 

Okay, I know some of you are screaming “there is no way I can make a quilt in time for Christmas.” Sure you can!

The type of quilt I’m talking about is a stripy-quilt common during the first half of the century. These quilts are simple strips of fabric sewn side by side. You can use plain strips or pieces strips. You can even alternate. A quilt size good for a bedroll can be 45″ by 7 or 8 feet. Convienantly, you can cut a fat quarter (22″x22″) into four strips when sewn end to end gives you a 5.5″ wide strip 7 feet long. This strip will become 5″ wide if you use a 1/4″ seam allowance on each side when attaching the strips. So… this means you can use as little as 9 fat quarters of period correct fabric to make a simple stripy-quilt. To make piece stripes you will need more of course. I like to alternate pieced stripes with a solid color stripe. For the back, 3 yards of muslin will work. Choose a cotton or wool batting for the inside.  You will also need a fabric to bind the sides with. A half yard cut into 2.5″ strips should work nicely. Now how to get your quilt together.

Day 1 – Cut each of your fat quarters into their 5.5″ wide pieces. Sew each long strip together. Cut you binding strips. Sew them together in one long strip and set aside.

Day 2 – Lay your strips out next to each other and arrange how you want them to go together. Label them if you like. Stack them nicely. Take them to the machine and sew the strips in order. (You can do this by hand of course.)

Day 3 – Double check the length of your quilt front. Cut the muslin and batting to size. On a large flat surface, lay the muslin, batting and quilt top. (if there isn’t enough floor space, the bed works nicely.) Pin your layers together from the center out. When it is all pinned together, roll from the left in to center and the right into center, clipping with the large plastic hair clips.

Day 4 till? – Starting in the center and working out, quilt in the seams of the strips. This is called “stitching in the ditch”. Stitch the very center ditch. Then unroll one side just enough to see the next seam. Continue quilting in the seams and unrolling until the quilt is quilted. This is quite relaxing while watching your end of day tv, a favorite movie or even the kids doing their homework.

Day x – Pin the binding to the front of the quilt all the way around. (You may want to look up mitering corners.) Sew around the whole quilt. Fold the binding over to the back. Fold the raw edge under and whip to the muslin.

Ta-da…. You are done.

Need a recap?

  • 9 fat quarters
  • 1/2 yard binding fabric
  • 3 yards muslin
  • 45″x90″ cotton or wool batting (to be trimmed down)
  • Pins
  • Hair Clips (The kind that look like claws)
  • Some of your favorite videos or audio books. Possibly an activity for the kids as well.
  • Thread and needles
Published in: on November 1, 2011 at 1:11 am  Leave a Comment  
Tags:

12 Homemade Gifts of Christmas – Day 11

For the eleventh day of homemade gifts we have something for book lovers – A book marker.

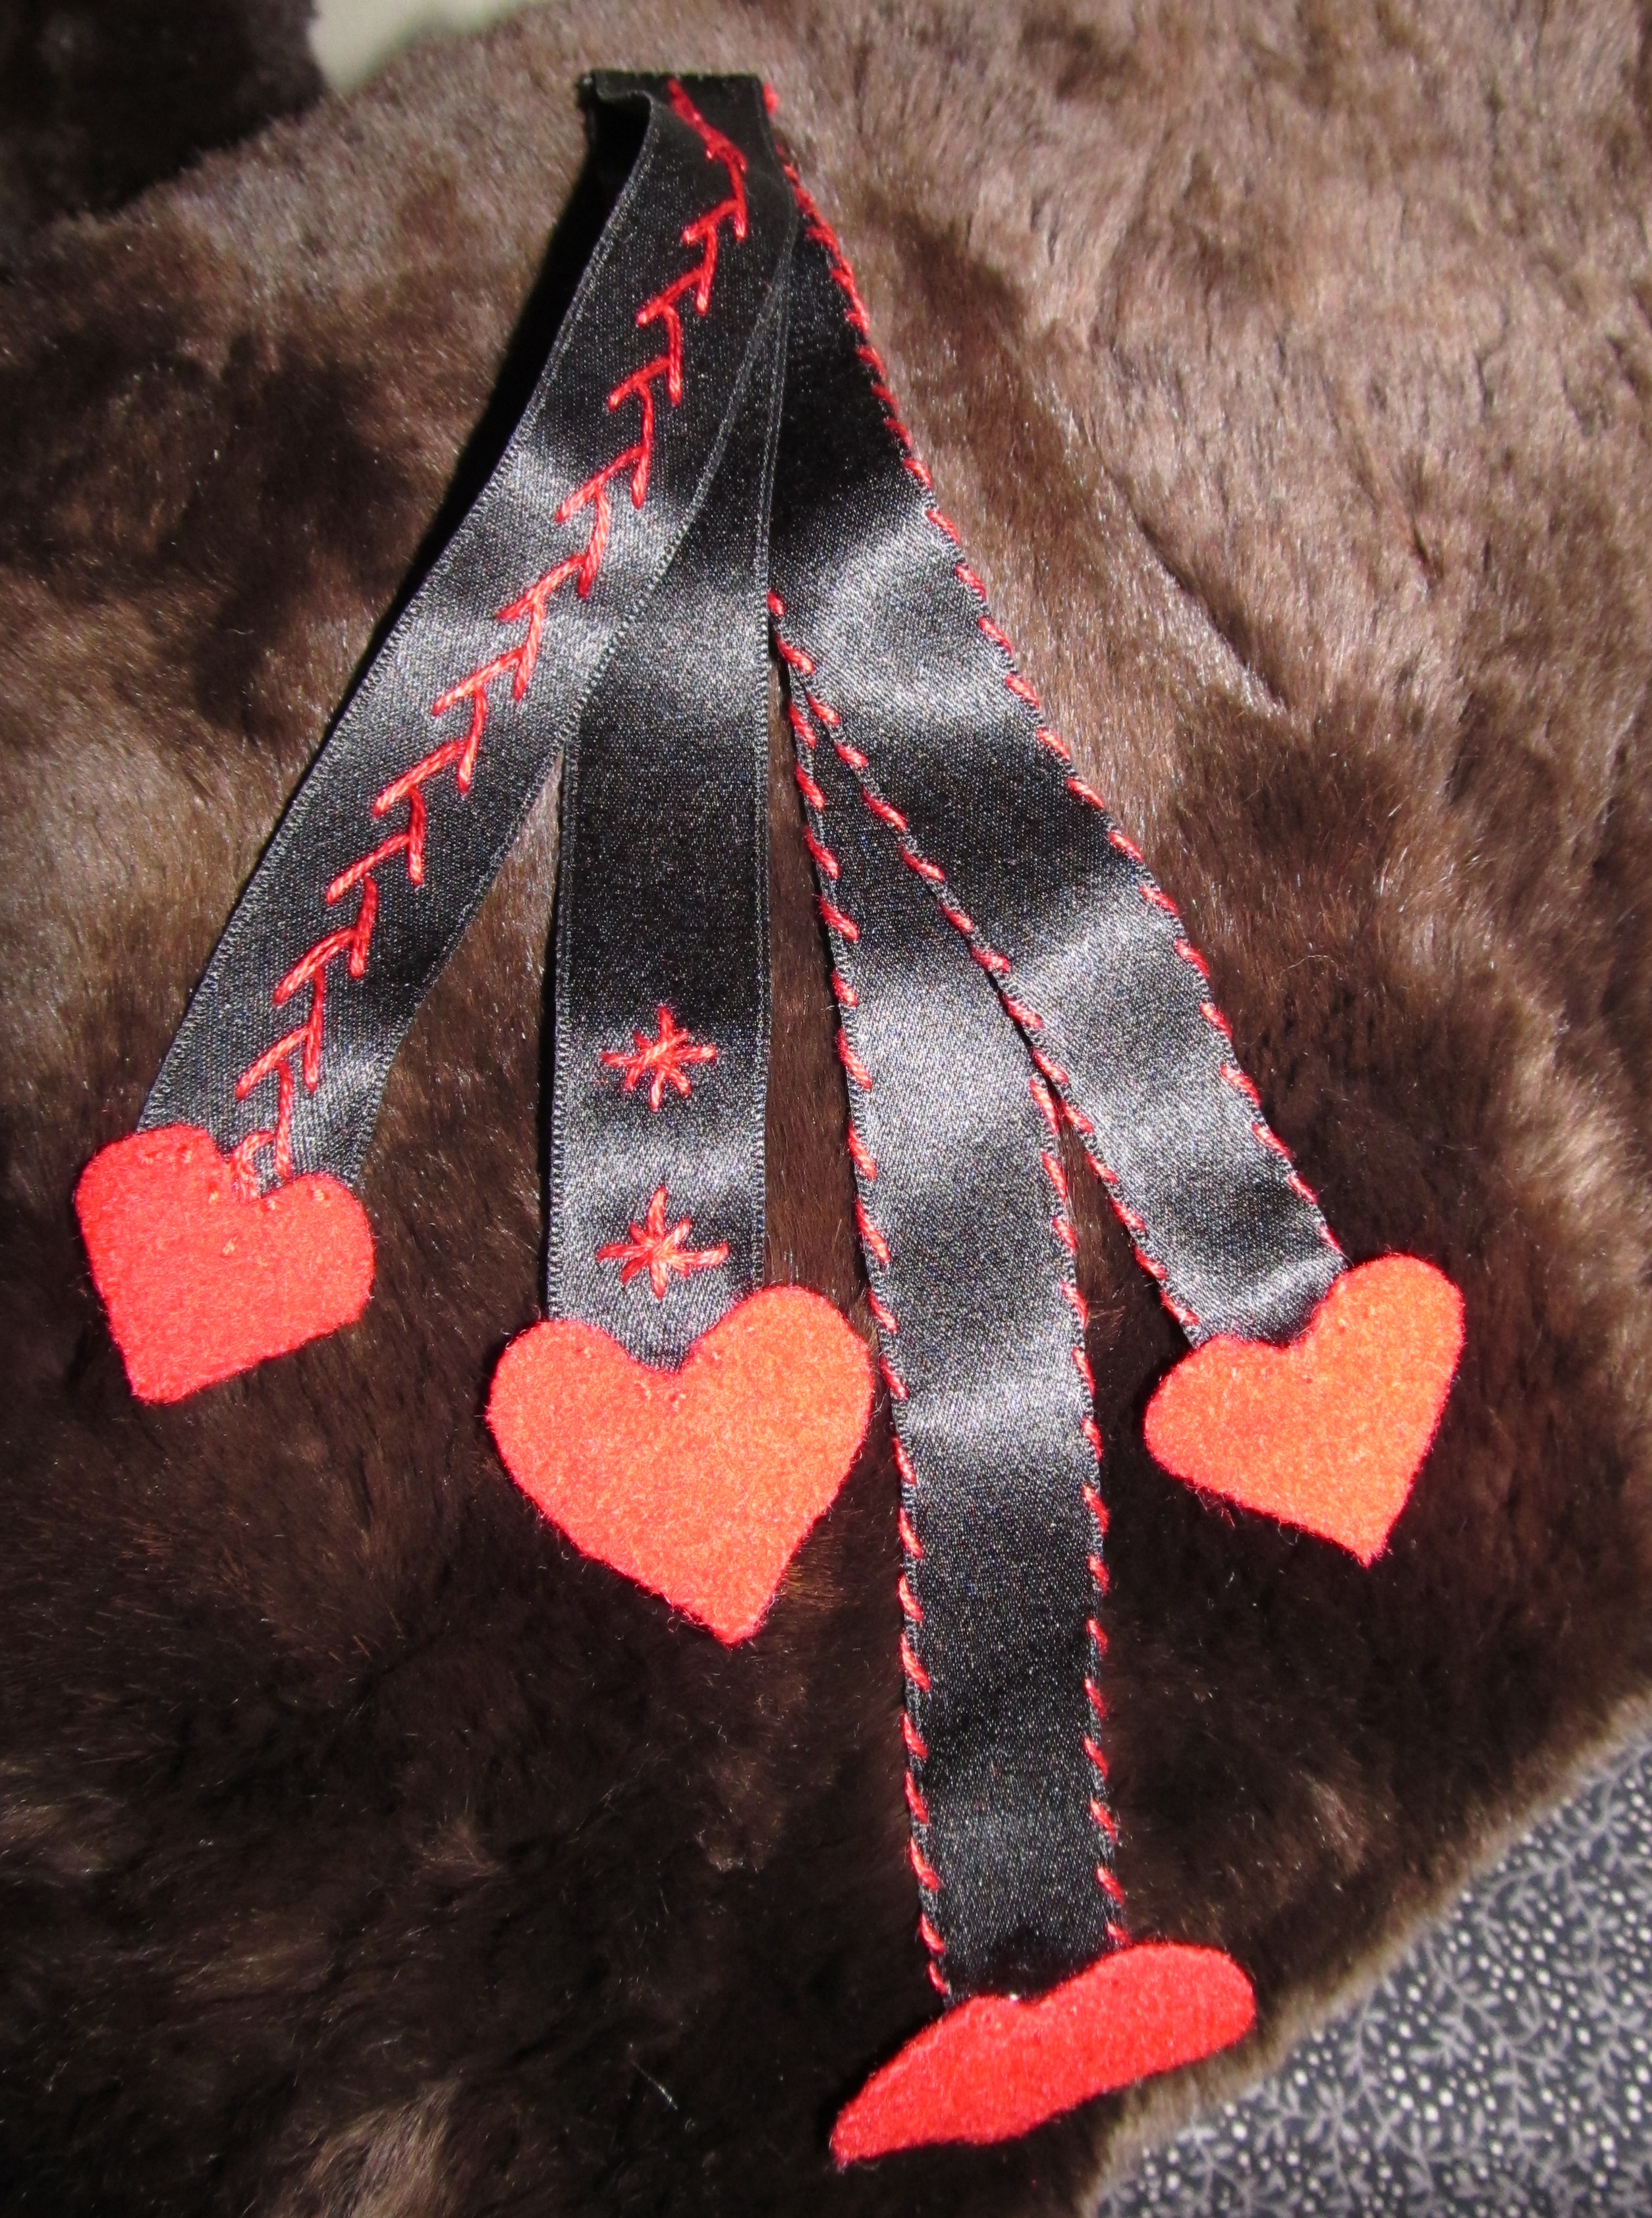
This fun book marker comes from Peterson’s Magazine. It is made of two lengths of ribbons decorated to taste.

Take a length of ribbon, approx 2 feet, and cut it into two pieces one slightly shorter than the other. Fold each ribbon in ‘half’ so you have four different lengths at the ends. Lay the folded ribbons on top of each other with the folds together. Tightly whip the folds together with tiny stitches. Embroider the ribbons to taste. Use pieces of fabric to make the crosses (in Peterson’s or hearts in the case of mine) at the ends of the ribbon.

Published in: on October 31, 2011 at 1:40 am  Leave a Comment  
Tags:

Geneseo Kiwanis Antique Show

What makes me squeak at an antique show?

It wasn’t the gorgeous Hepplewhite table or the stunning tiger-maple cabinet. It wasn’t the incredible display of cut glass that just glowed. It was this tiny seashell pincushion. The velvet cushion didn’t show any sign of being sewn in. Instead, it may have been glued. The front of the velvet had the pin-hole remains of a small, maybe half to three-quarters of an inch, embroidered floral design. Just inside the edge of the shell’s scallops was what looked like a painted strip of gilding.

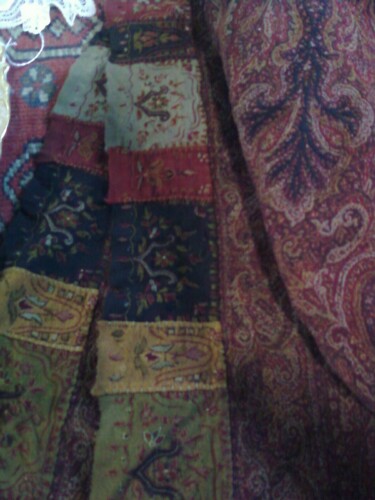
One of my other favorite things, one I really wish I could have come home with was this paisley shawl. There wasn’t anything particularly special about the center of the shawl. The colors were a different color set than we normally see of shawls coming out of Kashmir in the 1850s. It was also rather thick compared to most mid-century shawls. What was great was the border, then hand embroidered, hand pieced border. The border was made of individual wool pieces each embroidered and attached to the shawl.

There were only a few other paisley type shawls there, several of which were used as tablecloths. One was made into a mid-20th century 2 piece outfit. The presentation also displayed a purse made of another shawl. I think some of my readers with vintage interests will find this interesting:

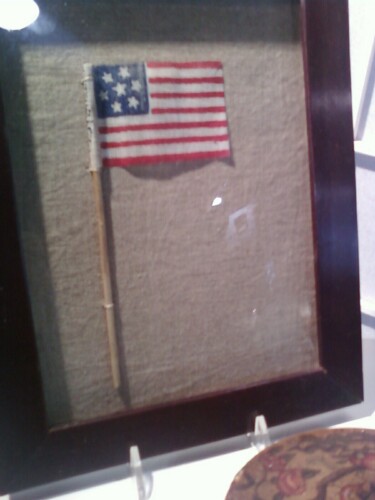
There were two pieces the seller had labeled as Confederate sympathizer parade flags.

Just below this flag, was this chatelaine….

Of course I was looking for sewing items. One seller had an assortment of Shaker boxes made into sewing boxes. Each was lined with silk. Some had pockets. Some still had their accessories tied in.  There was this one needle-book with each panel in a different silk fabric.

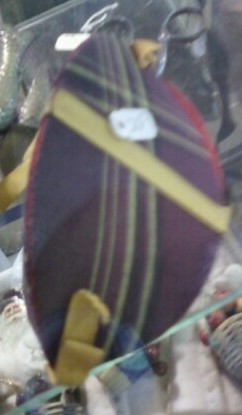
There was one more piece that caught my attention. It was this simple little piece with a very modest little tag compared to the rest of the room.

It is three pieces of pasteboard covered with silk. The edges bound on all sides except one half of one side where there is an opening. It is decorated in the yellow ribbon….. I knew just what it was and where the directions for making it came from…. Any Guesses?

Published in: on October 30, 2011 at 2:08 pm  Comments (7)  

12 Homemade Gifts of Christmas – Day 10

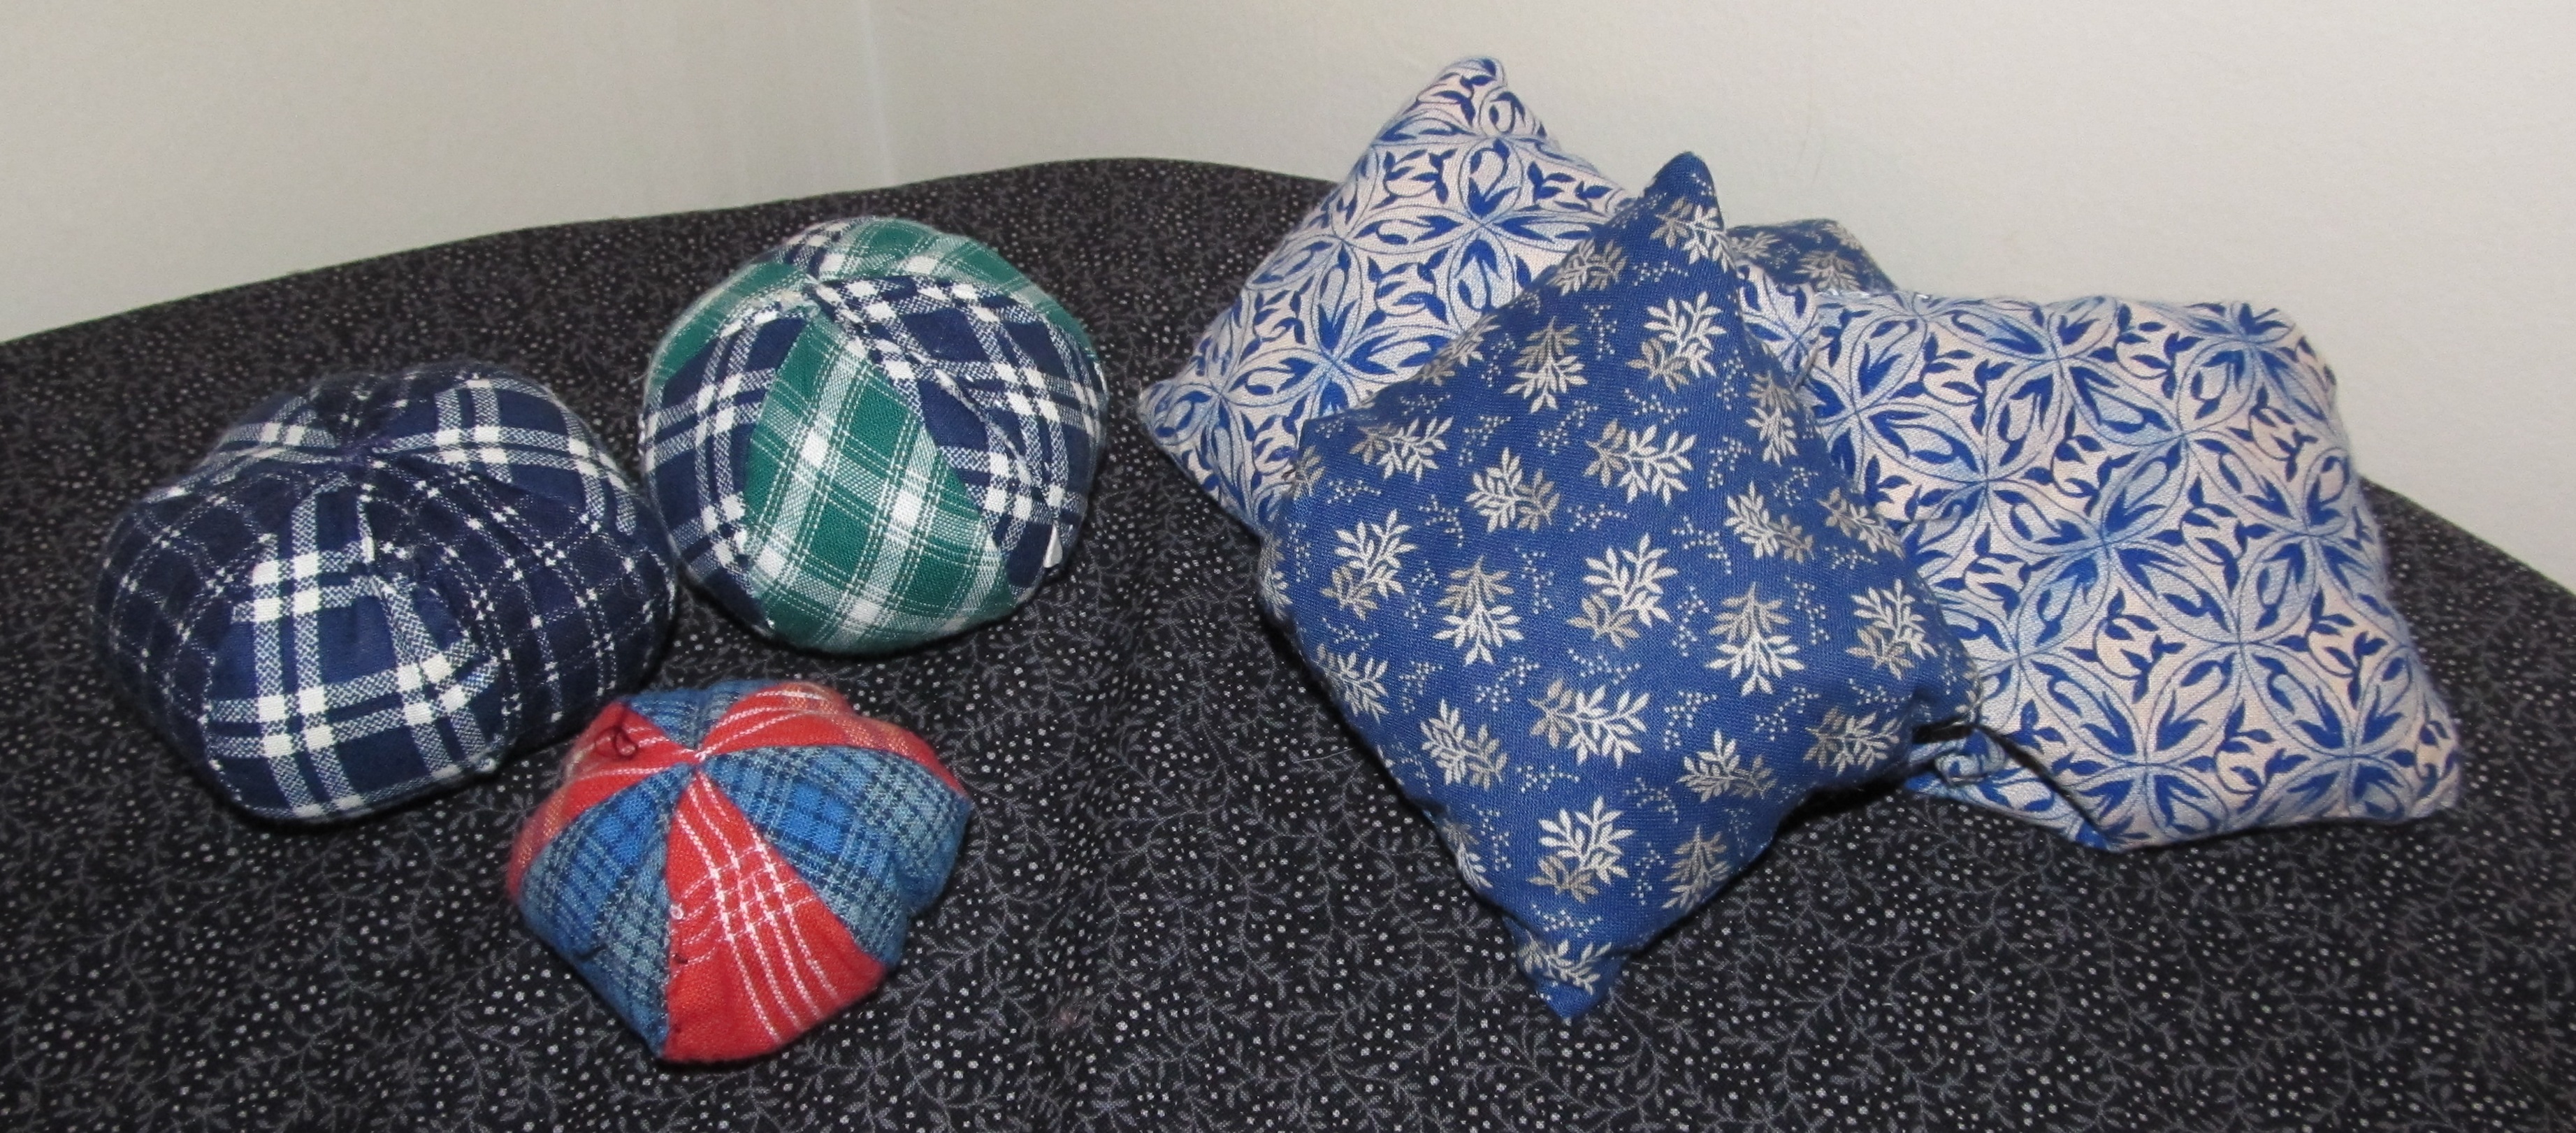
For the tenth day, we have toys – A ball and beanbags.

For either, the ball or the beanbags, all you need is fabric scraps and either batting or beans to fill them with.

For your bean bags, cut 4″ square pieces. Right sides together sew around all but a 1″ space on one side. Turn it right side out and fill with beans. Close the hole. For extra strong bean bags, sew around your fabric twice instead of once.

For your ball, cut 6 pieces according to this ball template. They can be all the same, alternating or all different fabric. Sew along the dotted line with the pieces right side togther. Before sewing the last seam, turn the ball right side out. Fill it with batting and close. The firmness or softness is up to you.


Published in: on October 30, 2011 at 1:54 am  Comments (2)  
Tags:

12 Homemade Gifts of Christmas – Day 9

For the ninth day of homemade gifts we have a non-sewing gift – Stationary.

Whether for writing letters at events or a nice note for a friend, period style stationary can be a nice touch. As a gift, you can give a set of simple paper cut to period sizes or add a period style border or motif all nicely tied with a ribbon. You can make matching envelopes. For an additional touch, you can add a period pencil or pen with ink. (Yes, I know, those aren’t homemade.)

For papers, try your small town stationary store (yes, they still do exist) or the scrapbook department of your choice craft store. You can select papers resembling period writing paper.

Published in: on October 29, 2011 at 1:02 am  Comments (2)  
Tags:

Quilted Hood Pattern – Ready for Pre-Orders

Pardon the break in the “12 Homemade Gifts of Christmas” Series.

My Quilted Hood Pattern is finally ready for pre-order. Please see my Etsy store to order your pattern.

Special 0ffer – Pre-orders made by November 1st will be signed.

Published in: on October 28, 2011 at 3:24 pm  Leave a Comment  

12 Homemade Gifts of Christmas – Day 8

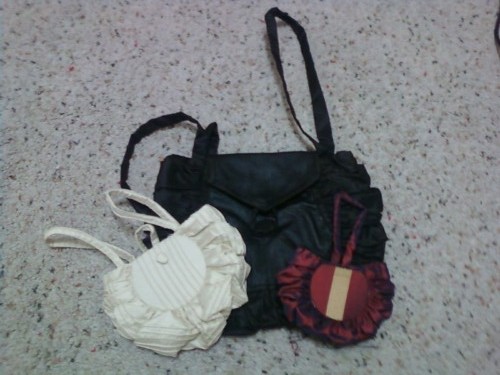
The winter season is often thought of us who reenact or work at a living history museum as ball season. What a wonderful accessory would a little purse be as a gift this time of year.

Here is a pattern for one of my favorite little purses inspired by those in the MET and MFA collections.

You will need about a fat quarter (20″x20″) of silk for the exterior, a fat quarter for the inside and  two sheets of 8 1/2″x11″ pasteboard to make this purse. You may also want leather to use for the center or ribbon for the handles as well as a button for the closure.

Cut four pieces of pasteboard according to the inner most line. Cut two pieces of outer silk and two pieces of inner silk or scrap cotton according to the second dotted line from the center. Cover two sets of pasteboard, each with an outer and an inner fabric using a whip-stitch around the outside edge.

Cut lengths of the outer silk 3 1/2″ wide on the bias. Sew the strips together so you have one long strip at least 30″ long. Turn each side under to the wrong side a quarter inch. Gauge both folded edges down to the size of all sides  of the center piece except the very top.

With the outside of the bias piece and the outside of the first center piece together, whip the gauged bias to the center on all sided except the top.

Repeat with the other center piece.

Turn this piece right side out.

Cut two flat-topped circles according to the pattern out of the inside fabric. Sew with a quarter inch seam allowance. Whip if needed.

Slide the lining inside the bag. Turning in the raw edges at the top, attach the lining to the out silk.

Attach one or two handles as desired. Add a closer as desired.

Published in: on October 28, 2011 at 1:11 am  Leave a Comment  
Tags:

12 Homemade Gifts of Christmas – Day 7

For the seventh homemade craft, we have a quilted pocket. This type of pocket was worn under the dress and accessed through a slit in the skirt. This pocket is a quilted on which provides a pocket with some body to safetly carry what ever you need.

The first step is to piece together an 12″x9″ panel for the front of the pocket. You can use just about any arrangement that comes to mind. Though there are some traditional quilt patterns to avoid because they come after the mid-19th century. Refer to the pattern outline to help with your fabric and color placement because you will be cutting the pieced panel down.

Next –  Using this pocket pattern cut your materials including a back piece, front lining piece and batting as well as the pieced front.

Lay the front lining piece face to face with the pieced front. Sew along the straight dotted line. Cut along the solid straight line. Whip the edges if needed. Cut the batting along the dotted line. Lay the batting on top of the pieced front. Turn right side out. Quilt through the front, batting and lining as desired. Be sure to quilt around the slit opening.

Lay the front quilted panel right sides together with the back. Sew around the dotted line, a quarter inch seam allowance. Whip securely. Turn right side out.

Fold and press 1/4 inch in along the waist band. Fold in half length-wise and press. Center on the flat top of the pocket. Enclose the raw flat edges inside the waistband, sewing the band securely to the layers. Finish closing the entire waistband. Finished

You can also quilt the back as well. In this case, cut two lining pieces and two batting pieces.

Published in: on October 27, 2011 at 1:10 am  Comments (5)  
Tags:

12 Homemade Gifts of Christmas – Day 6

For this sixth day of Homemade Gifts we have an embroidered handkerchief. A handkerchief can be a lovely, timeless gift the receipiant will charish for years.

I can't show you the one I'm working on. So, here is one from years back I did by machine (I'm so horrible.)


The pages of Godey’s, Peterson’s, and Arthur’s are filled with border and corner designs for handkerchiefs. Here is a a file of a few taken from Peterson’s in 1861 and 1862 to get you started. As you can see, the variety gives options for any skill level.

For your handkerchiefs you can choose cotton or silk. One of my favorite inexpensive options for cotton is from Dollar General where you can find 18″ cotton handkerchiefs with machine rolled edges in a pack of 4 for 2 dollars. For silk handkerchiefs, take a look at Dharma’s 17″ twill handkerchiefs. Of course, you can make your own from a nice yardage by rolling the hems. For sizes, take a look at the Workwoman’s Guide.

Published in: on October 26, 2011 at 1:07 am  Leave a Comment  
Tags: