Make sure you see the Ag Fair part 2 post for mom’s other entries. 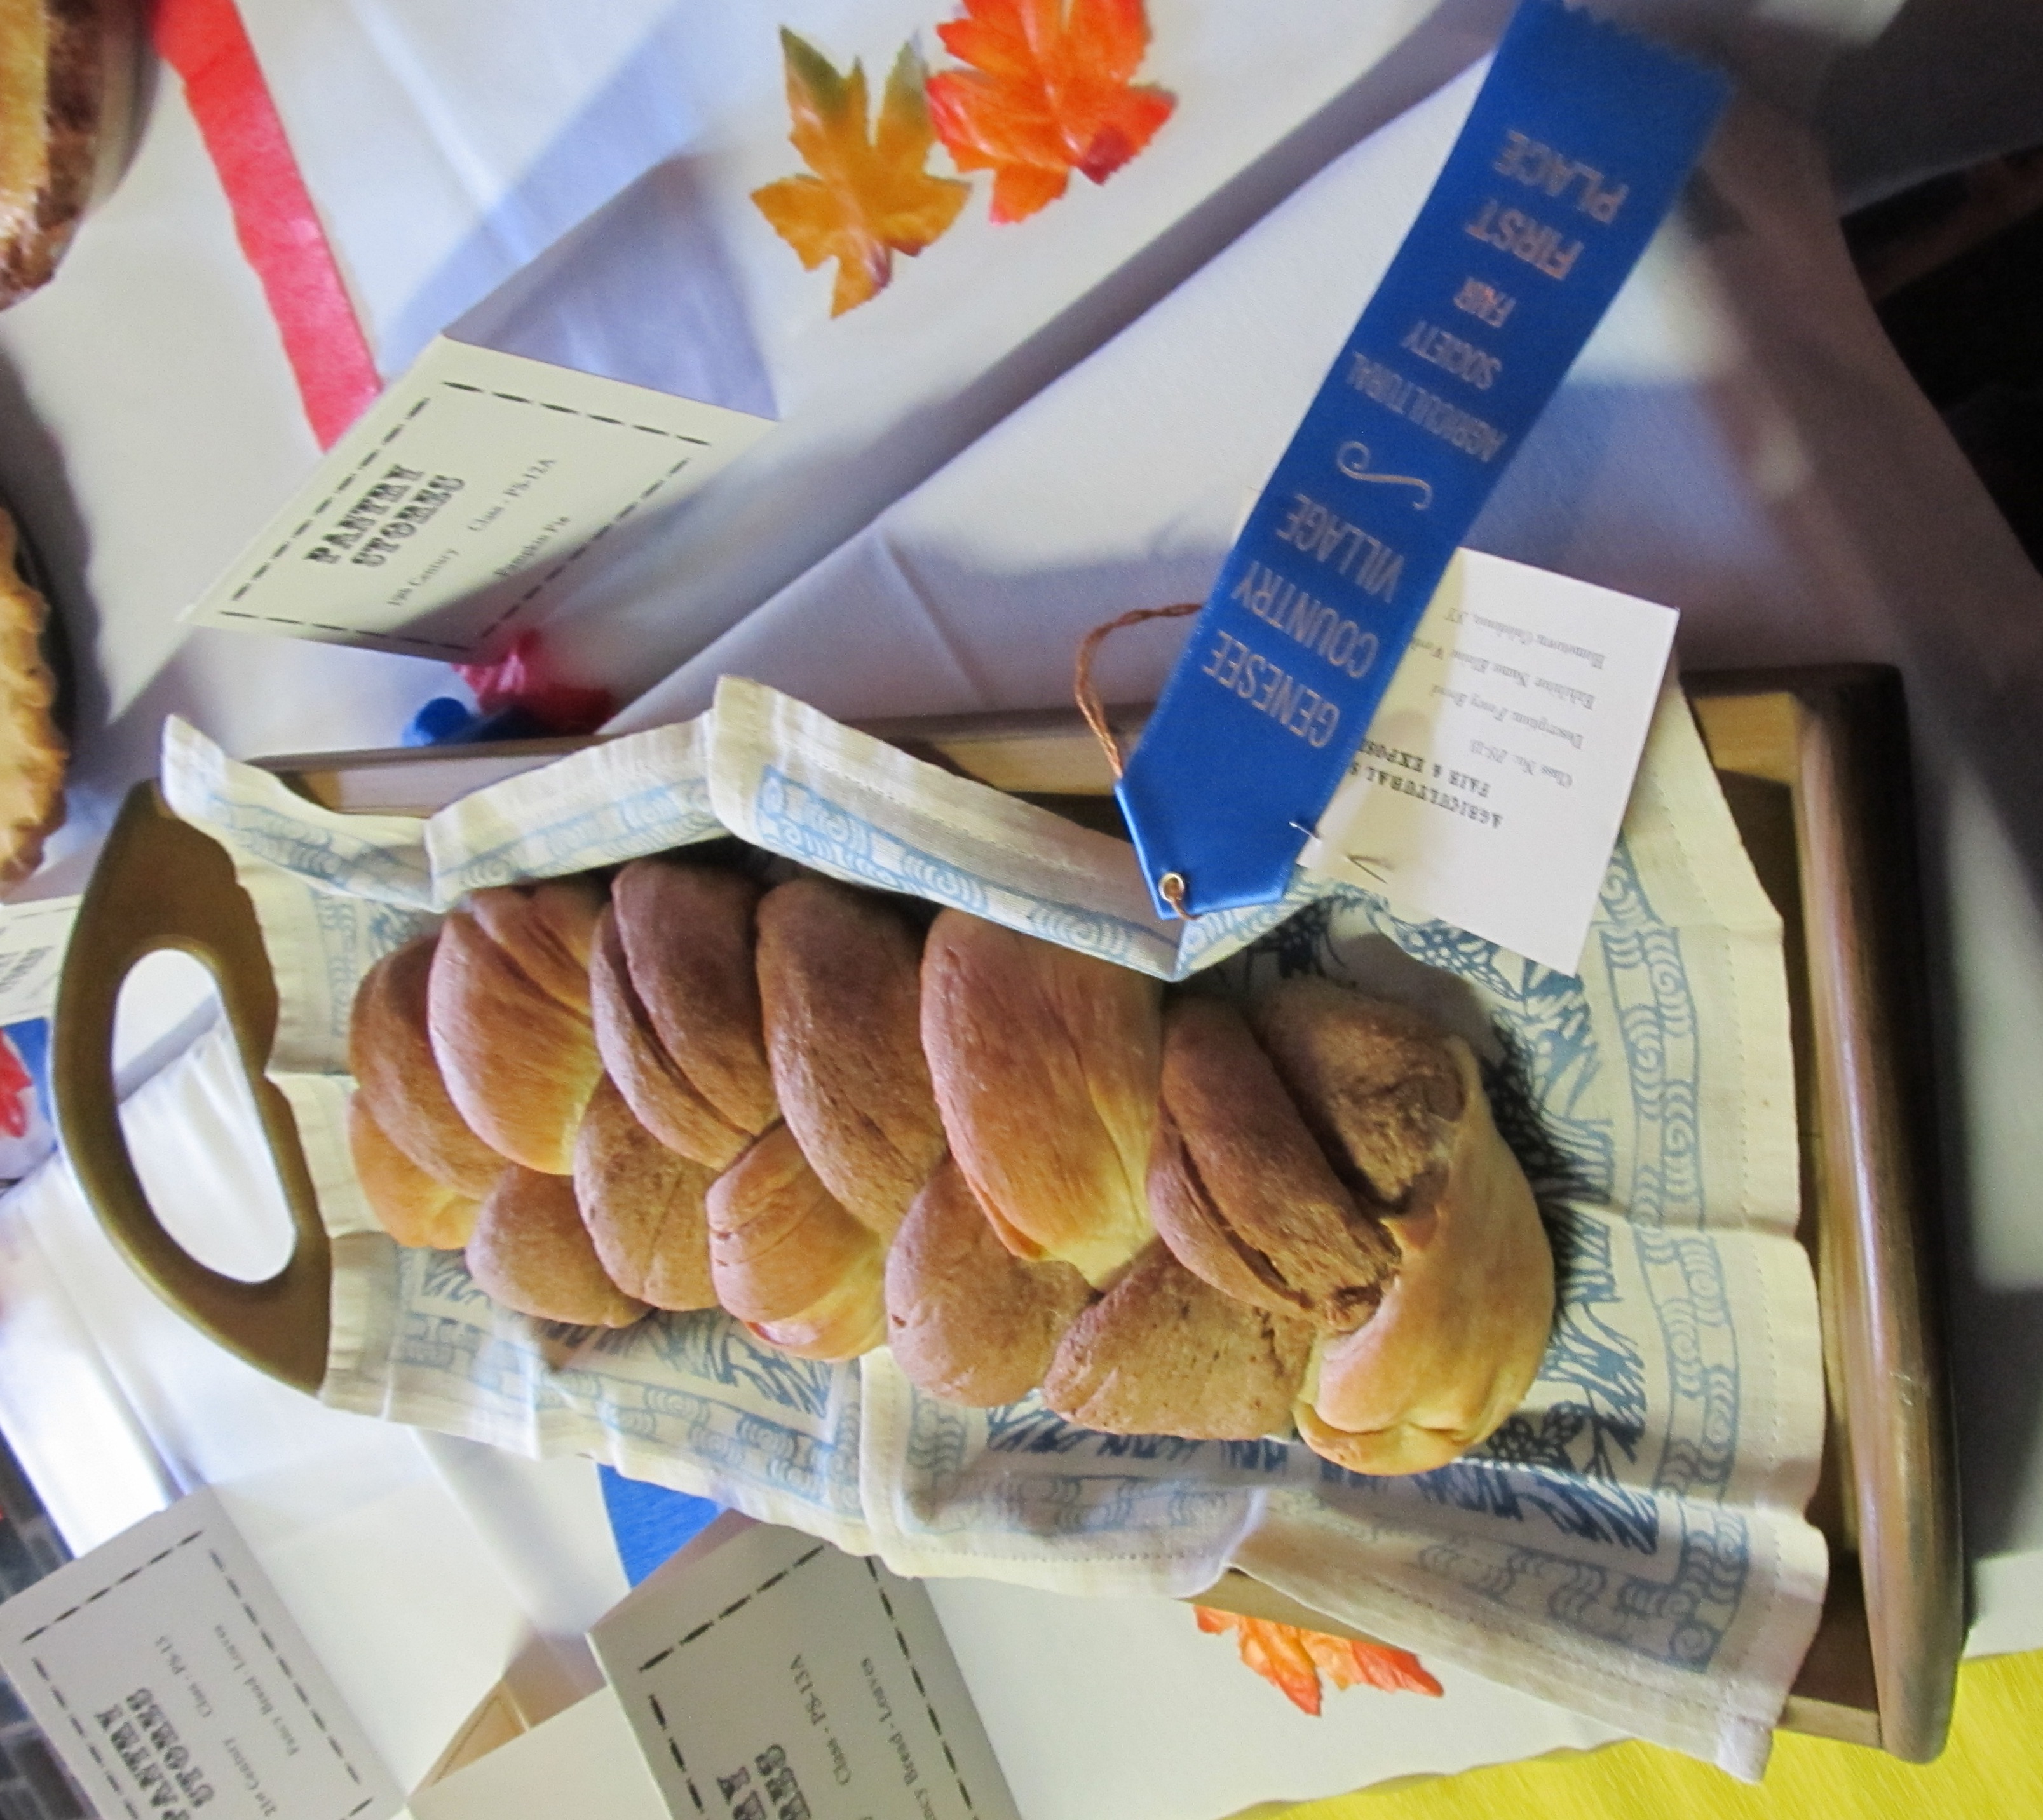
Make sure you see the Ag Fair part 2 post for mom’s other entries.
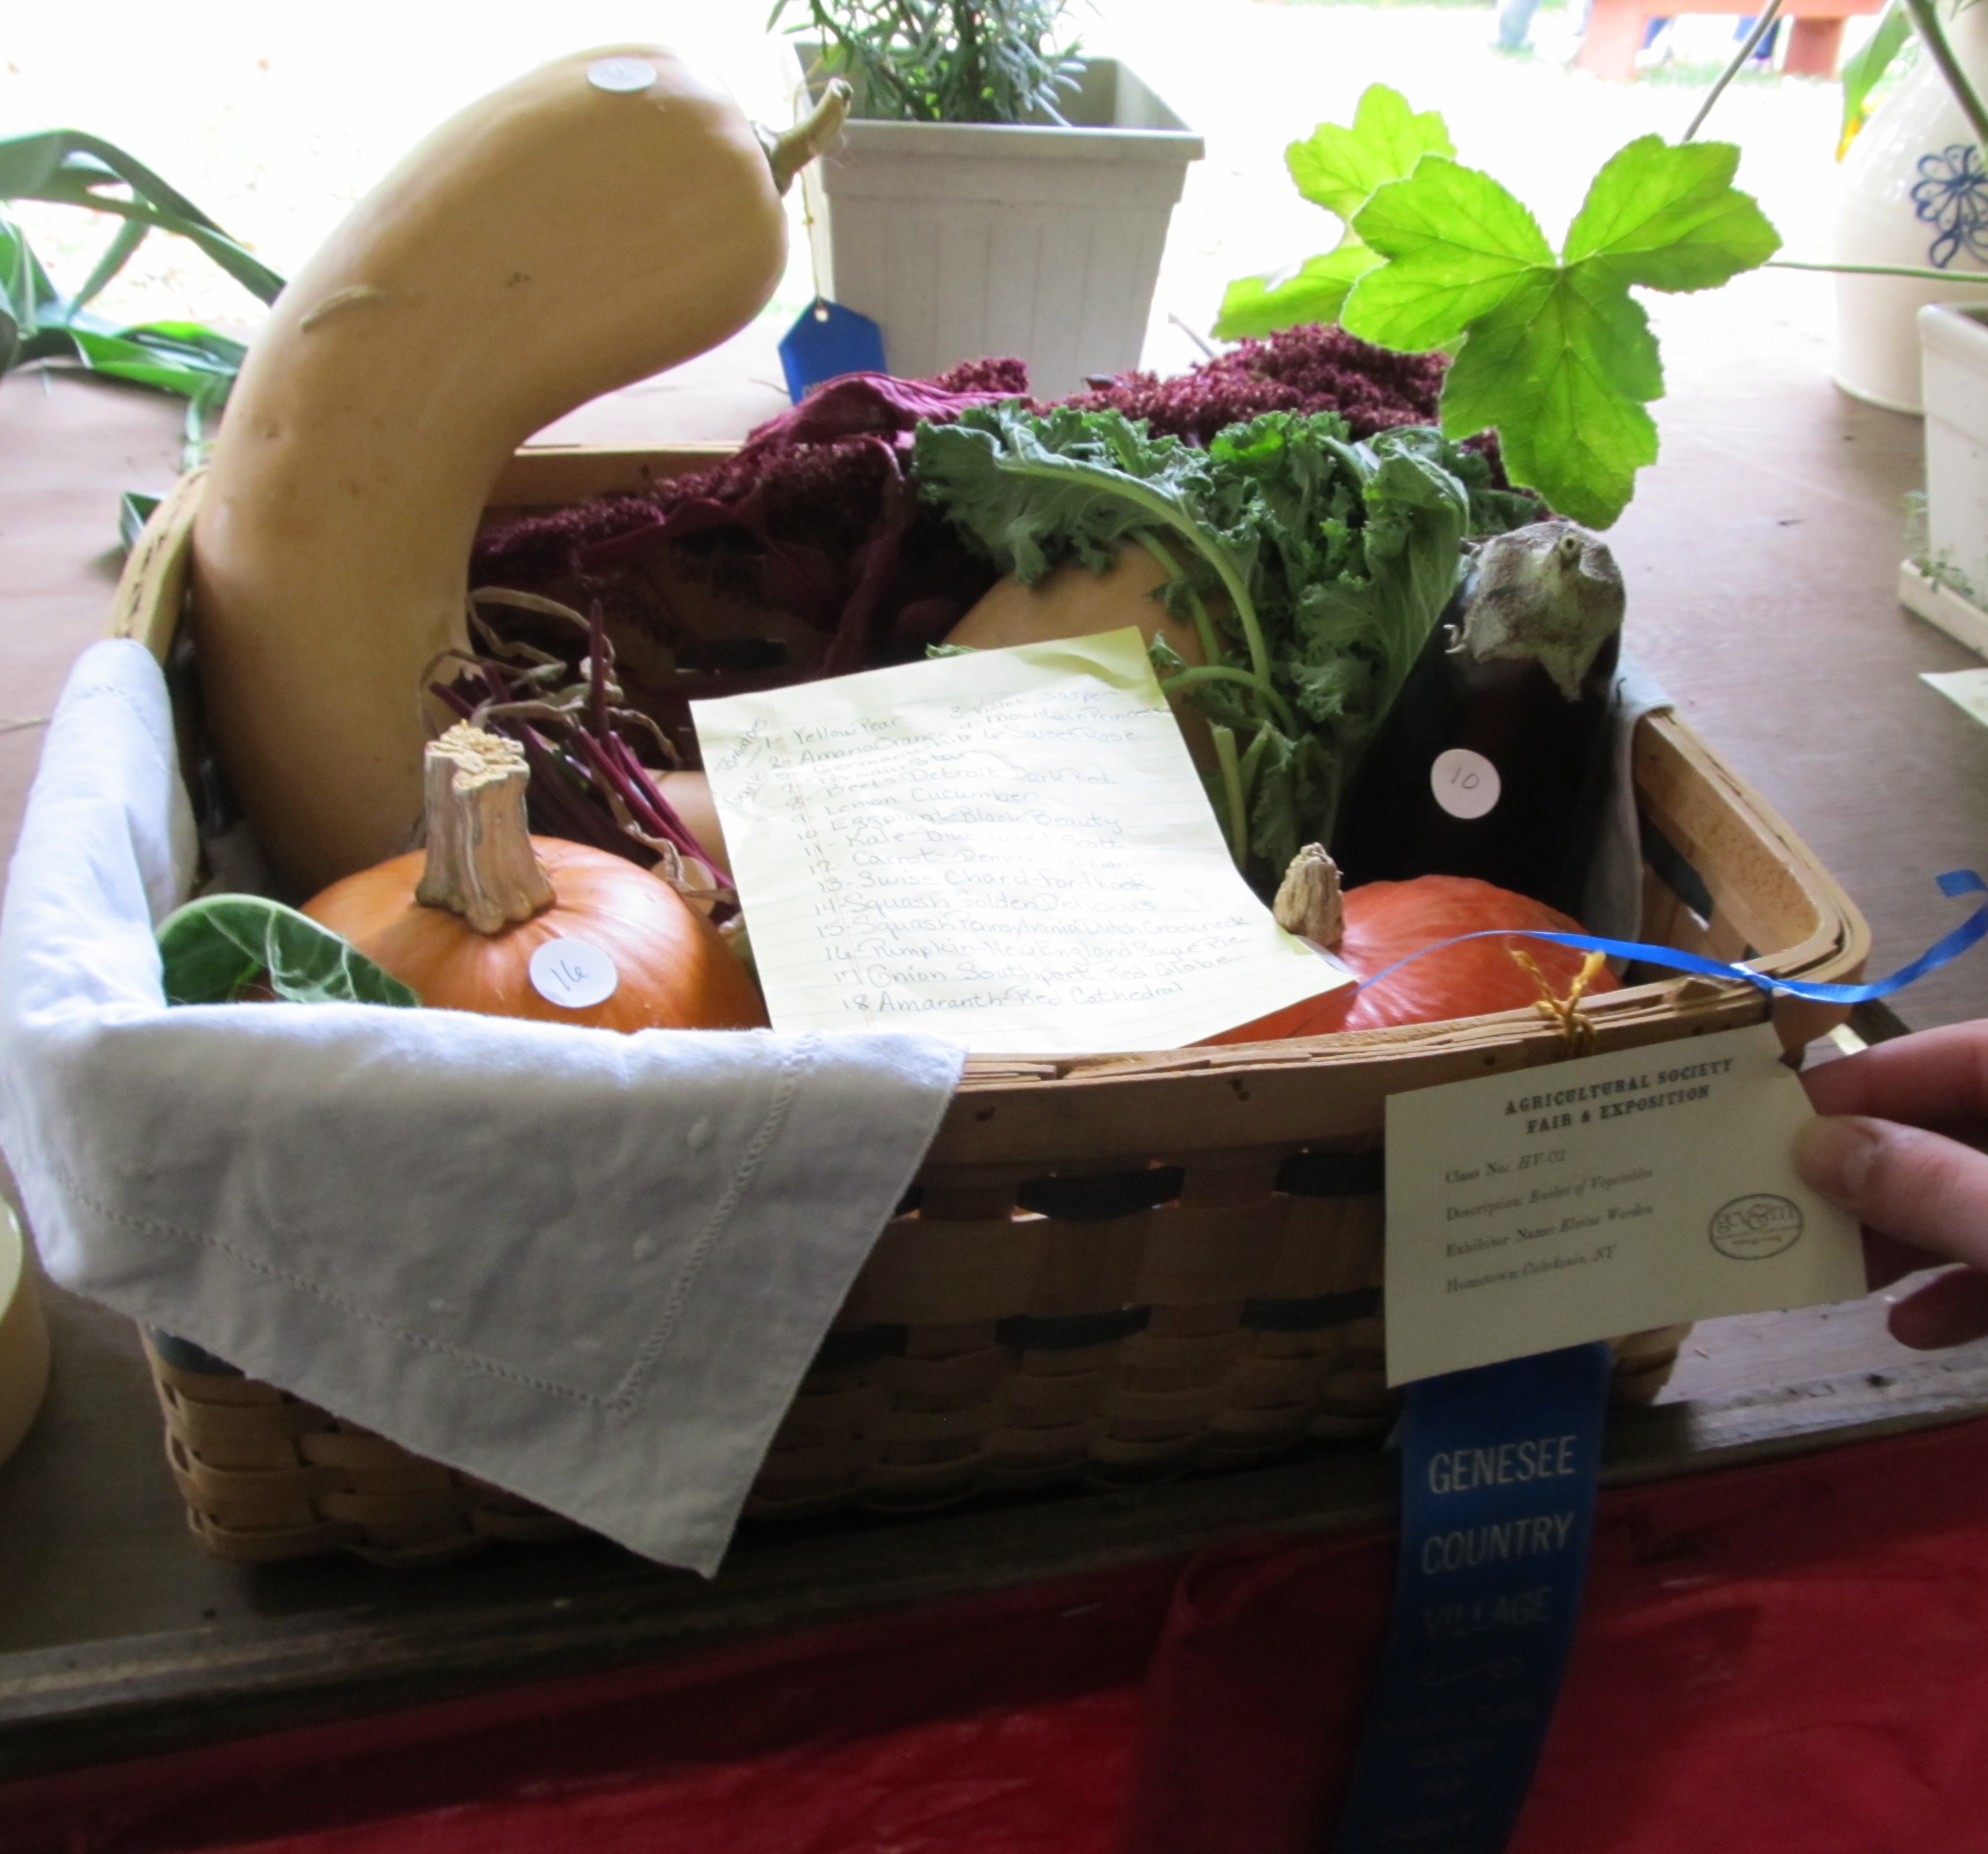
I knew mom was planning to bring a few things to the fair for the horticulture tent. I had no idea….
This year, I decided to give myself an extra little challenge – Make my entries in doll scale. I set this goal for myself at the beginning of the year. While I didn’t manage to find the time to make as many pieces as I wanted, I was able to make few. There are also a couple human size pieces as well.
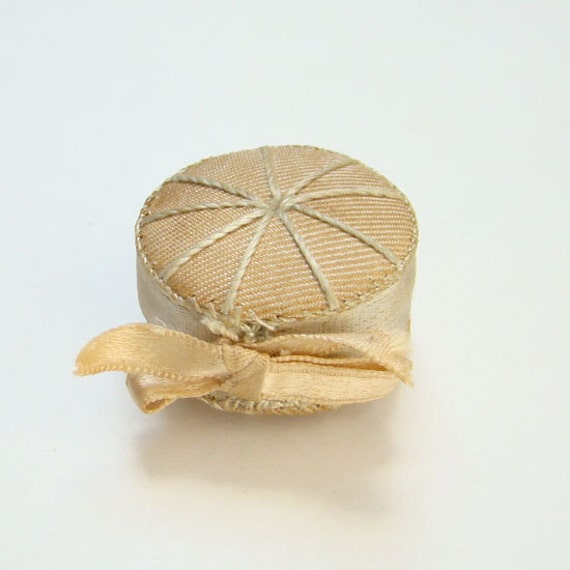
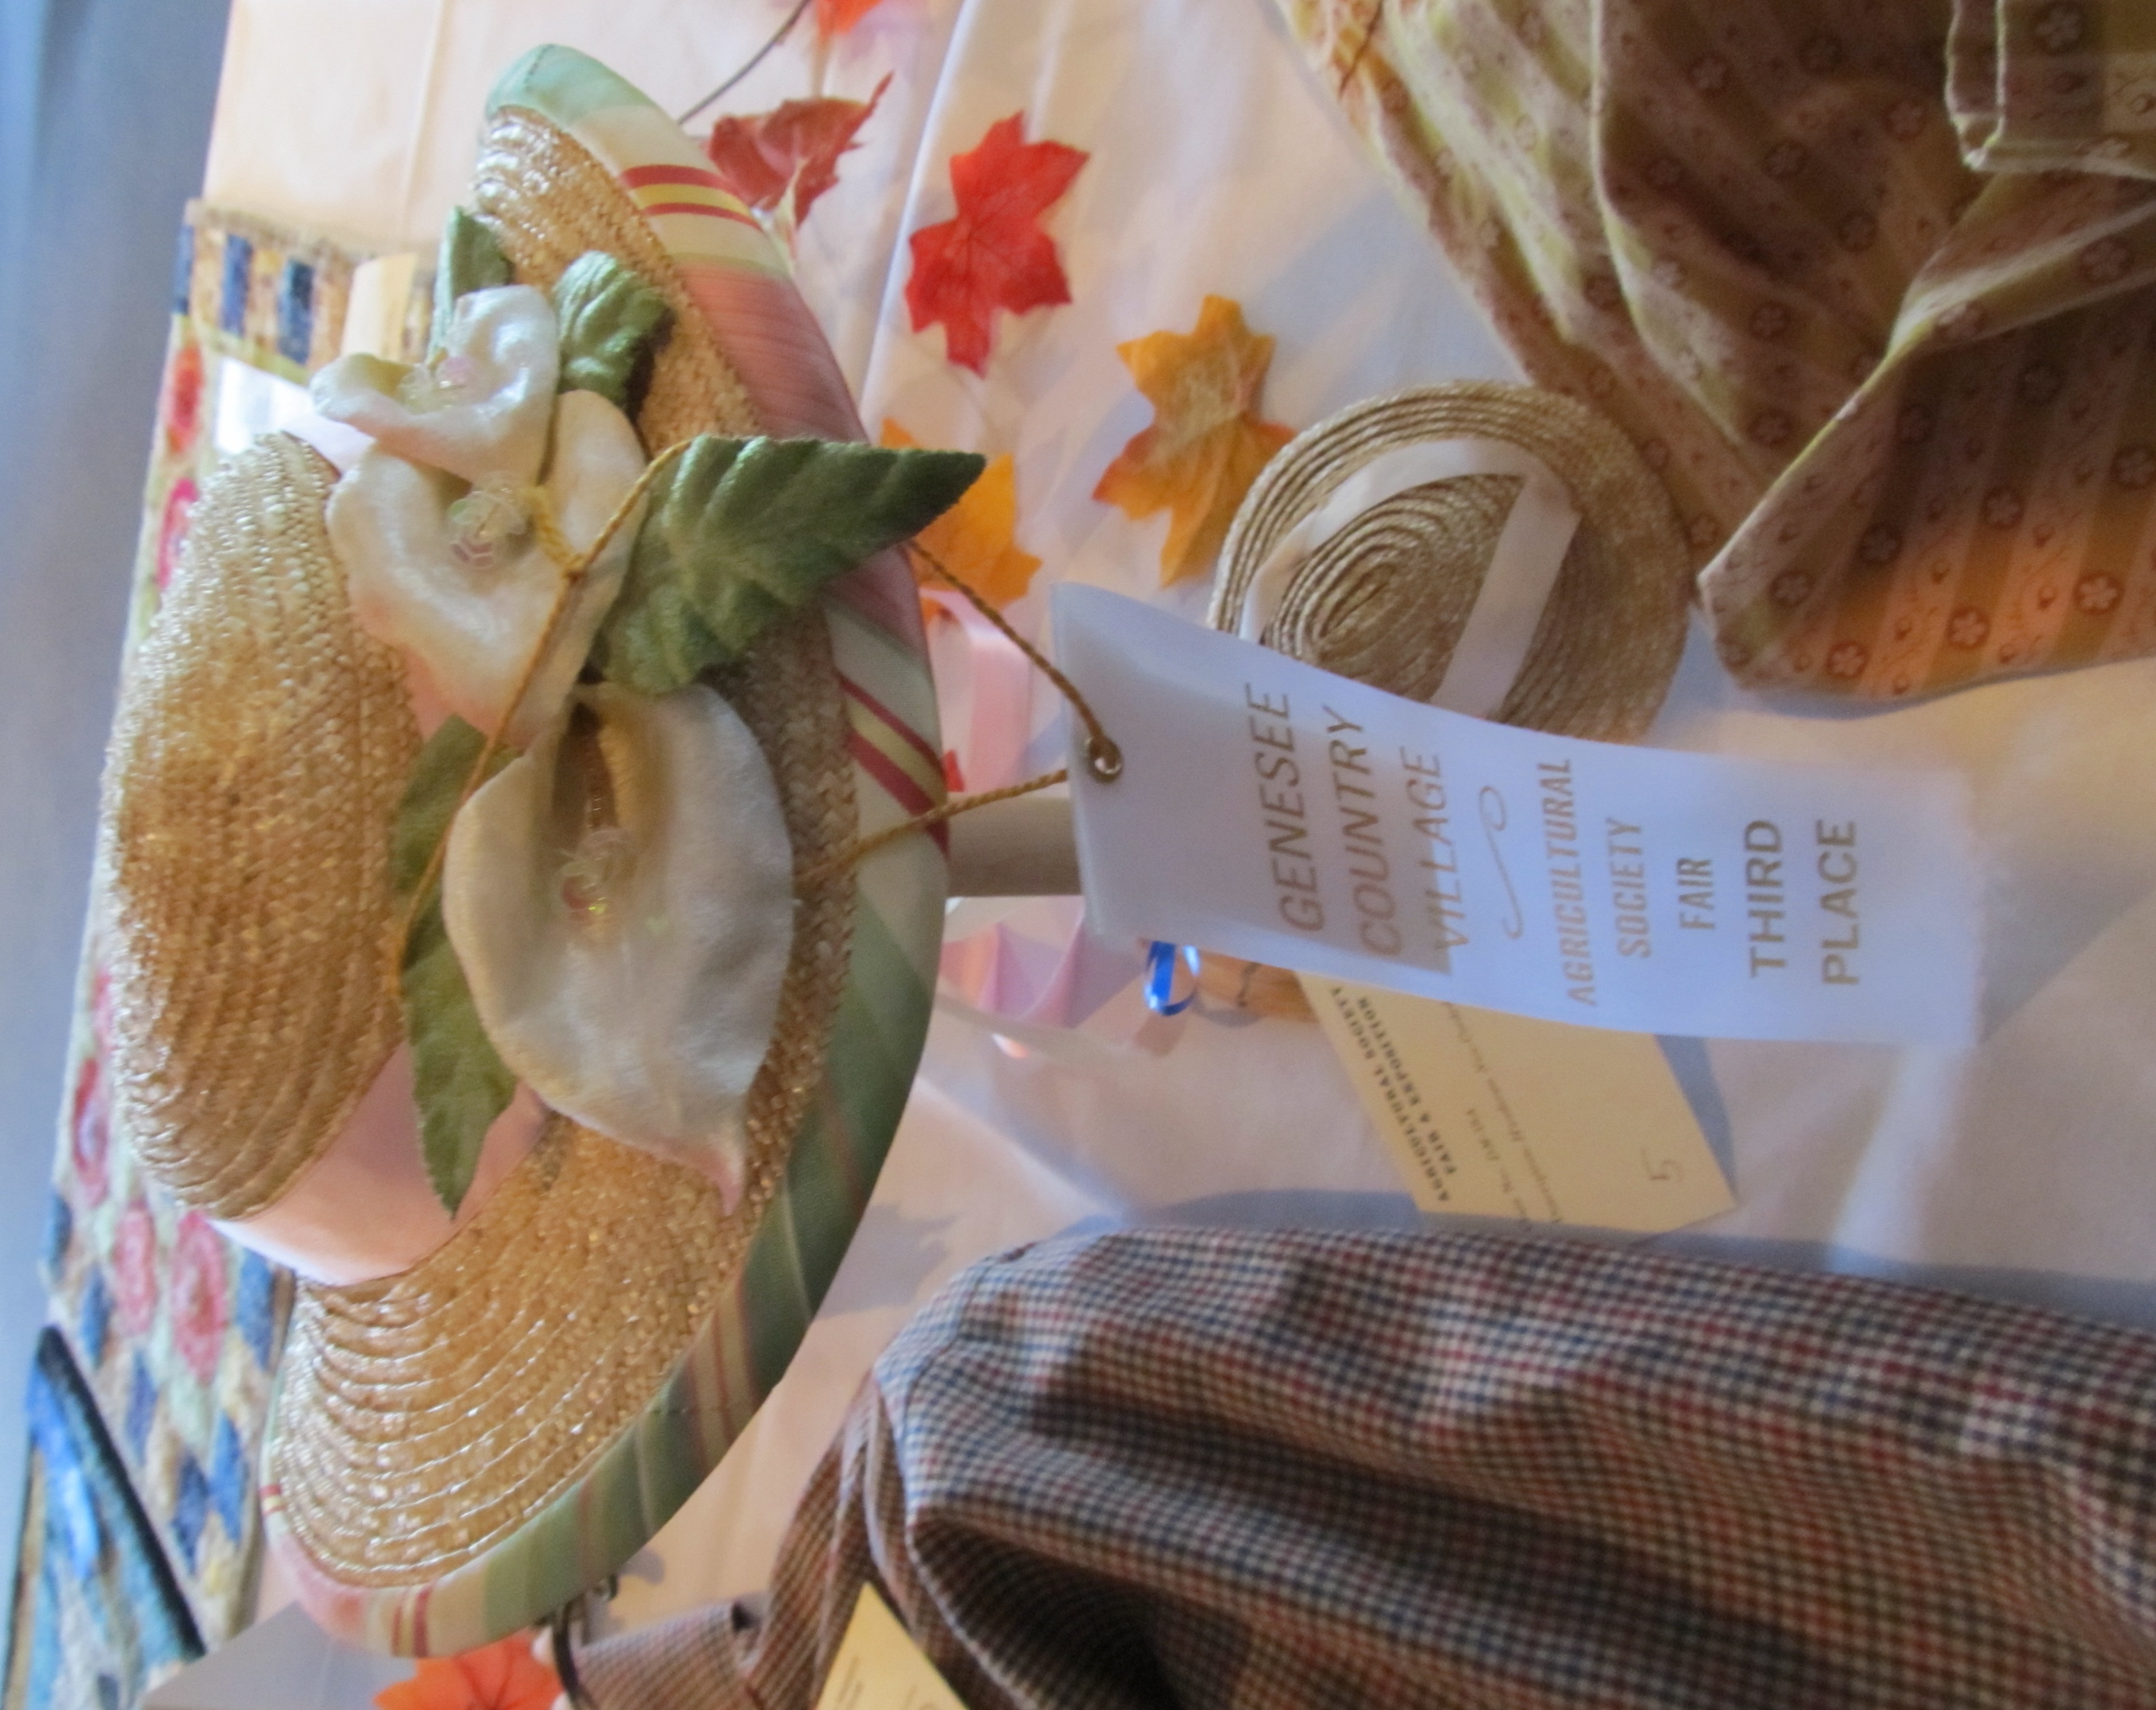 Since I spent so much time this summer making straw hats and bonnets, of course, I needed to make a pair of straw hats, one doll scale and one human scale. The full size straw hat was a favorite of this summer with its bias plaid silk lining and calla lilies. The doll hat is in the same style, simply trimmed with ribbon. If I ever find lilies small enough, I will be happy.
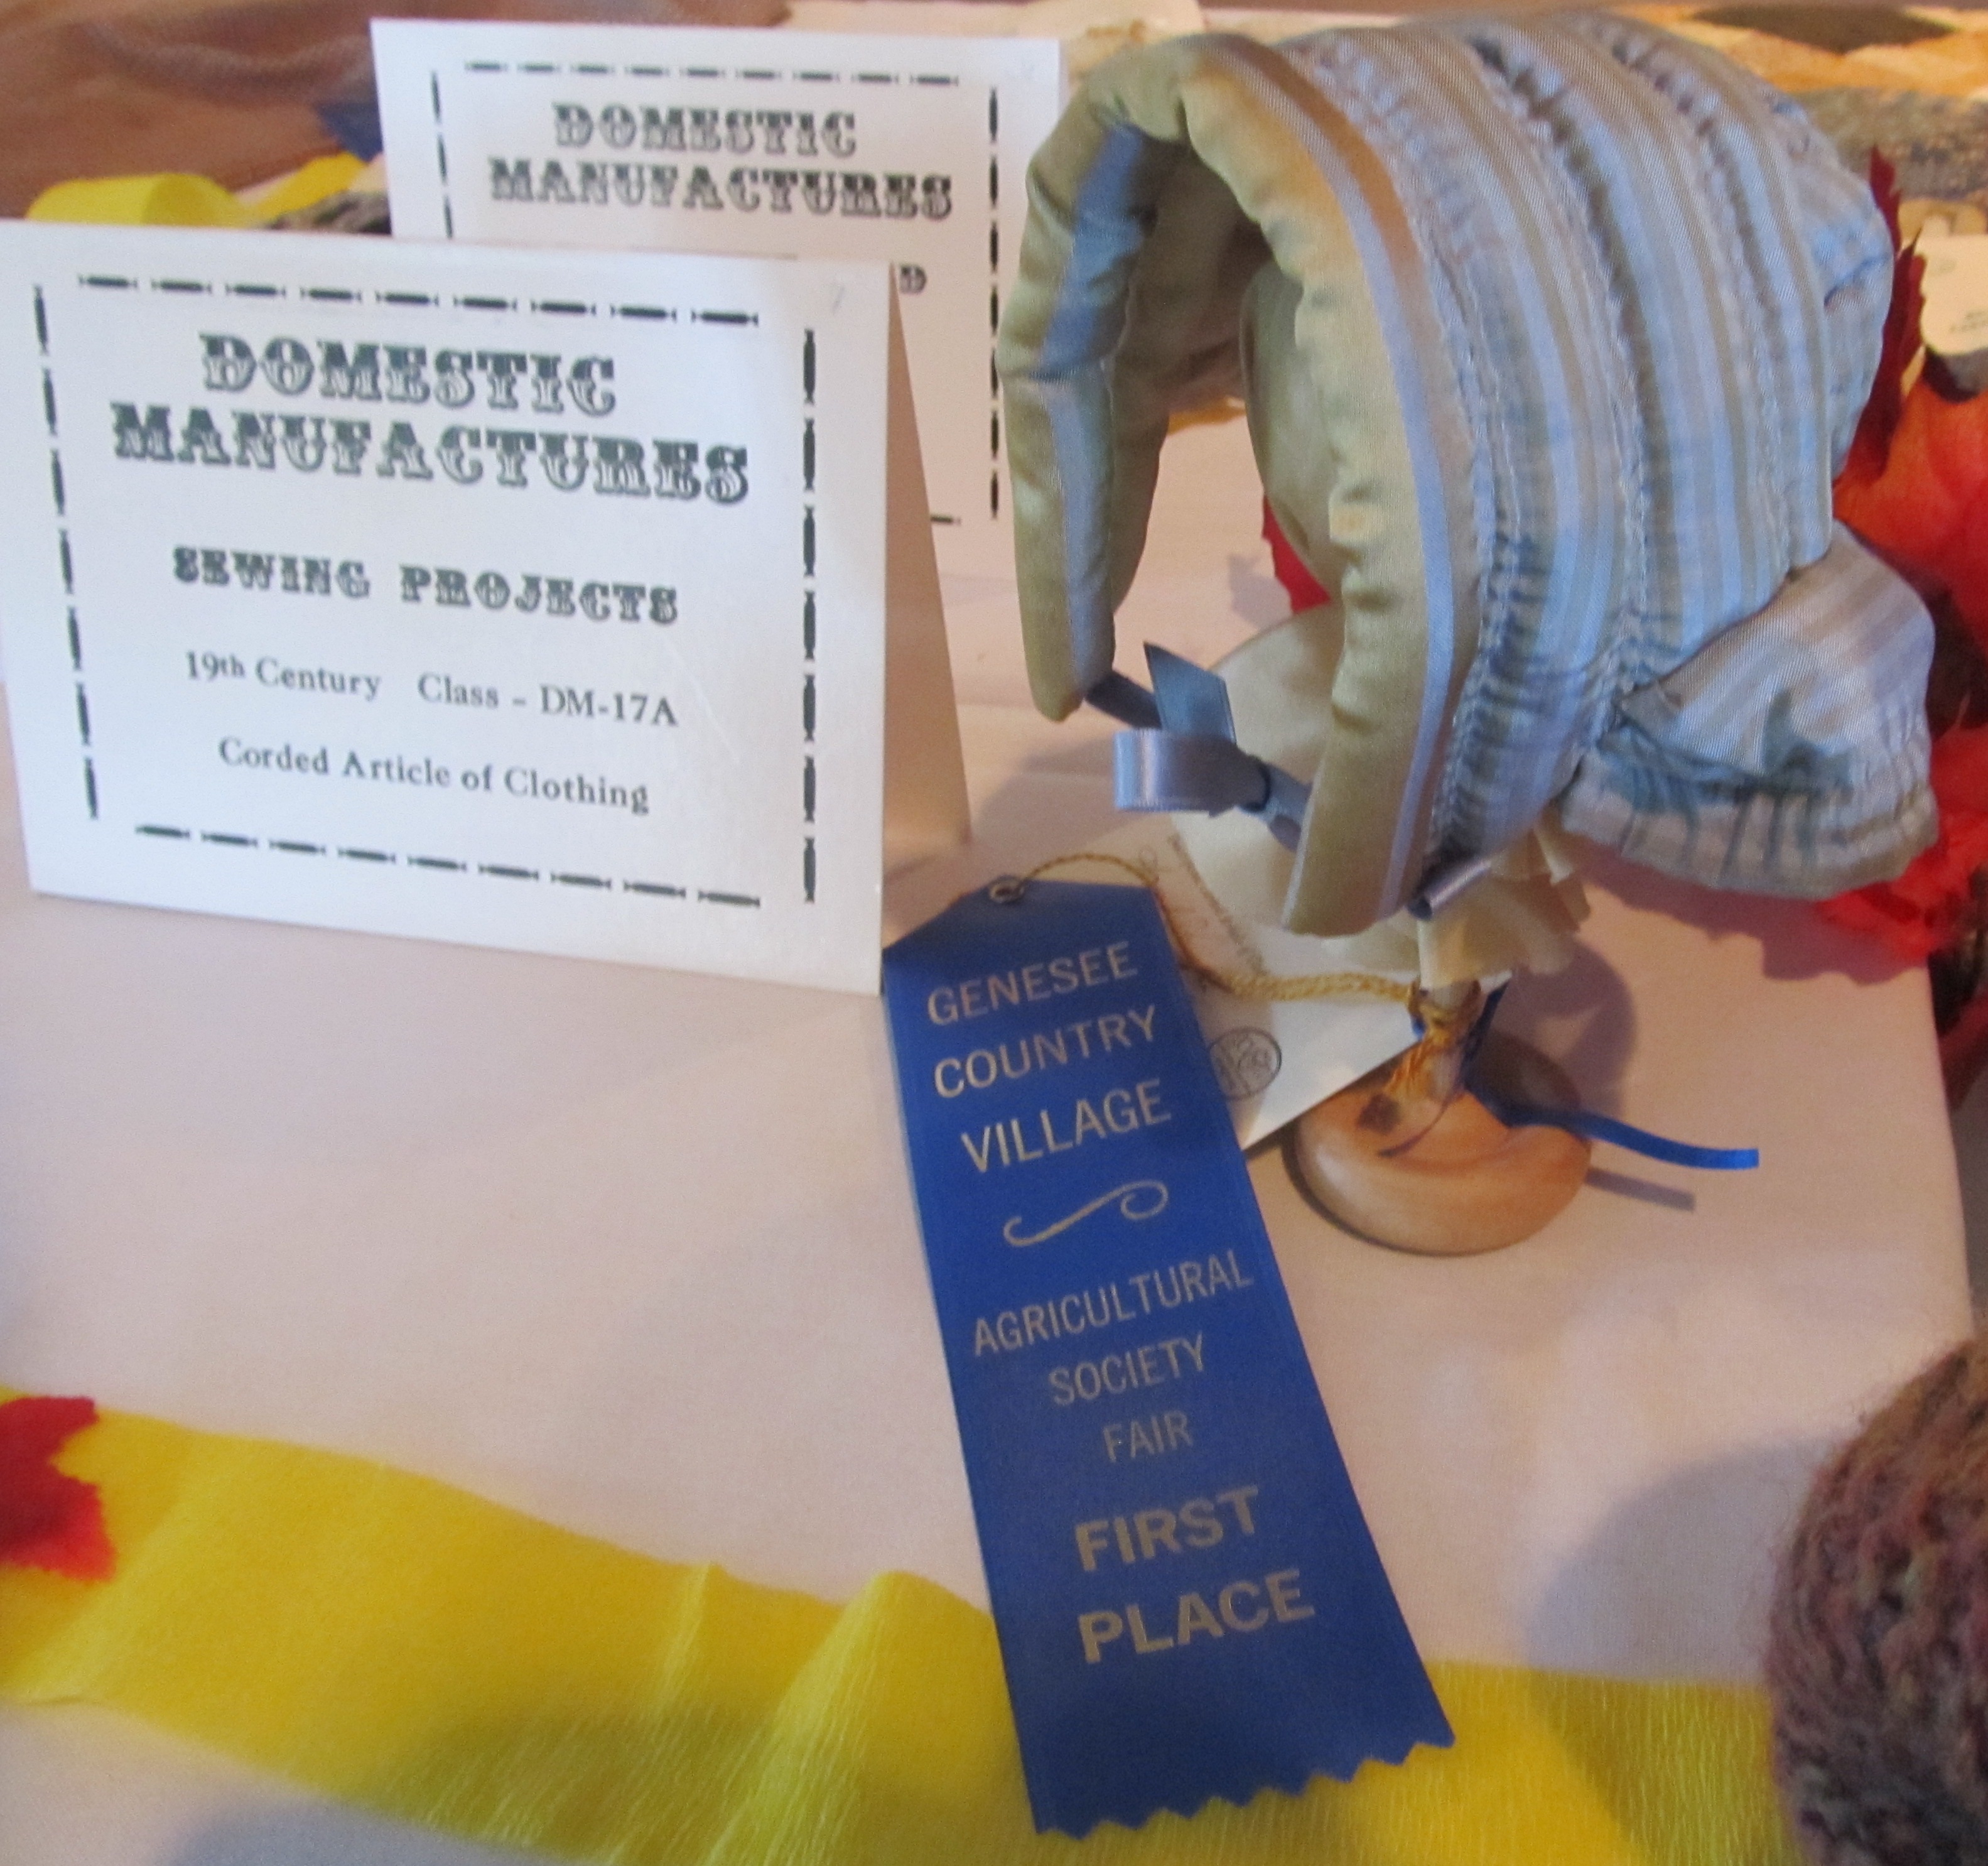
 It was fun scaling down the winter bonnet patterns to doll size. I did one in a quilted style using a double twist pattern and one in the corded and wadded style that I find to be nicely warm. These are for dolls with 9.5″ to 10″ heads.
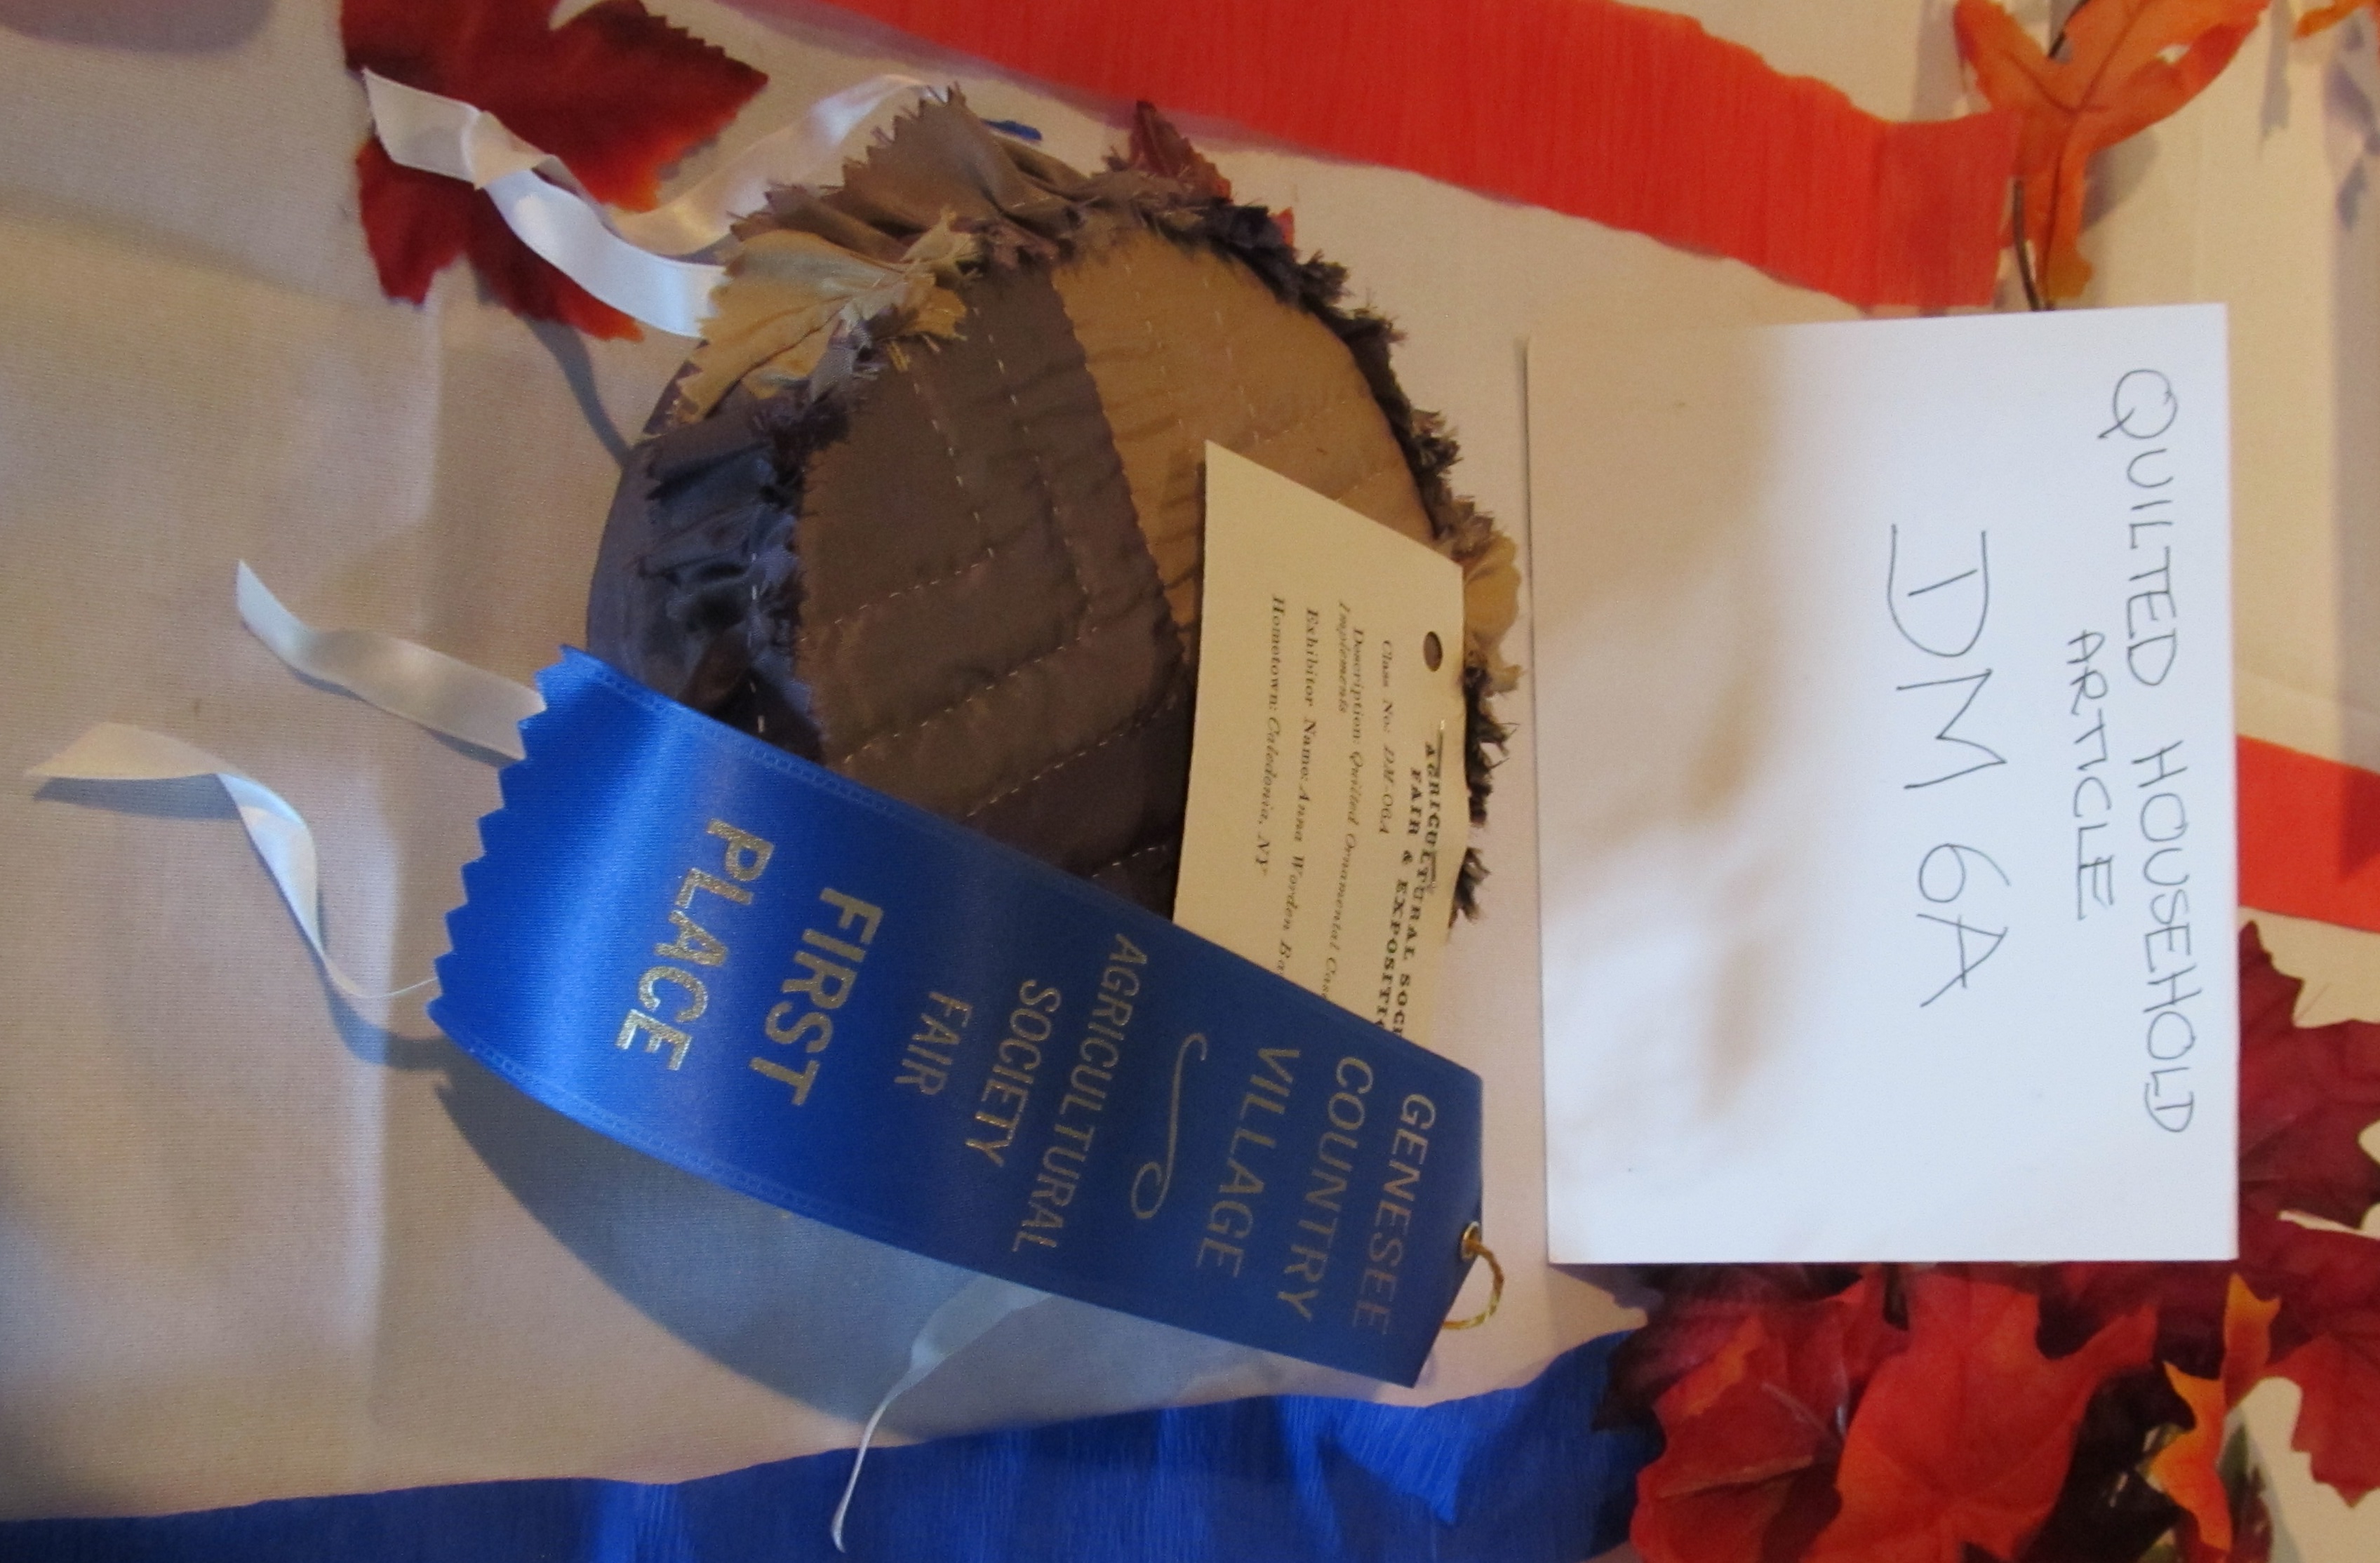
 I had lots of fun with this little doll quilt. Triangular piecing was both easy and relaxing. But, as I was almost finished, I realized I needed to bind that curved edge I created. Thankfully, it was a lot easier than I thought. I am tempted to do a full size one in this design. Sometime.
 When Mandy found these steel rings, I knew I wanted to do an embroidered pin ball. I did a trial run with simple embroidery on wool. Then jumped into the needlework for this one. Needlework like this is not something I have done much if any of. Some parts were enjoyable. Other parts, well, they made me think “aren’t I done yet?” After finishing the full size one, I wanted to see if I could do the doll size one.
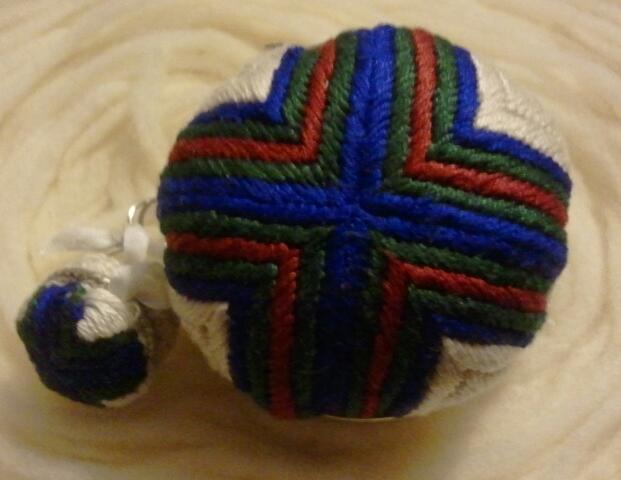 One challenge was deciding on what to use for the ring. I pondered an actual ring, but didn’t find one in the right size as I was working. The next challenge was turning the embroidered linen right side out at that small of a scale. I think it came out pretty cute.
 I had every intention of doing my household quilted item in both doll and human scale. Then, as I made the full size one, I decided this was the one and only I was making… ever. This quilted tool case was inspired by an 1872 illustration in Peterson’s Magazine. It could hold sewing tools or toilet tools nicely.
 I am very excited that I will be facilitating two Fanciful Utility workshops at the upcoming Domestic Skill Workshop hosted by the Genesee Country Village and Museum during the first weekend of November.
 The Sunday afternoon workshop will be a “Pocket of Pocket” Work pocket. Attendees will make one of the most versatile and useful work pockets. Each can choose among a wide assortment of period cotton prints to make their rolled pocket. The workshop directions will be easy to follow for beginner sewers and open enough for those who are more experienced.
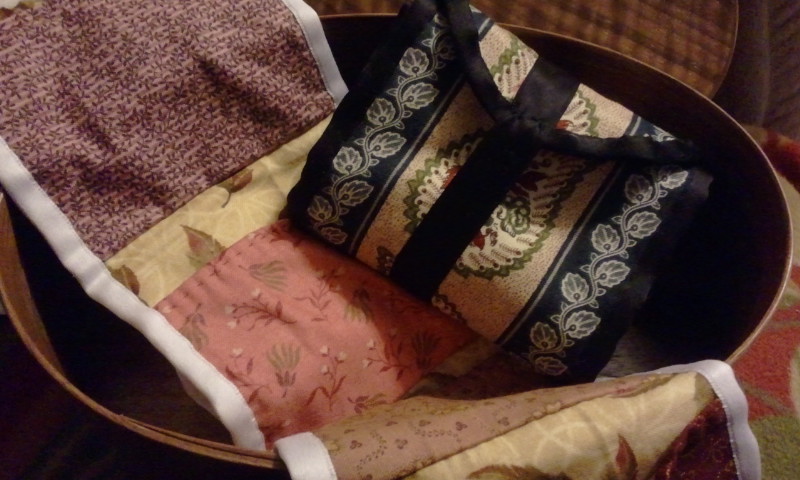 Original work pockets, made of a row of pockets which roll up, can be found spanning from the 18th century through the 19th century. Their pockets held numerous sewing needs, nicely organized. Some pockets were made with various prints of a single color or shade such as this Turkey red example or this blue example. Other pockets used an assortment of prints, stripes and plaids. This example used a plaid, print and check for the pockets. The size of the pockets varied through time as well. On the left hand side of this photo, you can see many different sizes.


I am very excited that I will be facilitating two Fanciful Utility workshops at the upcoming Domestic Skill Workshop hosted by the Genesee Country Village and Museum during the first weekend of November.
The morning workshop will be A Pin Cushion Sampler. Attendees will be able to make two or three pincushions of their choice during the workshop. Don’t worry, all attendees will take home the directions for each of the cushions. I have put together an assortment of pin cushions that will meet a range of sewing abilities, beginner to experienced alike, as well as meet a variety of sewing case needs.
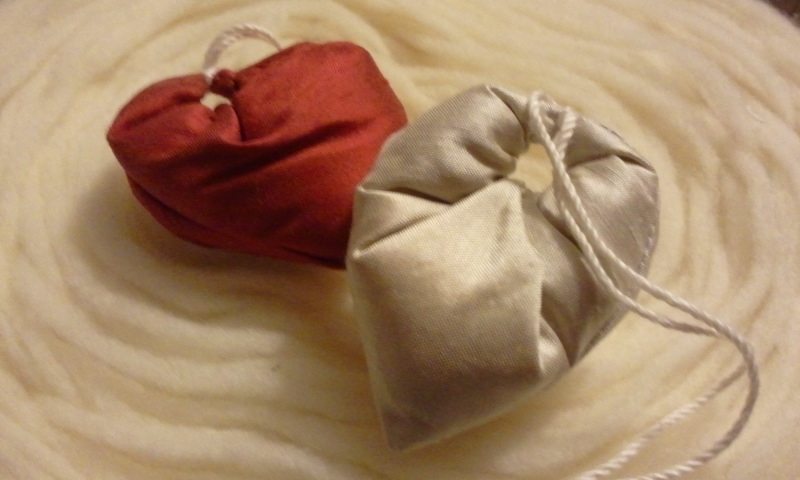 The easiest pin cushion is the heart shaped cushion from Eliza Leslie’s American Girl’s Book. This simple, silk cushion is both easy to make and quite pretty. It can be made small (as our cushion will be) or rather large to suit the needs of the sewing box.
 The most challenging cushion is this multi-media ring pin cushion, made with a silver tone ring and silk. In making this cushion, you will practice covering pasteboard, manipulate the batting and finish it off with a pretty silk. Multi-media pin cushions such as this one were popular throughout the century.
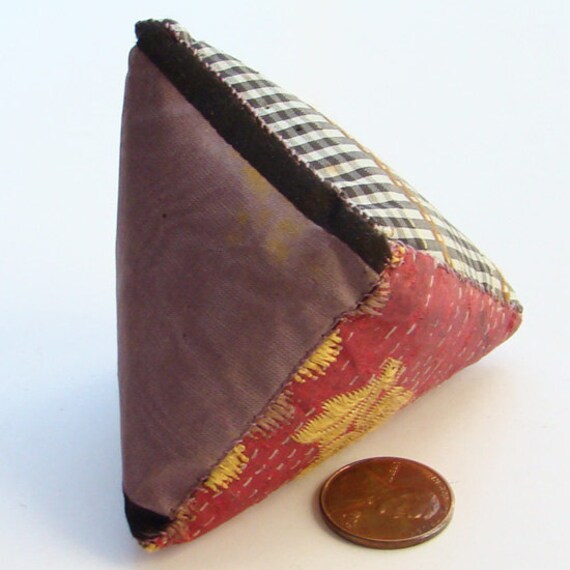
 For those looking for a small, whimsical pin cushion, this pyramid cushion will suit. This cushion will be worked in firmer fabrics, including wools and velvets. This cushion is inspired by this adorable original. (I’ll have some pretty ribbons you can add as well.)
If you love ribbon, this ribbon pin cushion may be the one for you. This cushion uses Fanciful Utility techniques in a unique way to create this pretty cushion. It is inspired by originals such as this one.
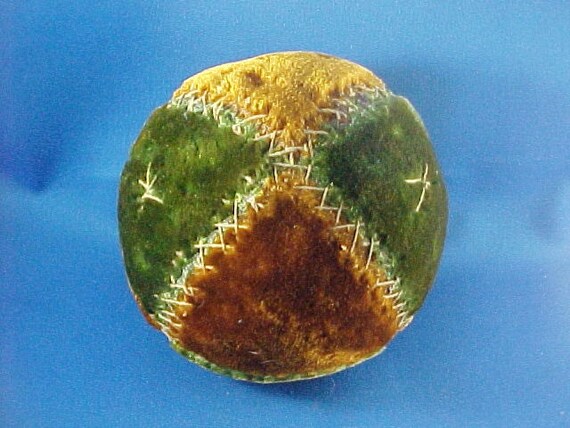
For those with a playful eye, this ball pin cushion is a fun choice. We will be making ours with silk pieces. Originals can be found in an assortment of materials.

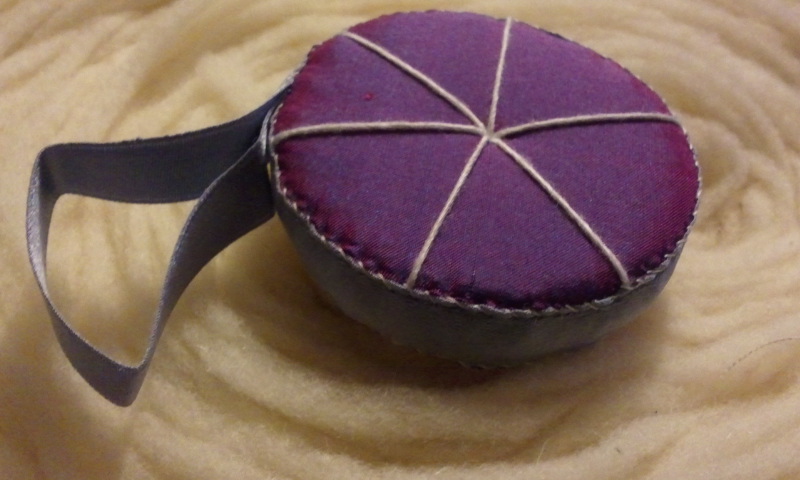
Variations of a gored pin cushion are found in both published books and originals. This cushion is easy to make, while being very versatile. As these are similar to the ‘tomato’ pin cushions, I am going to bring along some simple circles too in case those are the preference.
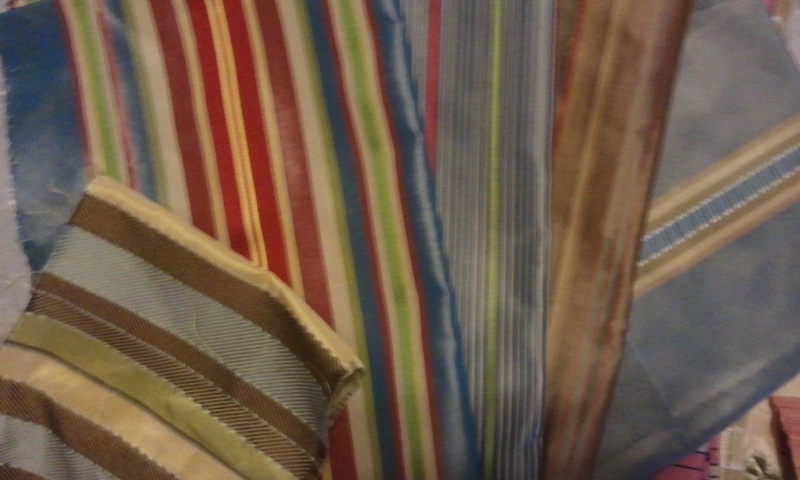
Oh, I almost forgot…. Here are some of the fabrics we will get to play with….
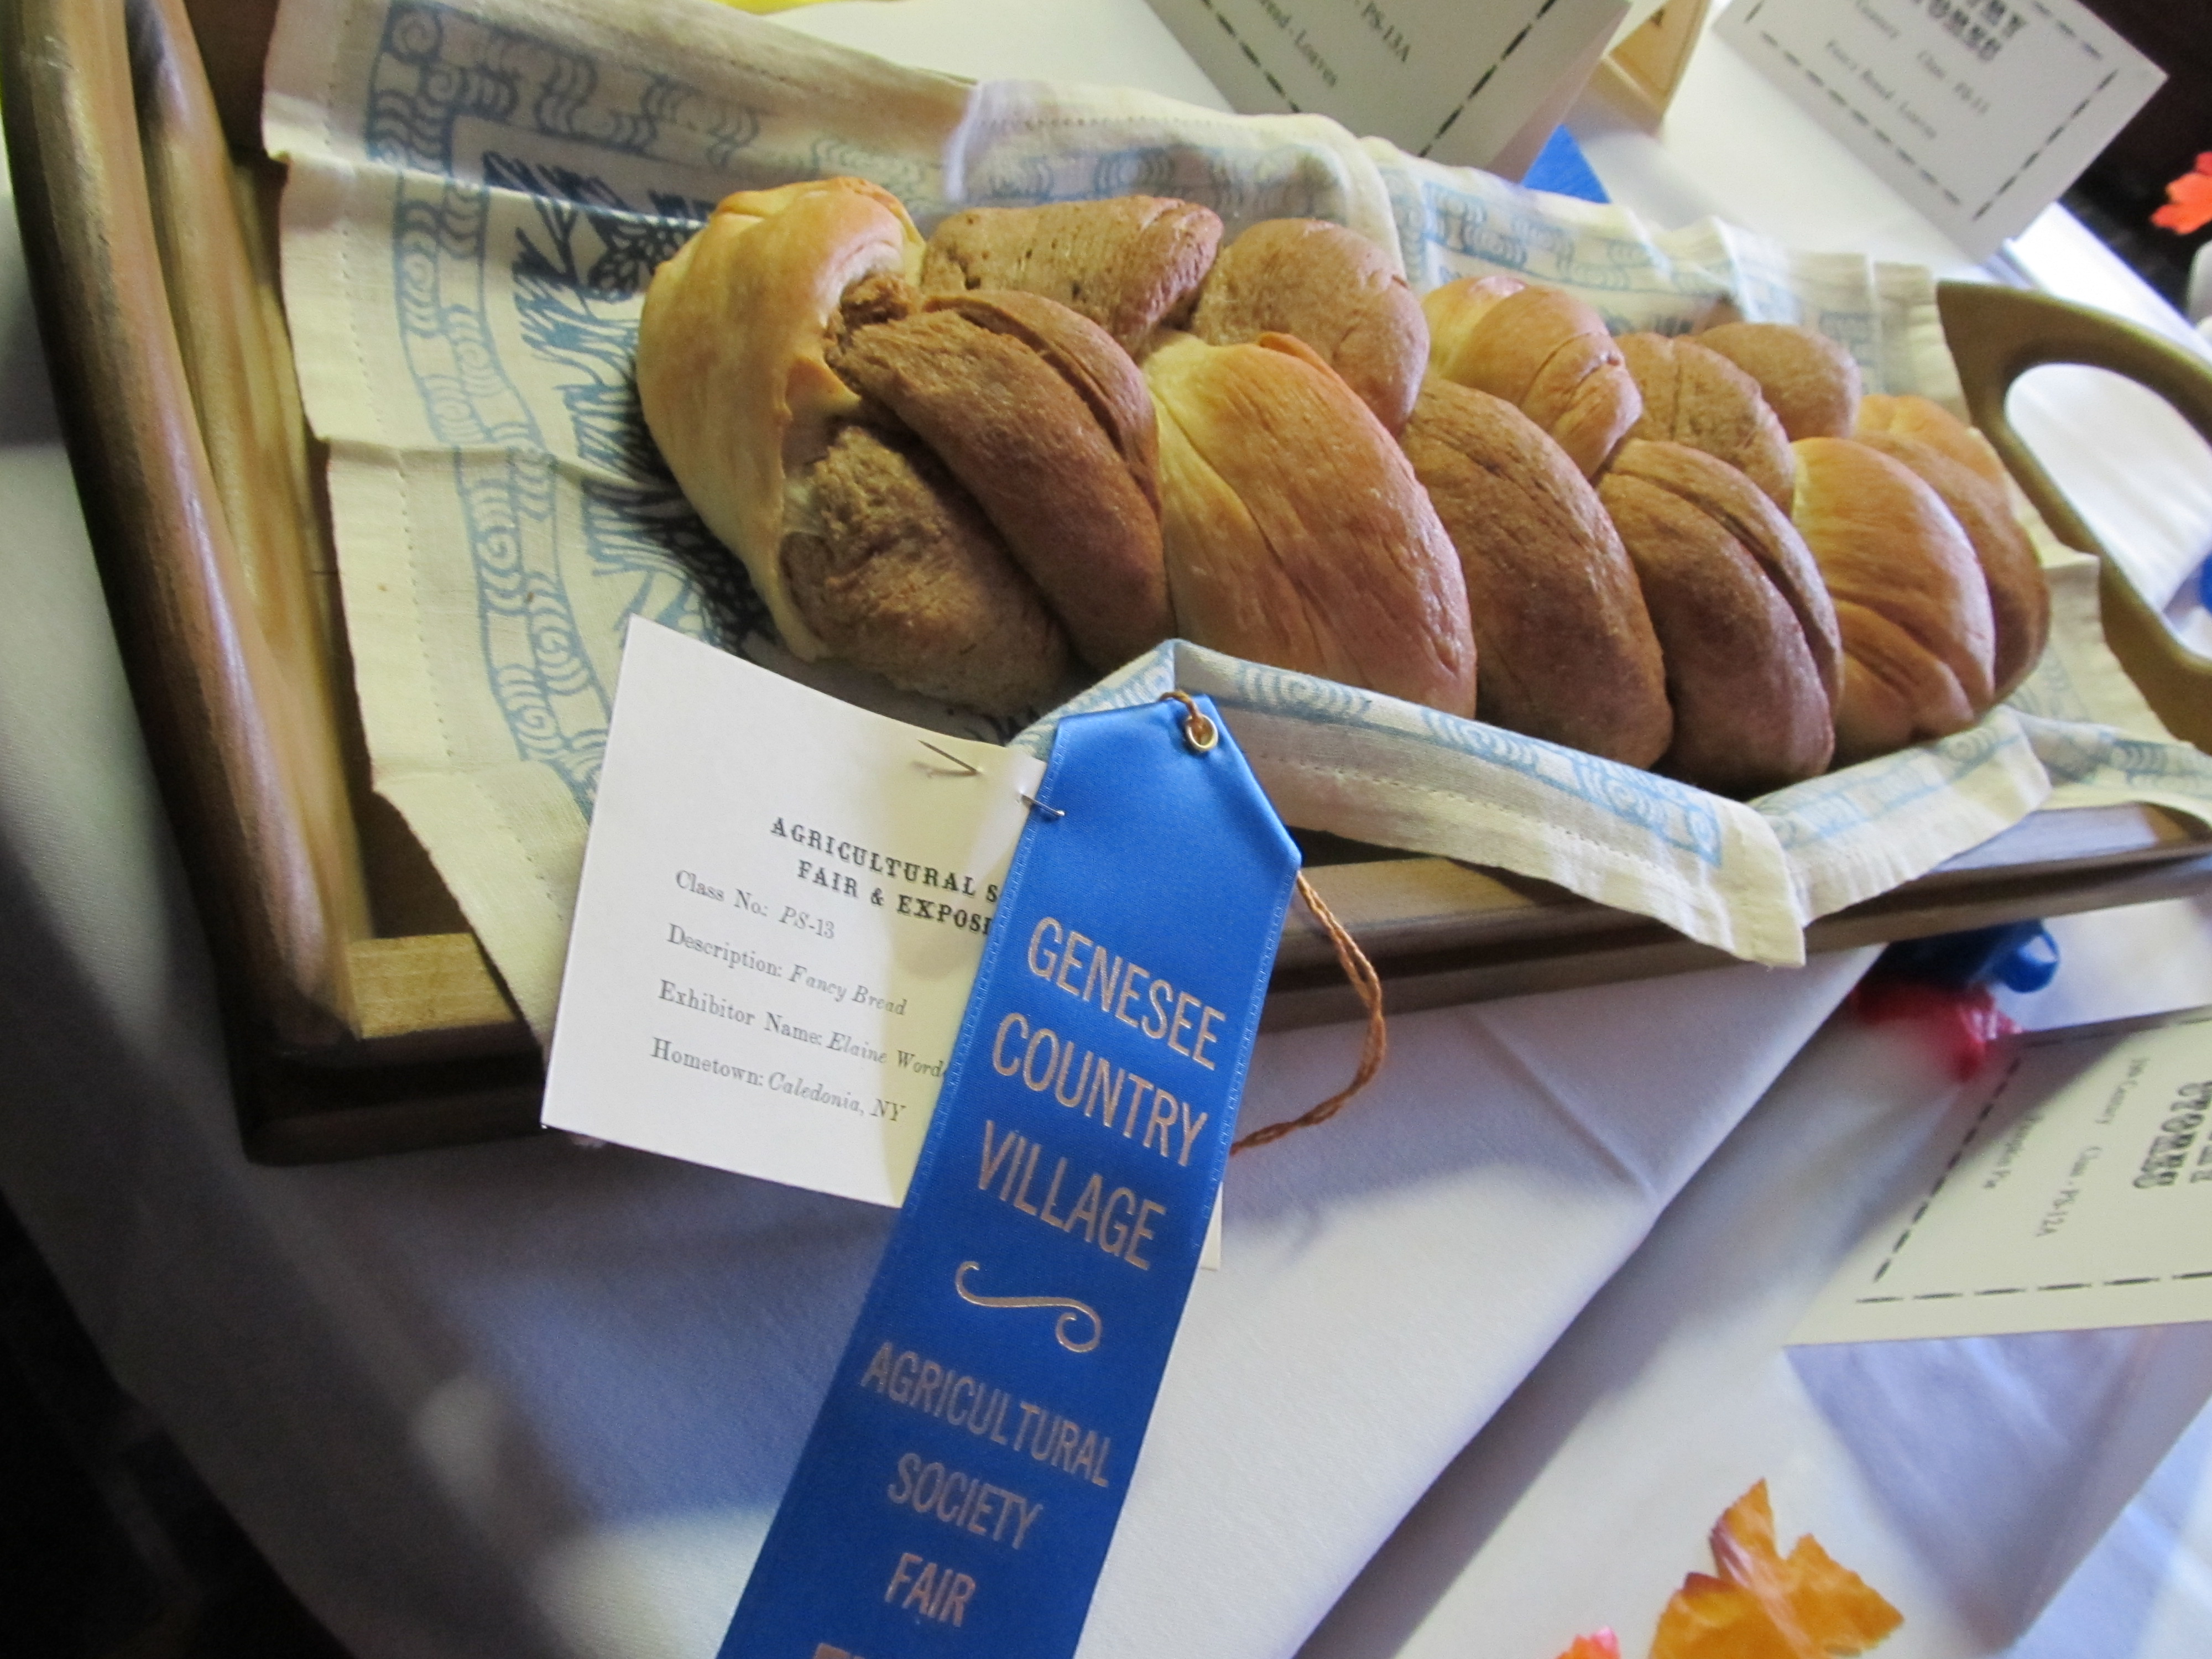
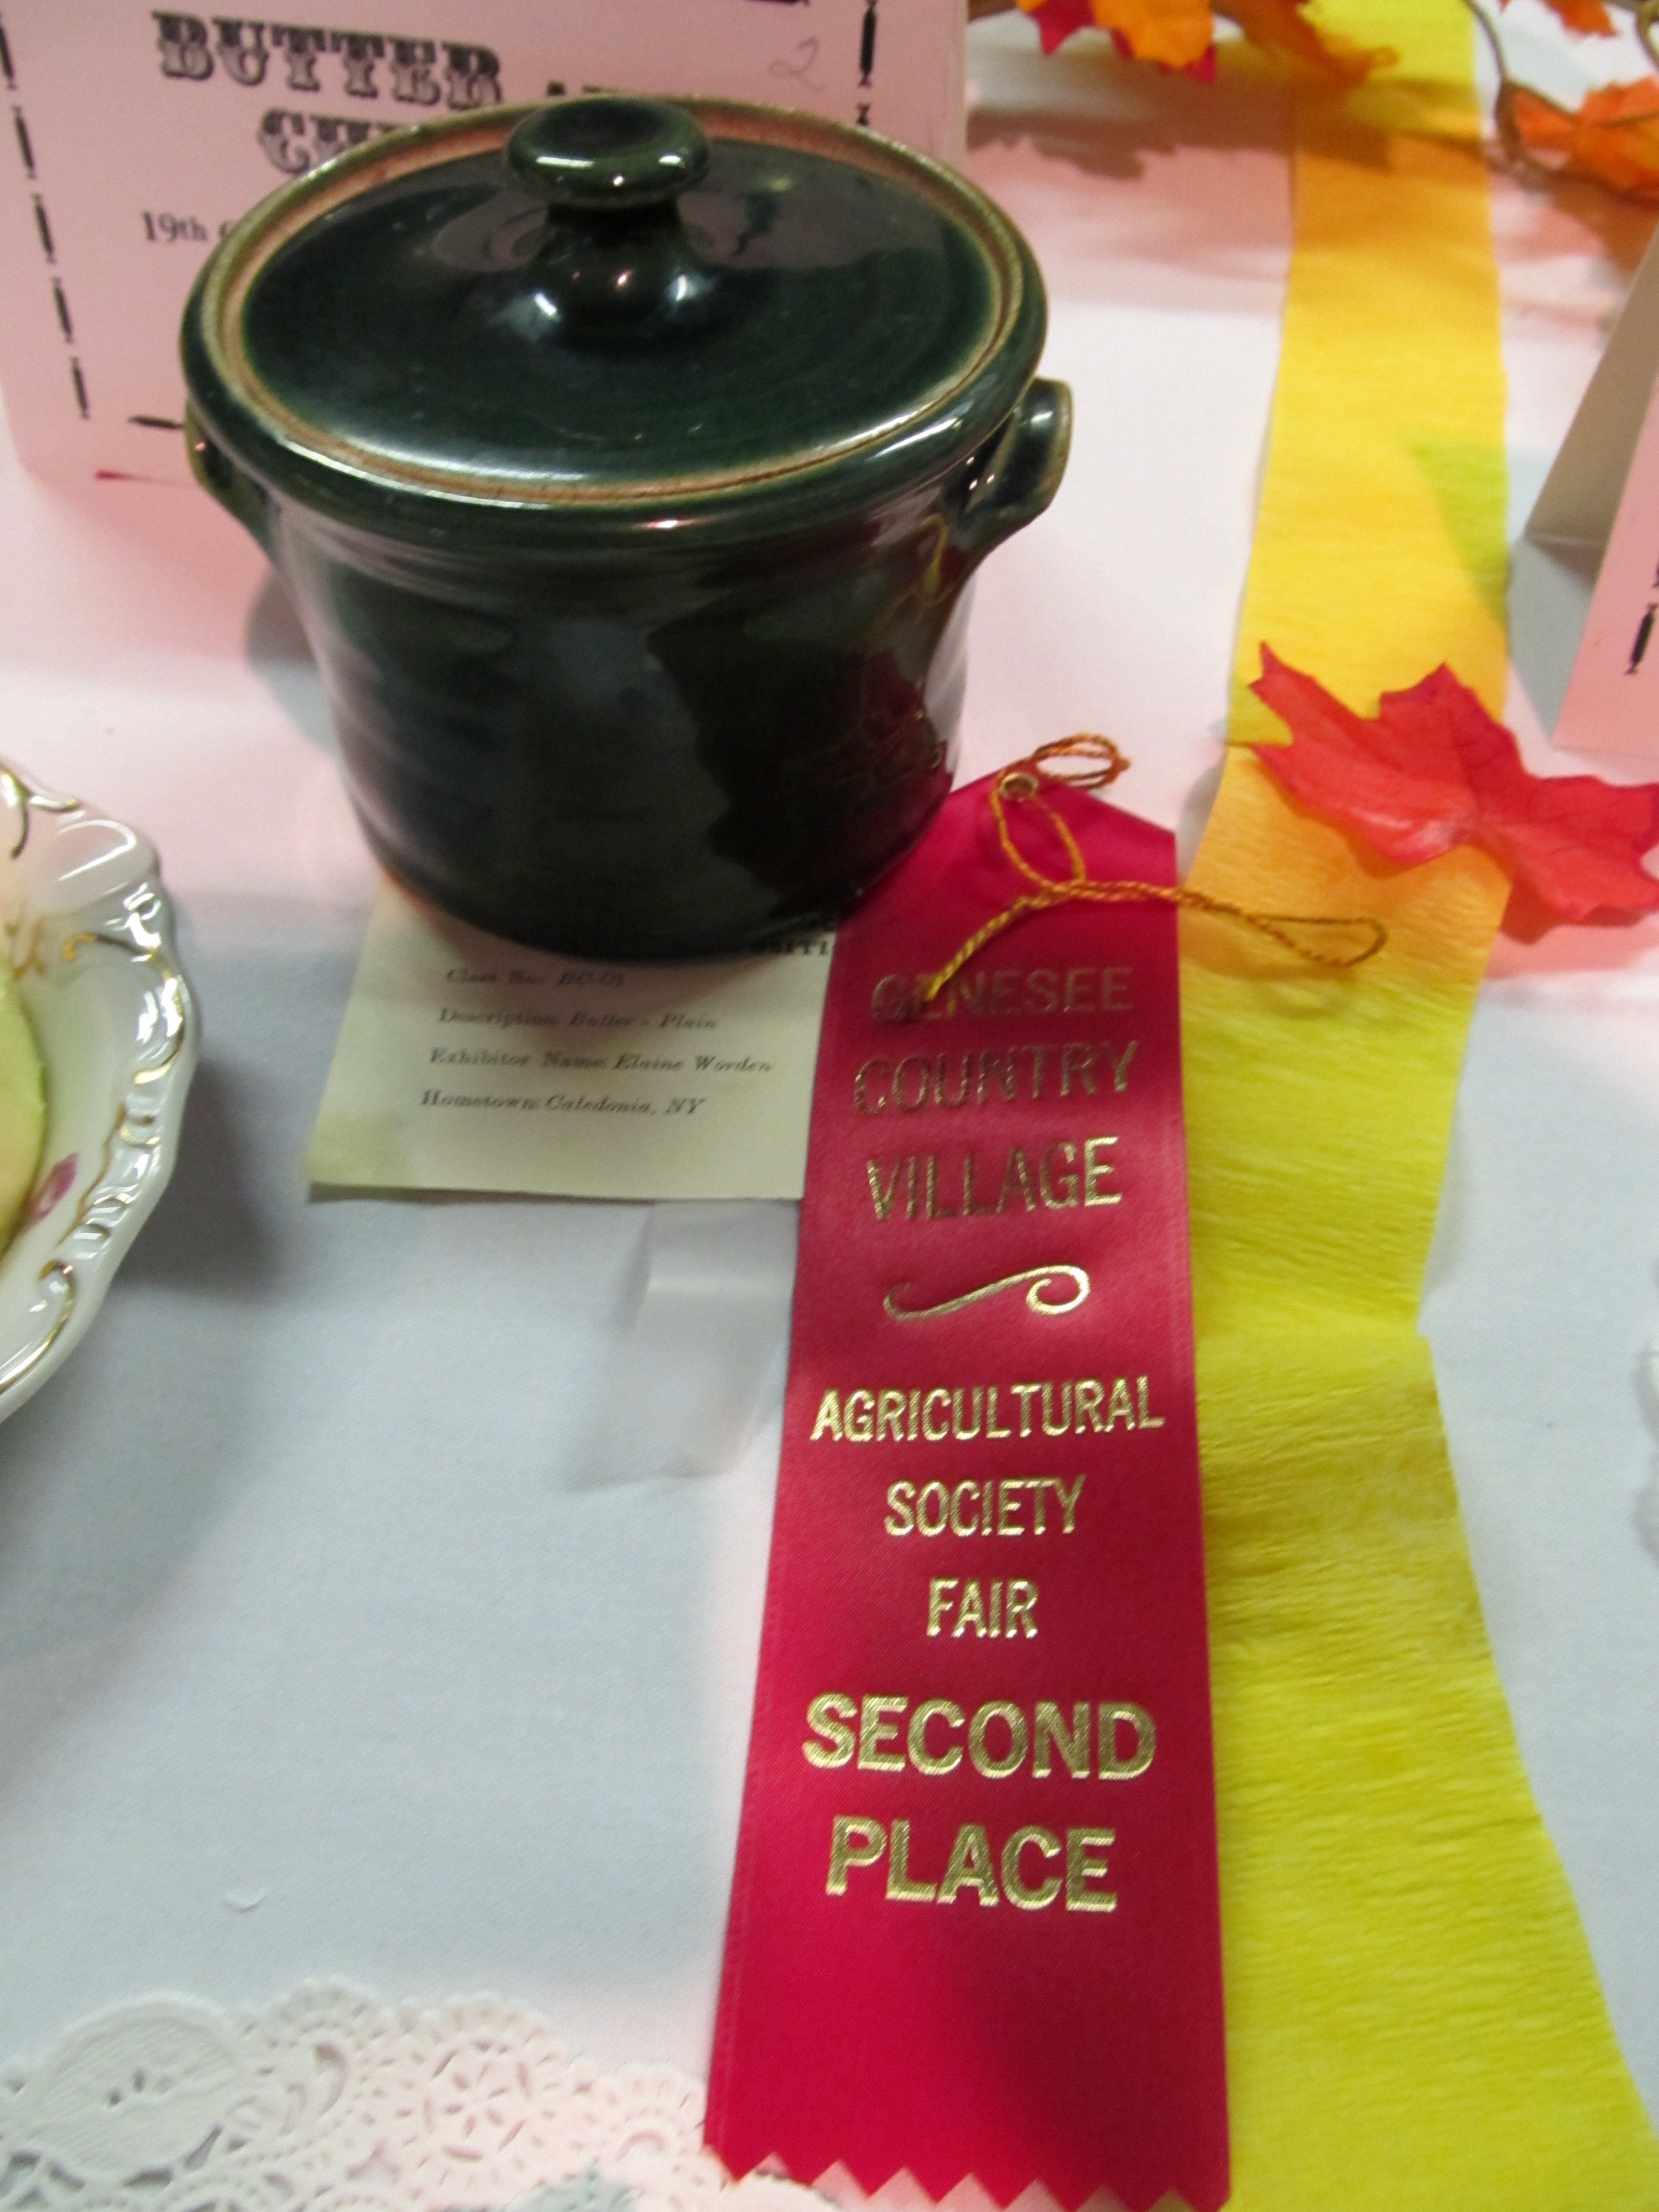
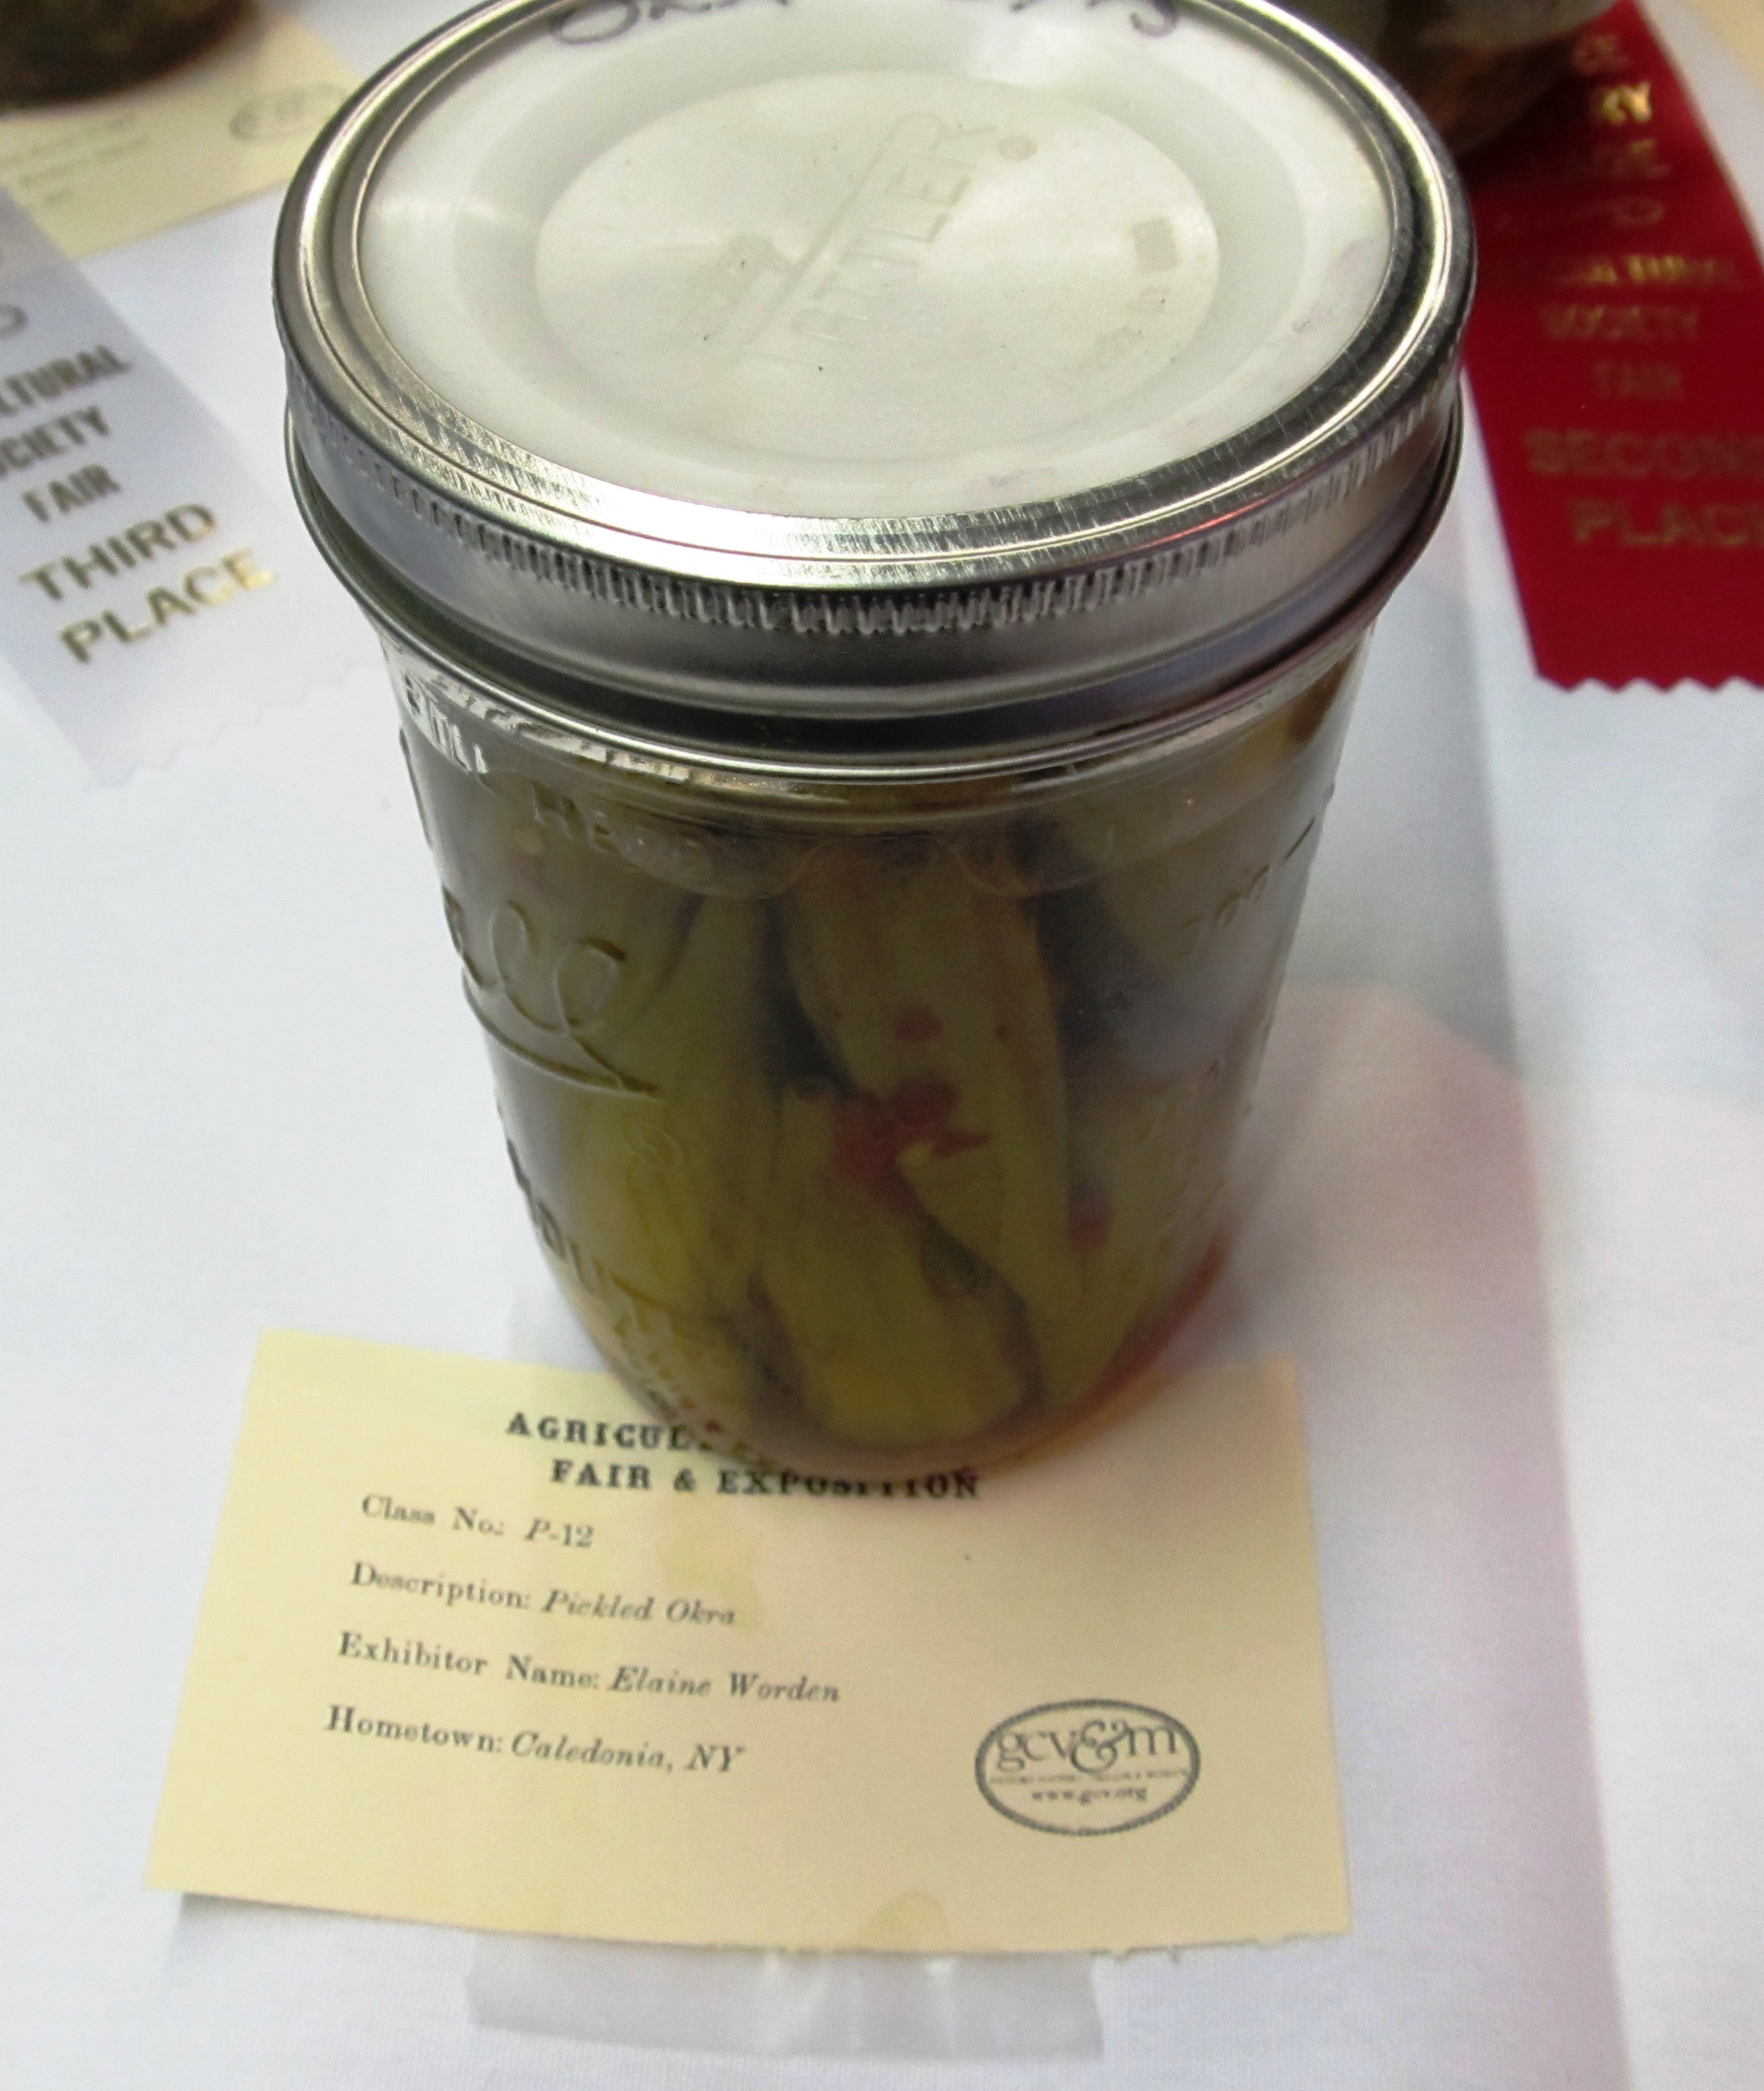
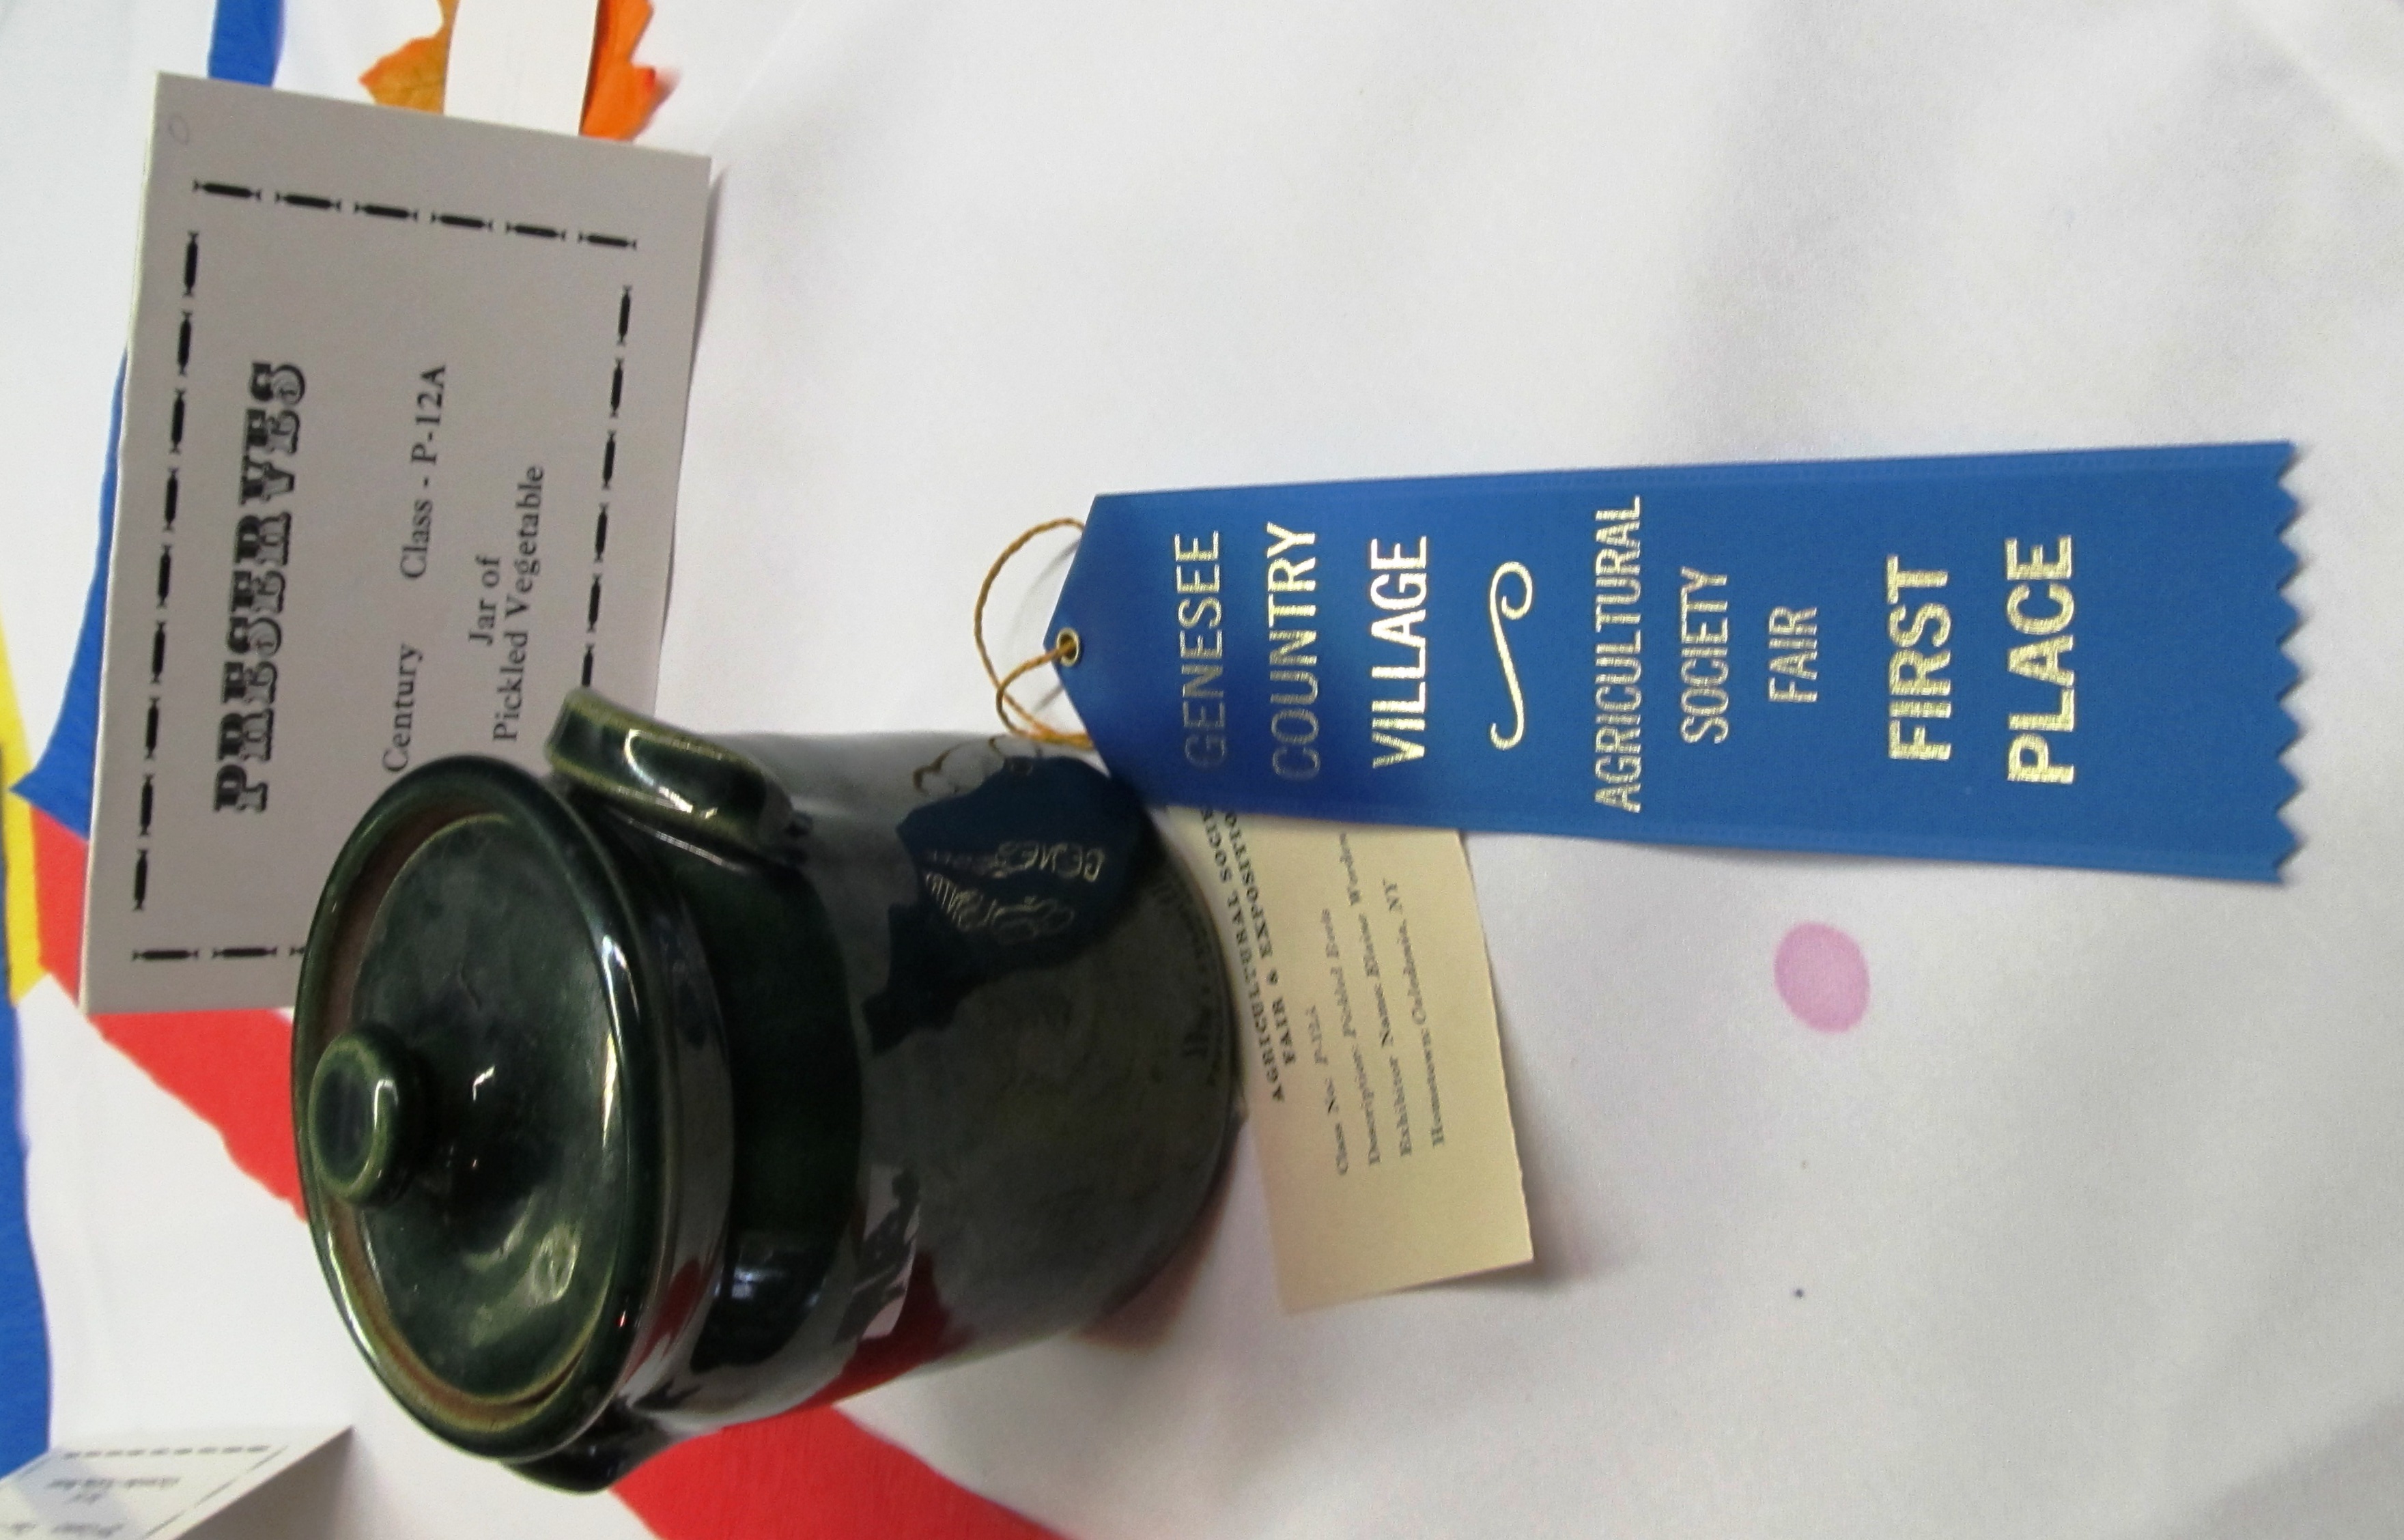
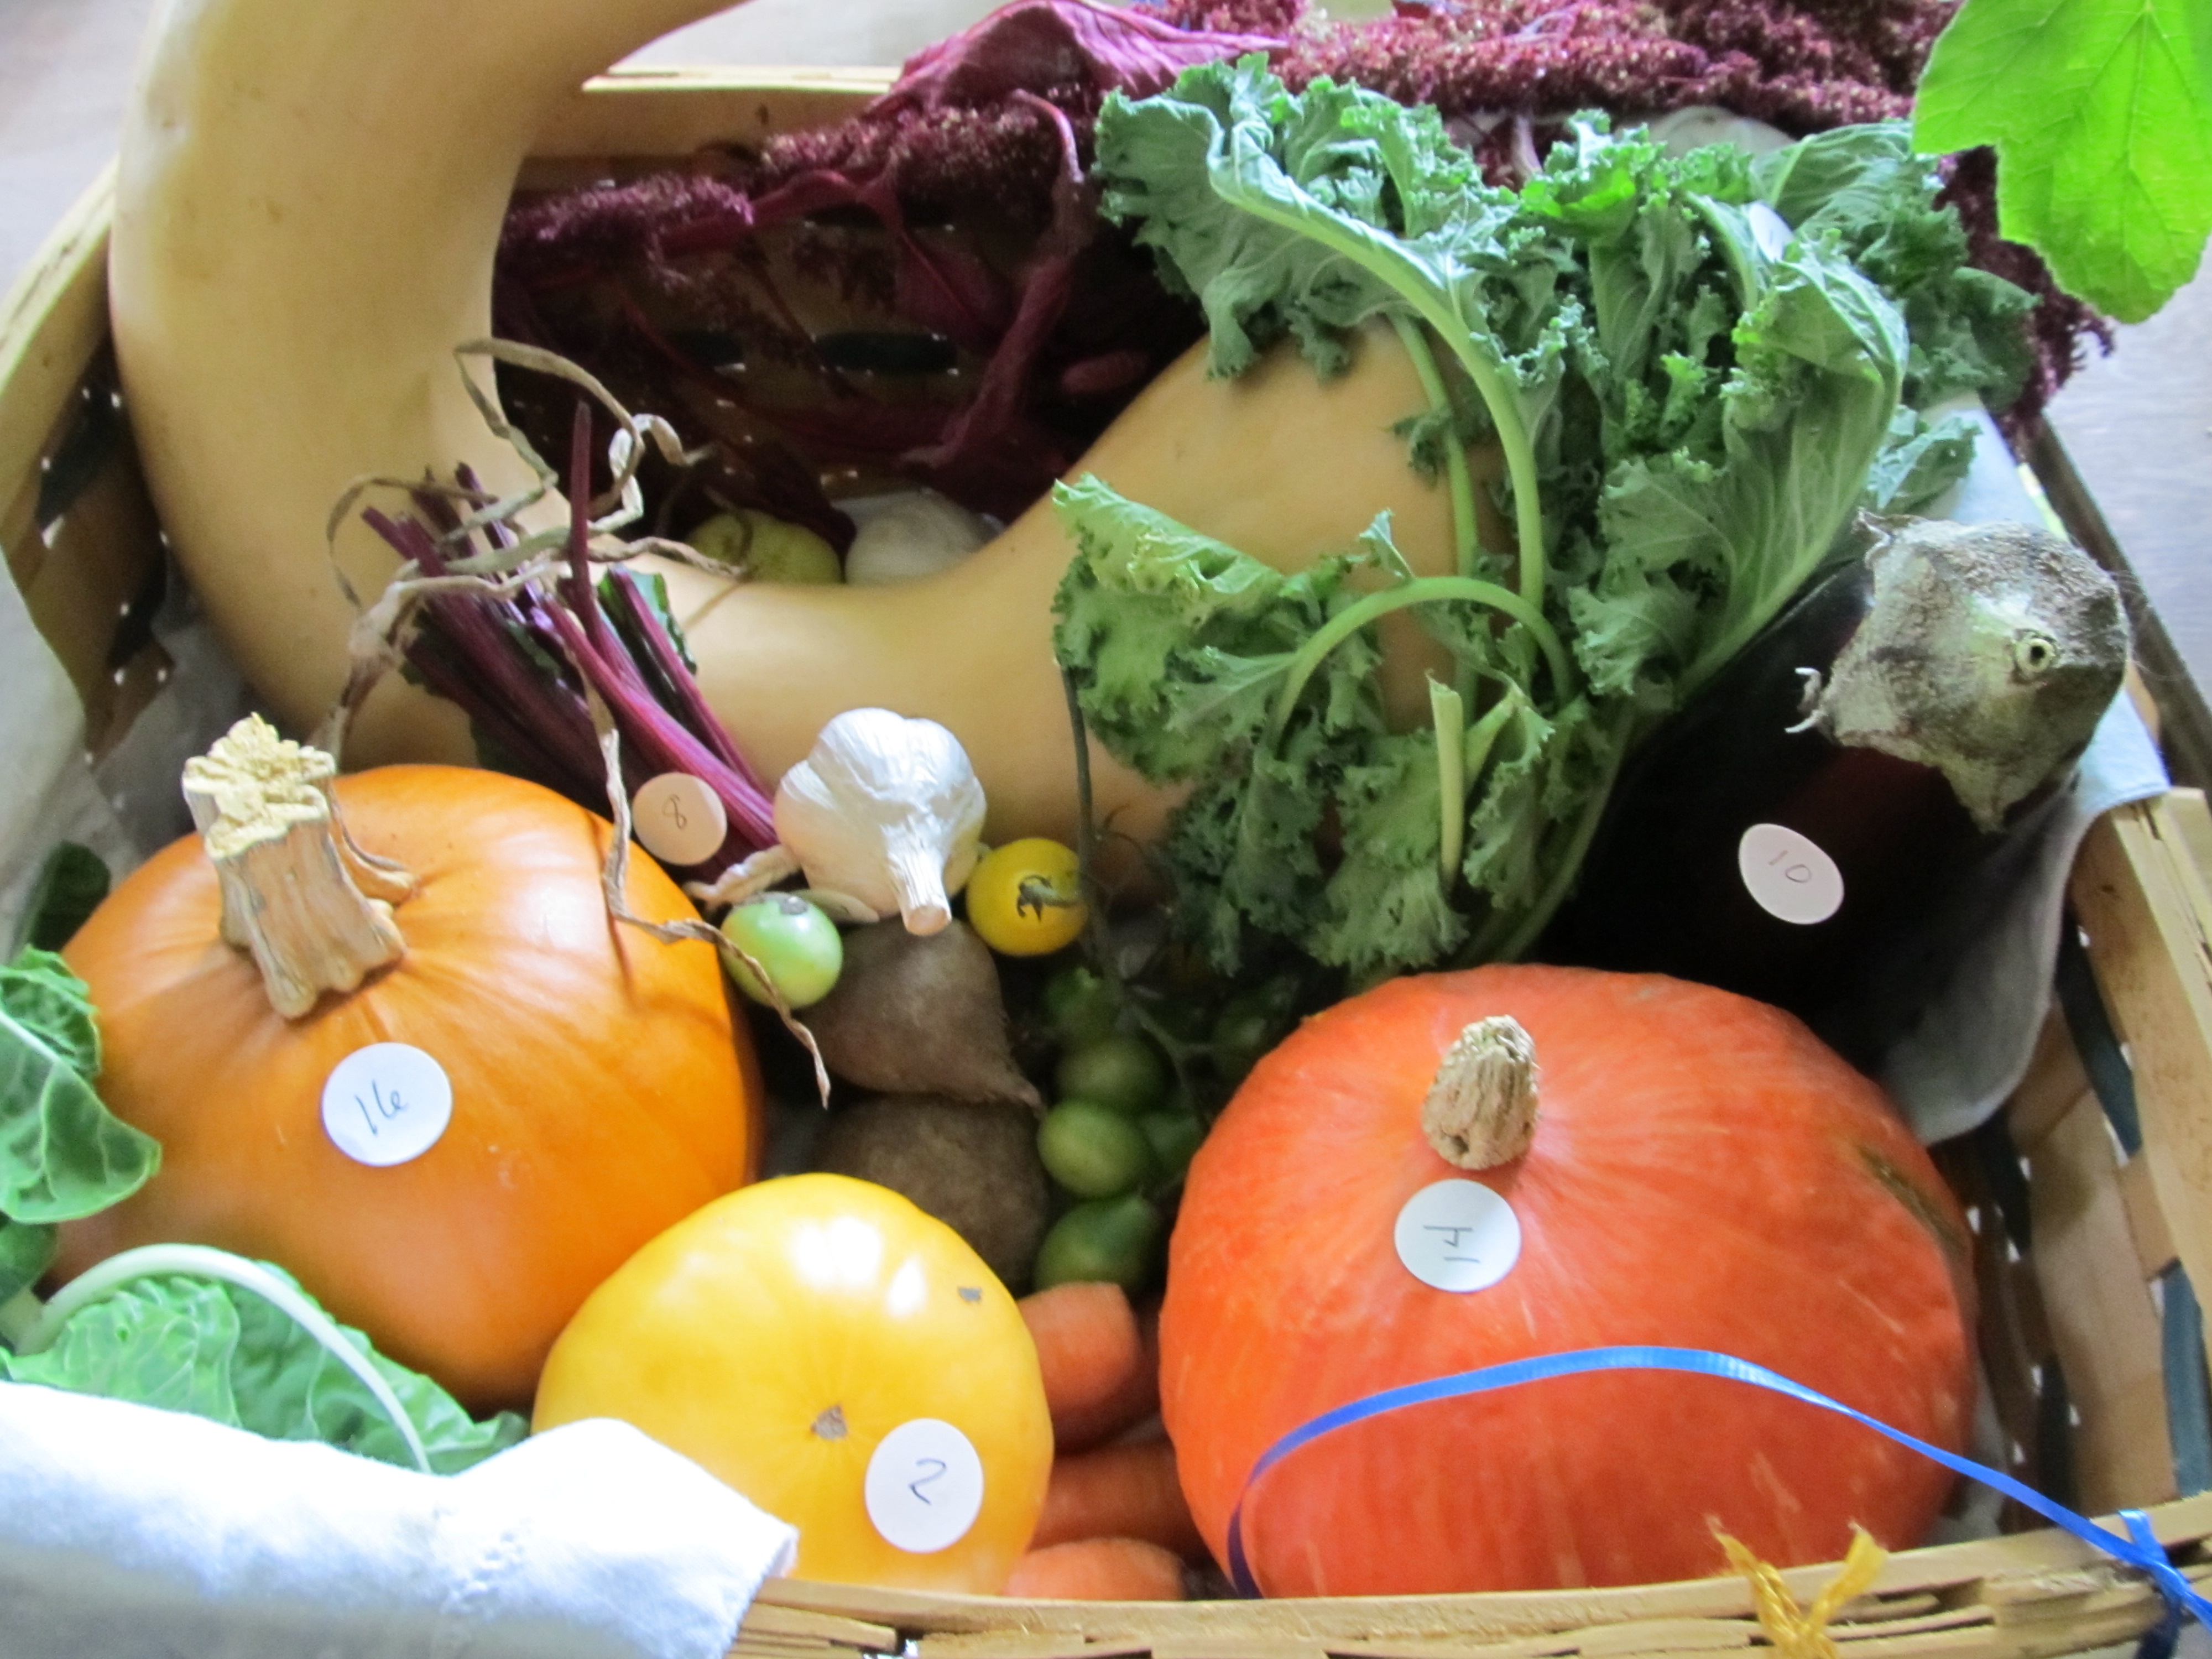
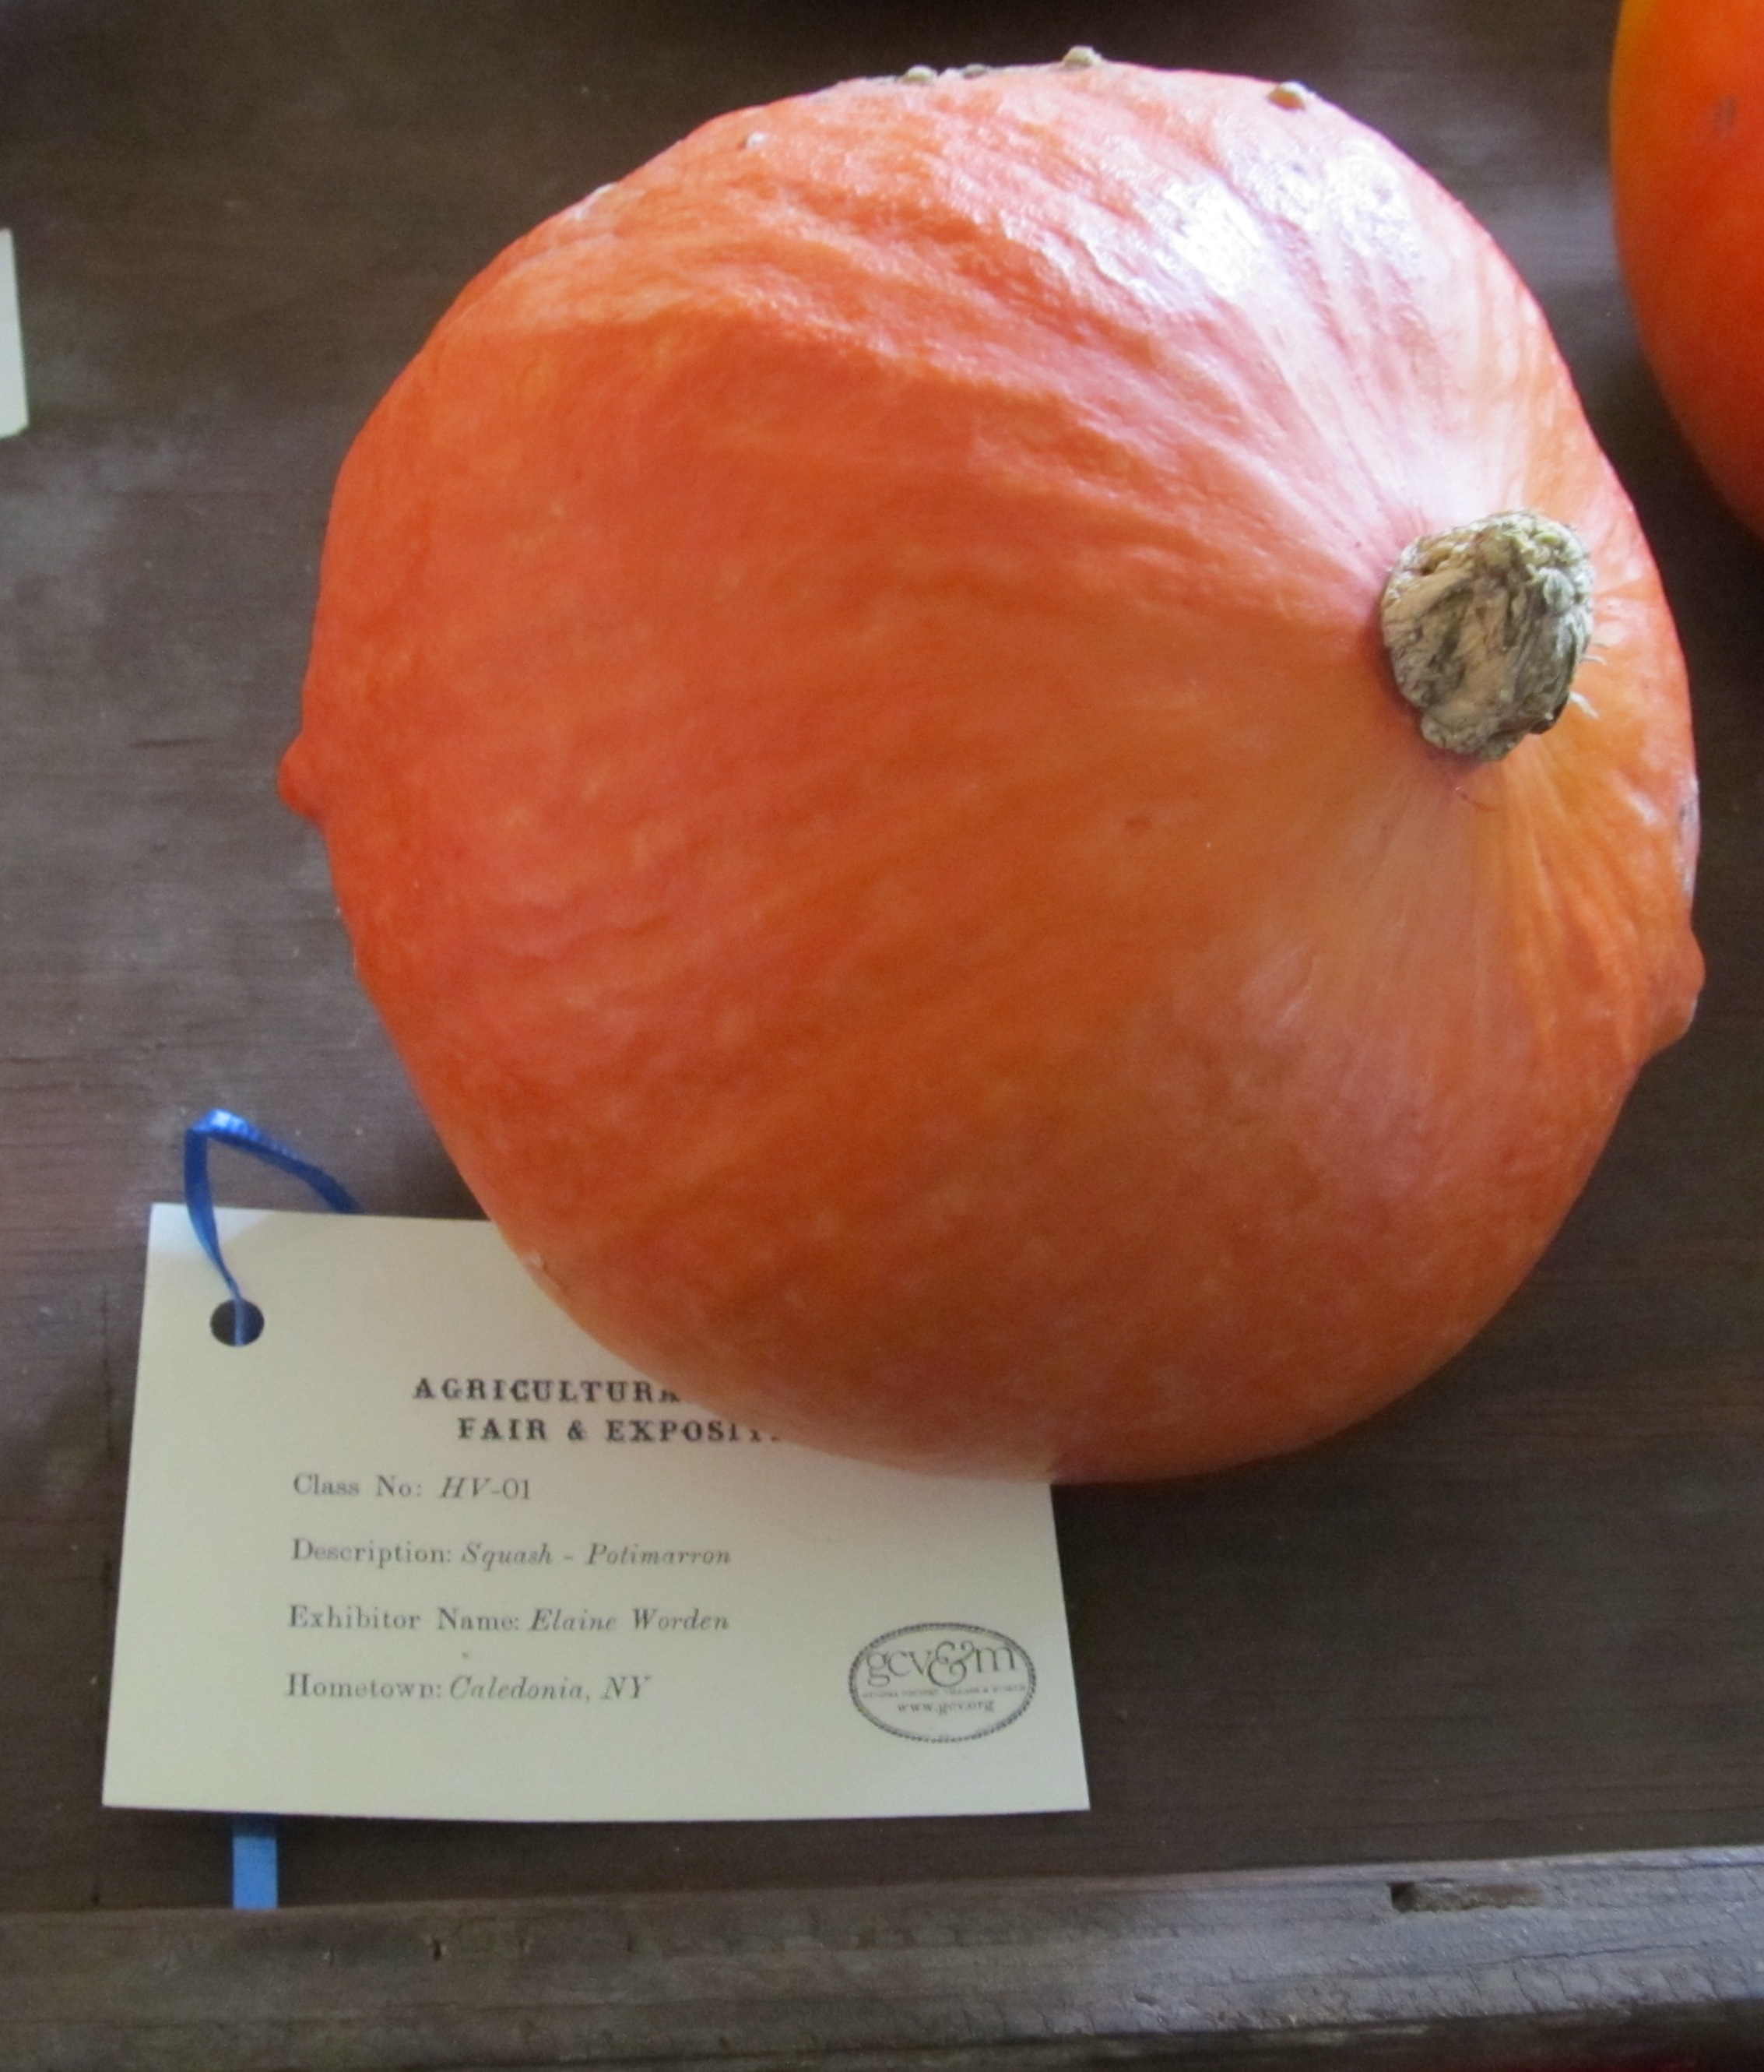
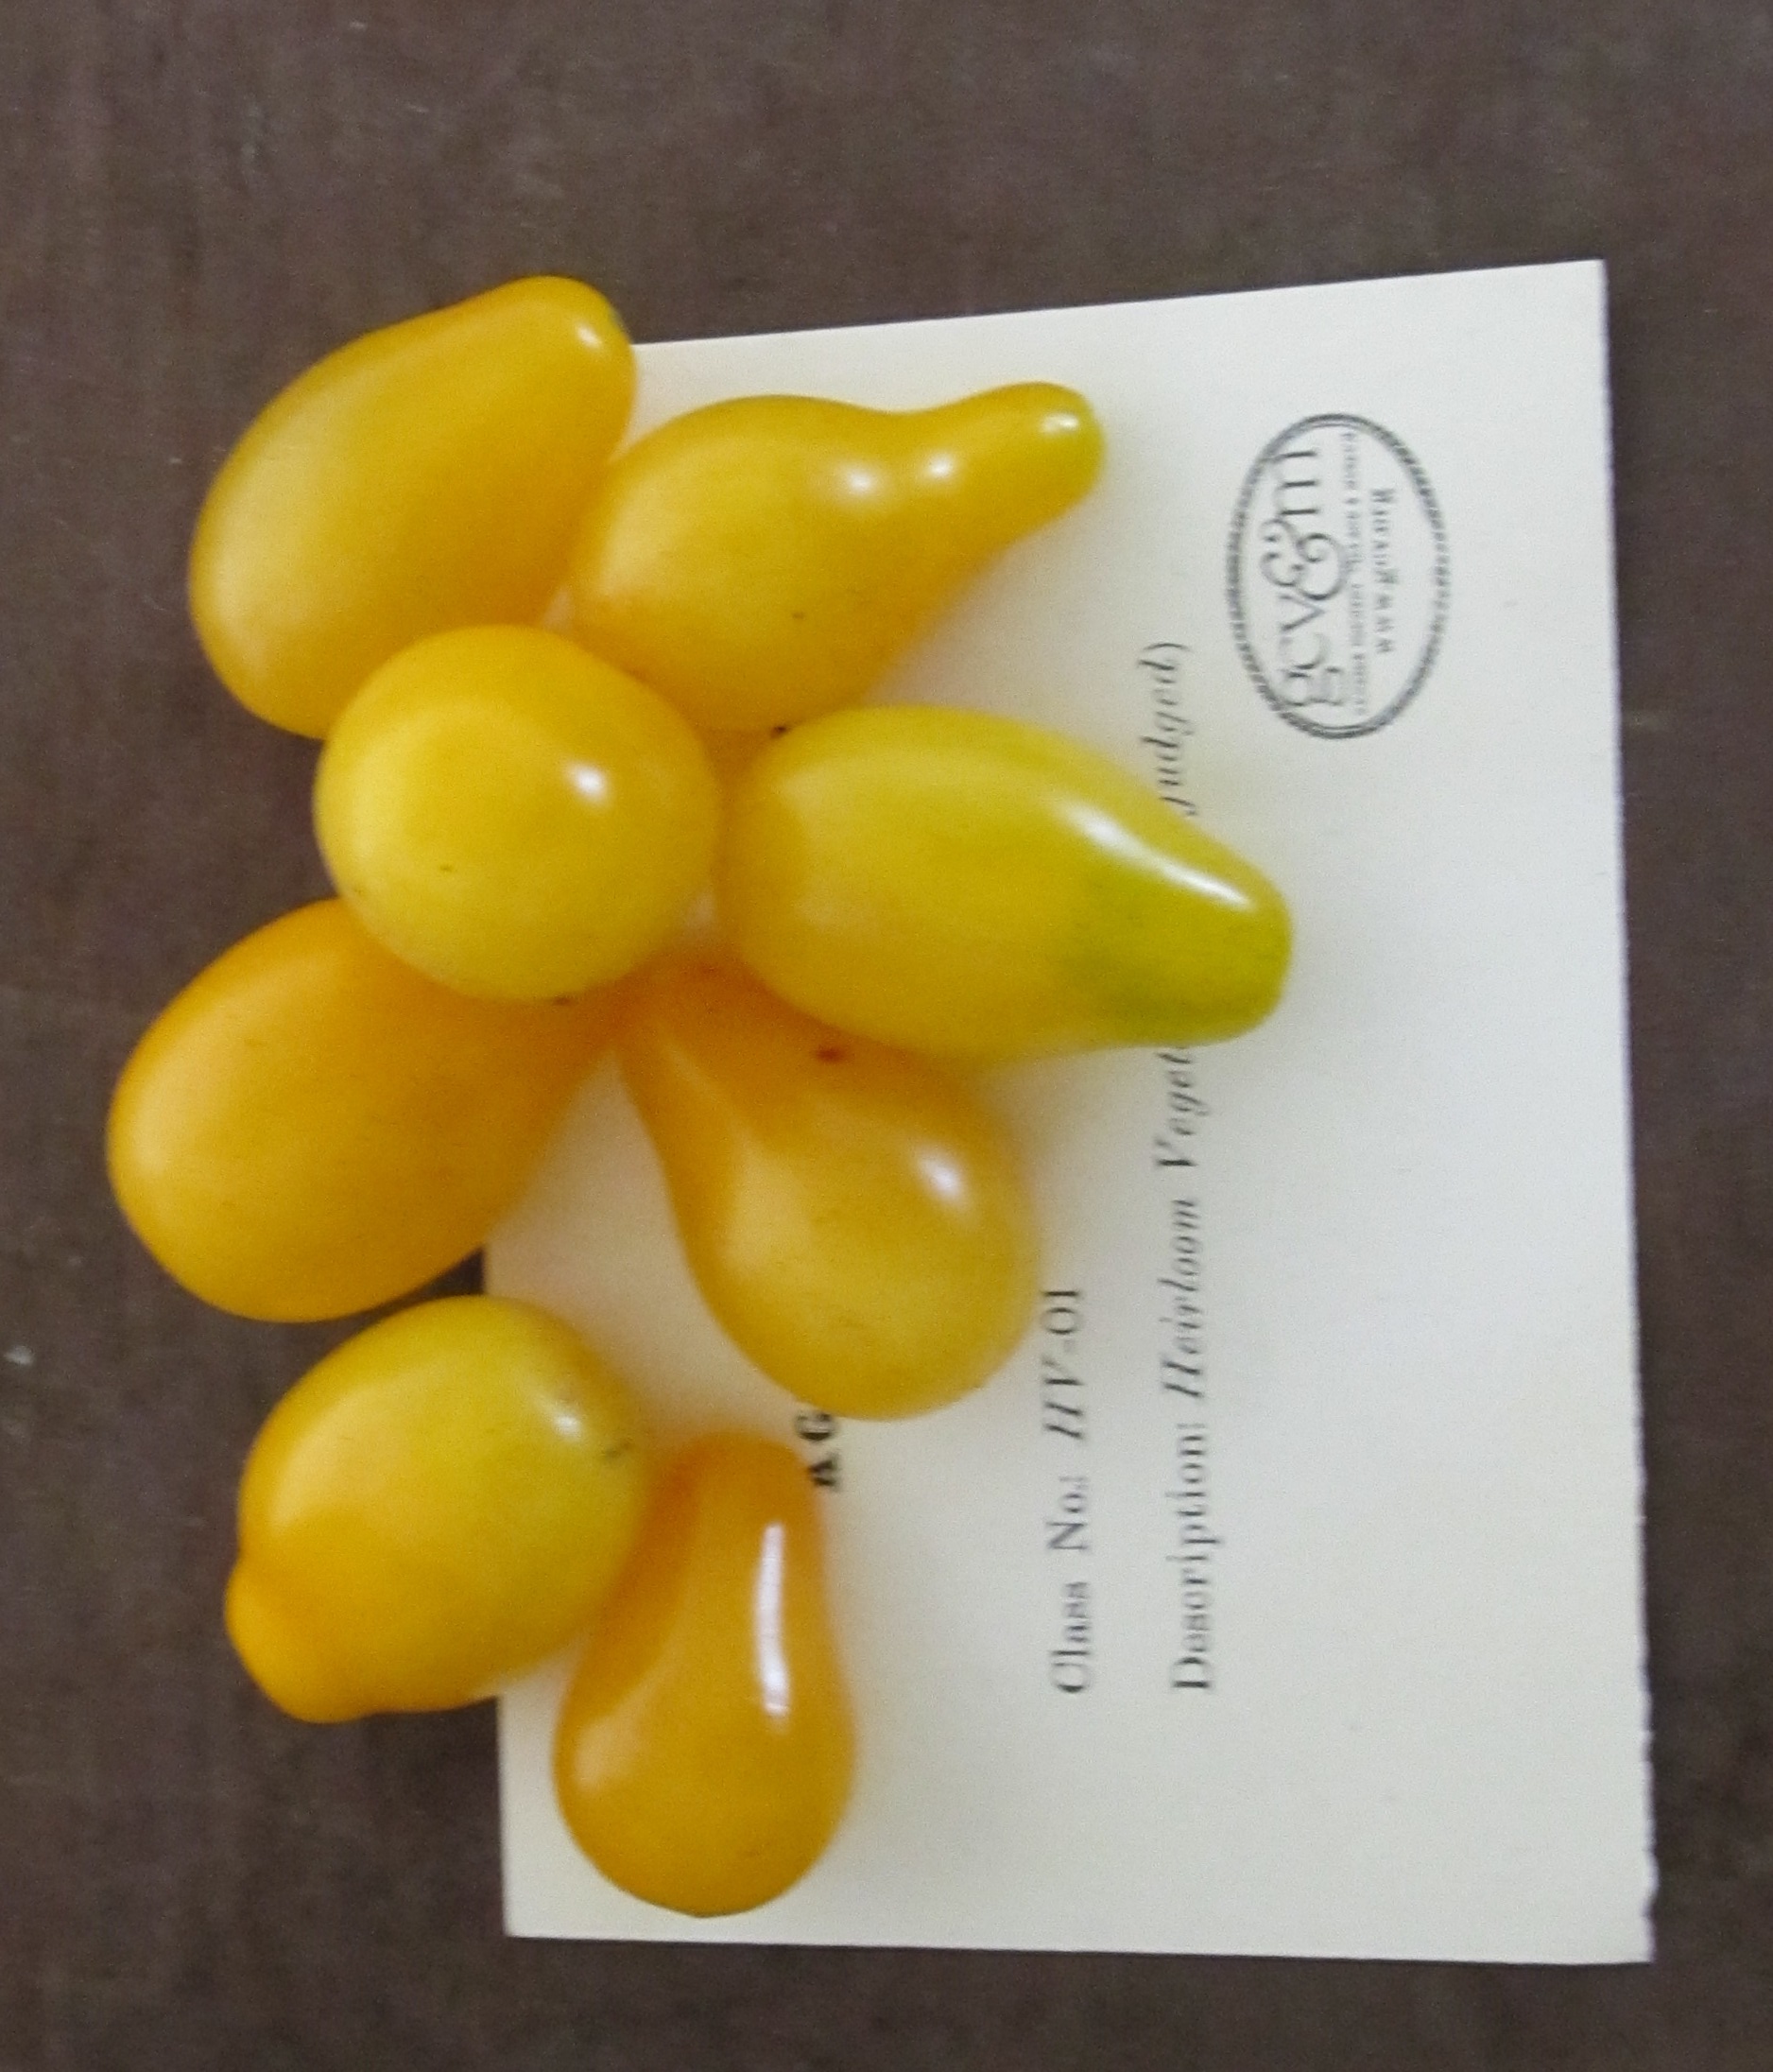
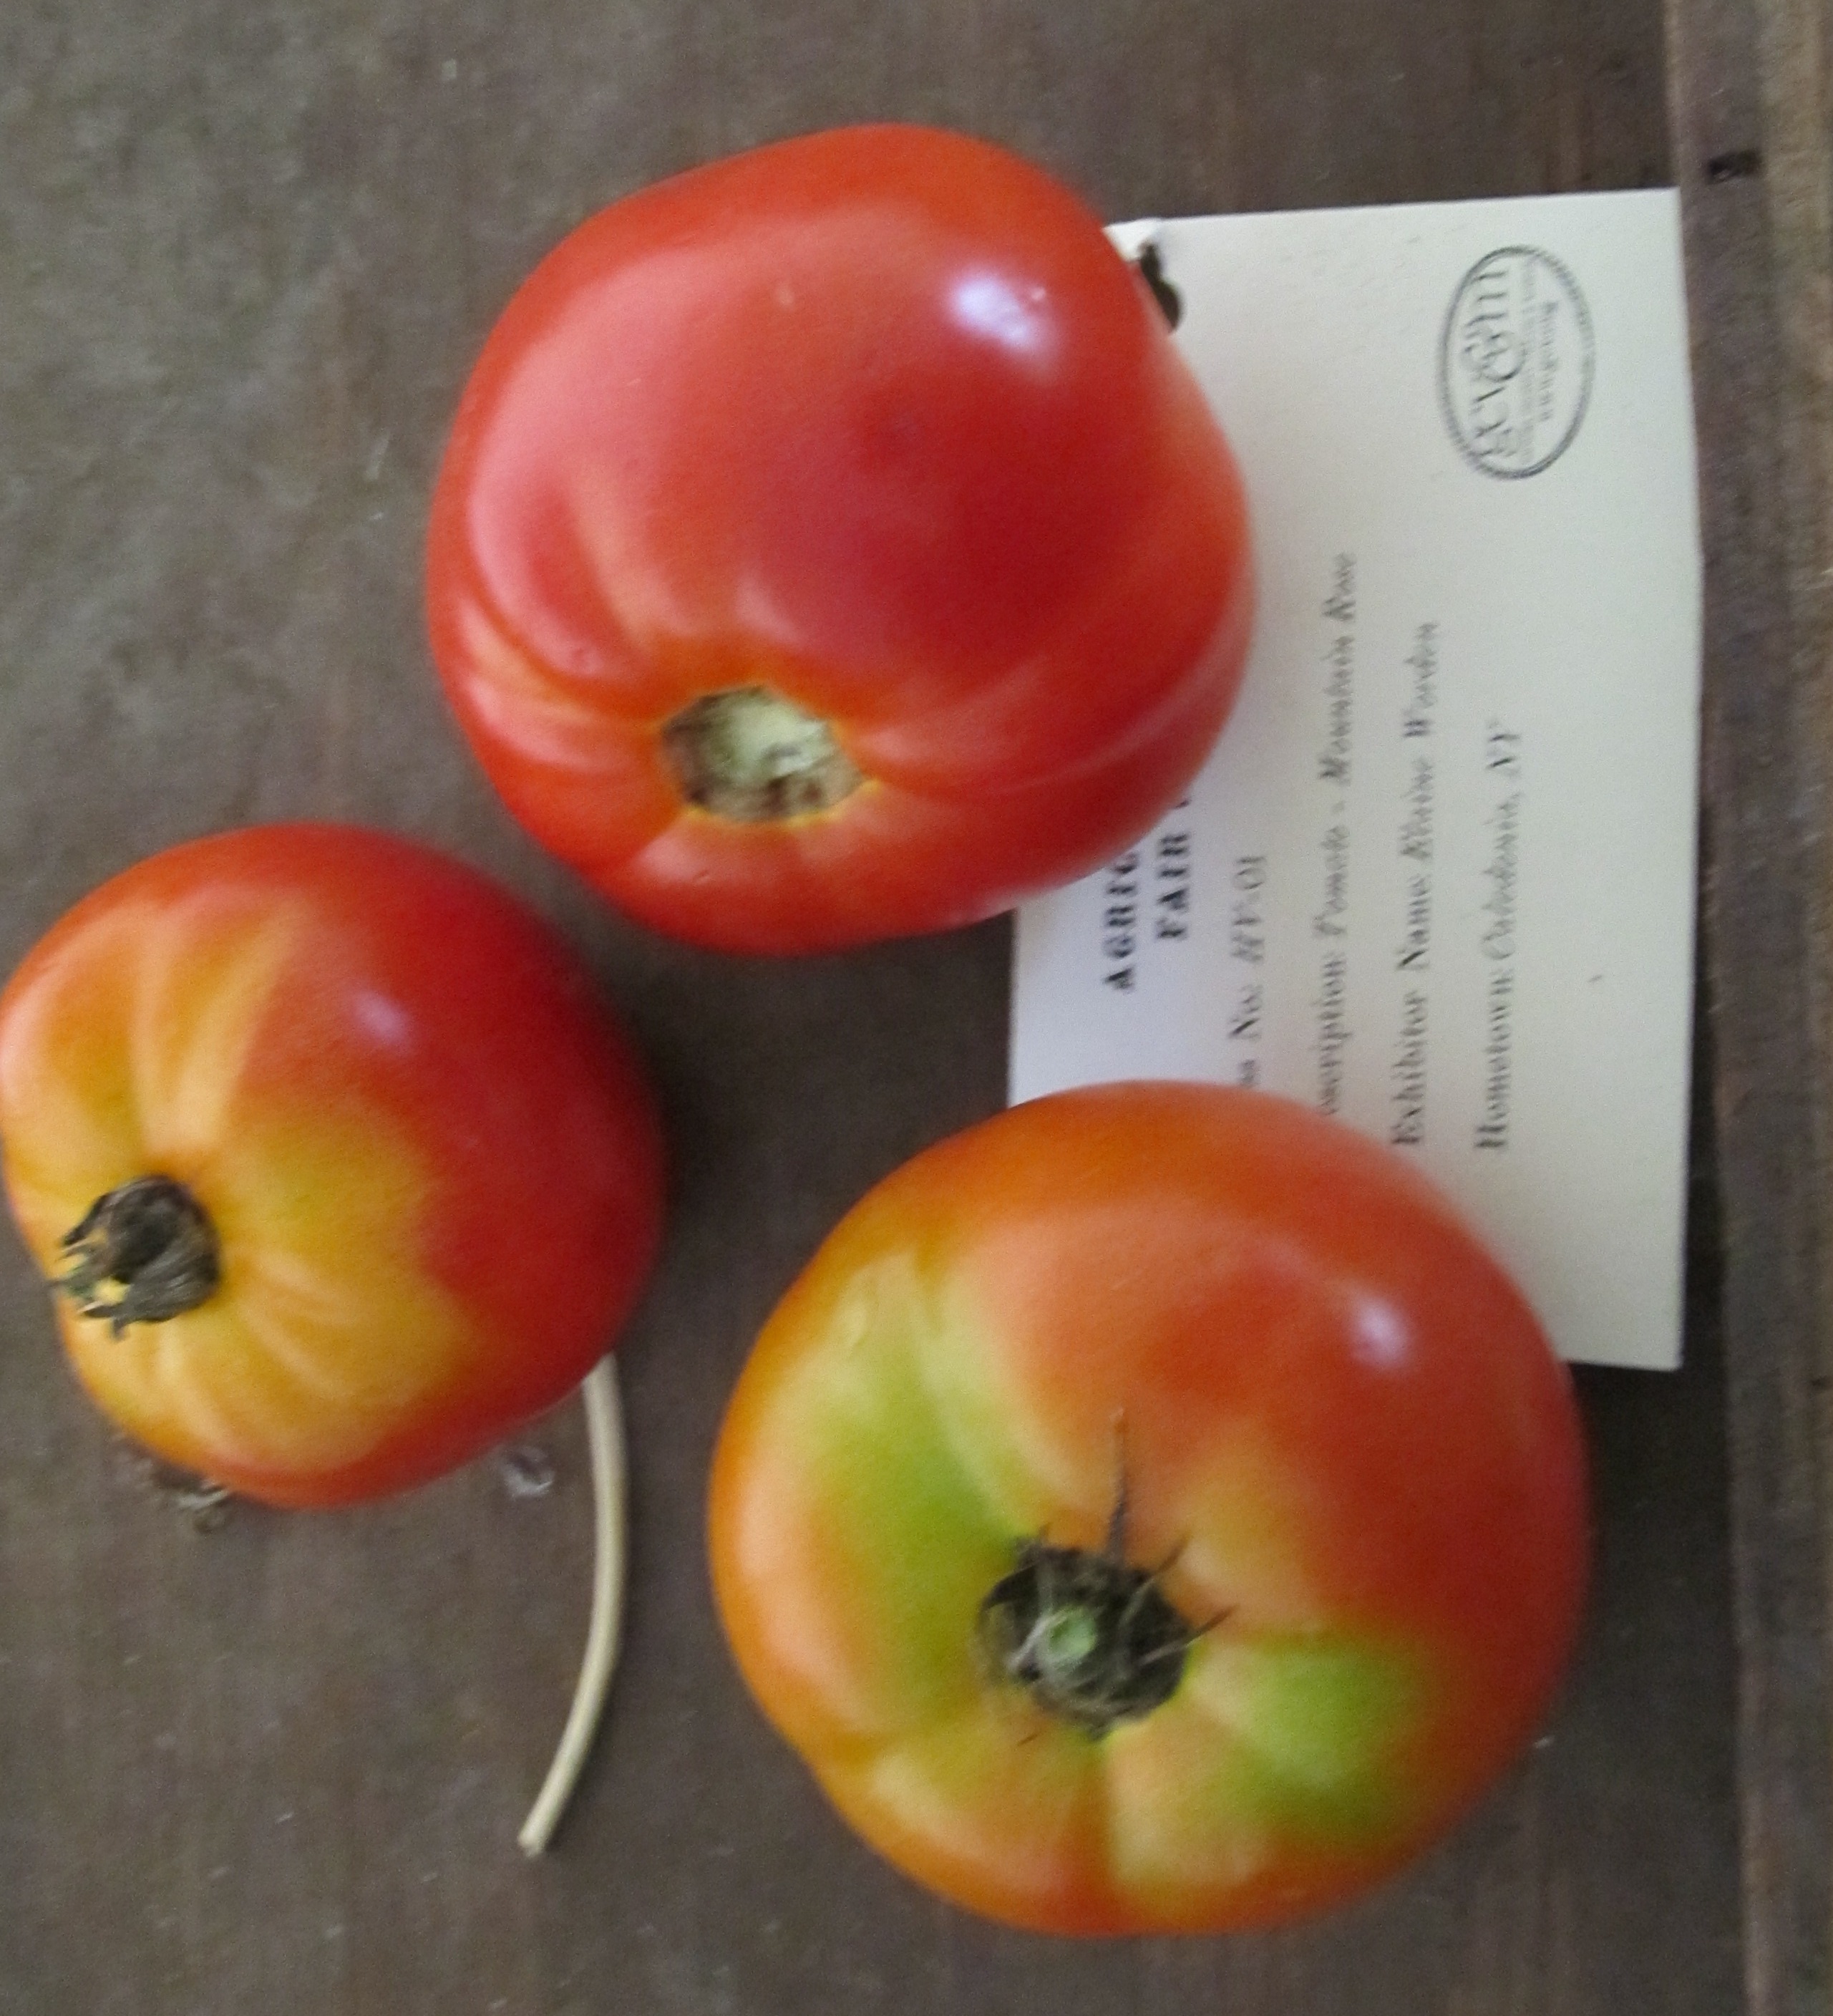
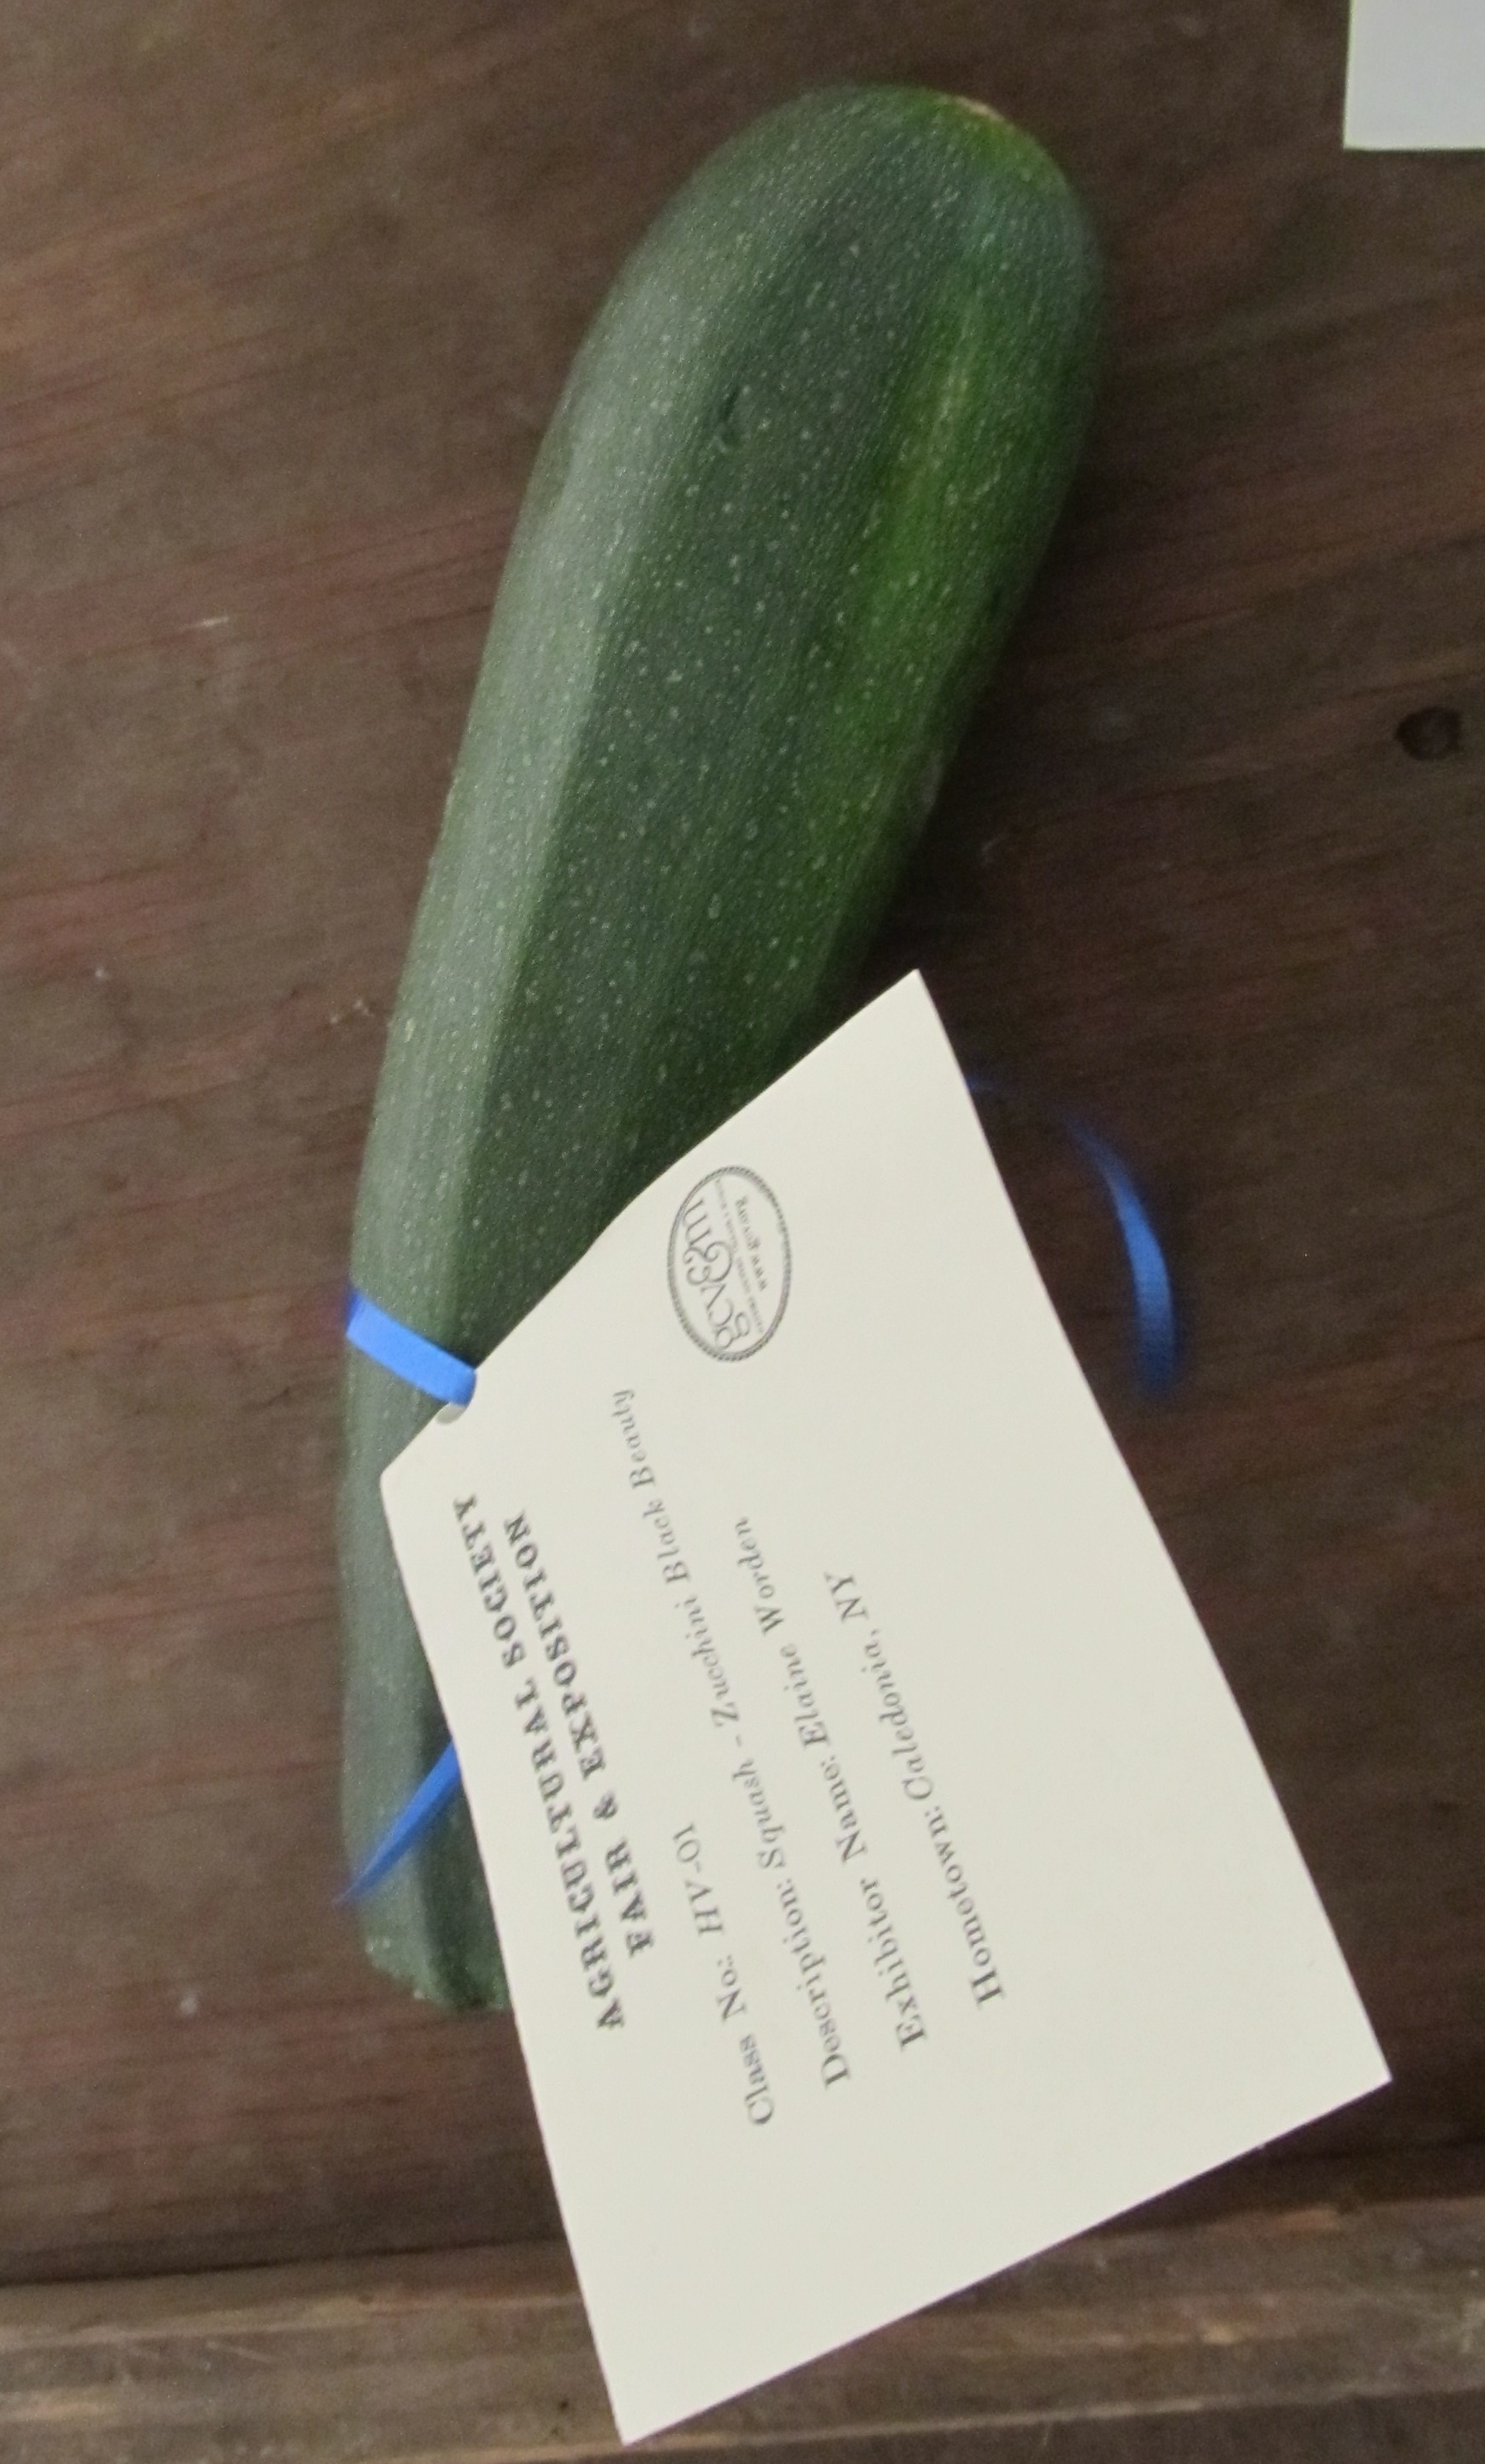
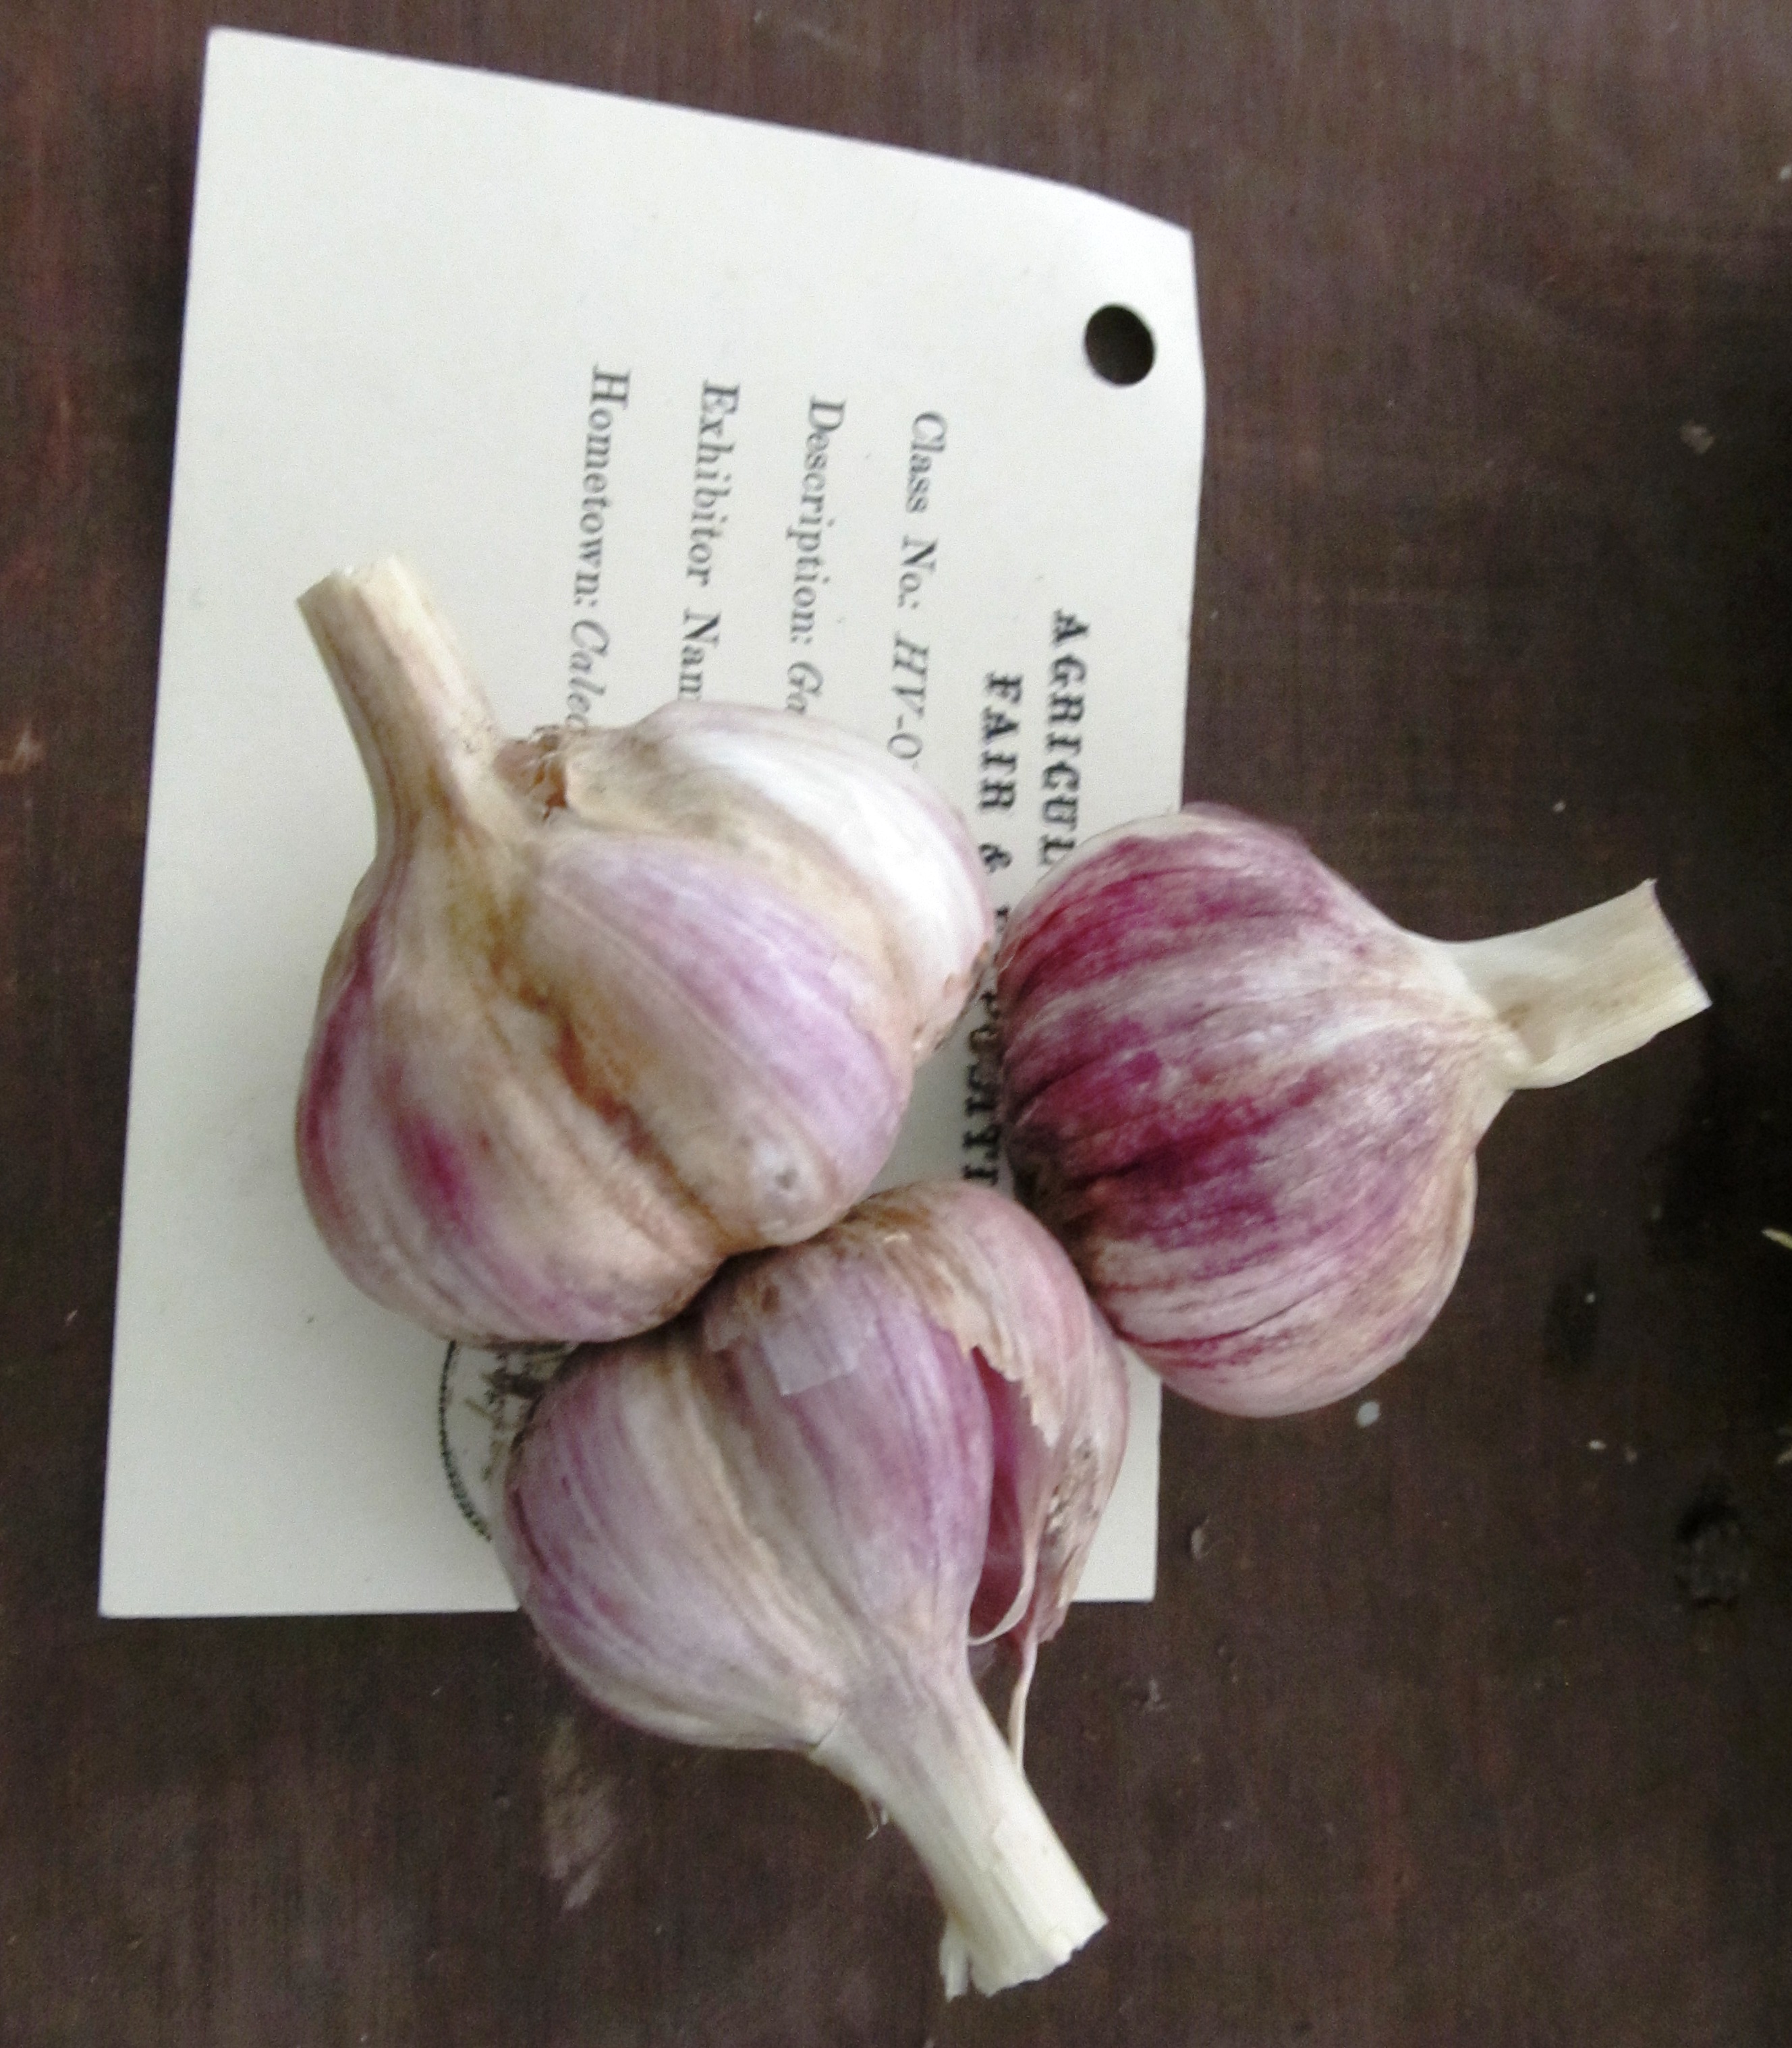
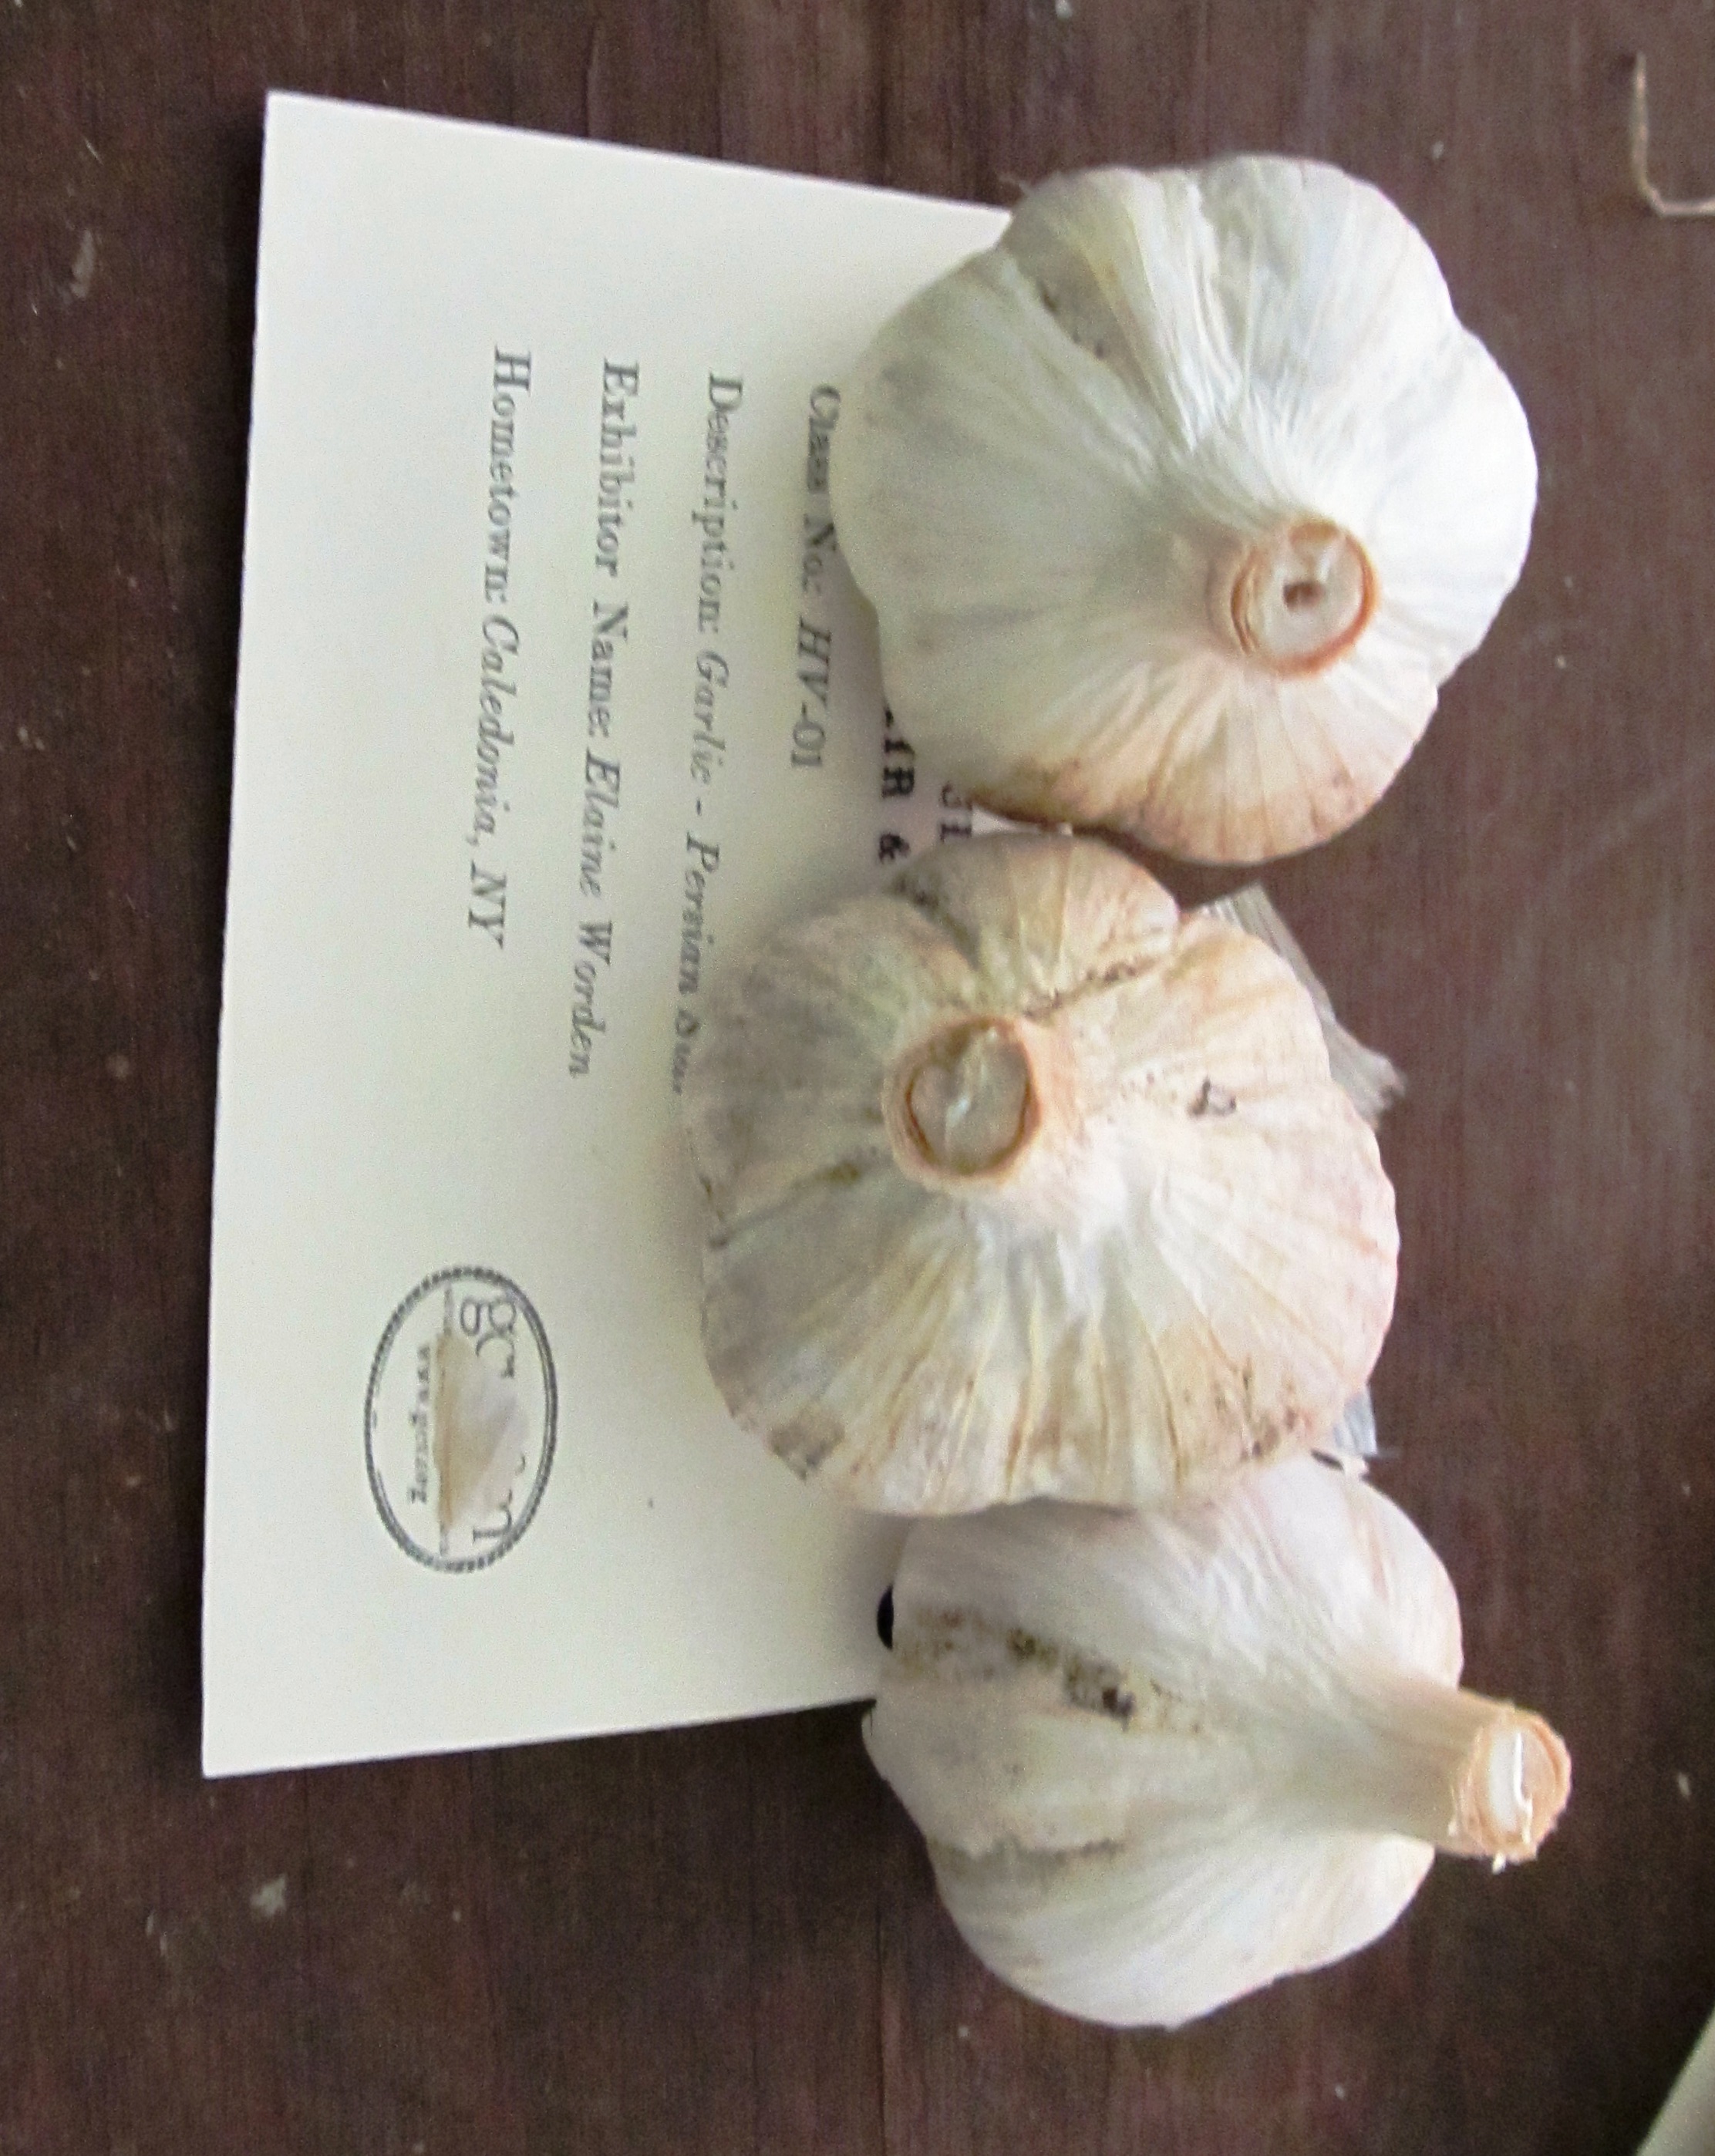
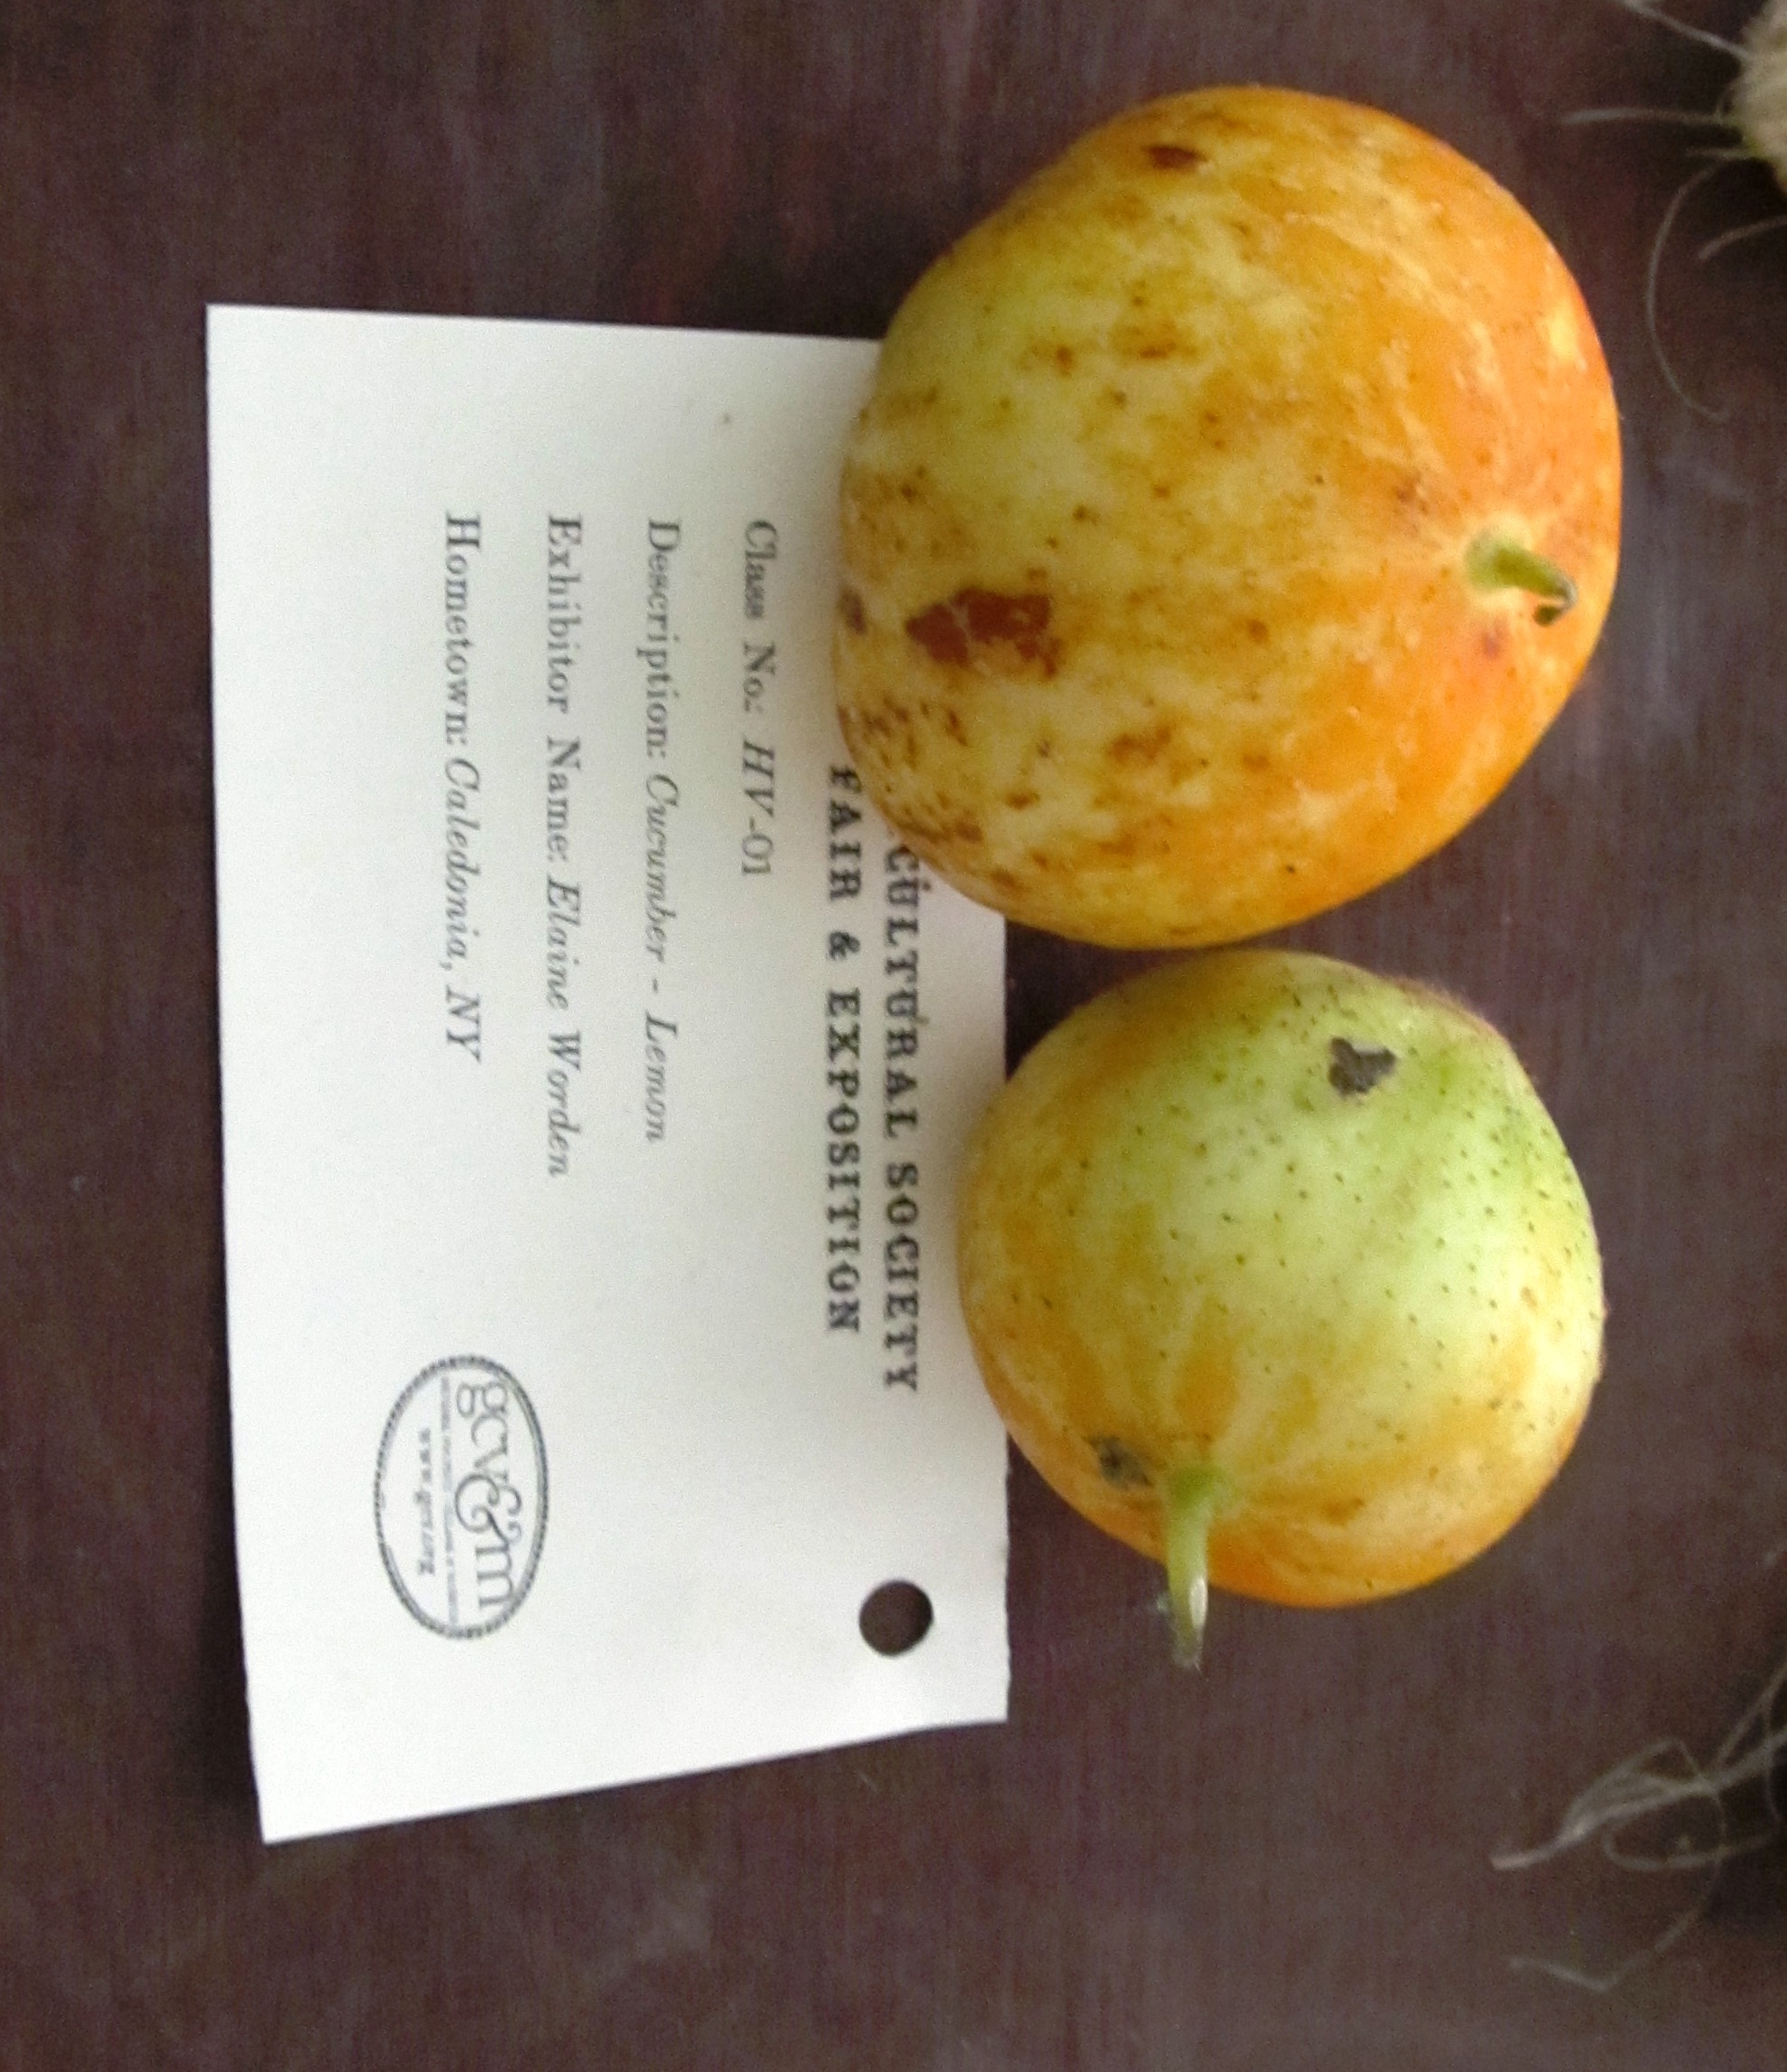
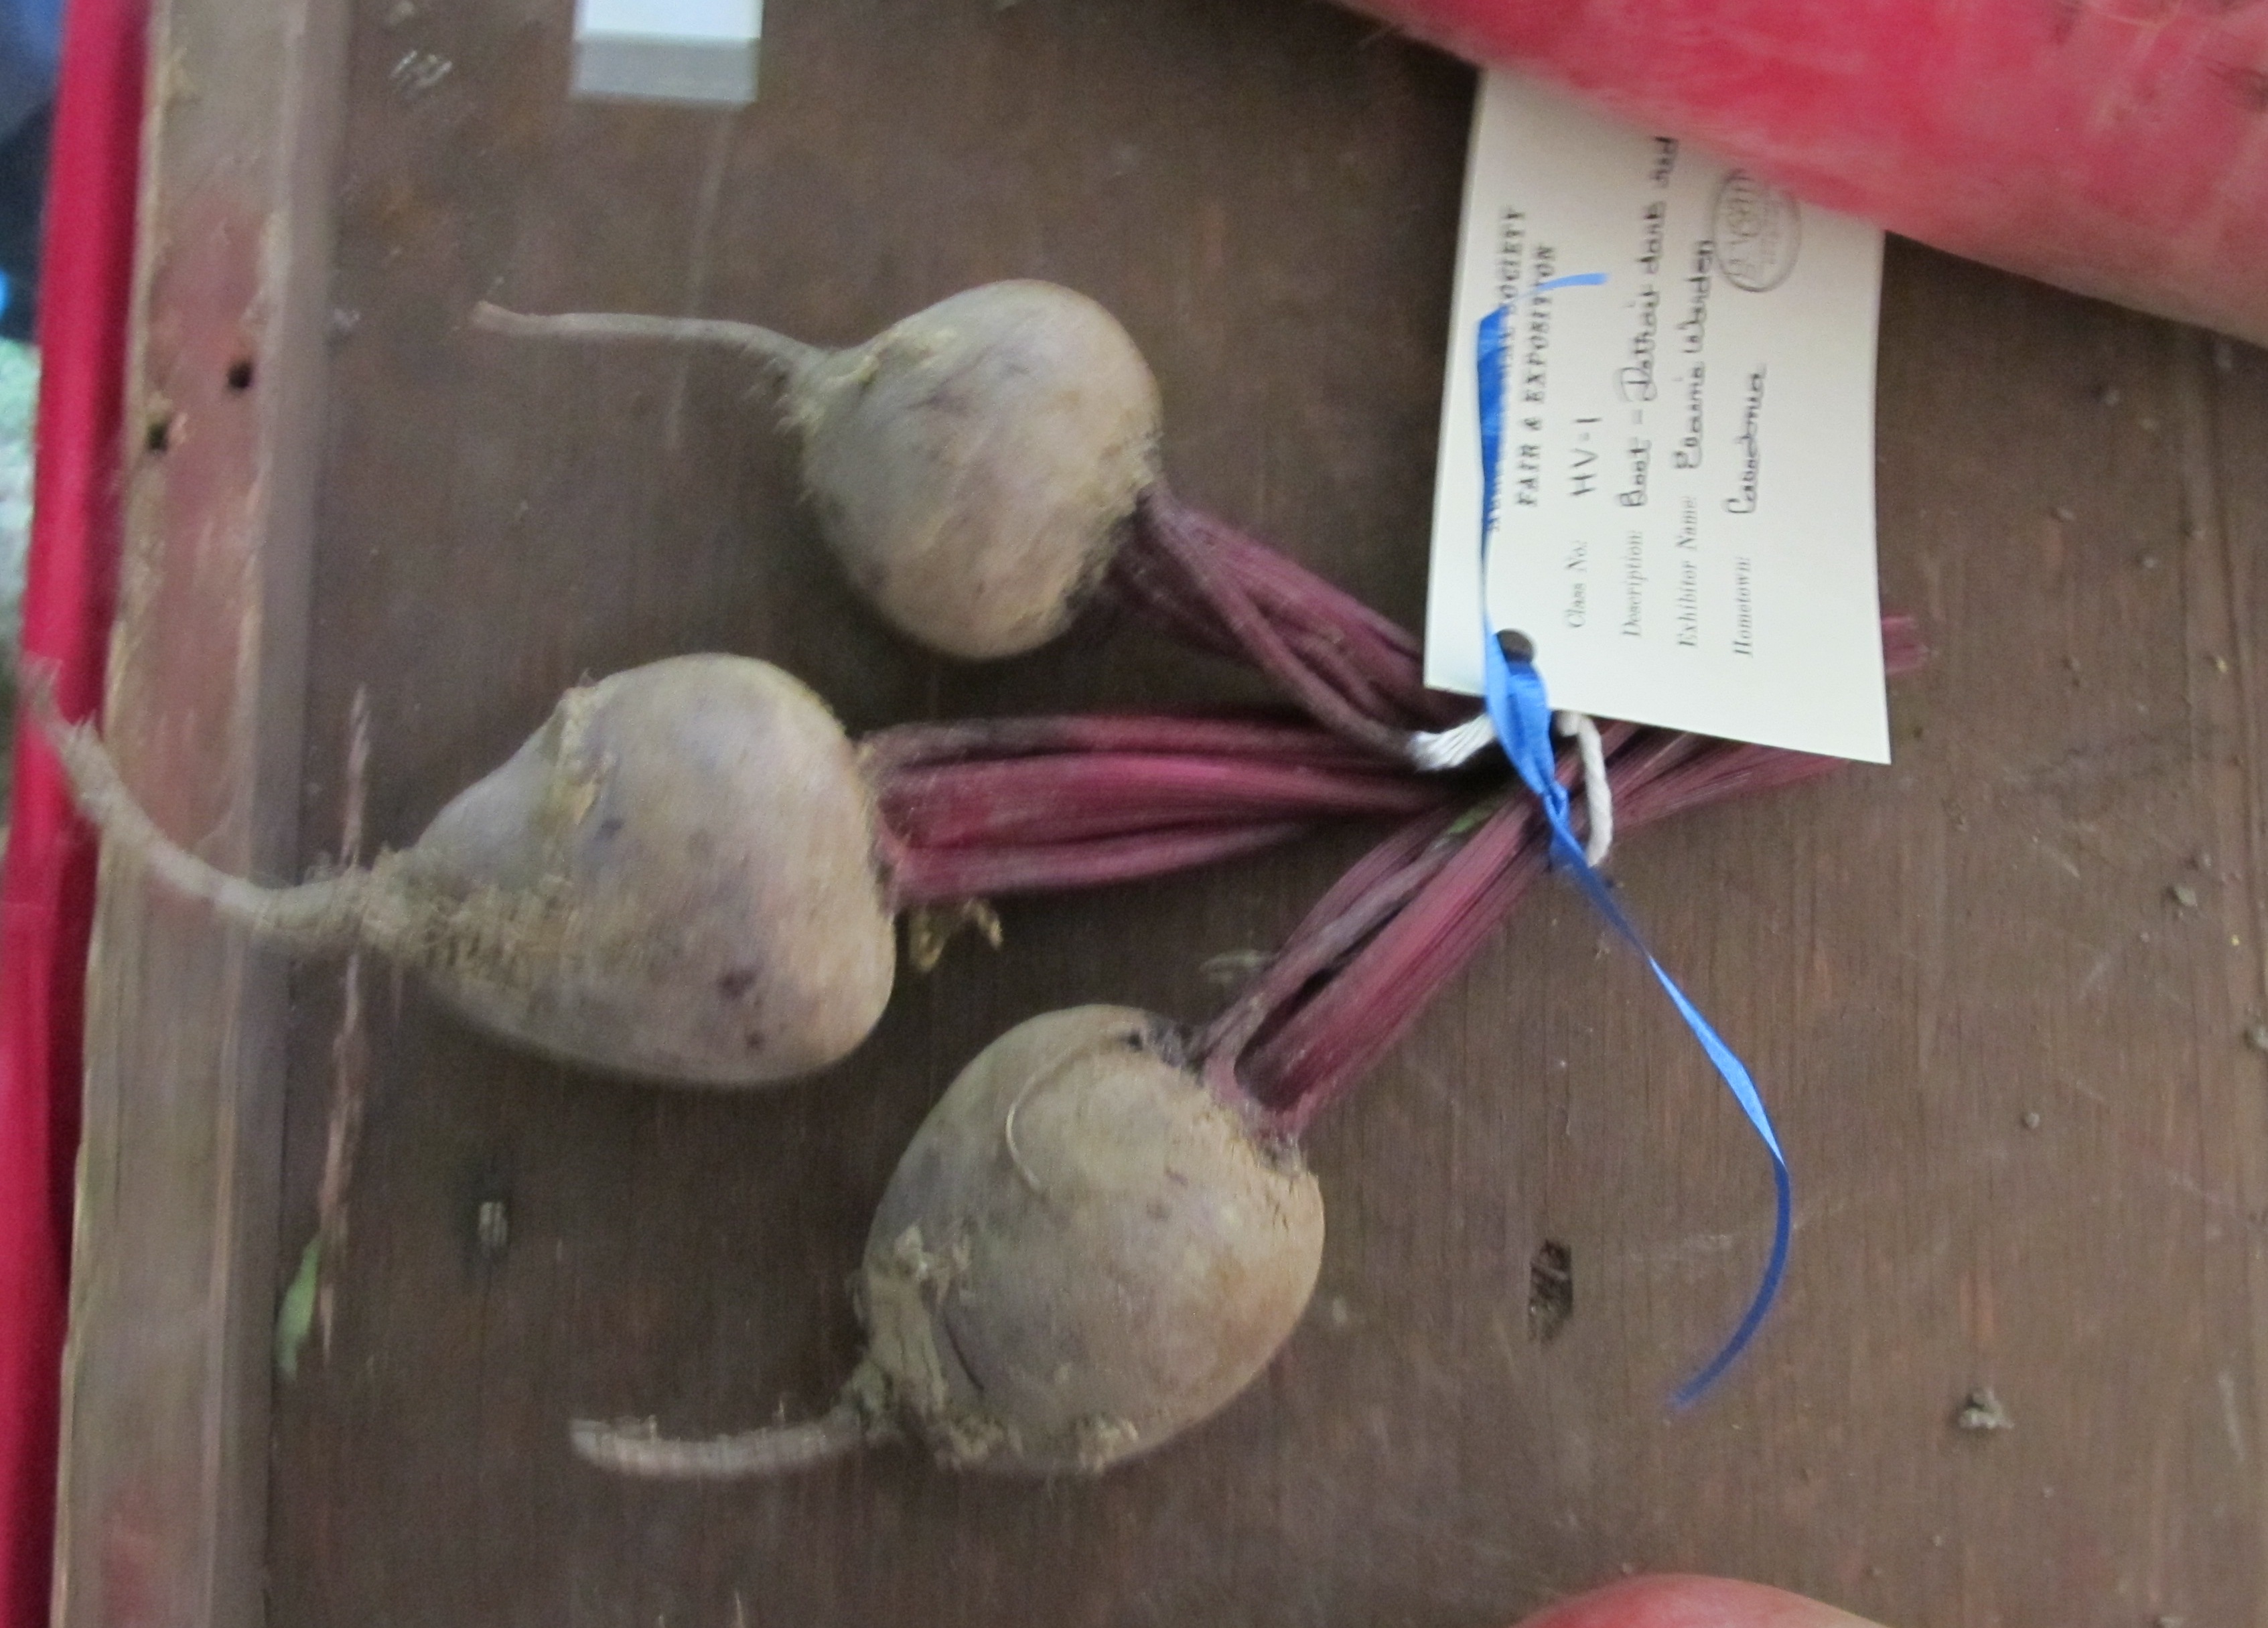
This is the time of year that I have Ag. Fair on the brain. The Genesee Country Village & Museum’s Agricultural Society Fair is coming up in a few days.
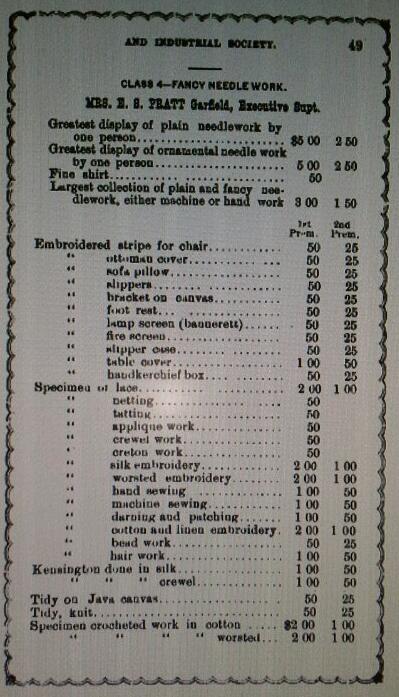
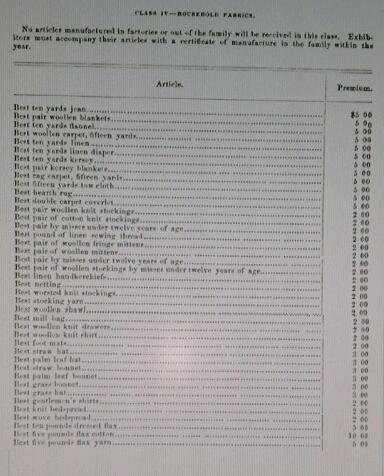
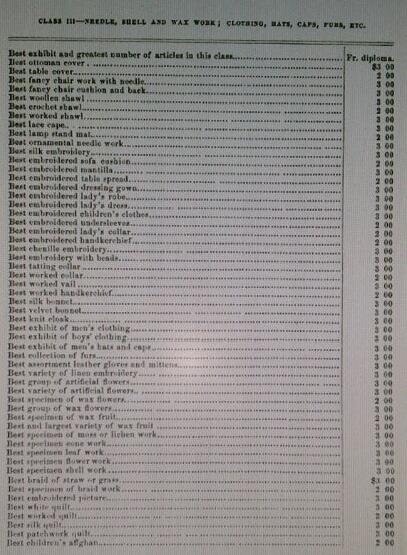
 I find the premium lists and premium books to be quite fun to look at. These lists of entry catagories tell us the type of things people grew in an area and what they made on the domestic and manufacturing levels. They give us an idea of what they prized. Some even tell us what they collected.
 One of the most interesting entry categories I’ve seen comes from the 1873, Deseret Agricultural & Manufacturing Society Premium book for Salt Lake City. This List of Premiums includes: “Best collection of gold fish, in an aquarium”, Okay, the entire section on paints and oils from that premium book, I find interesting.
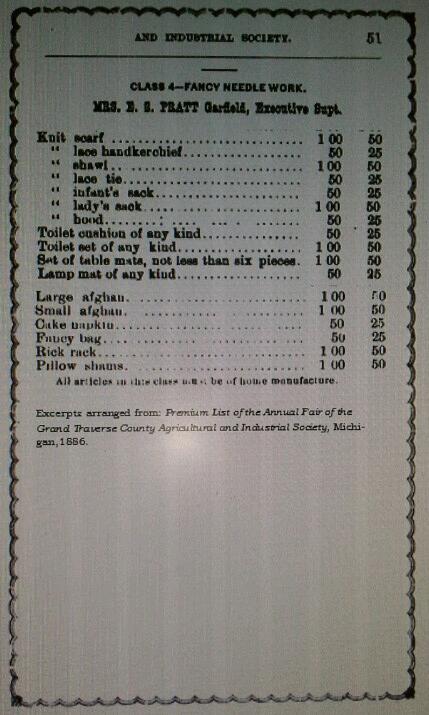 Btw, in 1839, a set of artificial teeth were entered in the Second Annual Fair of the Ohio Mechanics’ Institute.
from the 1866 California State Fair’s Premium book:
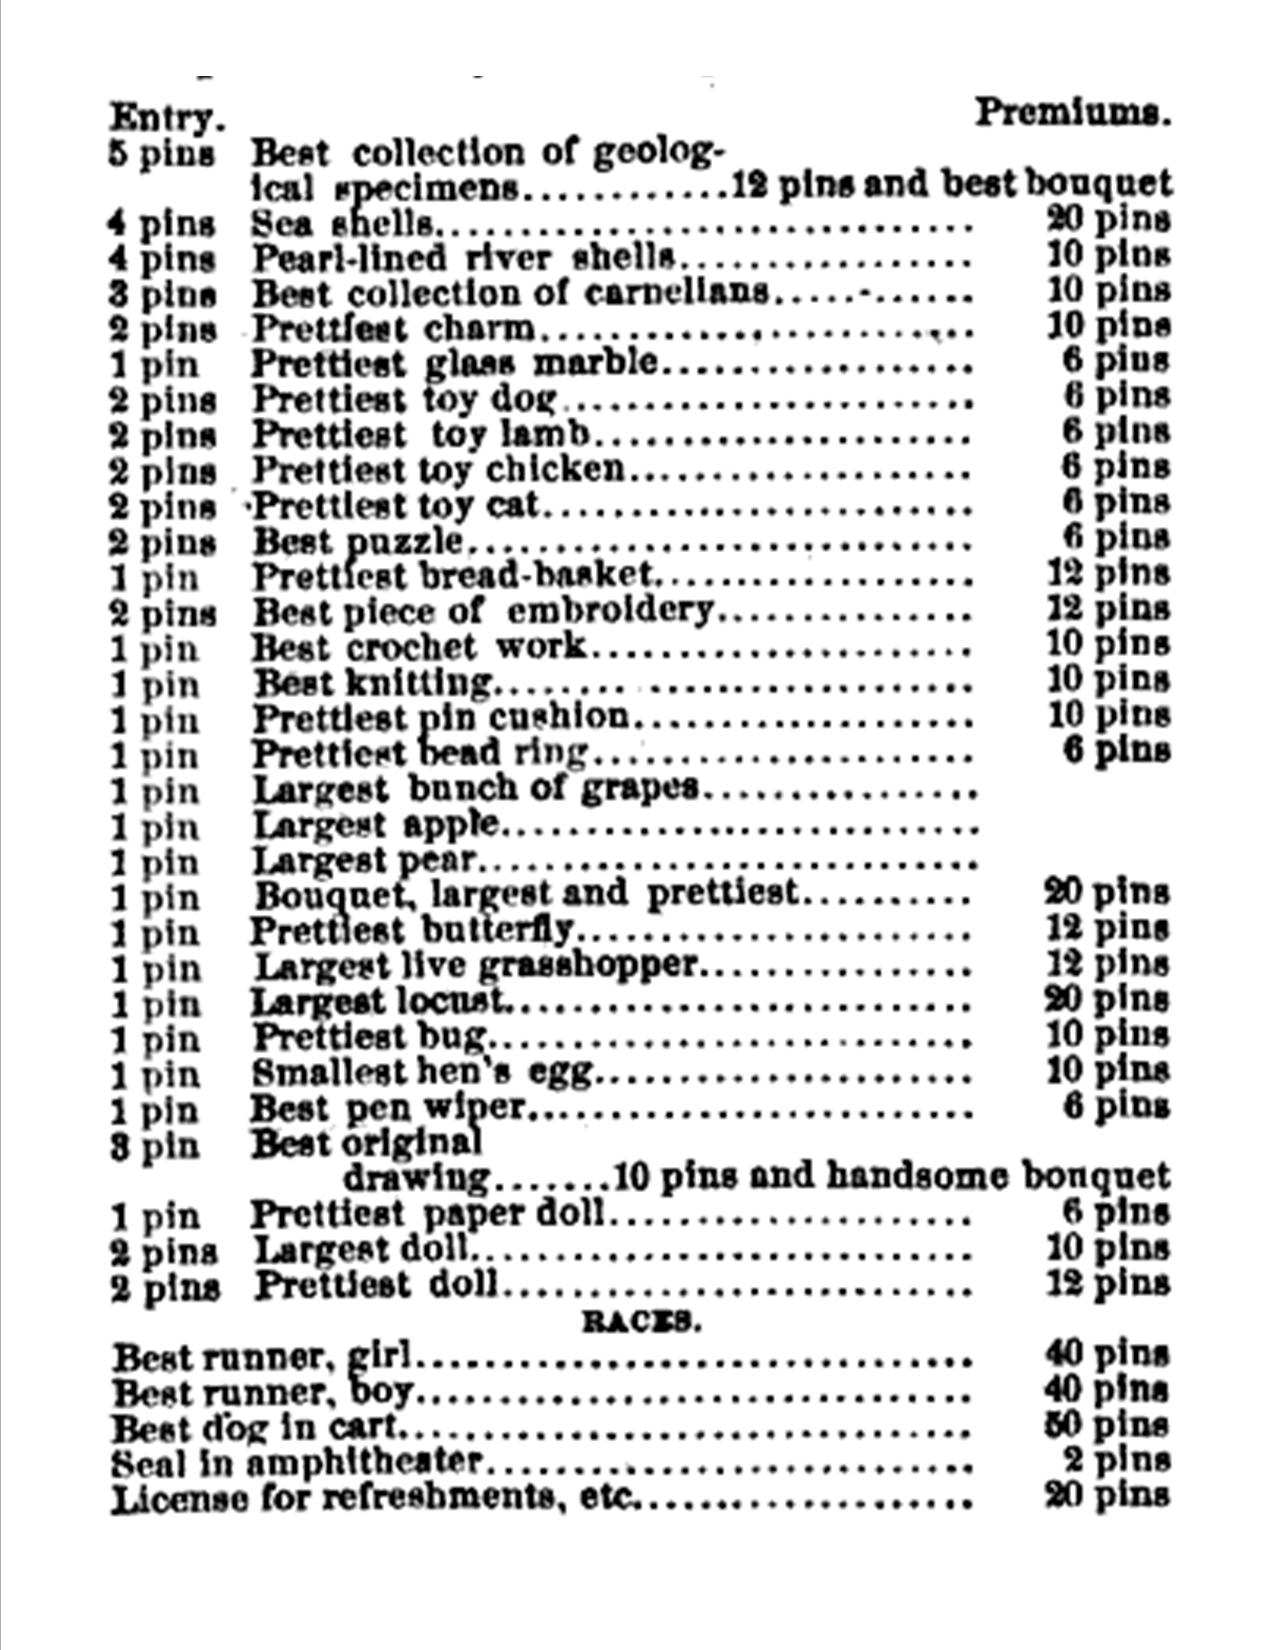
I shared this article ones before. It seems fitting to share it again in anticipation of this weekend’s Agricultural Society Fair at the Genesee Country Village and Museum. Here, from the 1867 The Lyceum Banner, (Chicago).
Pin Fair
The enterprises of boys are never recorded, no matter how much energy, talent and taste they display. It gives me great pleasure to be able through these columns, to describe to other boys and girls, an enterprise on which I know there was a great deal of energy shown, but of the taste and talent, I will leave others to judge.
I had just attended the Rock Island Fair, and having examined the grounds, buildings, articles entered, and race-track, and inquired how it was conducted, I proposed to open a Pin Fair on an empty lot near my home. Johnnie Gow, brother Roddie and myself constituted ourselves a stock company, and agreed to plan, execute and control the fair without the assistance of the grown folks. We spread tables in the open air for display of articles, built an amphitheater of raised seats under some trees, and made a race-track in a circle, Oscar Dow as Marshal. Cousin Carrie printed some handbills, and the following saw the price of entry and the premiums awarded:
We only sold tickets to children in our neighborhood, because we were afraid we could not control a large crowd, without assistance of the grown folks. The day was pleasant. The tables were covered with beautiful articles tastefully displayed and interspersed with splendid bouquets and wreaths. The most noticable among the premiums awarded to Nettie Guyre, for best embroidery and prettiest doll; to Lizzie Whitman, for best bead basket, best charm; to Charlie Riggs, for best collection of geological specimens, best original drawing, best puzzle, largest bunch of grapes and larges apples; to Lucy Harper, for prettiest toy lamb; to Jennie Gow, for best collection of sea shells and prettiest toy dog; to Minnie Hakes, for prettiest paper doll; to Cornelius Smith, for the best worsted knitting; to Mary Gale, for best bouquet; to Lucy Gow, best pin cushion, best crochet work; to Roddie Riggs, best collection of river shells, largest pear, largest toy chicken; to Clara Whitman, largest glass marble; to Minnie Gow, prettiest bead ring, largest doll, prettiest pen-wiper; to Carrie Conant, largest collection of carnelians; to Harry Carter, best crab apples.
[paragraph on racing]
Our receipts were 187 pins. We spent a very happy day in the open air, increased our love of the beautiful, gave an impetus to our industry, and I hope improved our health and by social intercourse, our good manners. Next year, if we get larger grounds and if the grown folks will control it, we can open it to the public, and get up a big Pin Fair. Charlie.
PS – Two blog posts with lovely photos of a local event in Angelica, NY came up on my feed this morning. Check them out.
The moon was lovely. As the eclipse reached its peak, the line of clouds embraced it. I was off to sleep. Apparently…. not enough sleep.
Oh, for the love of tea…..
Okay, so the images aren’t tea. But, if it were, oh, how this is what I need.
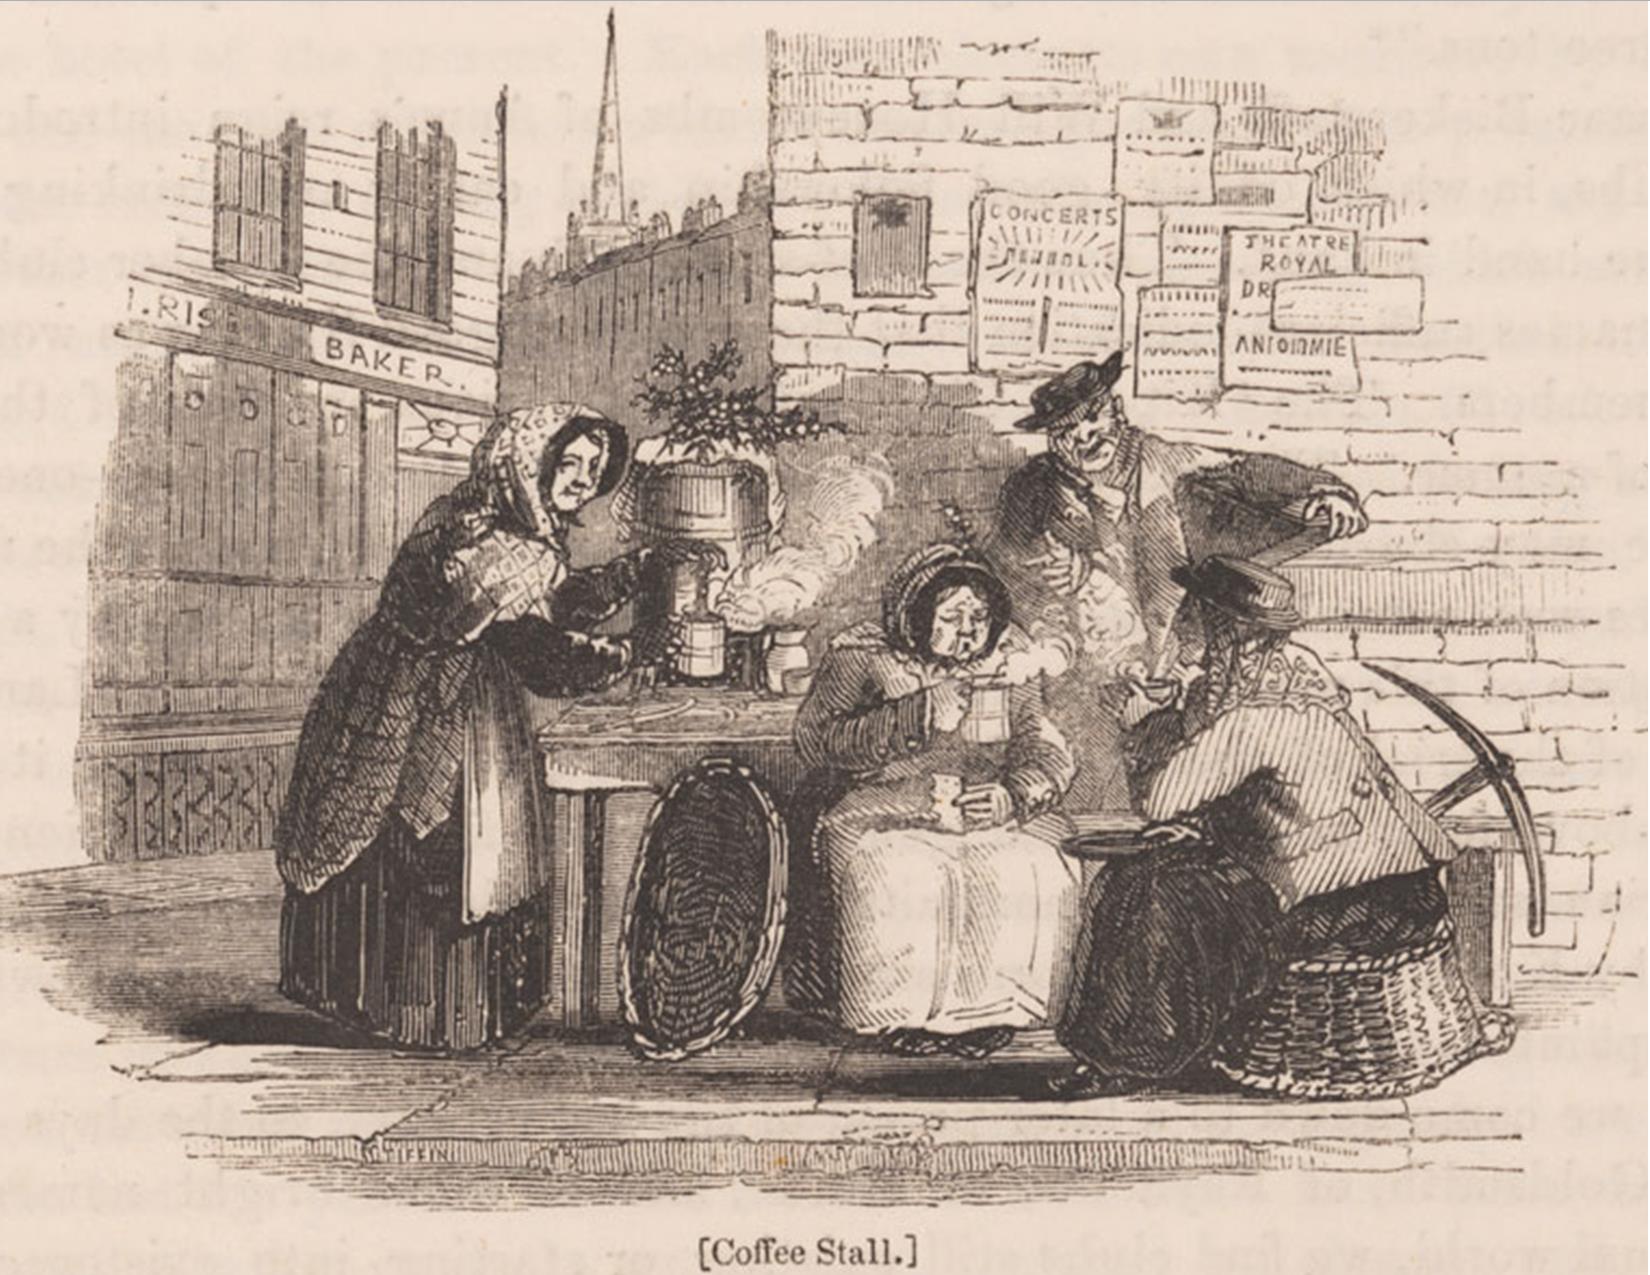
Coffee stall, from Charles Knight’s London, vol.4, 1843
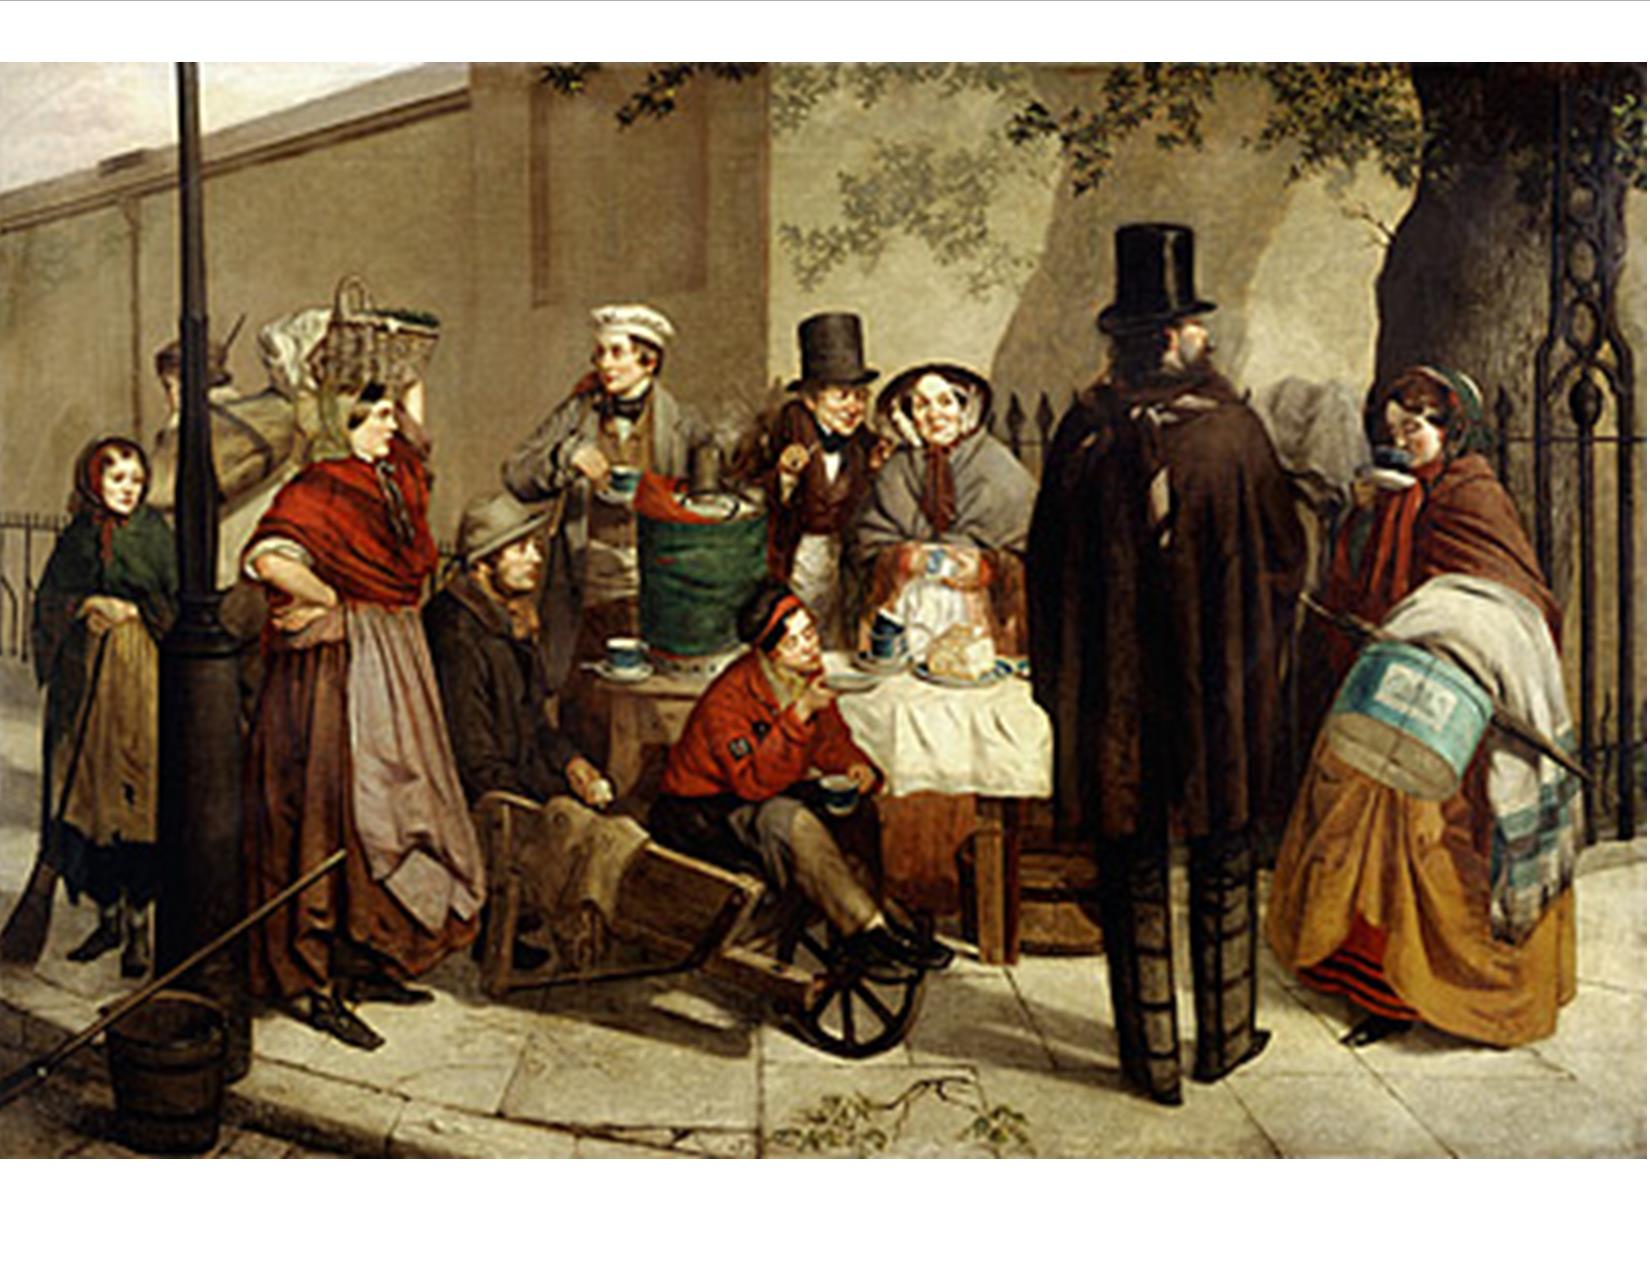
Breakfasting Out, 1859, by Robert Dowling,
I am hesitant to recommend this book because it is 1872 and I don’t want those interpreting the 1850s or 1860s to rely on it too heavily. At the same time, I would be remiss if I did not share the book because it is so useful.
This book gives an view of dry goods for the consumer as it was written for that audience. In addition to the over view of fibers and colors, it breaks down the materials and goods available in sections divided for dress goods, household goods and misc.. It ends with a listing of where many of the goods are manufactured.
I find it to be a nice introduction, if advanced in years for some, and general overview of what was available in the United States for dry goods.
Scissors and Yardstick; or, All About Dry Goods, by C.M. Brown and C.L. Gates (Hartford, Conn. 1872)
There is an earlier publication in a similar format covering dress goods and related items. This in a British publication rather than an American one. So, some of the items may be different. This book’s Haberdashery section will be of interest to those who sew or wish to know some of the details of what goes into their garments.
A Treatise on Haberdashery & Hosiery by E.E. Perkins (London: 1845.)
In the mid-19th century, we know
dupioni silk = slubs = bad
When “is this silk okay” or “can I use dupioni” questions come up in forums and discussion groups, the go-to explanation is about the slubs. In the mid-nineteenth century slubby* silk was considered inferior.
This is true. But, there are a couple more layers to it than that.
There is the dupioni part of it and there is the inferior fabric part of it. Let’s look at the dupioni part first.
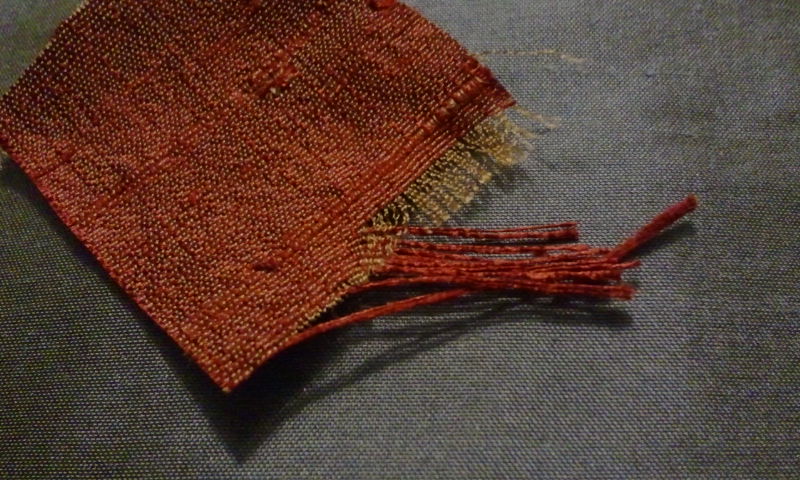
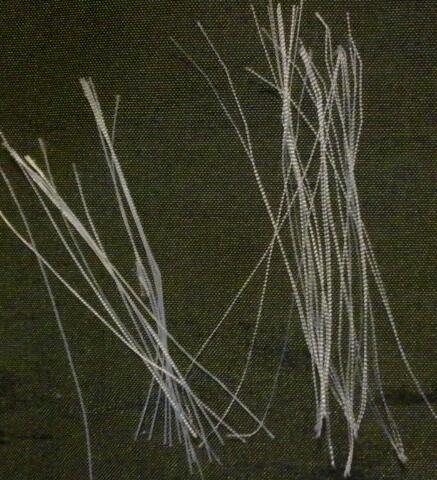
A sample of dupioni. Notice the slubs in the weft threads. When frayed, see the difference between the finer warp threads and the uneven, thicker weft threads.
Dupioni is a plain weave silk. It uses two different types of thread though. In the warp, the threads that go up and down on a loom, the threads are fine with a tight twist. In the weft, the threads that go back and forth on a loom, the threads are loose, not tightly twisted. This weft thread is irregular, uneven and contains the cocoons of the silk caterpillars. Those cocoons are what make a dupioni fabric slubby. Beyond those slubs, those weft threads are also soft and fuzzy. The weave of a dupioni silk unravels much easier than that of a taffeta. The unraveling is a fuzzy one, rather than a dangling long, fine thread of silk.
Why is this important?
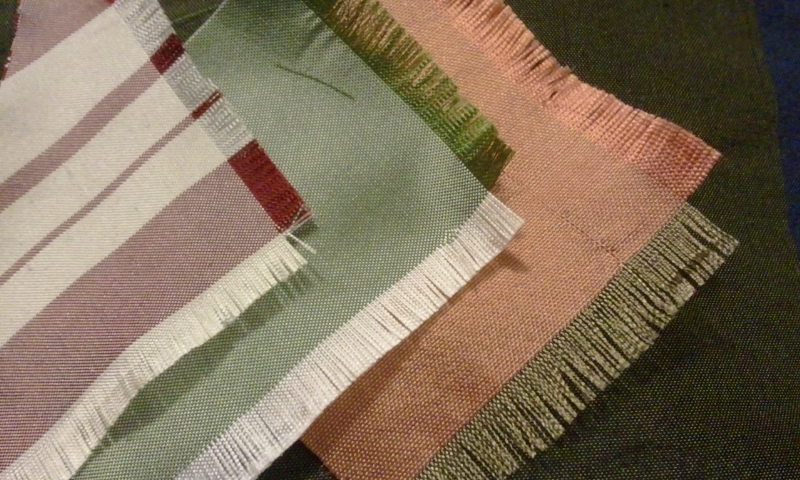
Three silk samples, two taffetas on the left and one dupioni on the right. See the thread comparison below.
Because, most modern interpreters are shooting for a taffeta, one of the most common silks used in the mid-nineteenth century for women’s clothing. Silk taffeta is also a plain weave fabric. It uses fine, tightly twisted silk threads for both the warp and the weft. Taffeta (that meant for clothing) has a full drape but retains an airiness because it is light weight. Taffeta will also crease sharply when asked and retain shaping. When we compare the two fabrics, dupioni is heavier, it drapes fully but with a bit of cave due to the weight, it also tends to be thicker due to the weft threads being uneven. Dupioni will not hold a crease or particular shaping like taffeta.
In the end, even if a dupioni has little to no slubs, it still retains the unruly weft threads.
Now, on to the inferior silks part.
Inferior silks did exist in the mid-nineteenth century. We wouldn’t hear about them otherwise. So, the questions are – What were inferior silks? and What were actually done with them?
To get a full understanding of inferior silks, there is plenty to read in Google Books.
To stick with the basics… Inferior silk can start with the fiber itself as it comes out of the cocoon. Inferior silk can be so at the spinning stage as well. Shorter fibers and uneven fibers in a strand or in a thread make for an inferior silk since the ideal was fine, even and smooth. Many manufactures used those inferior fibers and threads for the tram, the filling or thicker cords that make the ribs in ribbed fabrics and ribbons (think grosgrain, bengaline and faile.) Some inferior threads were used for knitting stockings.
In terms of the silk fabrics themselves, textile dictionaries refer to specific fabrics as coarse or rough. While these fabrics did in some cases become materials of fashion late in the century, during the mid-century they were not the ideal as they did not offer the drape and shaping needed for the style of the era. In some domestic guide books there are sections on how to select goods while shopping. I am trying to recall which one it is that goes into silk, discussing how to determine a silk’s quality. As soon as I remember which it is, I will include it. Until then, the existence of the passage tells us inferior, or at least lesser quality silk fabrics did make it into stores. It can be deduced that there was a manufacturing <> economic factor to all of this.
So, in end…. Dupioni is slubby. But, the un-desirableness to the fabric goes beyond the slubs.
————————————————————————
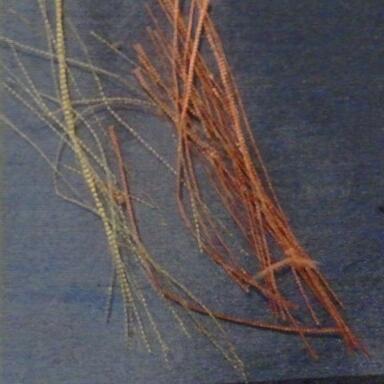
The dupioni threads are noticeably different, warp on the left, weft on the right
The taffeta threads are both find and spun.
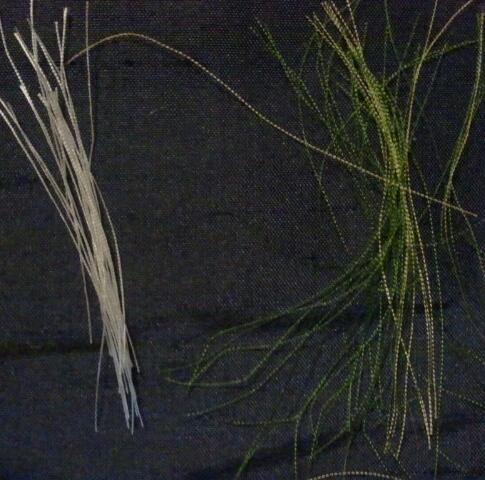
Even though this silk, which is a shot silk, has two different color threads in two different thicknesses, all three thread (white, green and yellow) are even, fine and spun with a twist.
*btw – What we call “Slubs” were known as Slugs, Nubs, Nibs and Knots in the nineteenth century.
ADDING: Jessamyn mentioned the difference between between dupioni and shantung in a comment on FB. I thought I should add a link to this modern article on “How to tell the difference between silk dupioni and shantung.” If you have seen my plaid 50s dress with the big sleeves, that is shantung.


