I am asked regularly about storing and displaying hats and bonnets at home between events.
I talked about some of the stands and boxes I use for millinery during the Community Cast Day 8. For some reason, I did not include the larger band boxes I use for my personal millinery.
I use fabric heads for most working millinery pieces as they get ready to go to their new homes.
My cloth heads are based on Lynn Masters’ pattern. I prefer these to styrofoam heads as I have had fabric covers turn color when draped over the foam. These heads have a wood core bottom and batting filled brain. (Check out the post “Two Heads” for my first venture into making these.)
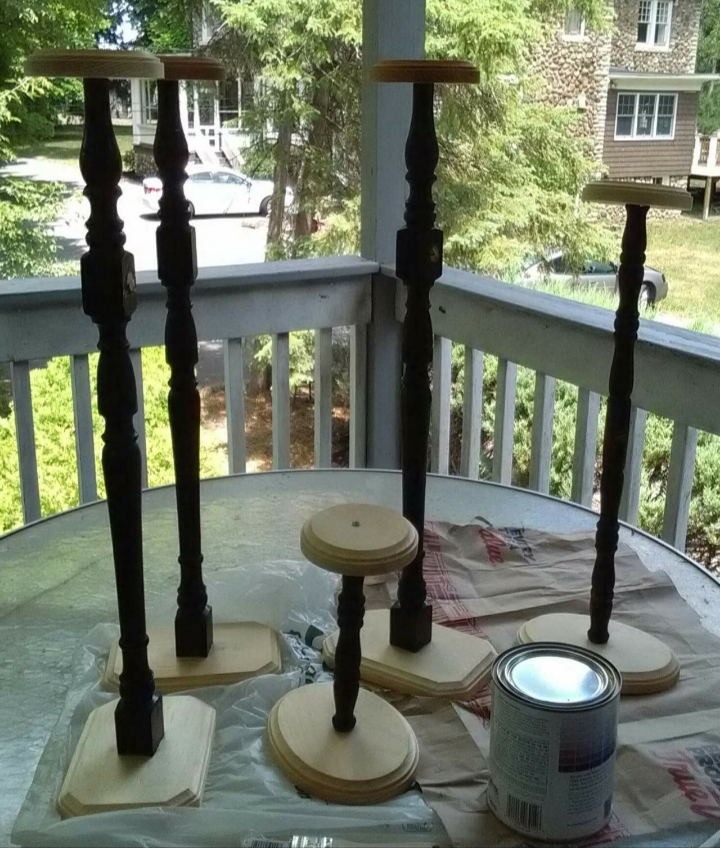
I use far more stands when setting up my millinery display than I do at home. I would love to have a couple dozen original wood stands, but that would be very costly. Instead, I have taken to making my own stands.
I reuse wood spindles for my stands, adding a wood plaque base and top. Top left are four stairway spindles picked up at a yardsale for a couple dollars. The ends were quite damaged with chips, cracks, and holes. With those cut off, they can be easily attached to a simple pine base and top. The top right are the spindles from a small table, three legs and two cross pieces. The paint is color matched to two colors where I do this display.
This is a sampling of the band boxes I use:
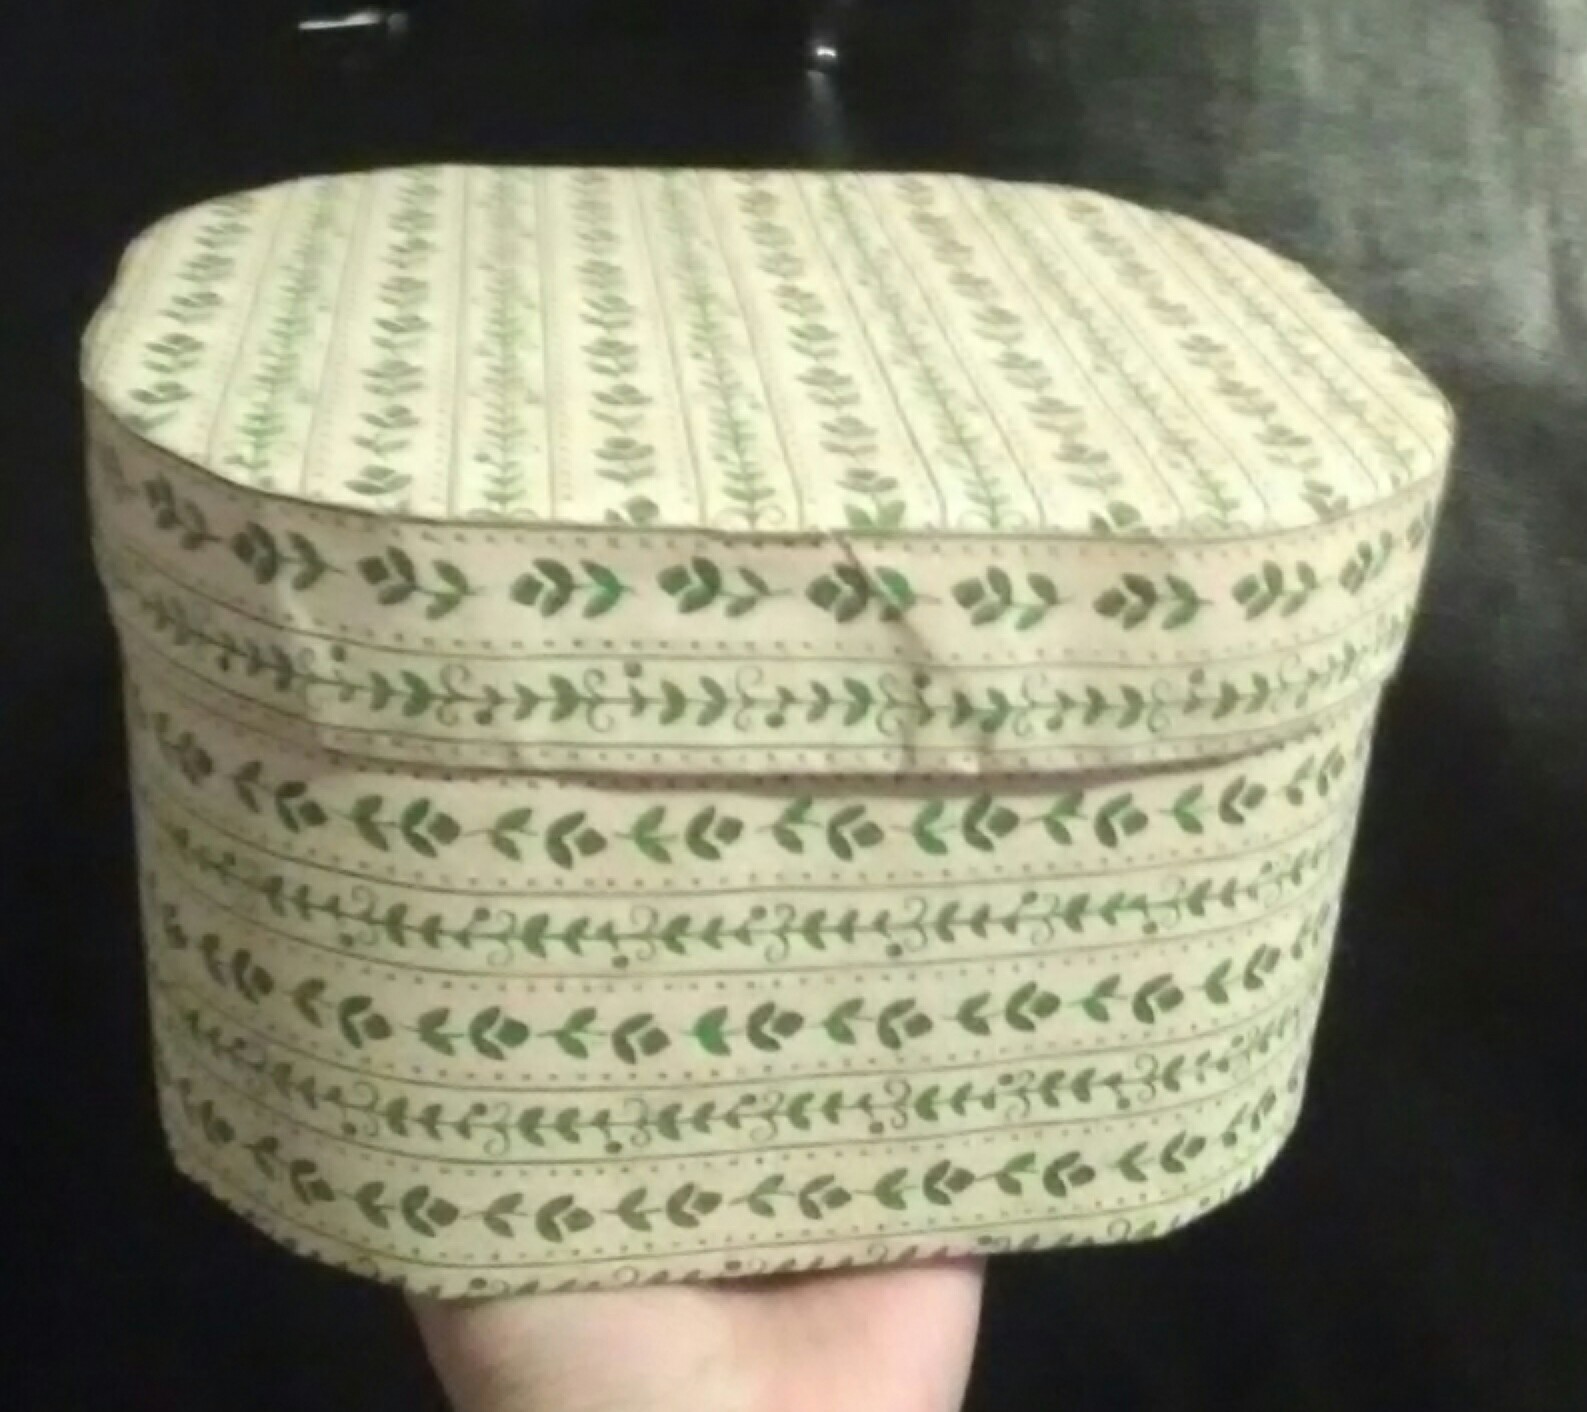
This is a box from Farmers Museum in Cooperstown, NY. I would love a few more of these the next size up. It just barely fits a small bonnet. Notice how it is oval-esque. The museum was making these and offering them in their shop. It is unclear if they still are.
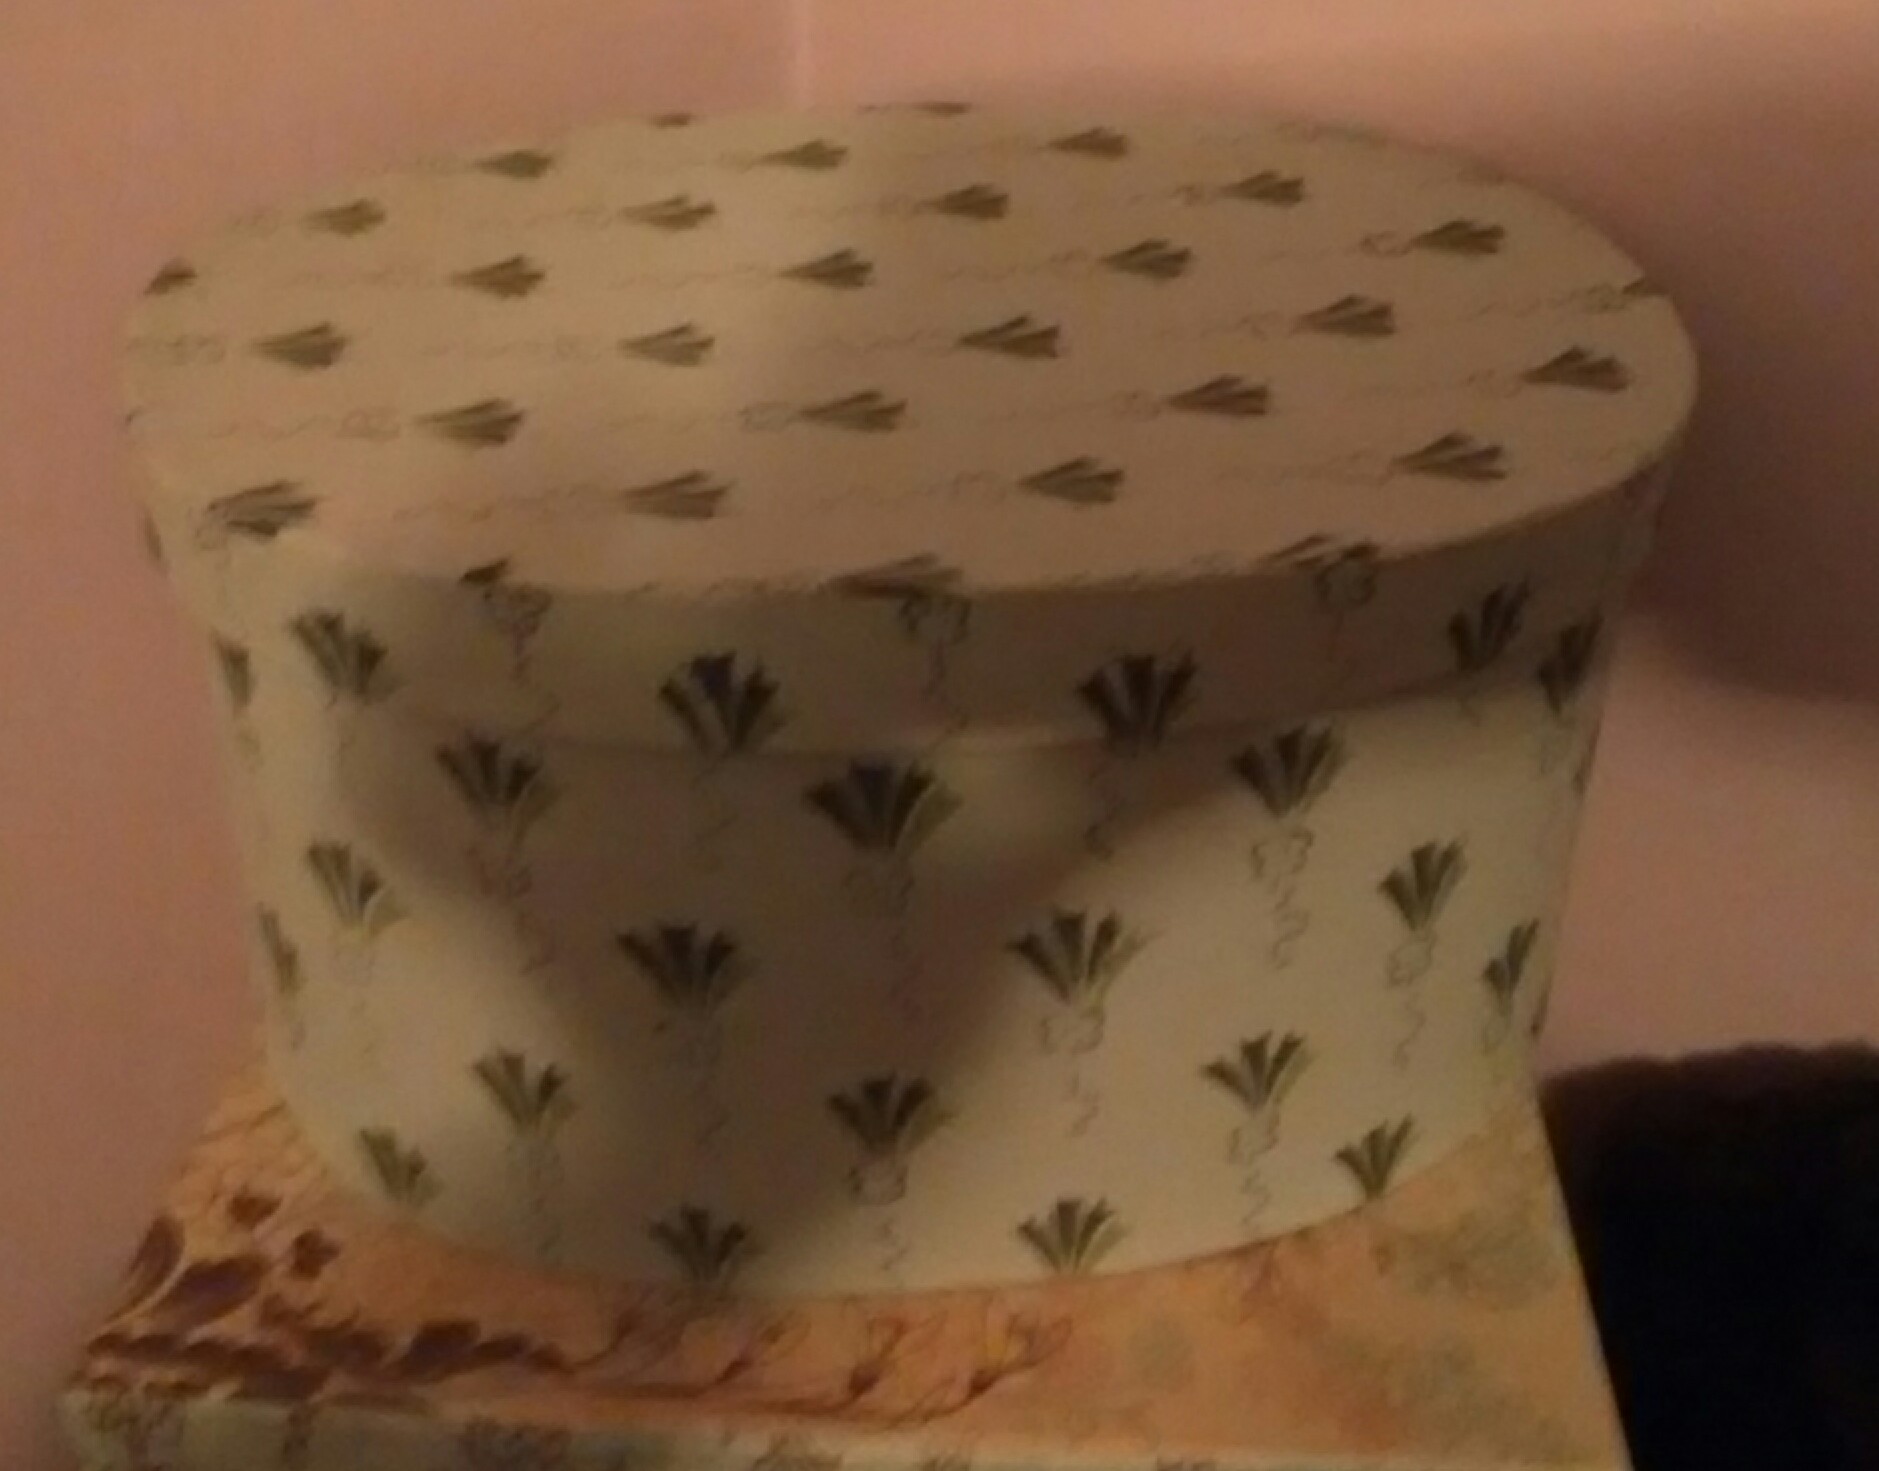
This is a vintage handmade box I recently picked up. The shape is excellent – an oval with flat sides or a rectangle with deep curves. You pick. The downside with this box is its size and it is not strong.
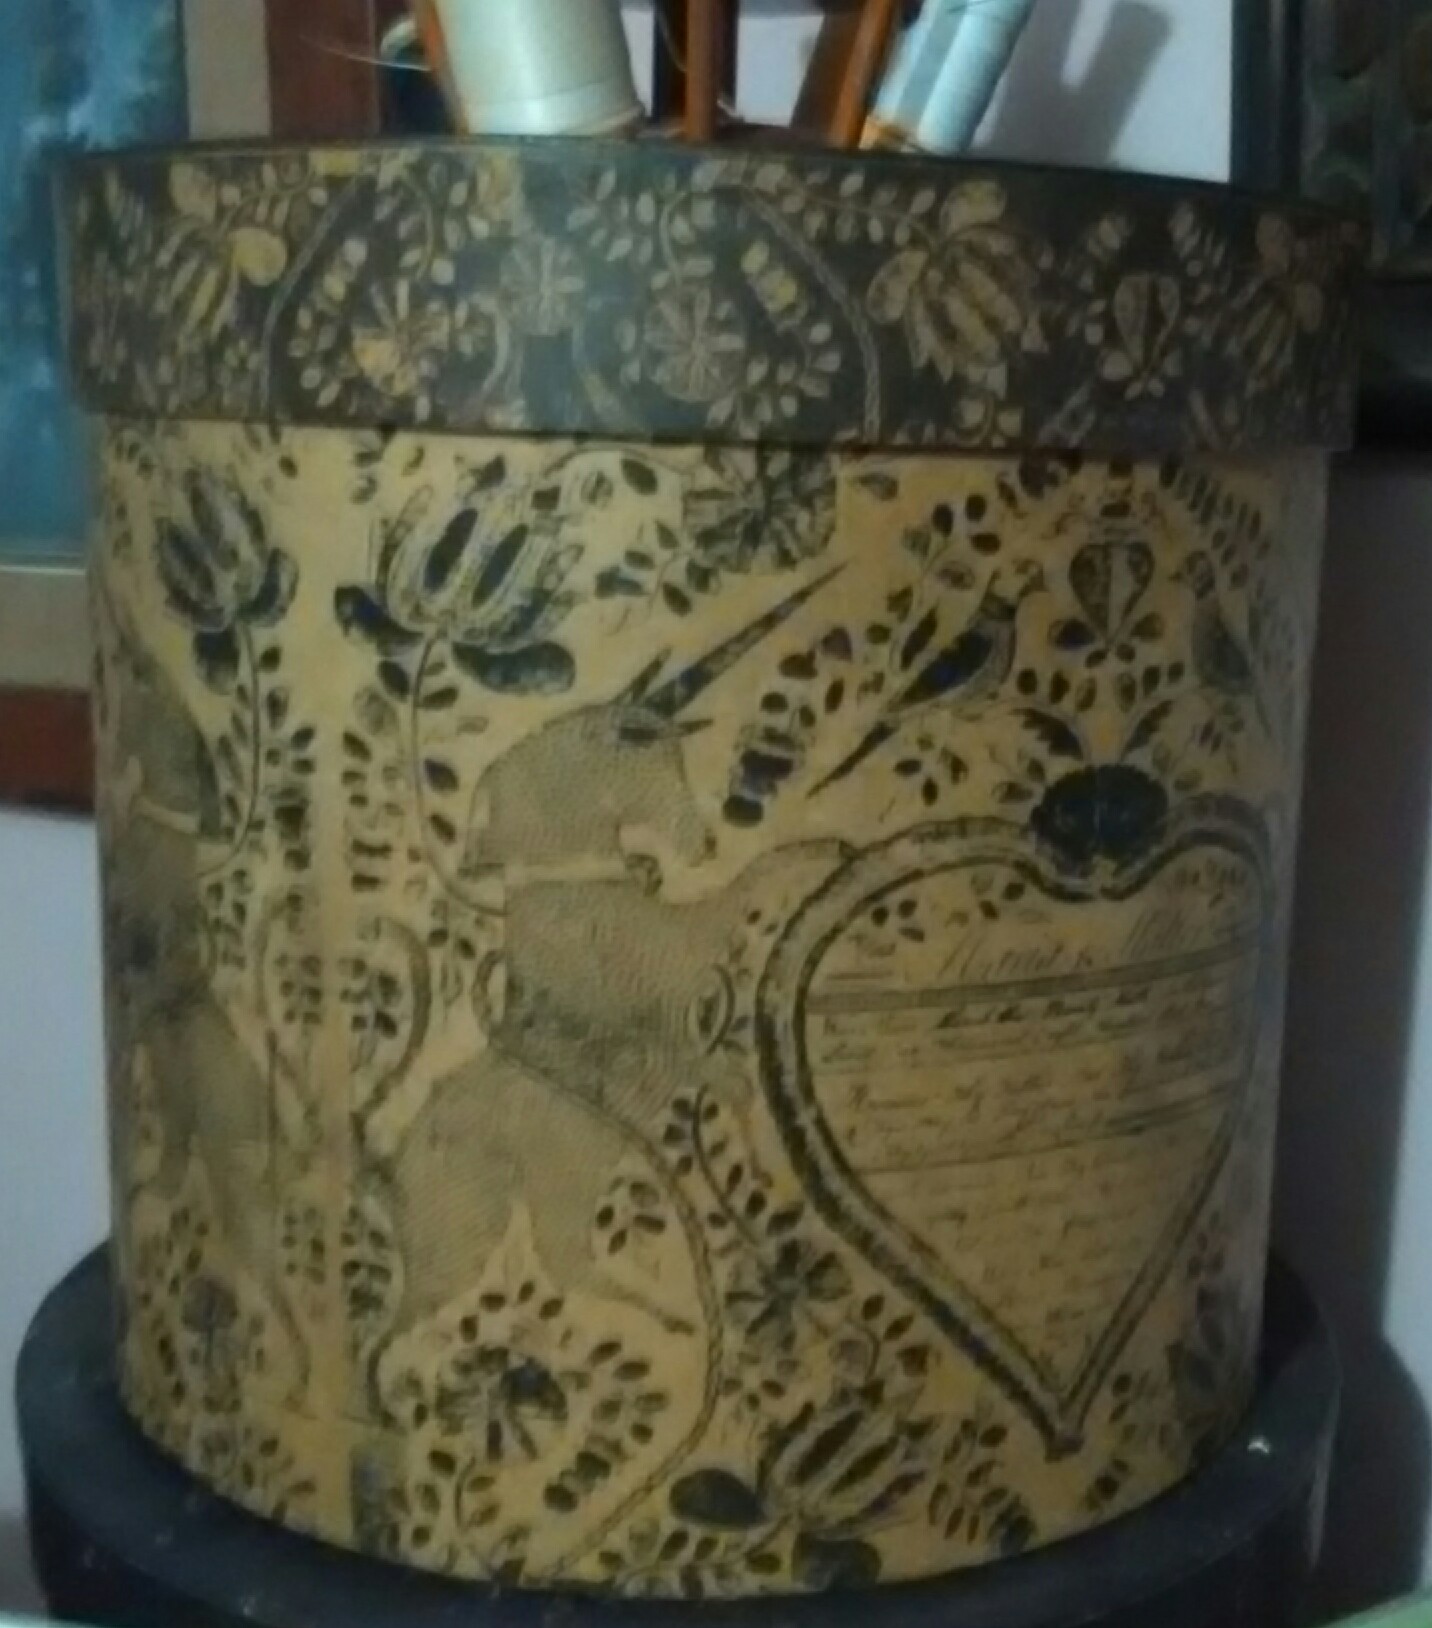
This is the shape box I keep my personal bonnet in. This is a strong sided, tall box that fits the bonnet very nicely. I think it is 12-14″ tall. Downside is it is round rather than the more common oval-esque shape. You can get an idea of the size of the others in this series from the one below it.
This is the box I made last year. I figured round would be the easiest place to start. The pasteboard was large thick sheets Dan found for me. This was a nightmare to sew. It does seem to be decently strong in terms of the sides. If the right material presented itself along with time, maybe I would make another. Maybe. (I do have tubes that I will be making into parasol transportation.)
This was a yard sale find box that was one of my first recovering projects. I used wrapping paper. Don’t. The wrapping paper comes out horribly wrinkly. As this is a nice oval shape and a bonnet does fit inside, eventually I will take this paper off and re-recover it with proper paper. Until then, it holds a neglected project.
These are some of the recoverex boxes. The bigger ones are from JoAnn’s. The smaller are from Dollar General. JoAnn’s had a decorative”Paris” line that were made of stronger walls and were taller than the hat boxes we usually see. I picked them up on clearance at a few different stores. The DG were a surprise this spring. Taller and strong, yet covered in cute 3D motifs. Most took new paper fairly well. As these were done fast to fill the shop, the insides and bottoms of some still need to be done.


Leave a comment