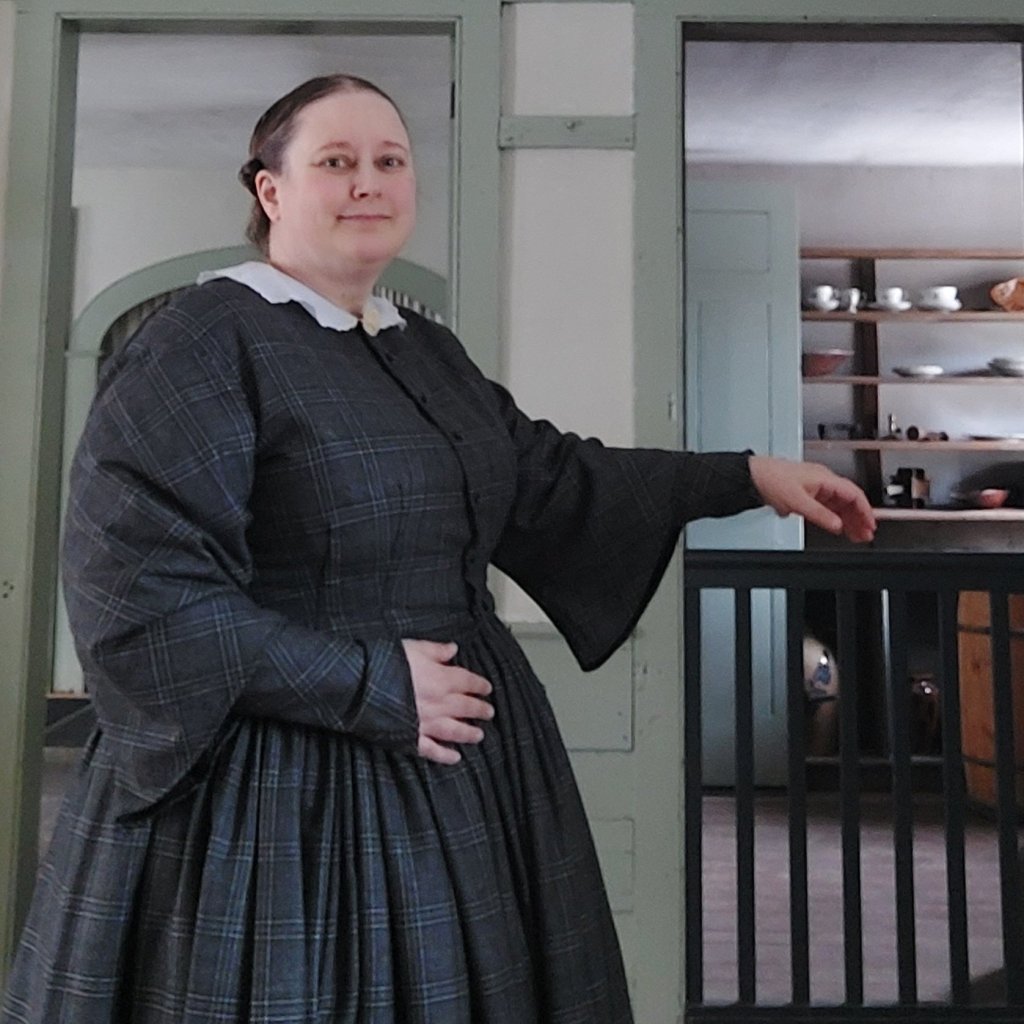
Just before Thanksgiving, I spent the weekend at the Genesee Country Village and Museum for their Preparing for Winter event. This annual event not only gave me an opportunity to talk about how to stay warm during the cold winter months, it gave me a chance to test out my mid-nineteenth century winter layers.
Before diving into the layers I wore, let’s talk about that weekend’s weather for those of you not from the area.

This was the weekend the Buffalo, NY area was blanketed with record breaking snow coming off of Lake Erie. Some areas on the south side of Buffalo saw over four feet of snow. This bought of lake effect snow covered from Buffalo south and east to the museum, which is south-west of Rochester. Meanwhile, Rochester saw little snow.
In the historic village, it was in the mid twenties and deceptively sunny making Saturday absolutely beautiful, nearly perfect day to visit. Sunday morning as I got ready my weather app said it was 18 degrees with a windchill of 4 degrees, expecting a high of 27… and… it was Windy, very windy. The 8 mile route to the
museum was drifted over causing my 10 minute trip to take closer to 35 minutes. This was the perfect weekend to test out the layers.

I want to take a moment to talk about the physical aspects of interpreting compared to an actual living situation in the 1850s, the era I was dressed for. If I was living in this house in the 1850s, fires would have been going in each of the fireplaces for several days maintaining a level of heat within the house. The floors would have been warmer and potentially covered with a floor cloth or carpet possibly insulated with paper or straw. Other techniques would have been used to winterize the home (see previous post below.) As an interpretive space,
magical, modern heat replaces or supplements the lack of fireplace heat. The entry door is opened regularly as visitors come and go, allowing heat to escape and cold to come in. The floors are either bare wood or covered in
mats in visitor traffic areas. These are the realities of interpreting historic spaces.
Layers Work
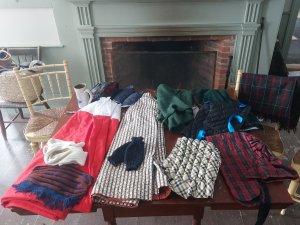
Now, let’s talk about my layers. I have an abundance of cold weather wear accumulated from over the years. I used to participate in several other colder events including Yuletide and teaching events that would get so cold
my contacts literally froze in their case. Developing my layer preferences has been a learning curve. This event allowed me to test myself – could I still put on my 19th century only clothes and go? Overall, I was very comfortable the whole event including coming and going in the cold wind. My two cold spots are noted below.
As I was inside, I opted for basic cotton chemise and drawers. If I were to be outside for the whole of the event I may have opted for wool flannel drawers. In previous years I wore them and found them to be absolutely lovely. My corset was the same of course.
I selected wool stockings. I think the pairs I grabbed from the basket were both from Delp. I do have Woolies or Wool OTKs from Sock Dreams.
I opted to wear my elastic gusset boots due to the snow and salt. I didn’t want to damage nicer boots. I find my Sekela made balmoral boots are notably warmer than my side-lacer boots or slip-on elastic gusset boots. See my thoughts below on boots and feet.
For petticoats, I wore both a quilted petticoat and wool petticoats. The quilted petticoat is a layer of wool batting sandwiched between layers of quilt weight cotton. One wool petticoat is a balmoral style made of red wool flannel with ribbon bands. The other is a plain weave lightweight wool in a darker brown color.
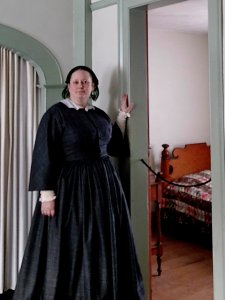
My dress was a light weight wool in grey plaid. The weight is light but not quite tropical weight, similar in density to quilt cotton. I added knit wool undersleeves instead of sheer cotton ones. (see thoughts below.)

On Saturday, I wore a woven wool shawl. This was made using light weight wool fabric fringed around the edges. I didn’t wear one on Sunday.
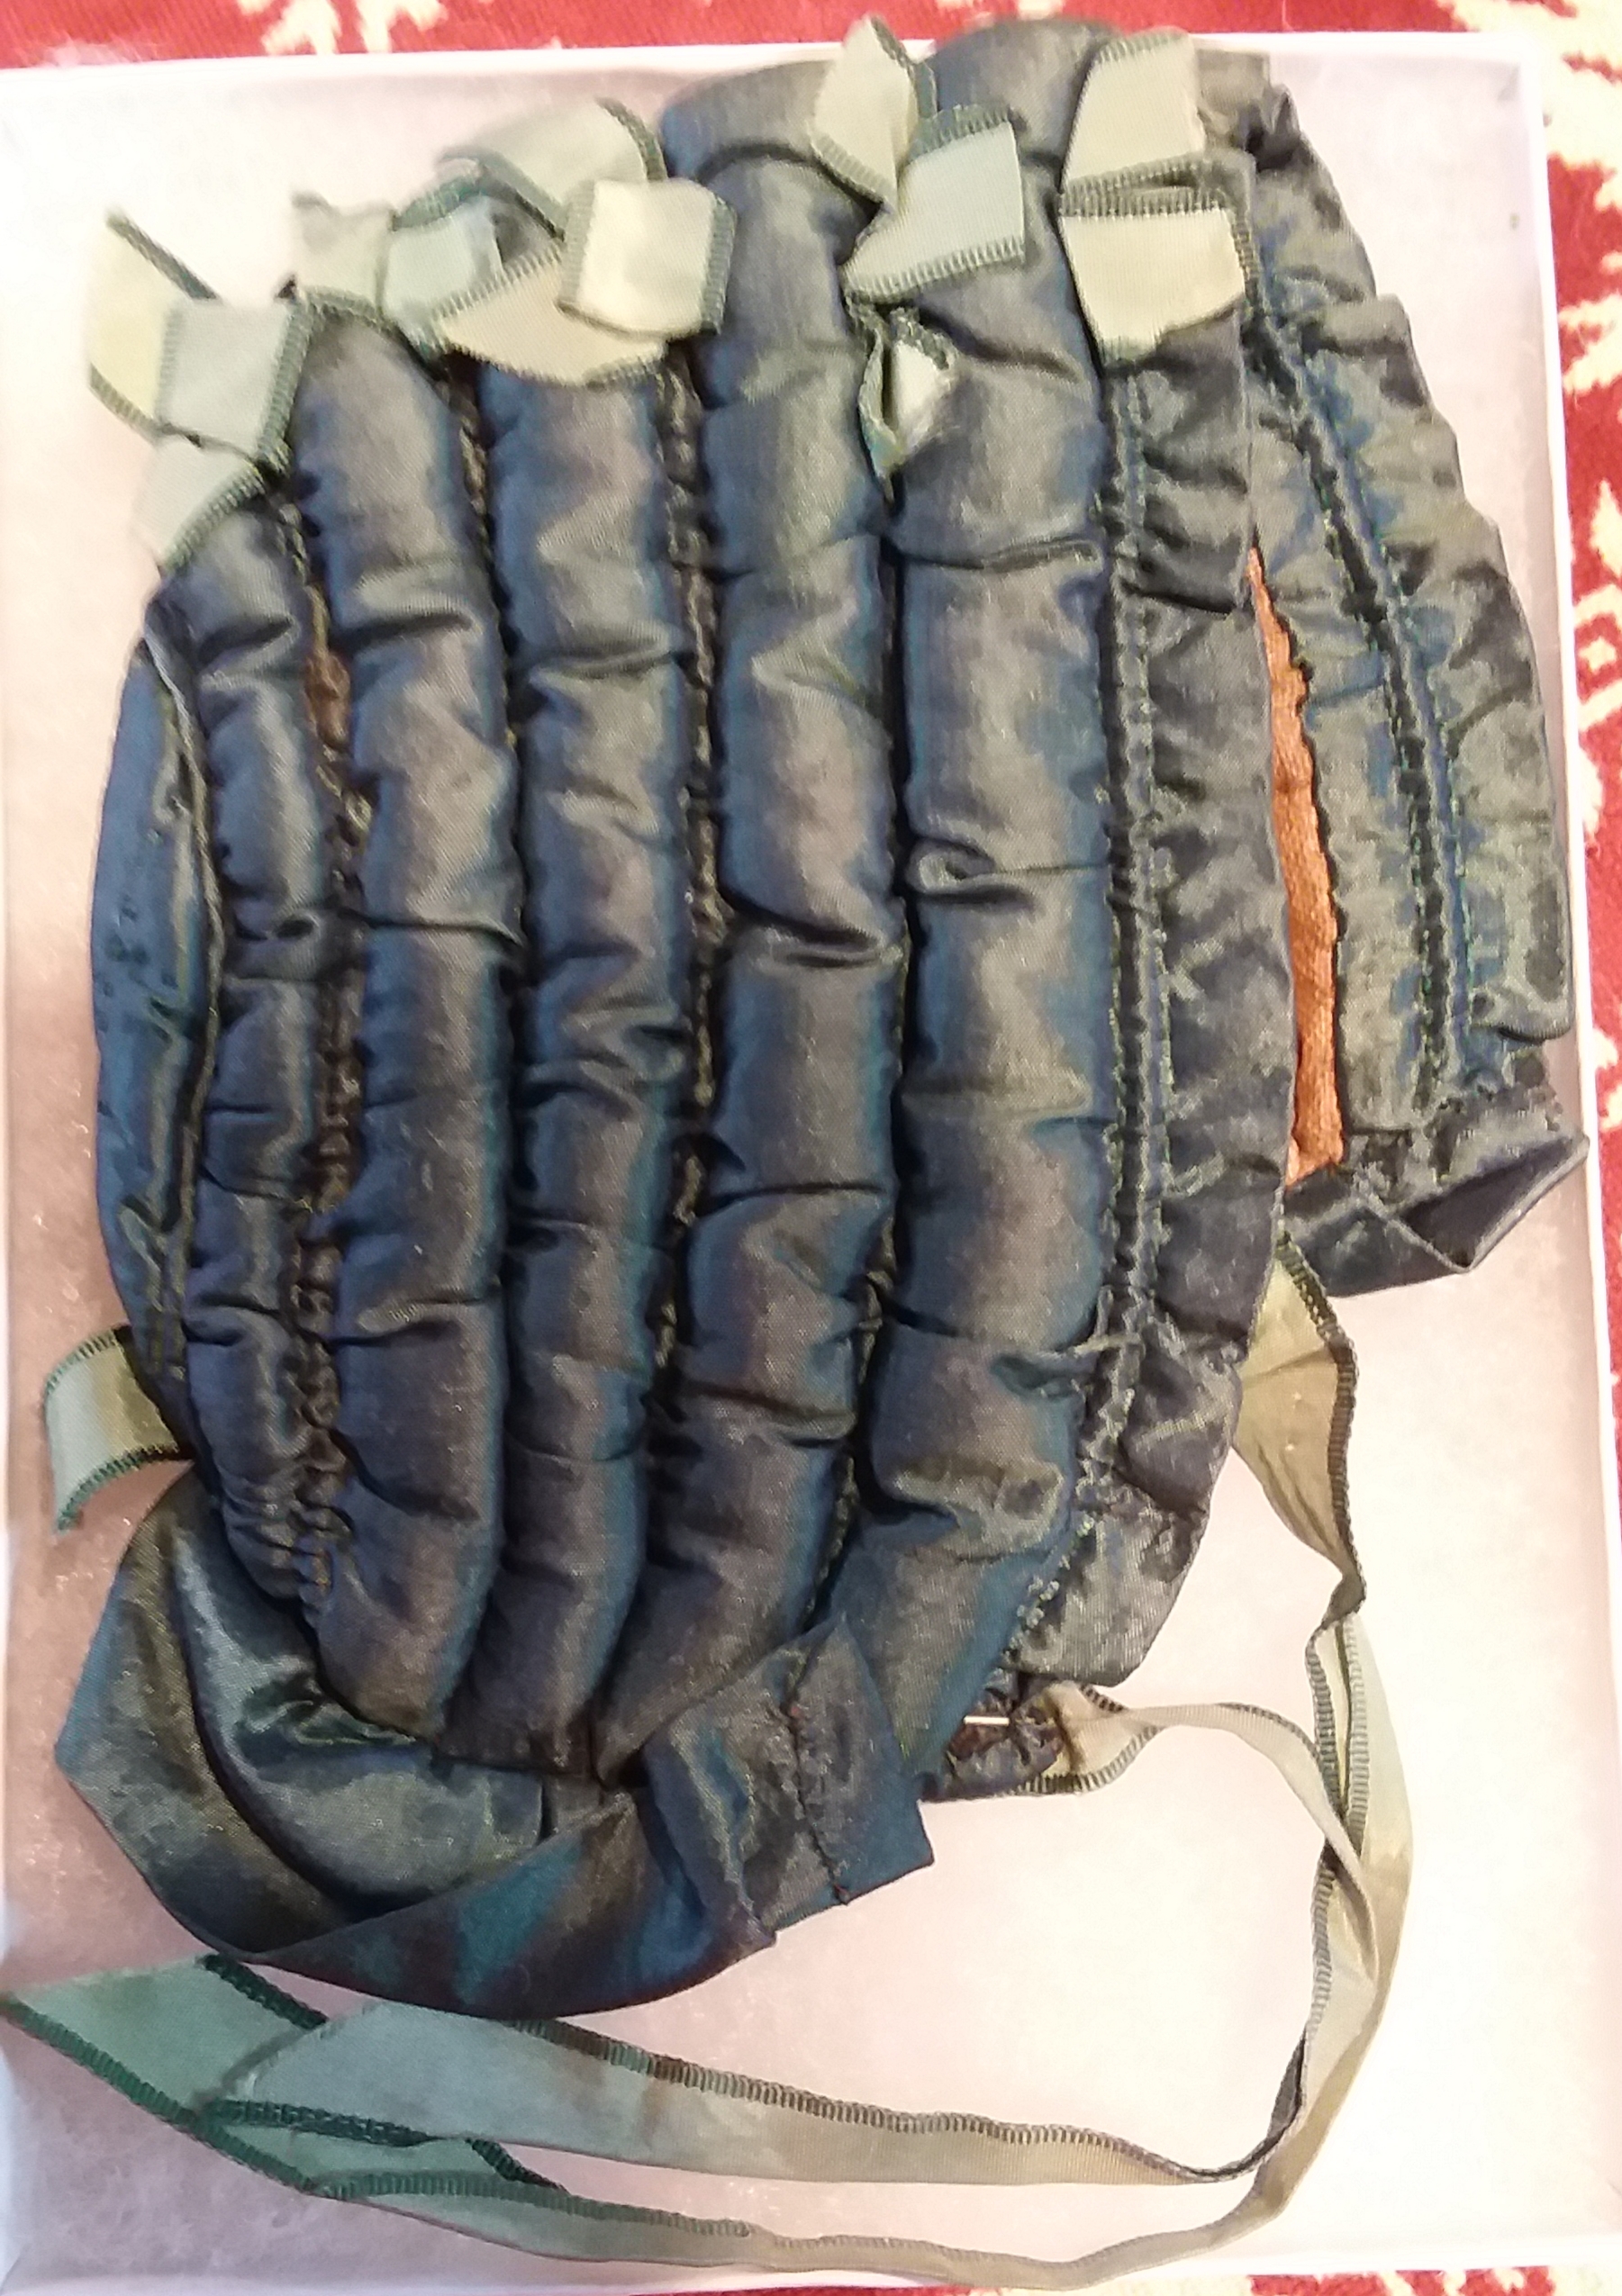
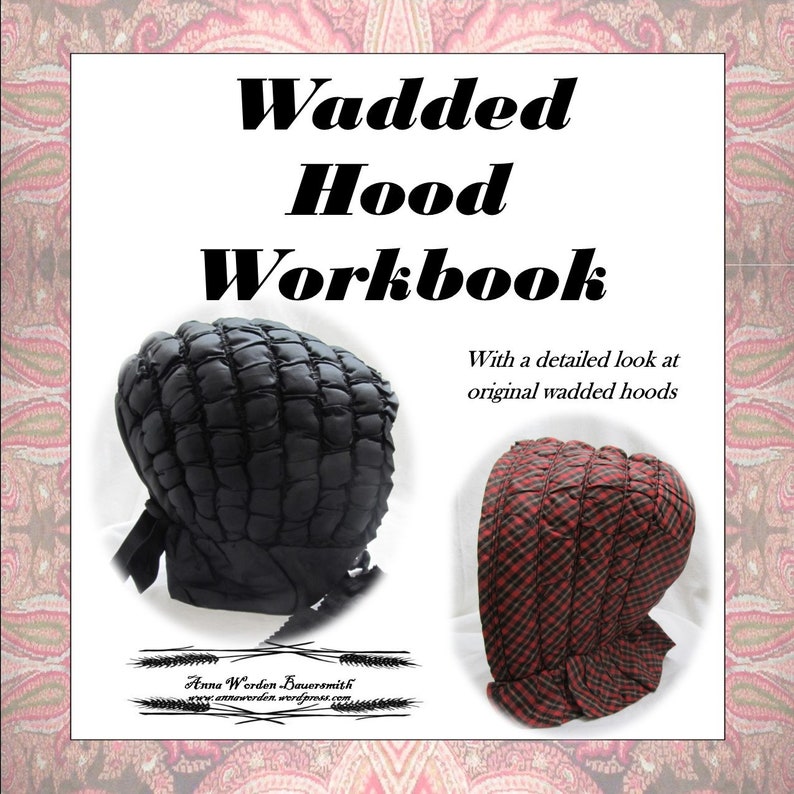
When I went outside, I added a black wool paletot style coat edged in blue quilted silk and a black silk taffeta quilted hood. I may have added a wool scarf on Sunday, I can’t recall for sure. (If I knew where I packed them, I would also wear my Tingley rubber overshoes outside. These not only help with keeping the feet warmer and dry, they help with slipping on ice.)
Hands and Feet
In complete disclosure, I can not say my winter weather layers were a complete success. There were two cold body parts I found unsatisfactory, or interpretive mis-steps. One brings us back around to the realities of interpretive space. The other is a detail of the clothing I selected.
First, my feet. This is where the dynamic differences of living in the mid-nineteenth century and interpreting the mid-nineteenth century really showed through for me. If I were living in the mid-century I would have
removed my leather boots upon entering the house, selecting warm slippers for indoor wear, opting to keep my feet up on a small foot stool while sewing. Instead, I wore my leather boots through the day on Saturday. Even with keeping my feet off the floor, on a make-do stool (aka a log), my feet were cold. For Sunday, I decided to
bring a pair of soled slippers to change into rather than wear boots again. Even though the slippers have far less coverage, leaving about half of my foot with only wool stocking for coverage, my feet were definitely less cold on
Sunday. (The building was already about 20 degrees warmer on Sunday morning though.)
Next, my forearms. Leading up to this event, I made a new wool dress focusing on the early 1850s. I was very indecisive about the sleeves trying to decide between a funnel sleeve highlighting the fashion of the early 1850s
or a coat sleeve with the winter weather in mind. A week before the event, I needed to get sleeves on the dress. I decided on the sleeve that showed up most in 1851/1852 illustrations – a funnel sleeve. This decision resulted in cold forearms. My dress sleeves fell to mid-forearm. Saturday, I wore slim wool undersleeves made to wear
with my 1860s coat sleeves. These came to just below my elbow. While technically all of my arm was covered, draft or chill easily reached my elbow area. Cold radiated down to my forearms and hands all day. Knowing I could not do another day like that (and that I wouldn’t have time to make another pair of undersleeves… and
my ego wouldn’t let me use a modern solution,) Sunday I turned a pair of thicker cotton stockings into undersleeves. Yup. I basically cut the feet of a pair of white cotton stockings I rarely wear and put them on my arms. It worked. (I will be making new undersleeves this weekend for next weekend.)
Want to know more? Check out these previous posts:
- Winter Weather Safety Tips – https://annaworden.com/2018/11/16/winter-weather-safety-tips/
- Selecting a Winter Hood for Your 19th Century Impression – https://annaworden.com/2021/11/01/selecting-a-winter-hood-for-your-mid-19th-century-impression/
- Are you Ready for Winter? – https://annaworden.com/2017/11/14/are-you-ready-for-winter/
- Shawl Resources – https://annaworden.com/pdf-pages/shawls-page/
Sleeve Update:
I added slim, bias cut undersleeves for the Holiday Open House. They kept my arms much warmer.