Wearing nineteenth century clothes, we find they fit differently than our modern clothes. The waist is in a different spot. The bust sits differently. Seams are used to accent or de-accent parts of the body. The fit feels different and moving in the clothes is different. The same is true for hats and bonnets. In previous posts I’ve talked about bonnets and perch. Here, we are going to look at how a hat was worn and how it “fits”.
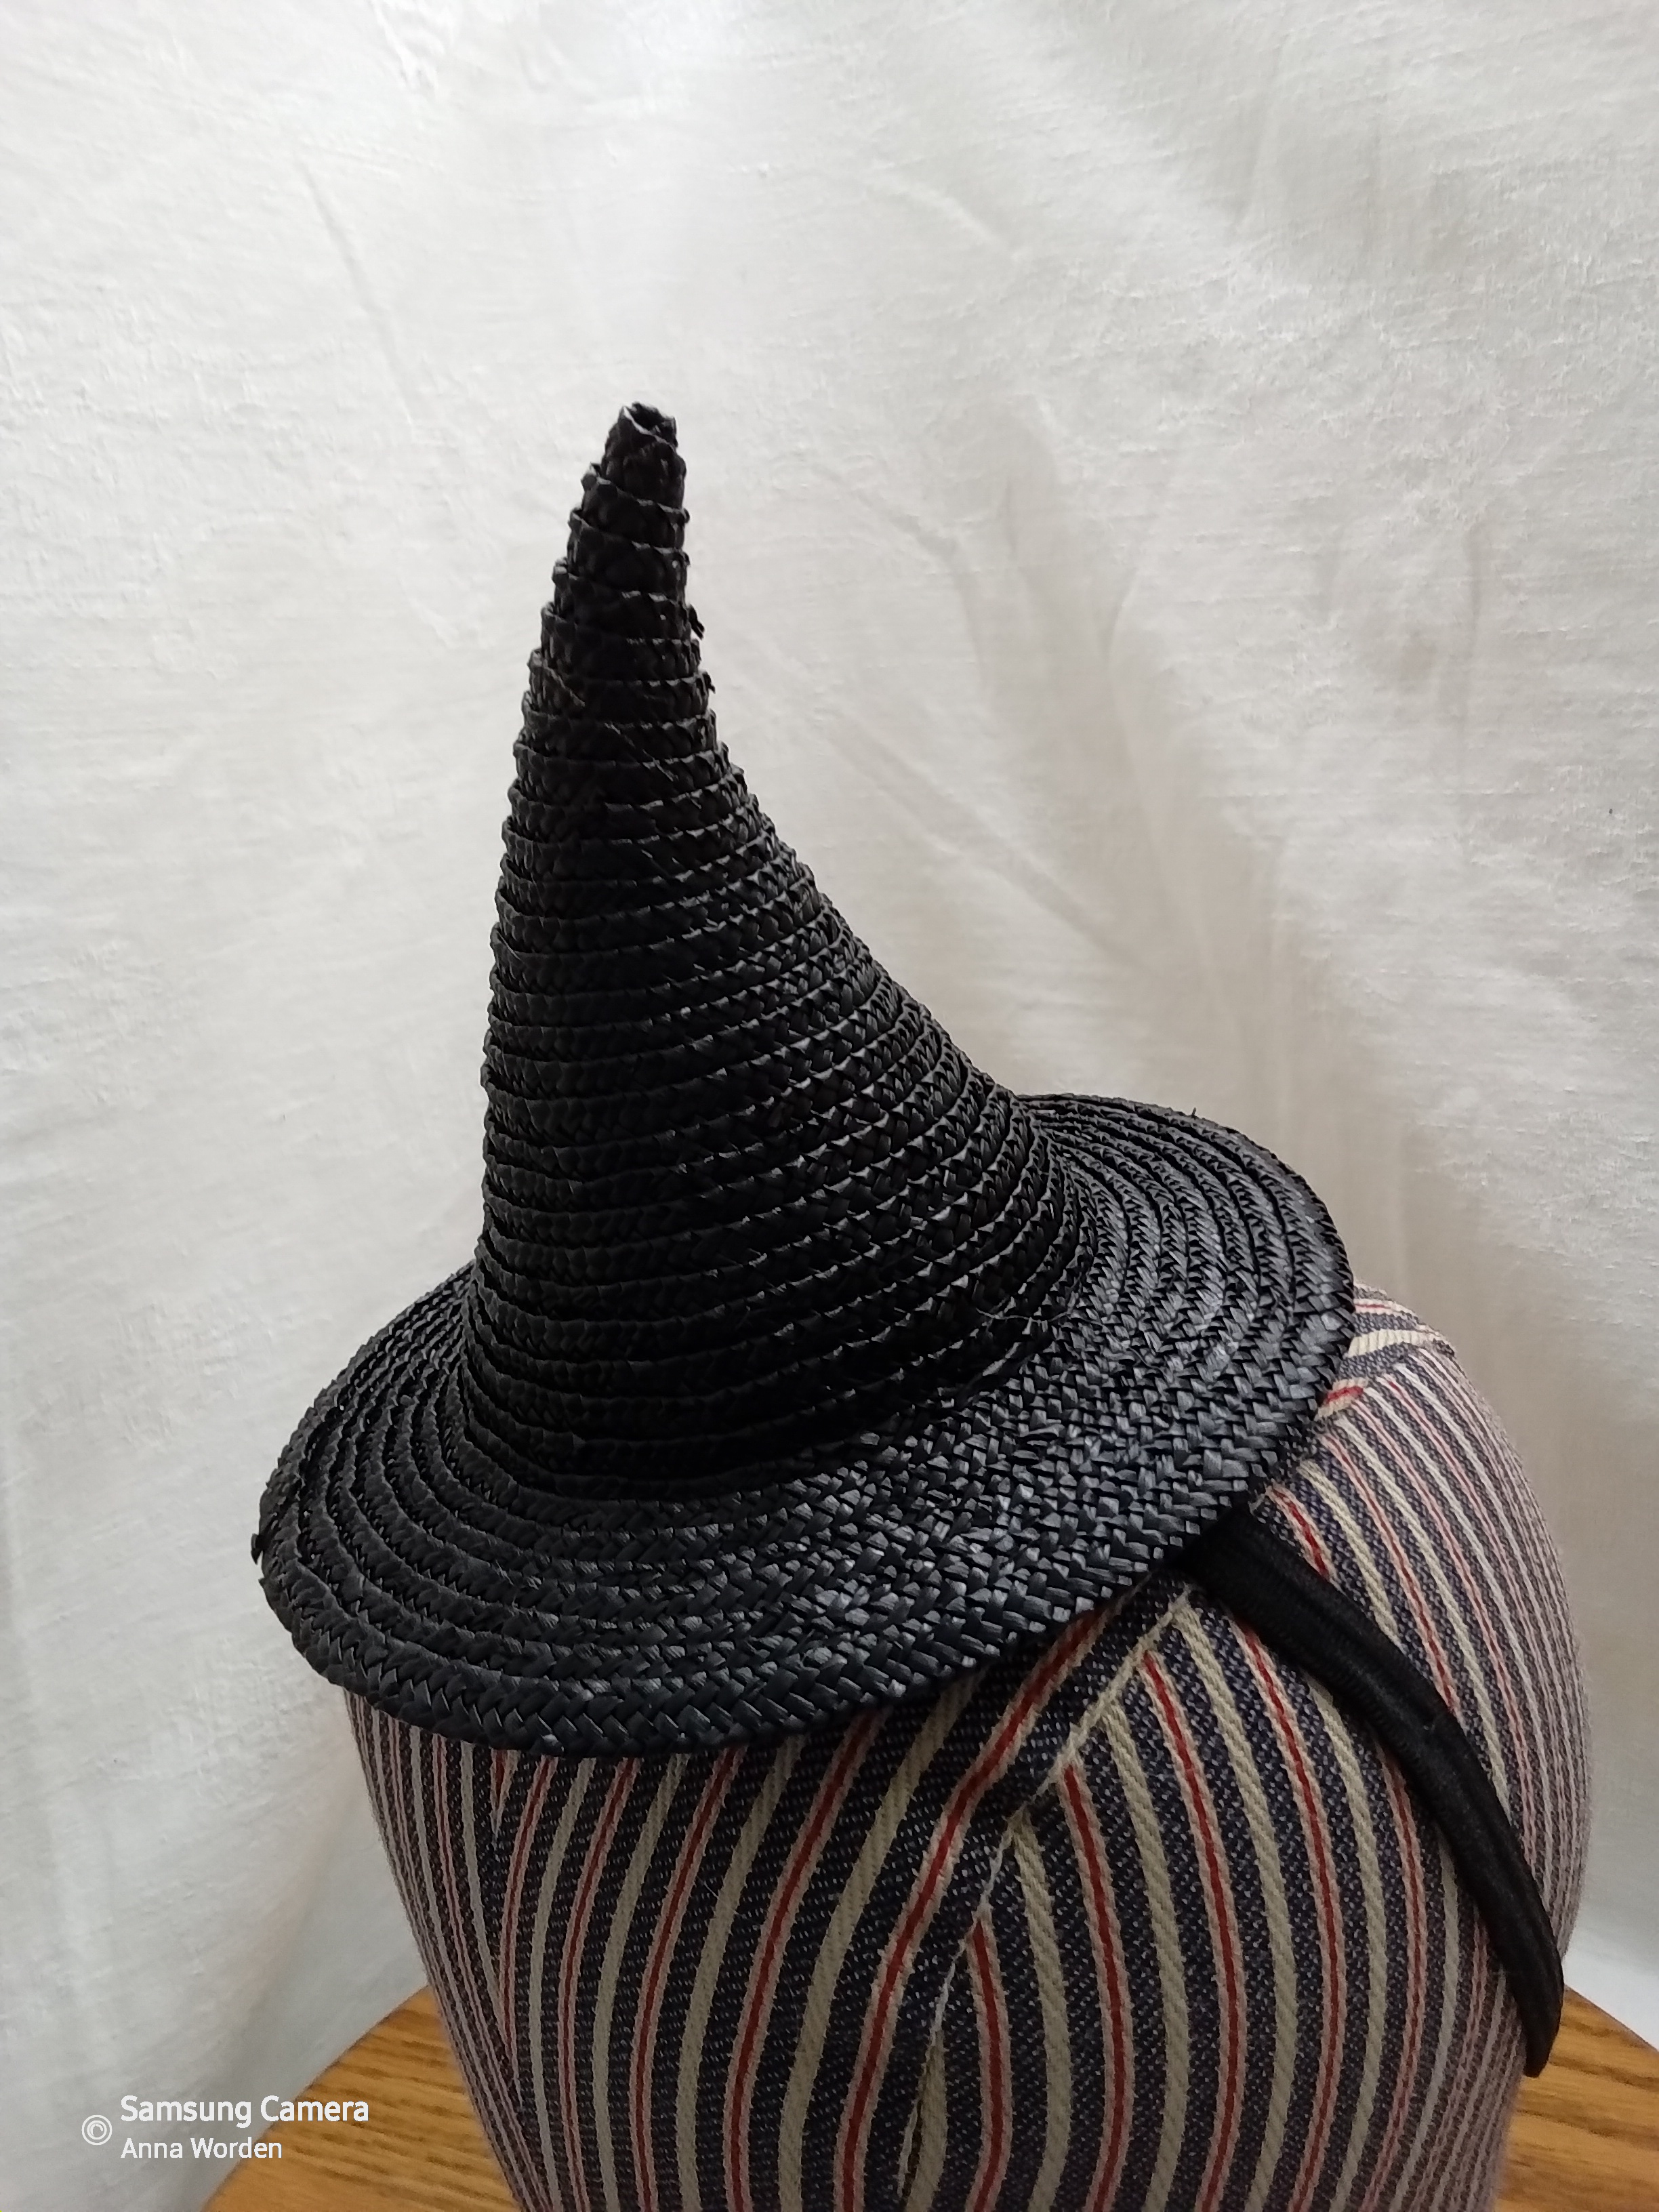
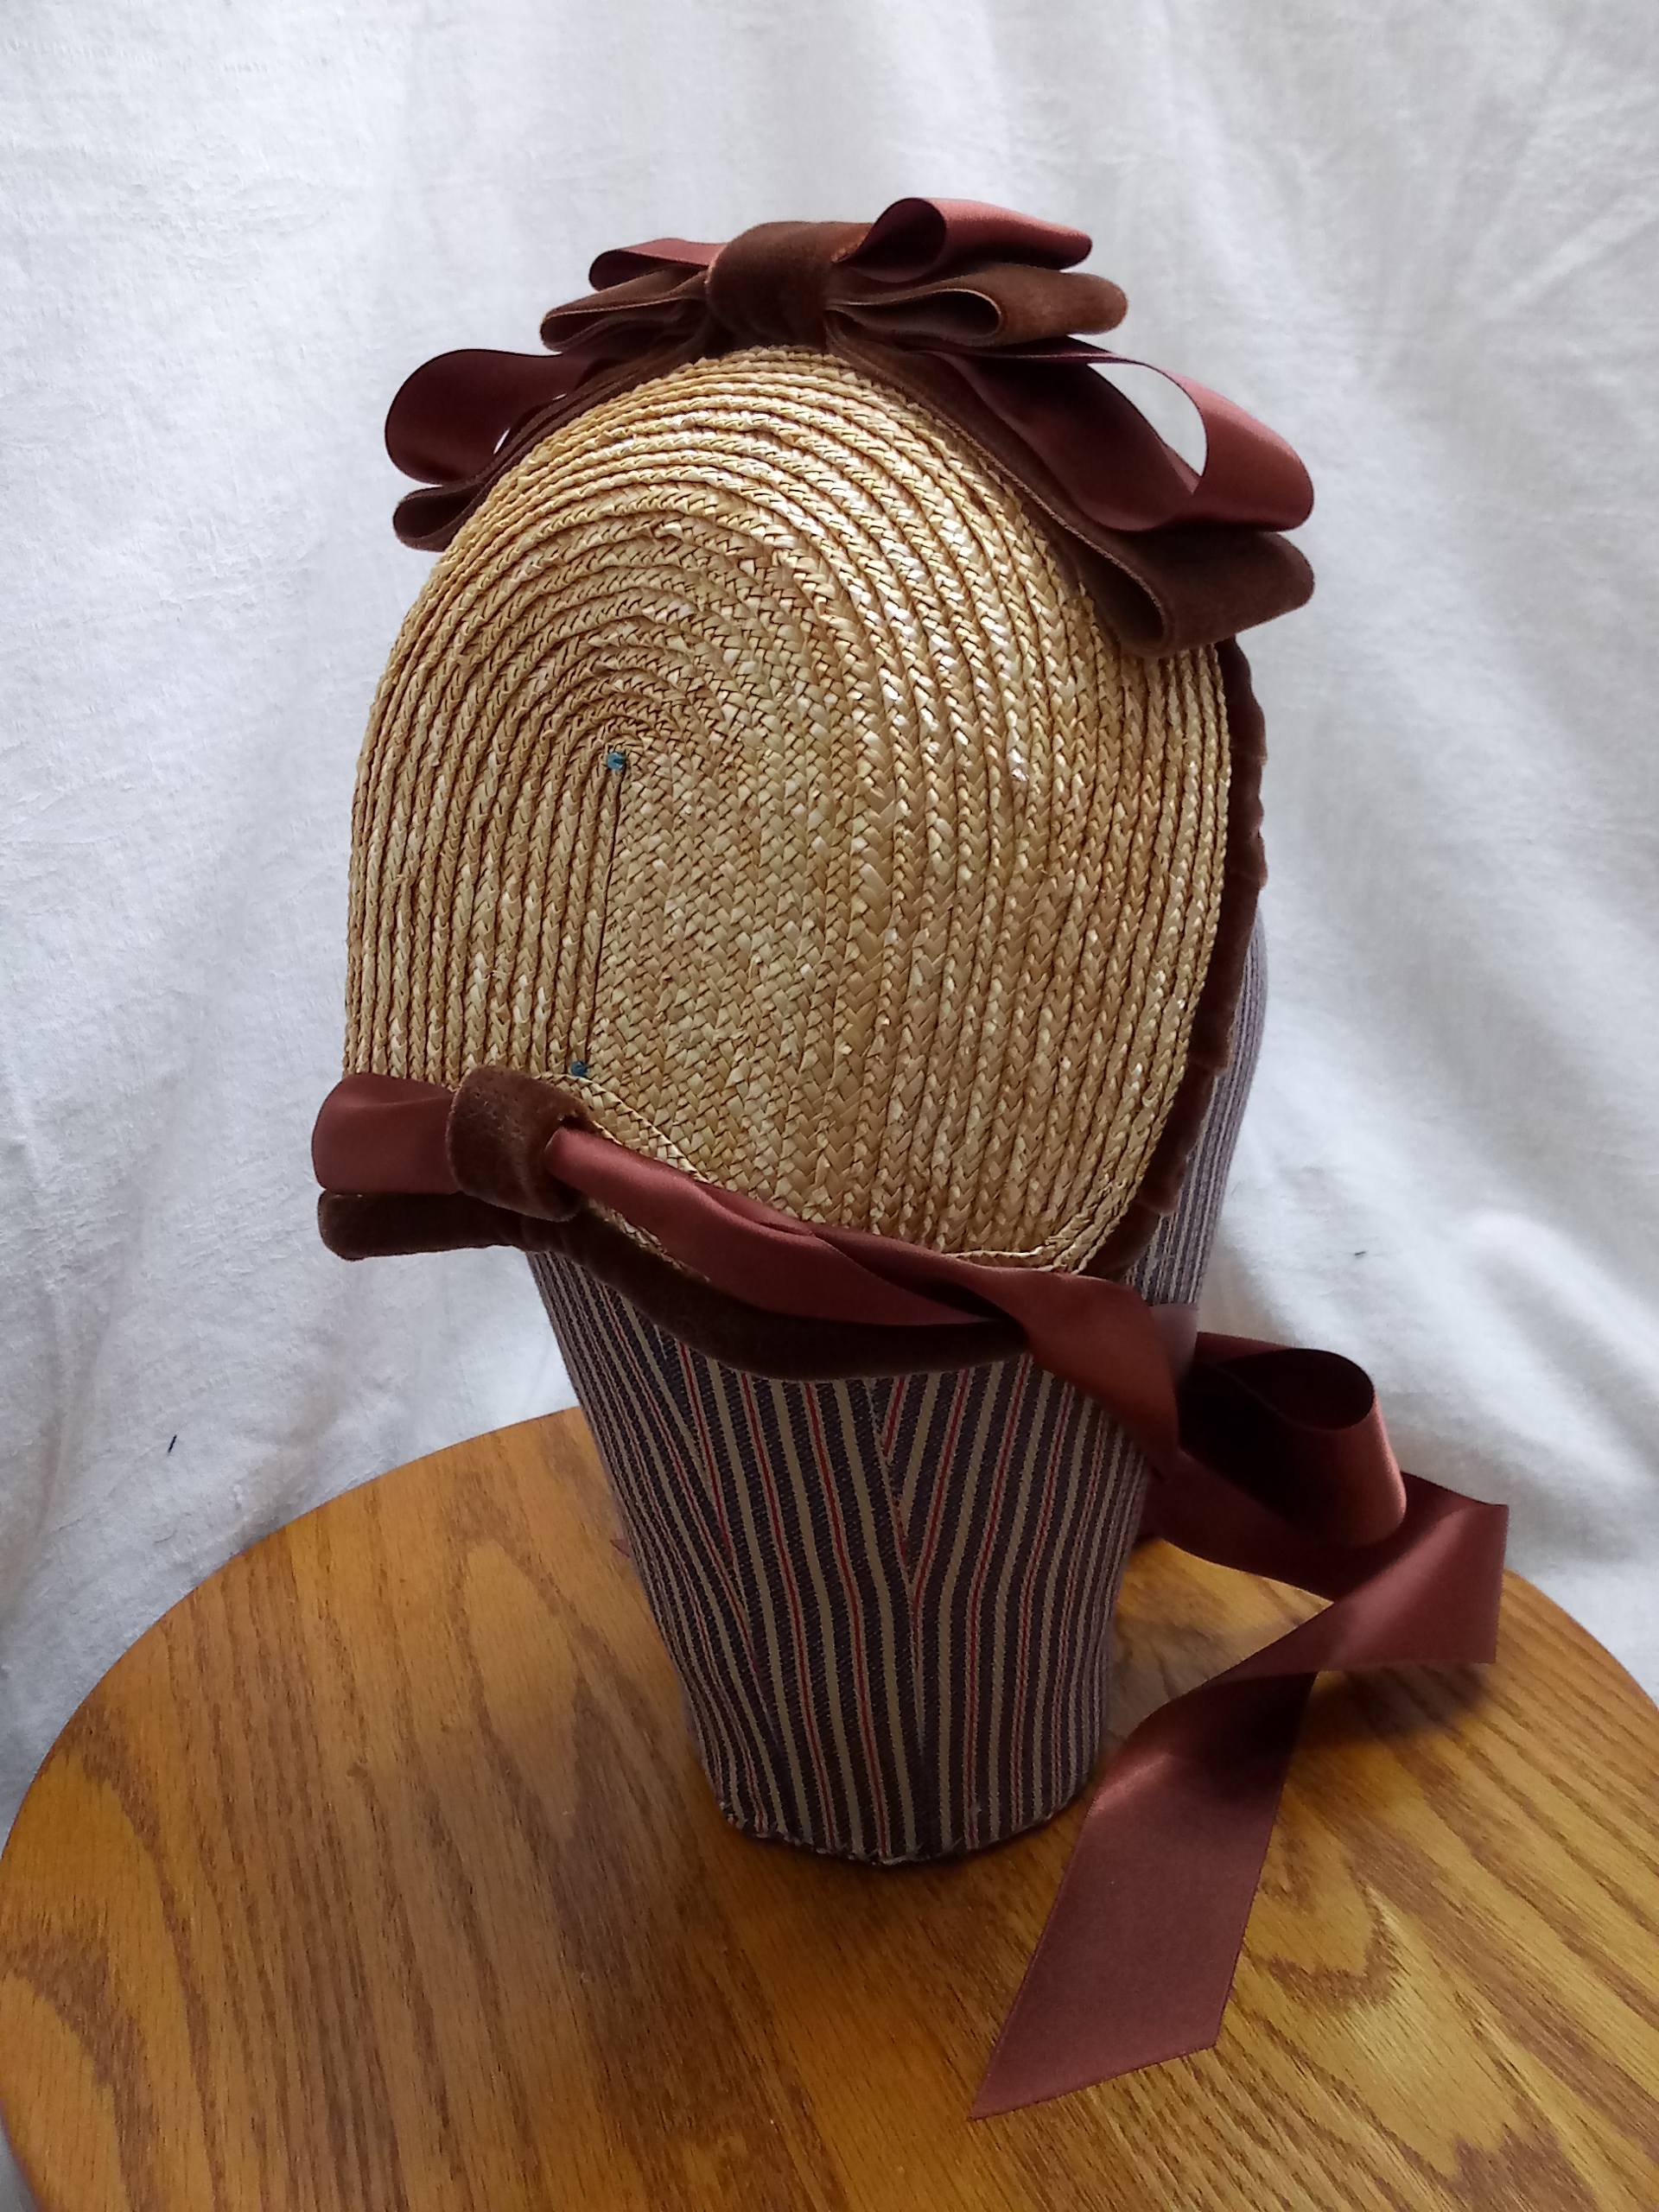
In the 1850s and 1860s, hats were worn much higher on the head than we are accustom to in the twenty-first century. Think about when you wear your modern beach or garden hat. You know that line across your forehead where it sits after a long hot day? You do Not want that. A mid-nineteenth century hat sat higher, at the top of your forehead, at your hair line, or even higher. Take a look at these fashion illustrations from 1860-1862. Notice where each hat sit. In a few illustrations, the front hairline is obviously below the crown line. In others, the crown sits just at this line. The hat sits atop the head, not encompassing it. The curve of the brim is what dips to the eye line, not the hat itself.

What does this mean for you when picking a size?
There are two factors for finding a comfortable fit: Size and shape.
The difference in wear or placement means we measure for a mid-nineteenth century had differently than we do for a twentieth or twenty-first century hat. The modern hat is measured just above the eyebrow. (This is also where many of us measure for bonnets. We want to keep you on your toes.) For mid-nineteenth century, we measure higher, at the hair line. In this illustration, we can see the difference between where the two measurements would be.
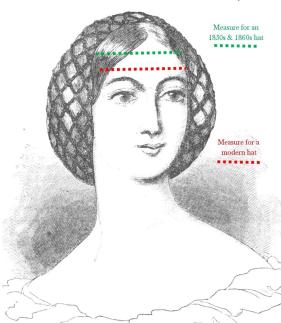
These higher, hairline measurements are often smaller than those taken at the eyebrow. A hat worn at this point can be slightly smaller to slightly larger for comfort. So, add and subtract an inch to your hairline measure.
For example: I am 22.5″ around at my eyebrows and 21.5″ at my hairline. The vast land of the internet tells me that the average woman’s head measures 22.5″ to 22 5/8″ around at the modern measuring point. So, I am about average. I comfortably wear a mid-nineteenth century hat that is 19.5″ to 21.5″
General guidelines I use:
- Small = Less than 21″ at the hairline (crown less than 20″)
- Average = 21″-22.5″ at the hairline (crown 20-21.5″)
- Large = Greater than 22.5″ at the hairline (crown greater than 22″)
Just like every head measures a bit differently, they are each shaped a bit differently.

When looking from above, some people have rounder heads while other have more oval heads. Both of these shapes to the right can have a circumference of 22.5″. Yet, the same hat would fit each head differently.
I will try to indicate which hats have rounder crowns or more oval crowns. I am in the process of naming the crowns. Hopefully, that will help.