Millinery Care and First Aid

I have written a couple posts in the past about caring for or storing our bonnets. Lately, a few specifics “uh-oh” fixes have been asked of me. So, I thought it would be good to put together a more detailed article on millinery care and first aid. Here I will be talking about Straw millinery only.
Preventative Care Your Bonnet
The best prevention is to store a bonnet or hat on an archival stand, under a glass dome with its own security system. ….. A dream, right?
(If I could have all the storage space in the world and start over – I would attach two stands to the inside of the lid of a tote (I think they are the 15 or 20 gallon totes) With the lid as the bottom, the tote becomes the top. I could then place a bonnet on each stand with the ribbons rolled up. No wrinkles, no dust, no issues. Again, that is my dream.)
I’m going to boil this down to my list of dos and don’ts:
Do – Keep you hats and bonnets on stands
Do Not – Use foam heads for storage. These will release chemicals that will discolor your bonnets. Even covered with other fabric this can happen.
Do – Cover your bonnets some how to keep dust off of them. Yes, a box is best.
Do Not – Store in overly moist or overly dry areas. Moisture can cause mildew, mold and color issues. Dryness can cause silks to shatter.
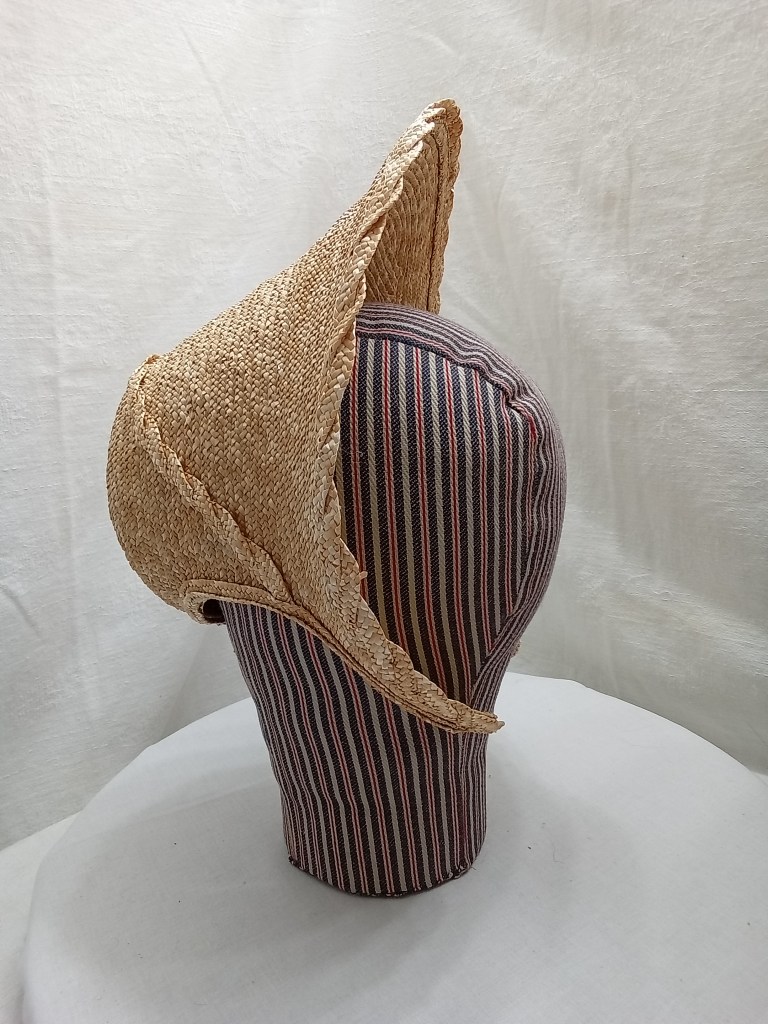
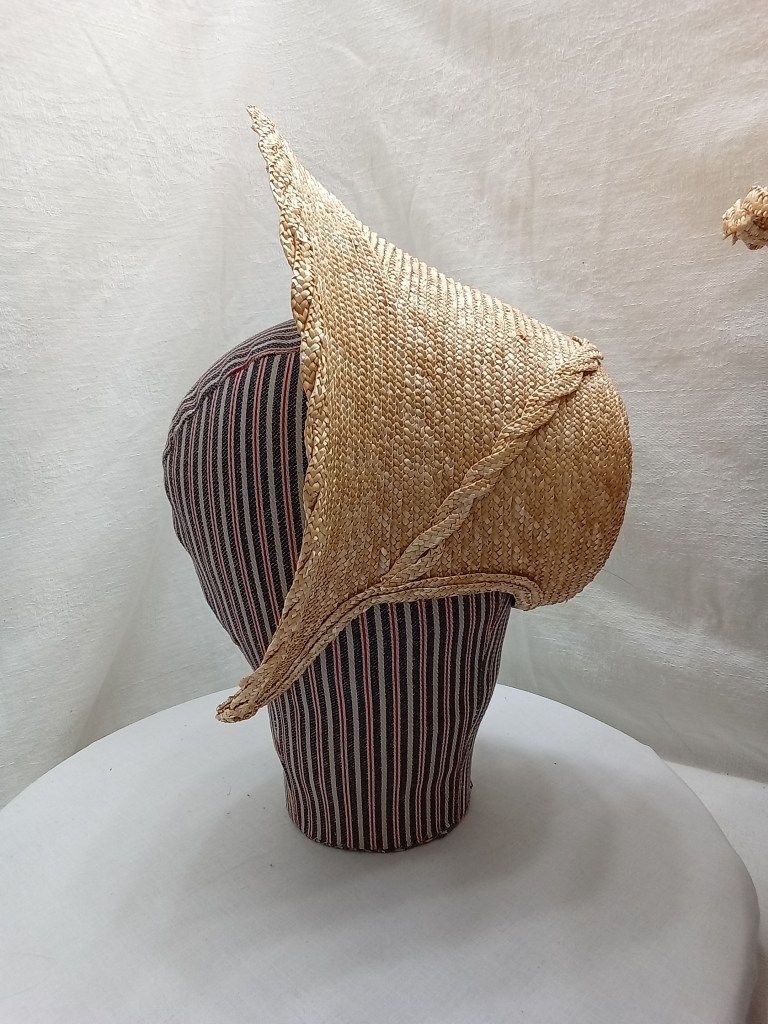
Do Not – Store a bonnet on its face, side or bavolet. This will cause crushing, wrinkling and misshaping.
In Case of Mishaps
Rain – A gentle sprinkle can usually be okay with a gentle drying while on the bonnet stand. If you find you were stuck in a heavier rain with your bonnet on, first remove all flowers and ribbons from your bonnet. Hang your flowers upside down. I have this awesome stand from Wilton that was meant for cake making that works great. You may want to use clothes pins to hang them from a clothes hanger. Lay the ribbons flat to dry on a paper towel or old towel as not all ribbons are color fast. You may find you want to remove the bavolet as well. Lay it flat, net side up. Most bavolets can be pressed with the aid of a pressing cloth once dry.
For the bonnet itself, press any mishapings out with your hands gently against the counter if need be. Take a roll of paper towel. Unroll it to about the size of the tip of your bonnet. Place the bonnet face down on top of the upright paper towel. If you left the bavolet attached, let it lay open but not touching the bonnet. Arrange the pleats and work out any wrinkles carefully with you hands. Allow it to dry completely. In the case of a hat, you may need to shape the top of the paper towel roll to reflect the curve of the crown and lay a layer or two of towels over it to make a smooth surface.
Reattach the ribbons and flowers.
Wrinkled ribbons – Ribbons get wrinkled and crinkled when tied and untied. Bonnets should be stored untied with the ribbons neatly rolled into a coil. (I even roll some of mine around little ribbon pillows I’ve made.) Rolling the ribbons will help coax the fibers that were inside in the bow to relax back where they should be while keeping additional wrinkles from forming.
If you find your ribbons to be holding their wrinkles, you can steam them to help relax the wrinkles then roll the ribbon. You can also try pressing the ribbon with an iron using a pressing cloth. (Most silk ribbons are vintage with older fibers, while newer ribbons, even high quality ribbons are a combination of rayon, polyester and nylon. A low temperature and pressing cloth is safer than ending up with your ribbon stuck to your iron or breaking.)
Squashed Flowers – a Flowers can become squashed during wear or storage (or oopses). For velvet flowers, I find a light spraying of spray starch and reshaping with my fingers works best. Spray just a small area at a time, 1 or 2 square inches at most. The petals should be barely damp, not wet. Gently work the damp petals and leaves back into shape. Allow them to dry fully. If you have removed them from the bonnet or hat, clip the flowers to something so they stand up to dry.
For organza or other faux silk flowers, a light steaming may work to help coax the fibers in the petals to be manipulated and reshaped. Allow them to dry fully as well.
Crushed Frill – a A slightly crushed frill can be steamed and reshaped with the aid or a bodkin or hair pin. A severely crushed frill needs to be removed and pressed with an iron. Silk organza or cotton organdy should be able to be pressed on the designated setting. Lace should be pressed on a low setting with the aid of a pressing cloth. I try to press the frill while it is still pleated. (un-pleating and re-pleating is timely.)
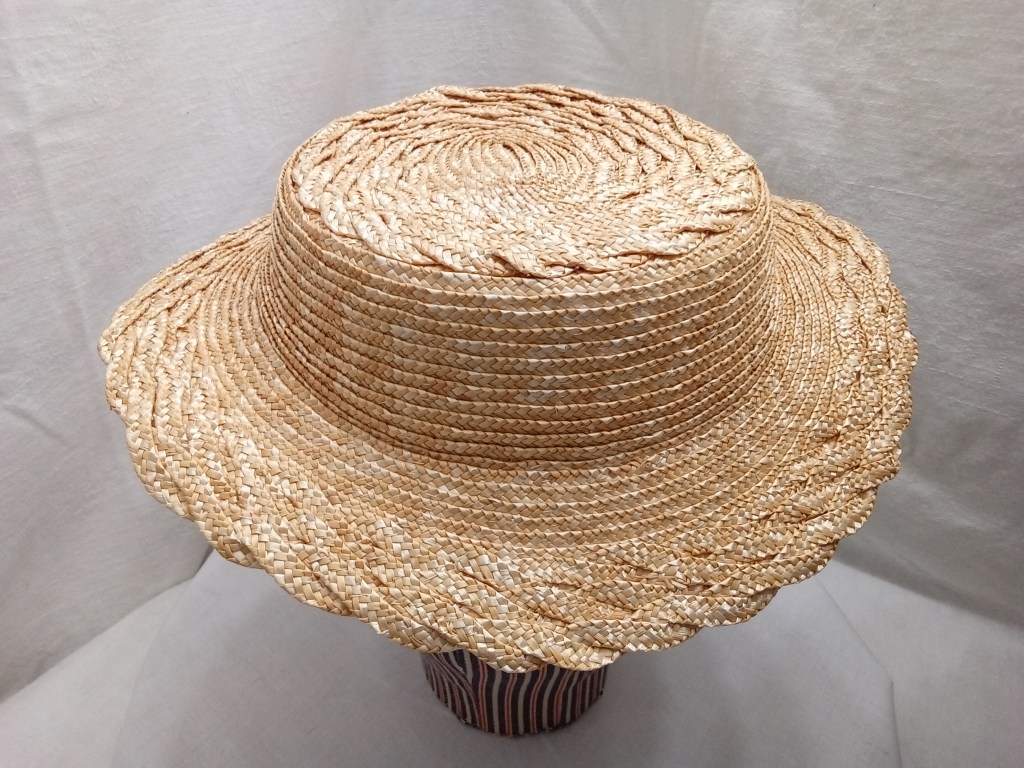
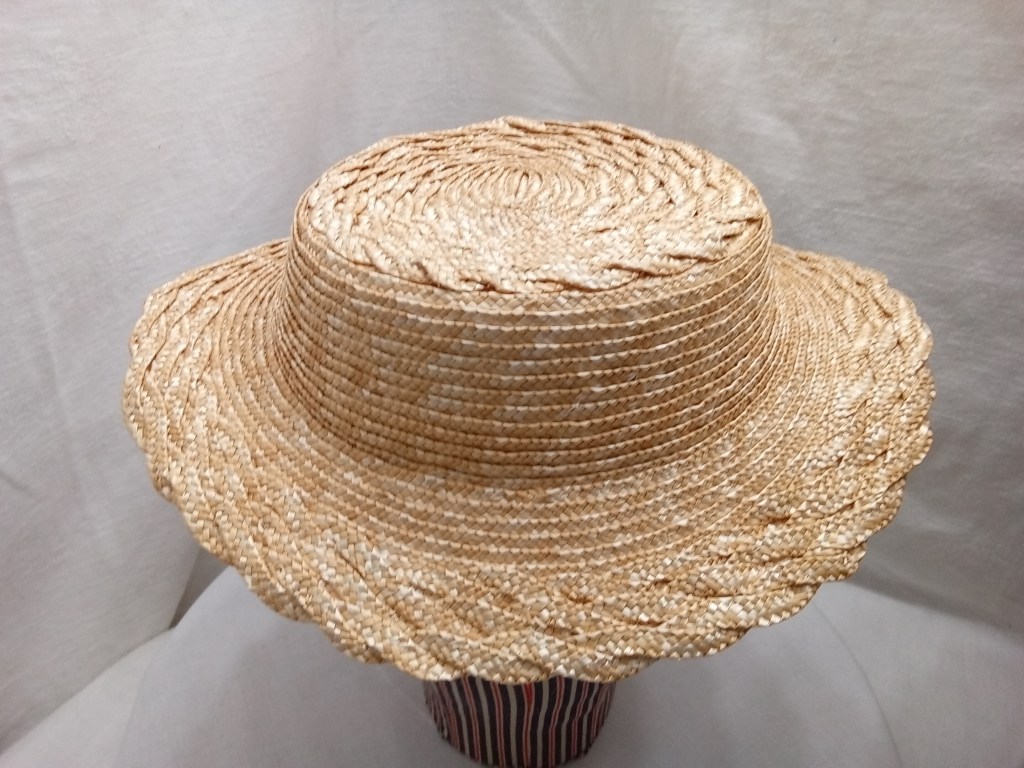
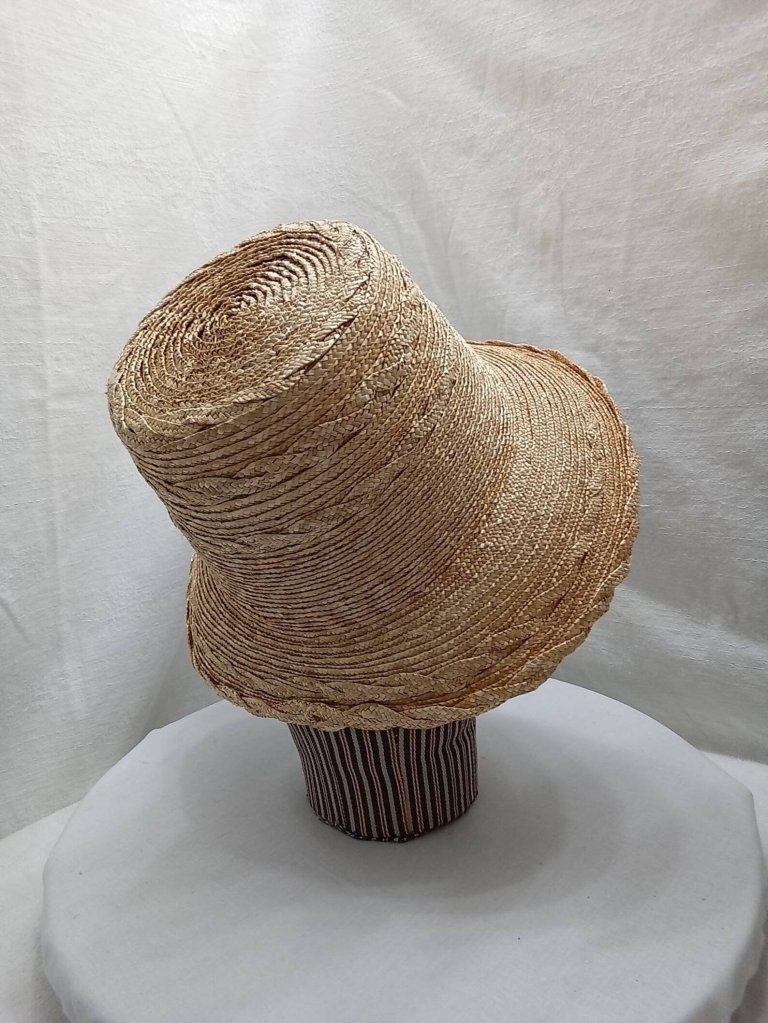
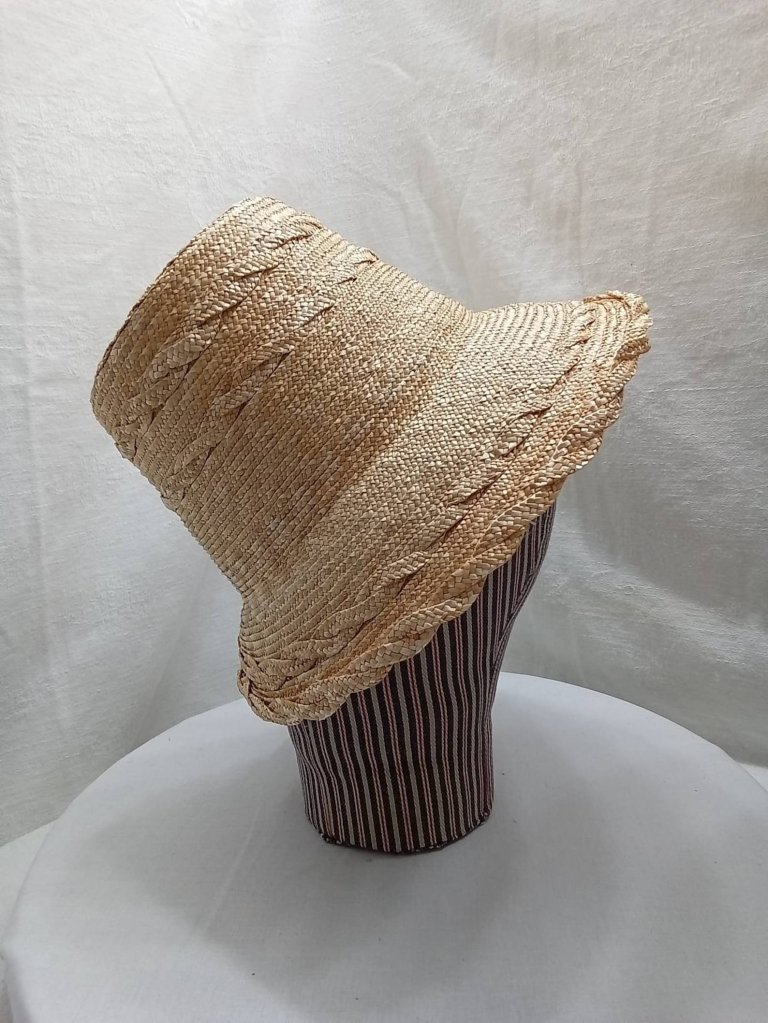
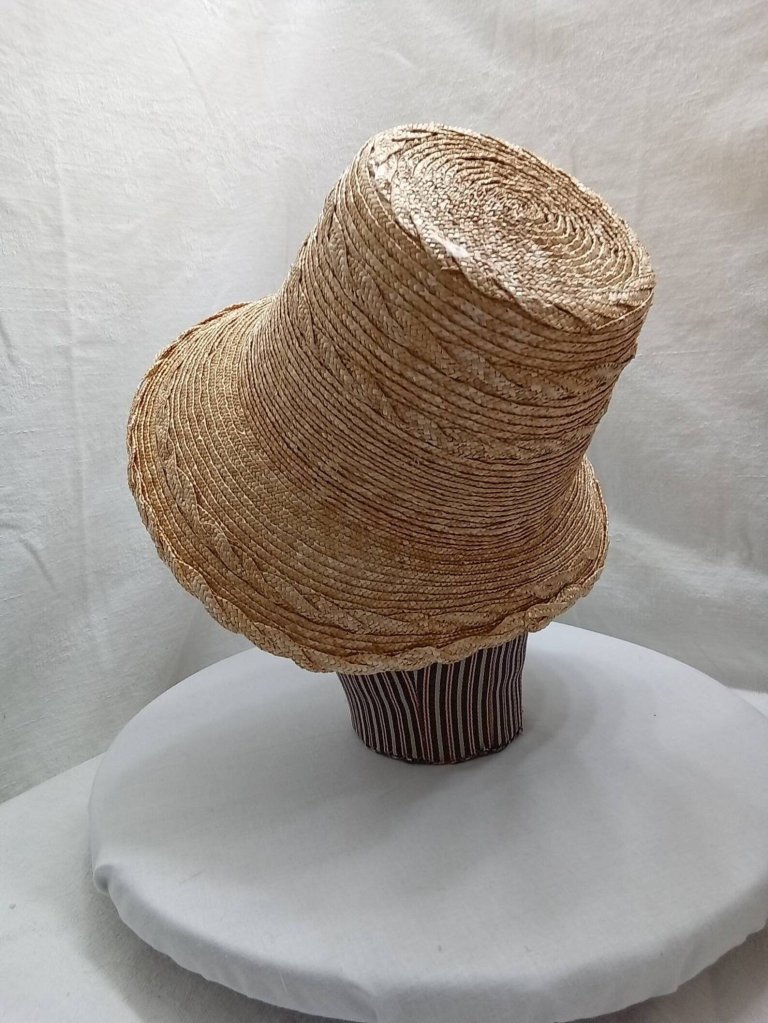
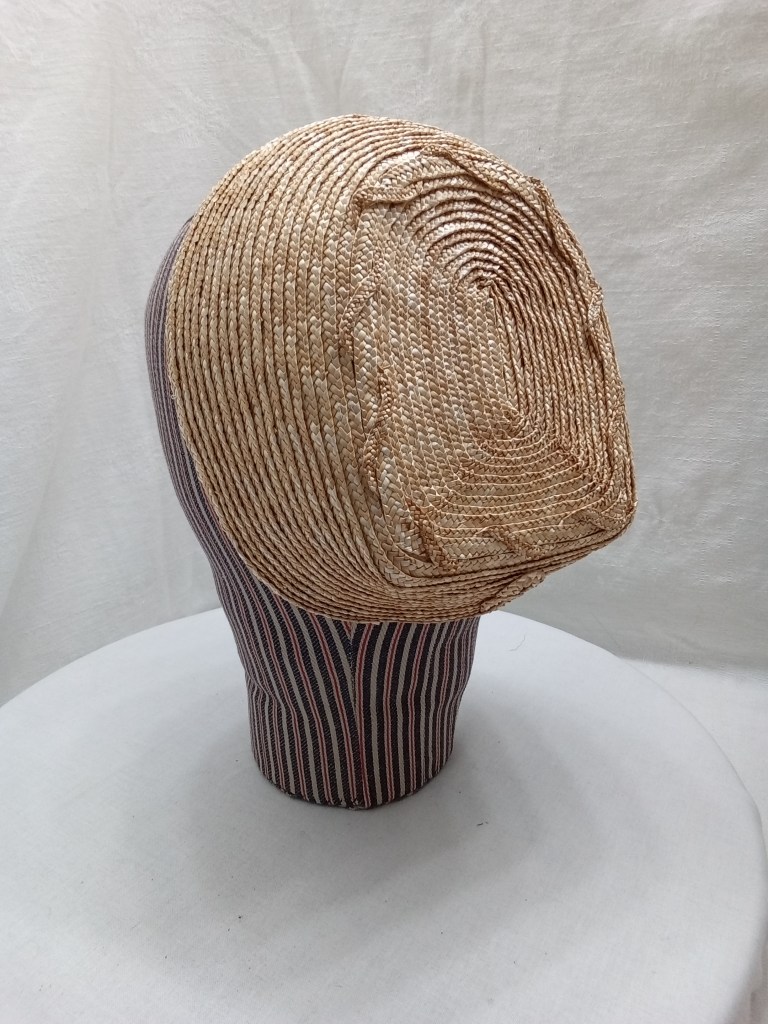
Crushed or Shattered Straw – This is a though one. I’ve had a couple people ask me about bonnets that have been sat on or crushed in baggage. If the straw is not completely broken just misshapen, I suggest removing the flowers, ribbons, etc. Dampen the area(s) that have misshapened. Reshape the area(s) with your hands. Use objects in your kitchen for support if need be. Allow the straw to dry fully. If needed, mix some millinery gelatin or white glue & water (1:1) and brush it on the area for firmness and strength.
If a single or only a couple straws have been broken, it may be possible to replace or support those areas with additional plait if a matching plait can be found. To support, clean the break with fine scissors or nail clippers so the cut is along the diagonal of the plait. Unpick the stitches connecting that row of plait to those adjacent. Cut a piece of straw 2 or 3 inches long with diagonal cuts. Slide the piece into the fracture. Line it up carefully. Sew the piece into place catching the layers and the broken strips.
If multiple rows of plait are broken or it is a woven straw, the best chance is to realign the straw (dampened) and support it from the back with sinway or a piece of woven straw. The front of the straw will need the aid of a bodkin and/or tweezers to get the right look. You will want to use millinery gelatin or a glue solution to firm up the realigned straw. I would only recommend this if purchasing a new one is out of the question as it will be very intensive.
Dust or Cobwebs – If you store your bonnet or hat on a stand, you may get cobwebs. My favorite solution is a can of spray air, like the kind used for computers. Spray gently and at an angle.
Squashed Bavolet– A bavolet can get squashed during storage. If this happens, Turn the bonnet upside down. If need be, tie the functional ties together and hang the bonnet from the loop. Steam the bavolet encouraging it to flop over the tip and sides of the bonnet. Steam both the silk side and the net side. Smooth out tough wrinkles with your hands. Once the bavolet is back in shape, let it dry fully and spray with spray starch.

Are you one of the many readers enjoying my millinery blog posts?
Consider becoming a Patreon patron. Doing so helps support my work and helps me write more useful articles.
https://www.patreon.com/AMillinersWhimsy

Published in: on April 24, 2023 at 12:05 am  Comments (1)  

Vining Straw for Spring

It seems I was in a vining mood this week. Both, the hat and bonnet I ,are this week have straw vining around them. I picture these decorated with garlands of spring blossoms, maybe some apple blossoms or cherry blossoms.

Don’t miss last weekend’s Regency era bonnet:

Or one of the 1870s capotes:

Published in: on April 23, 2023 at 9:52 am  Leave a Comment  

Regency Bonnet

Vining straw winds around the crown and brim of this Regency style bonnet. The crown rises with a taper, with vining around the sides and tip. The lower portion of the crown does not have vining as I picture ribbon there. The brim has a soft curve to it with two bands of vining, including the edge.

Published in: on April 18, 2023 at 6:10 am  Leave a Comment  

Glitching Images

You may have noticed some missing images in posts. I apologize for this. I think it is either the new Jetpack app WordPress is using or trying to copy posts from the classic format to new format. Either way, any time I try to fix it from my phone, it gets worse. I will try to fix it asap. If you notice a glitchy photo/post, please let me know so I don’t miss one. Thank you for understanding.

Published in: on April 17, 2023 at 10:54 am  Leave a Comment  

What Mass-produced “reproduction ” Bonnets Get Wrong

Sunday morning, I did a short Reel about one aspect mass-produced 1850s-1860s style bonnets get wrong. Then, I quickly realized I have much more to say on the subject. I need to get my hands on one of the mass-produced bonnets to really show people what I am talking about. Until then, here is Sunday’s Reel (moved to YouTube. )

Published in: on April 17, 2023 at 7:14 am  Leave a Comment  

Understanding the Ribbon Bavolet

~~~This is one of the many wonderful bonnets found in the Susan Greene Collection at the Genesee Country Village. (To see some of their ribbons, be sure to hop over to the Millinery Ribbon Blog.) ~~~ This straw bonnet shows a great many things from the over-all spoon bonnet shape to the shape of the cheektabs to the fineness of the straw. I would like us to look at the bavolet today. We also know the bavolet as the “curtain.” The bavolet is a fabric or ribbon pleated into the back neckline edge of a bonnet. This can resemble a flounce in that the top is drawn in while the lower edge floats or flares out. The bavolet can, but does not need to be a single material as we see here. It can be made of layers of silk, net and lace. Some high-end fashion plates show beading as well.

(Honestly, I don’t think I could handle beads dangling on my neck.)
~~~The construction seams on the underside are covered by a net. Net is used to give the silk bavolet more body and fullness. It is sewn so the net is not seen from the outside and pleated into the bavolet. The bavolet reaches all the way around the back of the bonnet (the tip) and up along the sides while the lower edge connects to the cheektabs.
*The section of ribbon that decorates the exterior of the bonnet can be on the grain or on the bias. The ties need to be on the grain. To see a nice example of the ribbon decorating over the top of the bonnet, see this MFA example that happens to have the bavolet on the grain. Notice how the bavolet flops more than floats.

Published in: on April 17, 2023 at 12:05 am  Comments (3)  

Mini-Videos

A couple weeks ago, I decided to try making informative mini videos with reels. Just this morning I realized I can download them and shared them on YouTube. (Again, time travel put me behind the times.) Here are the first three millinery reels. There will be more.

Published in: on April 14, 2023 at 8:42 am  Leave a Comment  

Straw Bonnet Workbook

First Review – Thank You!

Published in: on April 13, 2023 at 4:34 pm  Leave a Comment  

Straw Bonnet Workbook

My newly re-written 1850s-1860s Straw Bonnet Workbook is ready!!!!!

My Straw Bonnet Workbook walks you through hand sewing a late 1850s to early 1860s straw bonnet from straw plait. Included are directions for a high brim bonnet, often referred to as a “Spoon Bonnet” and directions for a low brim bonnet, also known as a “Cottage Bonnet.”

This workbook starts with an introduction and a brief history of straw millinery in the mid-nineteenth century with a look at original straw bonnets and bonnet blocks in my collection. The core of the workbook gives step by step instructions with color photos of working from crown to brim, guiding you through making your own straw bonnet. The workbook wraps up with a discussion of finishing materials and bonnet care.

***Please know this workbook requires hand sewing straw plait/braid. This workbook does not include directions for machine sewing or pattern pieces.***

***This purchase includes 2 downloads – The 55-page Workbook had to be divided into 2 files to fit on Etsy. Be sure to download Both files.***

Published in: on April 12, 2023 at 5:24 pm  Leave a Comment  

The Weather Outside is…. Drenching

Here is a past post that should fit with “April showers.”

With this soak-you-to-the-bone weather leading up to and likely through the weekend event, I am thinking about ways to keep dry. As I think through my list, I realize most of them won’t happen because the bits and pieces needed are buried deep in storage. That doesn’t mean I can’t share them with you.
Reenacting events inevitably mean walking, likely through grass or even mud. With wool boots, I find my rubber over-shoes a must. They slip right over my boots covering up to about my ankle. Extant rubber over-shoes were found when the Steamboat Arabia was uncovered. Those made by Tingley seem to be the closest.
Just in case, still pack extra stockings or socks for everybody.
A wool coat can help keep the wet off of most of you. A long paletot gives you great flexibility in the arms while buttoning up the front to keep you dry.
If you don’t have a coat, consider the largest, plain or plaid wool shawl you have. Wrapping this around you will help keep you dry.
We talk a lot about parasols in reenacting but not much about umbrellas. Use an umbrella, a period umbrella of course.
Skip the fashion bonnet. Instead opt for a sunbonnet or for a hood. Water can cause a bonnet to soften, warp and even run.
If you carry a bag, make sure it is water-resistant. You may want to try a pocket instead. A pocket hidden under layers of skirts can usually stay dryer than a bag carried out in the open. If you must carry medicines or modern technology put them inside painted canvas bags or zip-lock bags just incase.
For larger bags, choose one with a heavy carpet and good closure. If it has a leather or painted canvas bottom, even better. Leave the bandbox at ‘home’.
You will be happier with your tent if you have sod-flaps and overlapping doors. Also put down a good water barrier under your flooring. I find a wool rug helps control the moisture better than other fibers.
Inside your tent let wool rule. Wool rugs on the ground help keep the area more comfortable. Put a wool blanket layer over your cot or ticking first. Be sure it drapes almost to the ground on each side. This keeps the moisture from coming up from underneath. Make you bed how you prefer. Then cover it all with a wool quilt or blanket. This will keep the moisture from getting in during the day. If you are sensitive to a moist pillow, wrap it with an extra wool shawl during the day to keep it dry.
Don’t hang your clothes. Put them in a trunk or box with a layer of wool covering them to help keep moisture down. You may consider a layer of wool on the bottom as well.
As you settle in for the evening, light a candle or two (safely). Whether the candles really do help cut the moisture or not, they help psychologically.
What do you do if you do get drenched?
If you can lay or drape your dress flat that will be best. Hanging it can cause it to stretch under the weight of being wet. If you have a trim that can run, be sure to lay the dress so the fabric does not lay back on itself particularly the trim.
If your bonnet get damp, set it up on a hat/bonnet stand. If you don’t have on make-d0 with something like the back of a chair. Do not lay it on its side because it will warp.
If your bonnet gets particularly wet, try to blot the trimmings so there is no running water. If your flowers are pinned in or on, consider removing them so they will not run on the bonnet itself.
If your boots get wet inside, stuff them with newsprint or fabric to absorb the water. Do Not put them near the fire as they can be damaged. (most warranties do not cover fire damage)
If your corset gets wet, layer it inside material to press out any excess moisture. Drape it over the back of a chair to dry.

Published in: on April 10, 2023 at 12:05 am  Leave a Comment