I think my post-event adrenaline crash has hit, a day and a half later, due to stuff that needed to be done. But, I am determined to write this post before zoning out into straw sewing land or flat out falling asleep. (This will be a personal perspective post.)
Independence Day was Beautiful!
I was a little worried leading up to the event because my weather app kept calling for thunderstorms, and I had a whole new interpretation & activity to do. Luckily, no thunderstorms. It was all 🌞 sun! Okay. So, it was incredibly humid… 99% if my app is to be believed. Attendance was strong. Here is the view out the door of the seminary at visitors gathering in the village square for the Naturalization Ceremony.


The new interpretation & activity I was doing focused on civic voice, discussing what was important to people in the 19th-century, helping young visitors connect that with what is important to them now, and offering them a chance to share what is important to them. I had a major cram session the days leading up to events. I never studied like that for school.
All-in-all, I learned a lot from preparing for the interpretation and doing the activity. I look forward to future opportunities to discuss the issues important to people in the 19th-century.
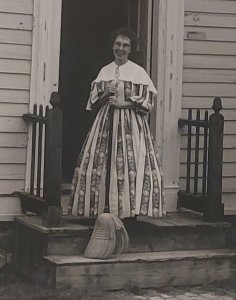
I suspect, many of you want to know about the reform dress.
The focus on civic voice and issues of the 19th-century was the perfect opportunity for wearing a reform dress. I had wanted to make a reform dress for a few years but didn’t really have a reason to do so.
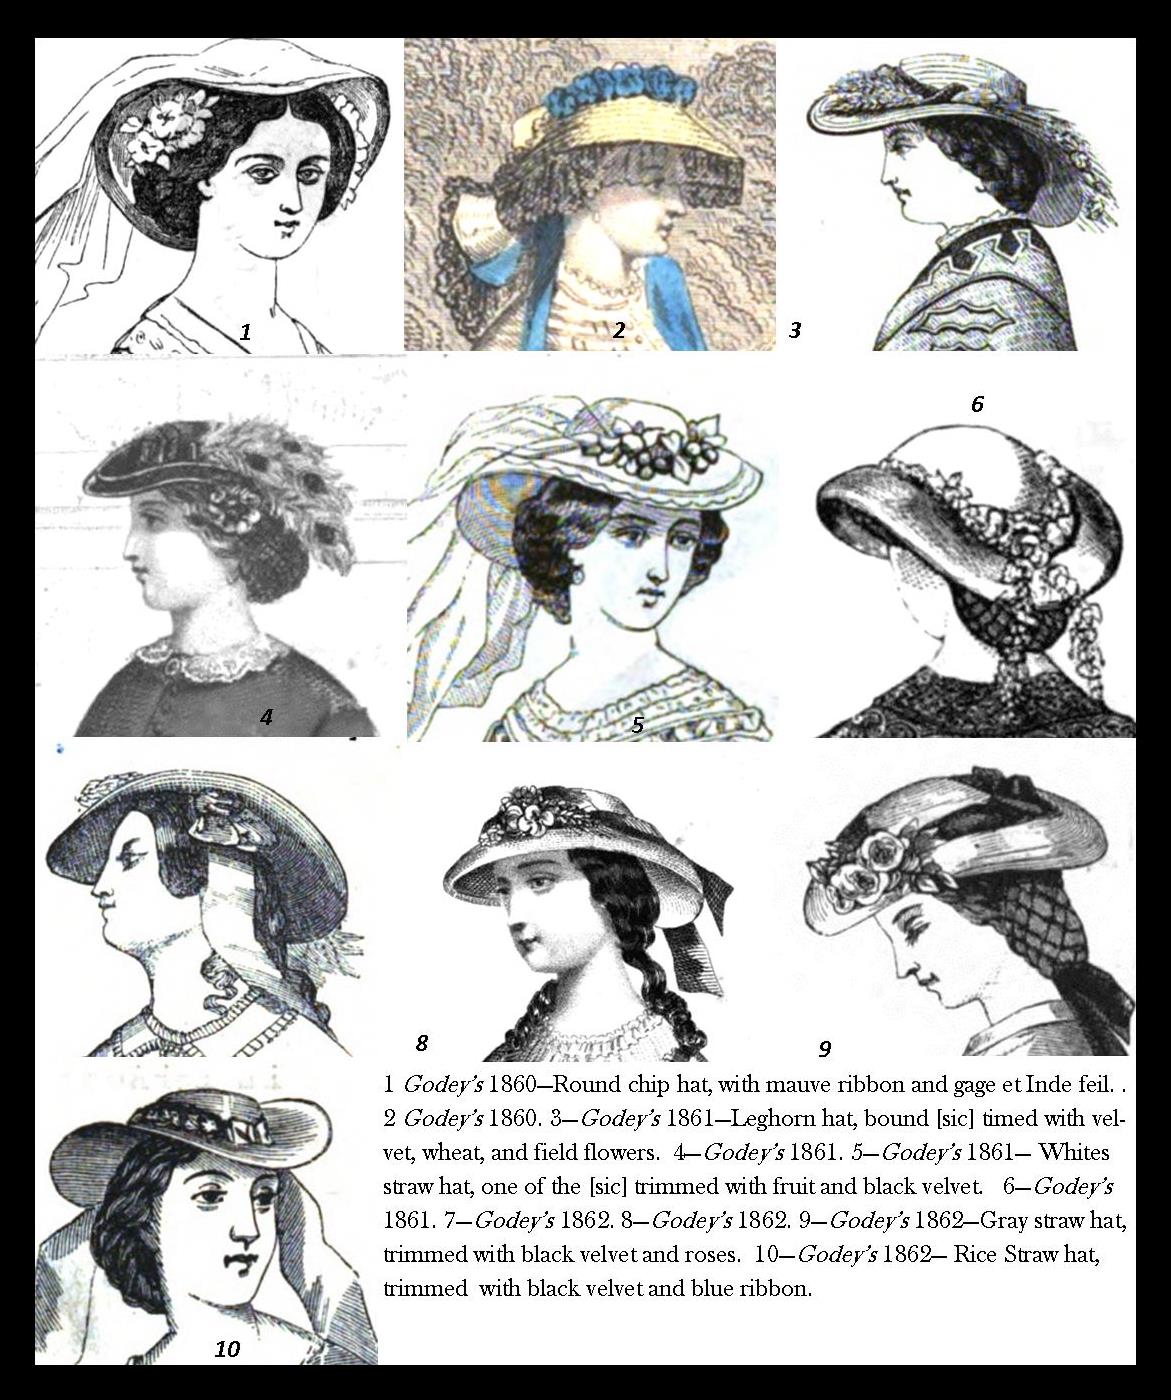
I wanted to make a reform dress that was fashionable 1850s to emphasize the public aspect of the attire, rather than the at-home functional or watercure, recreational aspects. This meant a V neckline, wider collar, open sleeves, basque bodice potentially. I also wanted to incorporate some of the comfort aspects in the ideology behind this attire. This meant the gathered, looser bodice and looser cut armscyes.

I had not quite 4 yards of teal tropical weight wool and what I thought was 2 yards of black tropical wool. As I began working, I discovered the teal had some sun fading on old folds and I had far, far less black than I thought. Luckily, I recently picked up a tote filled with end and damage cuts of wool suiting, including several pieces of black. I was able to piece together enough of the black pieces to make the underskirt, trousers, and trim.
Initially, I planned to do a pattern of diamonds around both skirts (I am calling the long teal basque a skirt in this case.) Black diamonds on teal. Teal diamonds on black. With June what it was, I got to a week before the event and knew I needed to change the trimming plan. I opted for the stripes with diamonds. I am pleased with how this came out. I would not have been pleased with the fussy diamonds appliqued quickly.
I was stuck on the sleeves for quite some time. I wanted a looser cut armscye, similar to travel attire, and an open sleeve for the 50s. But, I did not want to fuss with undersleeves. Luckily, evidence of open sleeves without undersleeves was shared with me. I cut my basic open sleeve. Then, on a whim, tried gatherers above the elbow. I Love this sleeve, both the look and feel of wearing them.

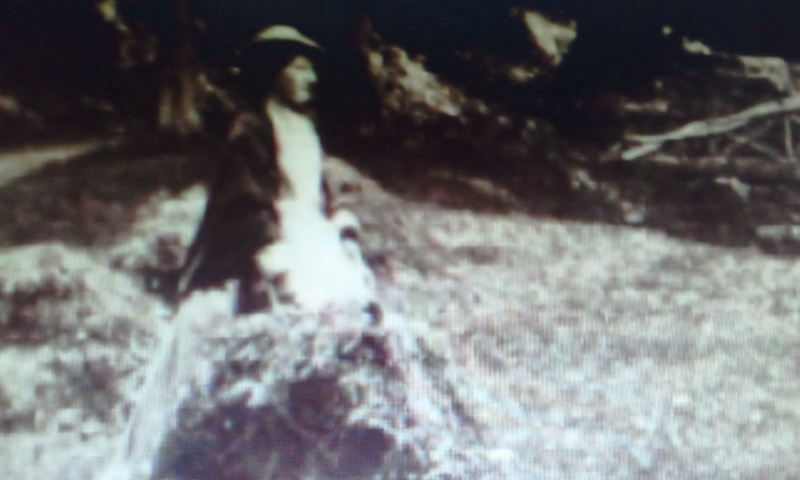
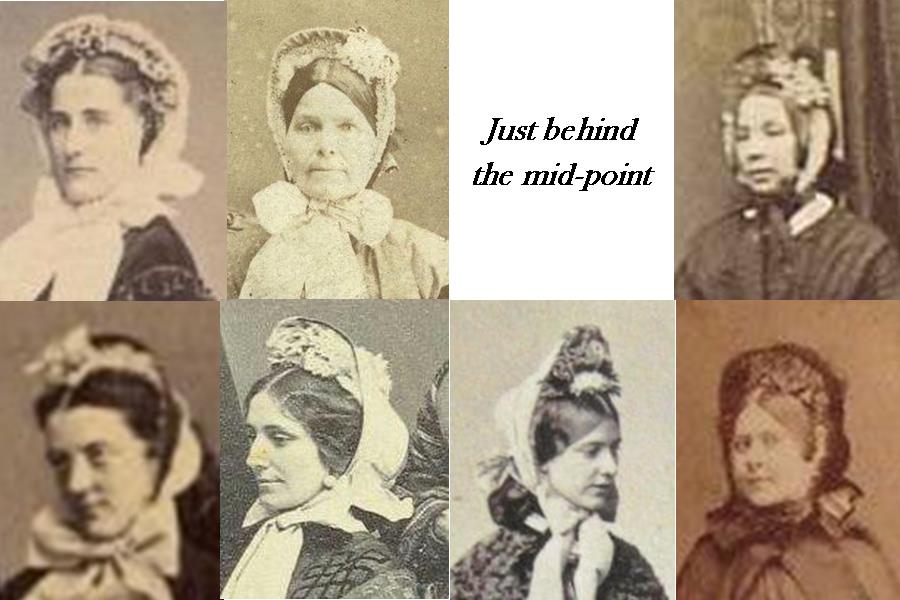
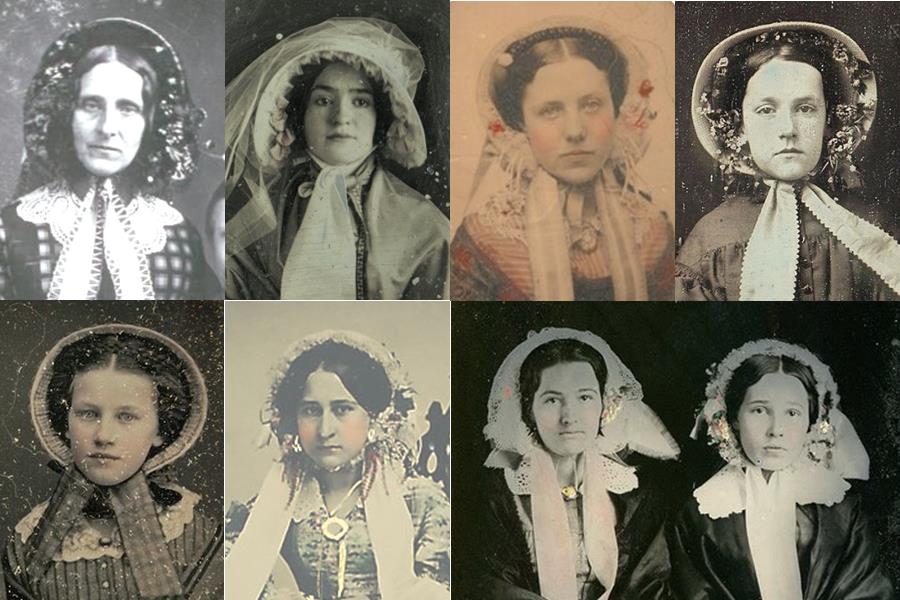
I finally made a hat for myself. Seven or eight years ago, I bought daisies for a hat for myself. They have been waiting all this time. I knew, despite illustrations showing both hats and bonnets, I wanted a hat for this outfit. I also know I wanted a slightly wider brim with a little something extra in the straw. I didn’t go as far as I planned on the brim width, again due to time. I trimmed it with two silk ribbons, daisies, and violets.
Now, let’s talk about the parade…..
I had not marched in the parade for several years. I became very sun sensitive while in New Mexico, like intense pukey migraine bad. Since returning, I’ve not participated in the parade. Instead, I would stand at the fence around Livingston and watch from the shade, wishing I could do the parade and sometimes trying to hold back tears. When several museum friends asked me if I was going to march in the parade, I replied I wasn’t sure. I was drawn. My reform dress deserved to be in the parade. Yet, I was scared of the sun.
At the very last minute, according to the seminary clock, I decided screw the migraine/nausea, I was doing the parade.
I grabbed my parasol and headed for the meadow.

😀
There was a moment lining up that I realized the vast majority of the museum people there were younger and/or newer than me. Given that I was 11 when I first did this parade, that was quite the realization.
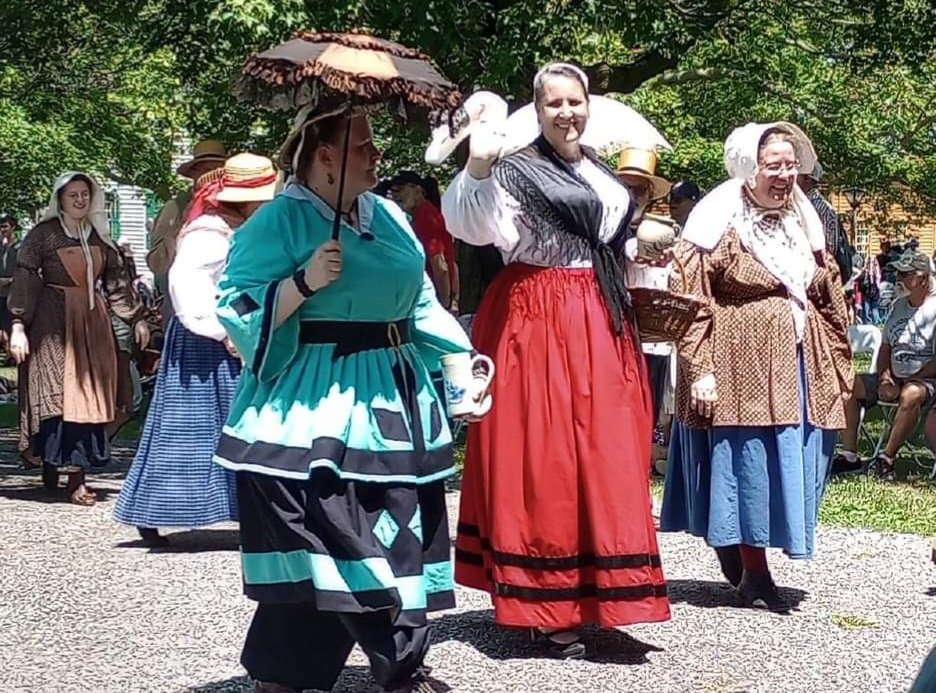
It was just a couple times around the square….. but….. it really was a big deal for me. No head ache. No migraine. No faint feeling. No nausea.
Now, for some post-event thoughts on the details of my reform dress. I had planned to do an edited video. But, well, you know I am bad about going back and doing that.


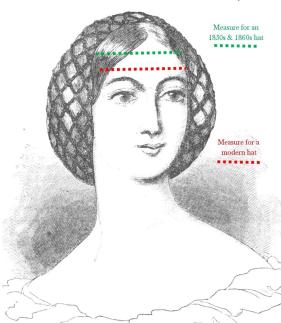


 Hat blocks can be more round or more oval with the same circumference. To illustrate: Both of these shapes to the right can have a circumference of 22.5″. Yet, the same hat would fit each head differently.