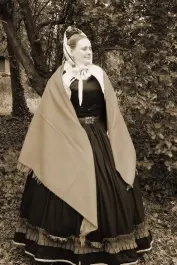
12 Homemade Gifts of Christmas – Day 7

For the seventh homemade craft, we have a quilted pocket. This type of pocket was worn under the dress and accessed through a slit in the skirt. This pocket is a quilted on which provides a pocket with some body to safetly carry what ever you need.
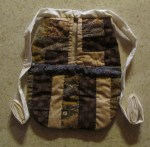
The first step is to piece together an 12″x9″ panel for the front of the pocket. You can use just about any arrangement that comes to mind. Though there are some traditional quilt patterns to avoid because they come after the mid-19th century. Refer to the pattern outline to help with your fabric and color placement because you will be cutting the pieced panel down.

Next –  Using this pocket pattern cut your materials including a back piece, front lining piece and batting as well as the pieced front.

Lay the front lining piece face to face with the pieced front. Sew along the straight dotted line. Cut along the solid straight line. Whip the edges if needed. Cut the batting along the dotted line. Lay the batting on top of the pieced front. Turn right side out. Quilt through the front, batting and lining as desired. Be sure to quilt around the slit opening.

Lay the front quilted panel right sides together with the back. Sew around the dotted line, a quarter inch seam allowance. Whip securely. Turn right side out.

Fold and press 1/4 inch in along the waist band. Fold in half length-wise and press. Center on the flat top of the pocket. Enclose the raw flat edges inside the waistband, sewing the band securely to the layers. Finish closing the entire waistband. Finished

You can also quilt the back as well. In this case, cut two lining pieces and two batting pieces.

Published in: on October 27, 2011 at 1:10 am  Comments (5)  
Tags:

12 Homemade Gifts of Christmas – Day 6

For this sixth day of Homemade Gifts we have an embroidered handkerchief. A handkerchief can be a lovely, timeless gift the receipiant will charish for years.

I can't show you the one I'm working on. So, here is one from years back I did by machine (I'm so horrible.)


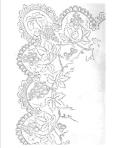
The pages of Godey’s, Peterson’s, and Arthur’s are filled with border and corner designs for handkerchiefs. Here is a a file of a few taken from Peterson’s in 1861 and 1862 to get you started. As you can see, the variety gives options for any skill level.

For your handkerchiefs you can choose cotton or silk. One of my favorite inexpensive options for cotton is from Dollar General where you can find 18″ cotton handkerchiefs with machine rolled edges in a pack of 4 for 2 dollars. For silk handkerchiefs, take a look at Dharma’s 17″ twill handkerchiefs. Of course, you can make your own from a nice yardage by rolling the hems. For sizes, take a look at the Workwoman’s Guide.

Published in: on October 26, 2011 at 1:07 am  Leave a Comment  
Tags:

12 Homemade Gifts for Christmas – Day 5

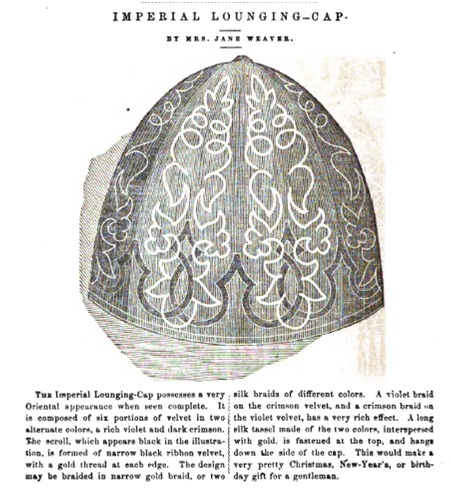
For the fifth day of homemade gifts I’m sharing one I have in progress…. a lounging cap.

This was my initial inspiration, the Imperial Lounging-Cap from Peterson’s in 1857.

To pattern out the top pieces, in my case a nice black velvet, I measured my gift recipient’s head and divided into a workable number – 25 inches in five 5″ pieces. This was my base number to which I added a generous half inch seam allowance on each side. From the center, I measured up 7″ to find the top. Here I drew a 1″ line across the top. Next, I drew a graceful line mimicking the shape of the above cap.

After tracing the pattern onto you fabric, ideally a velvet or broadcloth wool, you can add your embroidery, cording or other decoration. (This is case of do as I say not what I do, as I’ve left the decoration for the end.) Also, trace and cut a set of lining pieces.

Assembly is easy. Just attach each set of pieces making certain the top pieces meet nicely.

Use either a piece of your exterior fabric or a piece of silk to bind the bottom edge and turn it to the inside. (Since I’ve been having fun with hoods, I used a piece of my hood’s silk and some of the batting so they will sorta go together.)

Published in: on October 25, 2011 at 1:05 am  Leave a Comment  
Tags:

12 Homemade Gifts of Christmas – Day 4

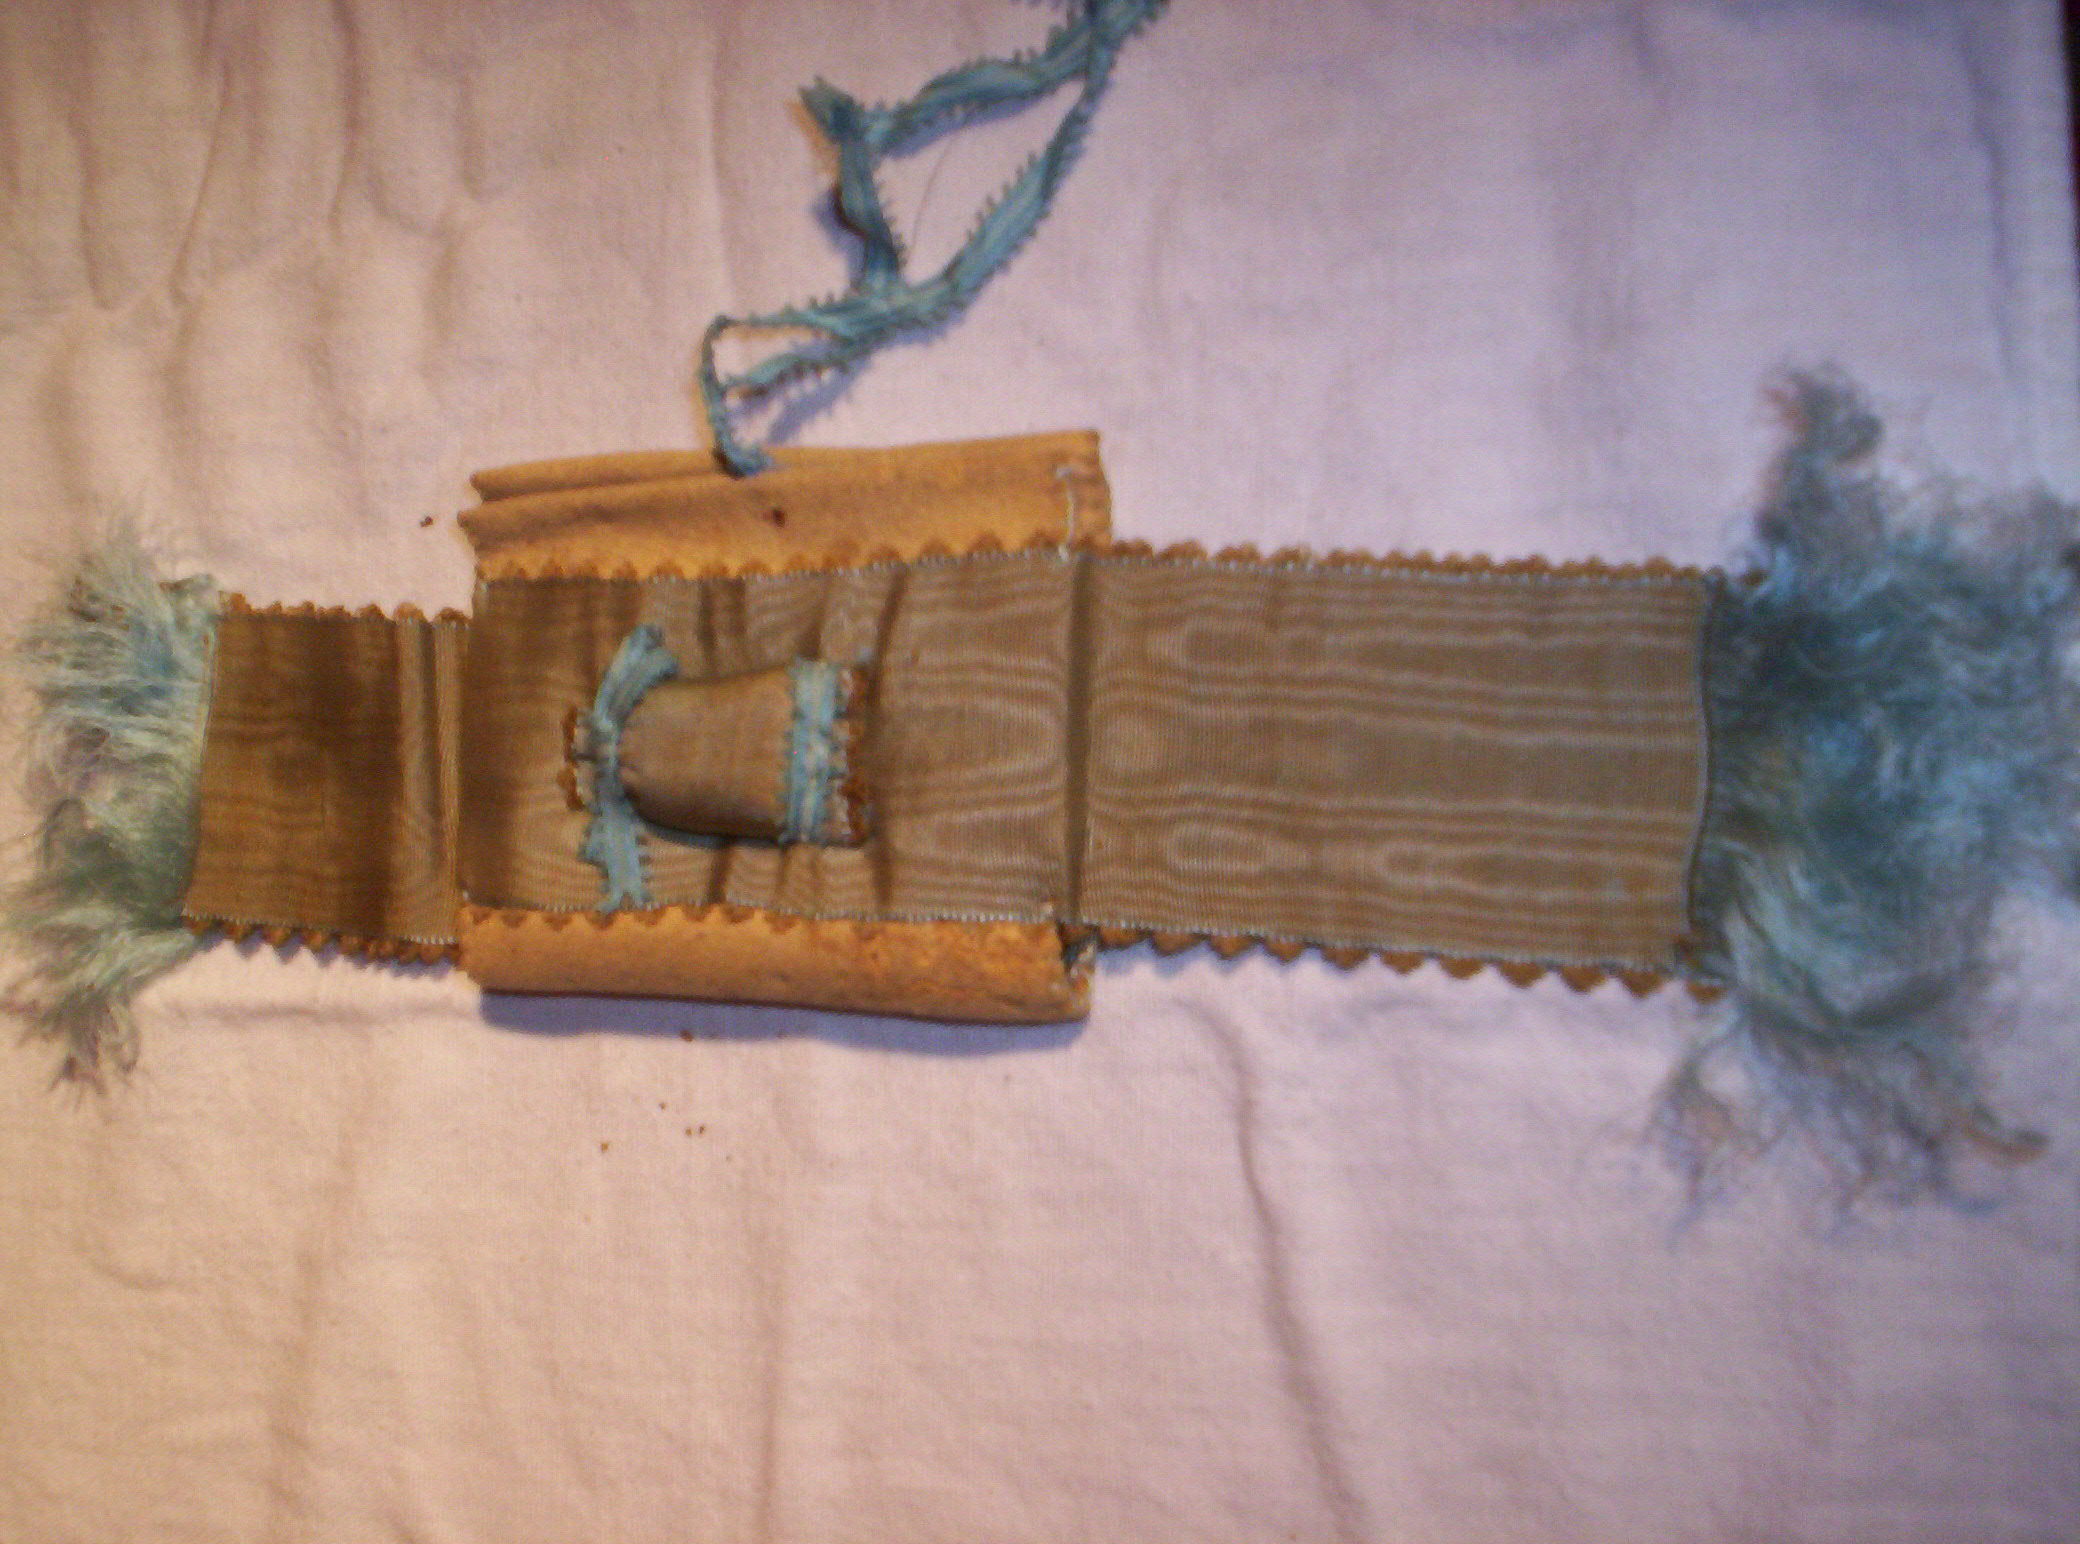
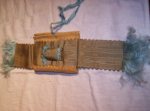
For the fourth day we have a cute little needle-book. Of course I had to include one.

This needle-book is based on an original I had. I think it would look great done up in festive colors.

You will need:
1 piece of thickly, firmly felted wool cut to 4″x3″
2 pieces of thin, tropical weight page wool cut to 3.5″x2.5″
2 pieces of silk moire ribbon 1/5″ wide, each 12″-14″ long
A 1-2″ scrap of the same ribbon
A narrow, 1/8″ to 1/4″ ribbon – A few inches for the sachet and 10-12″ for the closure ties.
A tiny bit of wool batting
Embroidery thread
The colors of the ribbon and wools should coordinate or compliment

Fold the thicker wool in half to make a 3″x2″ book cover.
Fold the needle page in half to make a pair 2.5″x1.75″. Bind the folds together. Blanket stitch along the raw edges. Attach to the fold of the cover.
Fold one ribbon in half draping it over the front cover of the book facing down. Sew along the edge of the ribbon on each side (through the ribbon, wool, ribbon). Continue to sew 2″ to 3″ past the edge of the book. Repeat on the opposite side of the ribbon.
Drape the other ribbon over the back side of the book facing up (The original faces up. It could work with both facing down as well). Sew along the edges of the ribbon as you did with the front cover.
Fringe the bottom edge of each ribbon.
With the ribbon scrap, batting and narrow ribbon, make a tiny 1/2″ wide sachet. Fill it with the batting and tie closed with the ribbon. Fringe the top of the ribbons just a bit. Attach to the front cover of the book.

Ta-da! A cute needle-book

Published in: on October 24, 2011 at 1:07 am  Leave a Comment  
Tags:

12 Homemade Gifts of Christmas – Day 3

For the third Homemade Gift we have a basic essential of every mid-19th century wardrobe – a collar and cuffs. Just about any woman would love a nice set of cuffs and collar.

You can make a classic simple set with nice rolled hems or a more elaborate set with beautiful embroidery or edging. Here are some images of cuffs and collars from CDVs. For more inspiration, here are illustrations from period magazines.

**Special Tip – If you own Elizabeth Stewart Clark’s  Dressmaker’s Guide use her directions for making a collar.

Published in: on October 23, 2011 at 1:06 am  Leave a Comment  
Tags:

12 Homemade Gifts of Christmas – Day 2

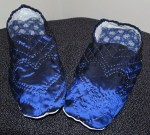
For the second day’s Homemade Gift, we have one of my husband’s and my favorites…. slippers. We love our slippers both for at home and at events.

When it comes to making slippers, you have lots of choices. In period magazines you can find embroidered slippers, quilted slippers, appliqued slippers, corded slippers, crochet slippers and even easy to make hospital slippers. This file has an assortment of slippers to start from.

The way I construct my slippers requires:

  •  An outer material either already decorated in the case of needlework, embroidery, and applique or not yet decorated in the case of quilted or corded.
  • An inner lining
  • An inter lining – either something supportive or batting
  • A sole – painted canvas, leather or cork
  • A sole lining
  • Insoles – two layers of soft wool

For the soles, I trace the wearer’s foot and adjust it to look period. If you don’t have a foot to work from because this is a surprise gift, use inexpensive insoles from the store as a guide.

Layer your uppers together, right sides together. Sew around the inner curved cut or the flat top of each slipper. Turn the pieces right side out. Baste the lower edges together. If you are doing a quilted slipper now is the time to do your quilting. This is also a good time to do your cording or braiding.

Layer your sole and sole lining together. Baste around the edge.

Line your uppers face down on your sole. Pin the front toe and the sides in place. Sew around the edge. Finish the edge with a whip stitch. Turn right side out.

Lay the two layers of insole wool together. Sew around leaving enough space to turn it right side out. Turn right side out and close. Insert into your slipper.

Wear inside.

Published in: on October 22, 2011 at 1:00 am  Comments (2)  
Tags:

12 Homemade Gifts of Christmas – Day 1

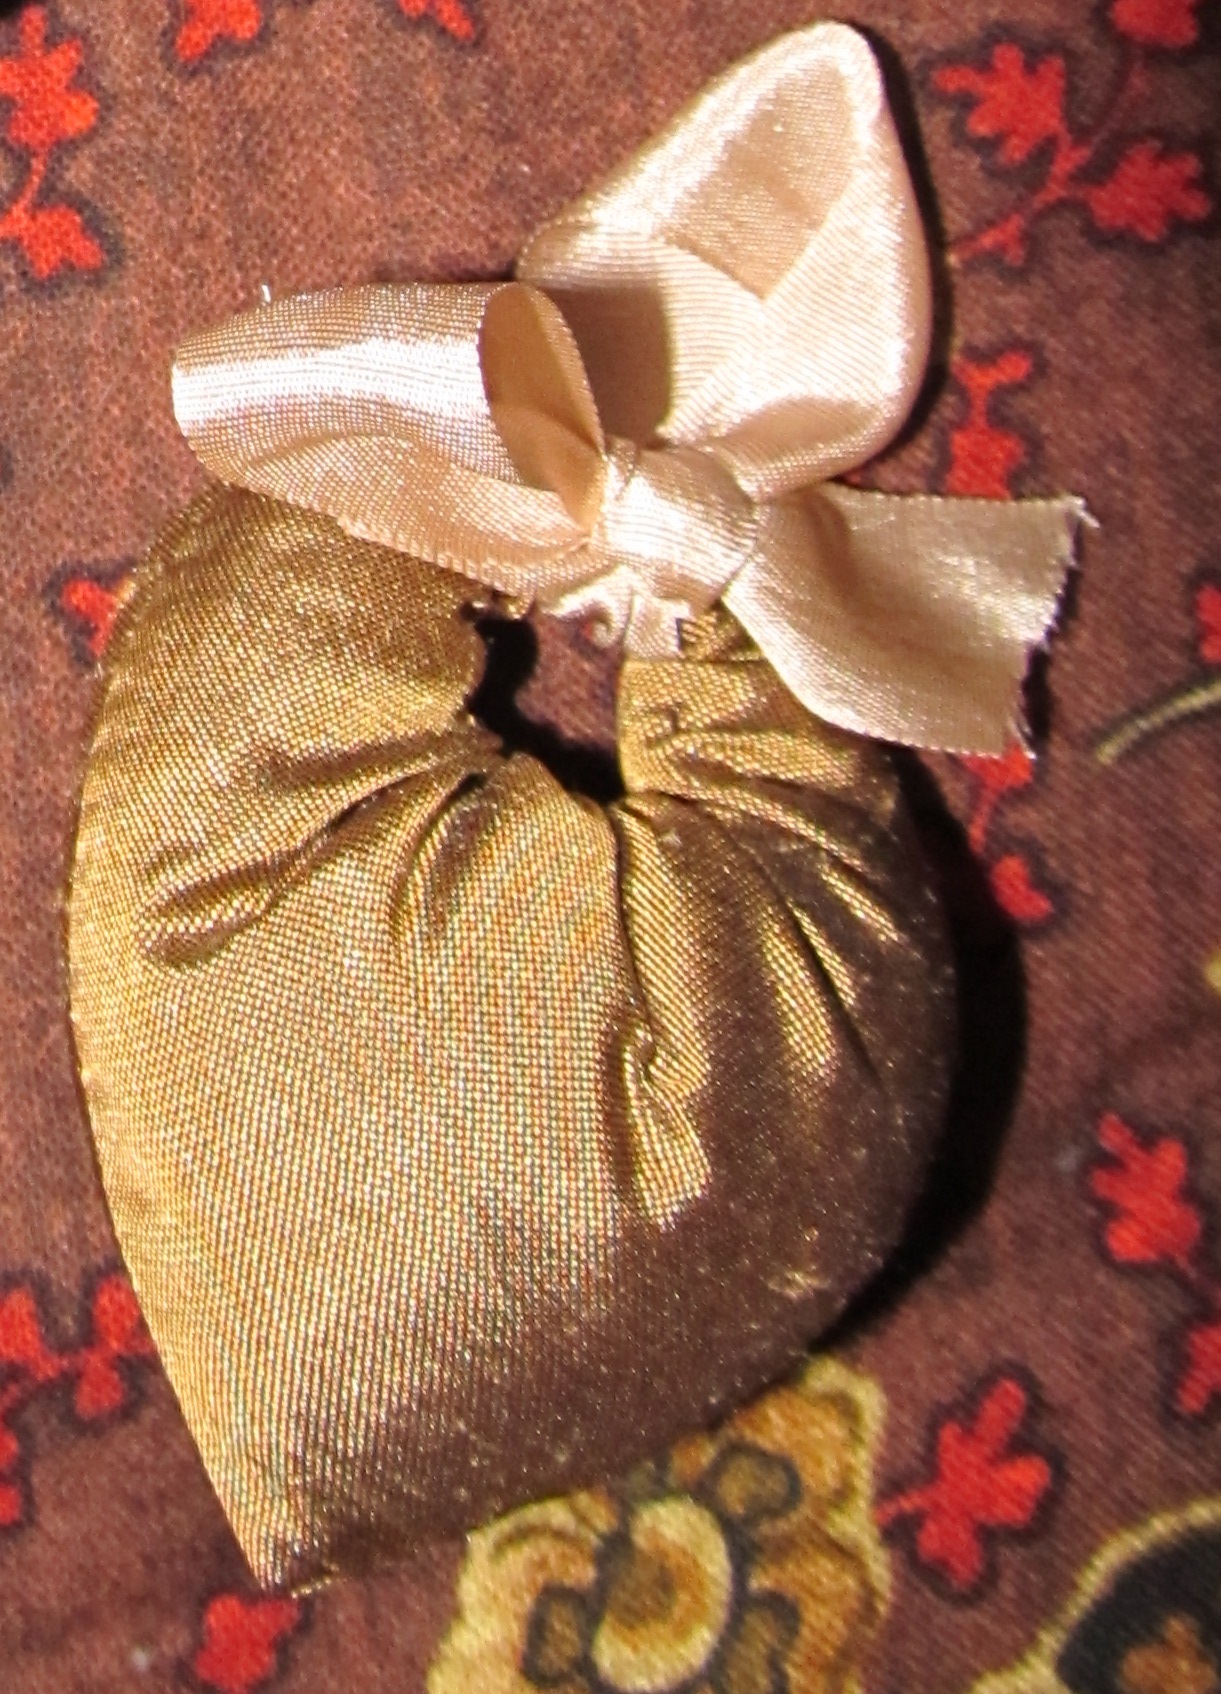
For the First homemade gift of Christmas we have a heart shaped pincushion which will also make an adorable ornament.

From Eliza Leslie’s American Girl’s Book, this heart pincushion is made from two pieces of triangular fabric, ribbon and batting for the inside.

  • Use 12 day Christmas Heart Ornamentwith the longest side twice the length of the two legs.
  • Sew right sides together along all three sides leaving enough space to turn the triangle right side out.
  • Stuff with batting or emery and sew closed
  • Gather along the longest side
  • Pull tight forming a heart, securing the points together
  • Add a ribbon to hang the heart from or a bow and hanging loop
Published in: on October 21, 2011 at 1:25 am  Comments (5)  
Tags:

On the 12th Day of Christmas, My True Love Made for Me….

I’m the first to admit I’m not the most musical. But, I just couldn’t resist making a list of 12 great 19th century gifts you can make for your loved ones. Here is a list with a little for her, a little for him and a little for the tree….

On The First Day….  Heart Shapped Pincushions (also make cute ornaments.
On the Second Day ….A Pair of Slippers
On the Third Day….. A Cuffs and Collar Set
   On the Fourth Day … A Pretty Ribbon Needle-book
 On the Fifth Day….  Lounging Cap.
 
On the Sixth Day….A Handkerchief
 
On the Seventh Day….   A Pocket.
On the Eigth Day…. A little purse
 On the Nineth Day…. A Set of Stationary
 
On the Tenth Day…. A Patchwork Ball to Play With
On the Eleventh Day…. A Book Marker
On the Twelfth Day….. It will be a surprise…. even to me….
https://annaworden.wordpress.com/?p=1984


Published in: on October 20, 2011 at 1:02 am  Comments (5)  
Tags:

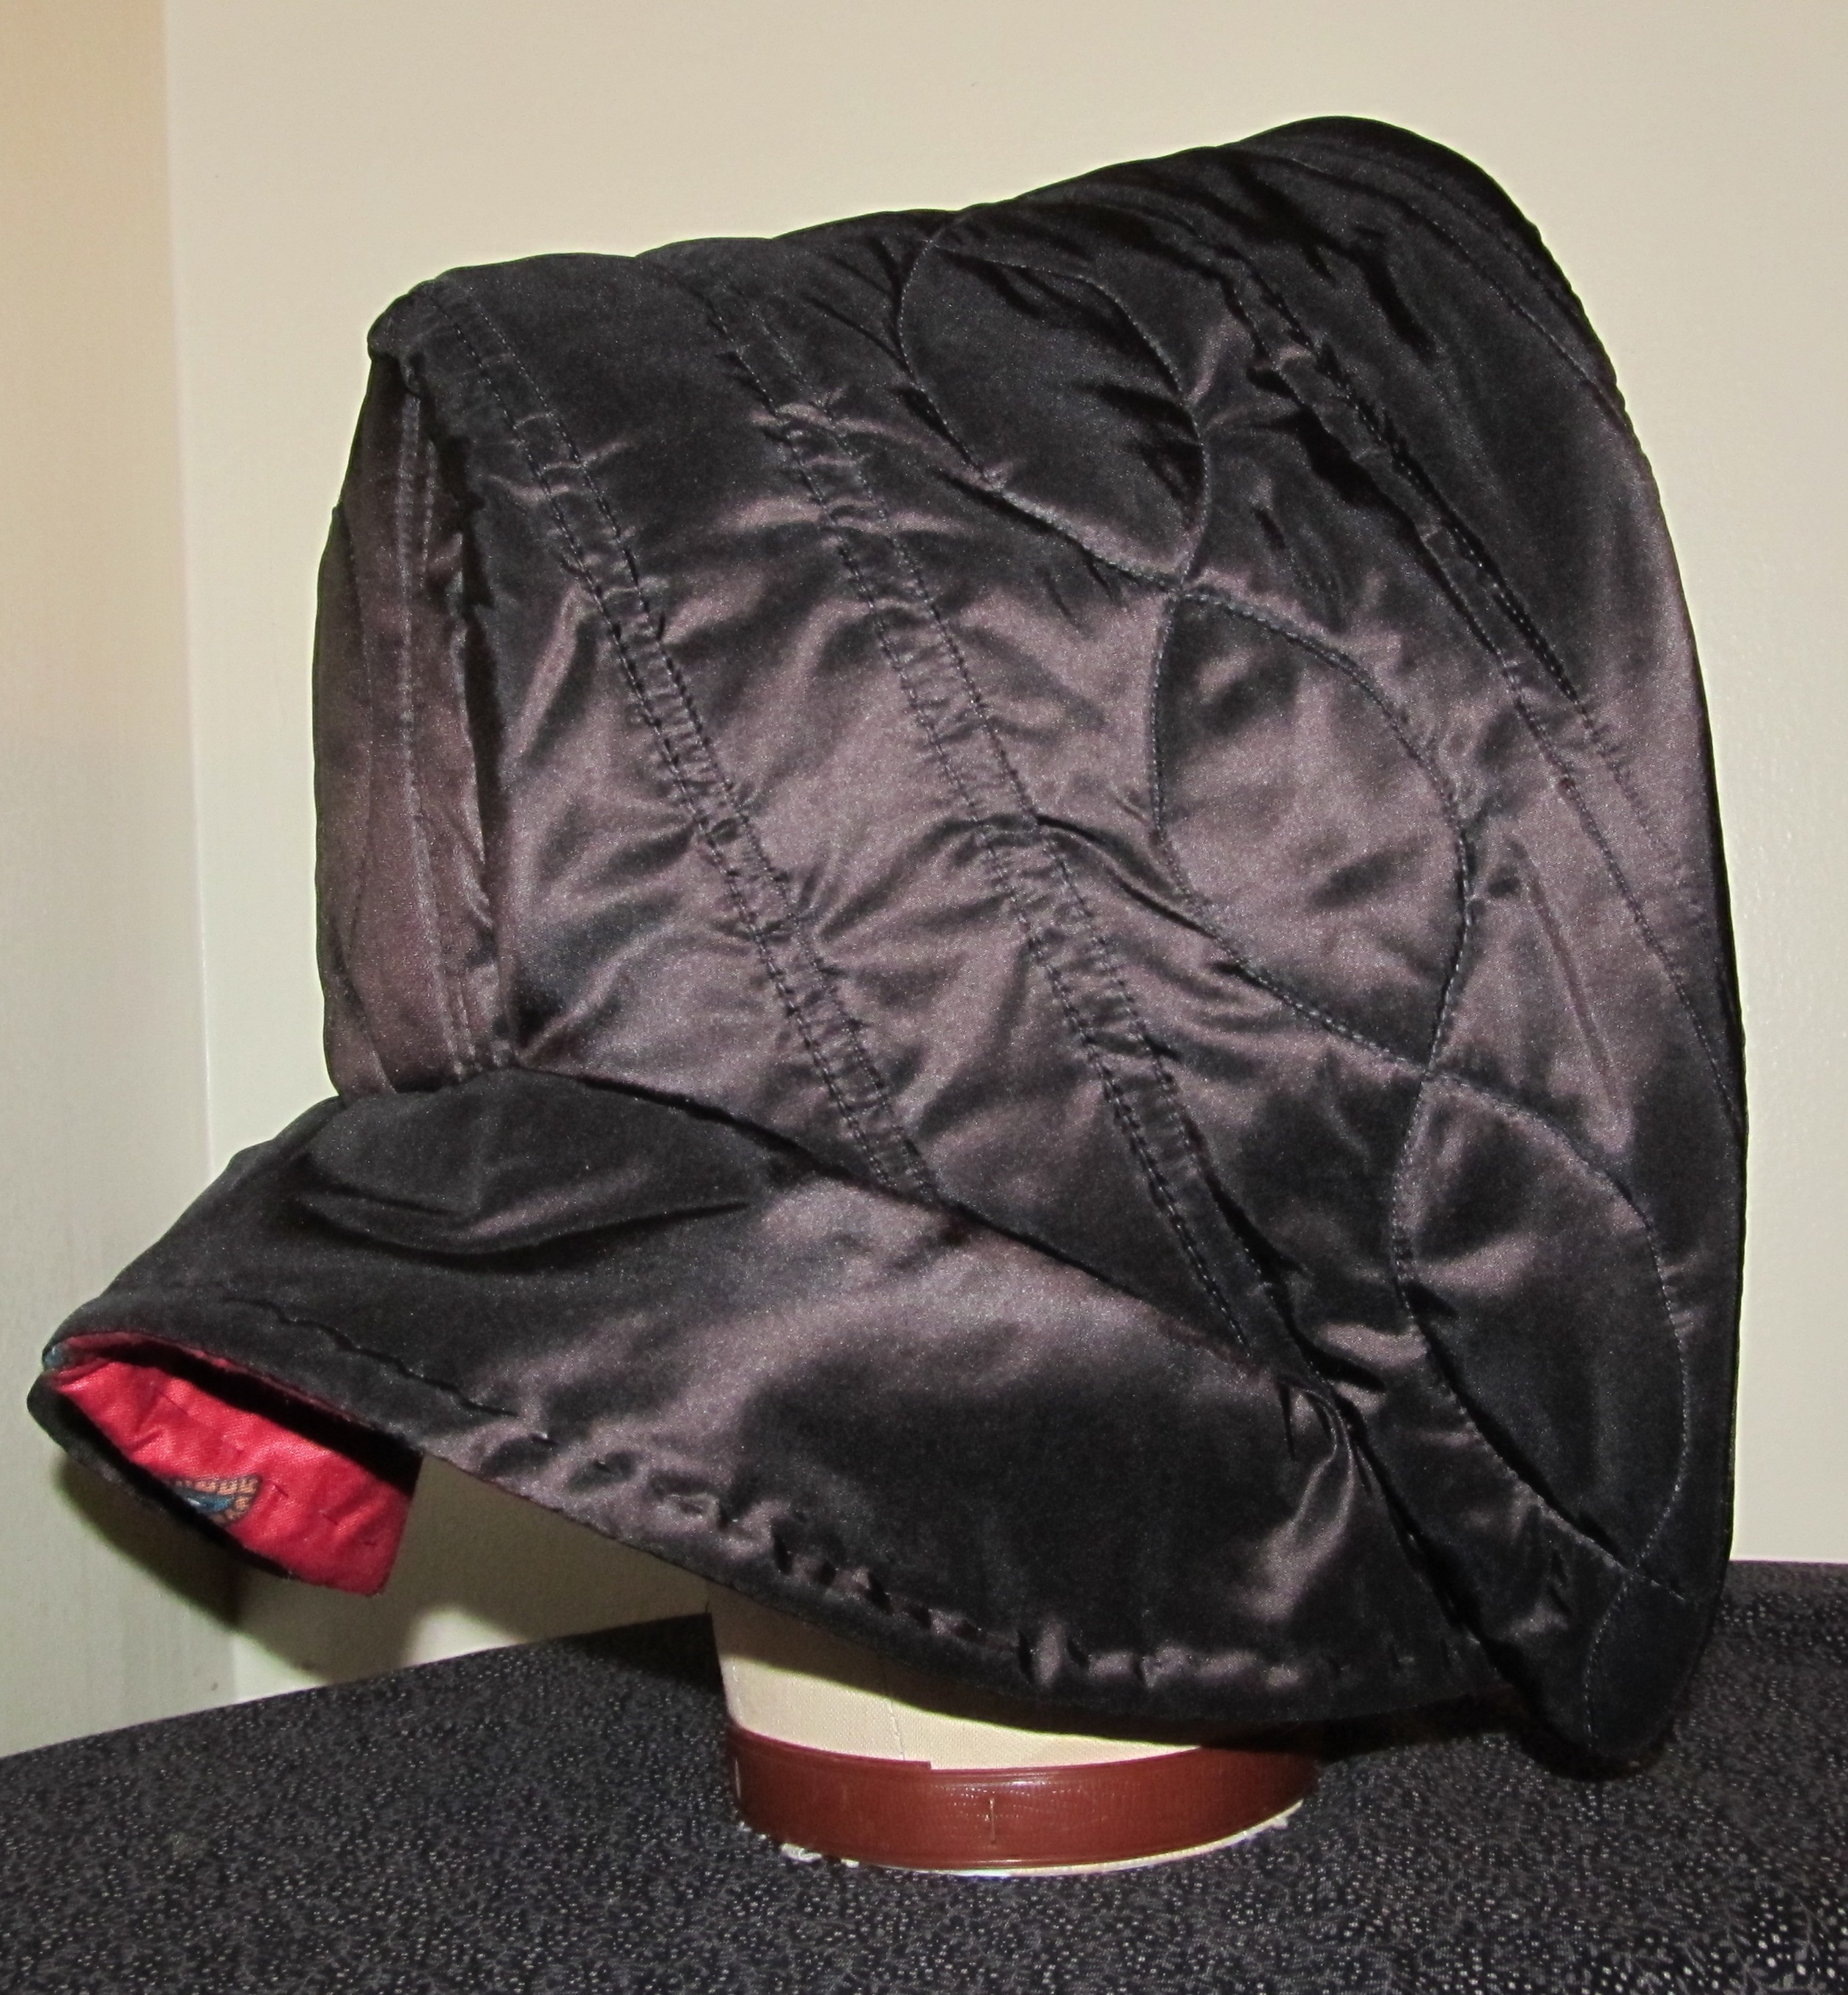
My Chocolate Hood

One would think with all the other hoods I’ve been making, I would have made one for myself before now. Nope. Not ’til now.

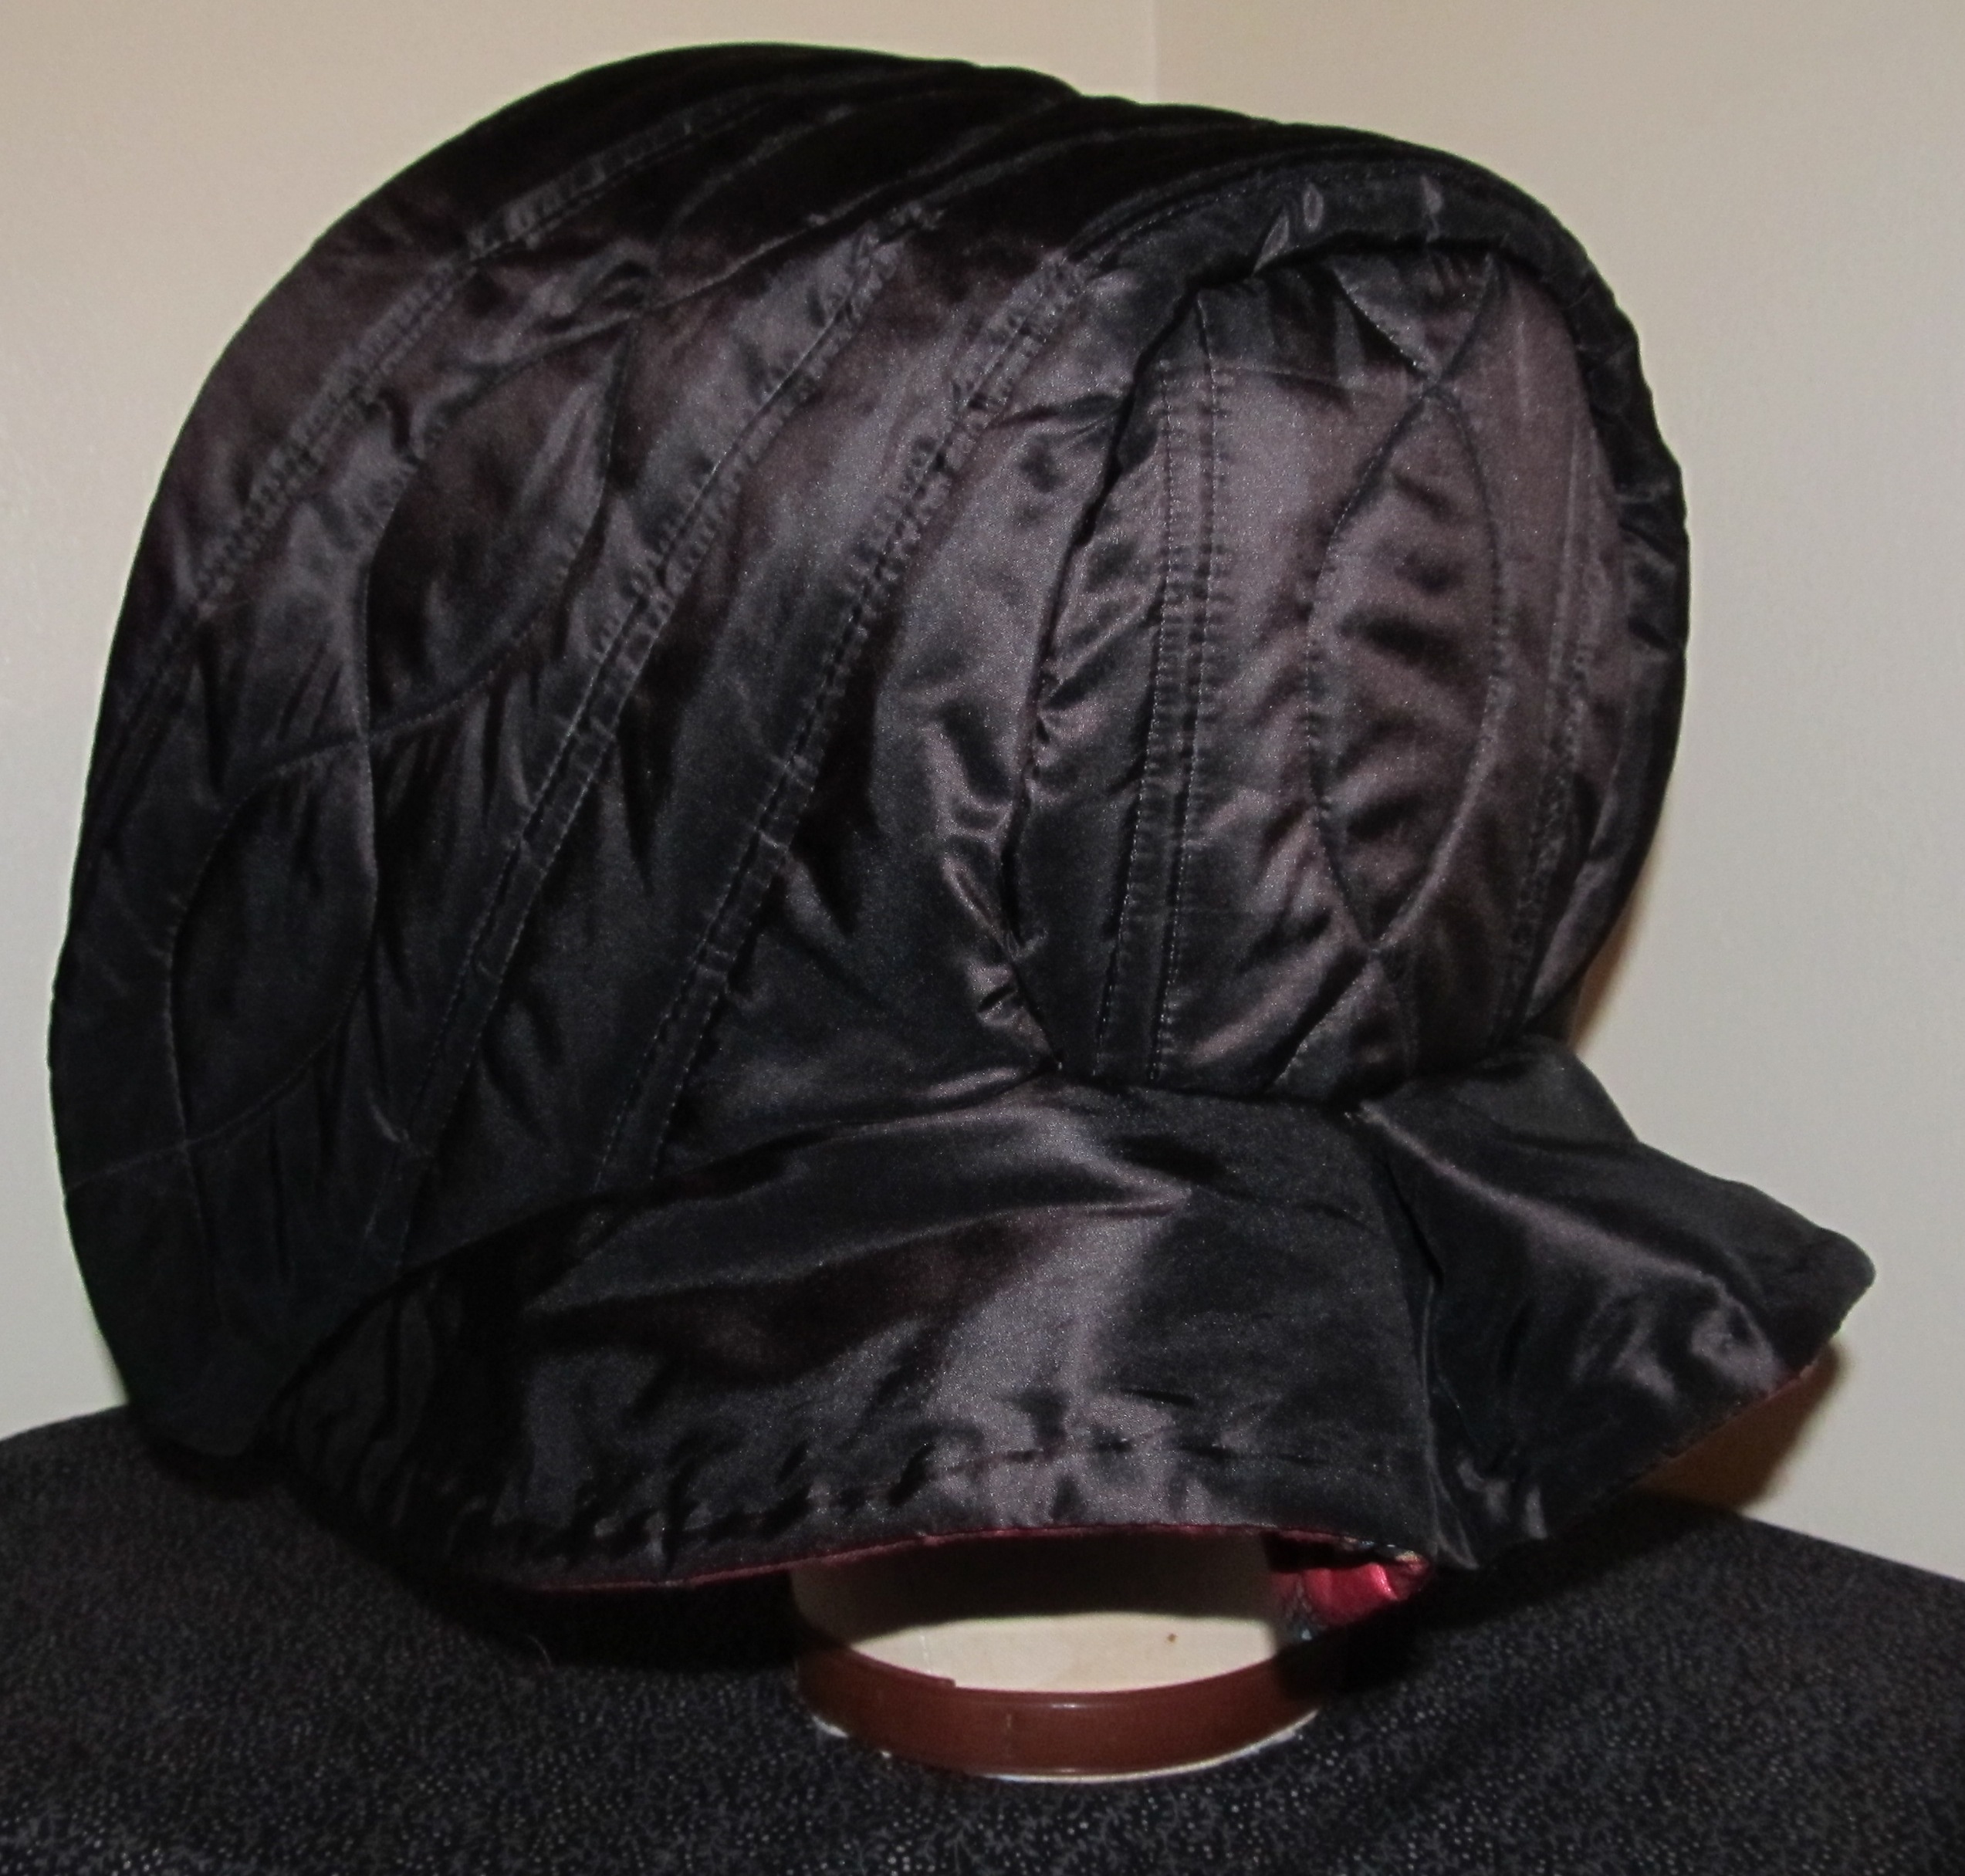
My hood is a chocolate silk taffeta purchased last year. The lining is this great red polished cotton with paisley motifs. It is quilted with a simple double line and curved chain, which I’m sure has a real name in the quilting world. The brim is trimmed with a wonderfully soft mink. (Huge Thanks to Gail for the lining and fur)

Here is the hood pre-fur. You can see the quilting here a bit better. This vertical diagonal is achieved when the quilting runs directly across the crown. A shallower, more horizontal angle is achieved with quilting directly front to back.

Here is a look at the great lining fabric. The quilting looks really great against this red. One thing I did learn though – my machine really hates polished cotton. It just doesn’t like to move it along with the feet, even with the walking foot. Polished cotton will be hand-quilted from now on.


If there is a video at the end of this post, it is an advertisement. My apologies for the inconvenience.

Published in: on October 6, 2011 at 8:33 am  Comments (3)  
Tags:

“Our Dictionary of Needlework”

 Have you ever stumbled across something and instantly thought “everyone should see this”? That is what happened when I scrolled over Peterson’s Magazine’s 1858 series called “Our Dictionary of Needlework”. The odd thing is I’ve gone through this edition countless times looking for shawls, hoods, needle-books, etc., yet it didn’t stand out until today.

So, of course I had to put the year long series into a single file for everyone…..

Our Dictionary of Needlework” from Peterson’s 1858

If there is a video at the end of this post, it is an advertisement. My apologies for the inconvenience.

Published in: on October 5, 2011 at 11:54 am  Comments (1)