For the second “Ask the Milliner”, I’ll answer some questions on shape.
How do you look at an original bonnet and know what you need to do to get the brim shape and height, the correct crown shape, etc? Betsy
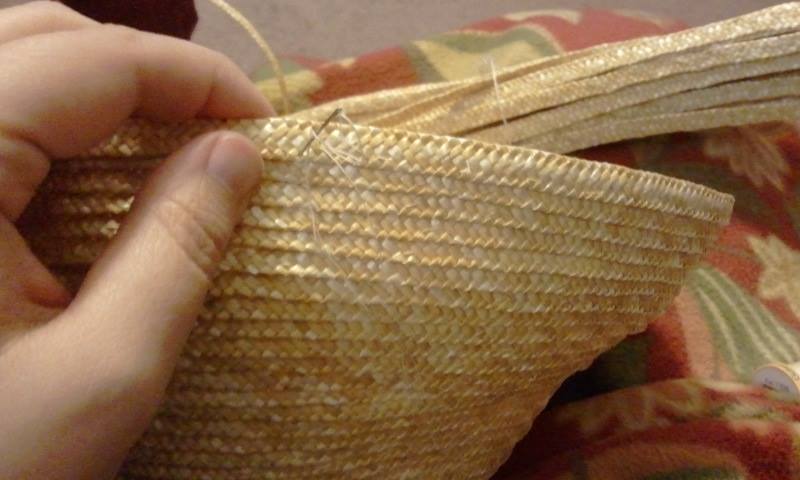
I would love to have a precise scientific answer to this. But, I don’t. When going from an original to a repro, so much of it is trial and error; talking with the straw, trying to get it to do what you want. Vague, huh?
To be a little less vague, I have to look at the bonnet as a whole and as parts. These parts are not always the same parts I’m going to talk about below. I have a sort-of mental categorization for bonnets and hats as to how they are generally built. Each segment constructed and contributing to the whole. When looking at each segment, I can think about what it takes to make that part. Looking at each part, it has its own shape, angles, curves and size. I know tight tension can keep one area flat, while loose tension can add loft; or playing with the tension on each side of the plait can create a flare. Then the pieces go back together in my mind. Sometimes I will mentally construct a new pieces over and over in my head, often as I fall asleep.
Now, when it comes to making a shape for a particular person, I find it so much easier if I know the person, if I’ve seen their face, how they move, their coloring and personality as well as what their impression or impressions will be. This is why I prefer not to do many commissions. Something has to catch me about someone or their request. For me, making a bonnet for someone is as much art reflecting a person as historical reproduction.
What are some quick tips for getting the right shape/interpreting the original bonnet’s shape? Betsy
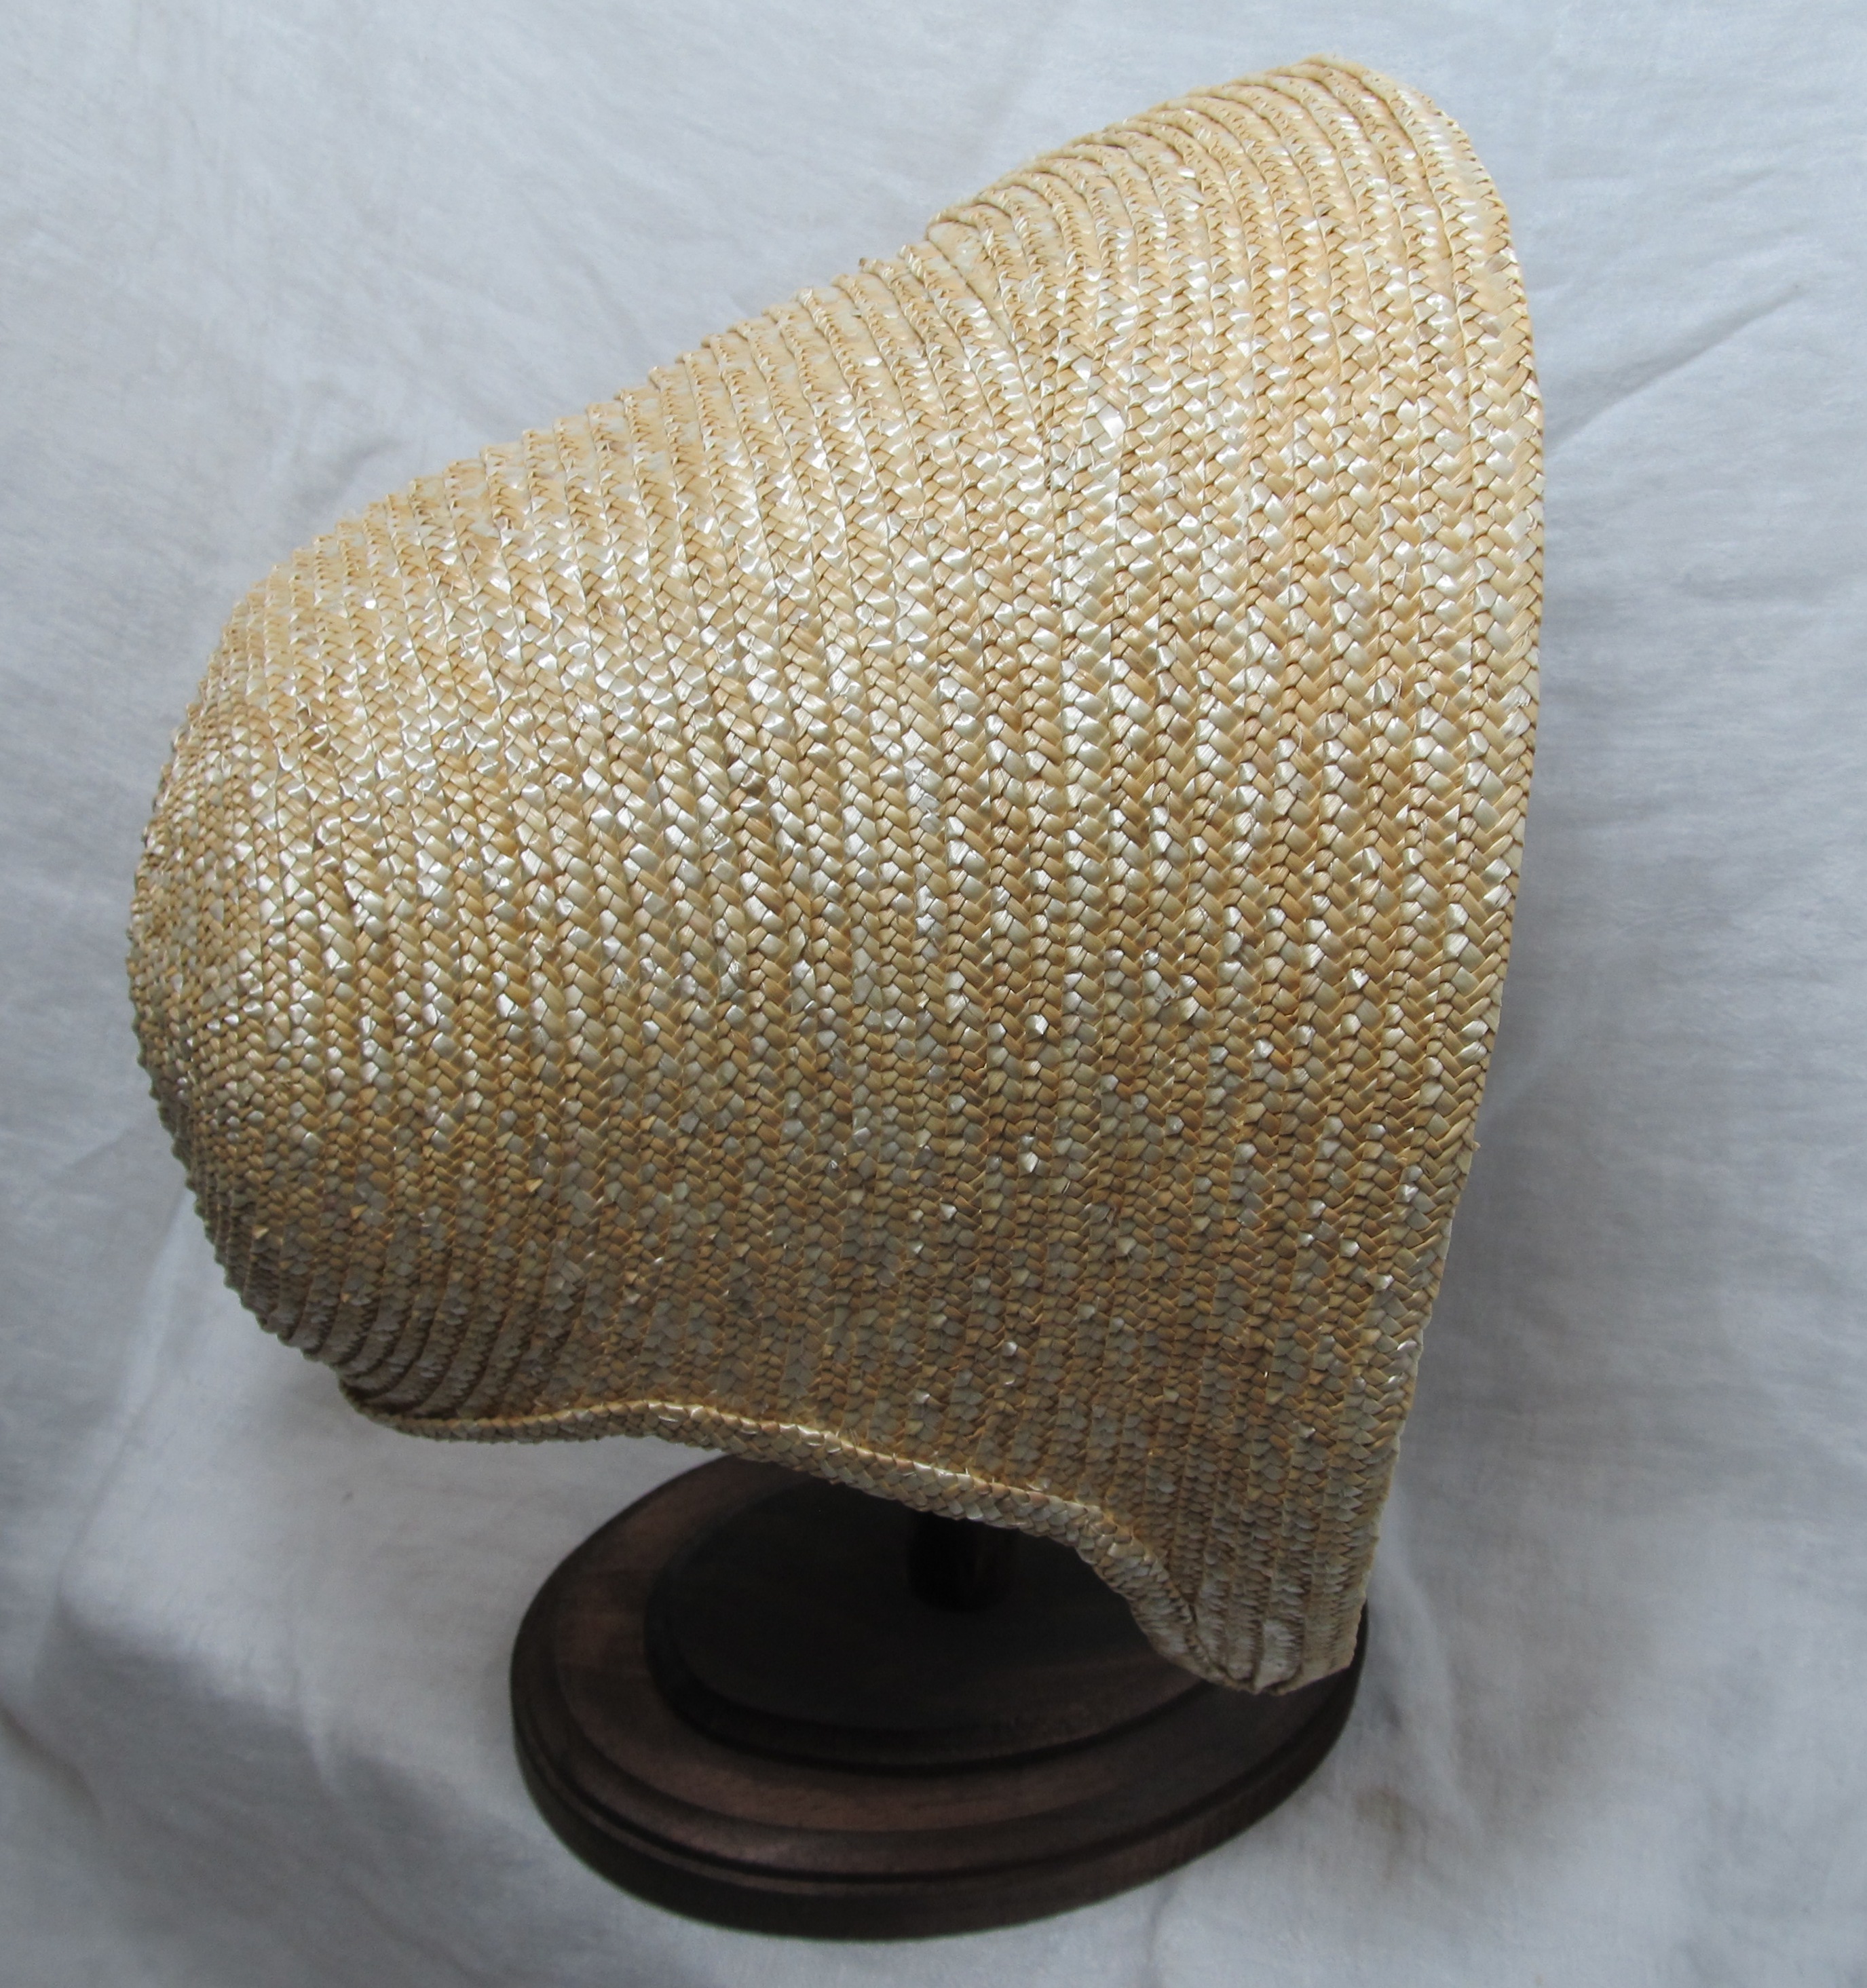
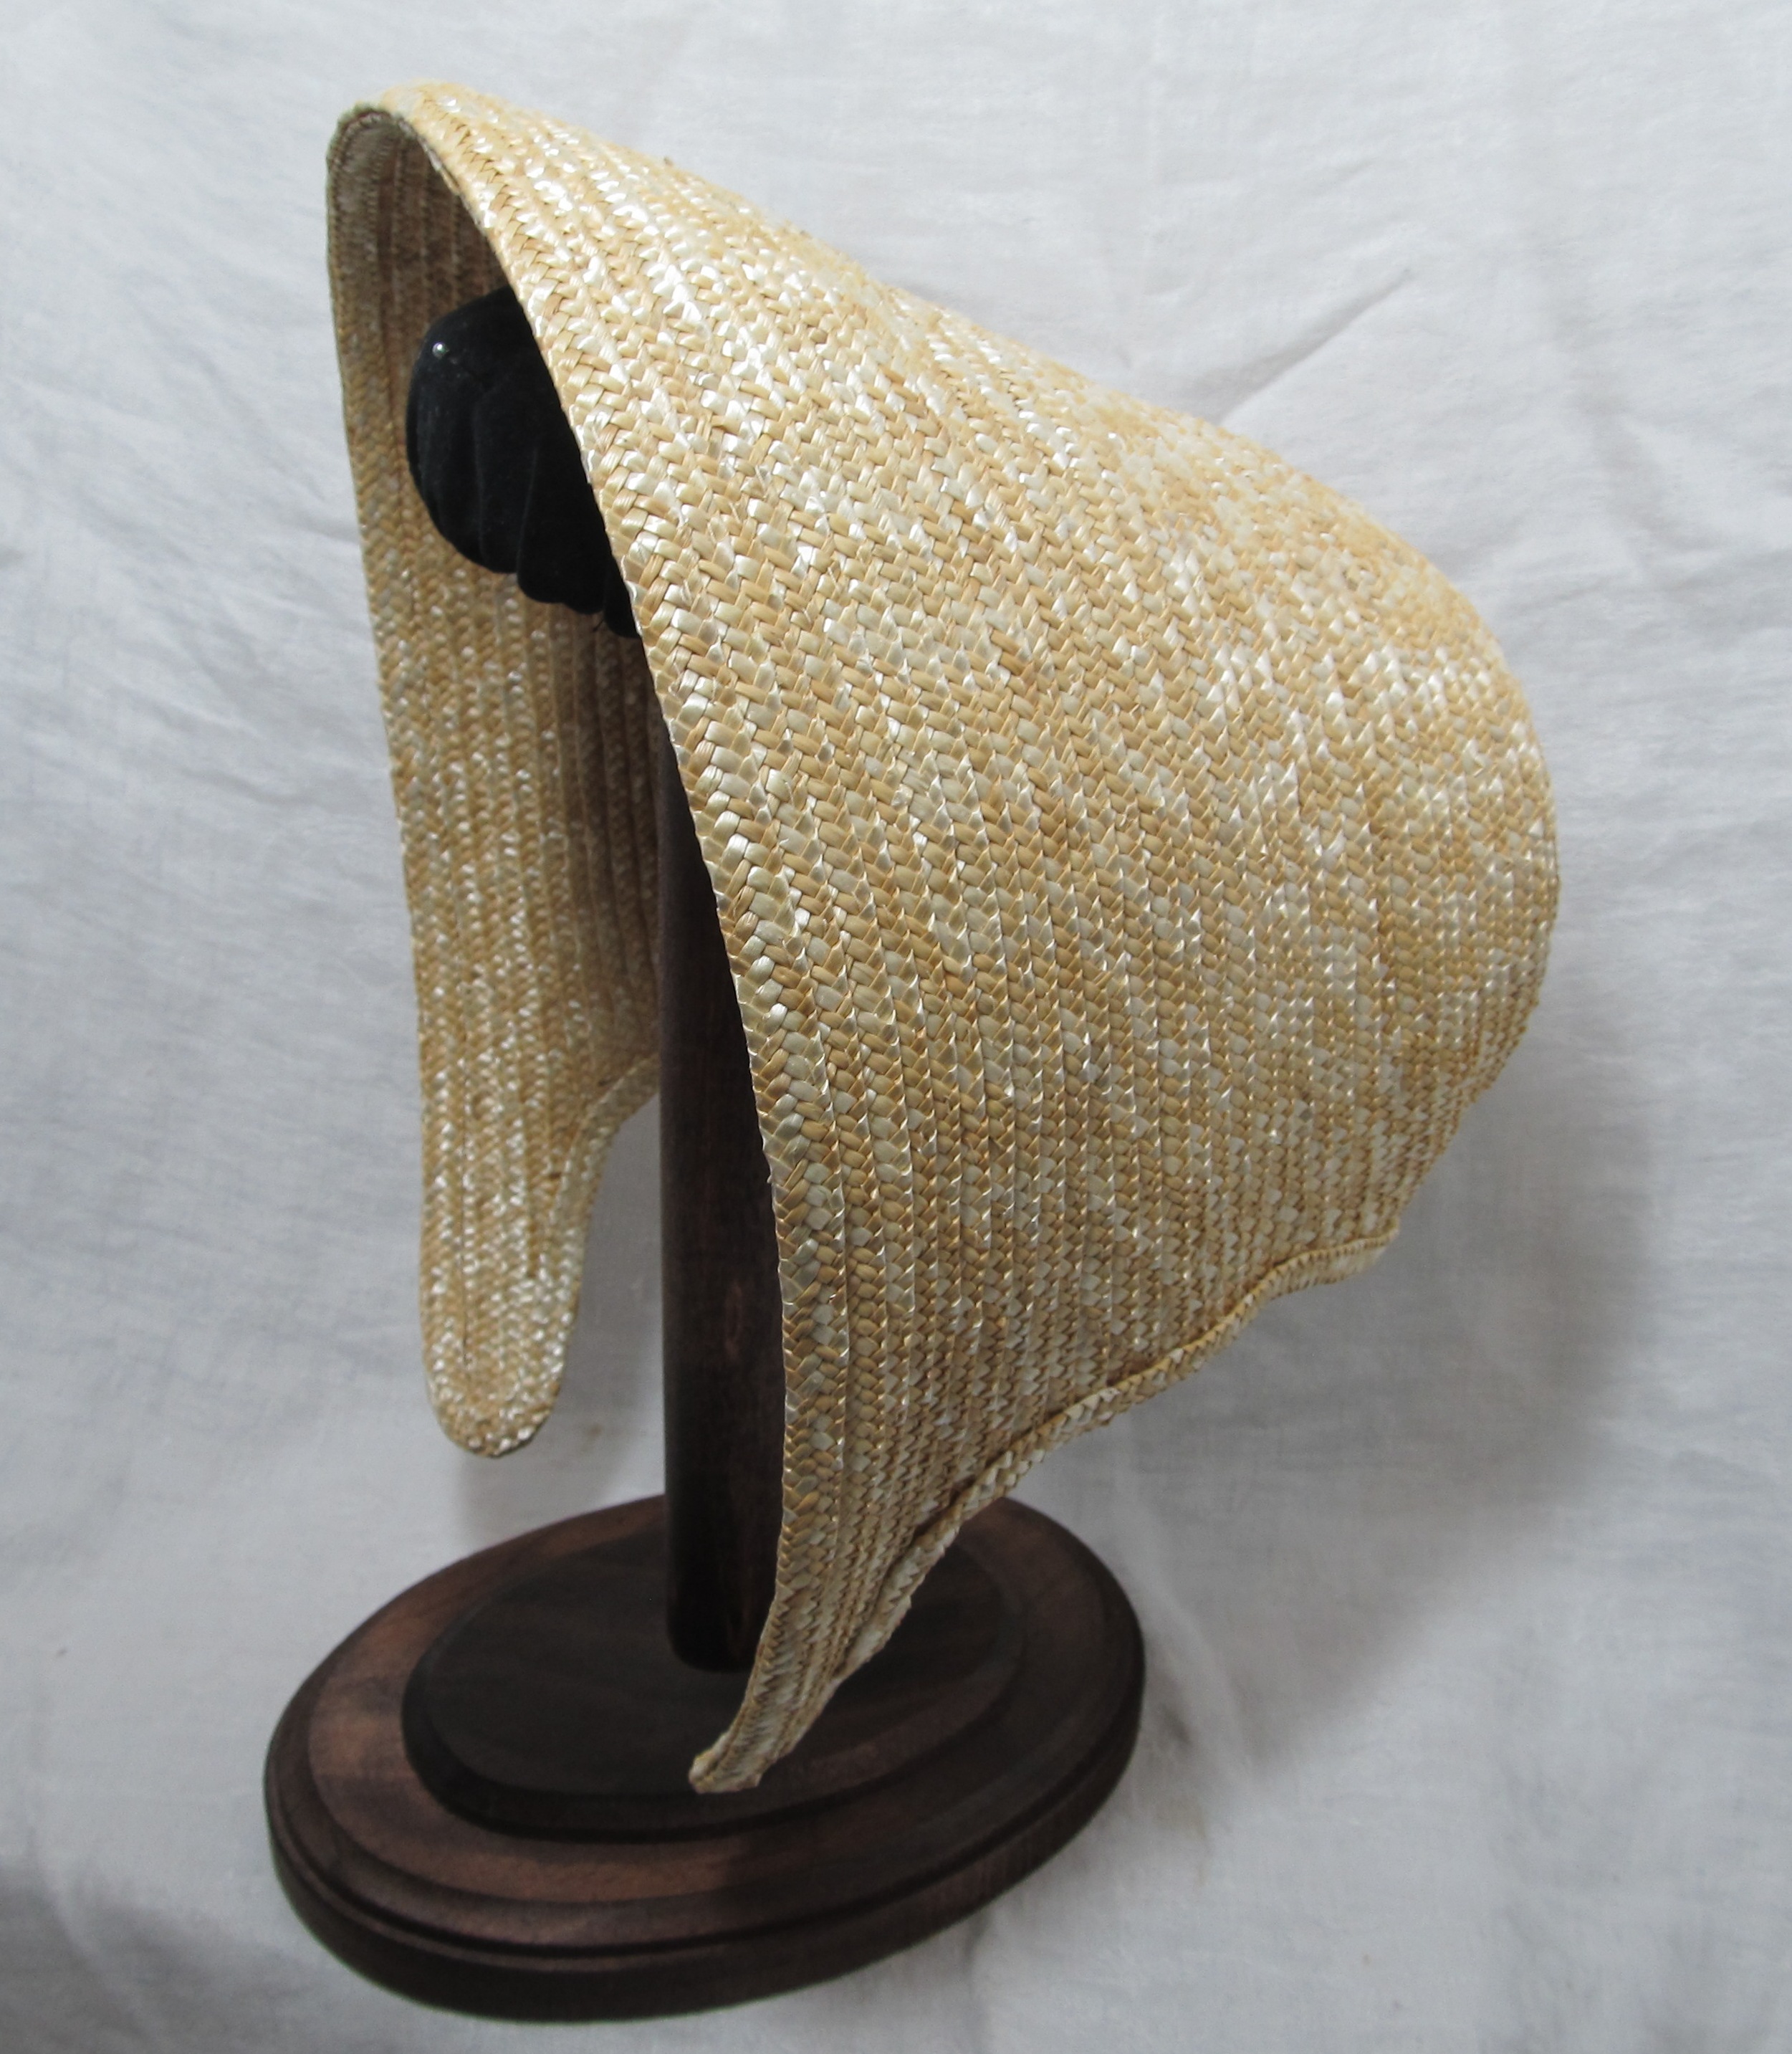
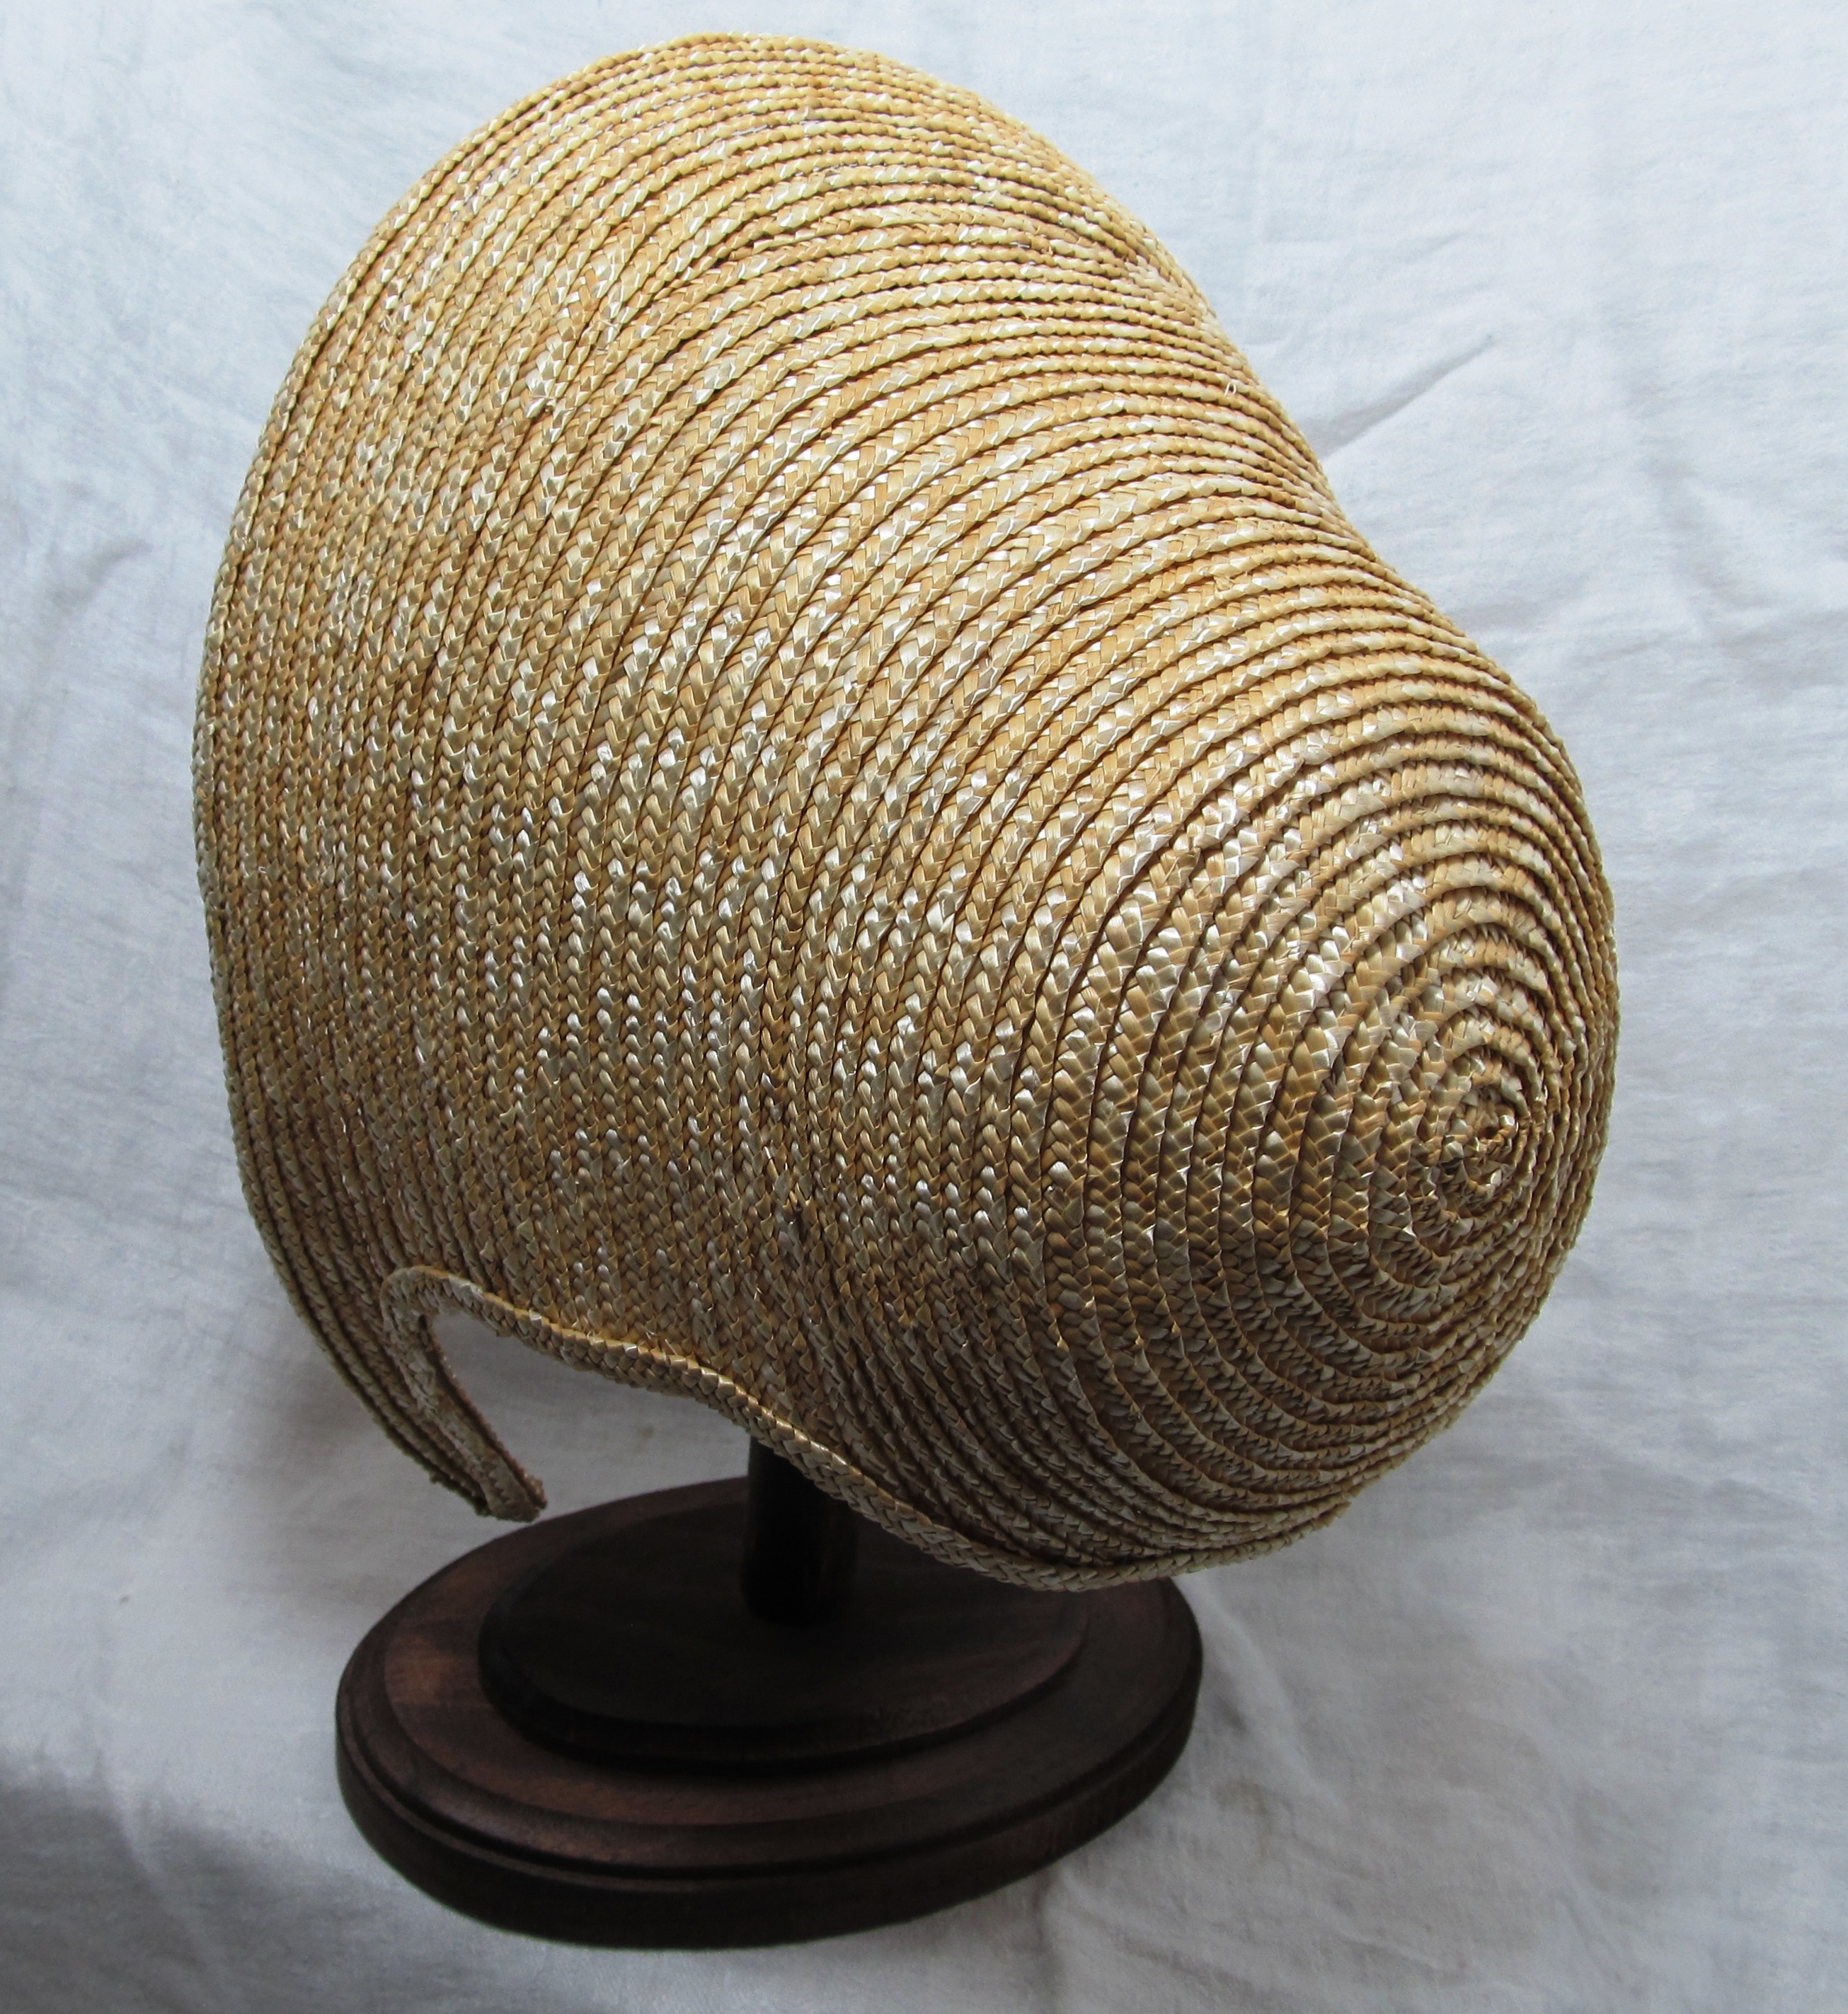
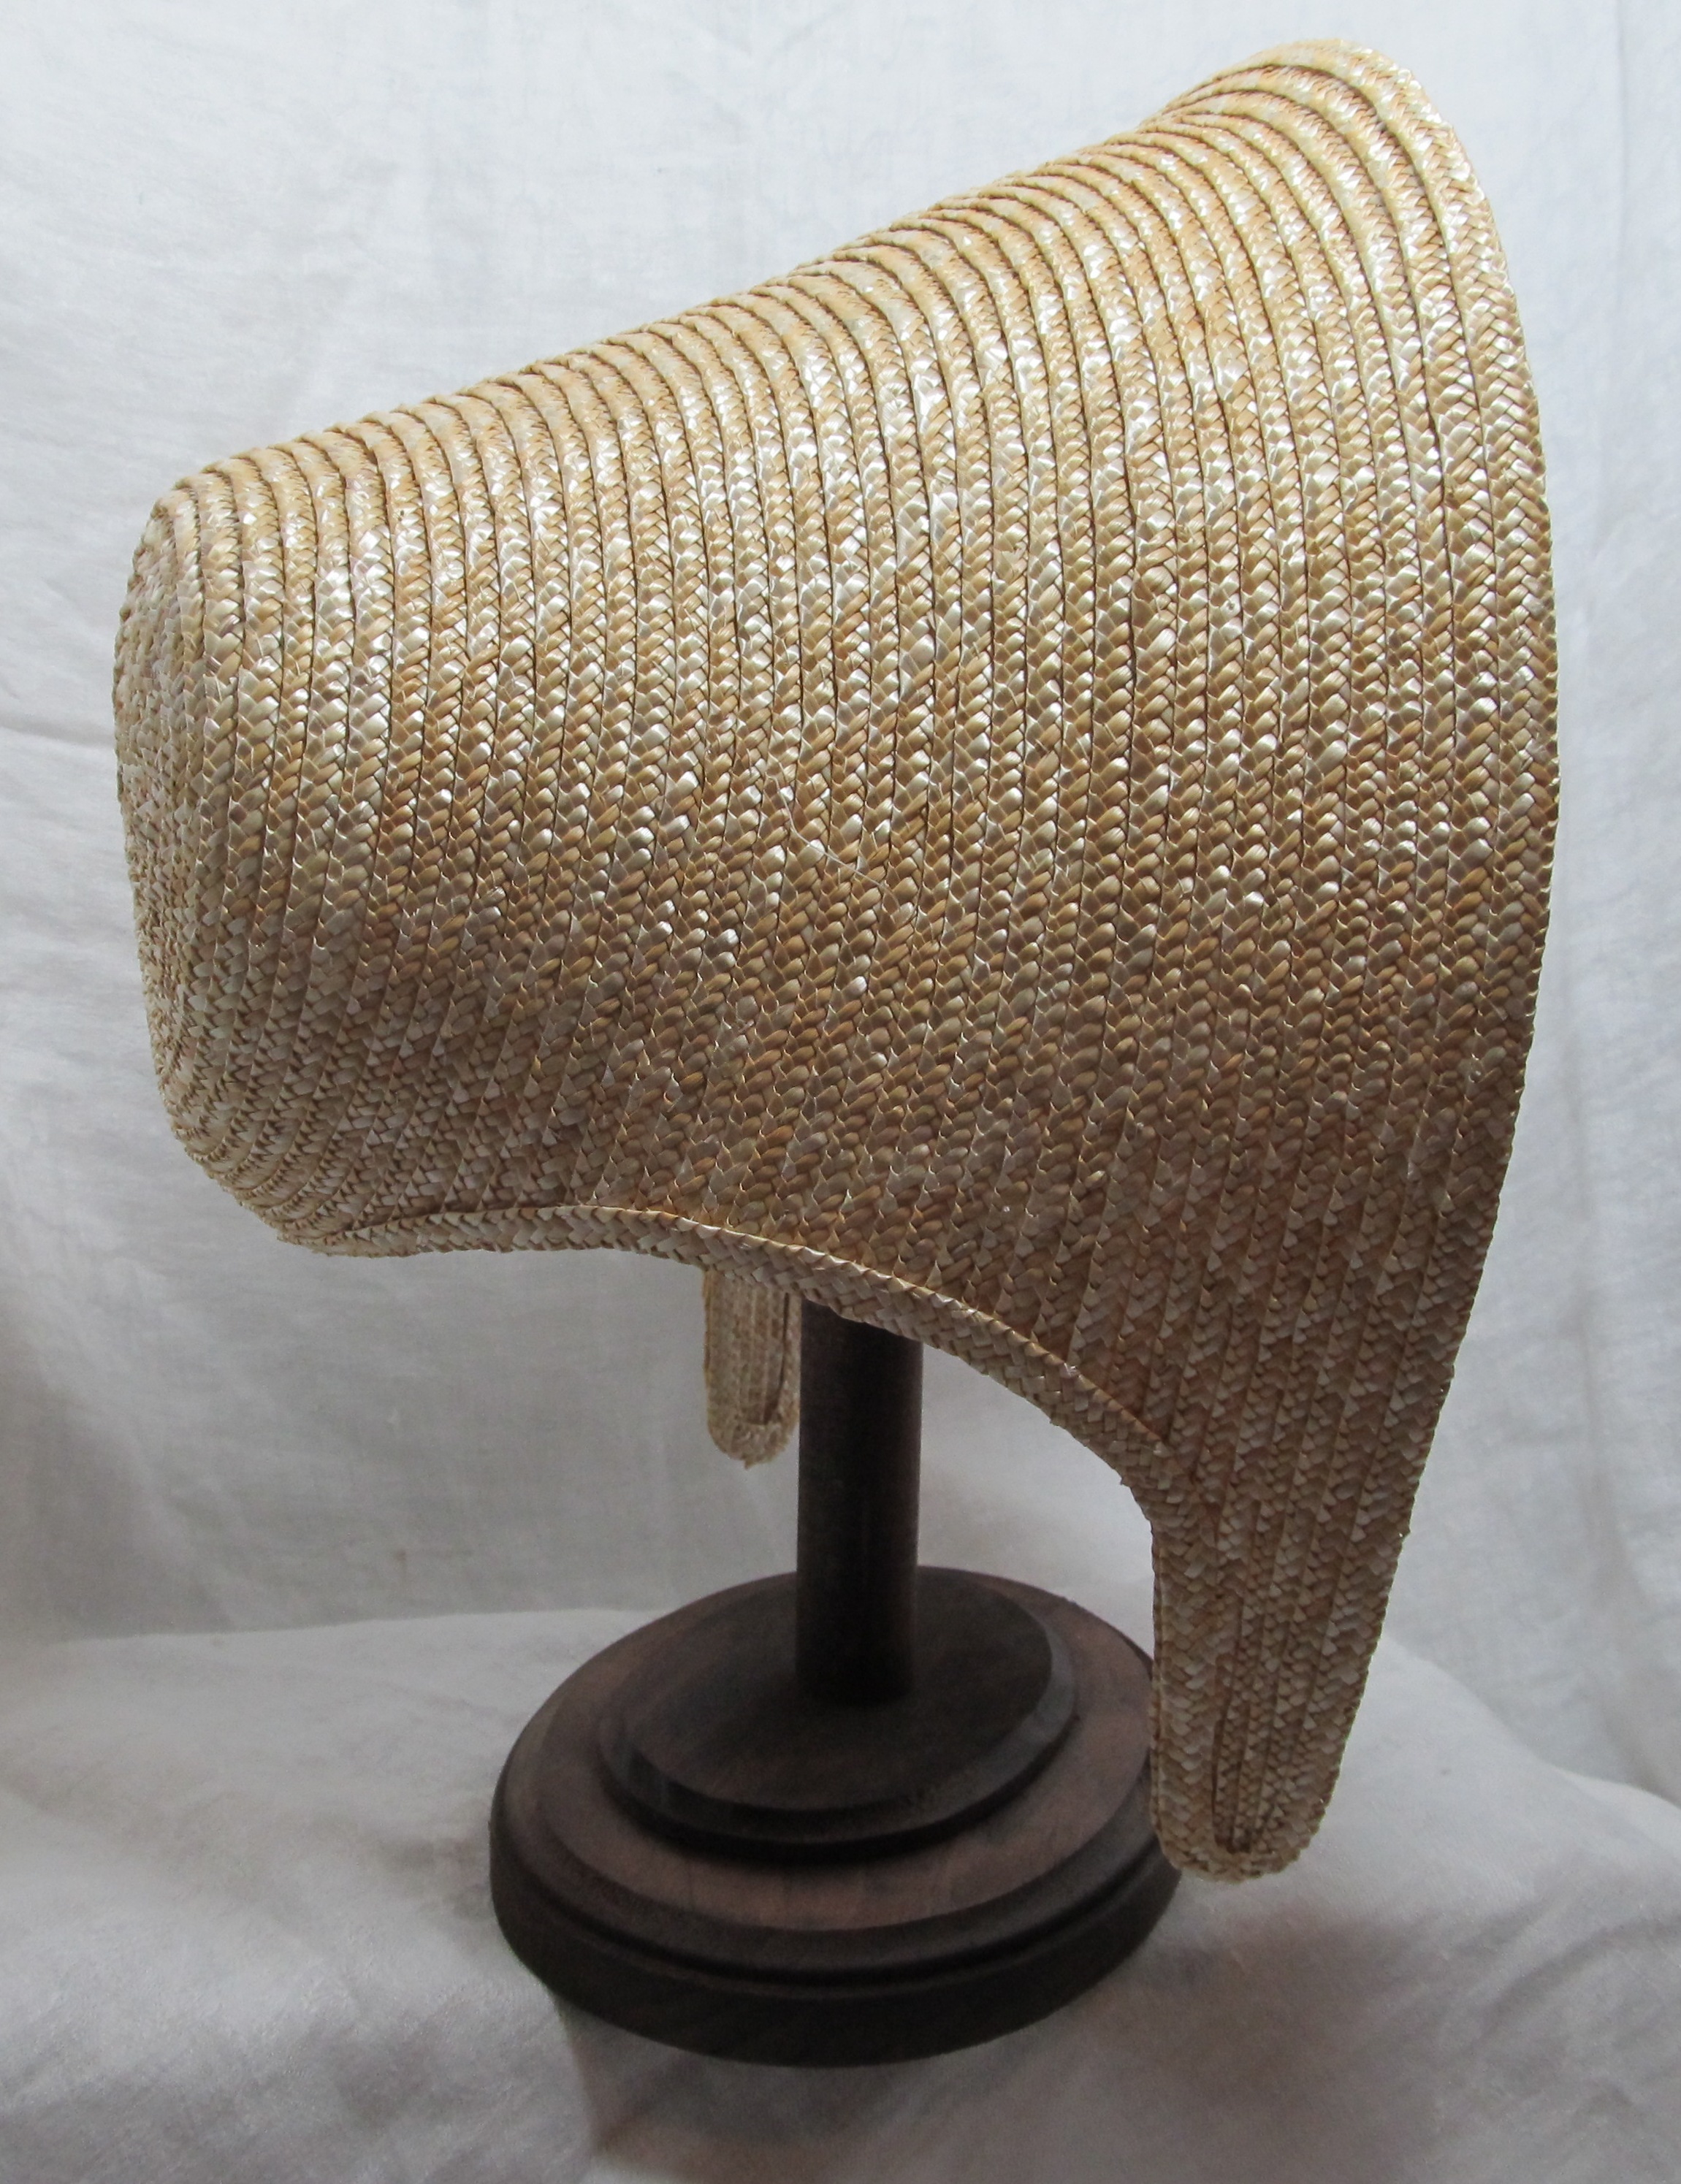
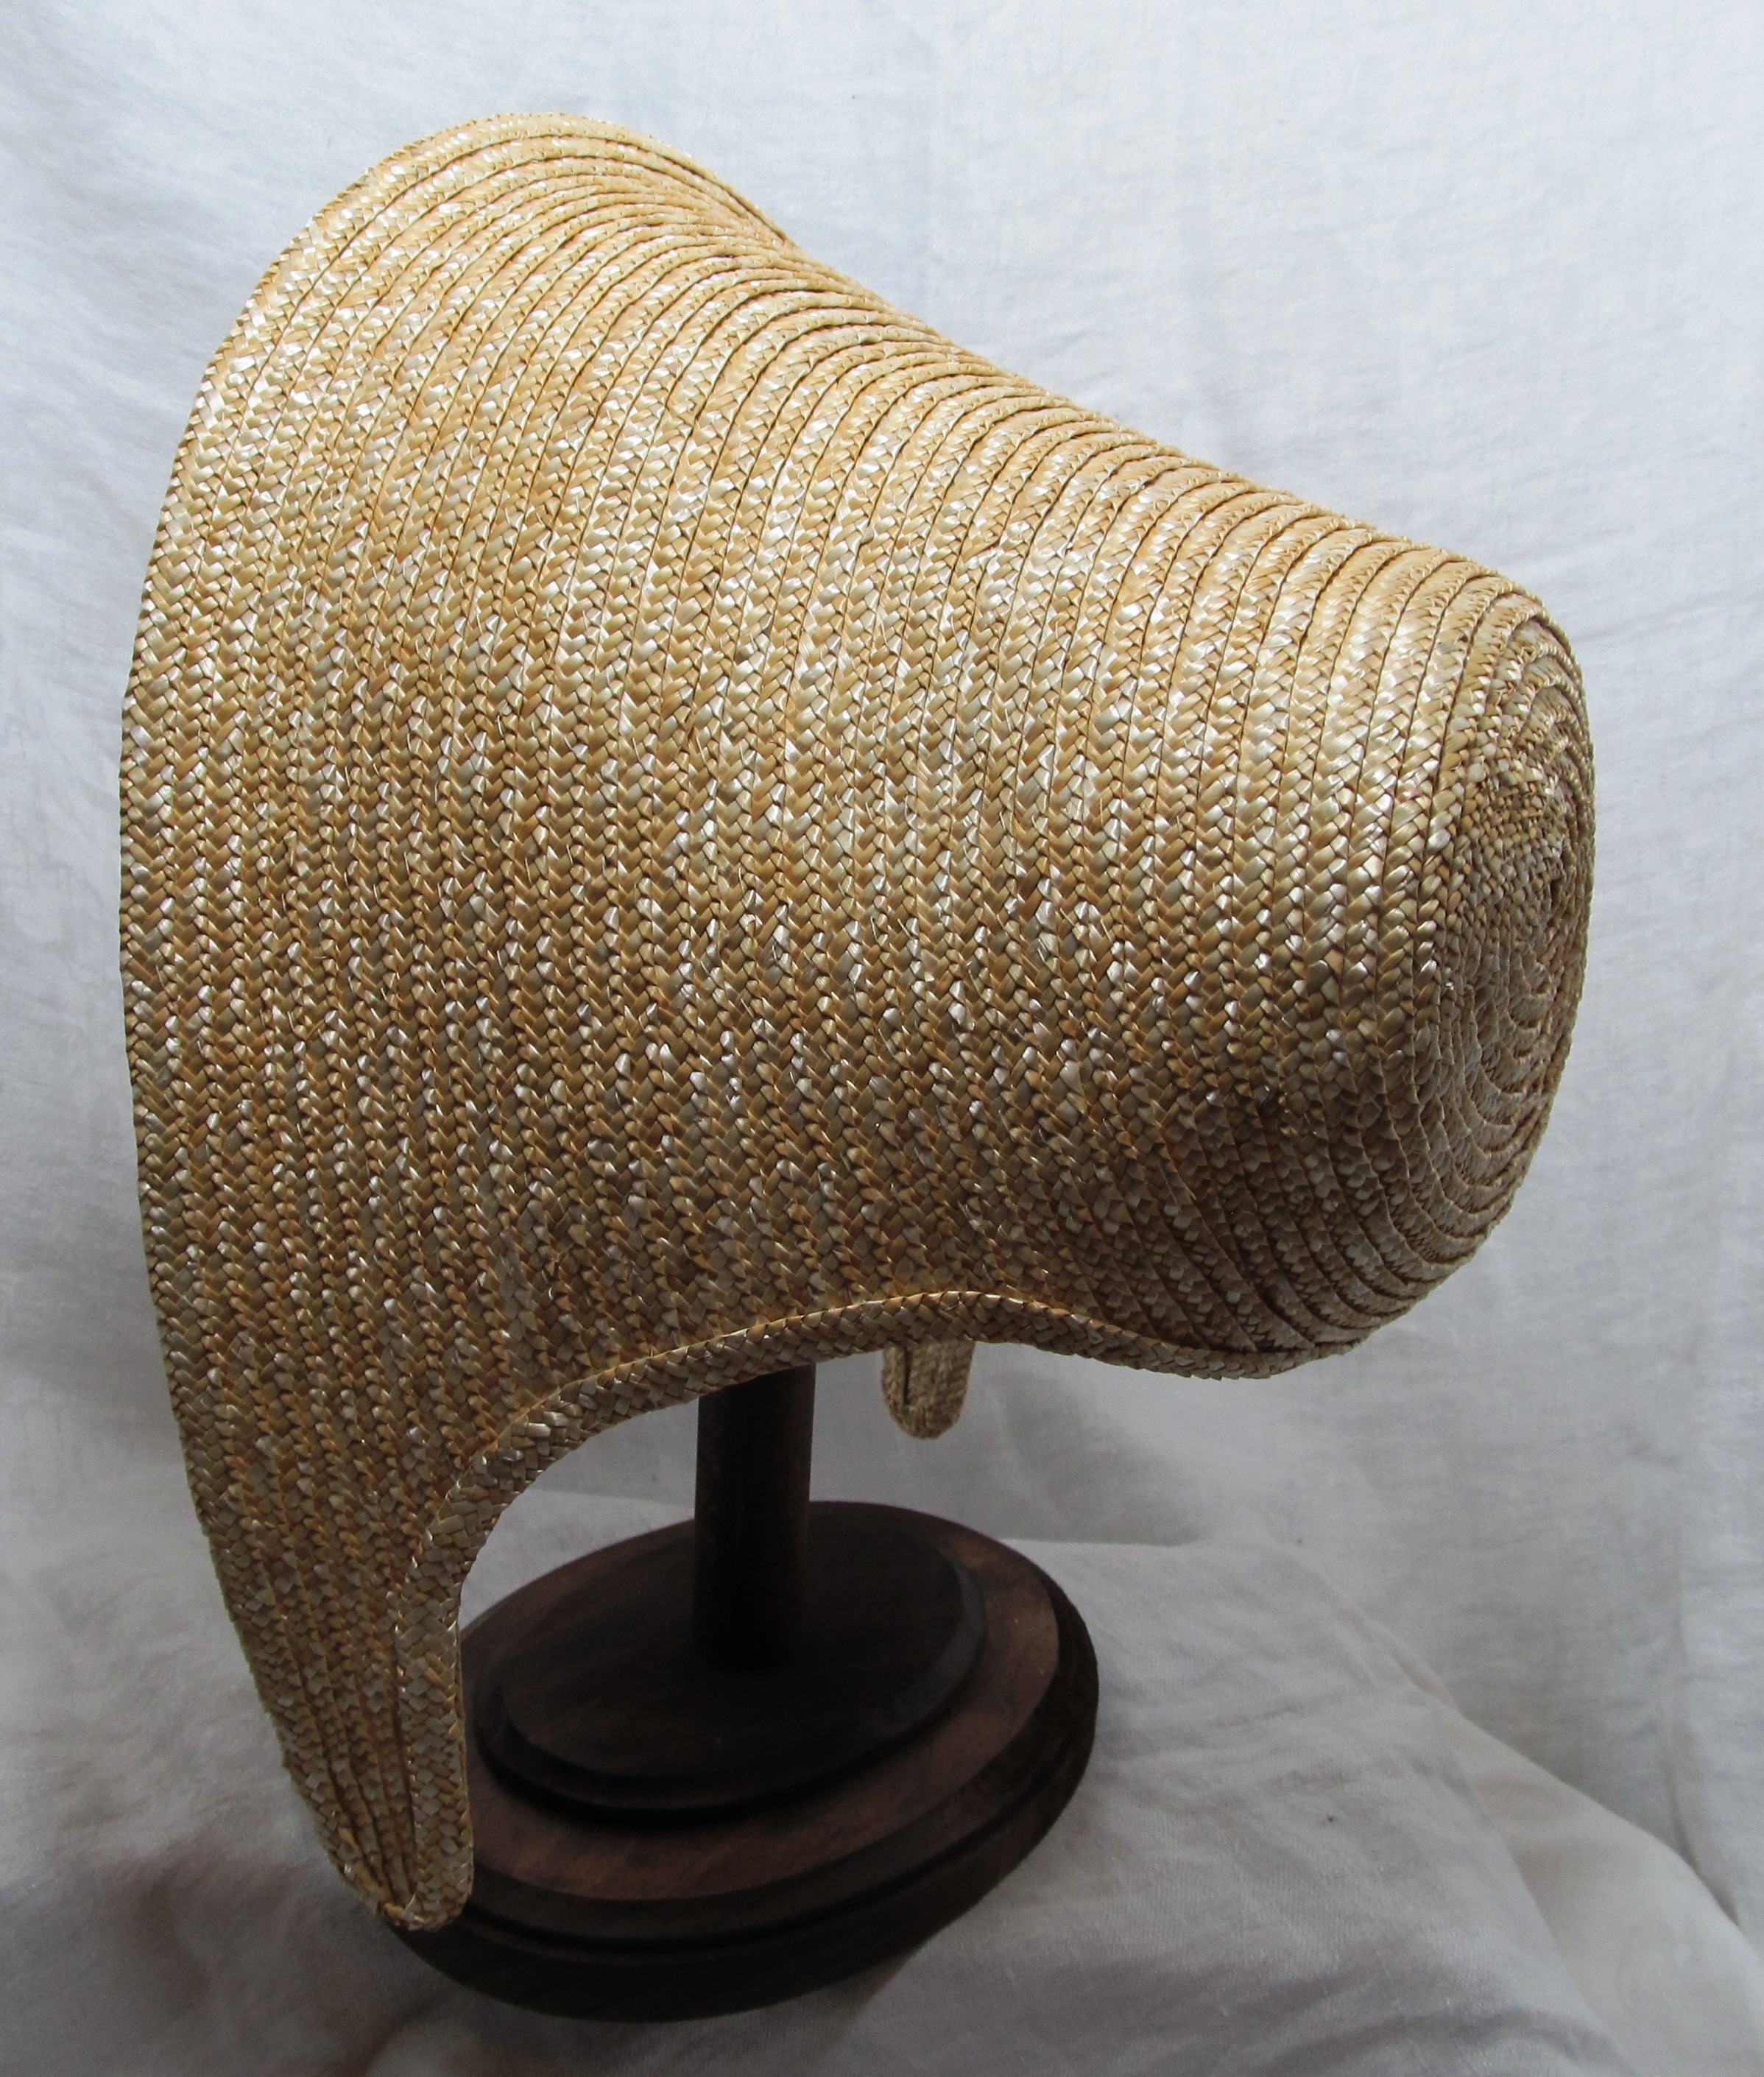
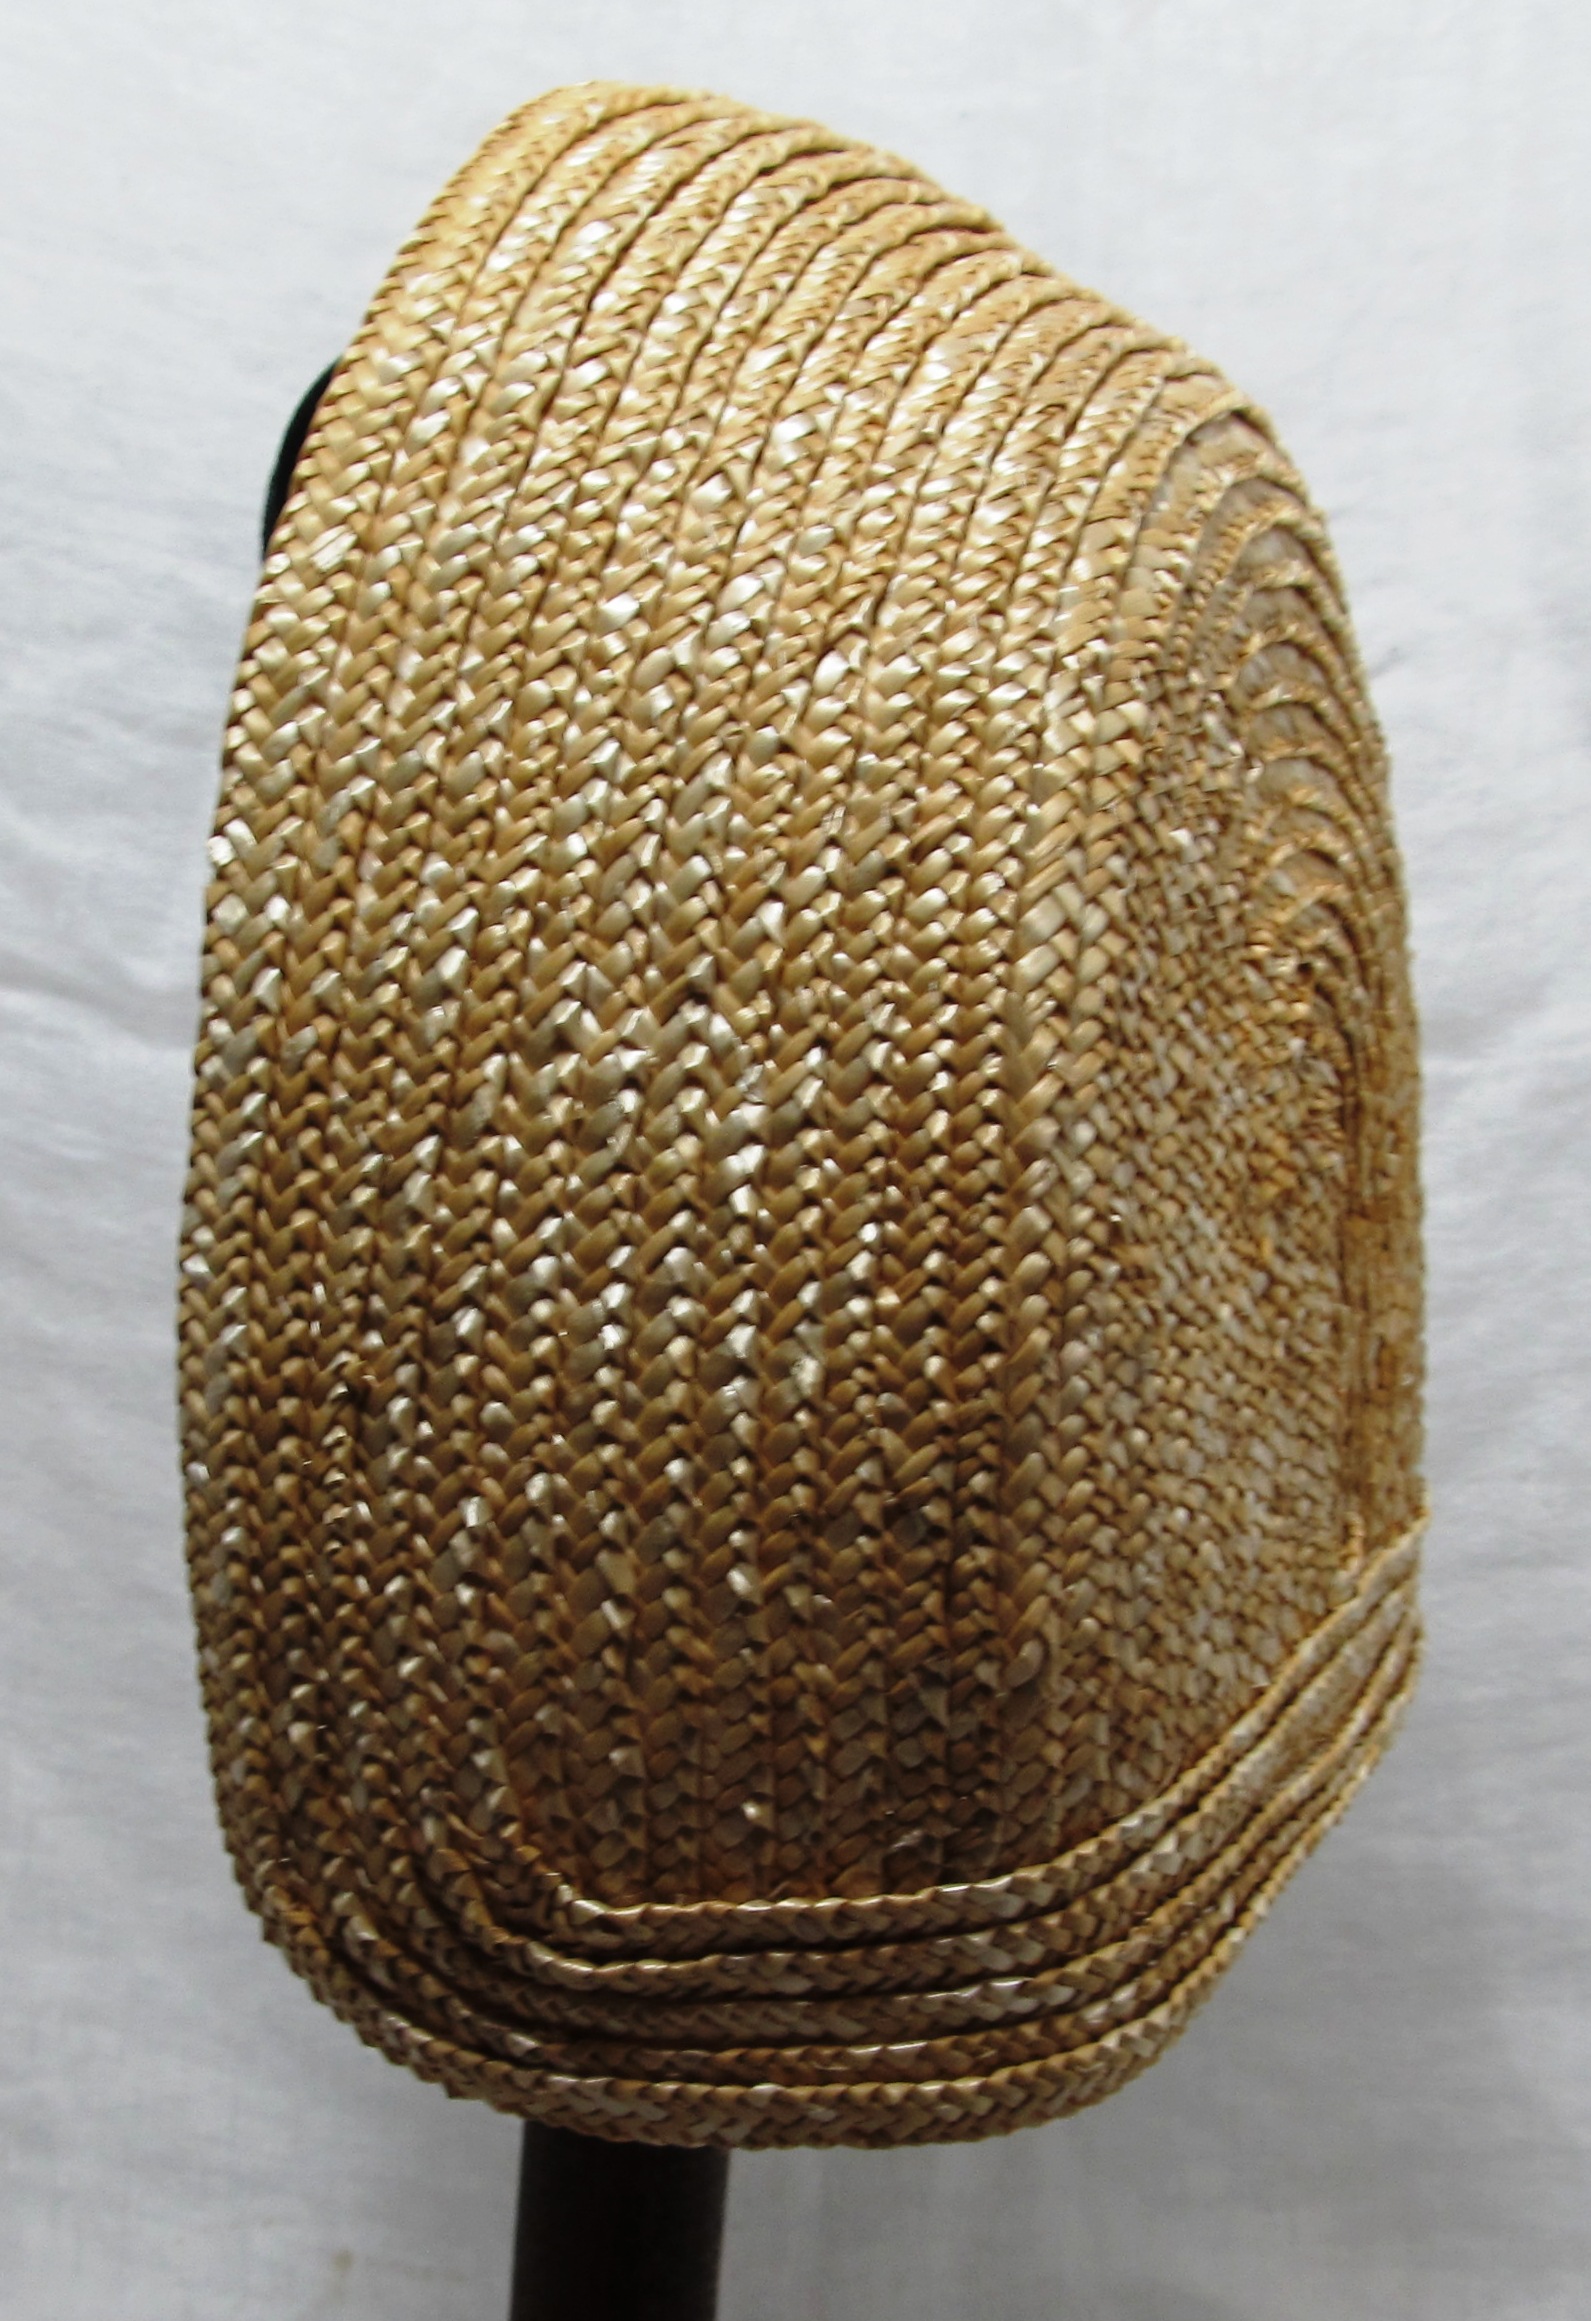
Regardless of era, I think it is essential to look at lots and lots and lots of originals. Look at the years you are focusing on. Then look at those bonnets just before and just after. Break the shapes down into the components – the tip, the crown, the brim, the cheektabs. What shapes do they have? Where to the sit on the head? Where do they sit compared to the rest of the bonnet? How does the shape work with the hair of the time? What makes sense? What doesn’t make sense?
If you are overwhelmed, print a few dozen out in small card size prints. Make a little game for yourself. Sort the images by similarities in shape. You will likely see some patterns arise. You will likely see that no single shape matches a year. Instead, you will likely see that a couple different shapes are fashionable, maybe even competing with each other, while some other shapes are still worn.
Where do you think modern reenactors go wrong with bonnets, and how to correct it. Simple tips to “fix up” your millinery. Clarinda Ann
I think we a prey to shapes that are easy to make and sell cheap when we start out. Often for the mid-century and Civil War era, these tend to have low brims, shapeless crowns and short, fat cheektabs.
Brim – For the mid-century, the bonnet’s brim should frame the face, high-lighting it. It should not trap the face inside. (there are very few, specific exceptions to this.) If you’ve unknowingly bought a bonnet that traps your face, see if it will fit a younger girl. With a little steaming and reshaping, this may be an expense rescue.
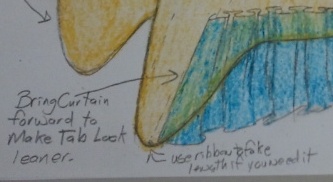
 Cheektabs – The cheektabs of the late 1850s and early 1860s are generally lean and long, coming down the sides of the face and under the chin. In the 50s, they appear to curve backwards. In the 60s, the curve is more a twist inward. Remember you want to frame the face. When I say lean, I mean at the very most 2″ wide at the top narrowing greatly. If you unknowingly bought a bonnet frame with wider tabs, you can try to fool the eye into seeing narrower tabs with how you place your bavolet. Here is a little sketch I did for someone else needing to do this.
Next time, tbd.
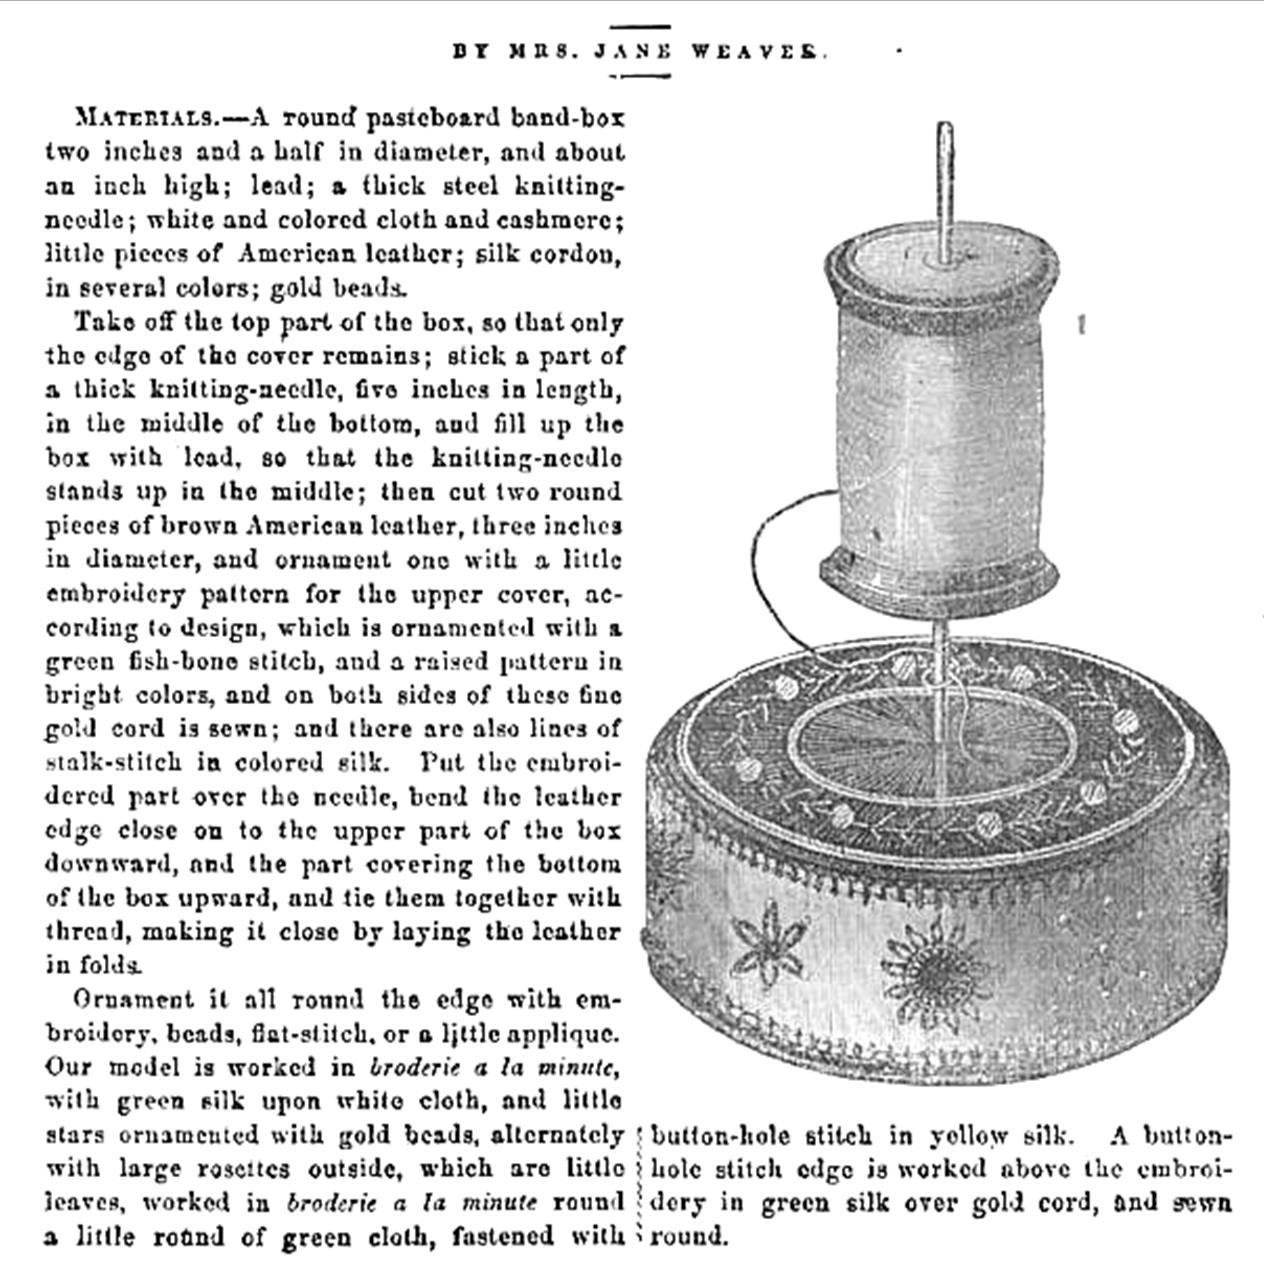
 This walnut bag was one that came up on my Pinterest feed. It appears it was an Ebay listing (If this is your piece or was your listing, and would like me to remove it, please let me know and I will do so.) This is just the kind of little piece that screams ”make me” to me.
 With all the walnuts in the yard, I am tempted to try to make something like this pincushion that looks like a basket. (By the way, this Etsy seller has some incredible original pincushions in you are in the market.)
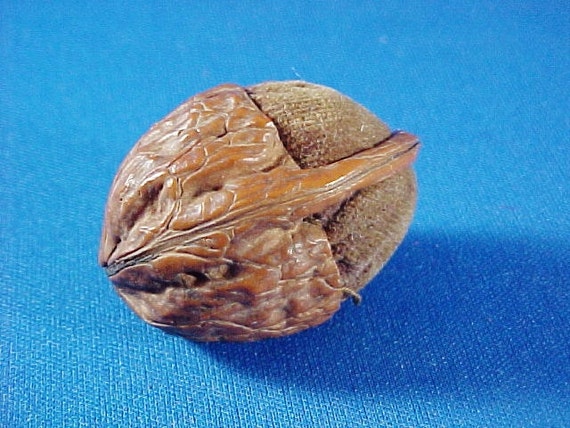


