Millinery Decoration – “You pick it, I stick it”

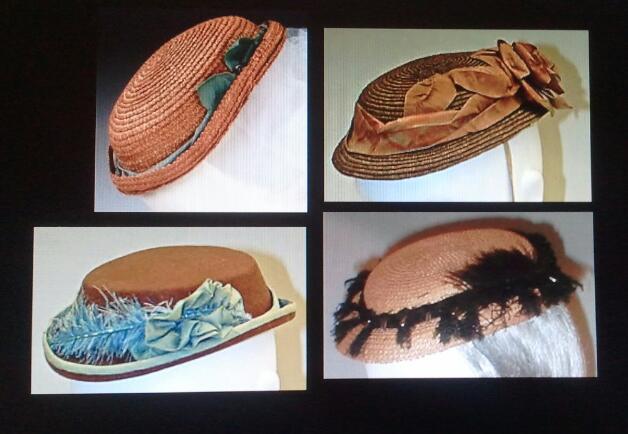
I keep coming back to calling this the “You pick it, I stick it” option. Yes, corny. But, can you name the movie? IMG_4529

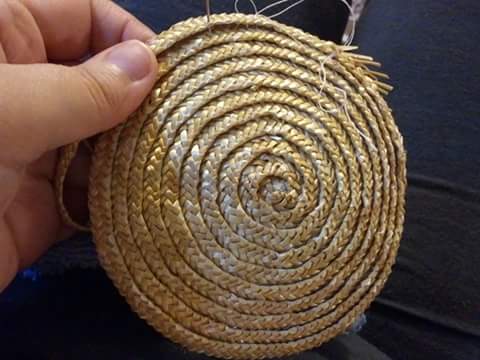
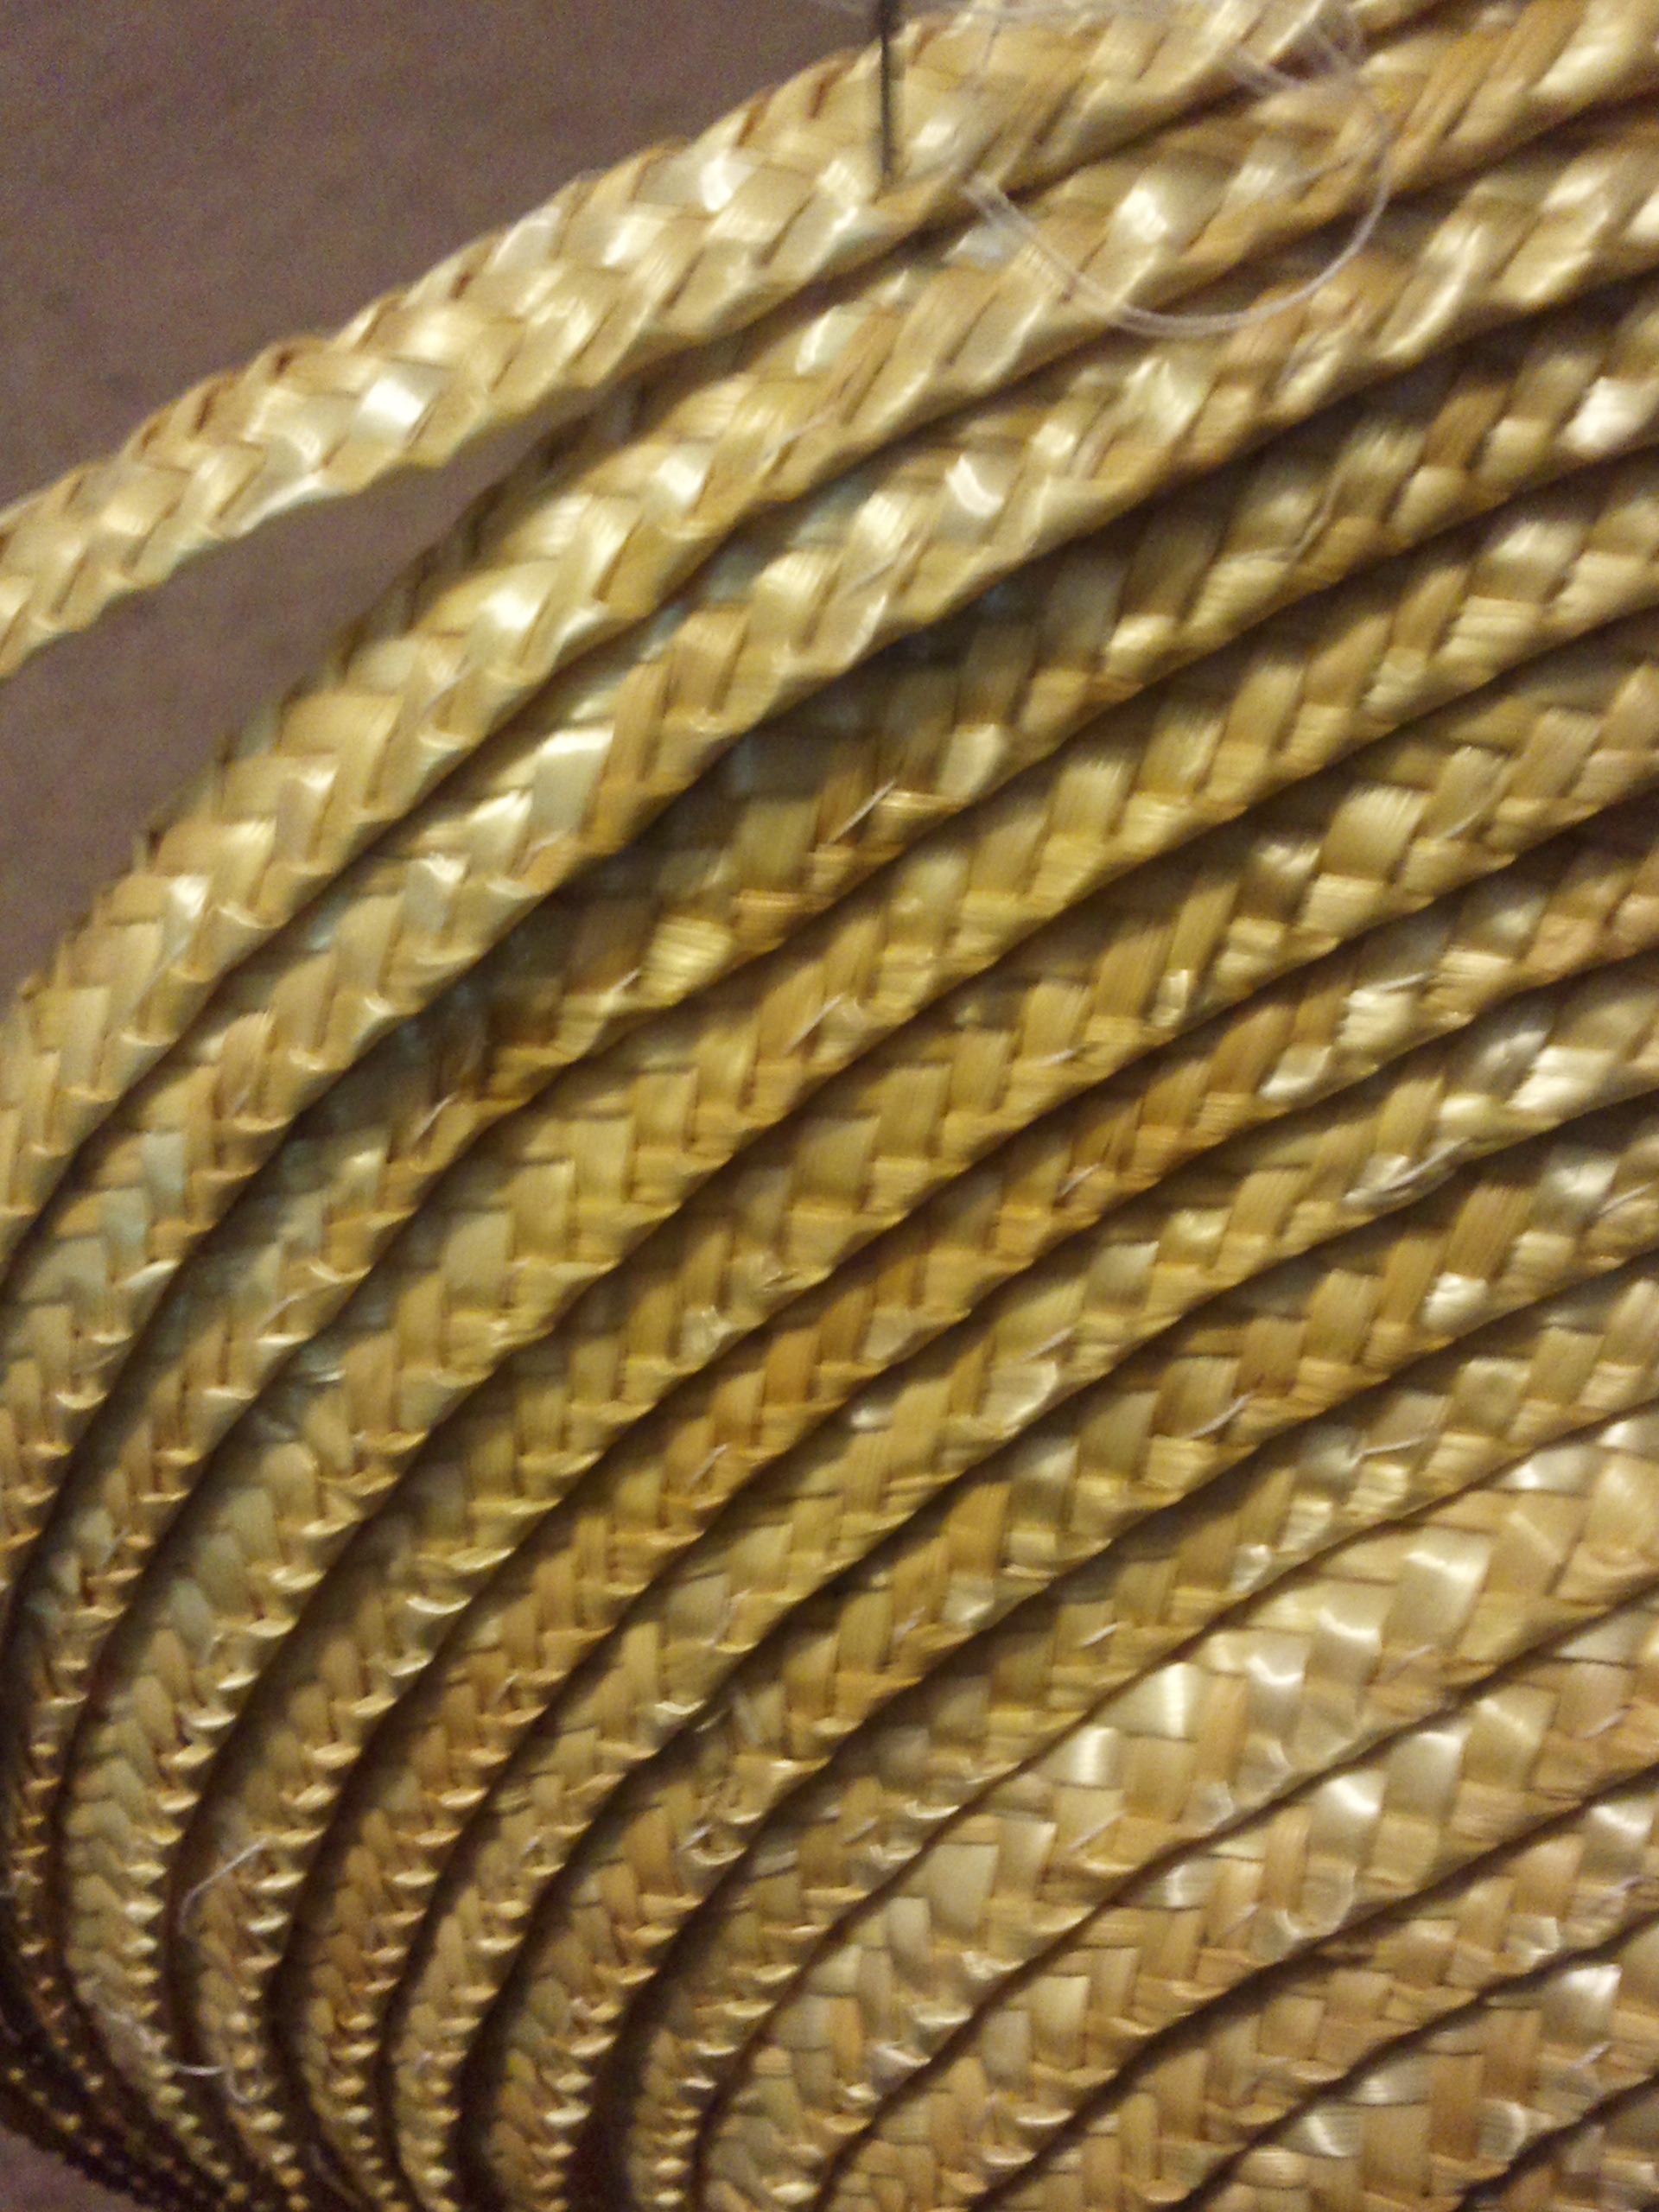
I don’t keep a large supply of flowers, feathers and ribbons as many milliners do. My focus really is the straw. In the past, I have shopped with clients to pick out the trims for their bonnets or hats.

I have also had clients send me trims they love to decorated with. I particularly enjoy this process. A box arrives with an assortment of trims I know the client already likes, or loves. Then I get to have the fun of arranging. When I am finished, the completed piece and extra trims all go back to the client.

wpid-2014-09-24-21.13.49-1.jpg.jpegI have decided to open up this option to new clients who purchase one of my straw bonnets or hats. Clients can pre-arrange with the purchase to send me their trims. I will finish and decorate the bonnet or hat for them. The final trimming cost will be based on the amount of time it take to finish the piece and any materials I will be supplying. Generally, this will start at $50 for bonnets. I will only take one or two of these per month.

Guidelines:

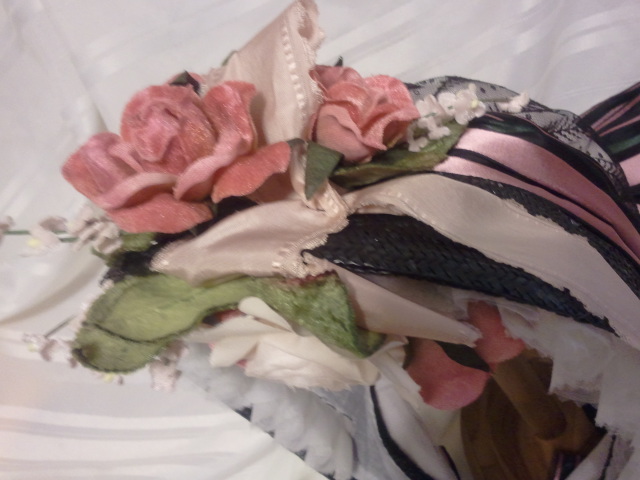
  • The ribbon for the fashion ties and bavolet should be a Minimum of 3 yards of 3.5″-4″ wide. – Quality silk or rayon, not brittle. This is for the decorative ties and the bavolet.
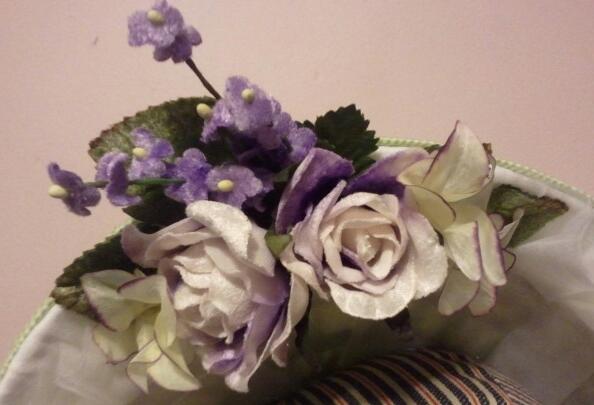
  • An assortment of millinery flowers  – These should be wired and without any plastic materials. A variety of sizes under 3″ is easiest to work with.
  • Additional ribbons in a variety of widths can be layered with the primary ribbon, mixed with the flowers or used for bows.
  • Flowers and feathers should be color fast.

wpid-2014-09-28-17.30.19.jpg.jpegI can supply:

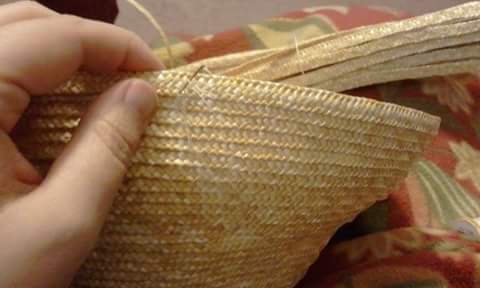
  • Cotton lining for bonnets or hats as needed
  • Net to line the bavolet
  • Frill in organza or net for bonnets
  • Functional ties for bonnets
Published in: on June 12, 2015 at 4:00 pm  Comments (2)  

What Does a Milliner Do…. part 2

This weekend 1
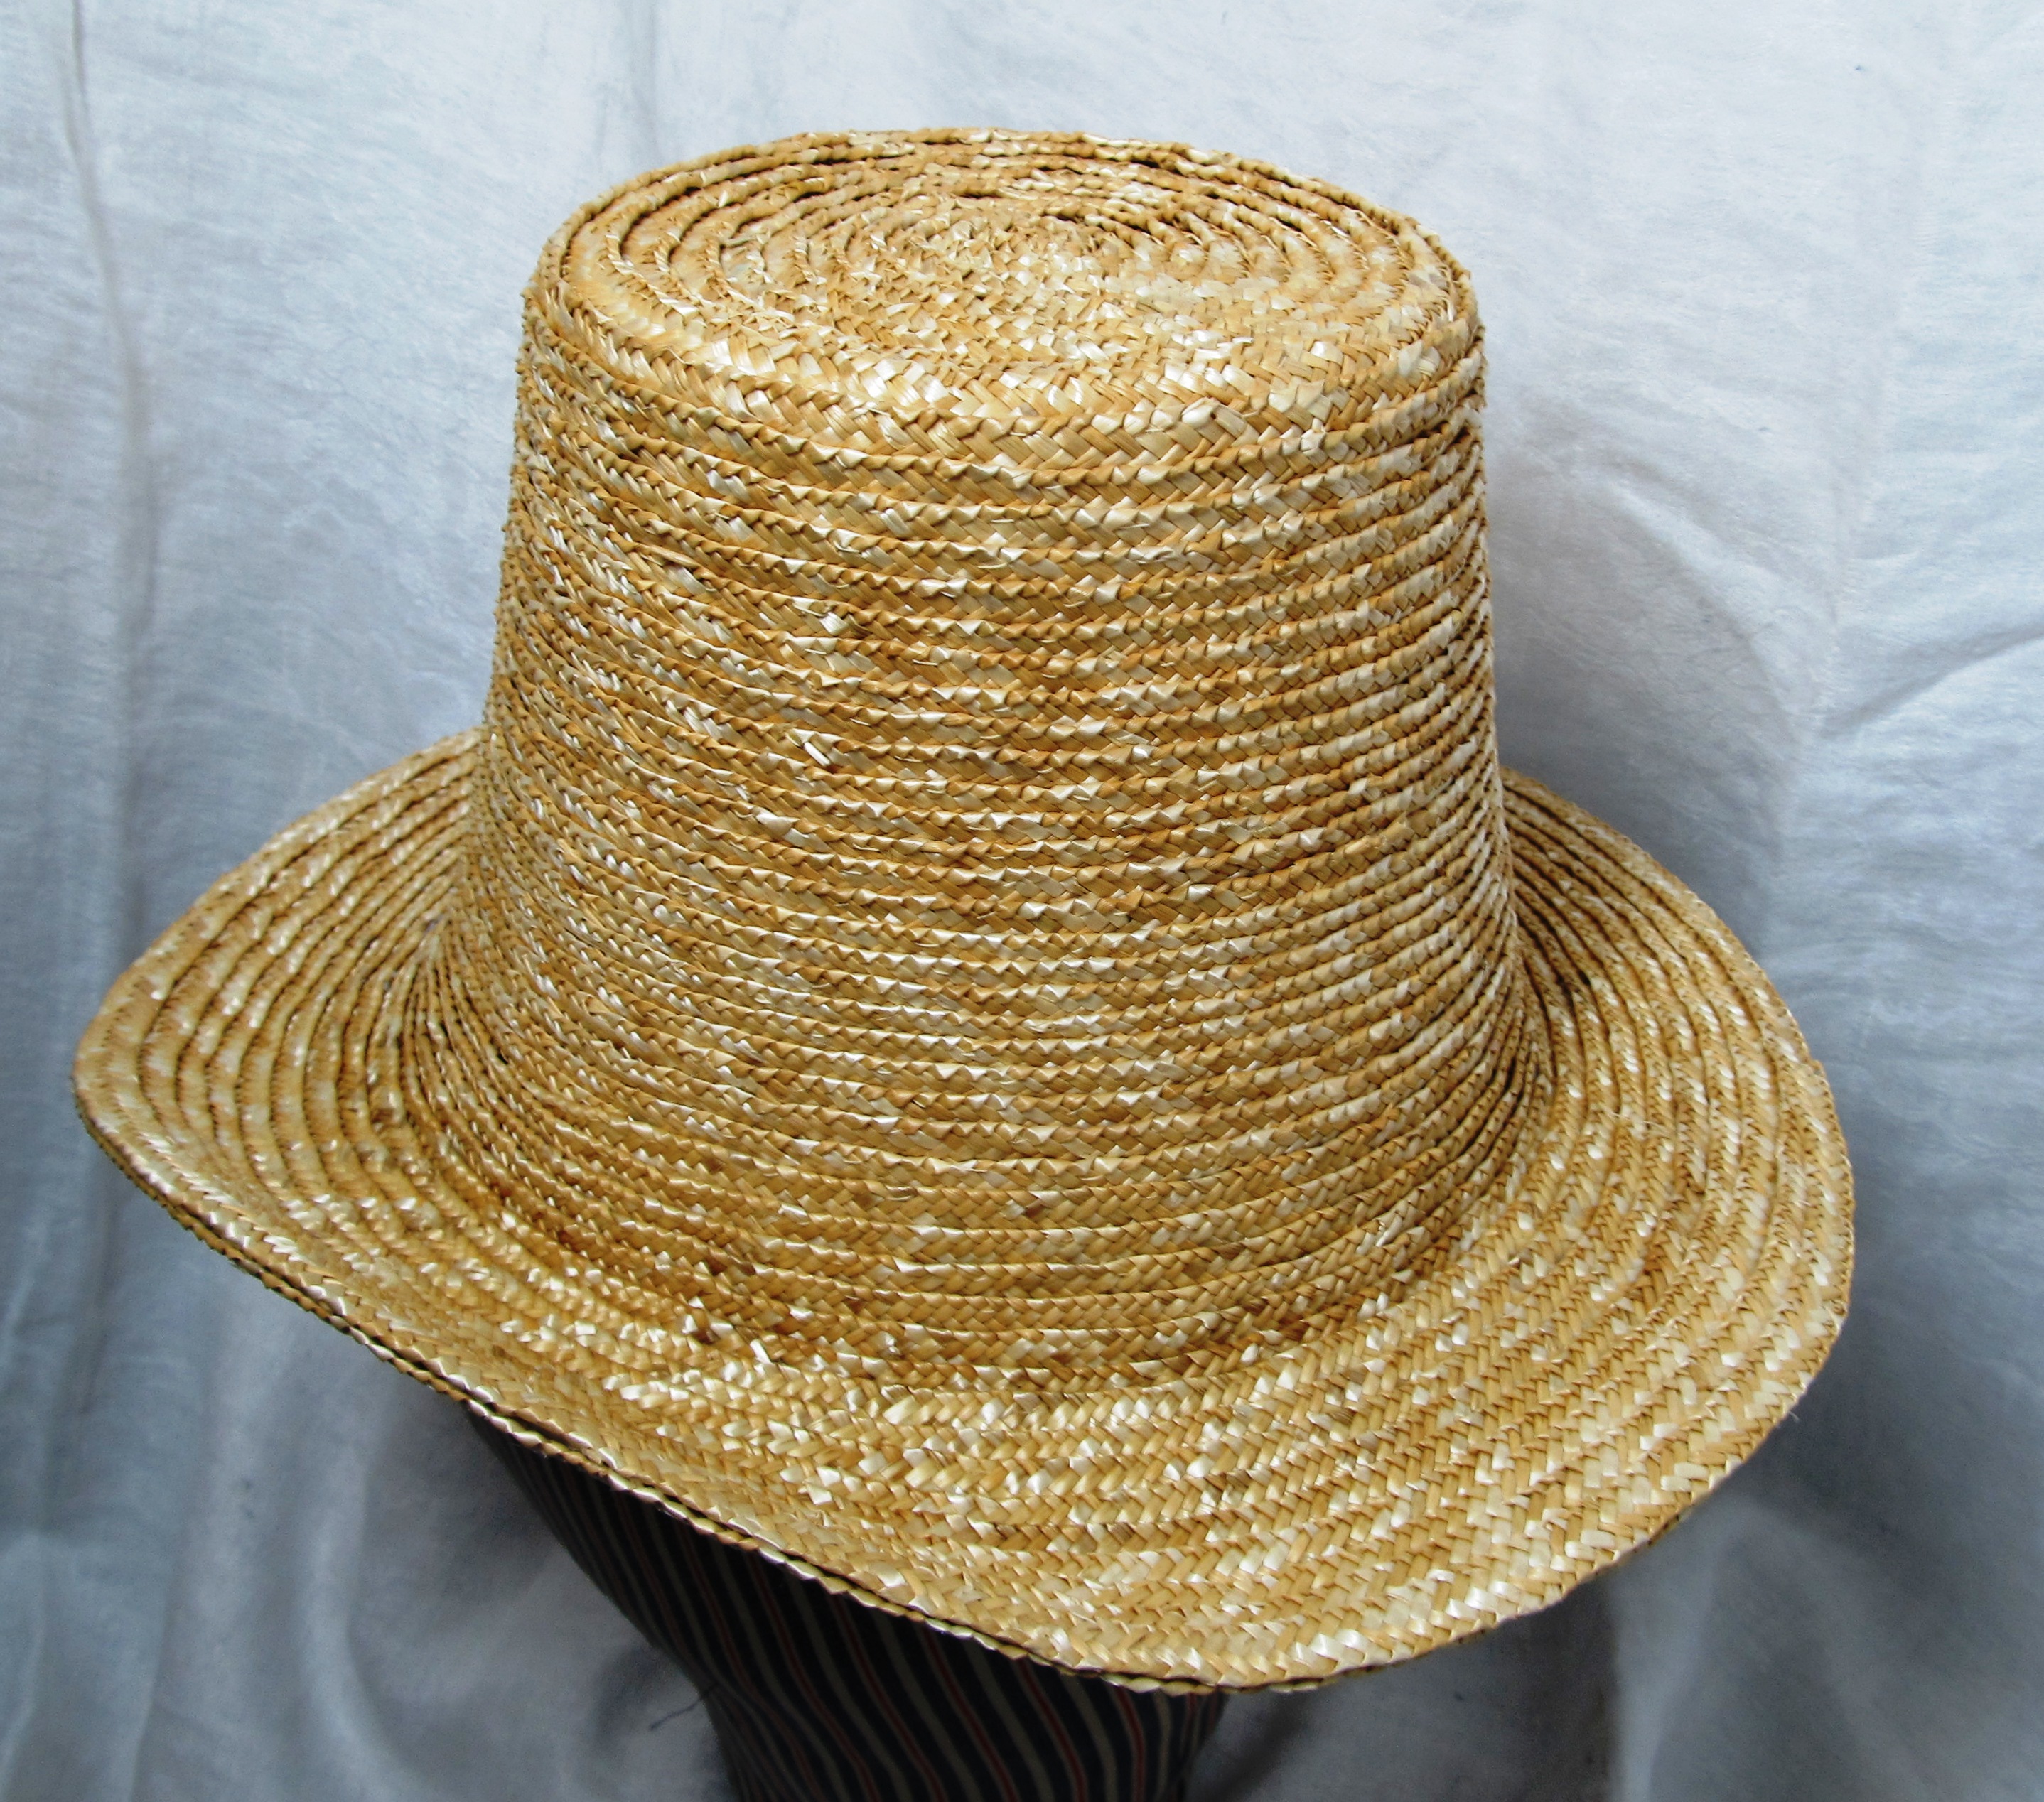
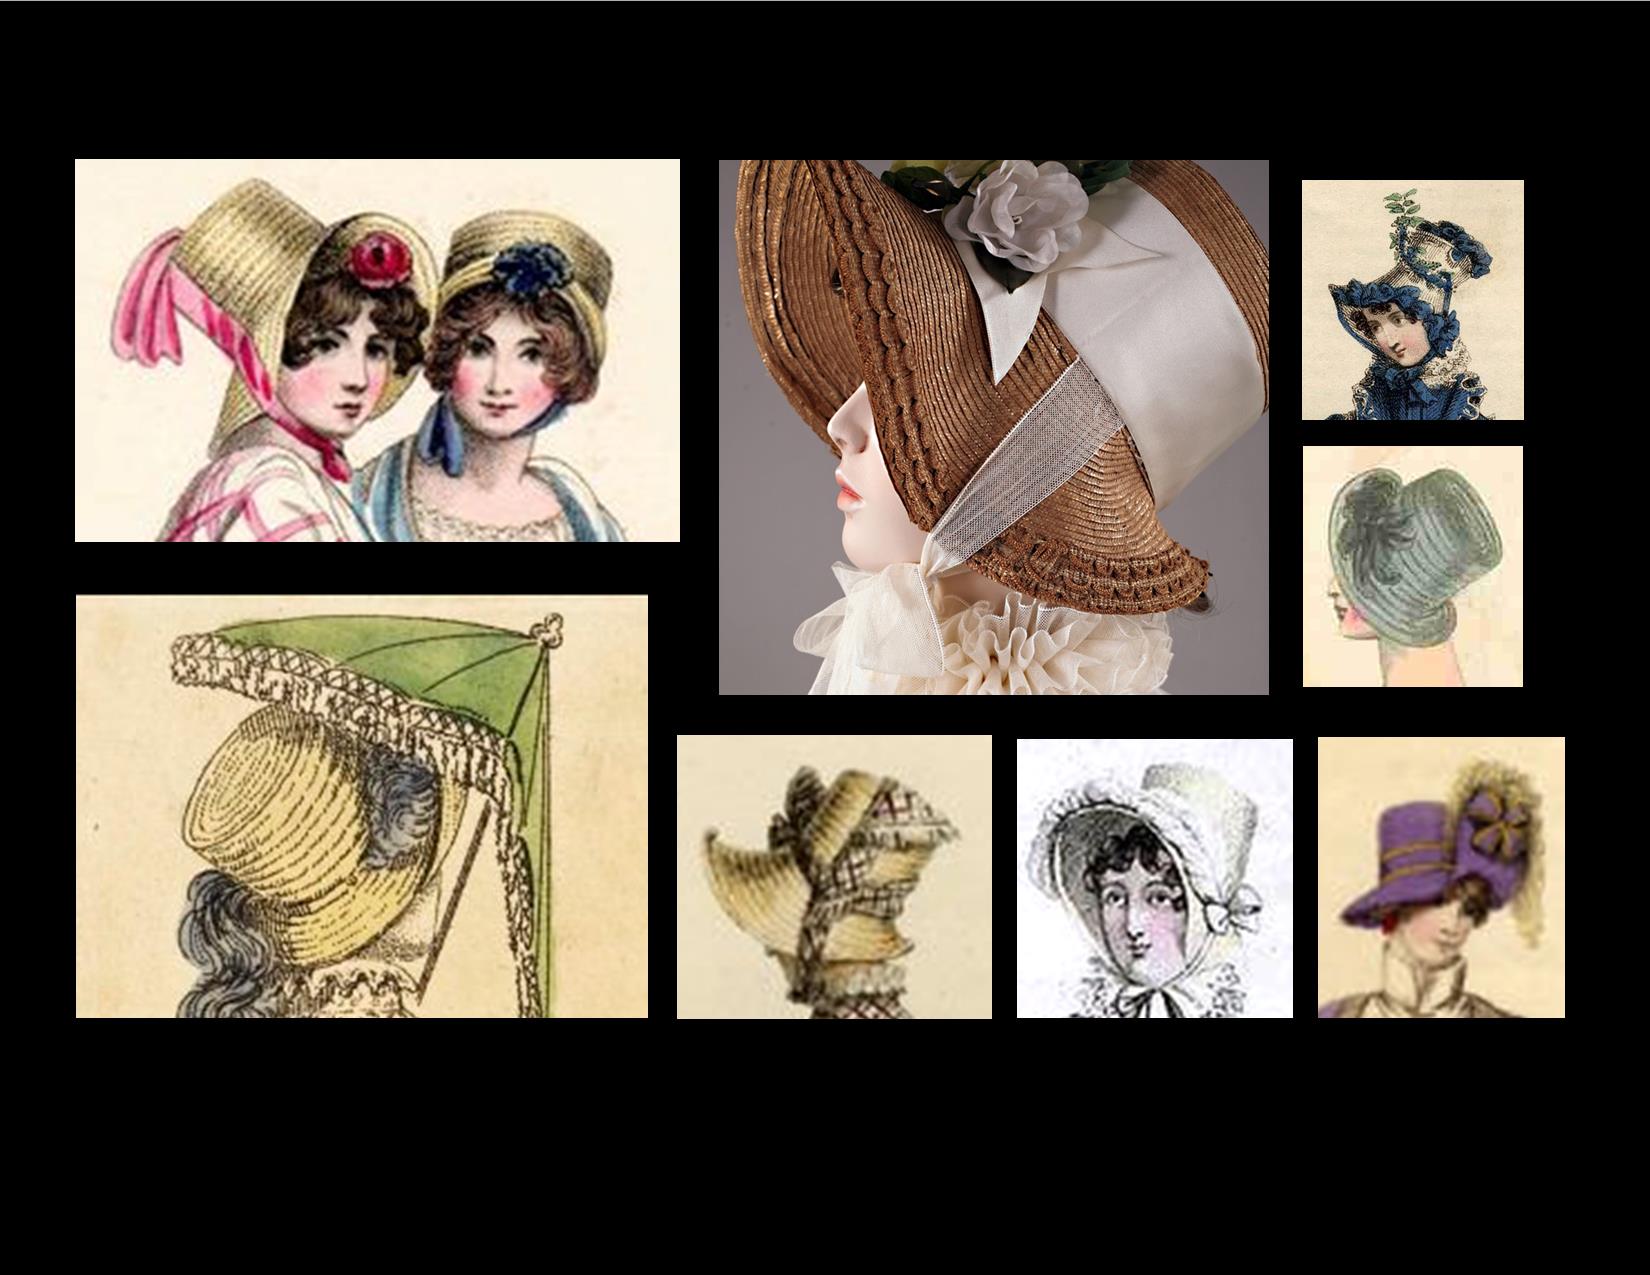
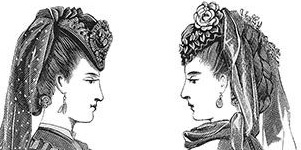
Another nudge towards working with my tall hat was this illustration. I just love this. How I would love to have a yard of delicate silk gauze and narrow silk ribbon to play with this look. If only….. time allowed

Alas… with what time and the stash allows…
I reshaped the brim as best I could. I constructed it so the turn up part was a tad wider than the rest. It isn’t really noticeable once it is on.

I used this lush midnight blue satin ribbon in the ribbon stash. While playing with the ribbon, which has a very full body, the loopy arrangement fell into place. The rest I kept simple.

wpid-2015-06-11-17.14.12-1.jpg.jpegI’m happy with the quick arrangement. I’ll tie the bow smaller. I would like to add a fluffy while feather plumb wrapping in front of the loops. I picture one that sits only half way up the loop, not too big.wpid-2015-06-11-17.13.49.jpg.jpeg
It should be comfortable to sew in. I can barely tell the hat itself is there. It is the ribbon I feel. It is odd for me to feel the decorative ribbon instead of a narrower functional tie. (This is something I must investigate further for this era.)
(It appears I need to rotate a photo. Sorry.)

Published in: on June 11, 2015 at 5:32 pm  Comments (1)  

What Does a Milliner Do….

….When it is two days before an event in a new to her era….

….. and she discovers she has no bonnet of her own for that era????

Yes. There is a moment of panic.

A bit of a background… I finally got around to making a Regency era dress. Actually, it is a late Regency dress, 1820ish with a cross-over bodice. Two Saturdays ago, Bevin asked me if I wanted to come out for GCV’s War of 1812 and Jane Austen weekend to demo working with straw plait. Of course I did.

I had a dress. I had straw. All good.

Yep, that was wedding brain mixed with end of the year brain.

Not all good. There are details. Those details started sinking in Wednesday evening before the event as a thunderstorm was rolling in. Bonnet. Ribbons. Shoes. Jewelry. Carry in. At least I had started two demo pieces, one bonnet and one hat.

IMG_6207This (left) is the of the two types of bonnet I really want to wear this weekend. But, I sorta gave each of them a new home already. Alas, it will have to be the plait and gold silk bonnet I made over a decade ago. I shifted the one pile in the sewing room to get to the shelf with the totes of the bonnets…. 50s. 50s. 40s. next…. 50s, 60s, 60s, …. next…. Ack!!!!

It is not in the house. It is in the depths of storage. This is a problem.

IMG_6383The choices become a) Make a new bonnet in two nights with very humid weather. b) Drive to storage, dig through in hopes of finding the misplaced bonnet. c) Pull the Romantic era from the shop, decorate it and make-do. d) Pull the tall crown hat from the shop, reshape the brim and decorate it. Mind you, this is in the midst of dealing with the most exhausting time of the year at school while helping balance out for and worrying about a couple very ill coworkers.

I decided to go with choice d…. This is the hat that is getting reshaped….

IMG_6322  These are the inspiration images for the reshaping and the decorating…. This weekend 1

To be continued…

Published in: on June 11, 2015 at 6:00 am  Comments (2)  

The Printsellers Window at the Memorial Art Gallery

I have been following this blog for a few months. The photos are amazing. Lately, local the artist has been sharing local images. This one is one you all must see as it has many layers.

Jazzersten's HDR Blog

at the Memorial Art Gallery in Rochester, NY they have this painting at the top of the stairs going to the second floor.  Its called the Printseller’s Window by Walter Goodman and has dozens if not hundreds of items in it.  The frame shown is part of the painting.  It is in trompe l’oeil style where the image looks 3 dimensional and mimics a real life object or situation.  There is an entire book written on this painting identifying the various people in the prints and photos.

Click images for a larger view:

4F5A2482_PrintSellersWindow

A closeup:

4F5A2483-Edit_M

View original post

Published in: on June 9, 2015 at 7:58 am  Leave a Comment  

How I Make Bonnets….

This morning something came up in a FB group that let me know some people have a complete misconception of what I do when I make bonnets.

What I do Not do:
  • I do not use pre-sewn hats, nor hat forms.
  • I do not cut-down, nor reshape pre-sewn hats.
  • I do not reblock pre-made hats or hat forms.
  • I do not use synthetic thread.
  • I do not machine sew straw.
What I do do:
  • wpid-img_38176305053705.jpegI work with straw plait in a variety of widths ranging from fine to coarse, a quarter inch (fashionable) to three-quarters of an inch (coarse.) These straws have included Milan, French and a British straw among others. The image to the right shows a comparison of the coarse straw and a nicer Milan straw.
  • I hand shape and sew each row of plait with 100% cotton thread.
  • I develop the shape of each hat and bonnet by adjusting the curve and tension of the straw. This is how I get different brim heights and shapes. I also bend the straw to make it around the curves and corners found in the different eras I am working with this year.
  • I wire each bonnet and hat by hand, again with 100% cotton thread.
  • I block and size each piece by hand using one of two sizings. For some pieces I have carved blocks to aide in the shaping.

It takes approximately 6 to 7 hours to sew a small hat and 7 to 9 for a medium size hat, while most bonnets take between 8 and 12 hours with some more unique shapes or larger bonnets taking longer. Some pieces are blocked all at once at the end while others I am trying to get particular shapes in are blocked in stages. With humid summer days, it can take over 24 hours of drying before I am comfortable photographing or shipping a piece.

Here are some images of work in progress to give you a better idea:

wpid-img_38251188341288.jpeg  wpid-fb_img_14269757306490004.jpgwpid-img_38191618186747.jpegwpid-fb_img_14330205522605342.jpg wpid-img_38240318919330.jpeg

See the different straw shapes I have developed based on originals this year in my 2015 Shape Gallery.

Published in: on June 8, 2015 at 6:30 am  Comments (2)  

A Bonnet for a Poor Impression

(Sorry about the phone glitch)

This bonnet if for those who do an impoverished impression. The low brim shape can span from 1855 to 1865 for this socioeconomic interpretation.

Available on Etsy.

This slideshow requires JavaScript.

Here is a comparison of the finer Milan straw I like working with and this coarser straw:

wpid-2015-06-04-06.20.22.jpg.jpeg

Published in: on June 4, 2015 at 7:16 am  Leave a Comment  

A Little Hat

wpid-2015-05-26-10.58.50-1.jpg.jpegLast week, I decided I wanted to try some new to me hat styles. One of the shapes I found interesting was the higher small crown with little to no brim. By the book, hats with little to no brim are toques. Those with small upcurving brims and recessed crowns are pork pies. These seem to land closer the the definition of a toque.

IMG_6593My hat became a little higher in the crown as I got swept away in the sewing. It resembles this hat more, with the velvet bound turned up brim. I envision this hat being finished with the brim either bound with velvet or the underside lined in velvet.But, it could be finished in many different ways….

UntitledI think it is a rather nifty hat worn tilted forward at an angle. I may work well for my Steampunk or cosplay clients to play with.

This little hat will need a set of ties, loops or elastic to help keep it perched in place. Inside the crown it is 18″ in circumference, 5″ wide and 6.5″ front to back. It does perch forward on my 22.25″ head.


IMG_6599 - Copy (2)IMG_6599 - CopyIMG_6600 - CopyIMG_6603IMG_6589
IMG_6614
IMG_6609

Published in: on June 2, 2015 at 5:00 pm  Leave a Comment  

Portrait Timeline

I stumbled upon this Portrait Timeline.

Published in: on June 1, 2015 at 10:29 am  Comments (1)  

A Round Shallow Hat

wpid-2015-05-26-10.58.40-1.jpg.jpeg
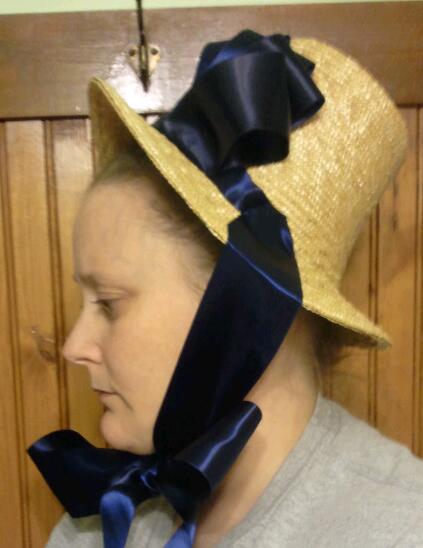
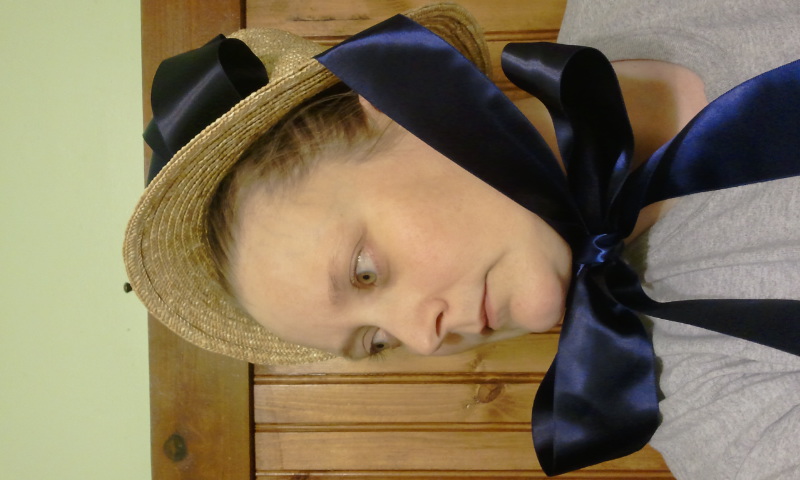
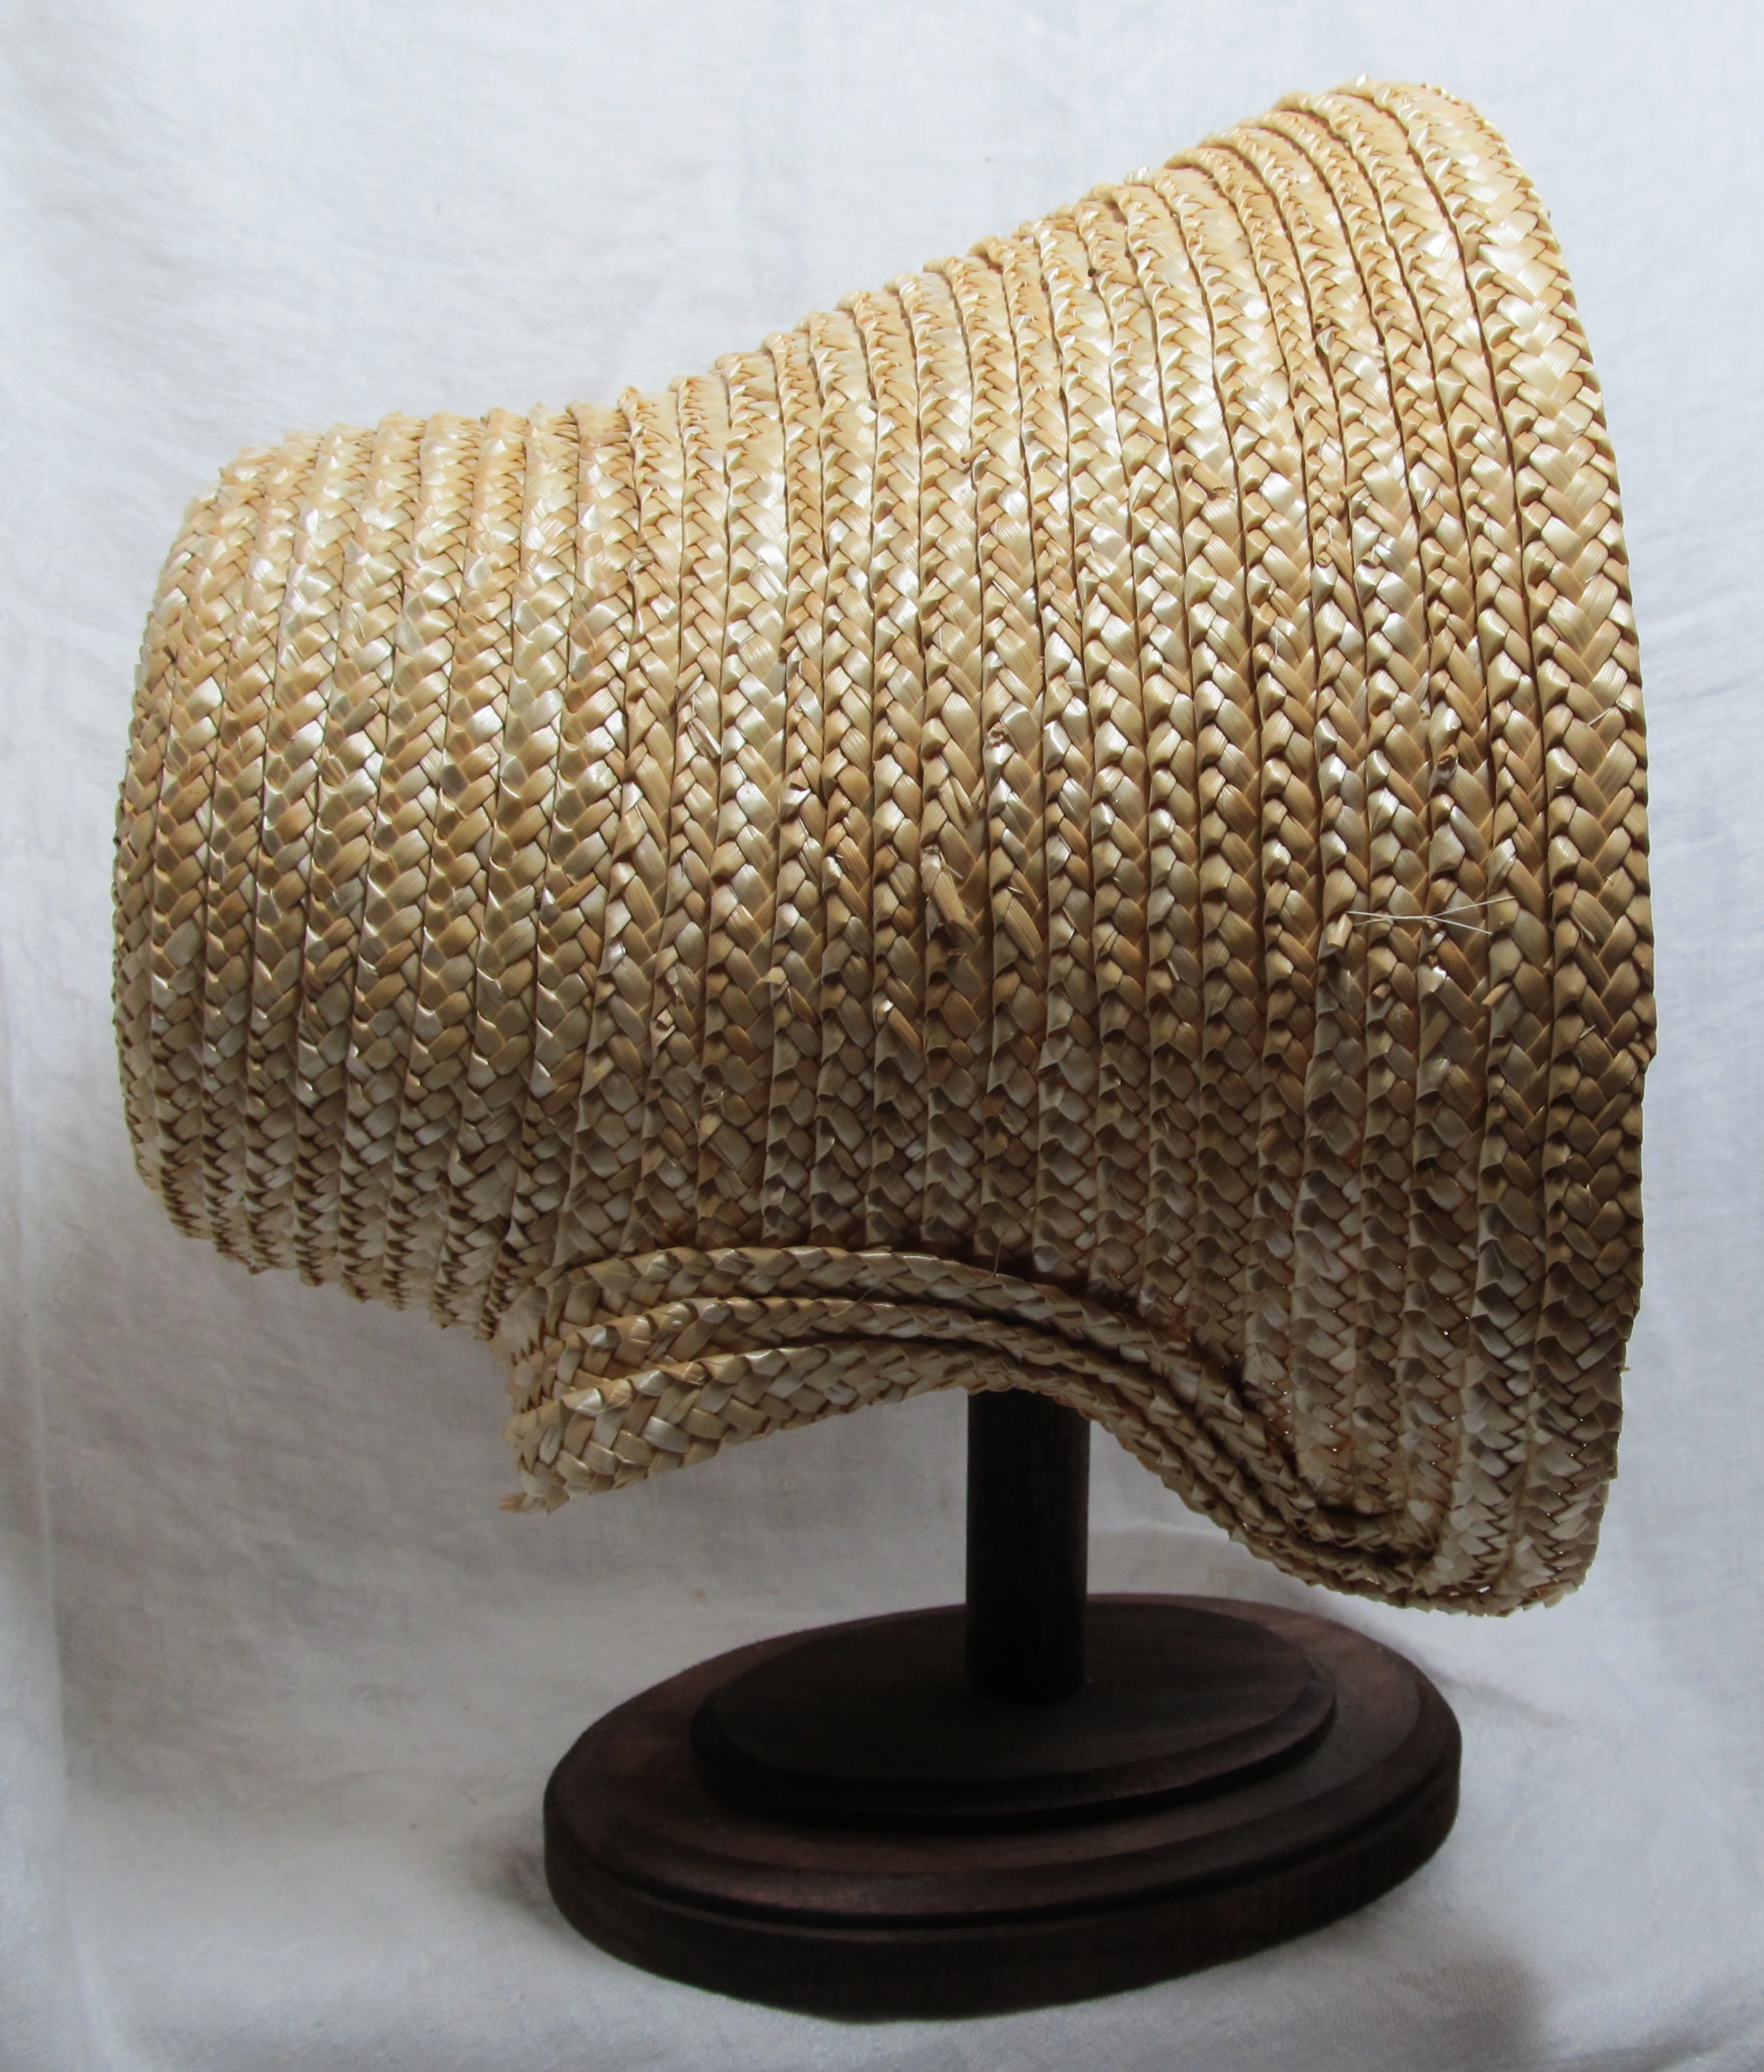
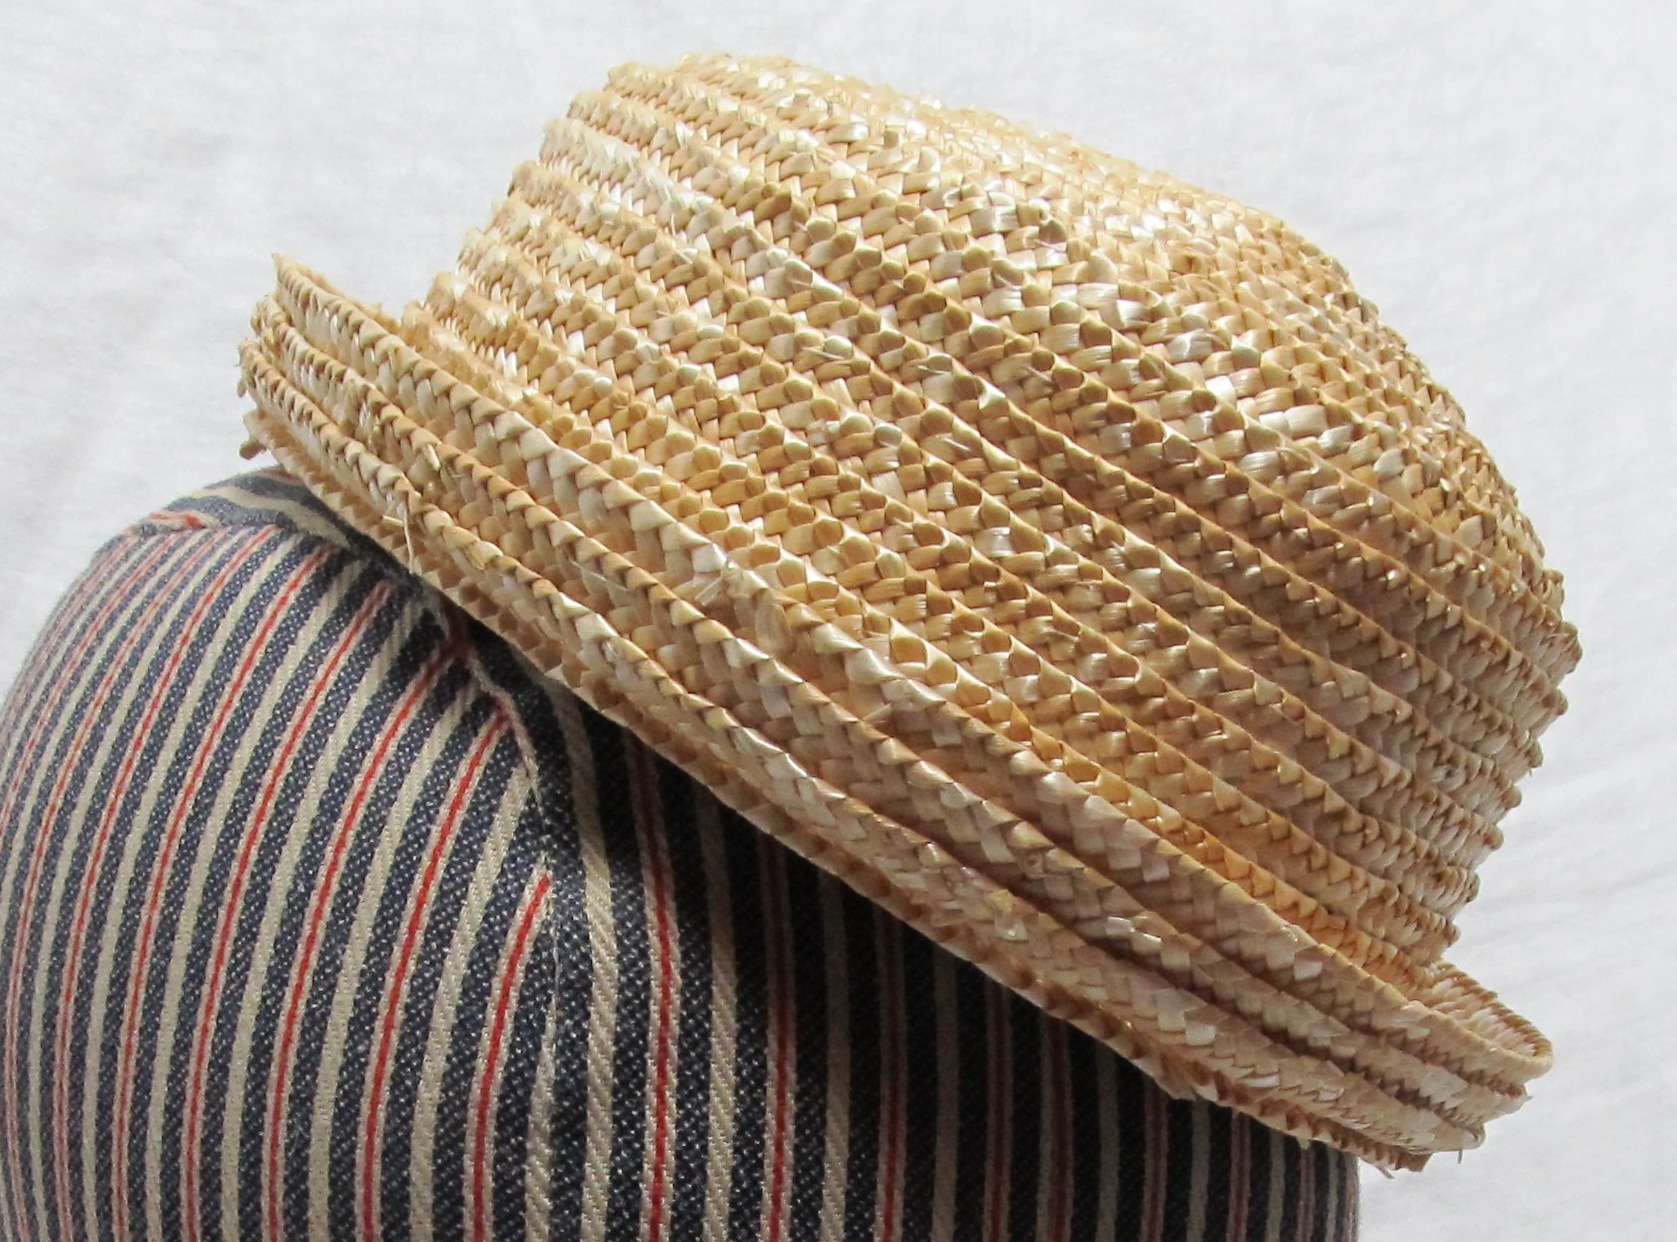
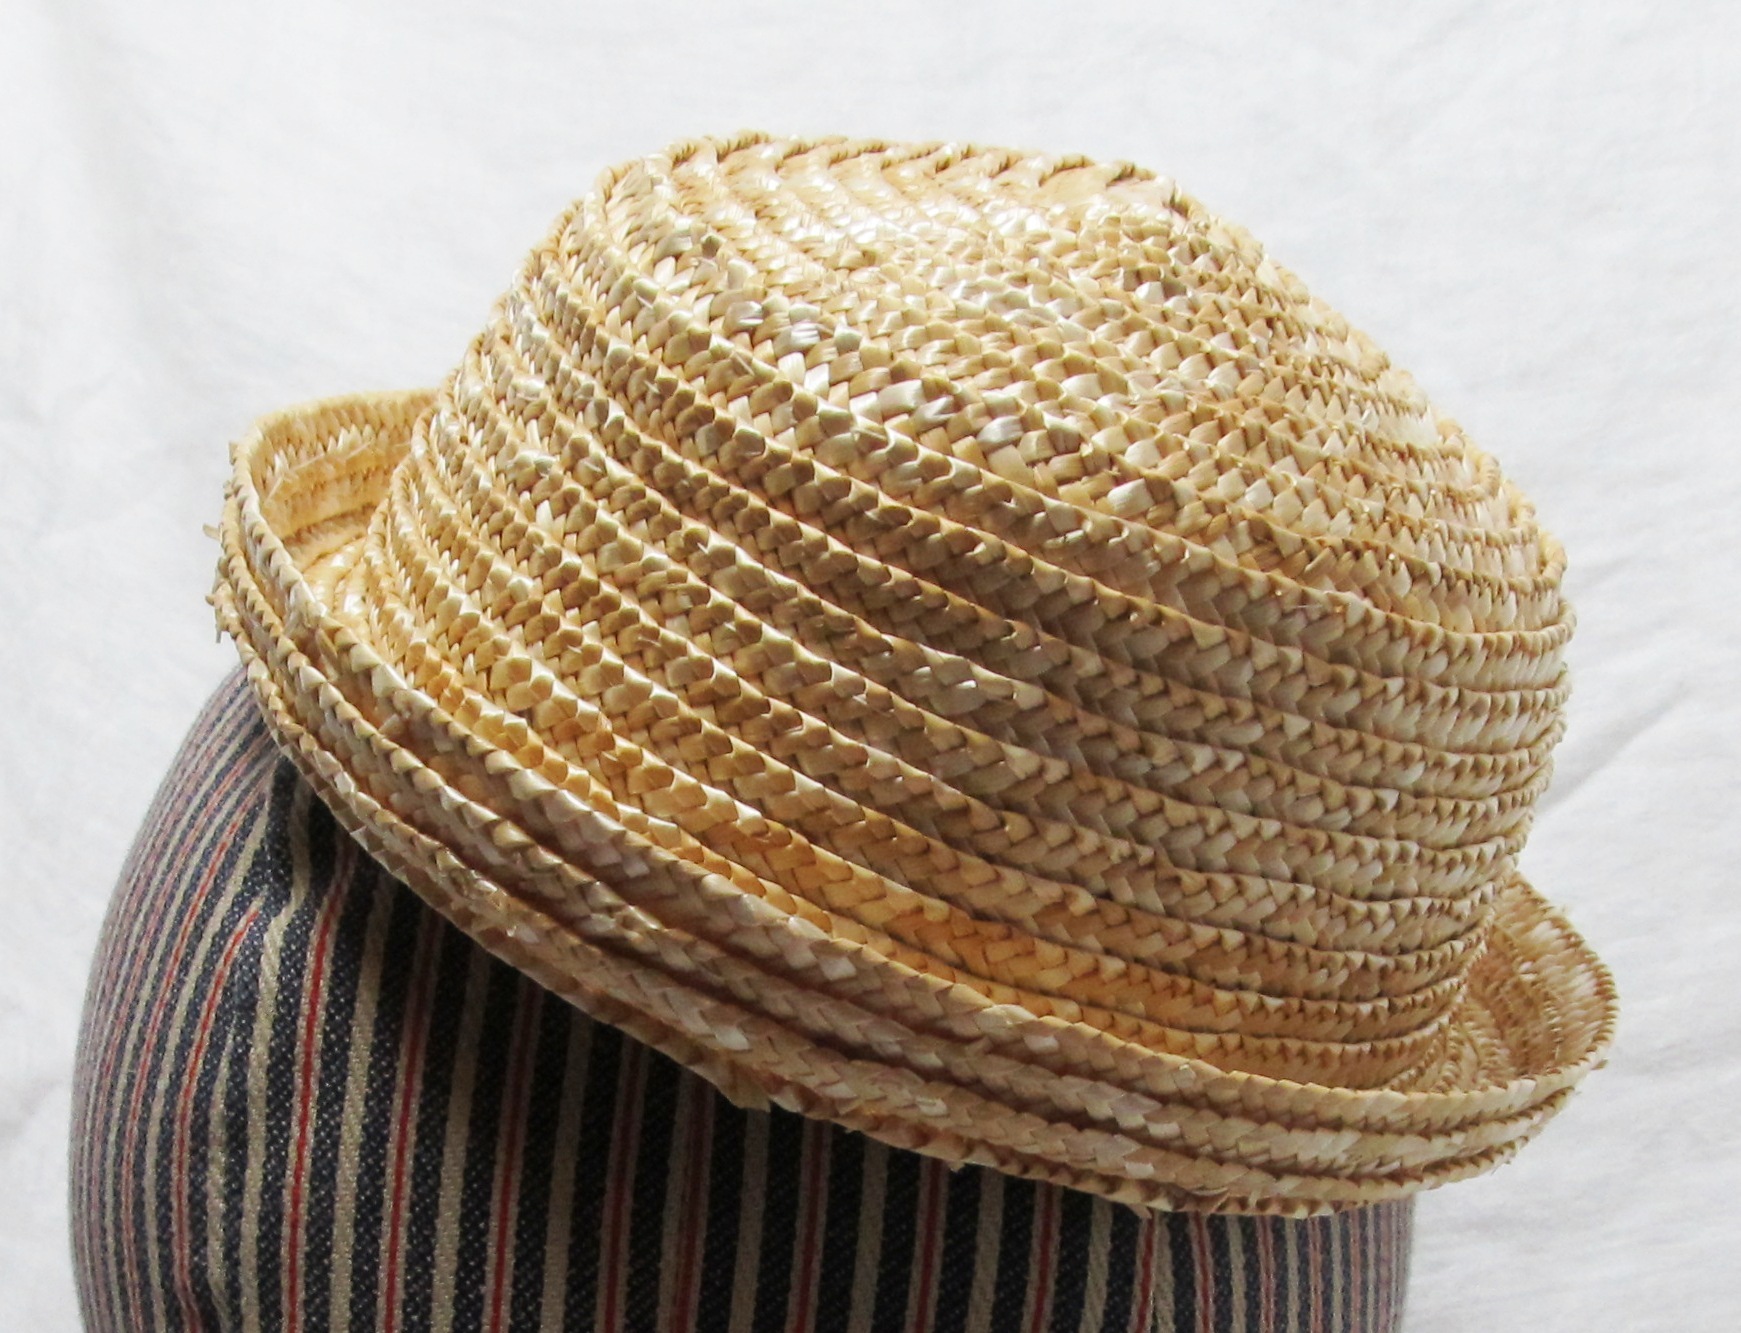
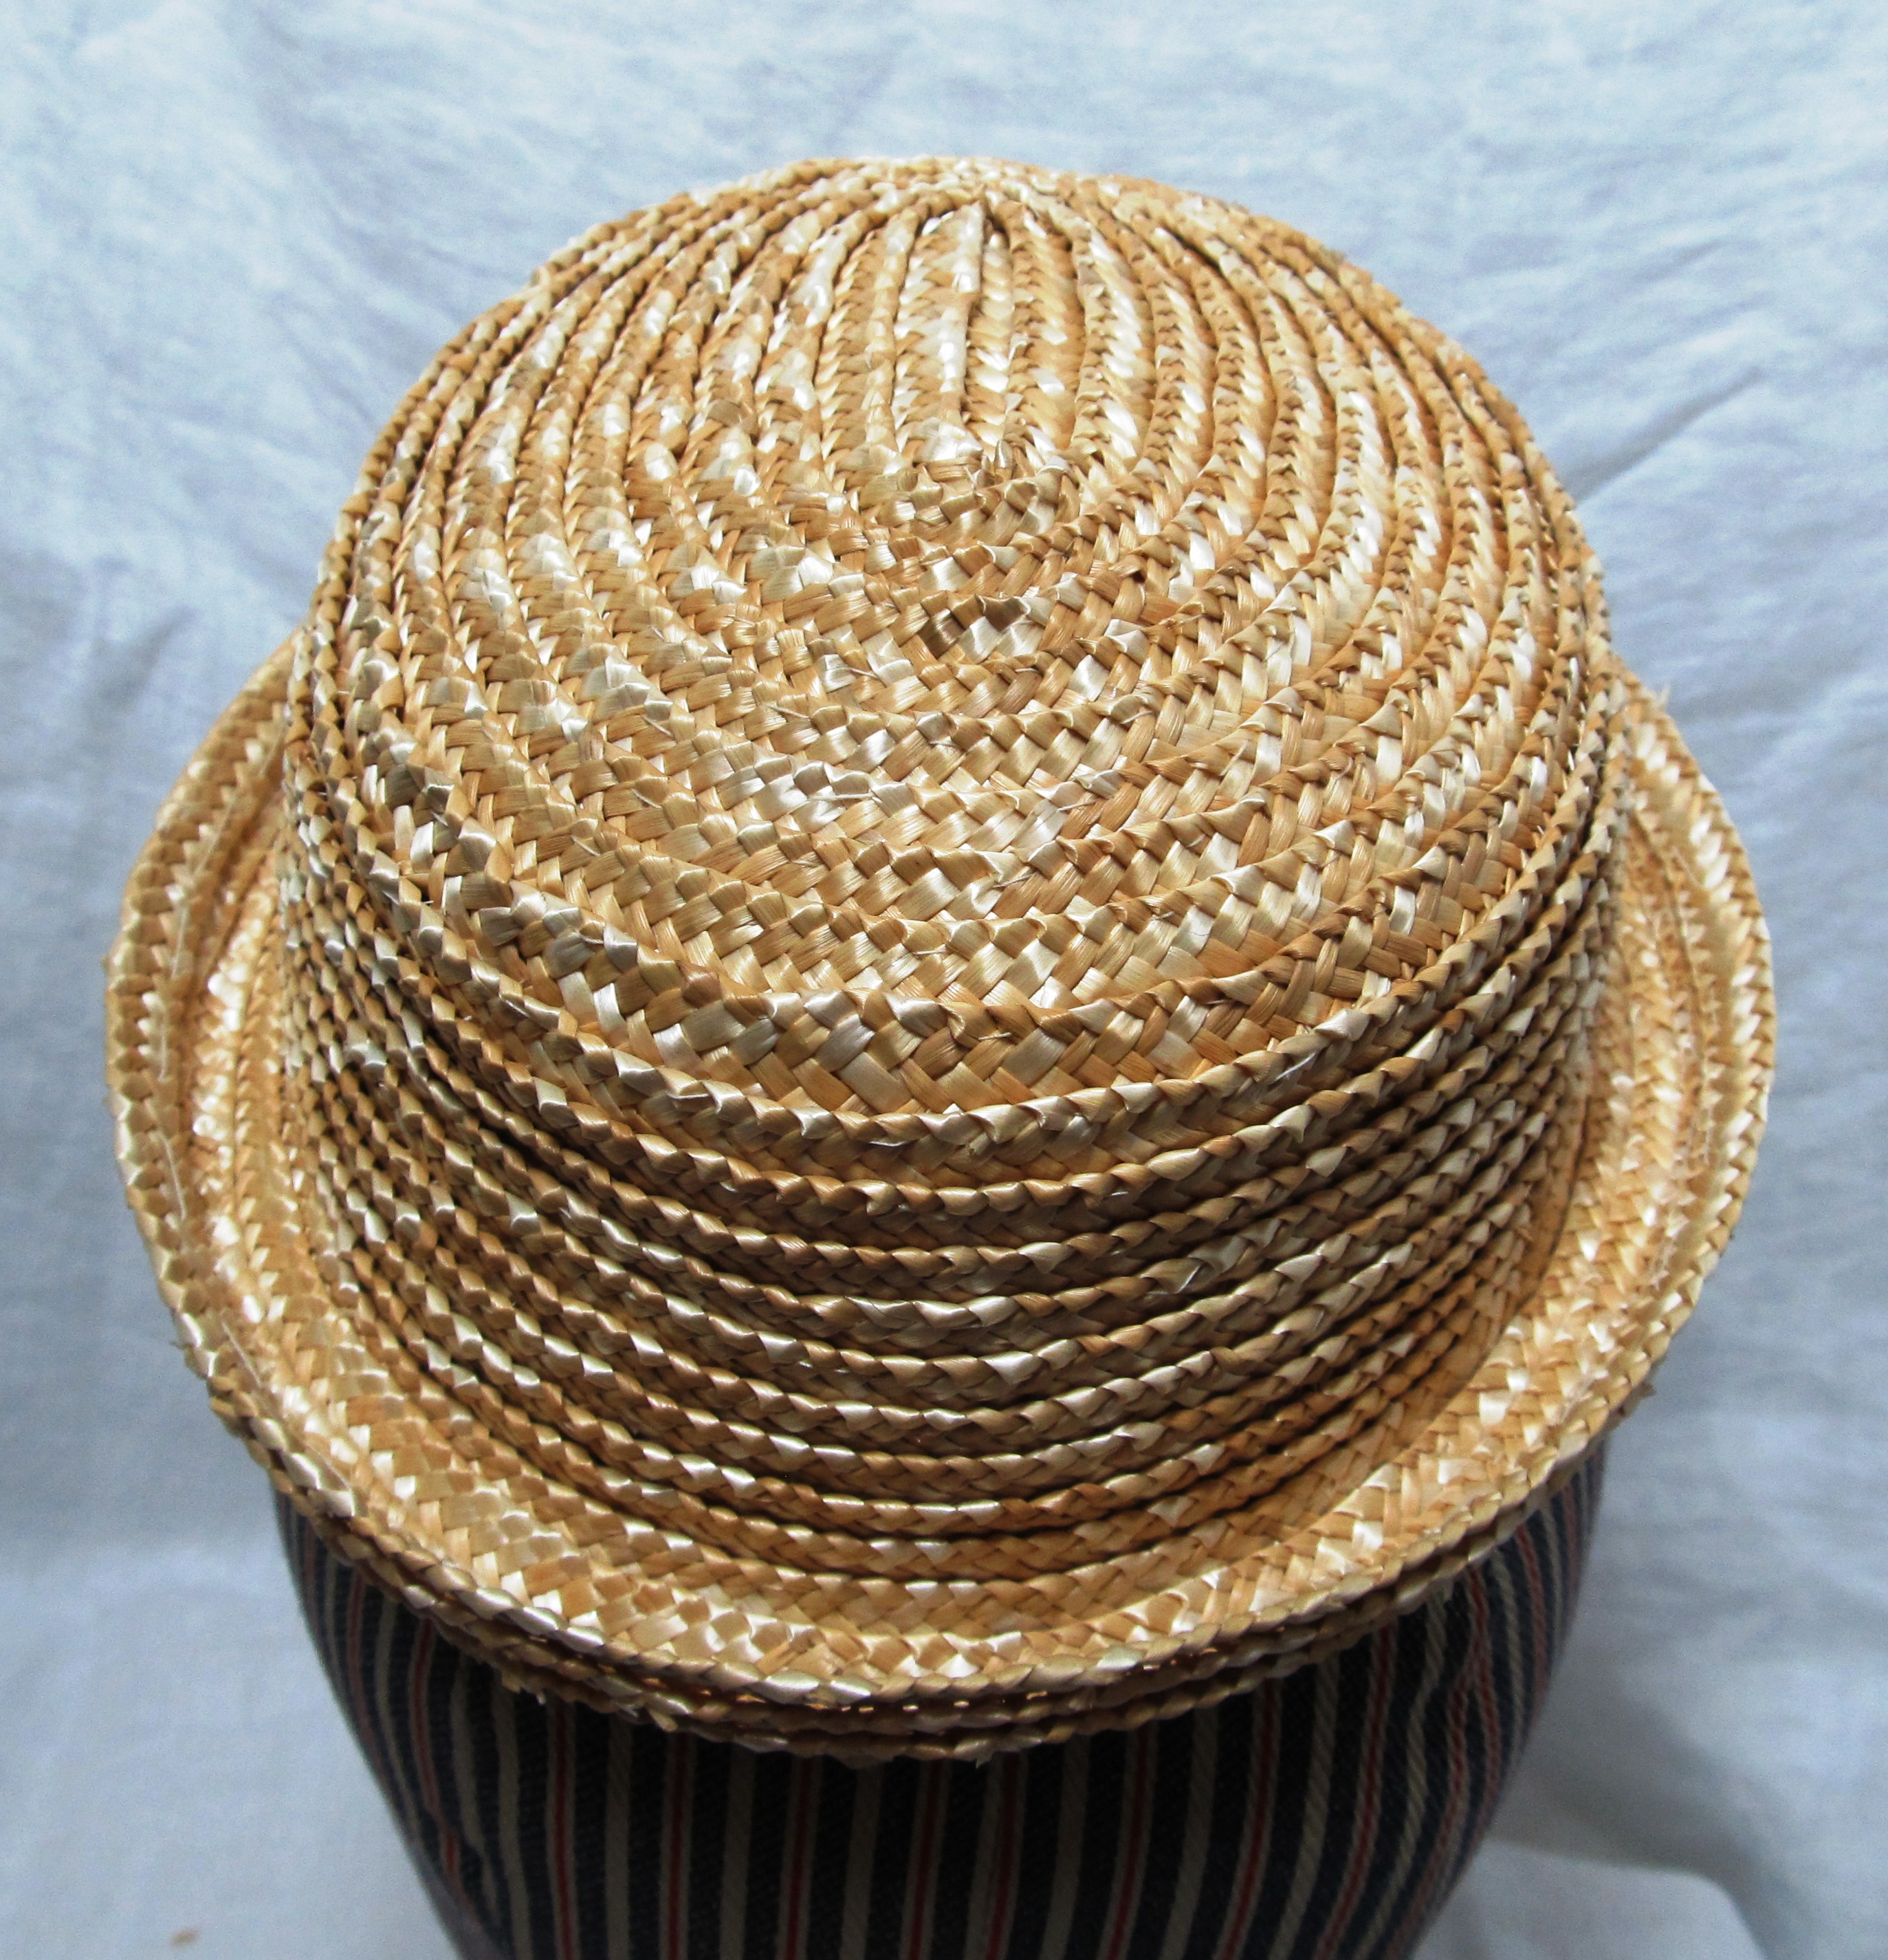
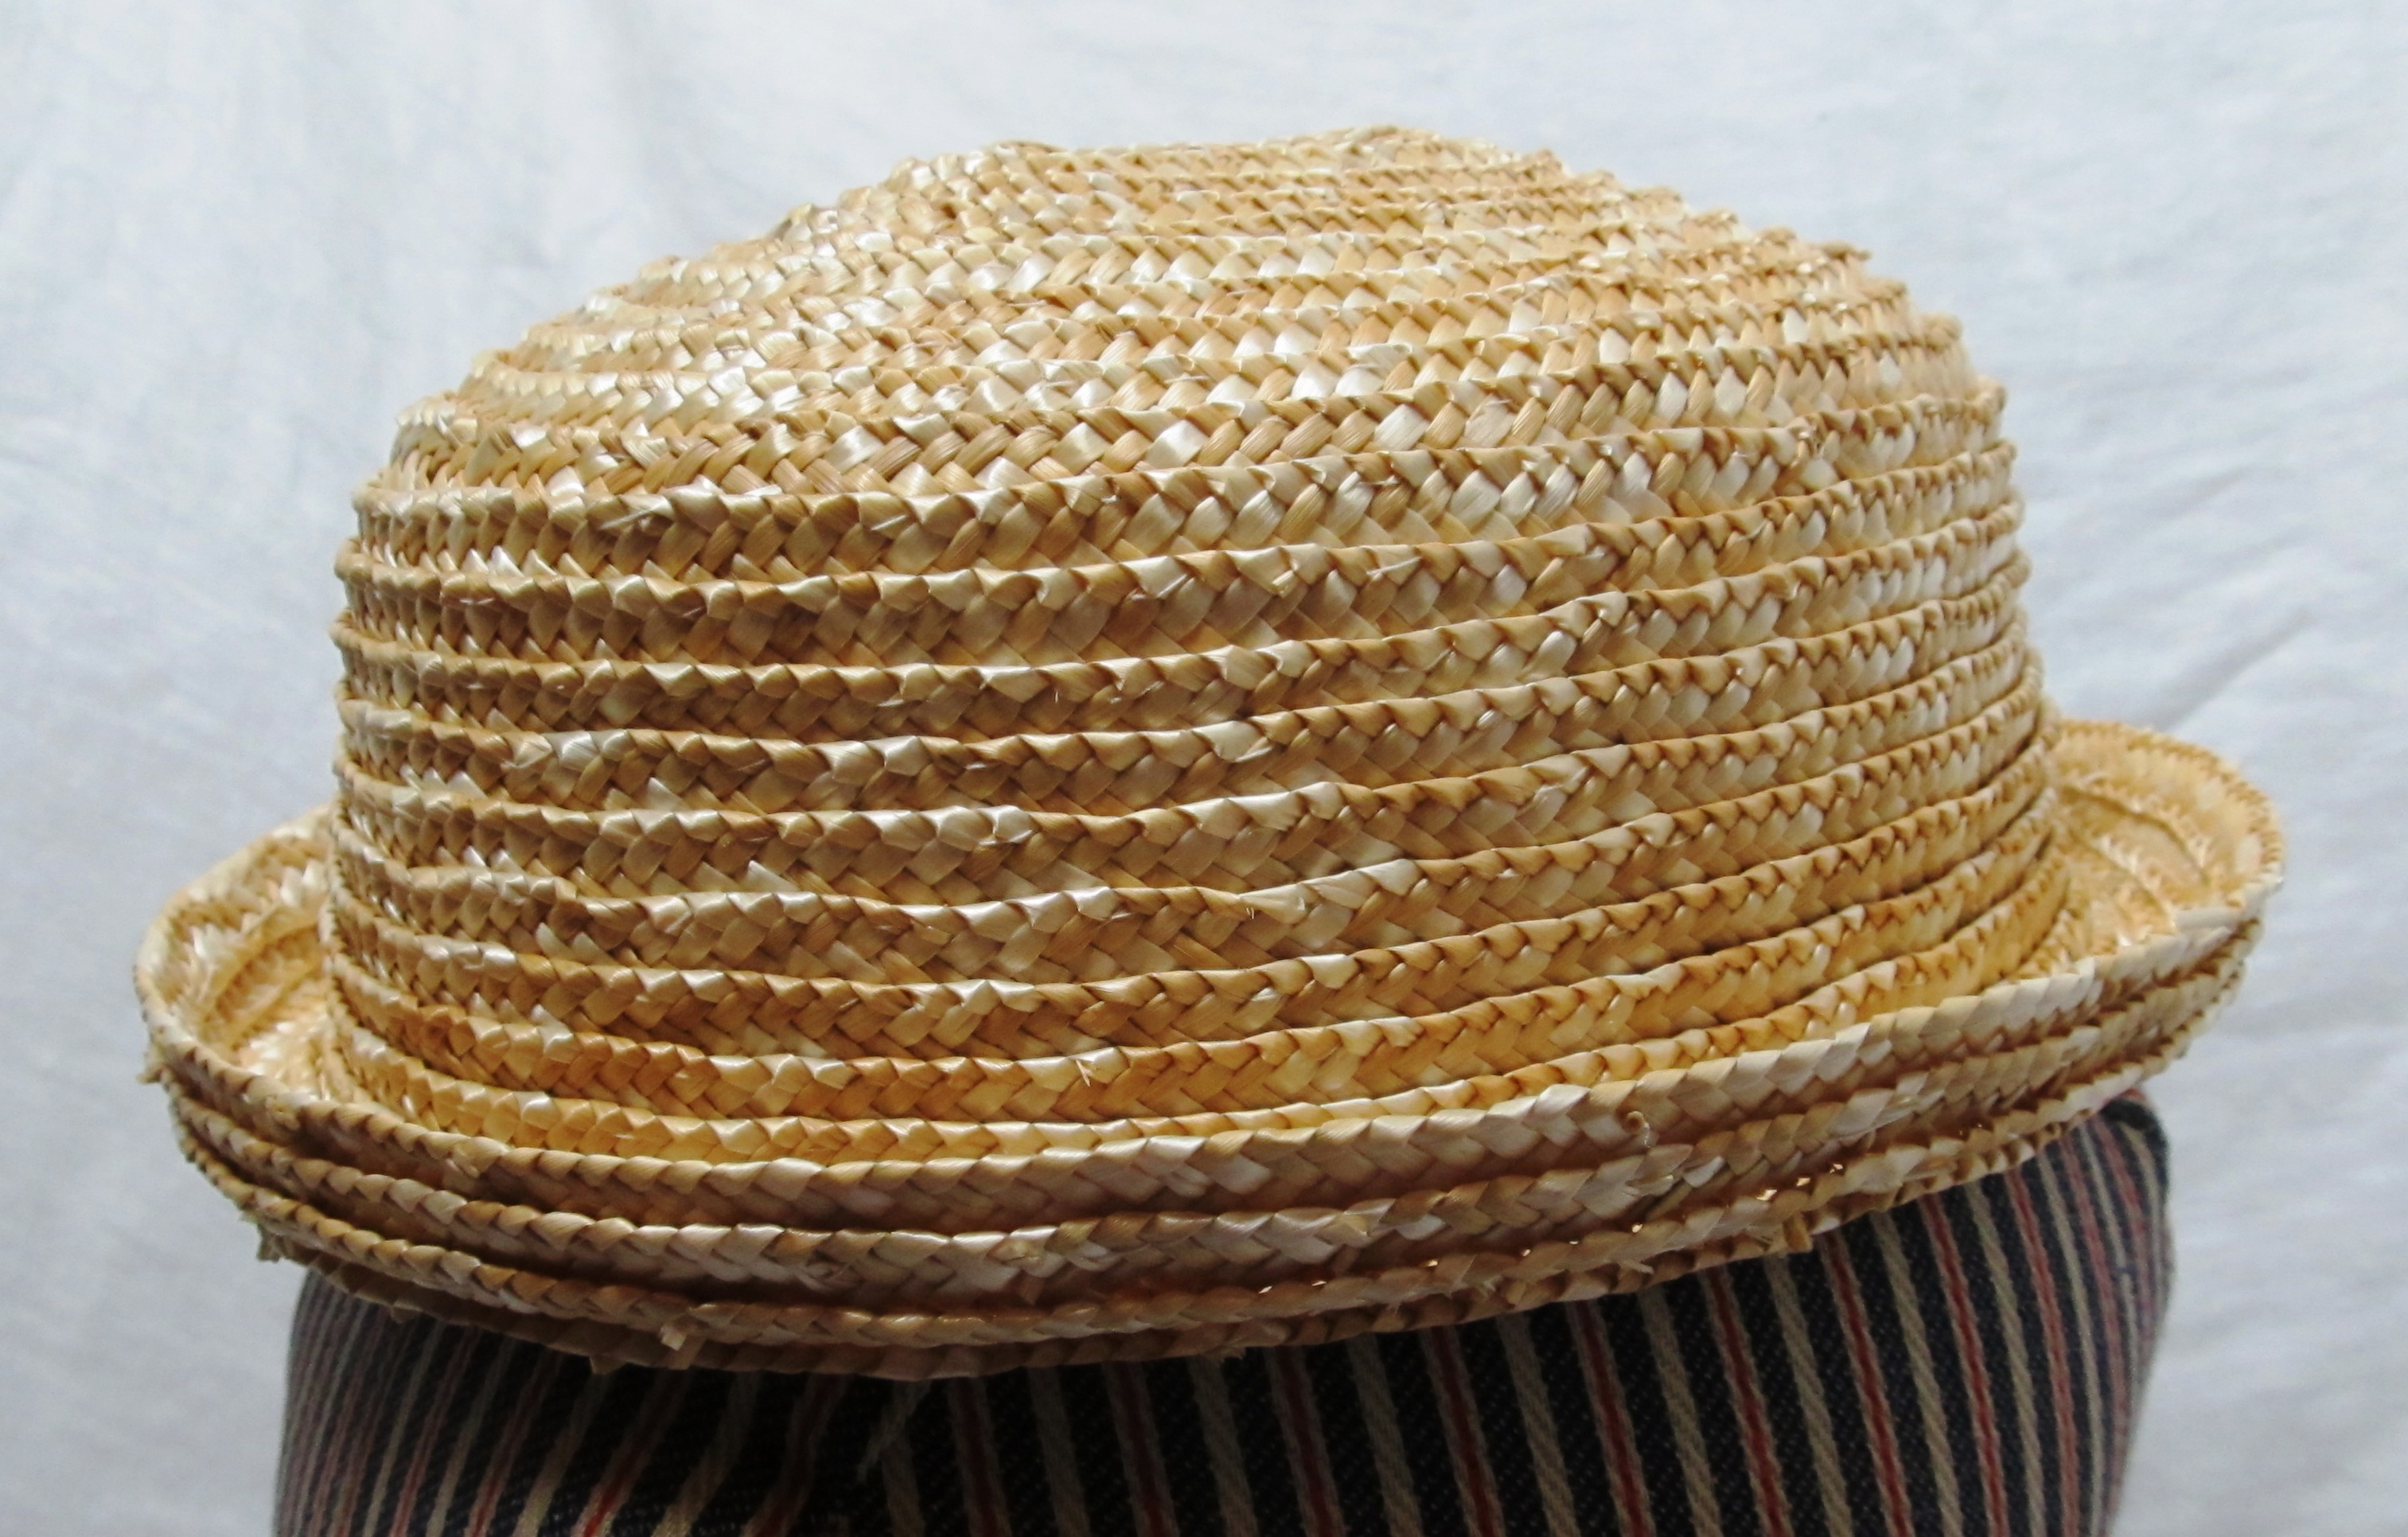
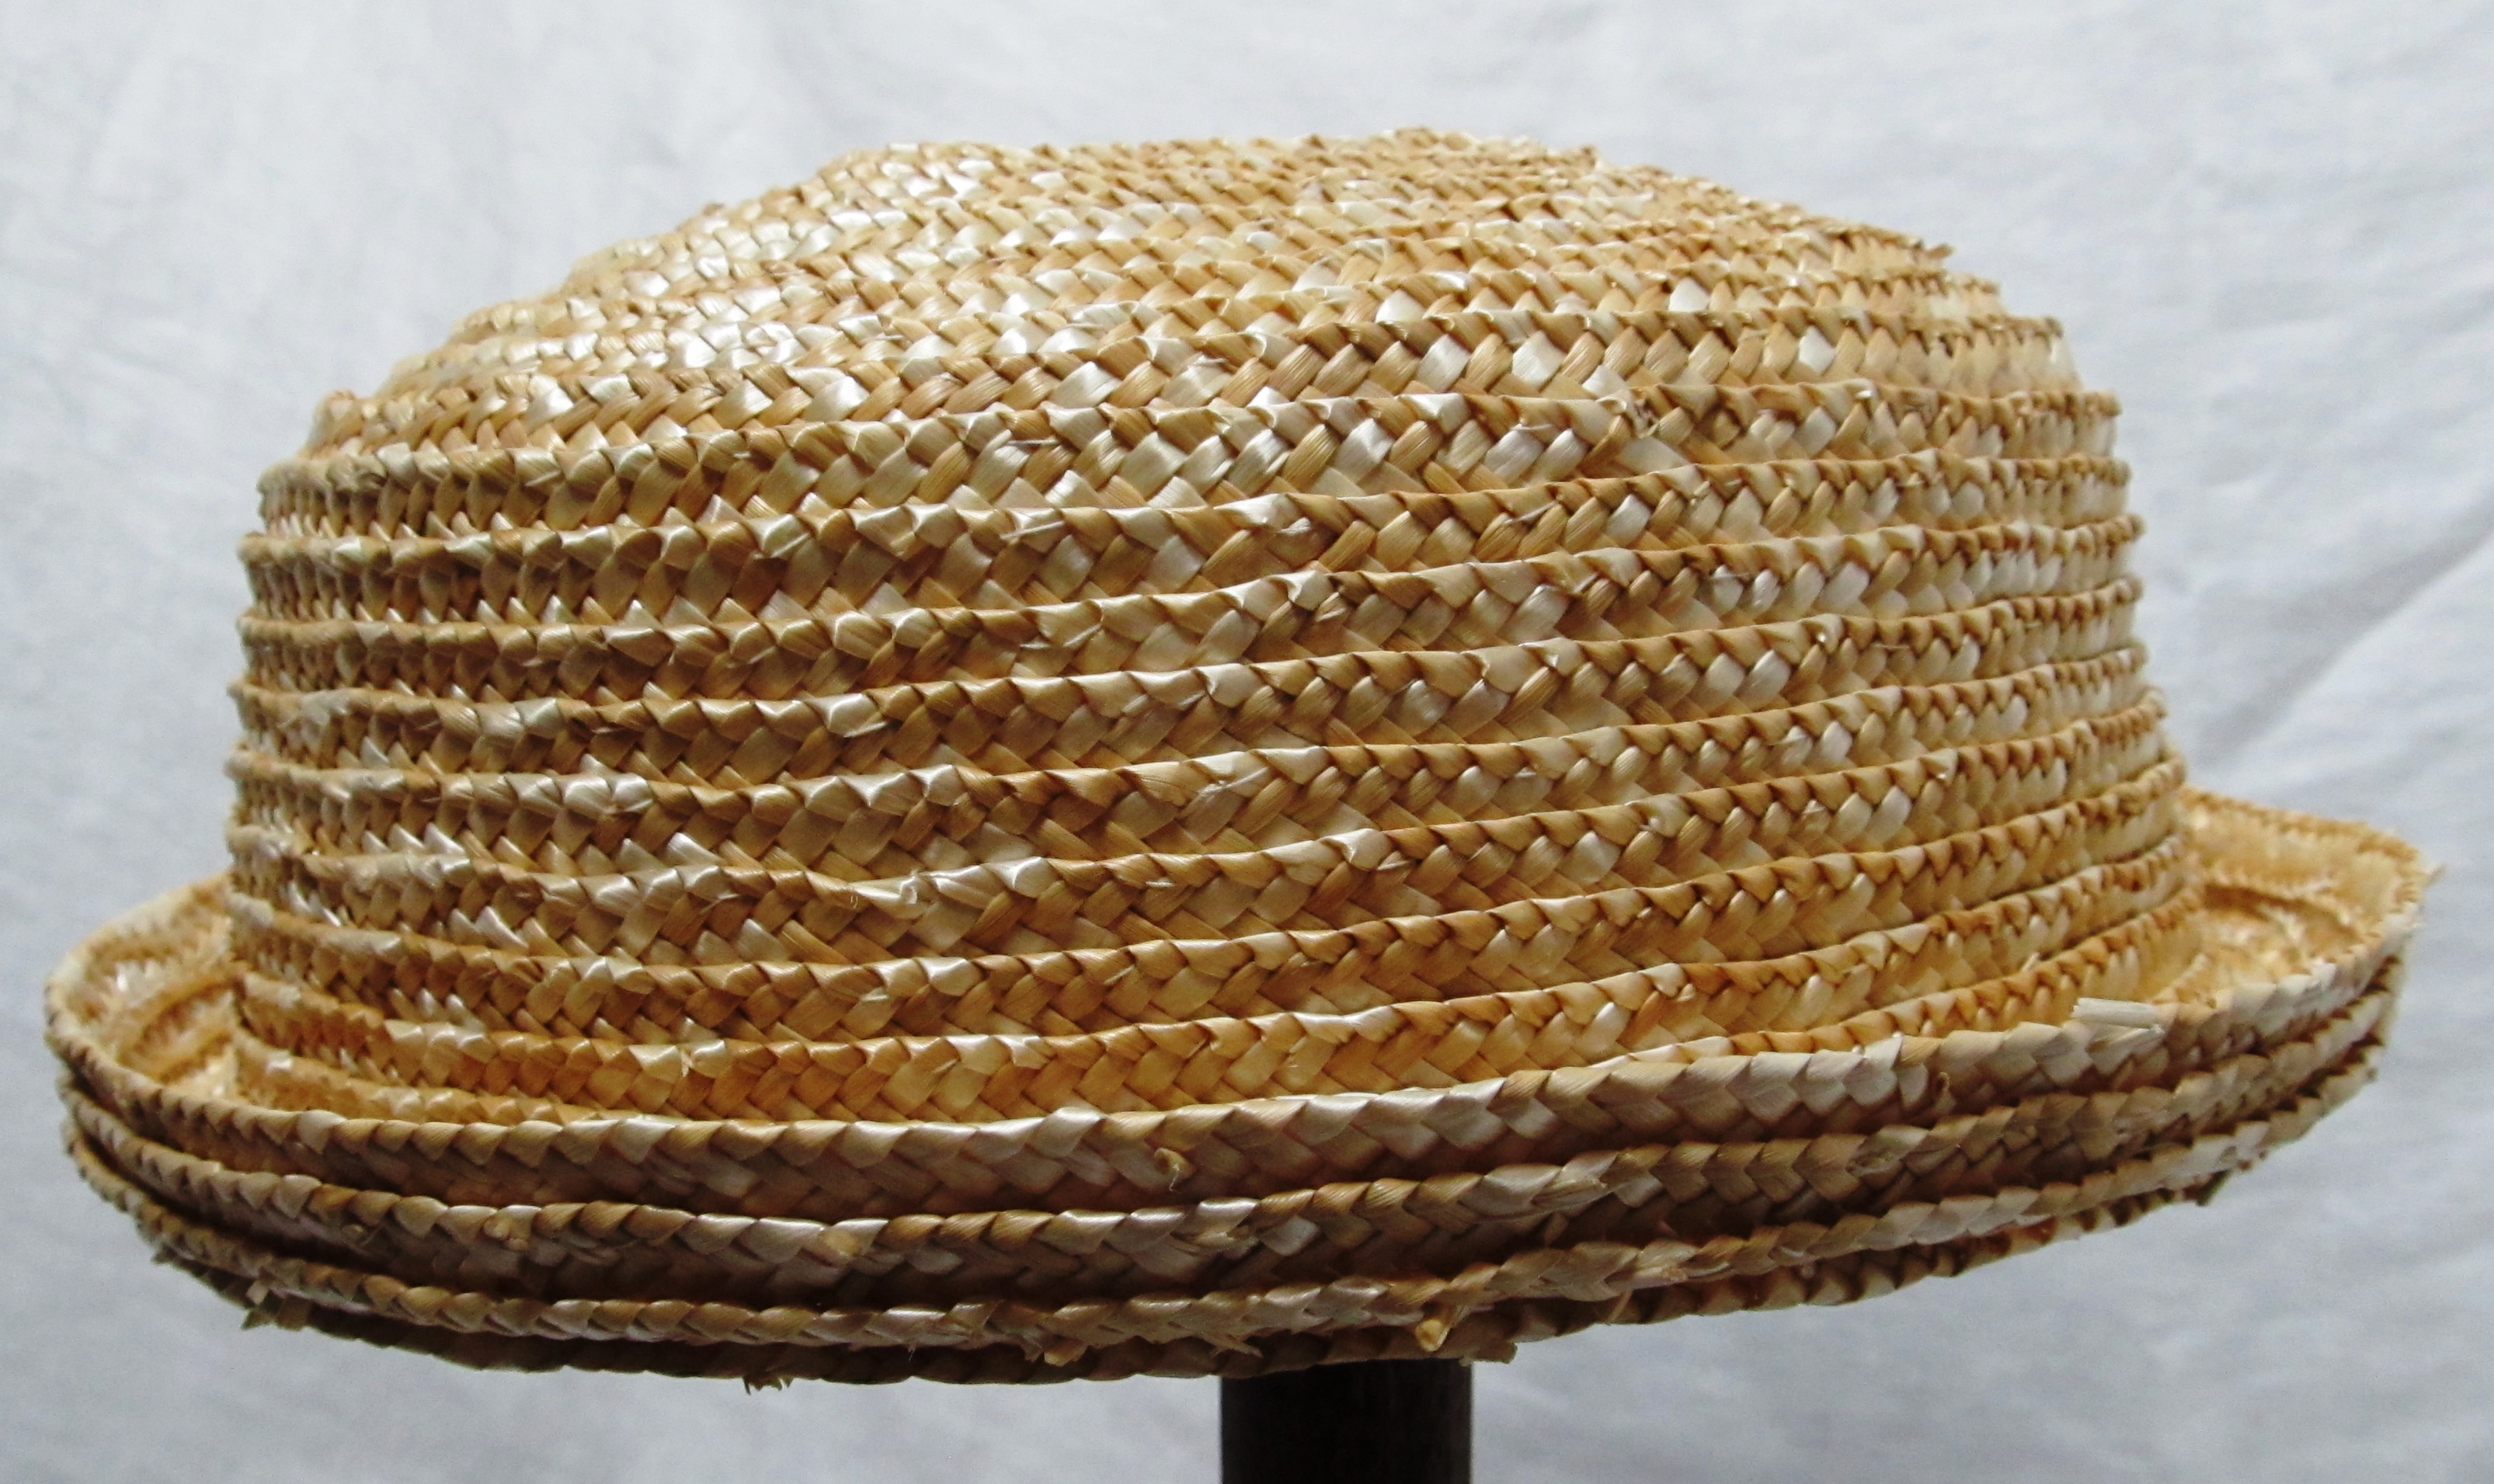
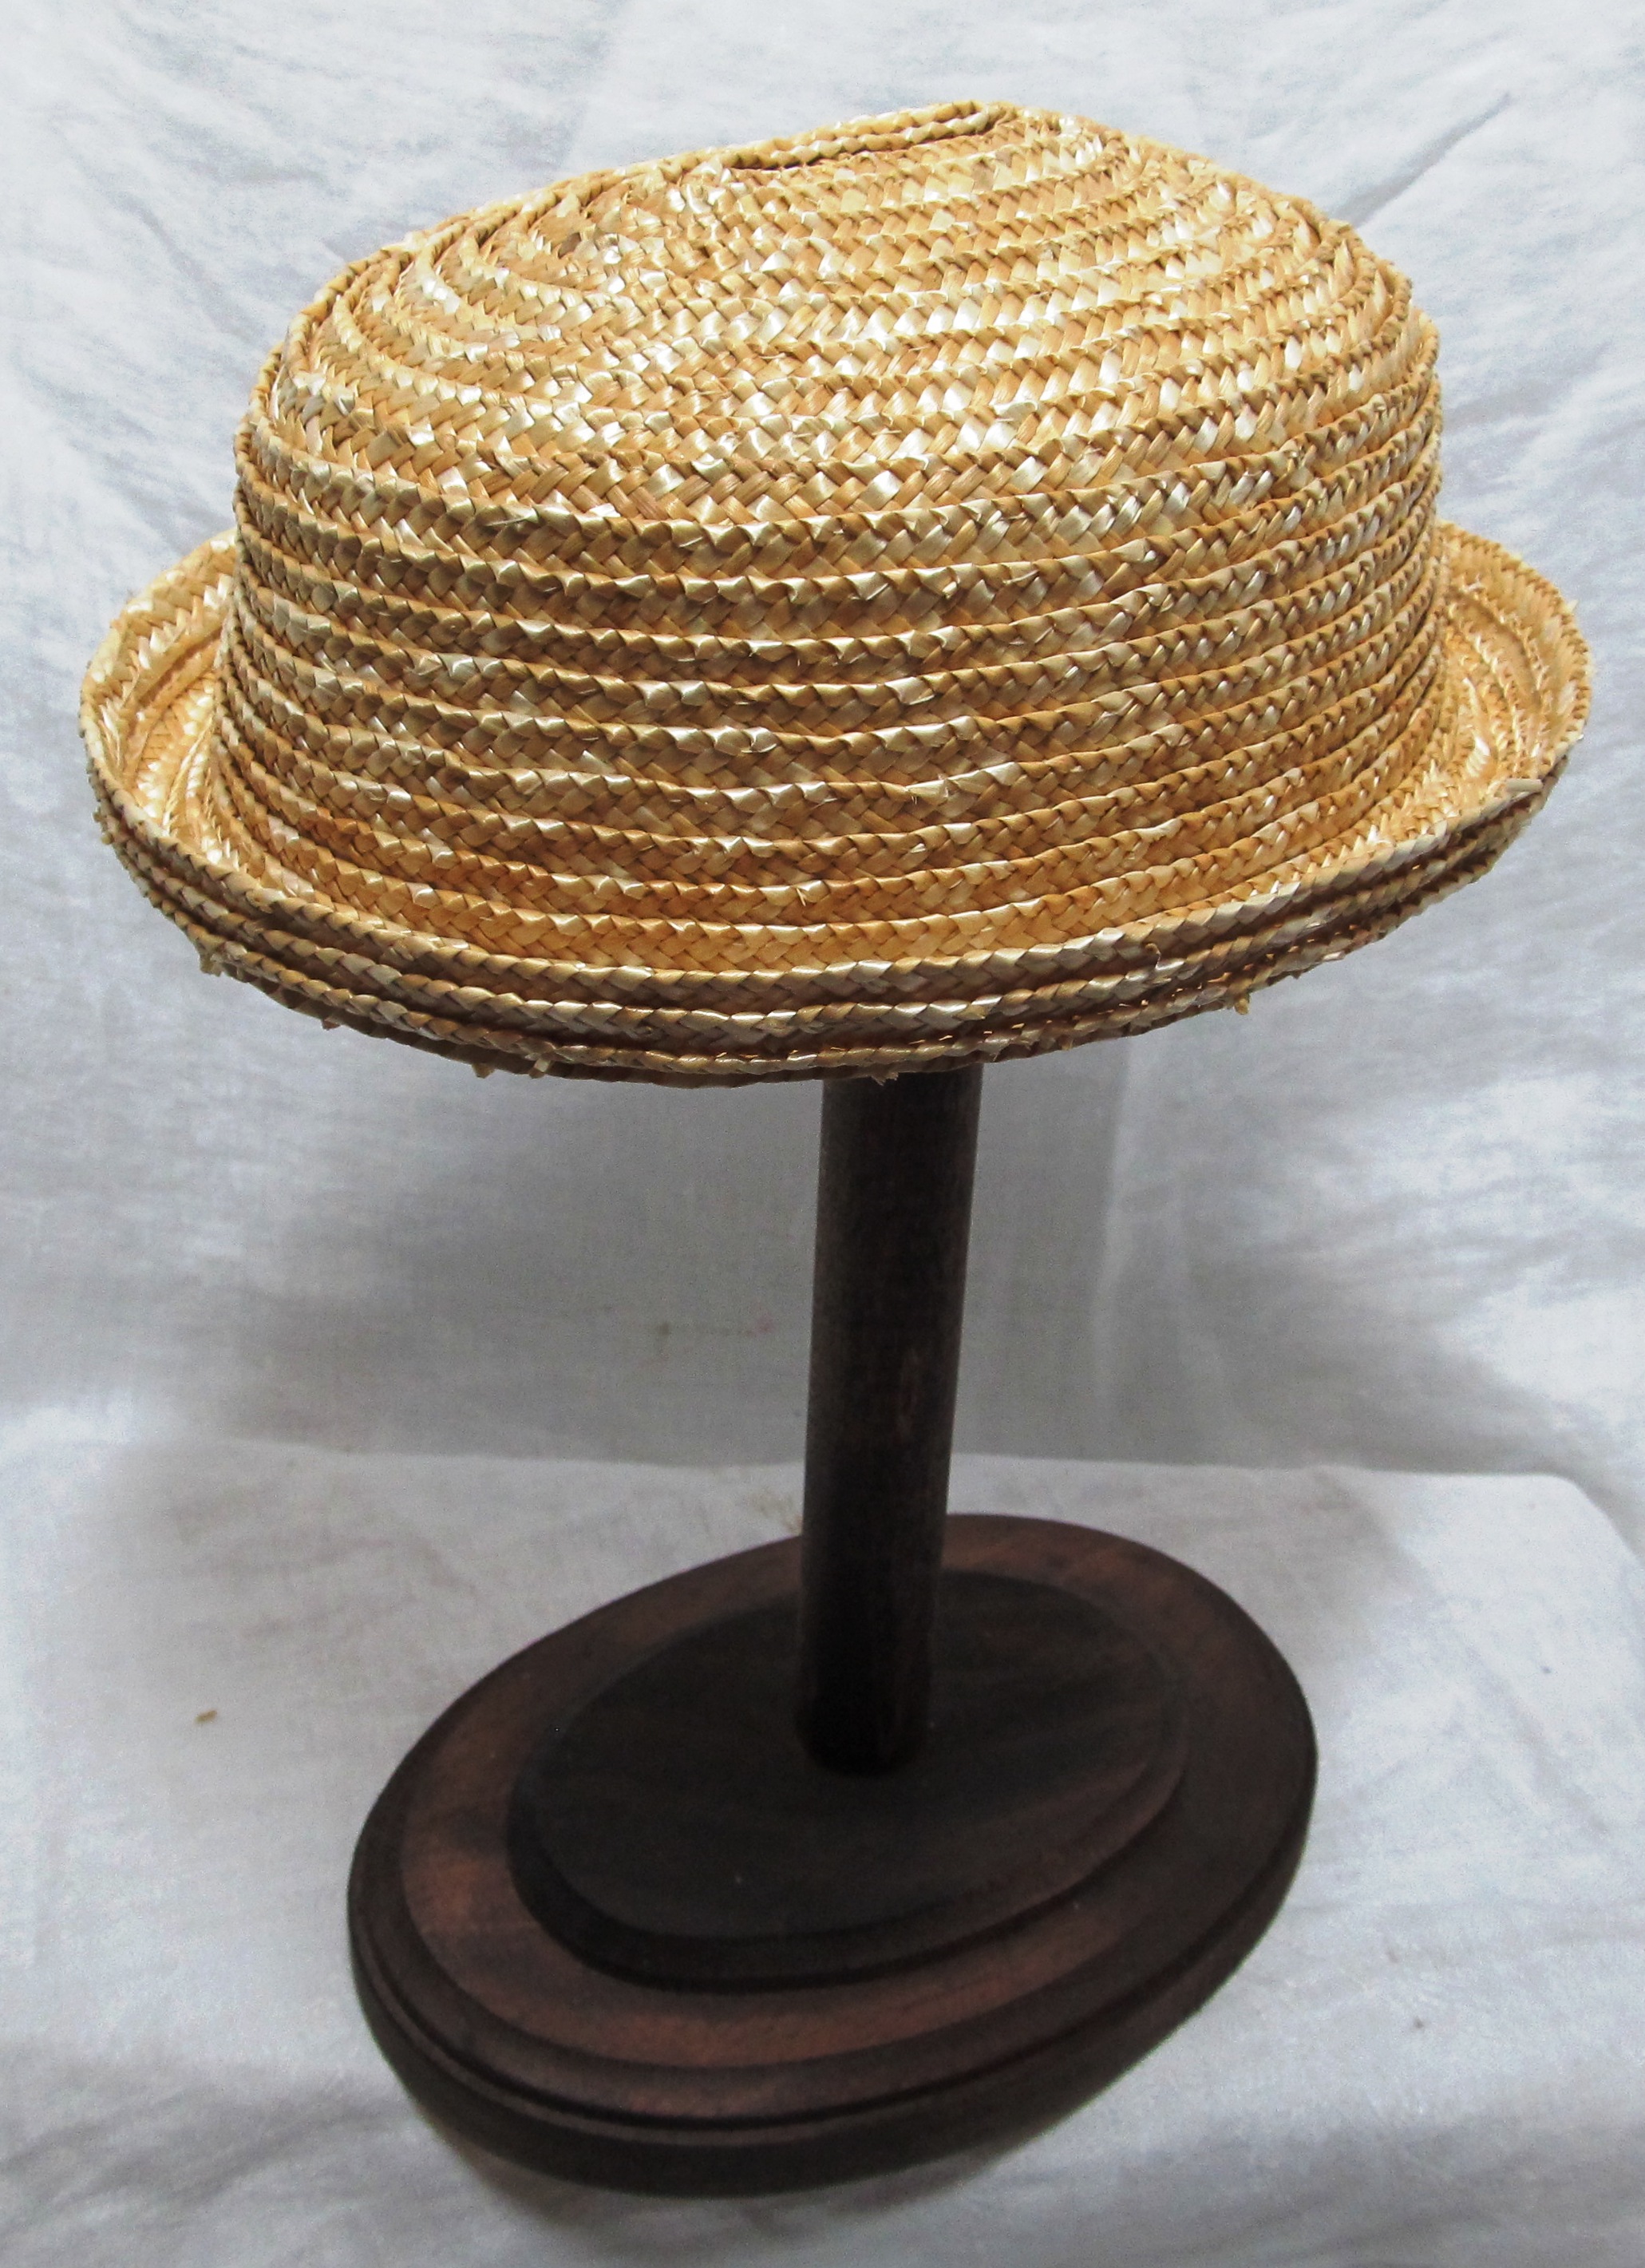
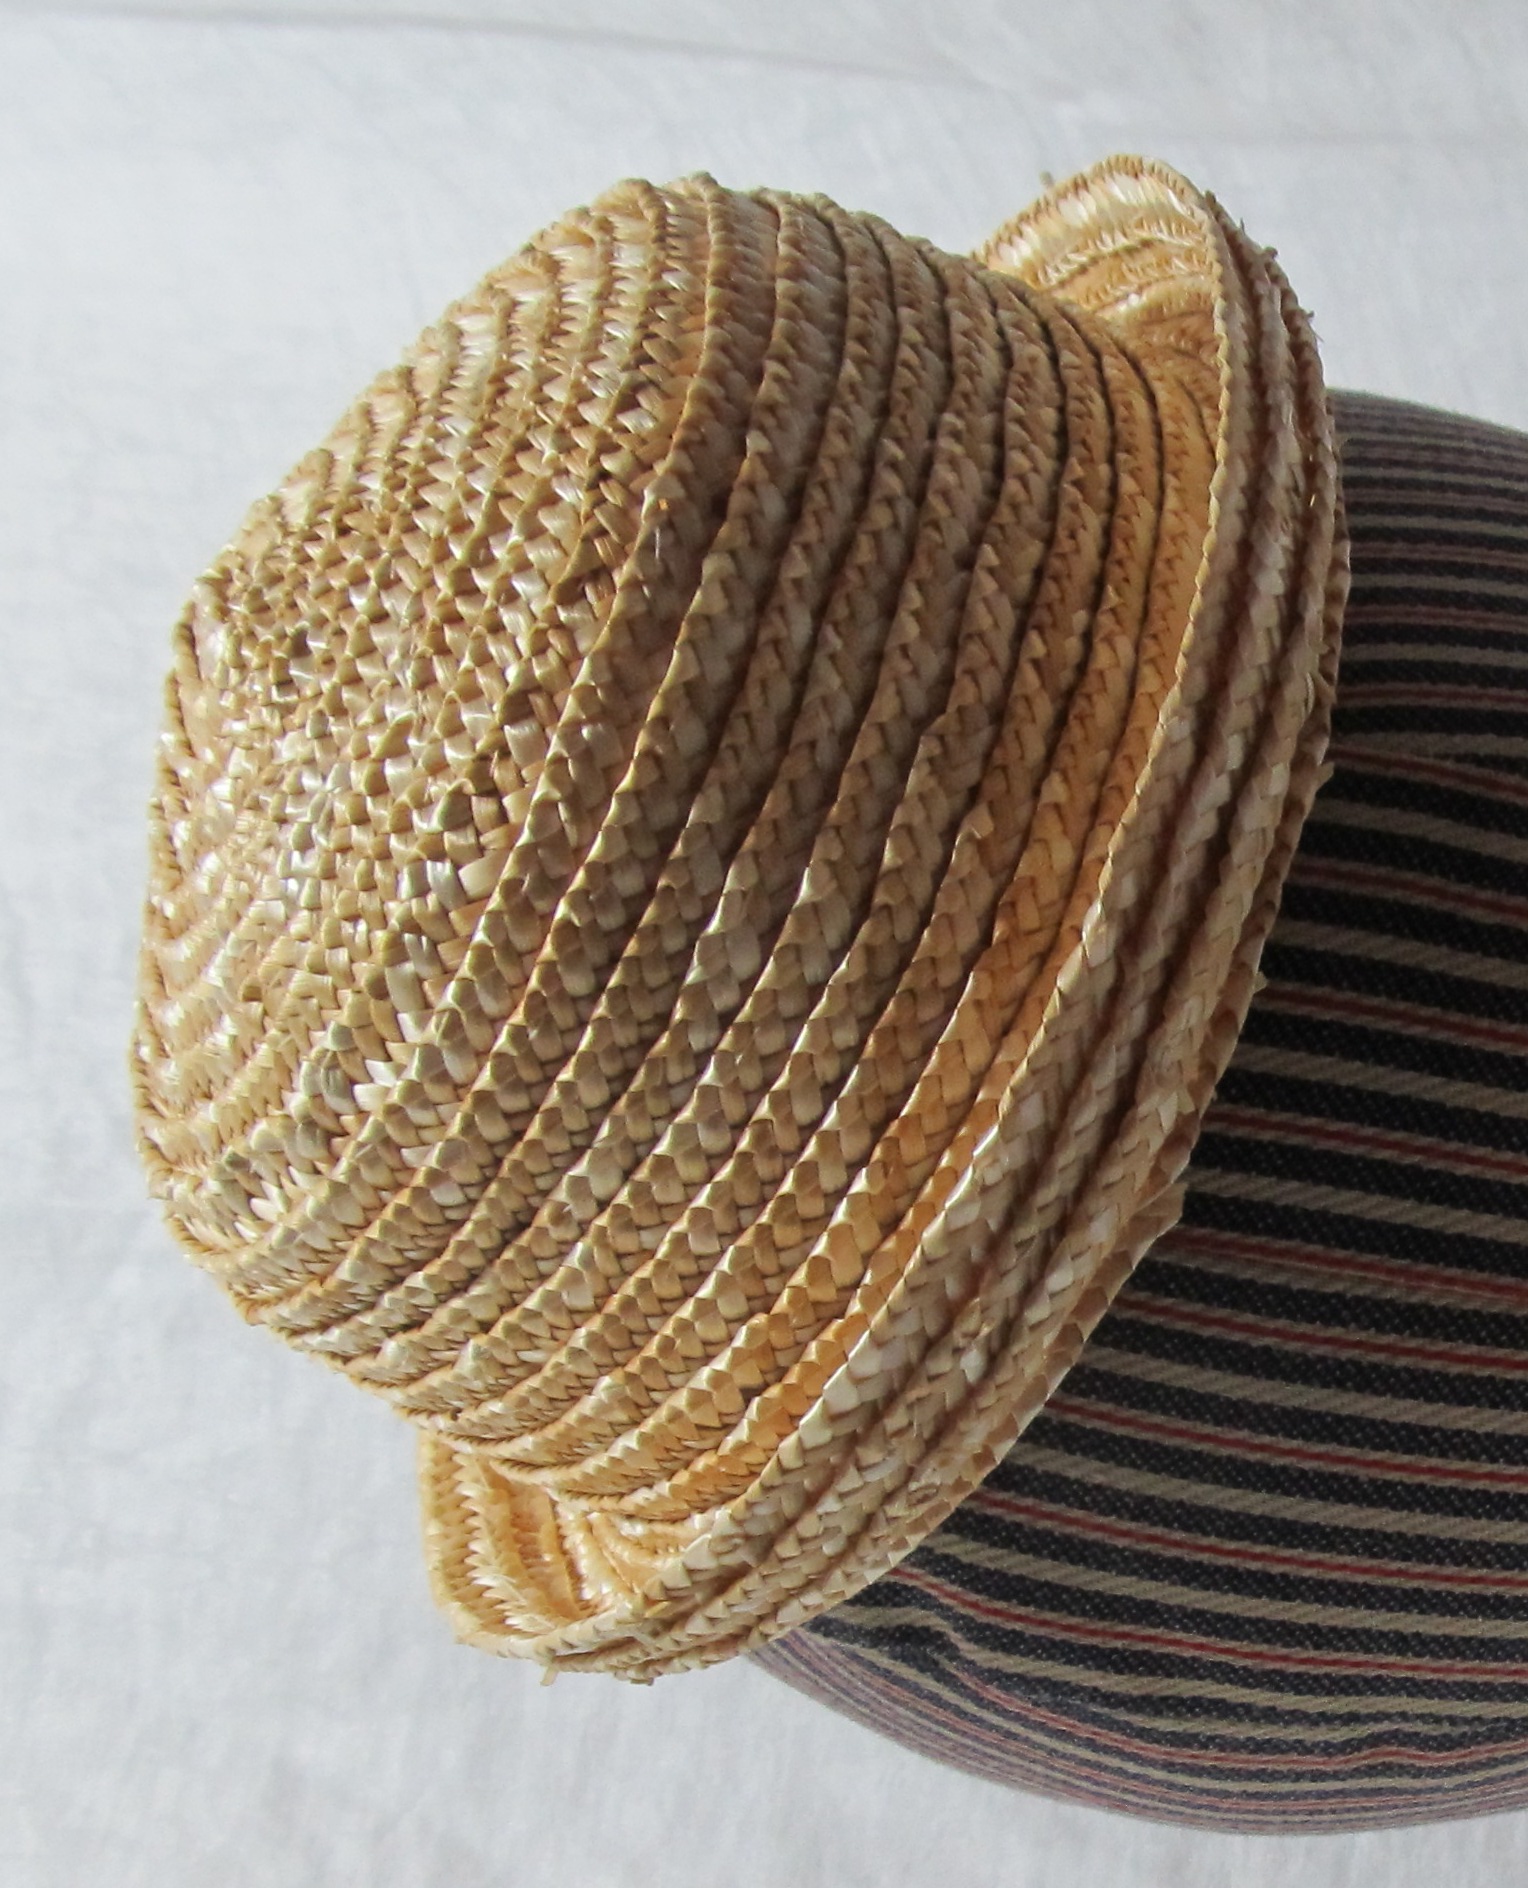
This shallow hat is rounder than the first one I did a few days ago. The center of the crown is a circle. The crown slowly curves down and subtly transitions to the convex brim that evenly curves around the head. I had the hat in the bottom right trimmed in brown in mind as I made it.

This little hat is all about fashion, not keeping the sun from the face. When I put it on, I like how it looks when it sits angled forward just a bit. It will definitely need a narrow ribbon or string tied under the hair to help keep it on.

This hat could also be one to grow with a younger girl. Put a little veil around the edge when she is small. Then change the decorations as she grows.

This hat is available on Etsy. 

This slideshow requires JavaScript.

Published in: on May 31, 2015 at 10:17 am  Leave a Comment  

Why are Bonnets so Much?

[I wrote this around this time last year. It was just requested on a FB group. You may also be interested this chart “The Cost of Authenticity” from 2010.]

This is a question that comes up fairly regularly. Bonnets are expensive.wpid-2014-05-24-20.18.40.jpg This is because they require multiple materials and require time to make them. ???????????????????????????????

To give you an idea, here are the materials that go into finished drawn bonnets and straw bonnets along with the price ranges for each item:

Straw Bonnets

  • Straw plait ($20-$55 a skein depending on origin, plait and color)
  • Millinery wire ($20/coil)
  • Lining ($10-$15/yard)
  • Facing ($10-$20/yard)
  • Organza, net or lace for frill ($10-$30/yard)
  • Bavolet net ($32/yard)
  • Silk or Ribbon for Bavolet ($5/length to $30/length)
  • Ribbon for functional ties ($2.80)
  • Fashionable Ribbon ($4-$30/yard)
  • Flowers ($10-$40)
  • thread, sizing, etc

Drawn Bonnets

  • Buckram ($4-$12/yard)
  • Millinery Wire ($20/coil)
  • Cane ($15 coil)
  • Silk exterior fabric ($10-$30 yard)
  • Lining ($10-$15/yard)
  • Facing ($10-$20/yard)
  • Organza, net or lace for frill ($10-$30/yard)
  • Bavolet net ($32/yard)
  • Ribbon for functional ties ($2.80)
  • Fashionable Ribbon ($4-$30/yard)
  • Flowers ($10-$40)
  • thread, sizing, etc

To hand sew a straw form from straw plait, it takes between 6 and 10 hours depending on the type of plait and the shape of the bonnet or hat. Finishing and decorating varies.

Published in: on May 29, 2015 at 7:00 pm  Comments (2)