I was so excited to see that Darline finished her hat as the original I worked from, I asked her to write about her hat for the blog. She did an amazing job replicating the zig-zag ribbon of the original. Thank you, Darline, for taking the time to share with us.
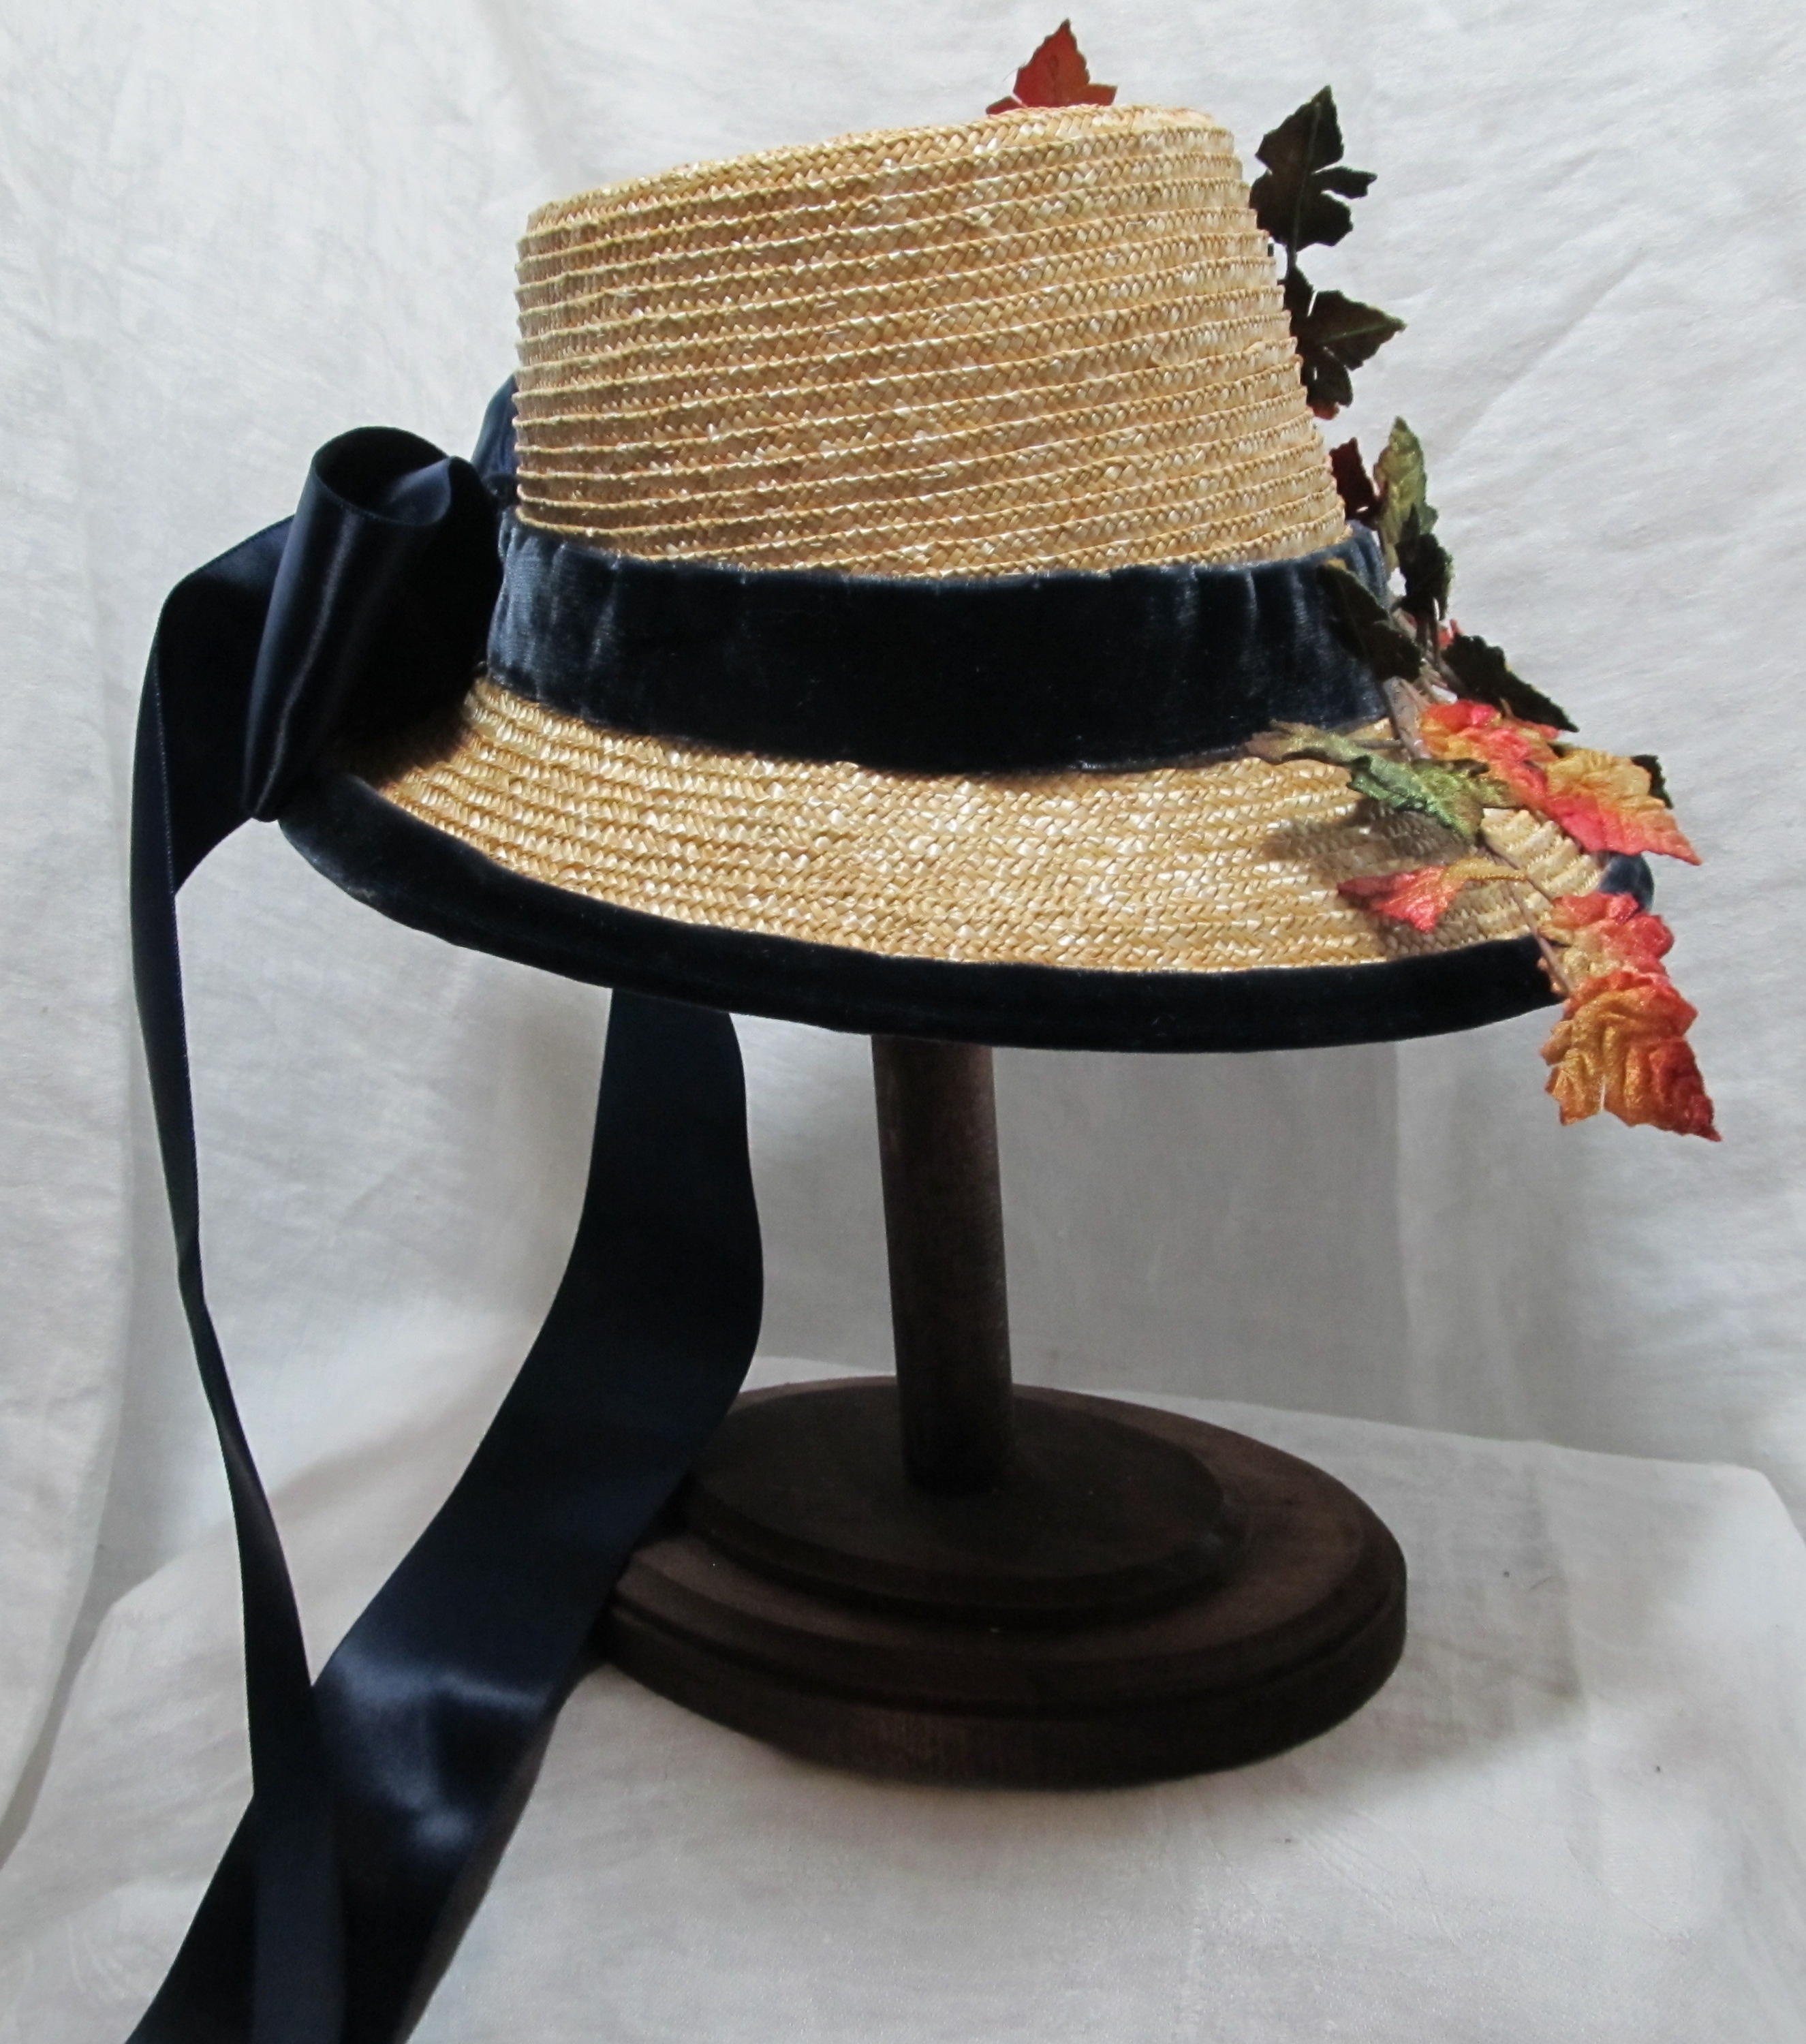
Anna’s fingers had barely left her keyboard after posting a small straw hat, when I snapped it up. I had been researching straw hats – how, when and where they would be worn in the early 1860s – and now I owned a lovely little replica.
*
*
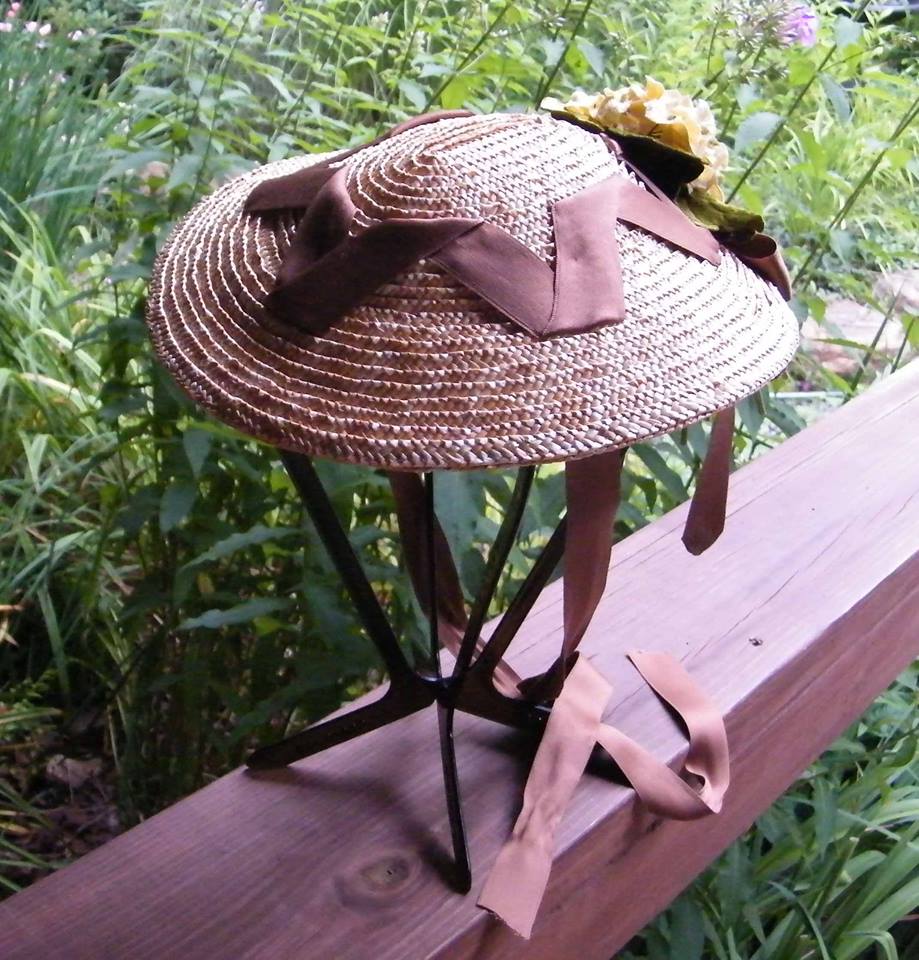
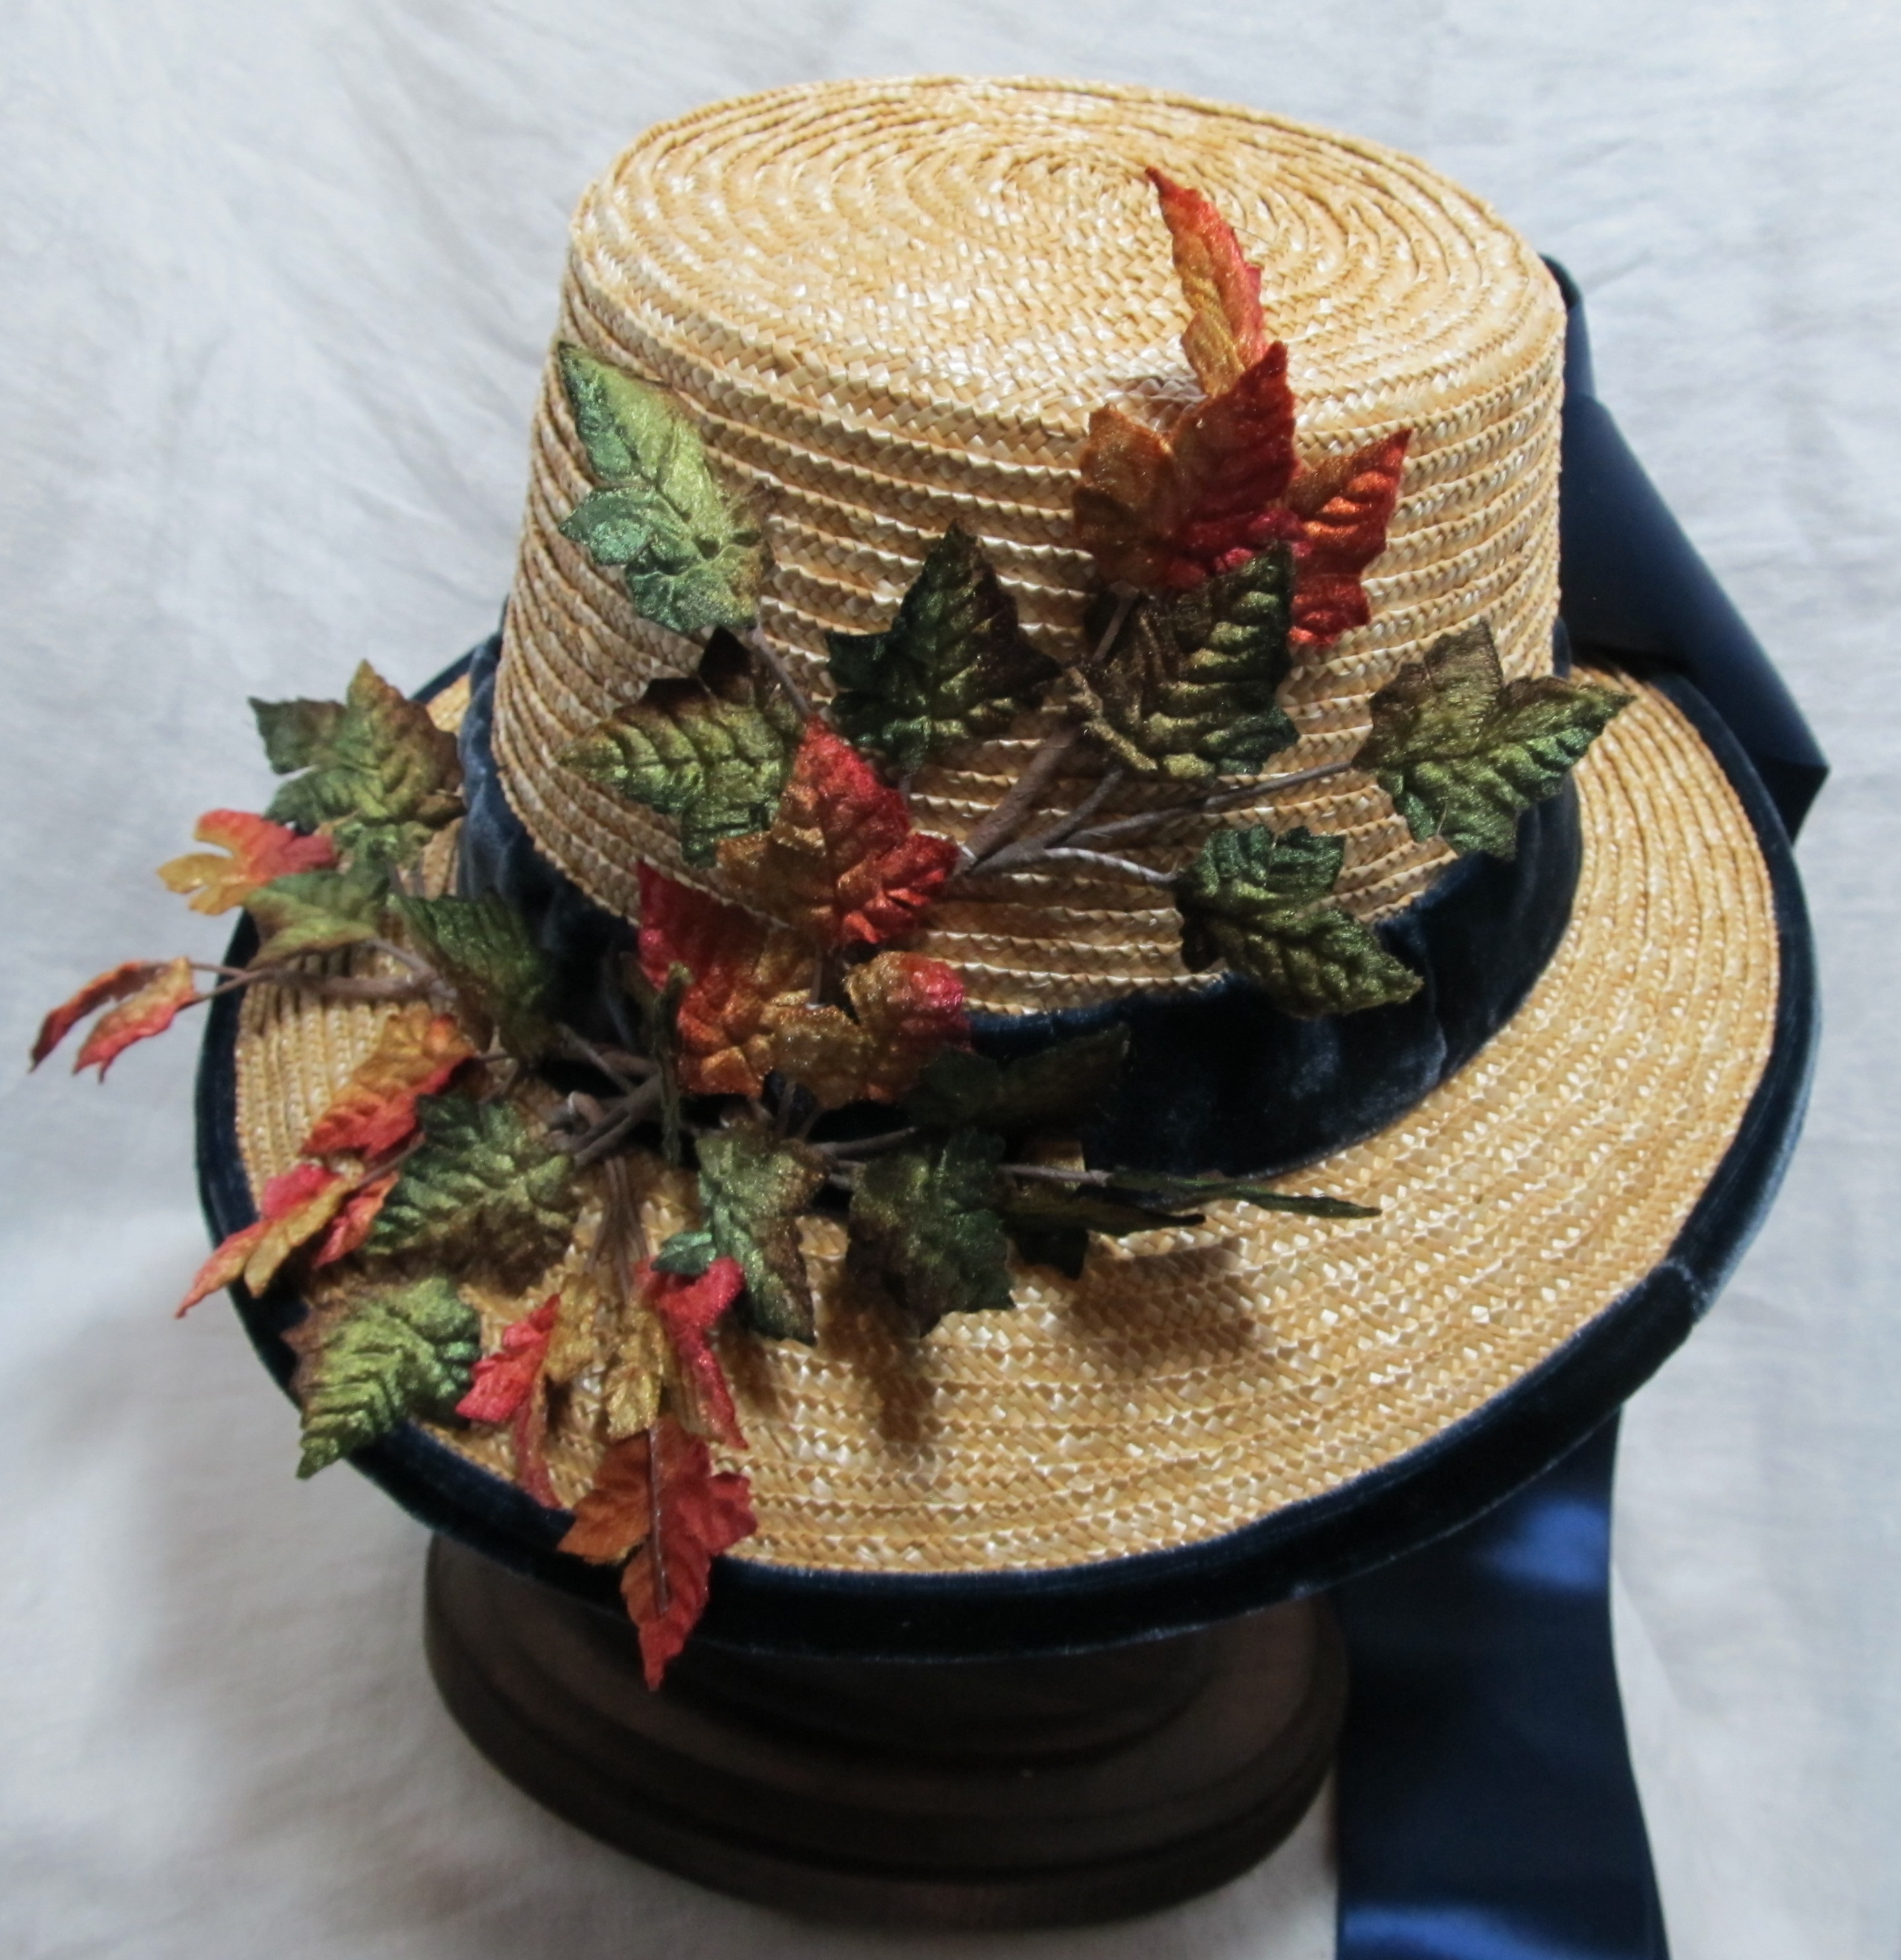
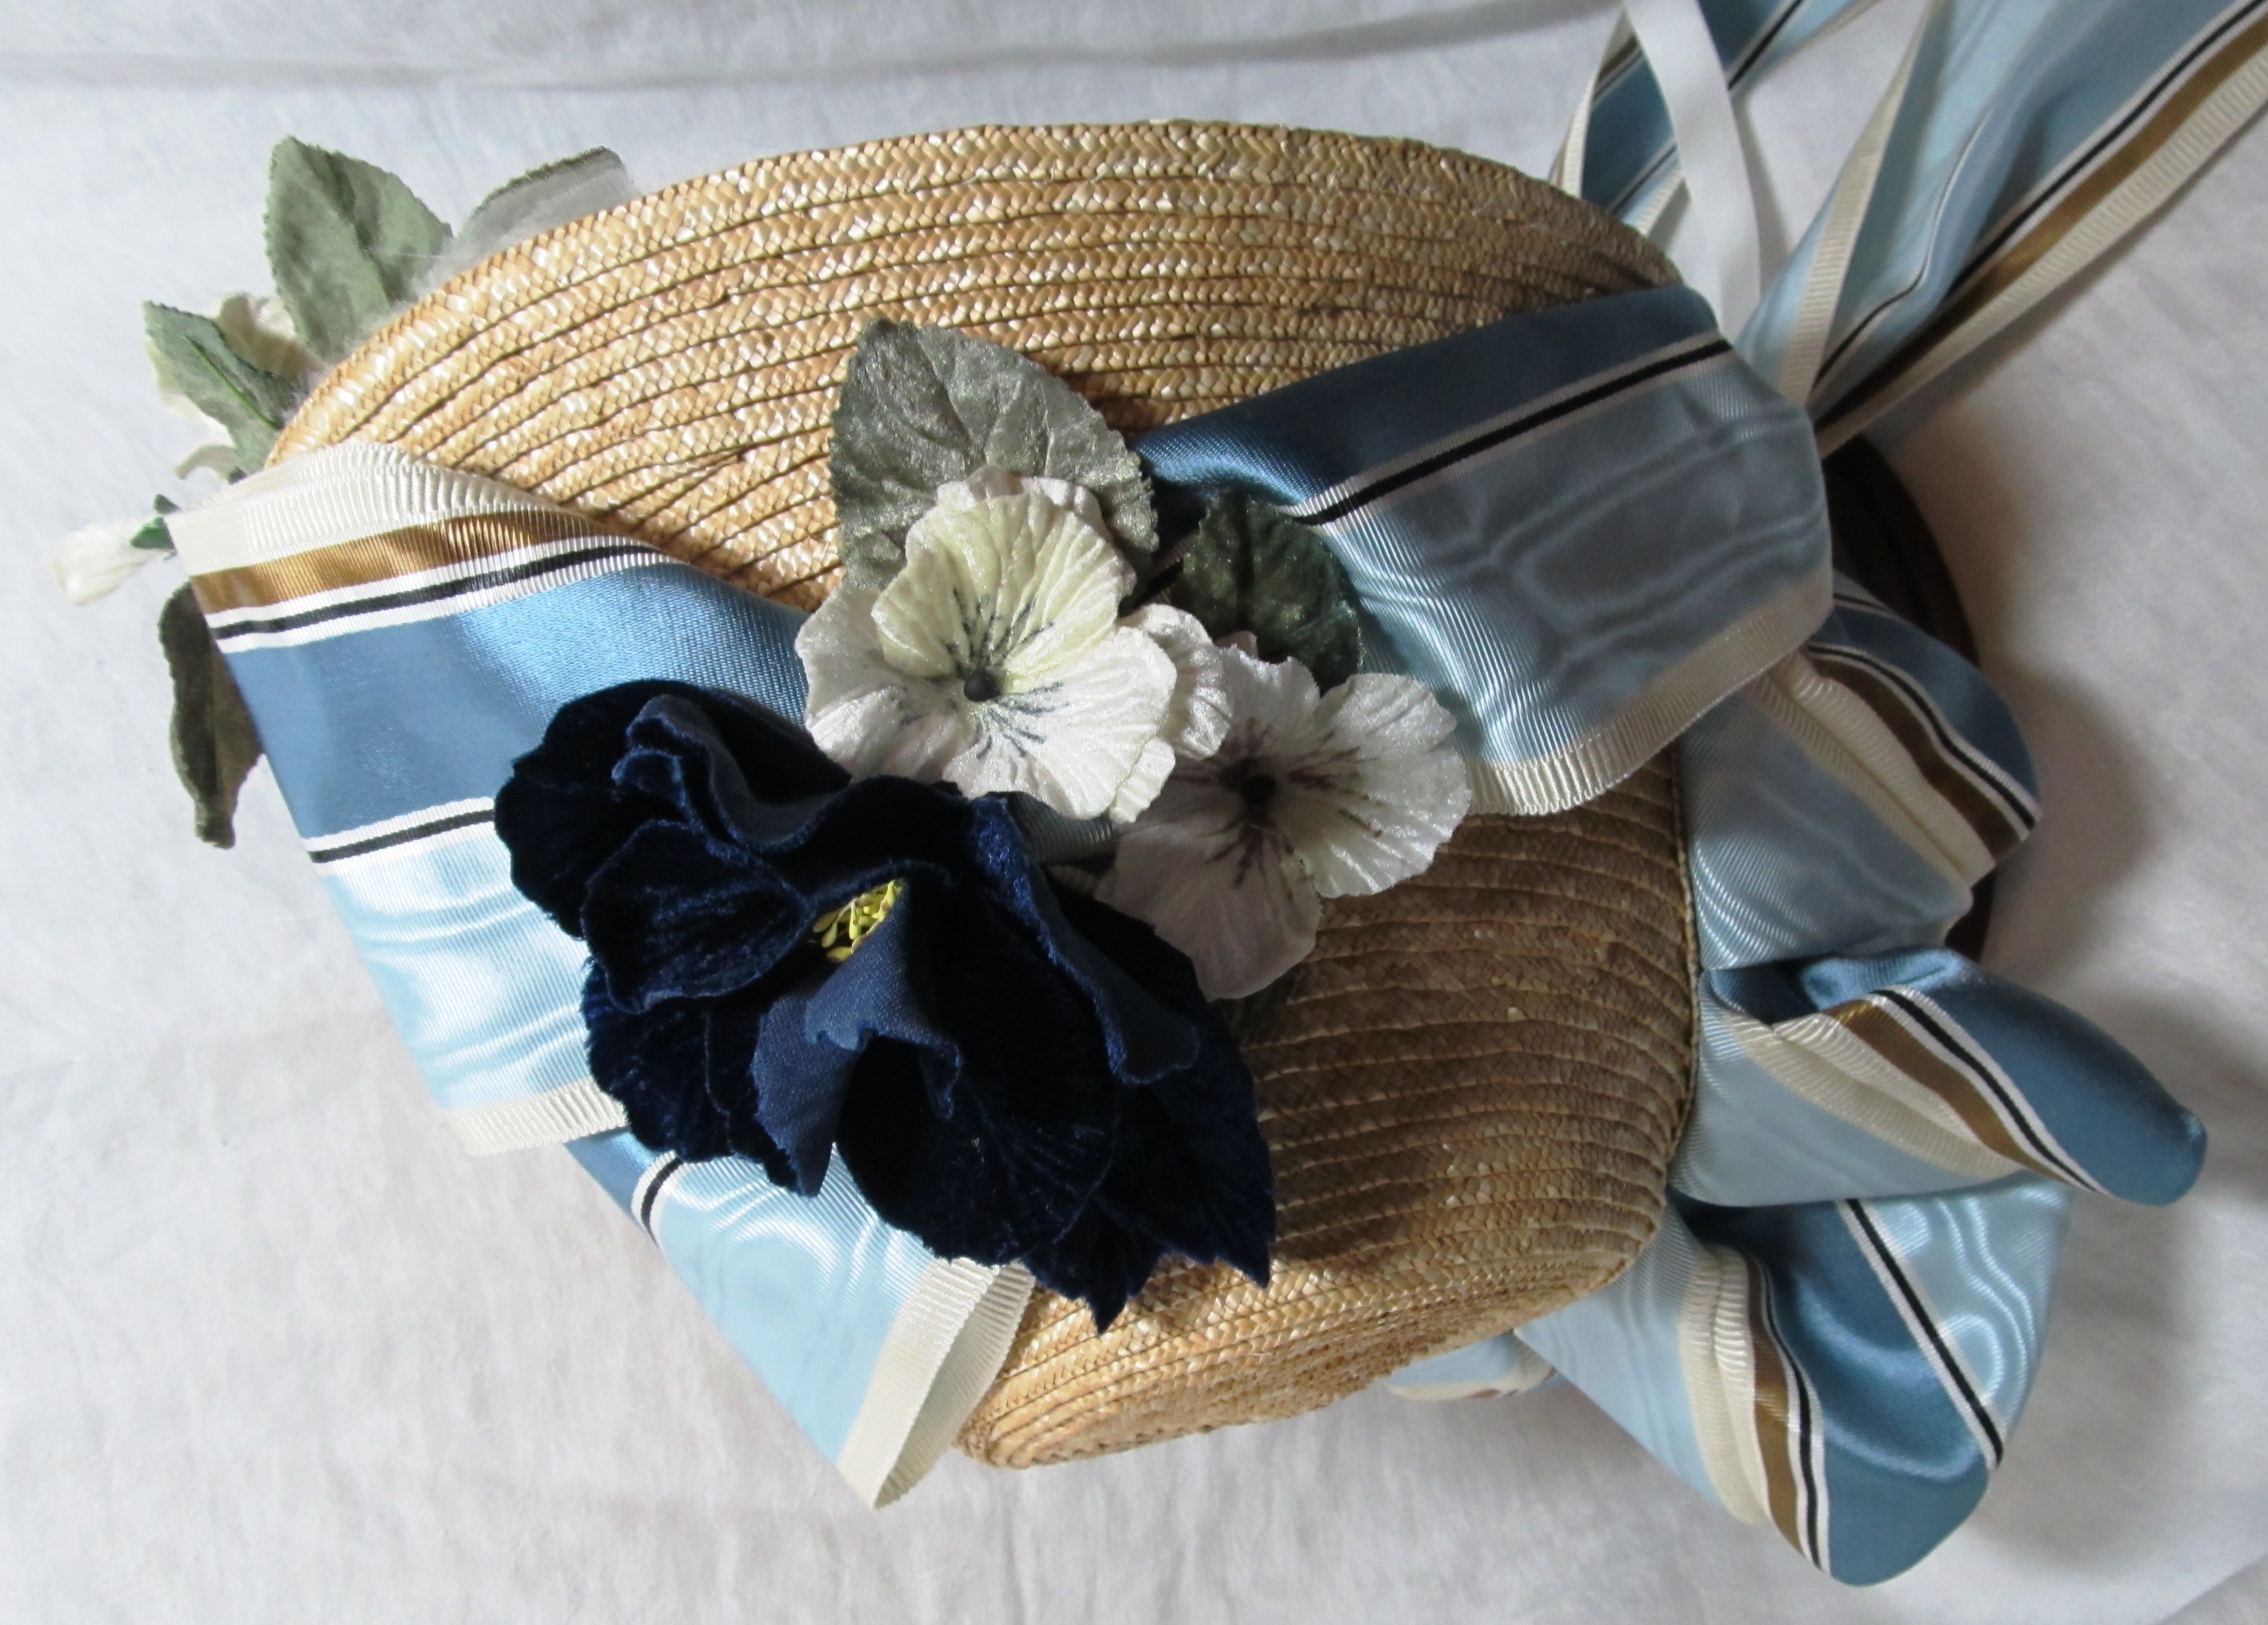
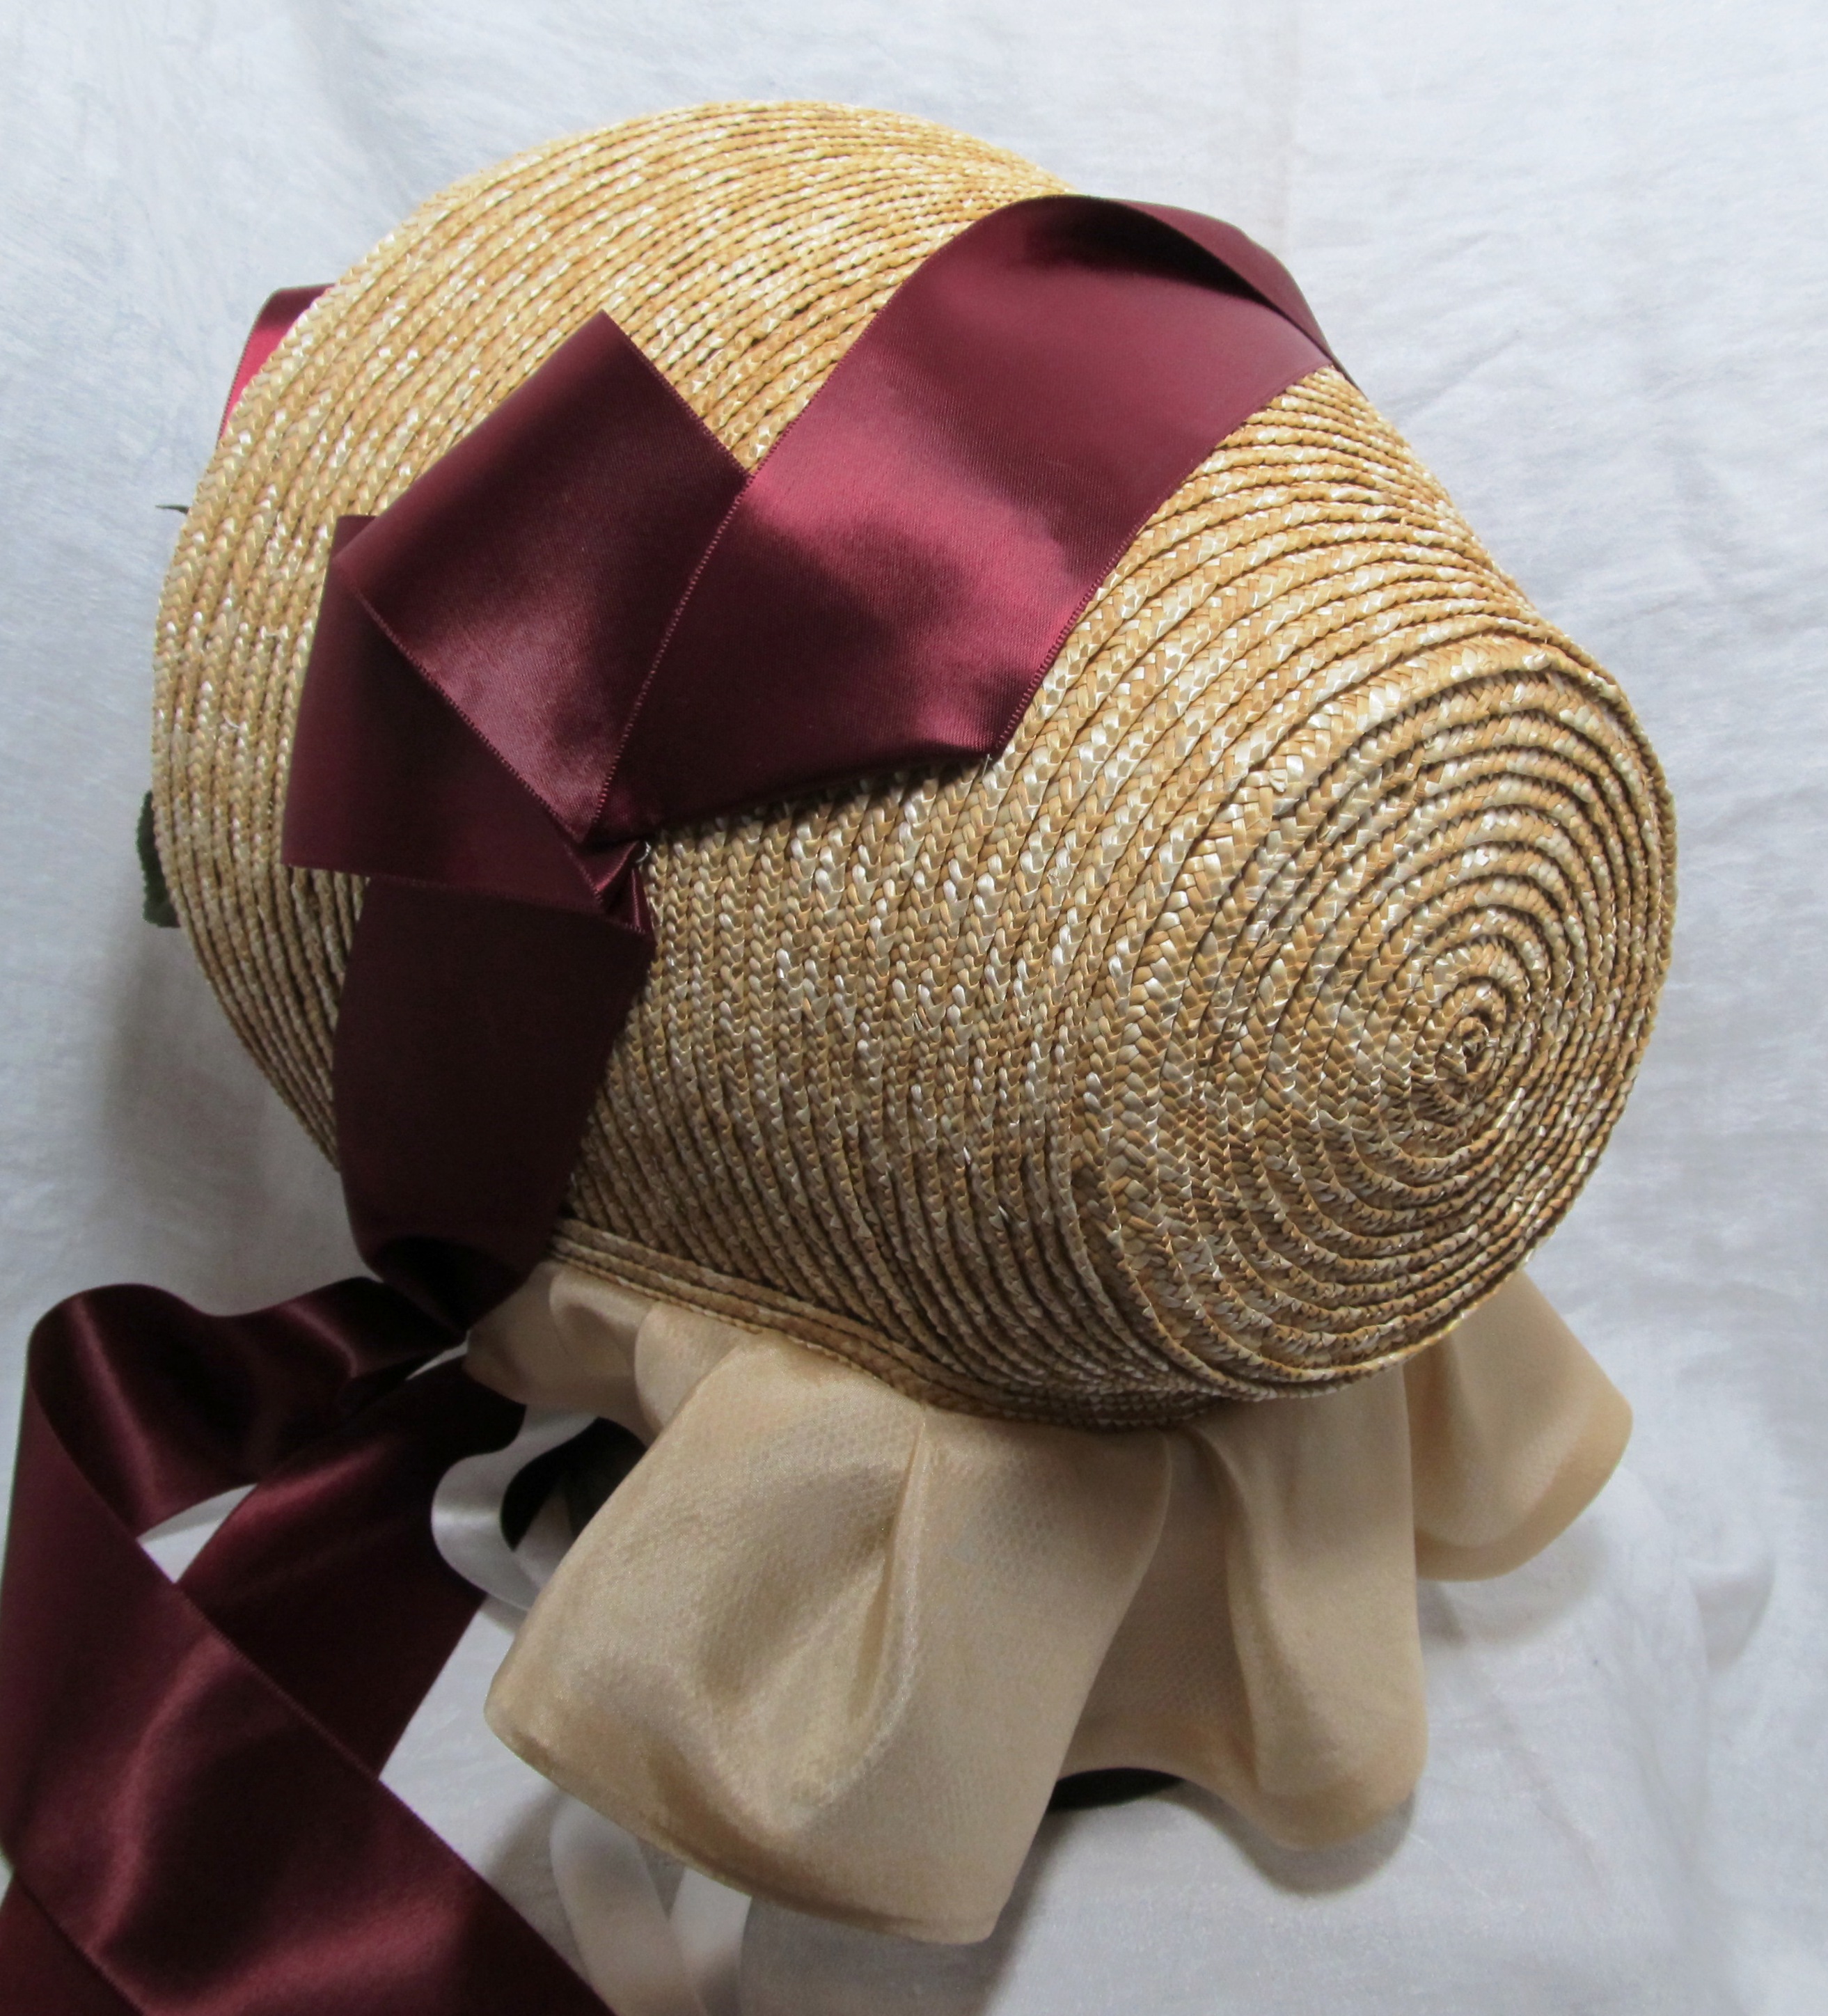
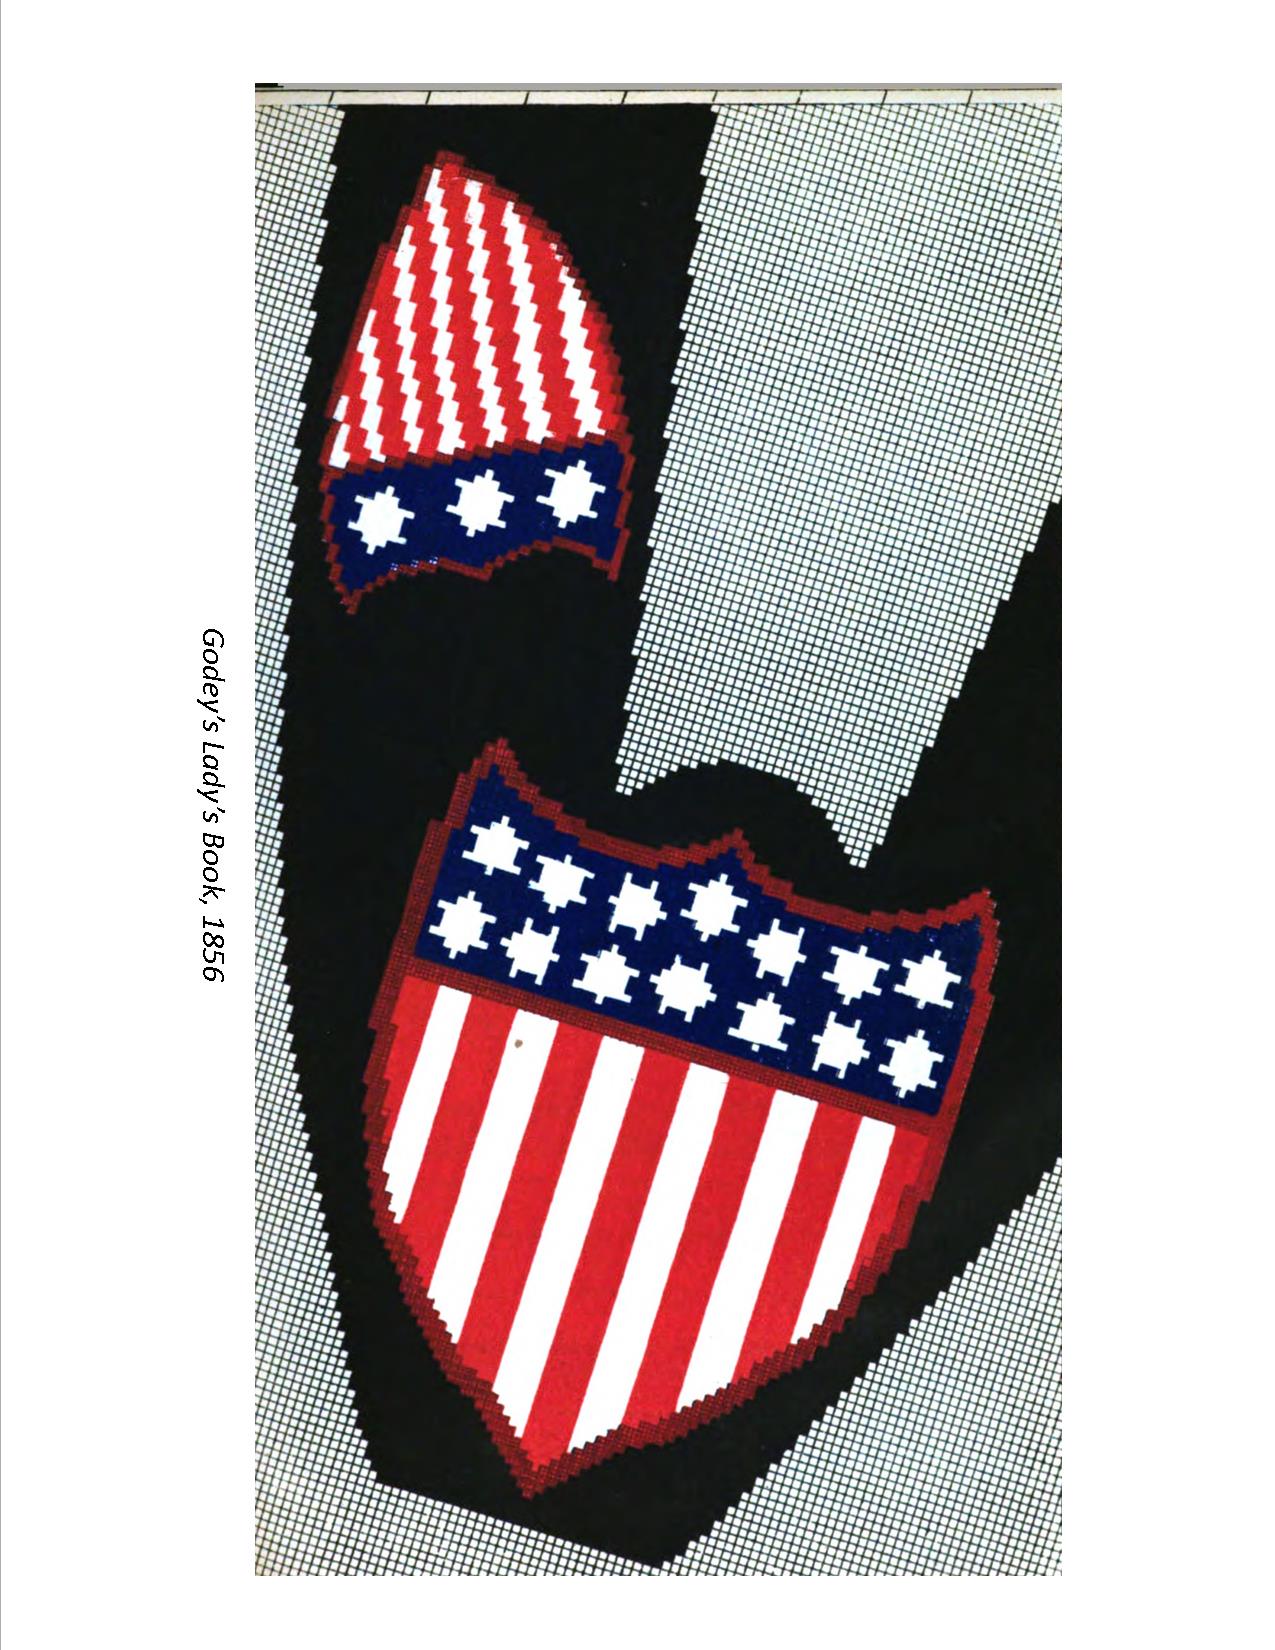
 When it arrived and I was happily trying it on, I thought of the original hat with the brown ribbon in a zig-zag pattern as a strong contender for the inspiration for finishing this hat. Then, I set it aside and looked at even more images. In the end, the zig-zag pattern spoke to me: make me. What I love about it is the simplicity of the design – yet it isn’t just about slapping ribbon on a brim, it has a definite scale to it. I also liked that, while it stands alone, it could support further embellishment to change the look.
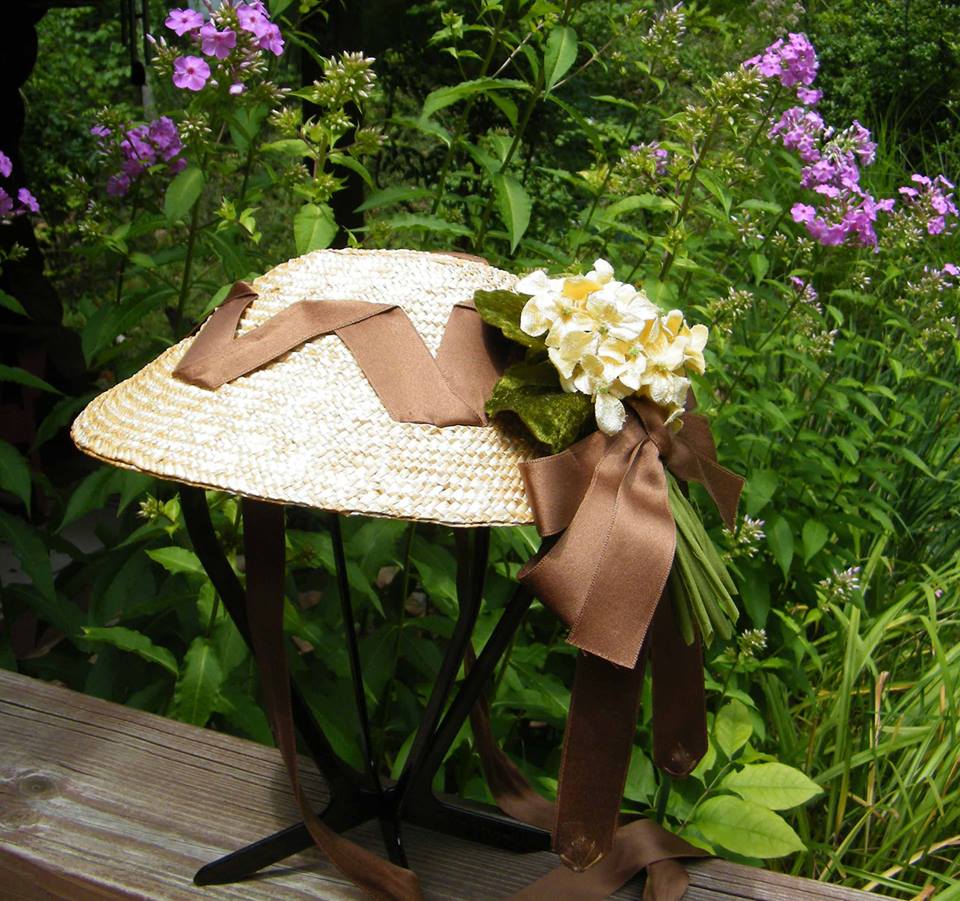
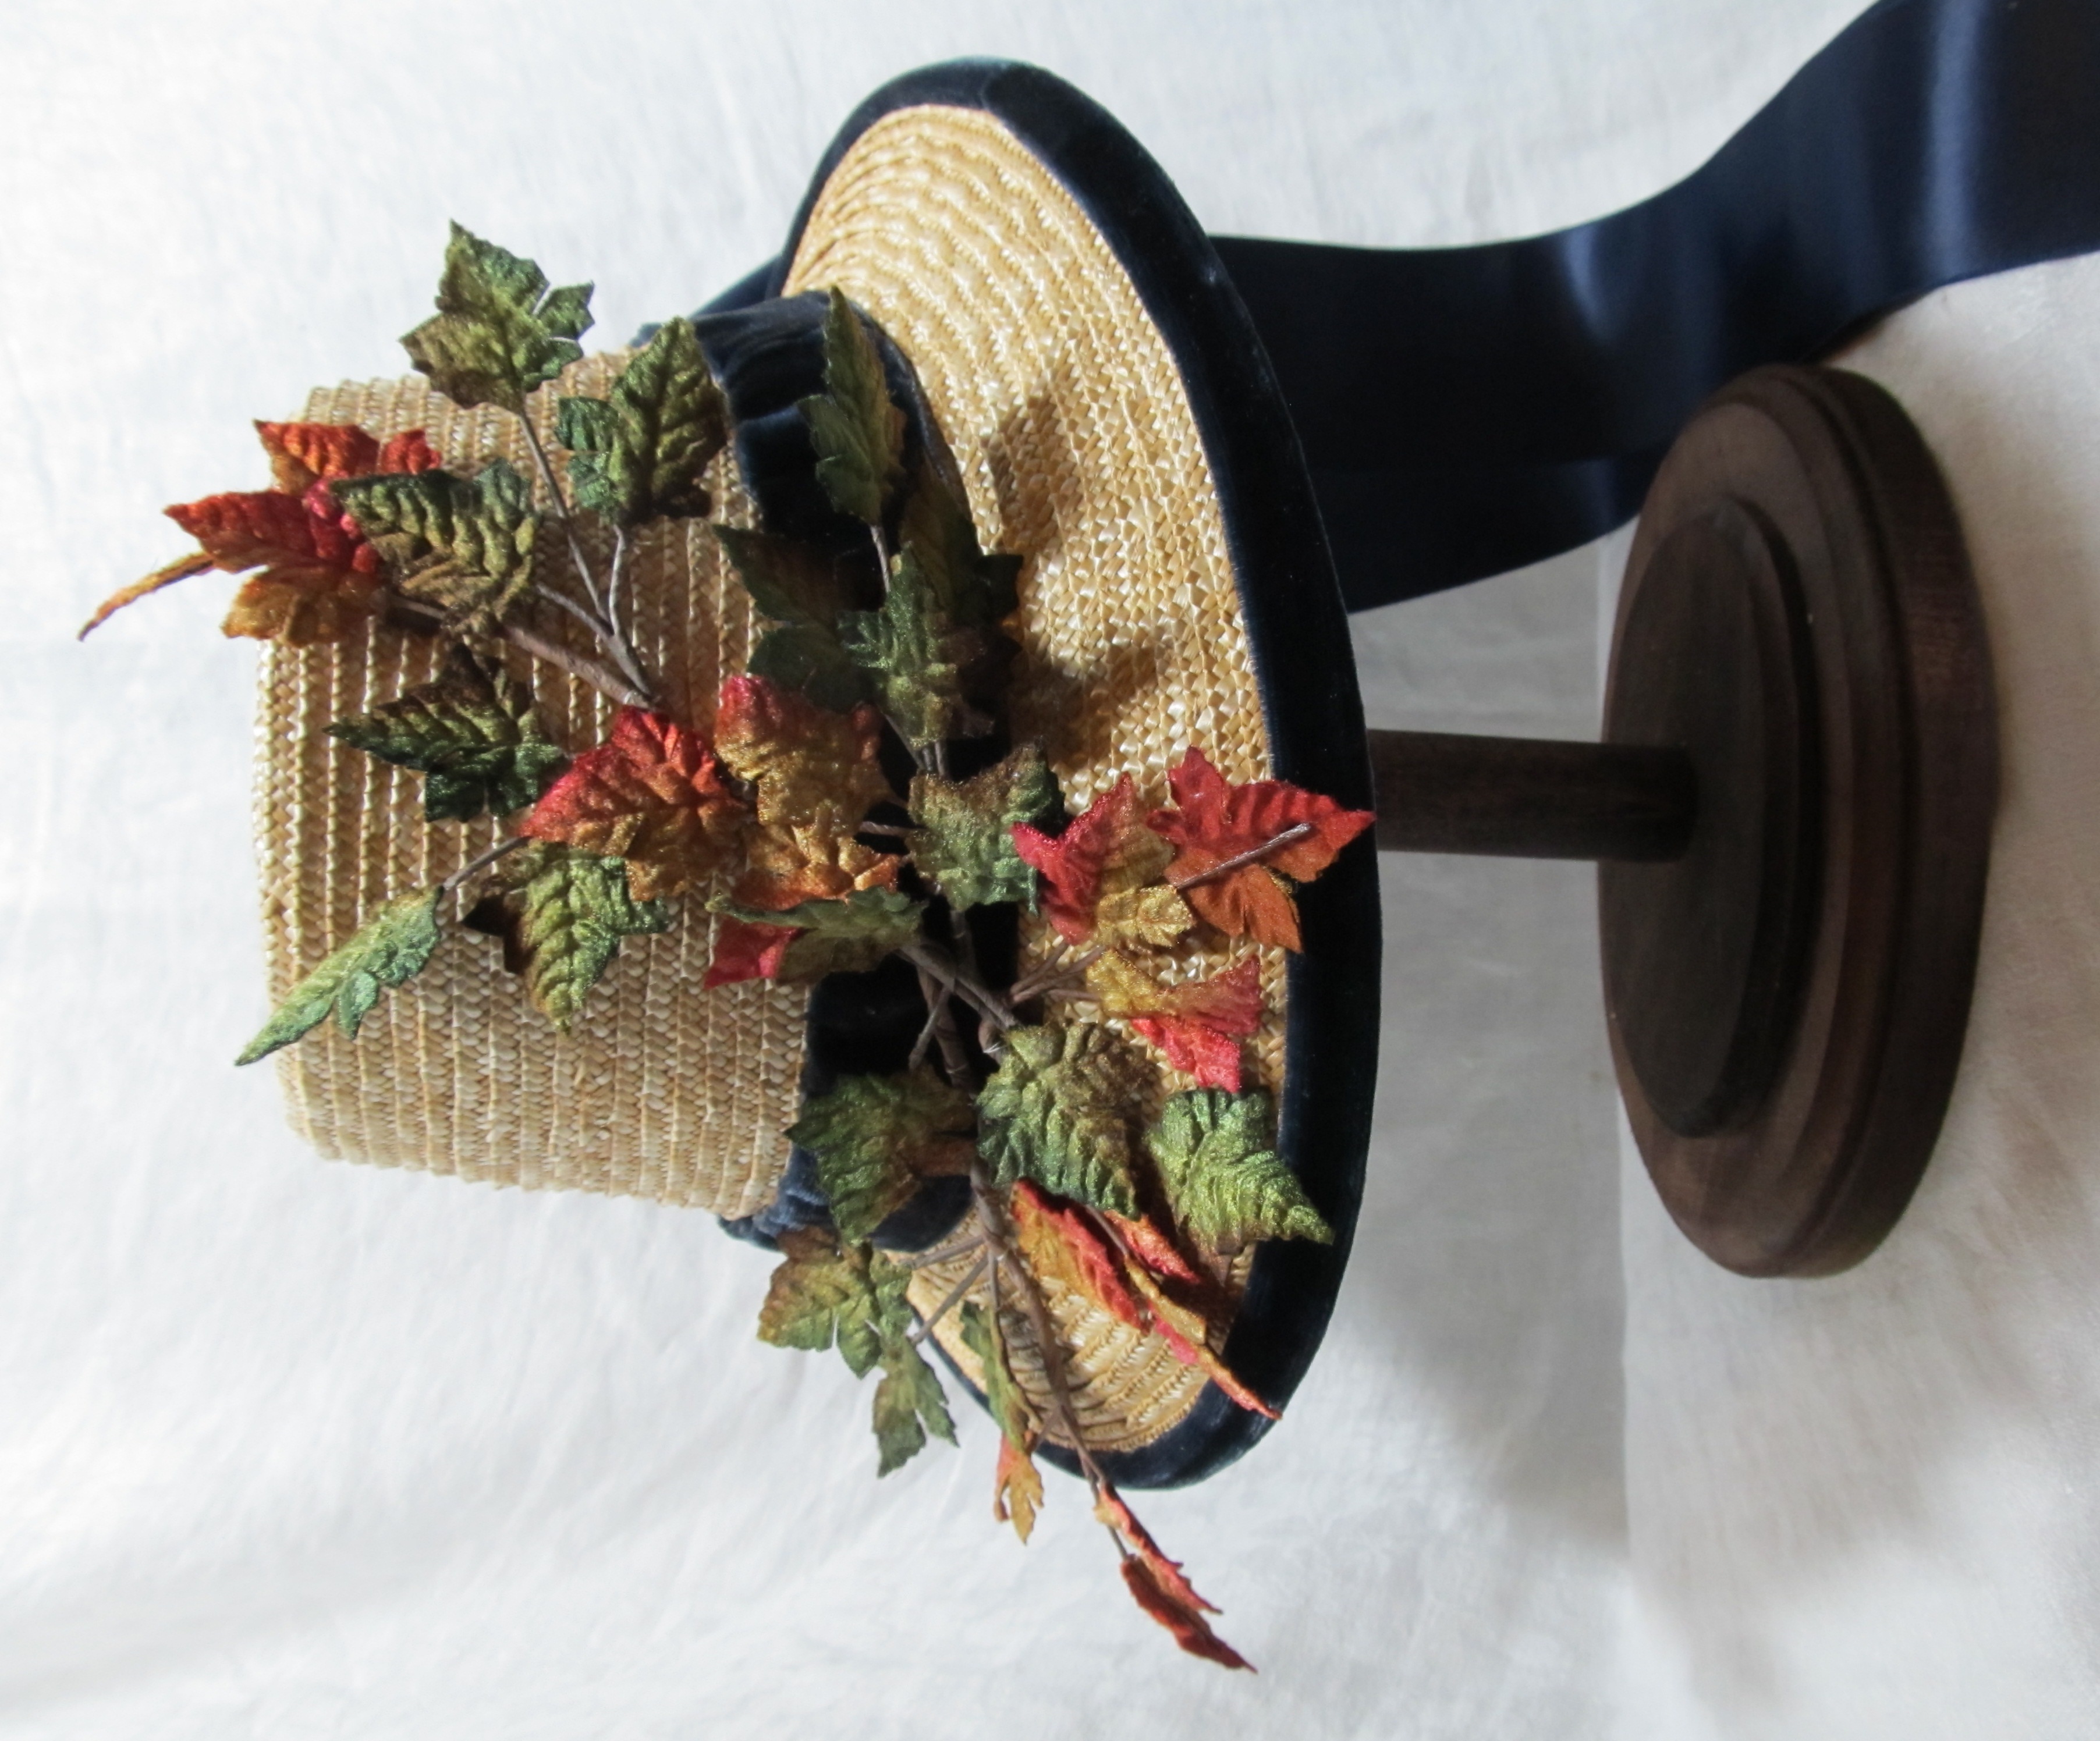
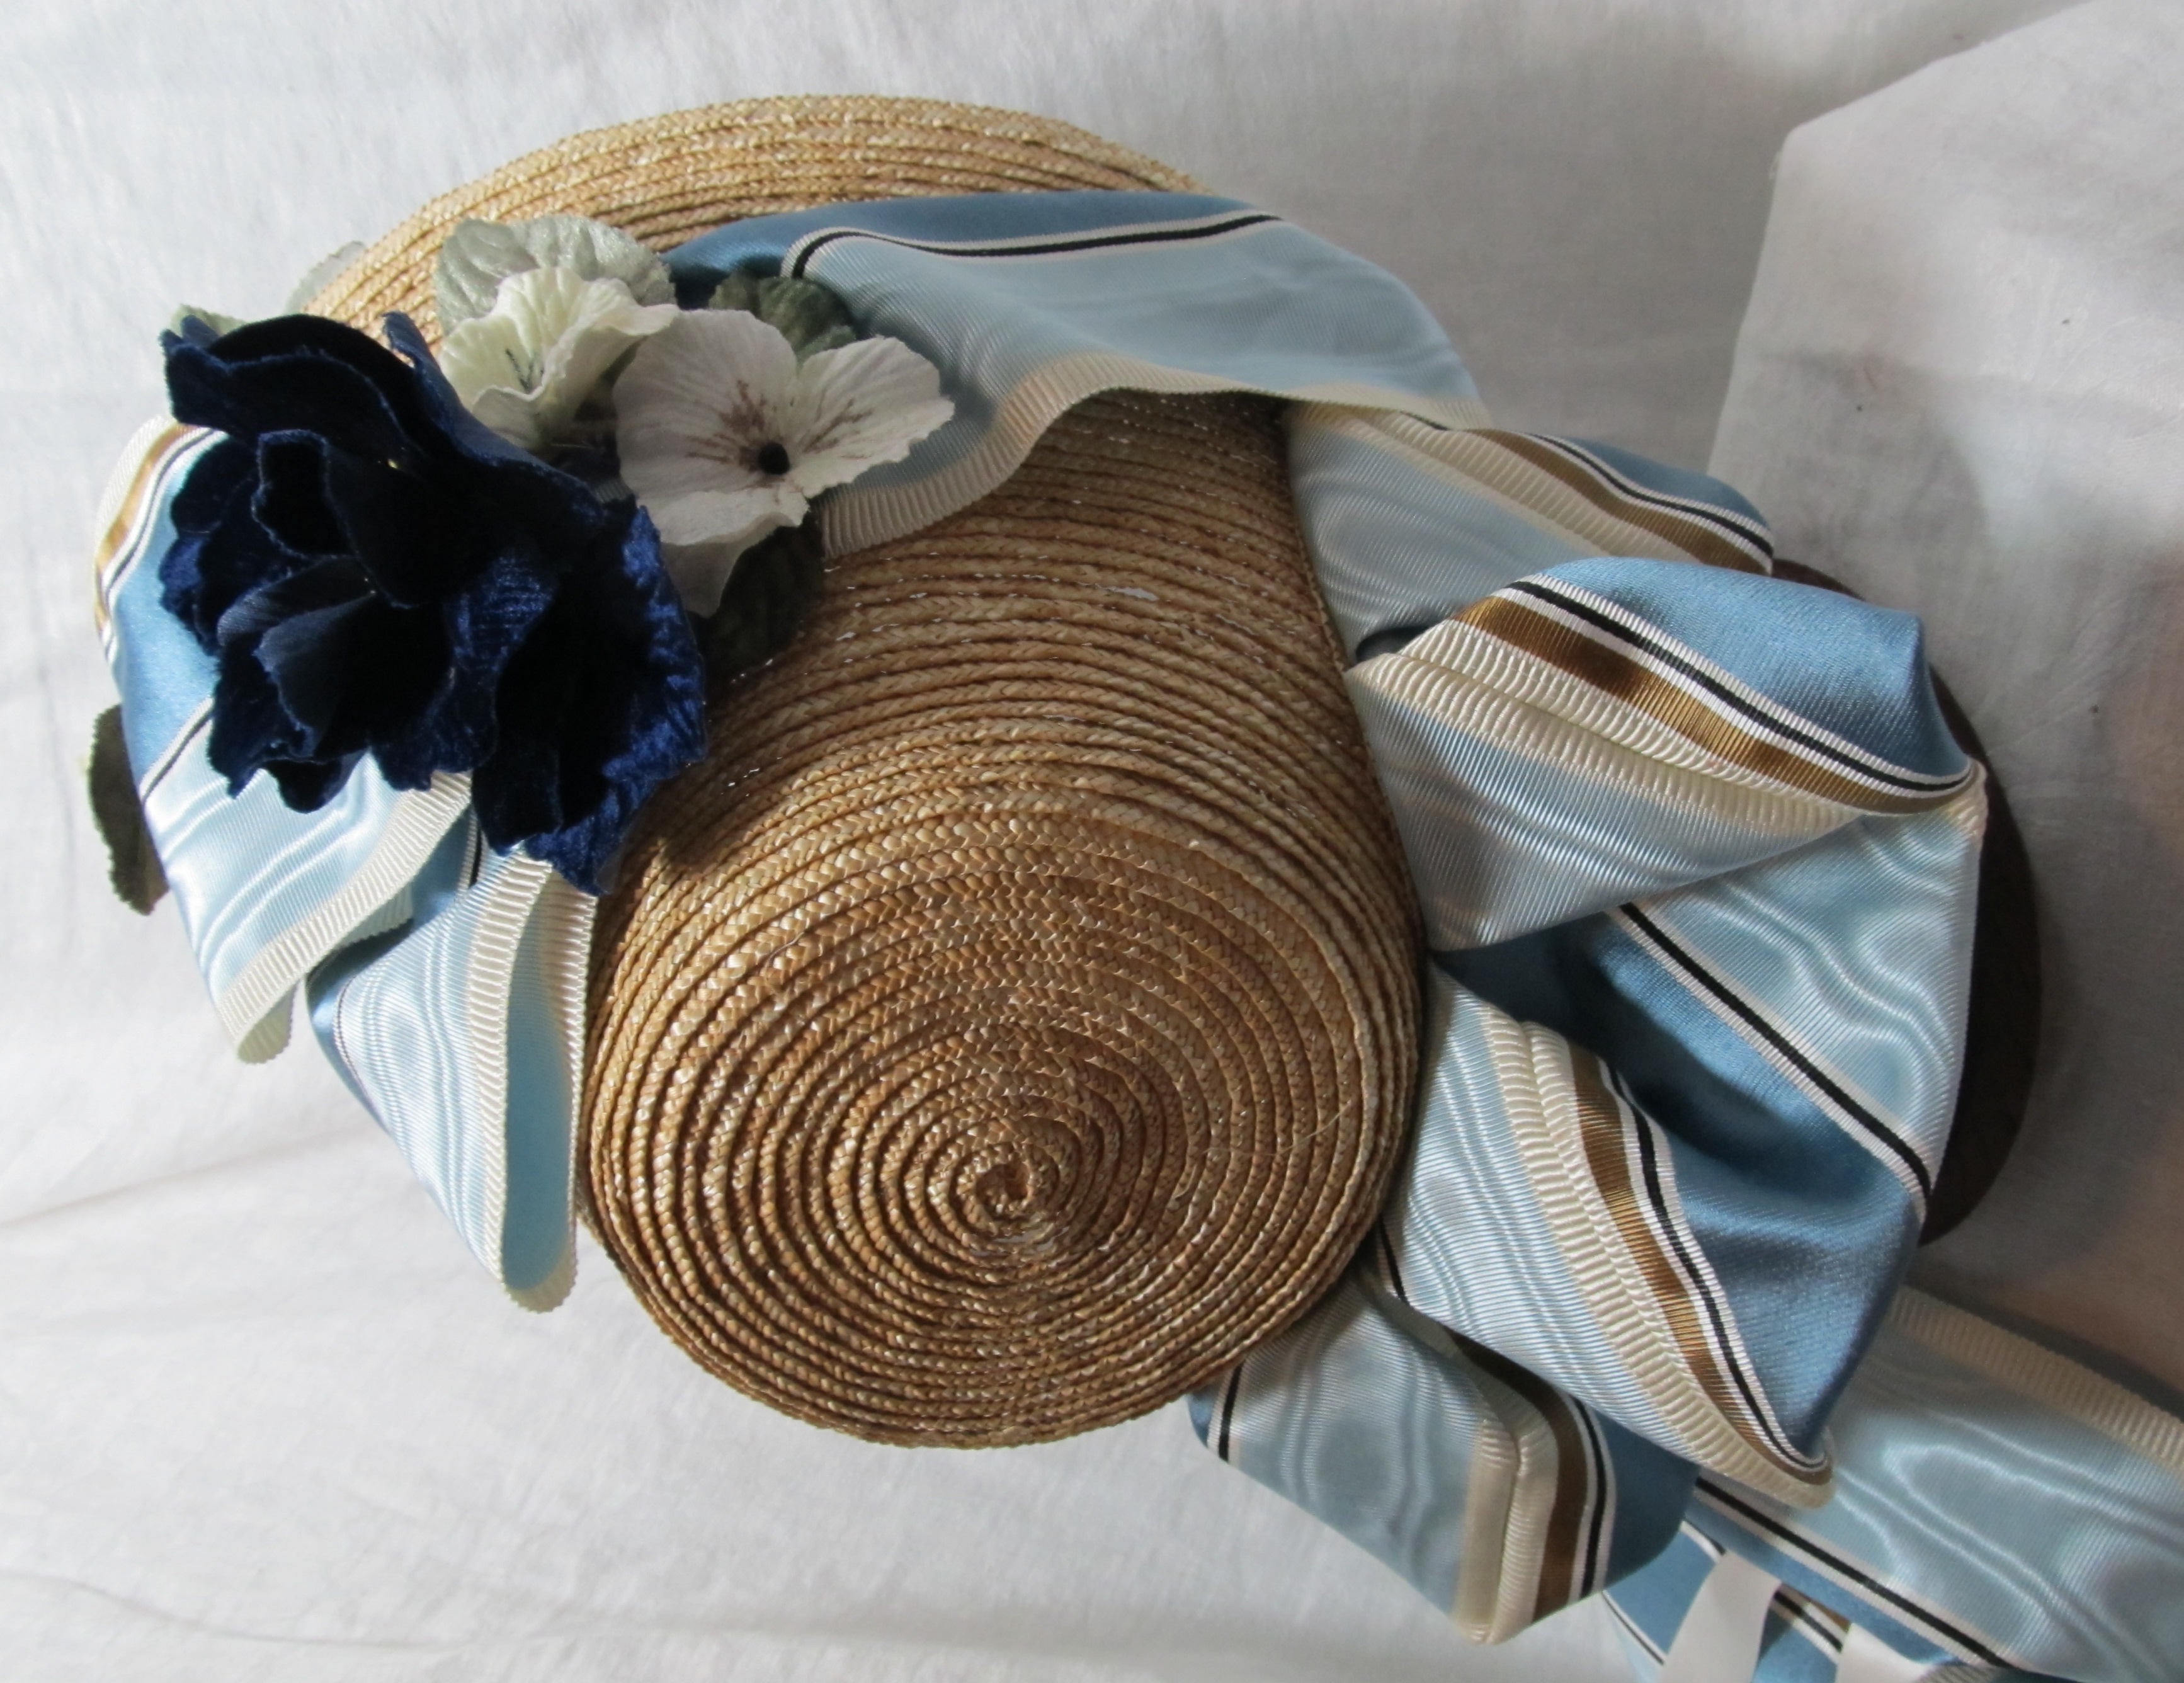
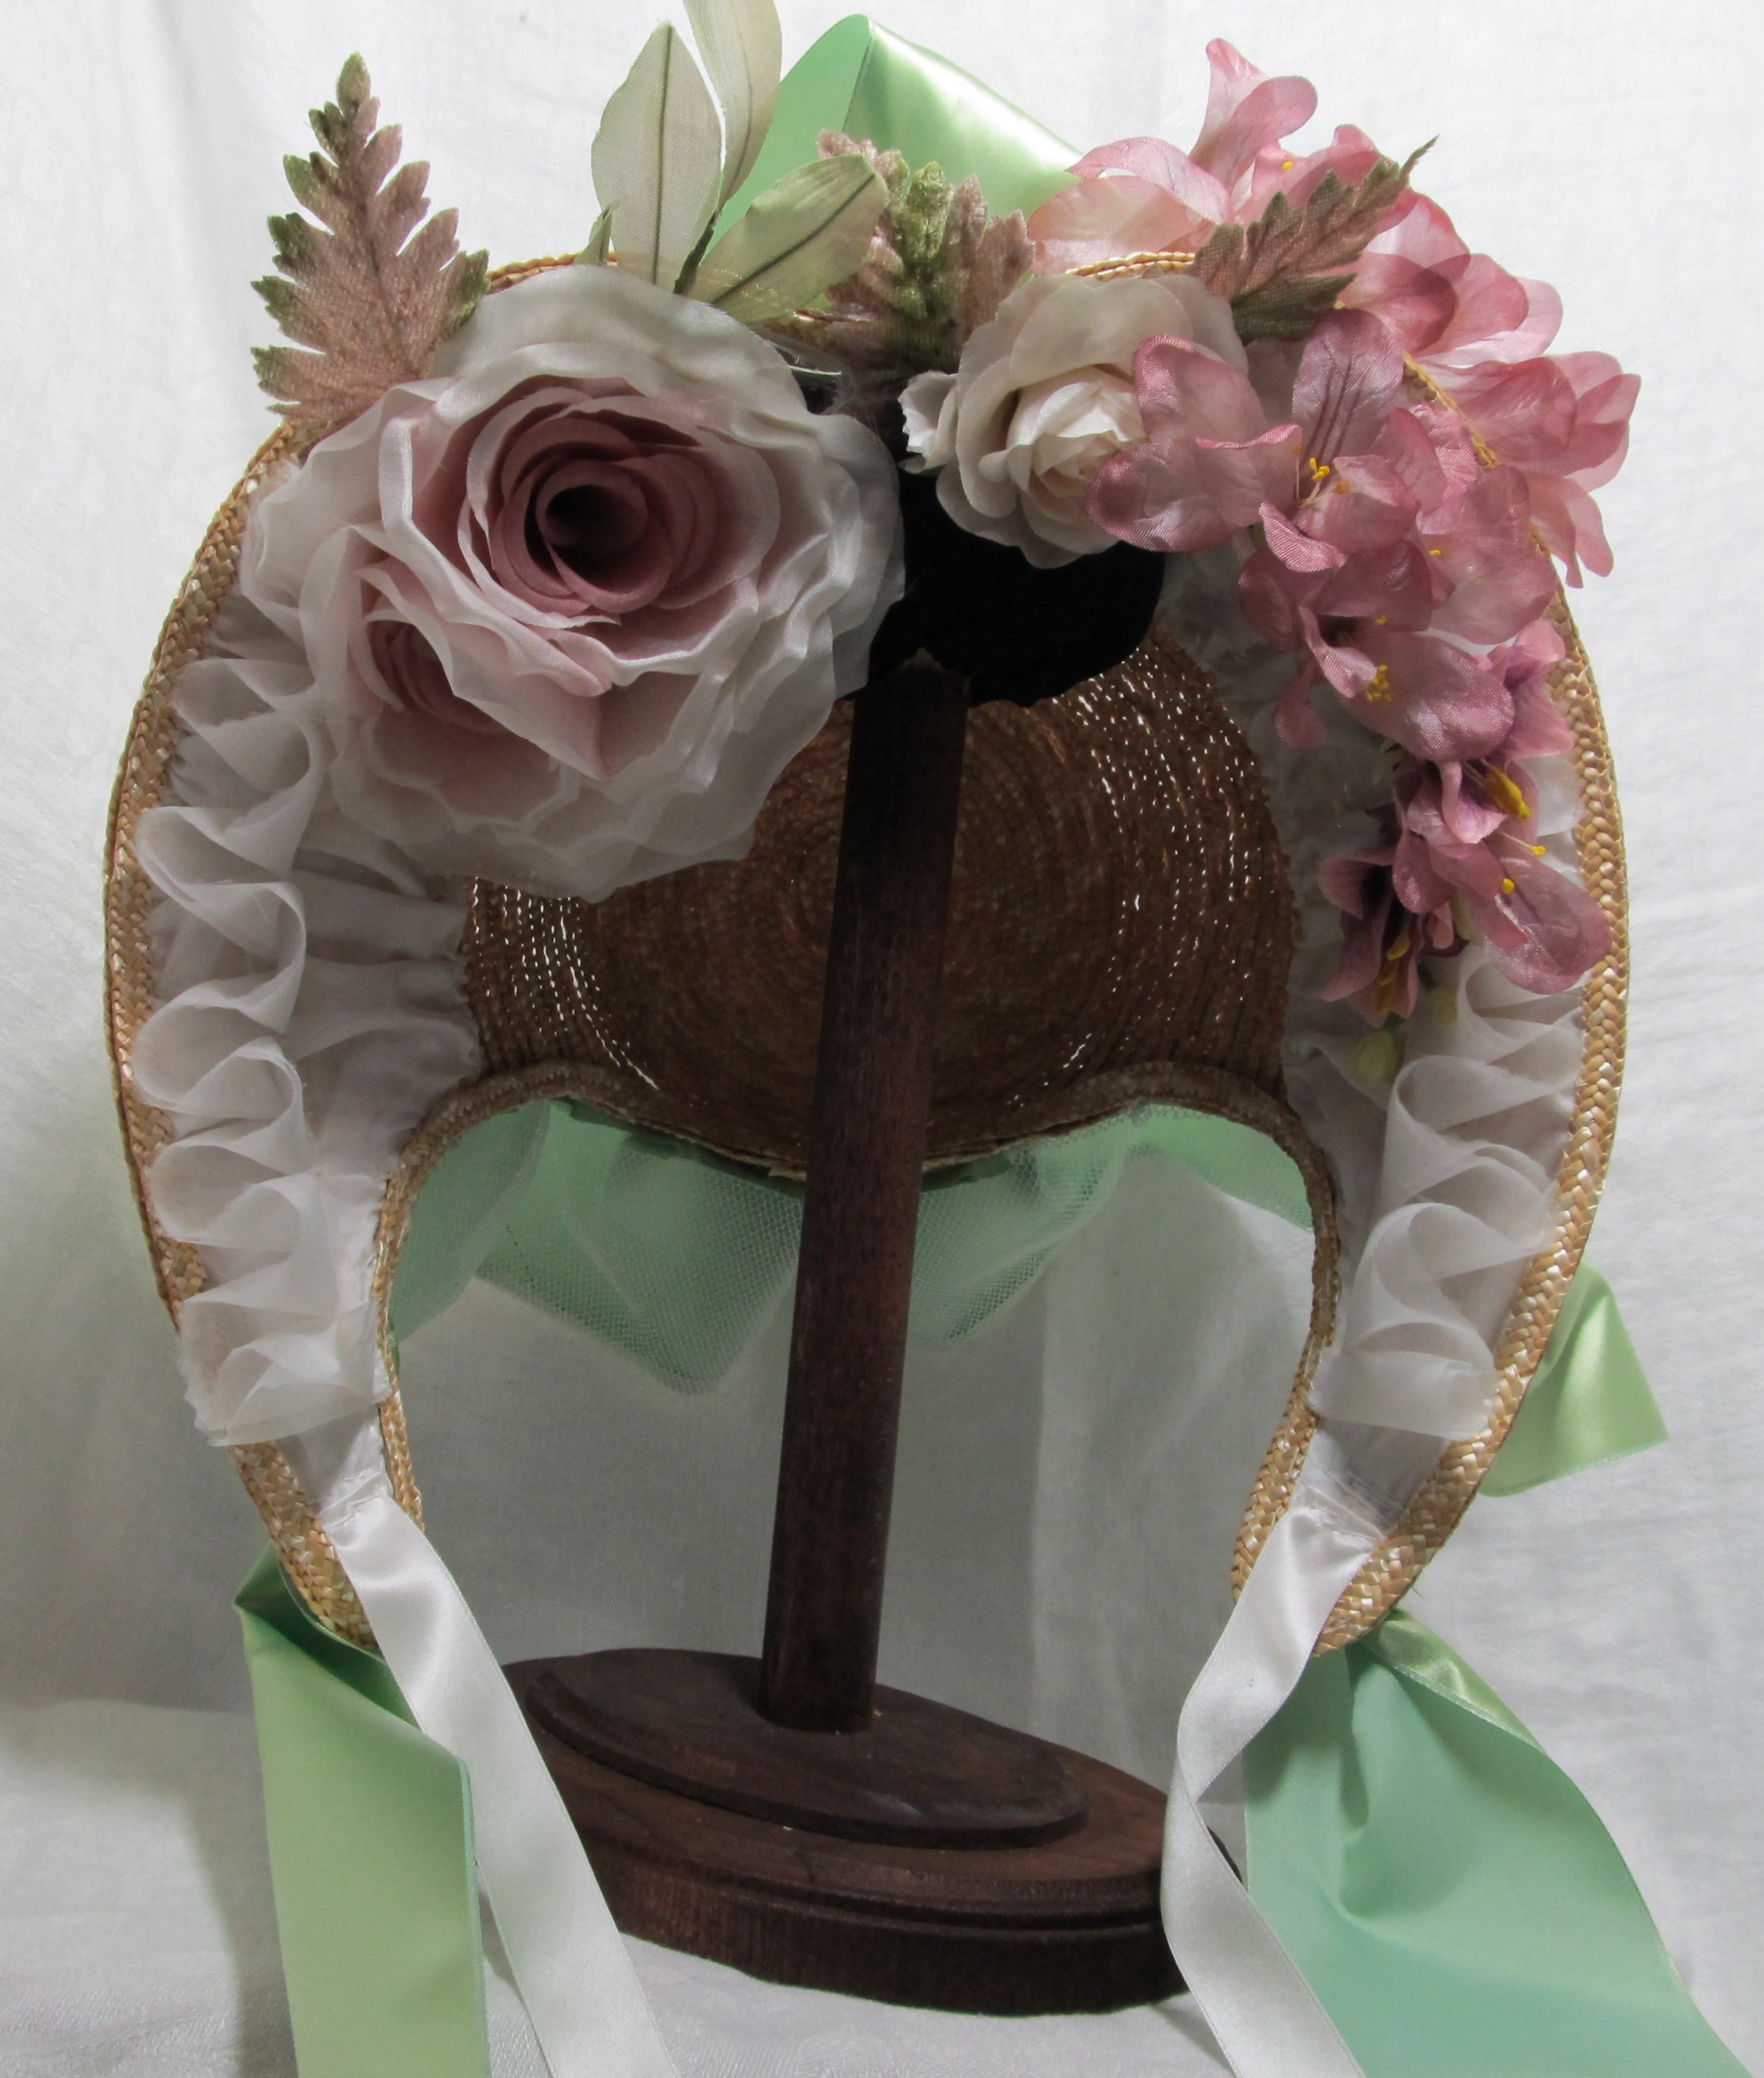
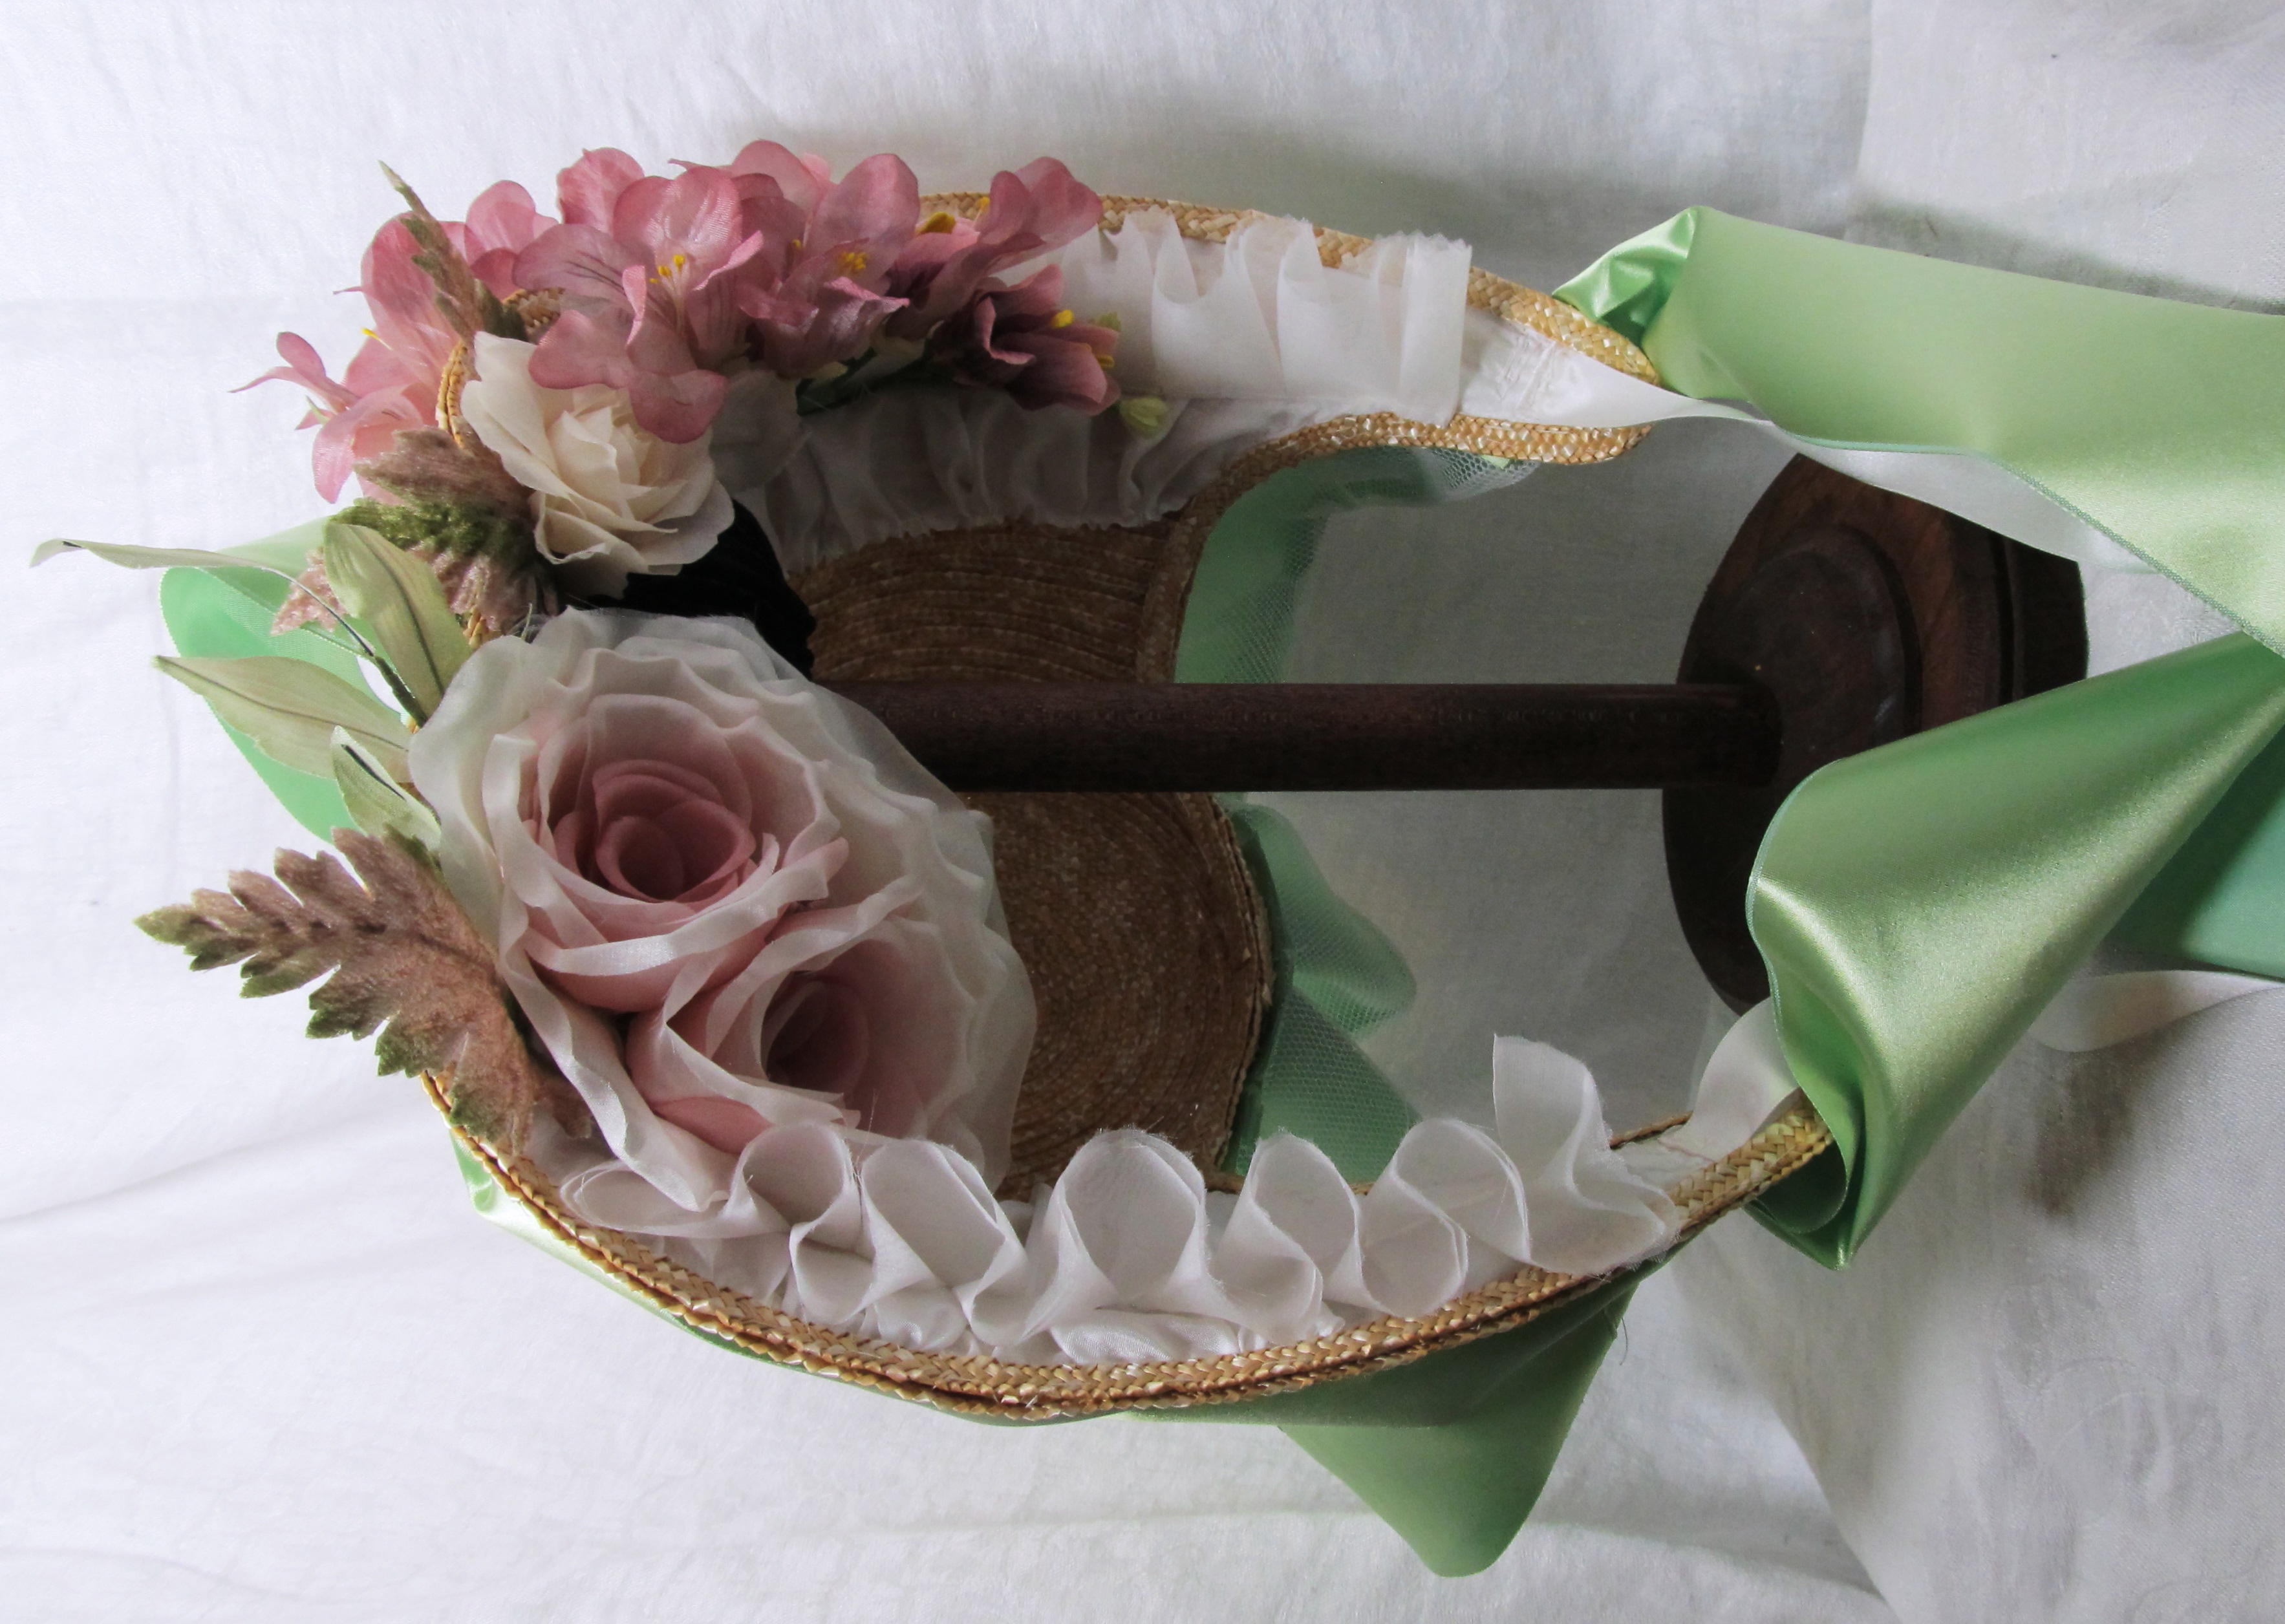
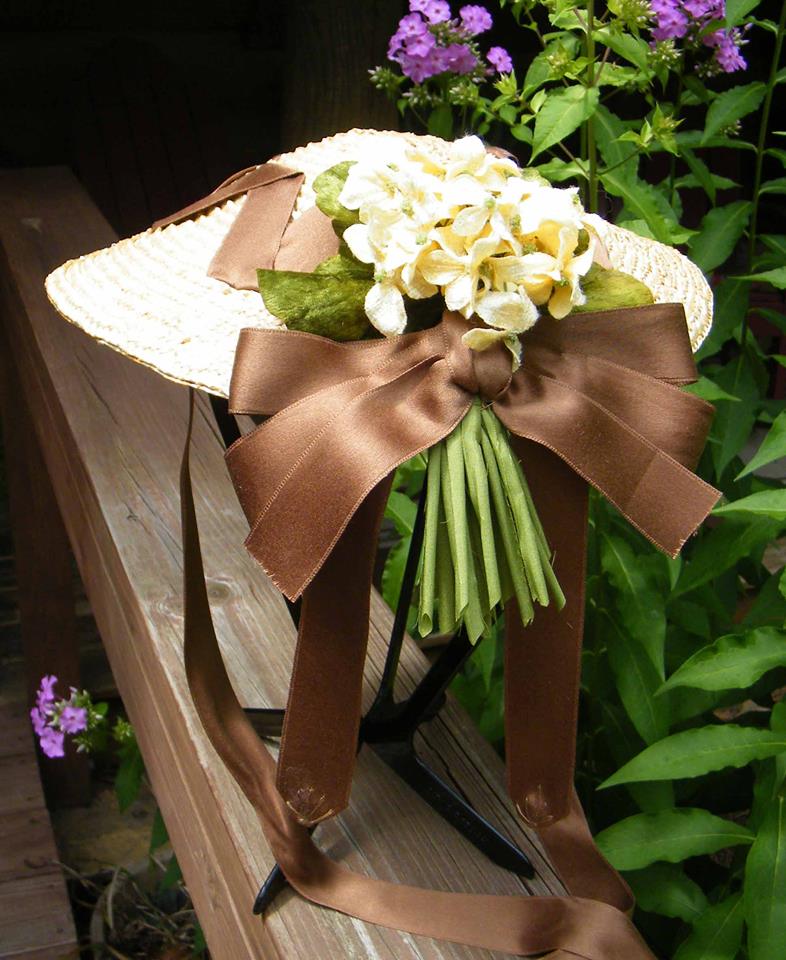 I had a “further embellishment” in my sewing room, just waiting for a home. In the marketplace at the 2015 Civilian Symposium in March, I purchased a bunch of creamy yellow flowers with fabric “stems,” tied with a pale green velvet ribbon. Holding the bunch at the back of the hat, I decided this would be my first “further embellishment.”
The ribbon on the original hat is taffeta, but I chose to use some lovely double faced silk ribbon from my stash (purchased because I loved the color, also waiting for a home in my 1860s wardrobe). I began by enlarging and printing the image of the original hat to guide my work. Observing the symmetry of the zig-zag design, I loosely pinned the ribbon to my hat (pinning on the edge of the ribbon straight down through the hat). Satisfied that I had the layout correct, I started by securing the front “V” then worked my way down each side, careful to follow the ridges of the straw at the top and bottom of the folds to make the design even. It was “fiddly” work, hiding the stitches. I brought the thread up and hid it under the ribbon to the next place it was to be secured.
 Before trimming the ribbon ends at the back, I thought about how I would stop it from fraying. Somewhere, I had seen a treatment on an original piece, where the ribbon end was turned back to a point, and held with a simple embroidery stitch. I decided to use this technique on my ribbon. I brought the edge of the ribbon to a point right sides together and stitched, then carefully turned it right side out and pressed it flat, making a nice little point. I used sewing thread to make five little petal stitches, securing the end of the ribbon. What I like about it is, it provides a little bit of weight to the end of the ribbon and finishes it unobtrusively.
Anna gave me some guidance on the placement of the ribbons that would tie under my hair. Done! I tried it on and loved it. Now for the further embellishment!
After trying various ribbon loops and placement options, I settled on a plan. I just wasn’t sure about the stems hanging down. I like how amazingly real they look and also liked them as a design element. But I needed some input – lose them, trim them??? So I decided to add the flowers and ribbon, and then post it on a couple of Facebook groups and see what others thought. The amazing folks on the Civilian Civil War Closet didn’t let me down, and I soon had plenty of guidance! When Anna chimed in, encouraging me to try trimming the stems, I did so. As soon as I trimmed the first stem, I could see that was the answer. I took about three inches off and trimmed them on an angle, since that is how I would cut real flowers. The scale seemed right, and I’m very happy with my new hat!
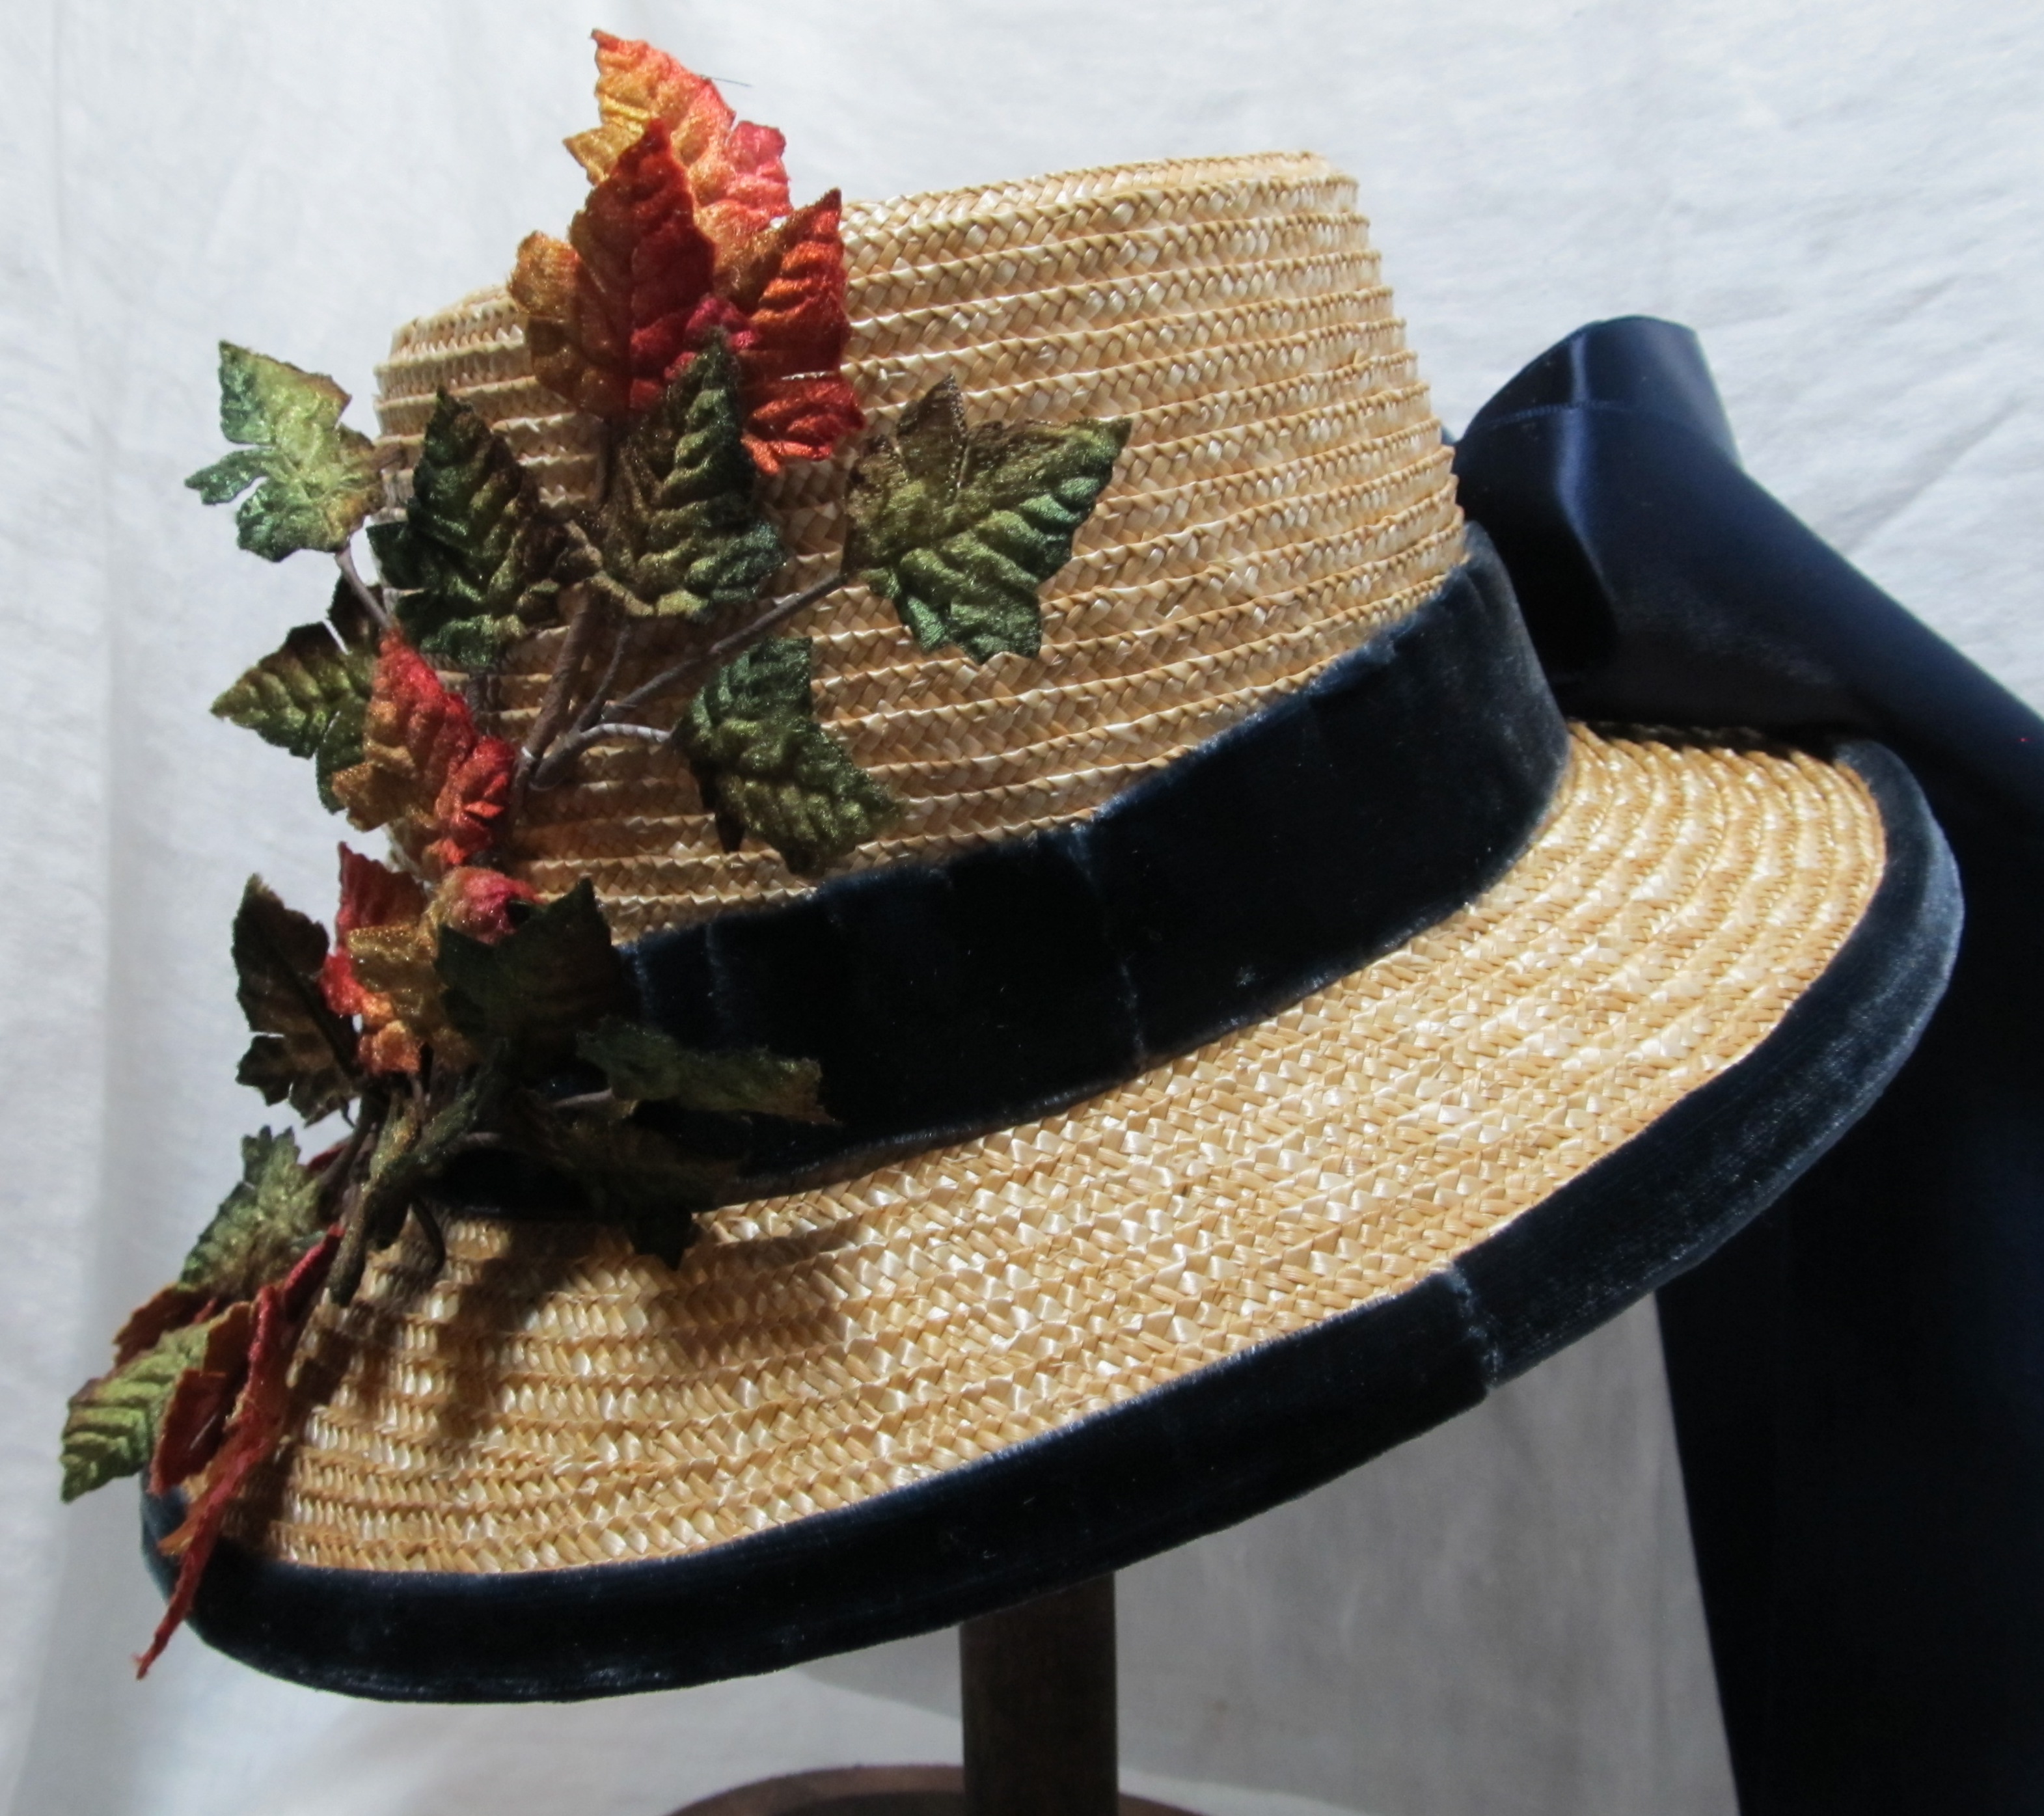
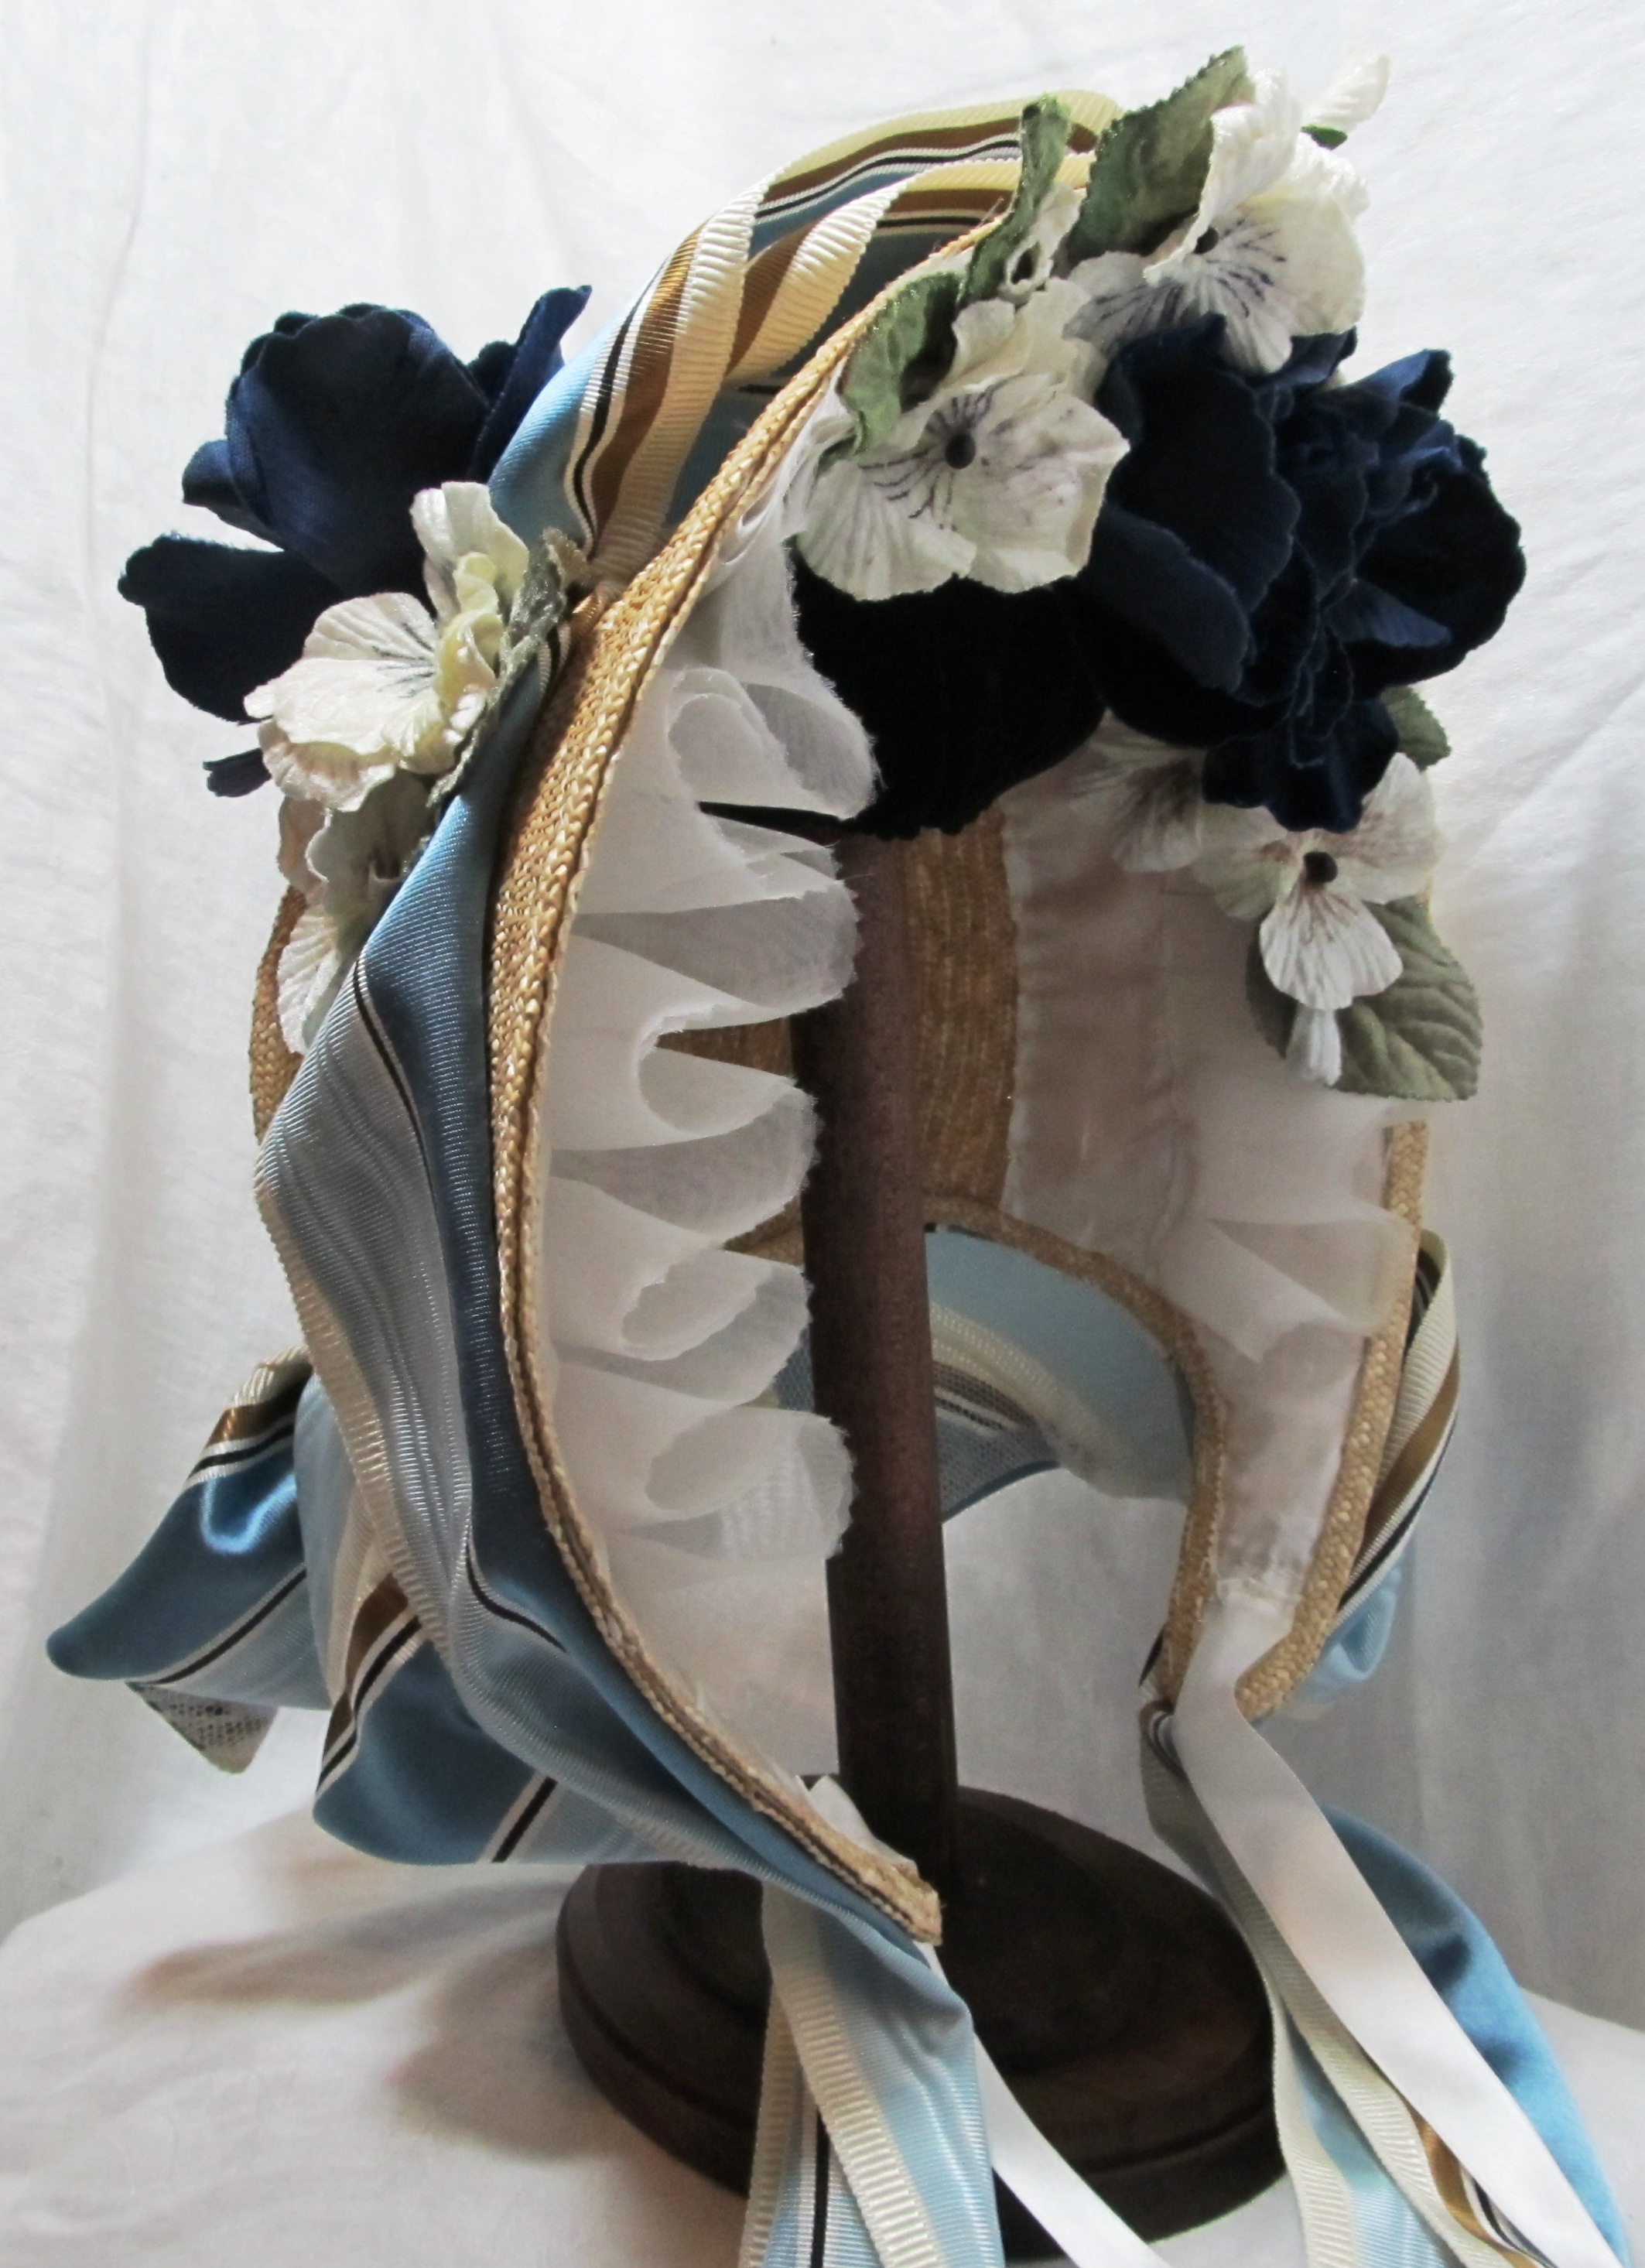


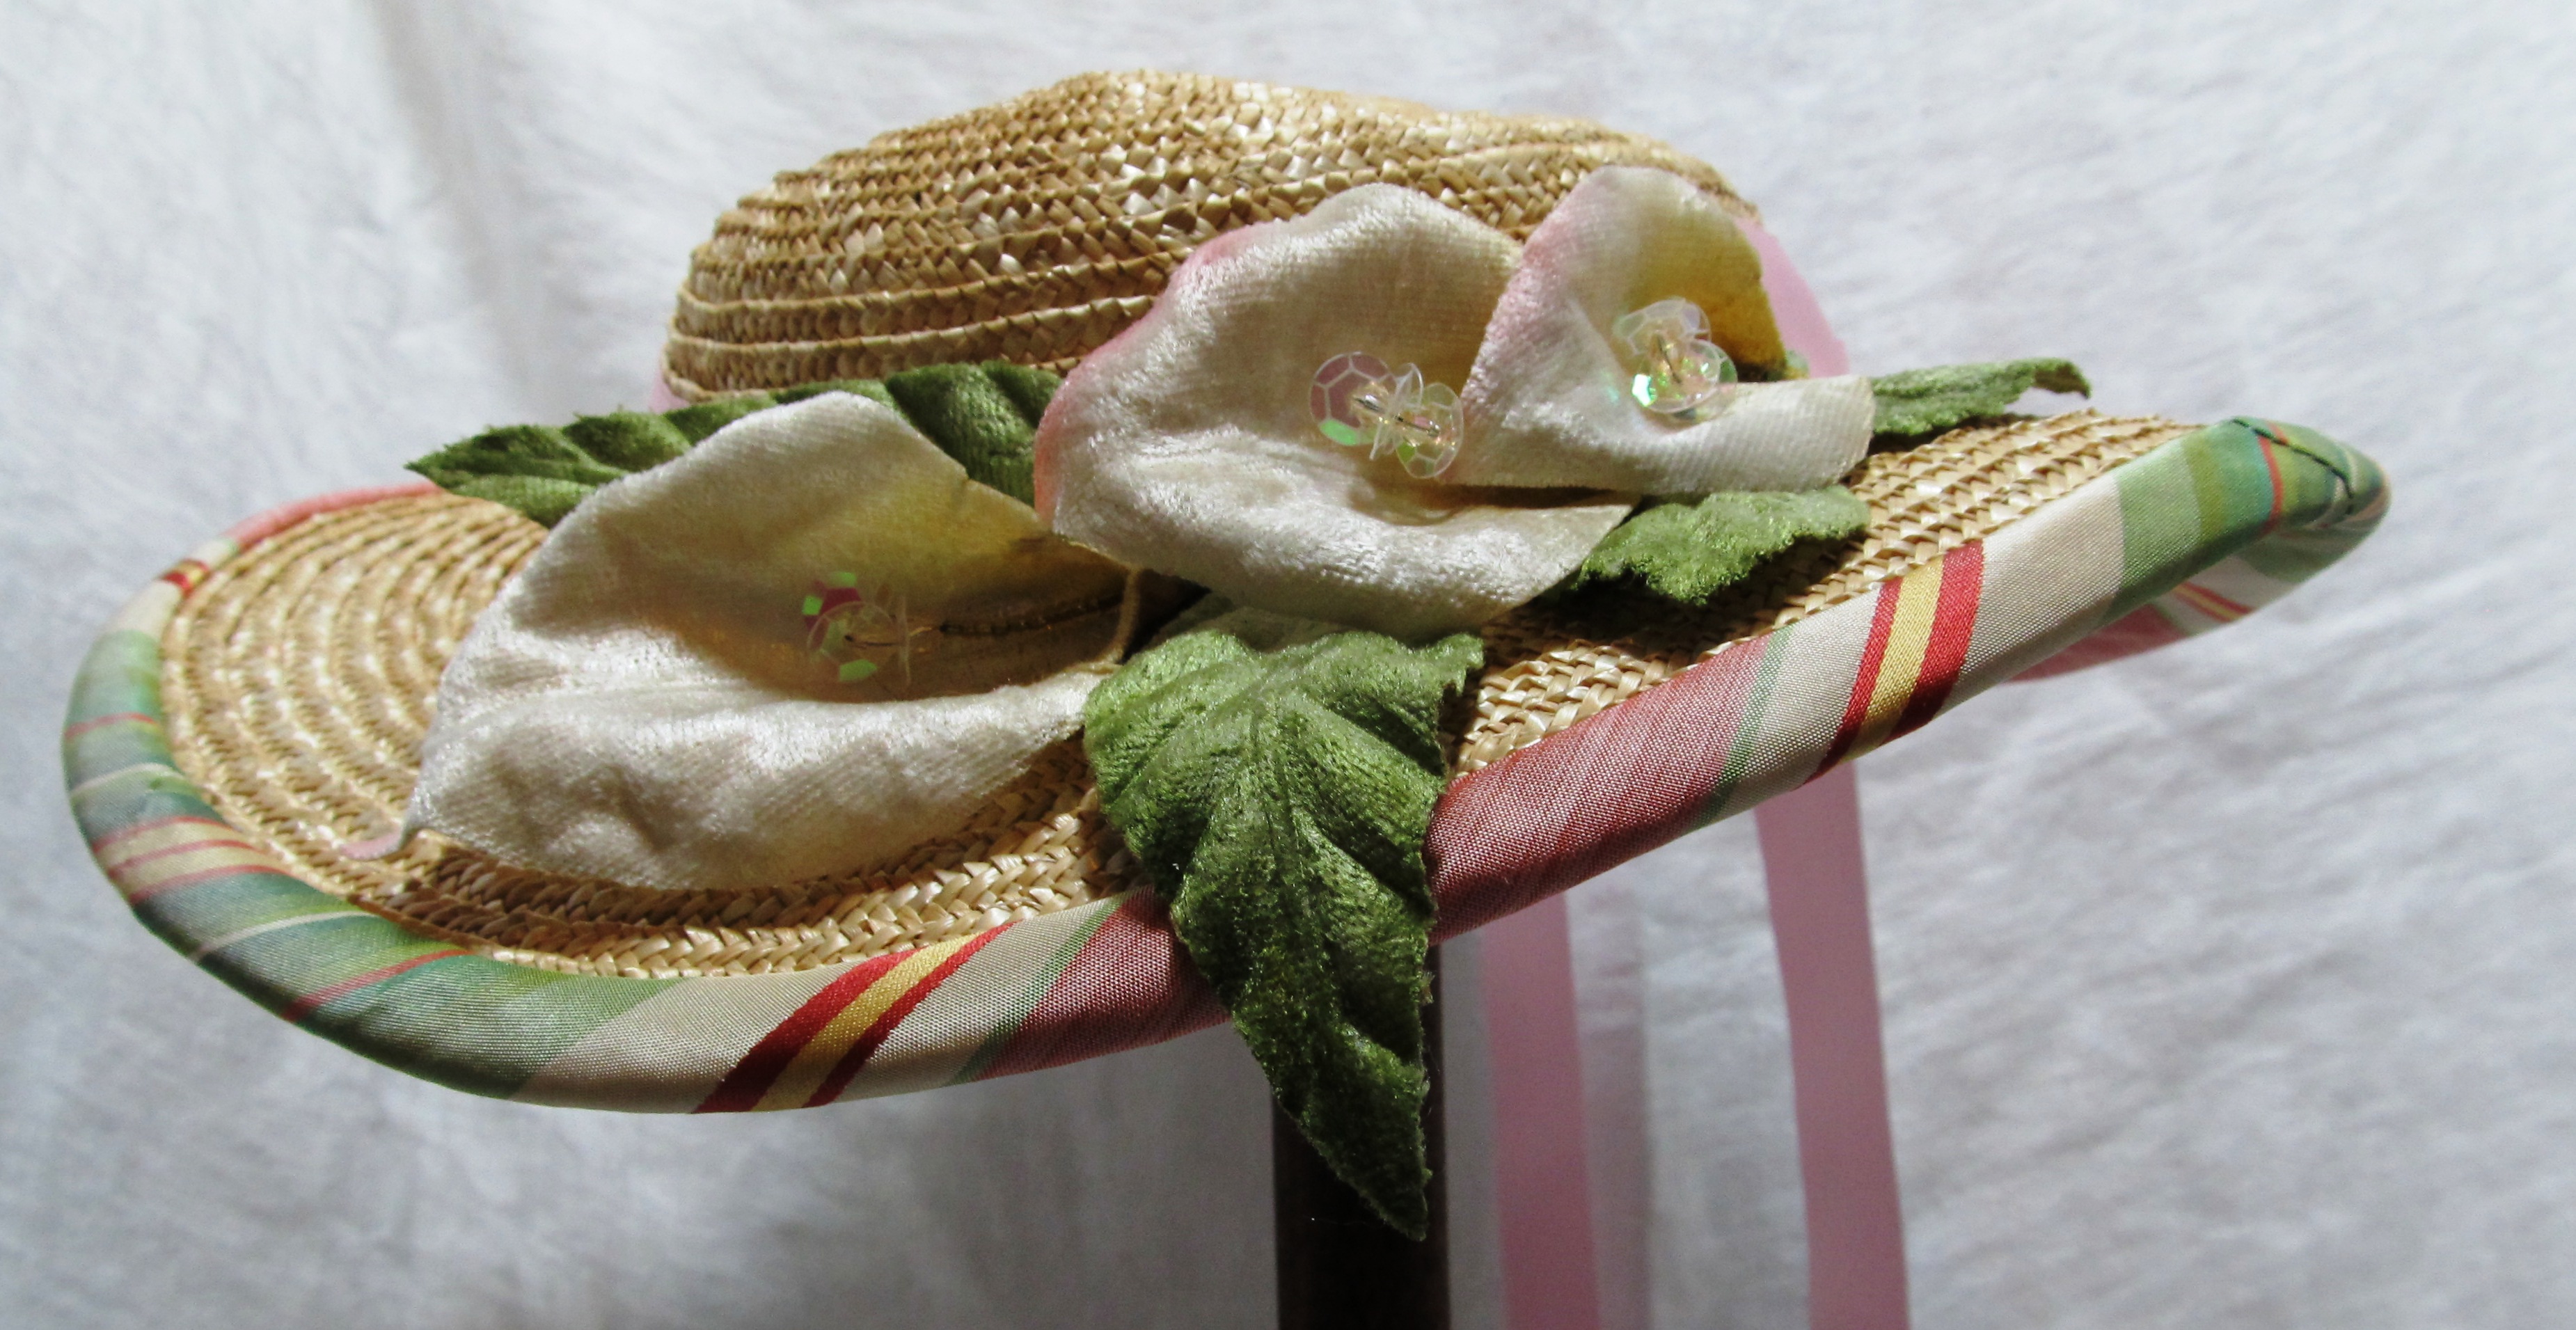
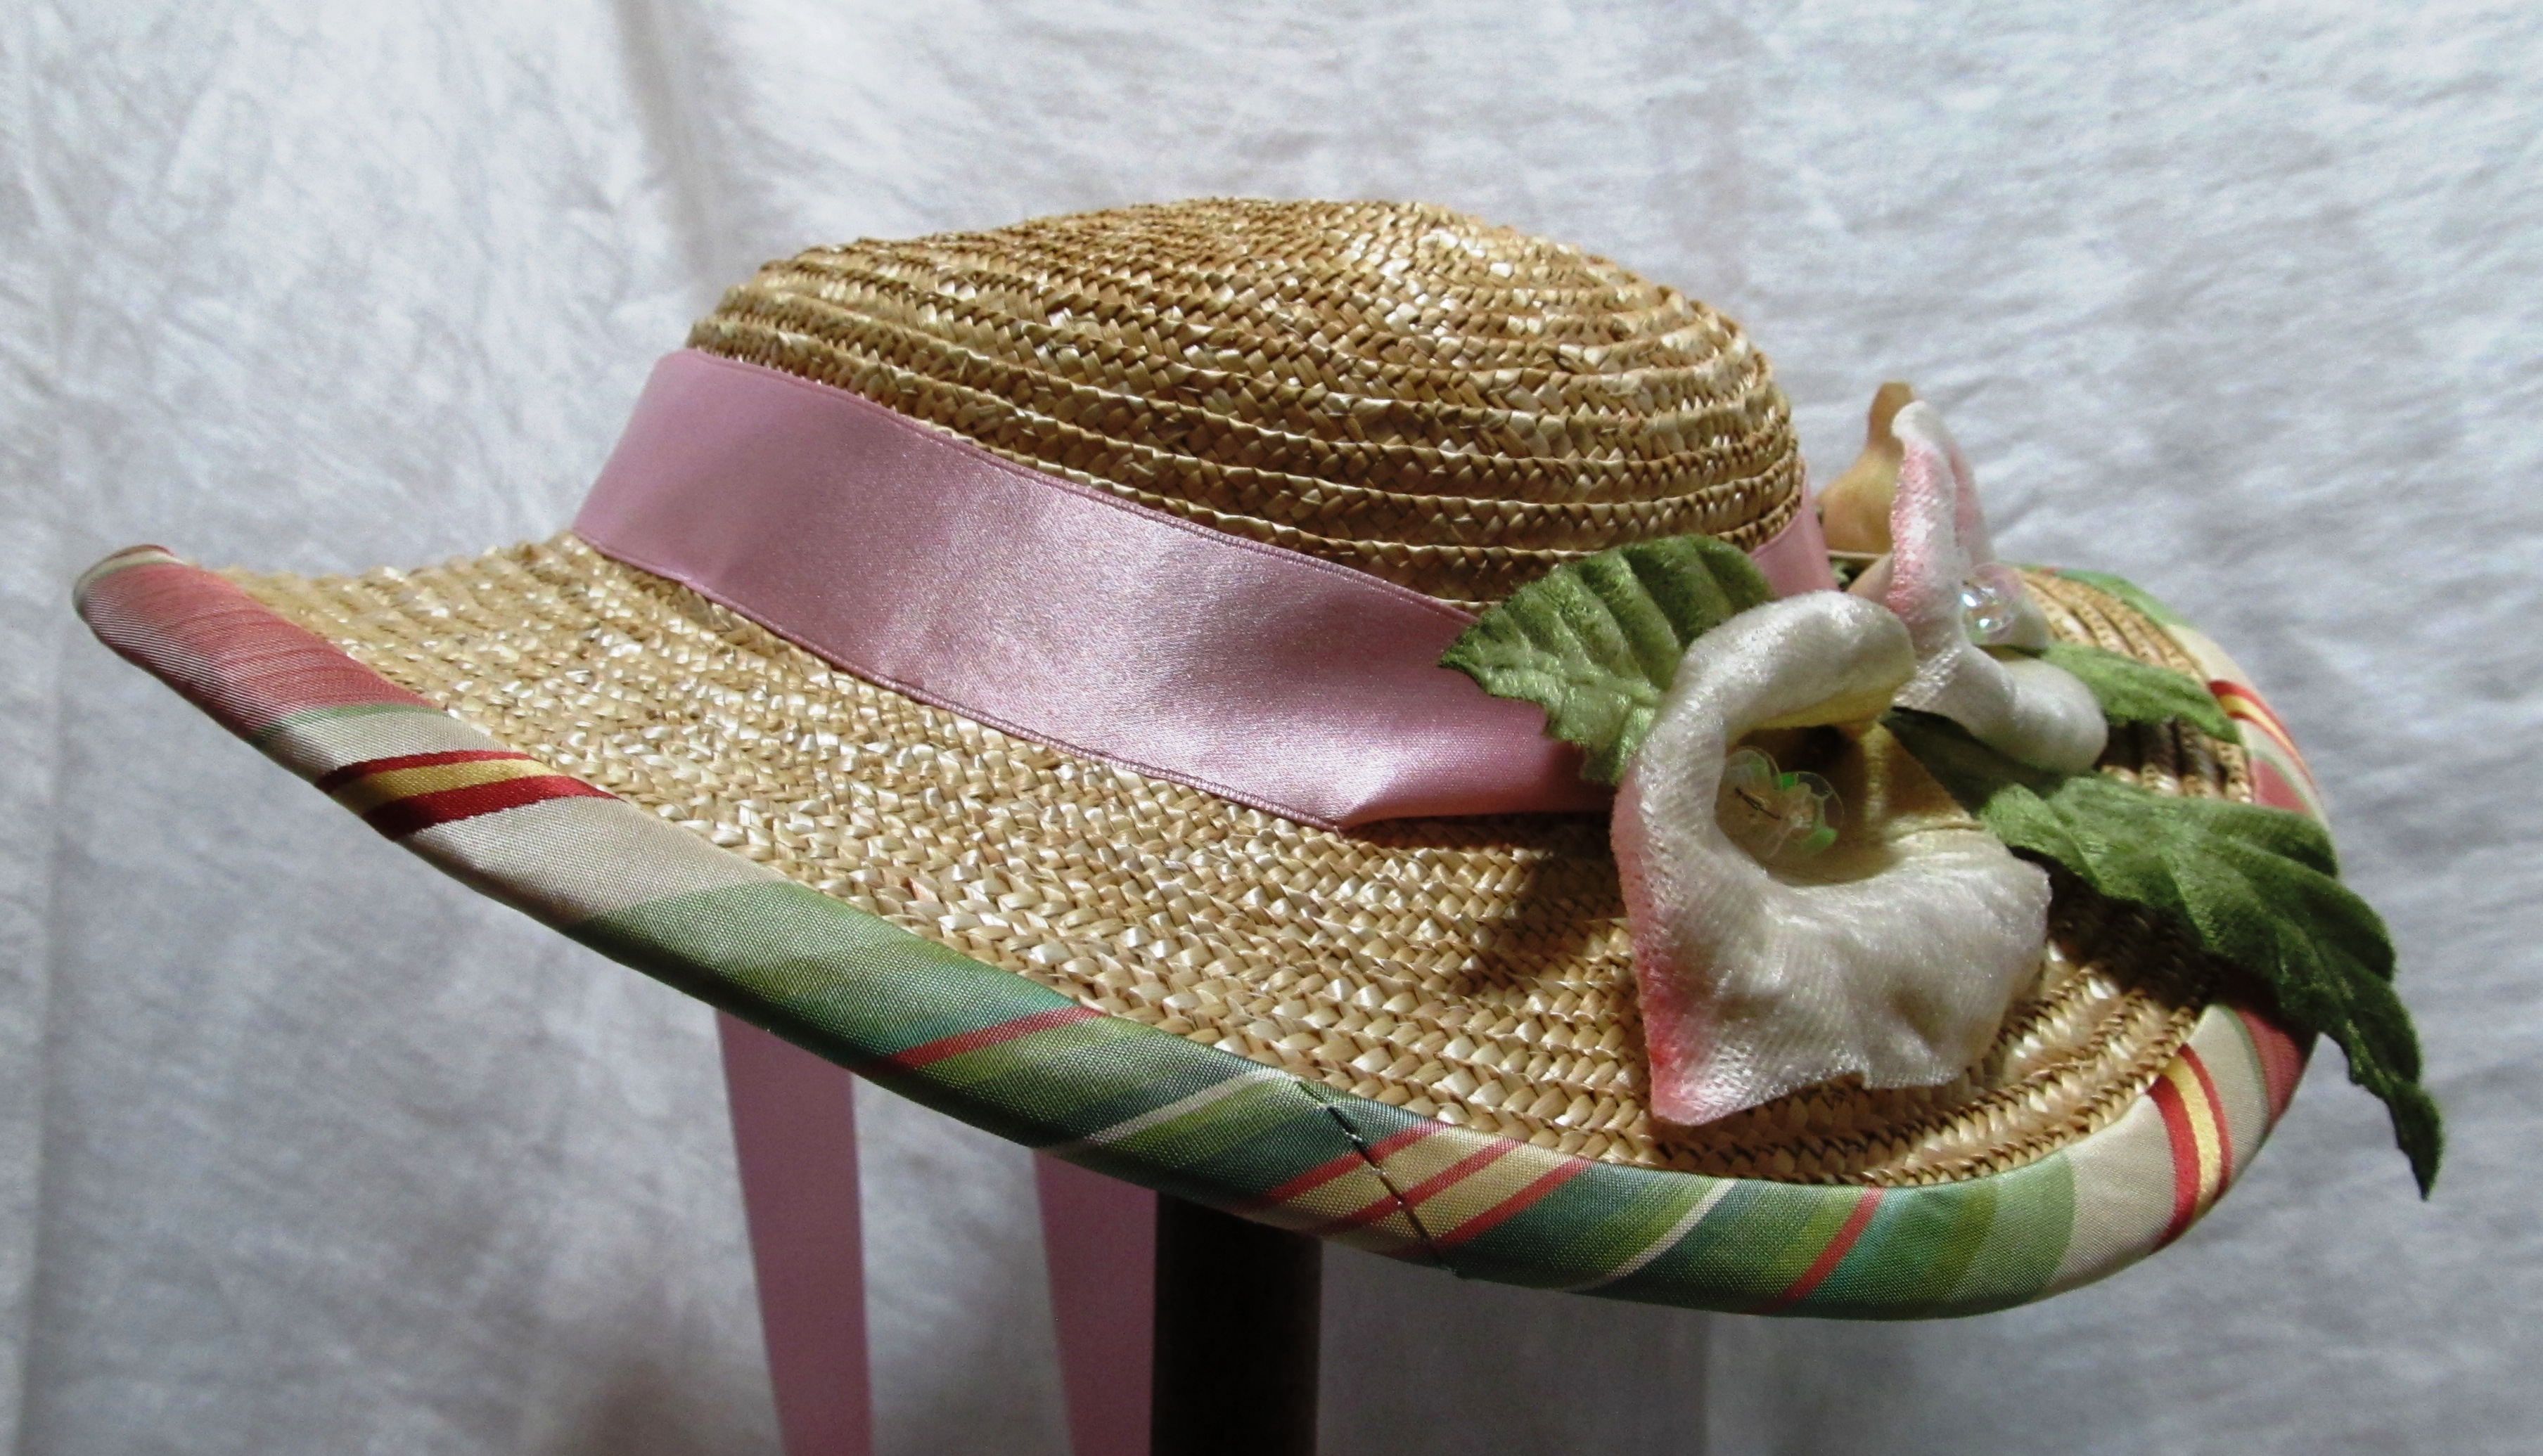
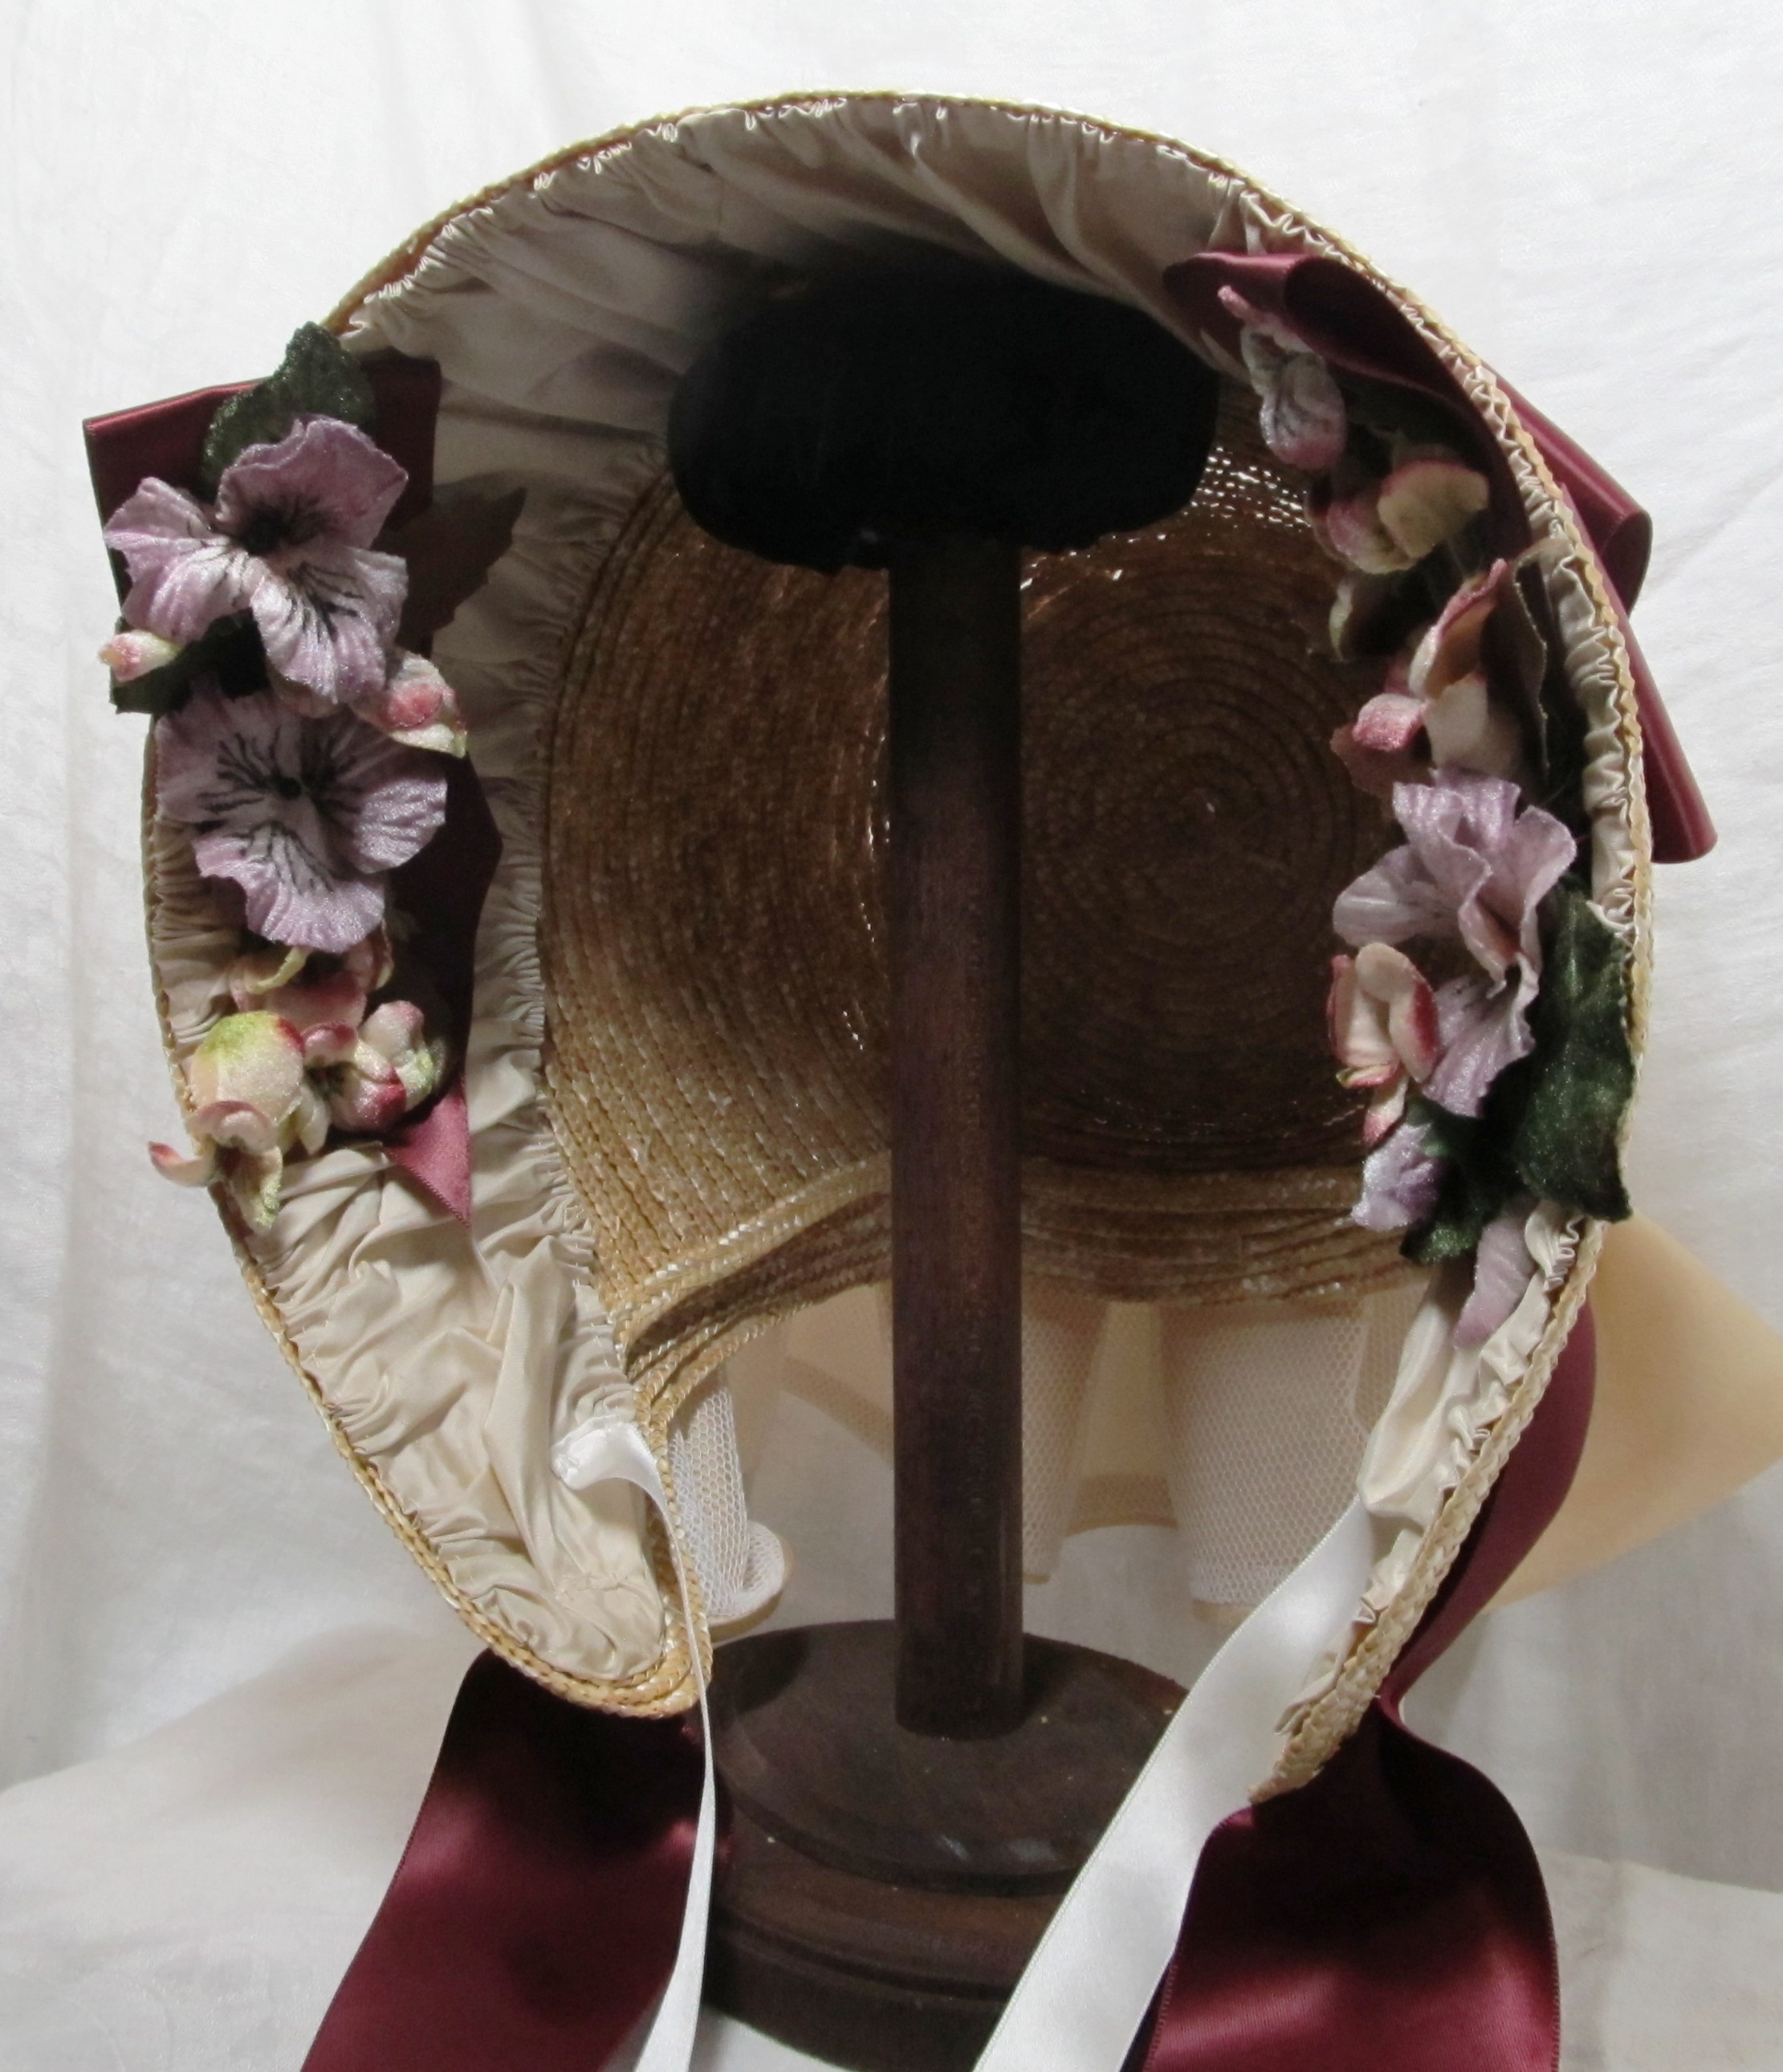
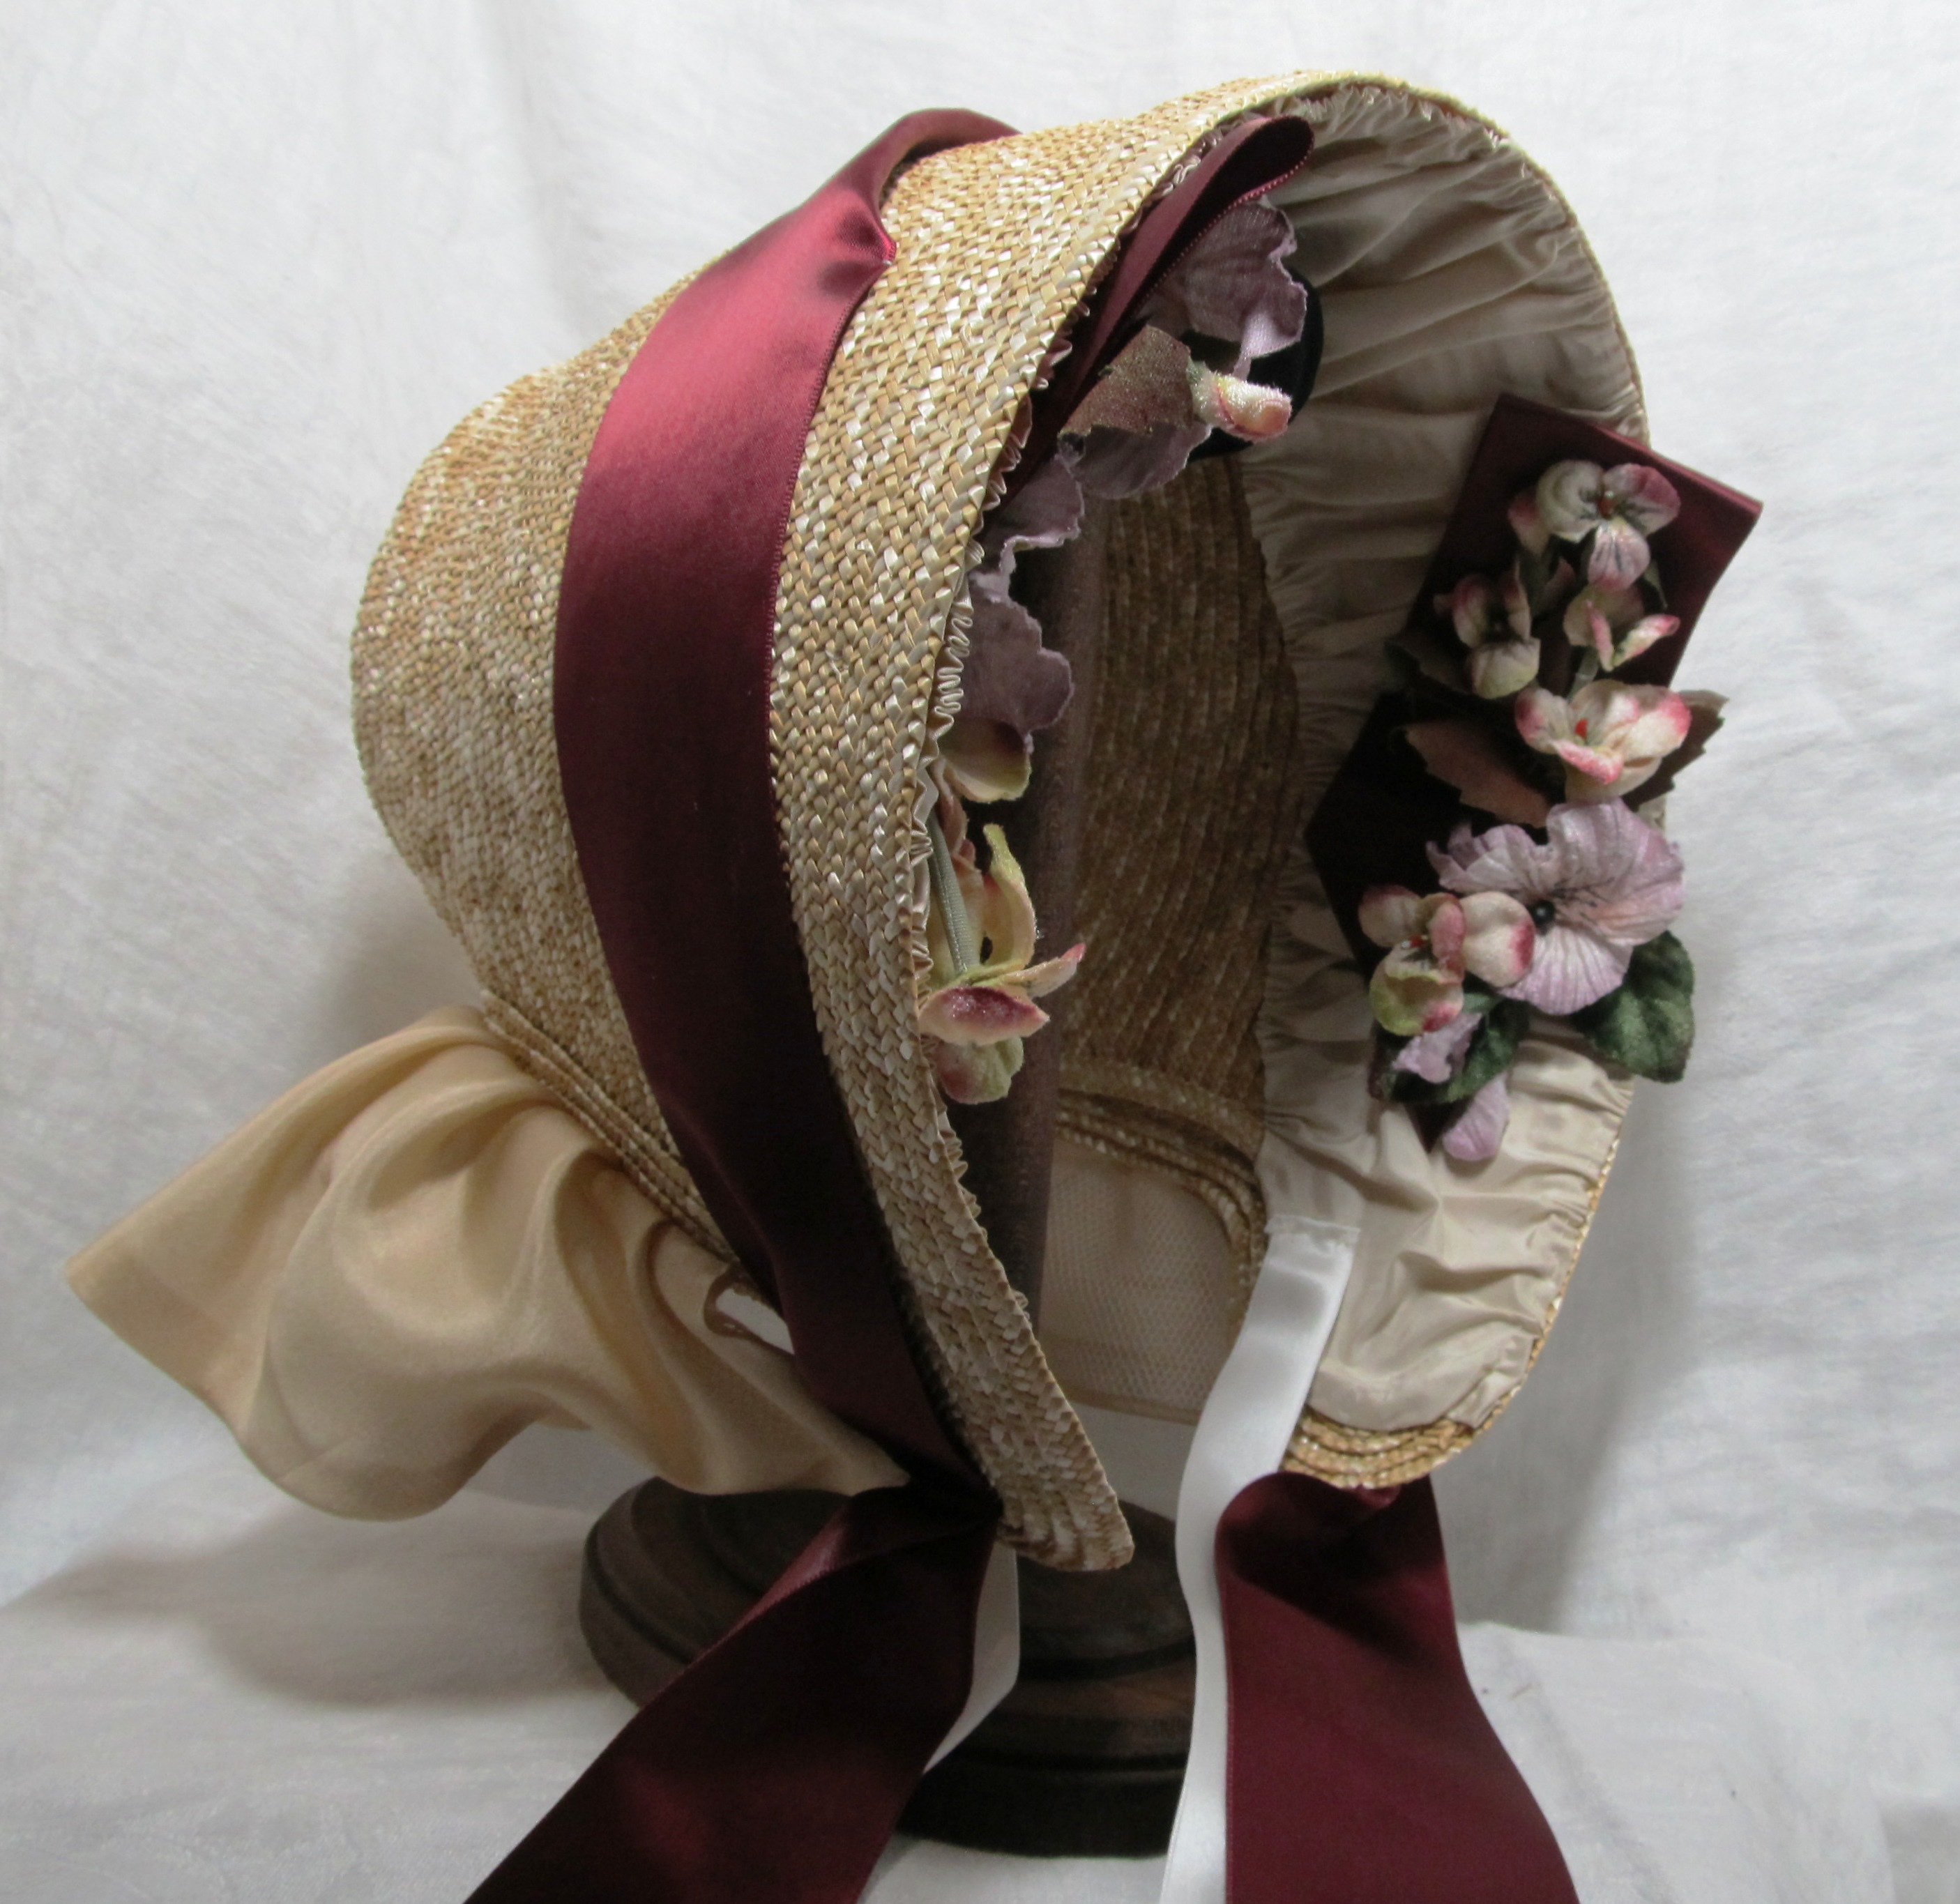
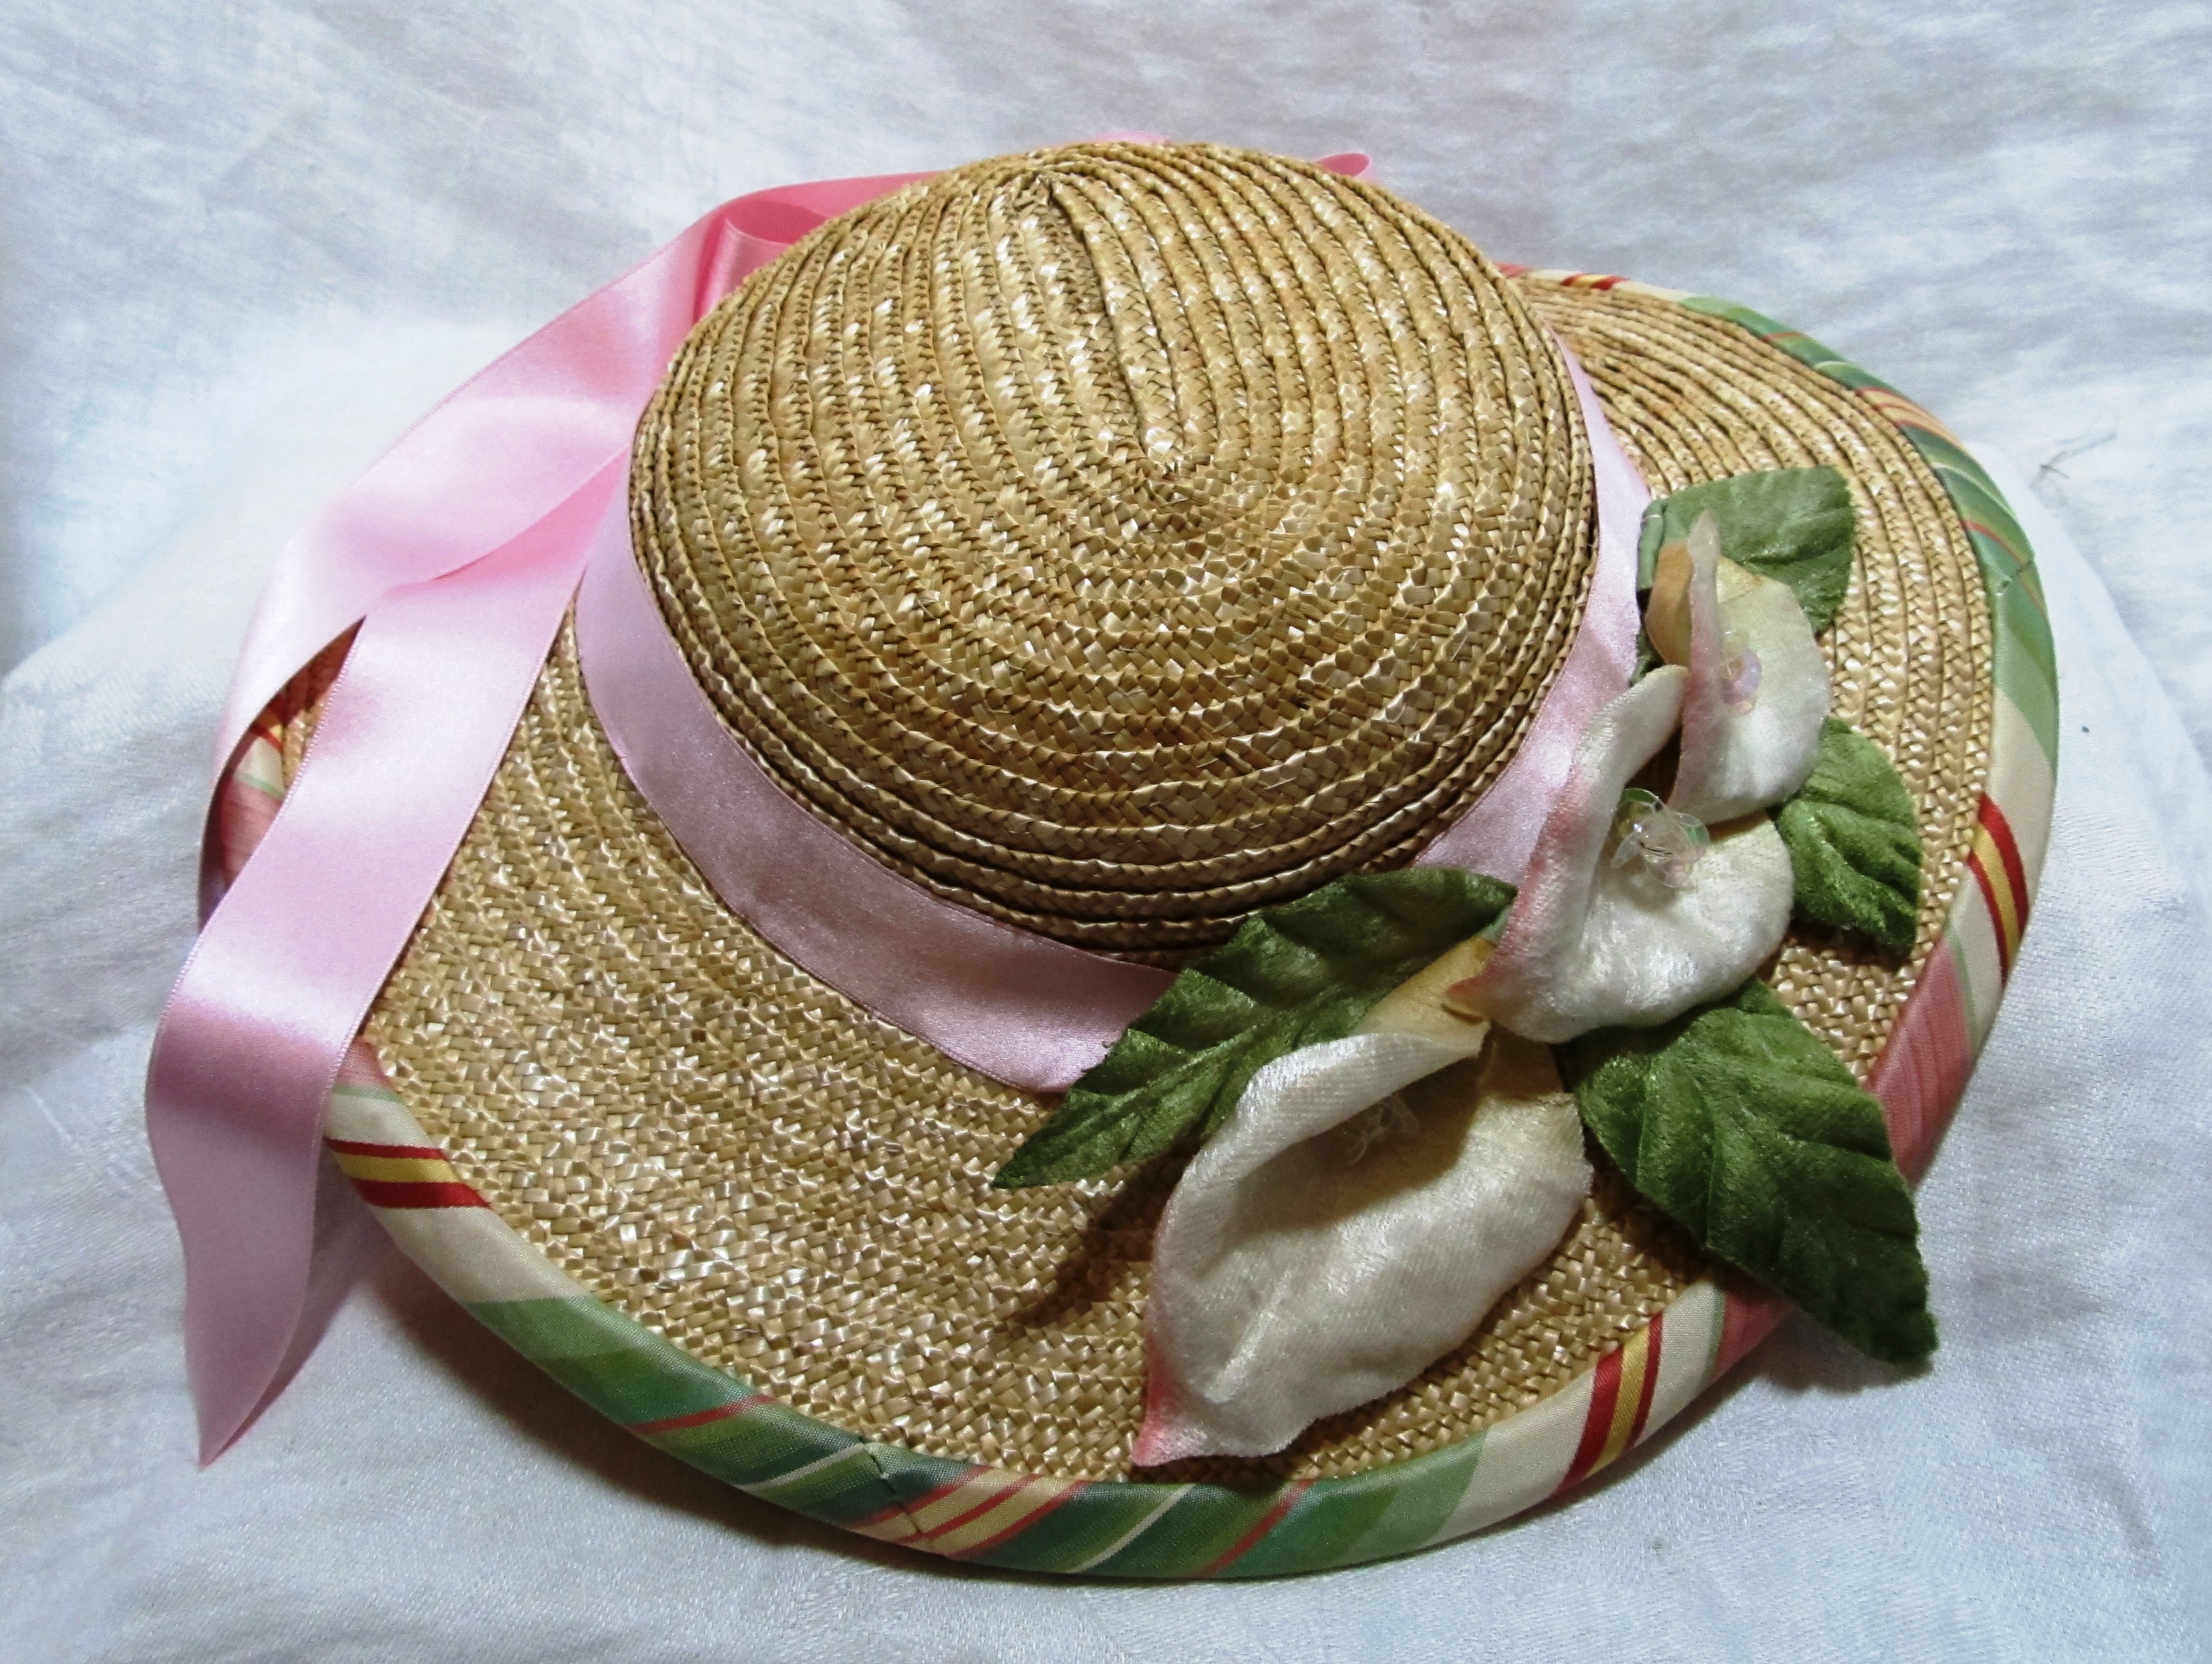
 I’ve had a pink and green hat stuck in my head for weeks. I kept putting it off because I thought I was nuts to want to line the underside of the brim with a multi-color silk. Well, I couldn’t shake it. So, here it is.
 The pink and green silk taffeta wraps around the brim edge and lines the underside. To be happy, I had to get the stripes as lined up as possible.


