I am reposting favorite helpful posts each Monday throughout March, April, and May.
There are several resources available to learn more about hairnets…..
Are you confused about the word “Snood”? Read Getting Snoody by Elizabeth Stewart Clark.
Do you want to know what basic hairnet to buy and have in your hair kit? Watch this video:
Want to know the basic ins and outs of hair nets? ReadTo Net, or Not to Net an article by Anna Worden.
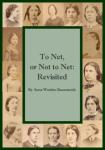
Want to know the details of hairnets, who wore what kinds and when with lots of photos and illustrations? Read the full-length e-book To Net, or Not to Net: Revisited, by Anna Worden Bauersmith.
Are you one of the many readers enjoying my millinery blog posts?
Consider becoming a Patreon patron. Doing so helps support my work and helps me write more useful articles.
My goal for the day was a simple one: sew a doll dress by the end of the day.
After a slow start, I found myself thinking about connection.
We connect in many ways. We connect with our senses. We connect emotionally. We connect physically. We connect through story.
To lack connection, or worse, to be denied connection can be detrimental, can be tragic.
On this Mother’s Day, sitting in the sun and shadows, I found myself listening to a story. I often listen to stories in this spot. This story was different. The words came from their mouth but the story came from the heart and eyes. The story was one of lack of story, of being denied story. It tugged at my heart.
I am grateful I heard what I could in that moment.
As days filled with sun and people go, moments fly away.
I was no longer working on my simple goal for the day. I was connecting with one of my Grandmas by sitting where she used to sit, while connecting with one of my Grandmas by sharing a love she loved.
I share with you Theo:
Theo was named by a moment, a moment created by two pairs of siblings. As I finished her dress and was ready to put it on her for the first time, the first pair of siblings came in. They were darling in how captivated they were. They watched wide eyed, both eager and polite, as I tucked and fussed and adjusted, then presented the newly dressed doll. I said: “She still needs a name.” The first sibling said “Theo.” The second sibling said “Yes, Theo.” both said “Hello, Theo” as two more siblings walk in and one says “Hello.” One of the new pair of siblings was also named Theo. It was obvious to me, the doll is Theo.
Theo is dressed in an 1850s style dress made from one of GCVM’s reproduction kerchiefs. This is one of three reproduction kerchiefs based on originals in the Susan Greene Collection and produced by Burnley & Trowbridge. When I saw this beautiful red and black on white print, I knew it had to be made into a doll dress. I am delighted with how the dress came together today. The skirt is the full 36 inch width of the kerchief with the border design around the hem and up the front. The design lined up creating a circling leaf motif centered on the bodice. The sleeves are open sleeves with the border edge at the wrist. This is the one change I would make: I would make the sleeves more funneled.
The dress will be accessorized with a black belt and mother of pearl buckle. I will add a broach as well to the deep V neck bodice. Theo will also be getting hands soon.
If you read my “Transparency” post you may be wondering how the day went for me, the part of me that has been exhausted. Today was much needed. Approaching this weekend, I was not sure how I was going to do it; I wasn’t sure if I could do it. The morning started hard for me. I was struggling to feel my groove and zone. Then I got there. The above happened. Suddenly it was closing time and I wasn’t tired. I reached the end of the day without feeling like it was the end of the day or the end of me for the day. I wasn’t even tired a little bit until the drive home. When I got home, it didn’t hurt to get undressed, well except for the bit about gravity. I hoped in the shower. I ordered dinner. I uploaded. started editing and writing.In this moment, I am good; I feel that soft sigh of “this is good.”
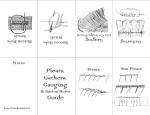
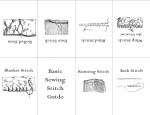
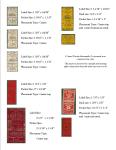
As part of the 5 year anniversary for Fanciful Utility I created these goodies for the workbox. These are “Fill Your Case” useful PDFs you can print and put in your sewing case.
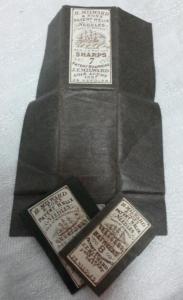
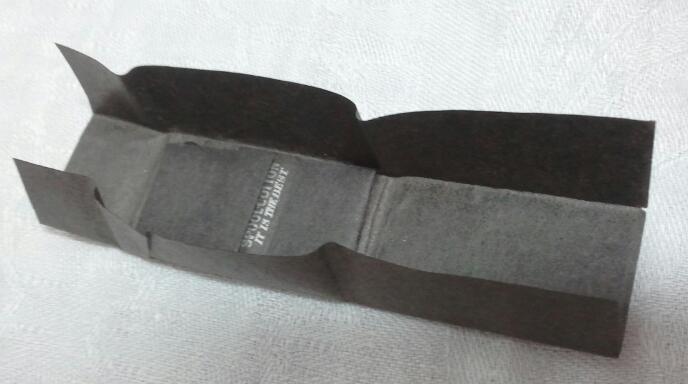
These are scanned from antique packets in my collection I’ve included directions for the two ways these packets are folded as well as label and packet measurements.
*note: These are direct scans. Some were on the packets angled.
Construction:
Each of these packets can be made of black paper slightly lighter than writing paper and the label printed on white paper.
Print your labels on white printer paper. Cut them to the size indicated on the print out.
Cut the black paper using the dimensions accompanying each label – 3 times the width and 3 times the length. ie – if the folded packet is 1″x1.5″, cut the black paper 3″x4.5″
Fold the black paper in thirds lengthwise. Fold the paper in thirds width wise.
Looking at the placement chart and the notes with each label, glue the label in the corresponding location on the exterior. Use either a brush or small glue stick for the best control.
You can also cut a second piece of black paper, slightly smaller to fit inside the outer paper to help hold your needles.
Fanciful Utility: Victorian Sewing Cases and Needle-books is a guide packed full of directions and templates for making your own period correct sewing cases, housewifes, and needle-books. FanU is available directly from the Publisher at http://www.thesewingacademy.com/2012/08/fanciful-utility/
.
To Net, or Not to Net: Revisited is an in-depth look at hair nets of the mid-nineteenth century. This e-book is packed full of cdvs and illustrations, covering how nets were worn and what they were made of. This e-book is available through my Etsy shop.
.
.
Paisley, Plaid, & Purped: Shawls of the Mid-Nineteenth Century looks at the types of shawls worn in this era, from the sizes to the materials. This book includes original directions for making shawls. This e-book is available through my Etsy shop.
.
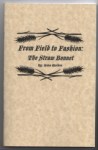
From Field to Fashion: The Straw Bonnet was my first book covering the the materials and processes used to make straw hats and bonnets. This book focuses on the mid-nineteenth century. This e-book is available through my Etsy shop.
.
In Detail
I developed the “InDetail” series to take a closer look at original handmade items. These publications are packed full of close-up photos and details of how these pieces were made. Many of these publications include directions for making your own using period techniques.
In Detail: Blue Ribbon Sewing Case looks at an amazing sewing case made from a single plaid ribbon. (Note: this publication does not include directions.)
In Detail: “Earl’s Ball” A Corded Ball looks a darling toy made in the style of a popular corded pin ball pin cushion technique.
This e-publication is available in my Etsy shop.
In Detail: Frozen Charlotte Pen-Wipers is a close look at two pen-wipers made with small porcelain dolls. This e-publication will appeal to doll and writing enthusiasts.
It can be found in my Etsy shop.
In Detail: Paper Pieced Pin Ball examins a pin ball constructed using a paper piecing method. This technique can be used to recreat the nineteenth century pin ball or a Victorian ornament.
This e-publication is available in my Etsy shop.
In Detail: The Pillow Pin Ball is near and dear to me as it was written at a very difficult time. This edition looks at a well loved pincushion made of pillow segments. This is a great project to use you scraps or to share with friends.
In Detail: Embroidered Velvet Needle-book looks at a staple of the 19th century workbox: the needle-book. This edition focuses on recreating this sweet example.
My Wadded Hood Workbook takes a pictorial look at multiple original wadded hoods and guides you through making your own with period construction and techniques.
This workbook is available in my Etsy shop.
My Fichu Pattern previously sold out quickly in its paper form. As a downloadable pattern, you can start you fichu in the middle of the night if need be.
The Princess Capote Hood Directions are a collaboration between Jamie Quick and myself. This e-publication takes the period directions and re-explains them with some corrections.
Remember: I also have numerous free templates available here, on my blog for period correct projects. I also have modern projects available on Don’t Paint the Cat.
I am reposting favorite helpful posts each Monday throughout March, April, and May. This is the newest of the reposts.
If you have been following even for a short while, you know I love pockets. I love making pockets. I love having pockets.
For years, I carried a basket or a purse. It would get filled with a myriad of this and that, period and modern.
All this stuf I thought I needed to have on me.
Extra water, a camera, a little money…. You know what? It all just added up and added up. Frankly, it was heavy and a PITA.
It also wasn’t accurate.
Then, one glorious day, I learned about pockets. Dresses had pockets! We aren’t talking the wimpy pockets in women’s jeans that barely hold a few dollars and a small set of keys. We are talking huge, mother of all pockets!
Skeptical?
Don’t think they could be that big?
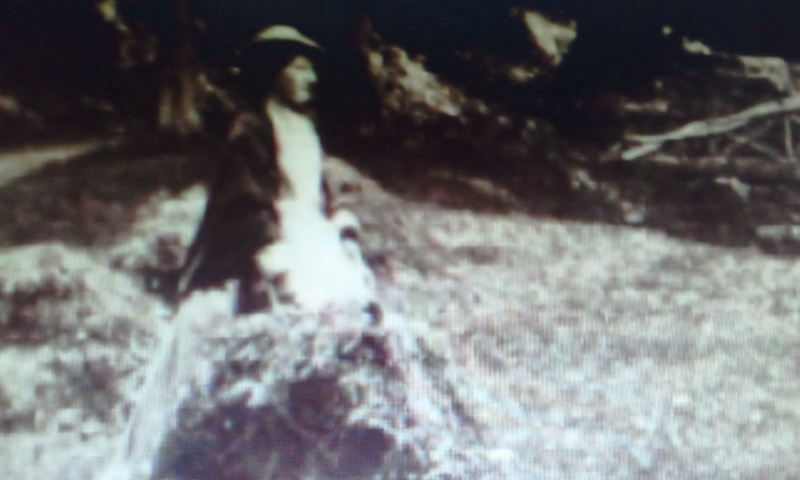
Take a look at my dress from a few years ago. Okay, 15 years ago. (Ignore the hair falling down and the gloves for rusty nails. This was a heavy work day, building fences and moving corn.) The pocket in that dress is holding my lunch including a couple bottles of water and bananas. Can you tell?
I wear two pockets when dressed in Victorian era clothing. Each of my 1830s through 1860s dresses has a pocket on one side, preferably the right side. In this pocket goes the things I need throughout the day of the event, the period items. On the other side is a separate pocket that sits either below my skirt or below my skirt and upper petticoat. This pocket holds the modern items I hope not to need during an event but should have on me in case of emergency or when I leave.
The dress pocket with period items holds:
Building key
A small wallet/pocket with ID and cash. This is roughly 3.5”x2.5”.
Handkerchief
Possibly a workpocket
Possibly a purse (a small item that carries money)
Possibly a fan
Possibly a glass
My seperate tie-in pocket holds:
Epipen
Medications I need immediate access to
Car key (mine pop apart)
Phone if I need it
This video shows a sampling of what I carry in my pockets:
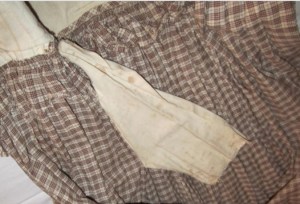
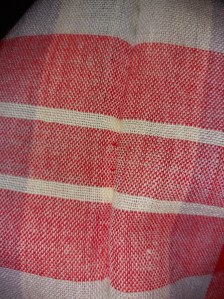
Plain cotton pocket set into the seam of a cotton plaid skirt. The pocket is nearly rectangular shape with a fold down the long side, and a seam on the bottom and short side.
Pockets as tie-on, seperate pockets appear long before the nineteenth century, centuries before. In the eighteen century, they were often worn in pairs, one one each side of the body. They were accessed through the two slits formed when putting on petticoats. When skirt supports were worn, pockets hung beneath the supports. (That was an incredibly short generalization about centuries of this accessories history. I highly recommend reading into these eras further.)
Wearing tie-on pockets continued into the nineteenth century with a short interlude during the Regency era with the wearing of higher waisted, often diaphanous dresses.
By the mid-nineteenth century, pockets became part of the skirt construction. They were most often set into the seam of a skirt. Originals show pockets were long, wide enough for the hand to fit comfortably, and both rounded or squared on the bottom. They are often a plain or cotton print with the seam to the outside of the pocket. Sometimes a support stay attaches to the pocket part way down and to the waistband. A straight edge of the pocket lines up with the skirt seam, and the skirt edge folds over the edge of the pocket. I prefer to do two rows of stitches around the edge of my pocket for a strong pocket.
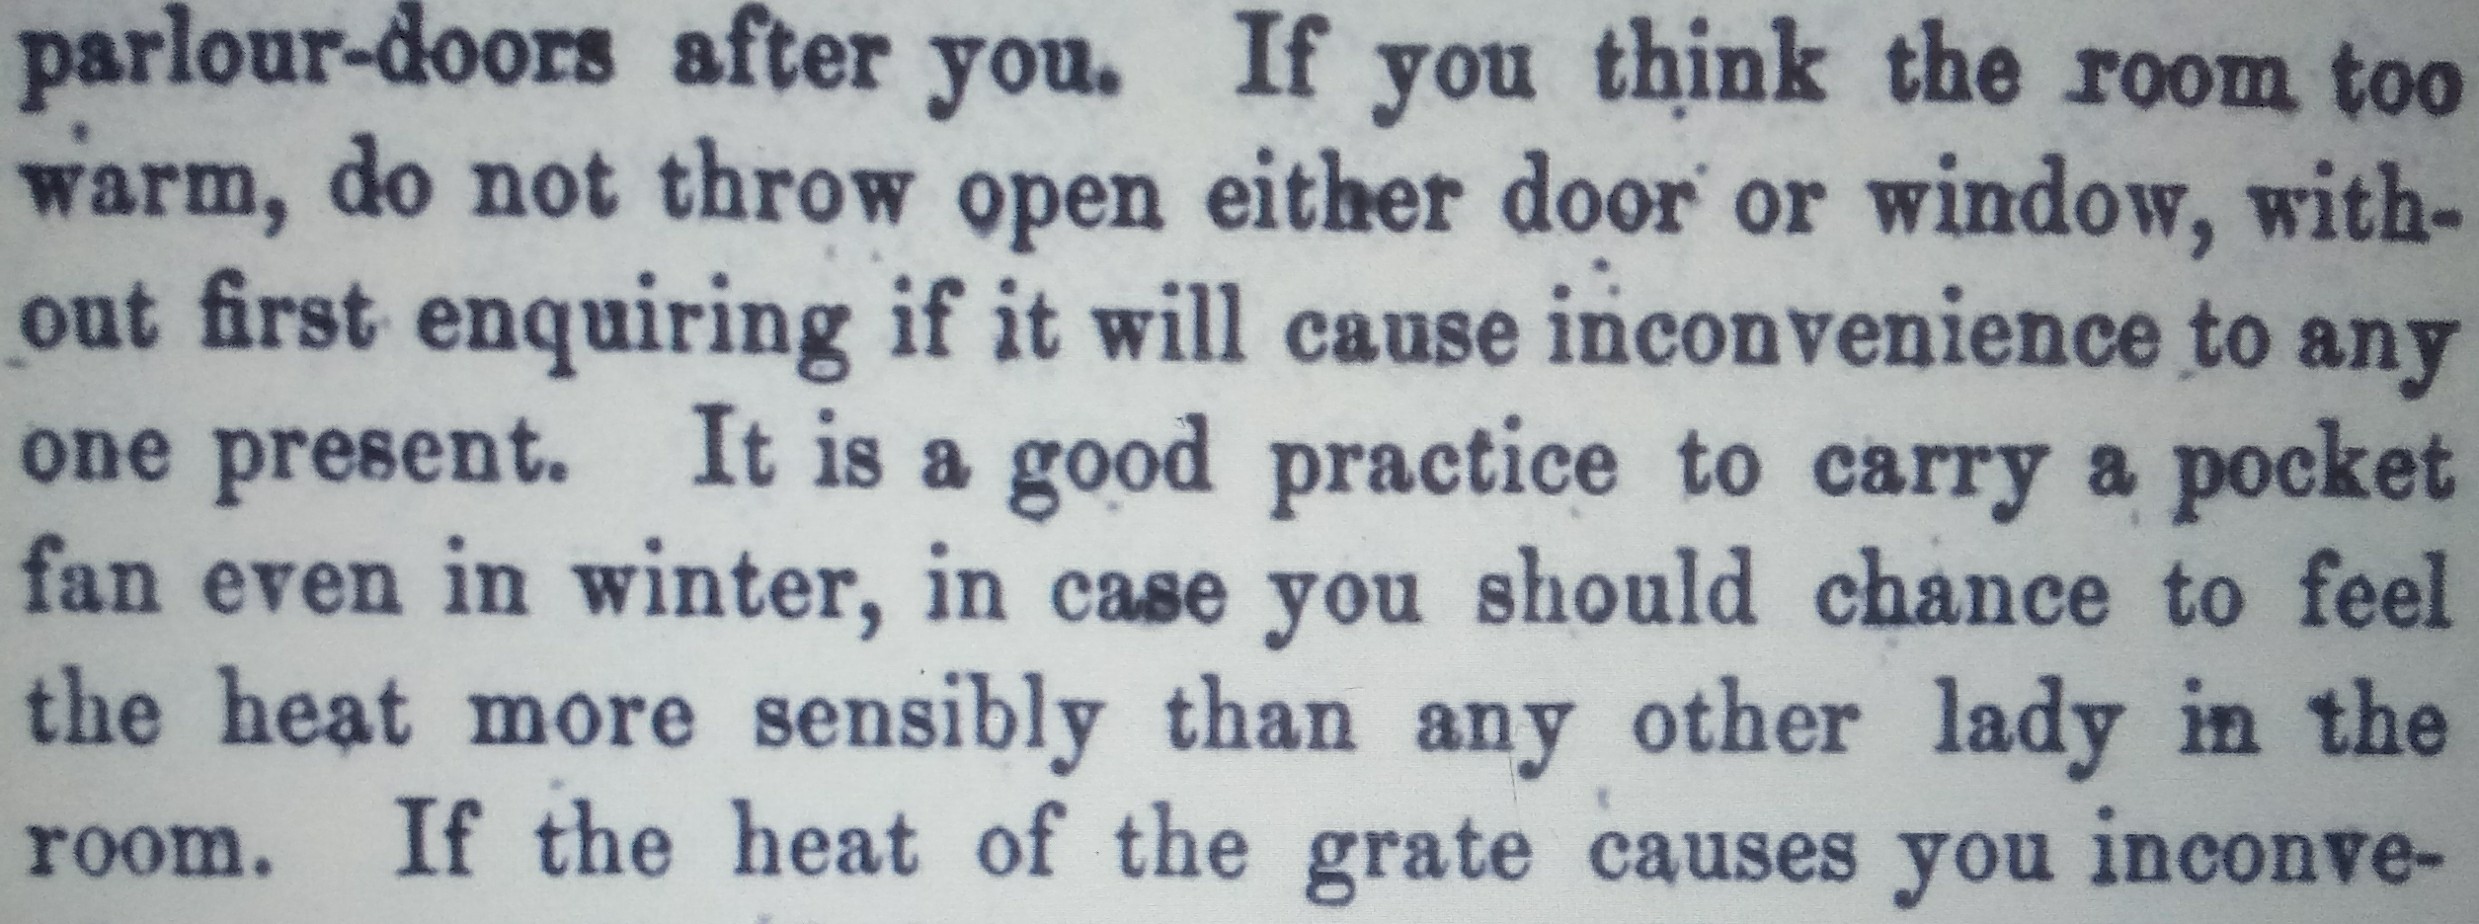
The Lady’s Guide to Perfect Gentility and Manners, by Emily Thornwell, 1859.
While seperate pockets grew less common by the 1840s and 50s as dress pockets became more common, they were still in use and recommended for situations like travel.
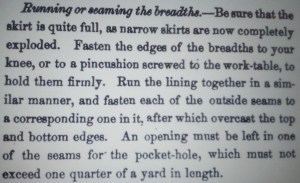
Section on pockets from the Workwoman’s Guide, 1837:
The Pocket: A Hidden History of Women’s Lives by Barbara Buurman. Available on Amazon and your local bookstore.
Articles about Pockets:
Pockets of History (VADS)
Women’s Tie-on Pockets (V&A)
Picking the DAR Museum’s Pockets
What’s in a Pocket? (RICHS)
Are you one of the many readers enjoying my millinery blog posts? Consider becoming a Patreon patron. Doing so helps support my work and helps me write more useful articles. https://www.patreon.com/AMillinersWhimsy
I am reposting favorite helpful posts each Monday throughout March, April, and May.
A couple years ago, I wrote an article/post called “Pizza and the Piggy Bank” that looked at which items to save up for and which items could be had for less than the cost of a pizza. It was a fun article to write and helped put some perspective on the cost of things. Since writing that article, I’ve often compared items to the cost of a pizza. (I also price life expenses in comparison to the number of bonnets it will take to cover.) I thought I would revisit the “Less than a Pizza” list with some revisions. When I wrote the initial list, I could get a medium vegetable covered pizza for about $25. That price has gone up a little to about $30. So, this list will include items that can be had for $30 or less.
For the Price of a Pizza (or less)
Drawers and chemise in linen. I have recently been converted to a linen chemise lover. A linen chemise is comfortable, soft, and cooler. Subscribe tohttp://www.fabrics-store.com to receive their regular sales offers. In doing so, you will see their light, handkerchief linen come up for $6-$7/ yard. This fabric is 58” wide, so you only need 2 yards for a chemise and 2 yards for drawers. Prewash the linen for shrinkage and to soften it.
Petticoat – I am of the opinion that once can never have too many petticoats to choose from. Most of us within a few inches of average height can make a simple petticoat from four to five yards of cotton. Quality premium muslin can be had for $3.99 at certain craft stores. Using a coupon/code to save 50%, this brings a petticoat to $20. Poplin at Dharma Fabrics is $6.50 for a 55” width. A three panel petticoat would be about $26 (4yards), while a 4 panel does tip us over the pizza price at $32.50 (5 yards). I am assuming you have mother of pearl buttons laying around. If not, add $.25-$.50. But, pick these up when you see them.
Wool Petticoat. While we are talking about petticoats, I will add a wool petticoat to the list. Two yards of tropical to light weight wool is plenty for a warm wool petticoat. You may also want a yard of scrap cotton from your stash for a yoke and waistband, minimizing the bulk at the top.
Personal Linens. New personal linens can spruce up a wardrobe for little money, be it cuffs, collars, or pelerines. Purchasing a few yards of cotton lawn from Dharma ($6/yard) can result in several sets of cuffs and a few collars, or a few pelerines. These will give you a chance to practice your rolled hems too.
A Pocket. I am a big advocate of pockets, both set into the skirt and under the skirt. A pocket will get things out of your hands. It will also eliminate the need to have something to carry your things in. A simple pocket can be made from a half yard of linen or cotton.
Wool Shawl with fringed edges. This will take 2 yards of light to medium weight wool in an appropriate plaid, check, or solid. This can be found at discount fabric shops like http://www.fabricmartfabrics . I suggest waiting for wool to be under $10/ yard to keep this under the pizza limit with shipping. Or, watch for someone destashing wool. Plan on two movies during a rainy or snowy weekend to fringe the whole shawl, or do one side per evening. Check out my earlier post of fringing.
Work Pocket. I am a little bias here. But, I think everyone should have a work pocket, or sewing case, or housewife. This little roll can tuck away needed sewing tools as well as be a great interpretive device. It can act as a story all rolled up in fabric.
Sunbonnet. A sunbonnet is essential for protecting your head and face from the sun and elements. As much as we love the pretty, fancy bonnets and hats, some times, many times, a sunbonnet is needed. I recommend checking out the remnants or end cuts of your local quilt shop for small period prints that will work for a sunbonnet. You will want a yard and a half of 45” fabric. I also love white semi-sheer weaves for corded sunbonnets. Since this often comes 54”-60” widths, a single yard is enough. Hop over to http://www.thesewingacademy.com for directions on how to make your own corded sunbonnet.
Cap. If you interpret an era that wore caps, a new cap can be made from a yard of voile, which is currently $6.87 a yard at Dharma.
Hair Dressing Kit. I will make a point to do a video on my favorite hair dressing items in the future. The whole kit can be made for less than a pizza.
Helpful Hints
Create a sewing plan. Note where common fabrics will need to be purchased from (ie: Dharma or Fabrics-Store) so you can save up and purchase in sets.
Optimize shipping costs by pairing up with friends nearby. Plan similar projects together (all do personal linens or caps) or let each other know when you are ordering from a particular place.
Subscribe to online stores with essentials. Practice self control with their sales.
Know your local shops. Get on their mailing lists if they have sales.
Join a couple destash groups if you are on social media.
Are you one of the many readers enjoying my millinery blog posts? Consider becoming a Patreon patron. Doing so helps support my work and helps me write more useful articles. https://www.patreon.com/AMillinersWhimsy
Wearing nineteenth century clothes, we find they fit differently than our modern clothes. The waist is in a different spot. The bust sits differently. Seams are used to accent or de-accent parts of the body. The fit feels different and moving in the clothes is different. The same is true for hats and bonnets. In previous posts I’ve talked about bonnets and perch. Here, we are going to look at how a hat was worn and how it “fits”.
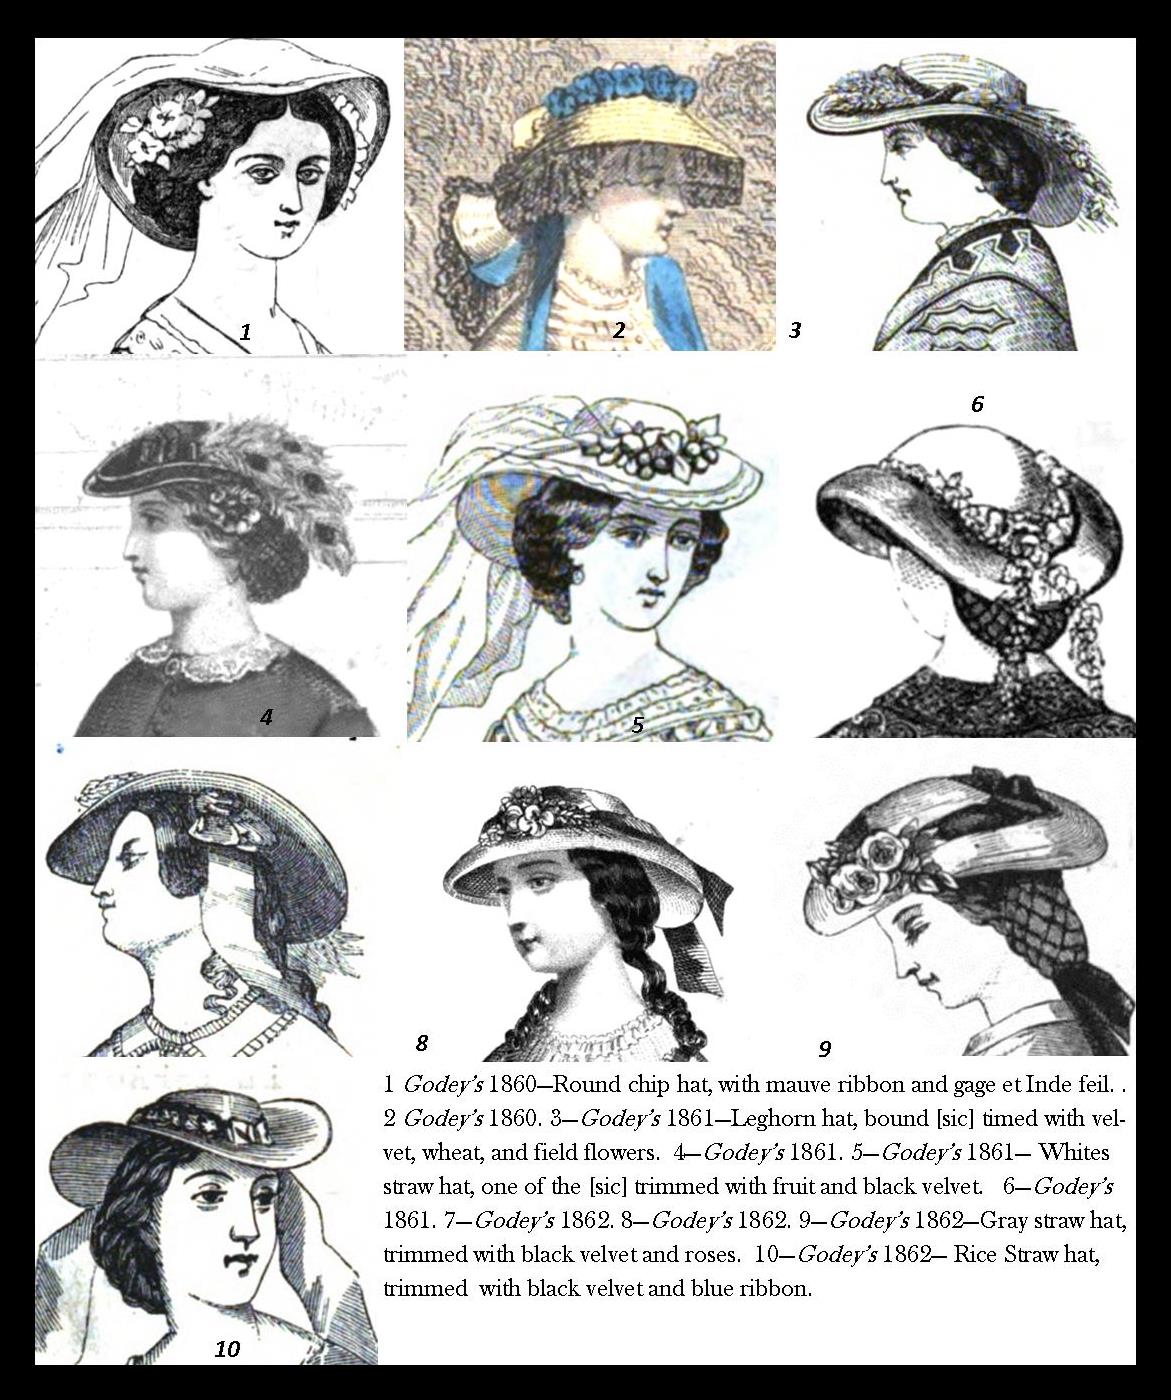
In the 1850s and 1860s, hats were worn much higher on the head than we are accustom to in the twenty-first century. Think about when you wear your modern beach or garden hat. You know that line across your forehead where it sits after a long hot day? You do Not want that. A mid-nineteenth century hat sat higher, at the top of your forehead, at your hair line, or even higher. Take a look at these fashion illustrations from 1860-1862. Notice where each hat sit. In a few illustrations, the front hairline is obviously below the crown line. In others, the crown sits just at this line. The hat sits atop the head, not encompassing it. The curve of the brim is what dips to the eye line, not the hat itself.
What does this mean for you when picking a size?
There are two factors for finding a comfortable fit: Size and shape.
The difference in wear or placement means we measure for a mid-nineteenth century had differently than we do for a twentieth or twenty-first century hat. The modern hat is measured just above the eyebrow. (This is also where many of us measure for bonnets. We want to keep you on your toes.) For mid-nineteenth century, we measure higher, at the hair line. In this illustration, we can see the difference between where the two measurements would be.
These higher, hairline measurements are often smaller than those taken at the eyebrow. A hat worn at this point can be slightly smaller to slightly larger for comfort. So, add and subtract an inch to your hairline measure.
For example: I am 22.5″ around at my eyebrows and 21.5″ at my hairline. The vast land of the internet tells me that the average woman’s head measures 22.5″ to 22 5/8″ around at the modern measuring point. So, I am about average. I comfortably wear a mid-nineteenth century hat that is 19.5″ to 21.5″
General guidelines I use:
Small = Less than 21″ at the hairline (crown less than 20″)
Average = 21″-22.5″ at the hairline (crown 20-21.5″)
Large = Greater than 22.5″ at the hairline (crown greater than 22″)
Just like every head measures a bit differently, they are each shaped a bit differently.
When looking from above, some people have rounder heads while other have more oval heads. Both of these shapes to the right can have a circumference of 22.5″. Yet, the same hat would fit each head differently.
I will try to indicate which hats have rounder crowns or more oval crowns. I am in the process of naming the crowns. Hopefully, that will help.
Are you one of the many readers enjoying my millinery blog posts?
Consider becoming a Patreon patron. Doing so helps support my work and helps me write more useful articles.
Some time around 10 this morning I thought to myself:
“I used to do this a lot faster.”
I got home from a “quick” errand yesterday, I guess that would be Friday, and pulled out my red plaid wool challis. It was time to stop imagining the math and figure out just where the plaids will land. My hope was to get the red stripe section to sit at the hem of the skirt. Why? Dirt. Being an loose weave wool, this dress will not be washed often if ever. It will be brushed off and spot cleaned. If I absolutely have to, I will soak it. Putting the bolder band of red at the bottom will also, hopefully, help with period esthetic, drawing the eye out as it goes down, creating width to the hem.
The tape measure told me the plaids repeat every 8 or 8.5 inches. Good and bad. Good in that this gives a repeat times 5 that is just a little over my normal panel length of 42inches. This let the panels sit with the red section just above the bottom. Bad in that the repeats are not exact, meaning there is some variation in the weave tightness. Given the price, I should not be surprised. This does tell me wonkiness could happen as I proceed. Good to know.
I measured and marked my panel lengths… separated the skirt section from the bodice/sleeves section… pulled threads… and cut the panels. Lining up the plaids, I stitched each of the panels together and felled the seams.
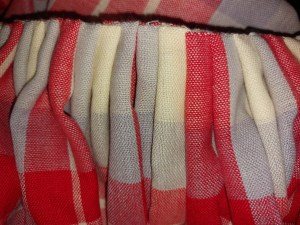
I had planned on gauging this skirt. But, luckily I decided to do two sample areas. I changed my mind and went with stacked knife pleats. The math worked out nicely. Yes, I pleat with math. I like math. An interesting thing developed because I used directional pleats. On one side, I got a nice red, red, white, grey sequence in balance. On the opposite side, folding the other way, the white and grey dominated.
About two thirds of the way around, the sun had passed over and settled my livingroom into shadows. I continued on with a section of gauging for the center back.
There was just enough light to tear sections for the hem. I pieced them together and clipped them in place. Then, I looked at the clock. Wasn’t it just one o’clock? How was it after eight and getting dark?
This morning, I grabbed the skirt right after feeding the feline keeper of time. Opened the blinds and sat down to the hem. Around and around the 180 inches. Attach the facing. Hem the facing. Attach the tape. Fold the tape.
Somewhere in there, around ten I think, I thought to myself
“I used to do this a lot faster.”
In the, what 8? 10? hours I’ve spent hand sewing this skirt, I would have sewn the whole dress – skirt, bodice, and sleeves.
But, I wouldn’t be happy with how the plaids lined up. I wouldn’t be happy with the weight of the seams with the stiff thread.
This slow sewing is just fine for me. I can curl up with my fabric. I can pay attention to the details.
Now, I’ve been typing away and completely lost track of where I was going with all this. The skirt is ready to be set on the waist. The rest of the wool is neatly folded and waiting. I need to get out the binder of patterns to pick out the pieces.
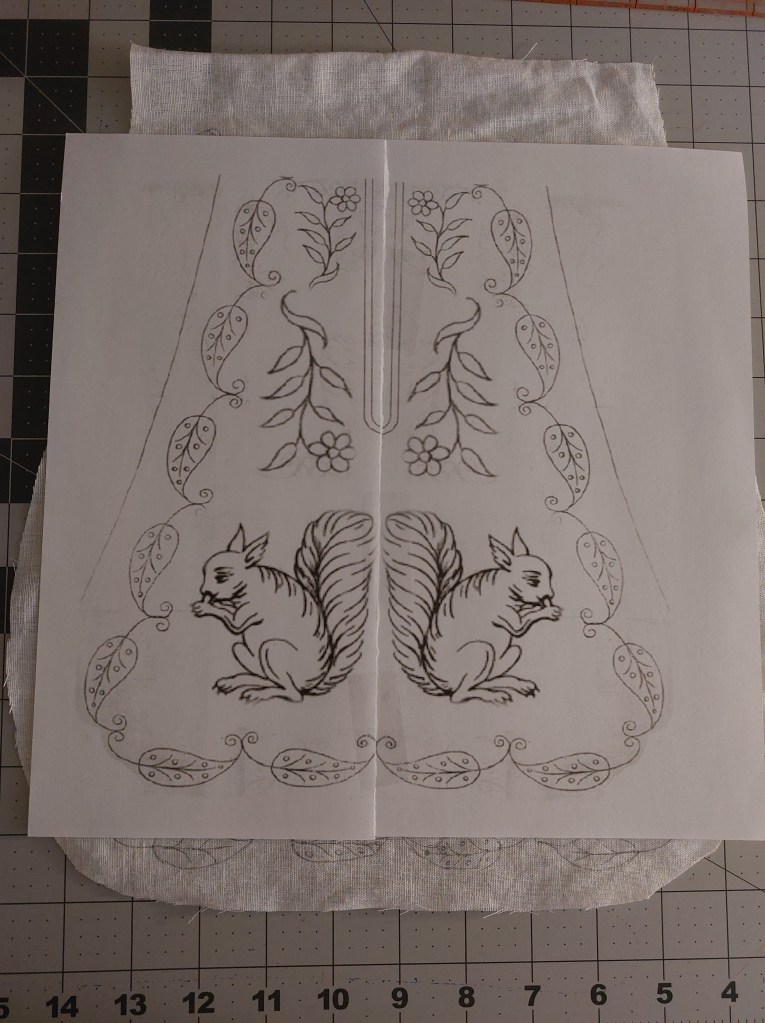
I this case, the squirrel really was a squirrel. Well a pocket full of them.
Glancing at my tablet, while working through sewing tasks on a day packed full of sewing tasks, I saw this post from The Lady’s Magazine (1770-1819): Patterns of Perfection. An 1772 pocket full of squirrels. The little squirrels had the cutest faces and fluffiest tails.
My mind got rolling the images around. I saw one squirrel center stage. The two as a pair, showing off those tails. Tails in? Faces in? Hmmm….
Playing around with Paint and Publisher (yes, I am old school. No fancy new programs in my budget. I am still just on my second own laptop.) I enlarged the squirrel. Gave her a friend. Changed the shape of the pocket border a bit. The rest was done by hand. Changed the size of the sprig and flipped it around. Cut it in half to make it printable…. To make my version of the squirrel pocket:
I had been cutting out doll pockets earlier when I was supposed to be cutting out full size pockets. So, I knew I had materials for a linen pocket already cut out. It was like it was waiting for these squirrels.
I inked out the design on the linen. The border had to be swung into place around the rounder shaped pocket. The original has more of a rounded off trapezoid shape.
My precut pocket had more of a rounded shape and more height. This made room for an additional leave for each side of the border. It also has space for another sprig. It will be either the center bottom sprig from the original design or one of the smaller sprigs. I will decide when I get most or all of the embroidery in. The leaves of the border will each have veins and little dots as the original. I am not yet sure what those dots are though.
Looking in my sparcely filled floss box…. the squirrels will be a couple shades of brown, the leaves green, and the flowers likely a blue. The nuts the squirrels are eating may be cream.
If someone knows whether variegated floss was used in the 18th or early 19th centuries, please let me know. I found I like the variegated greens for vines and leaves.
Patreon Patrons will be receiving the pdf of the single page and double page versions.
I am reposting favorite helpful posts each Monday throughout March, April, and May.
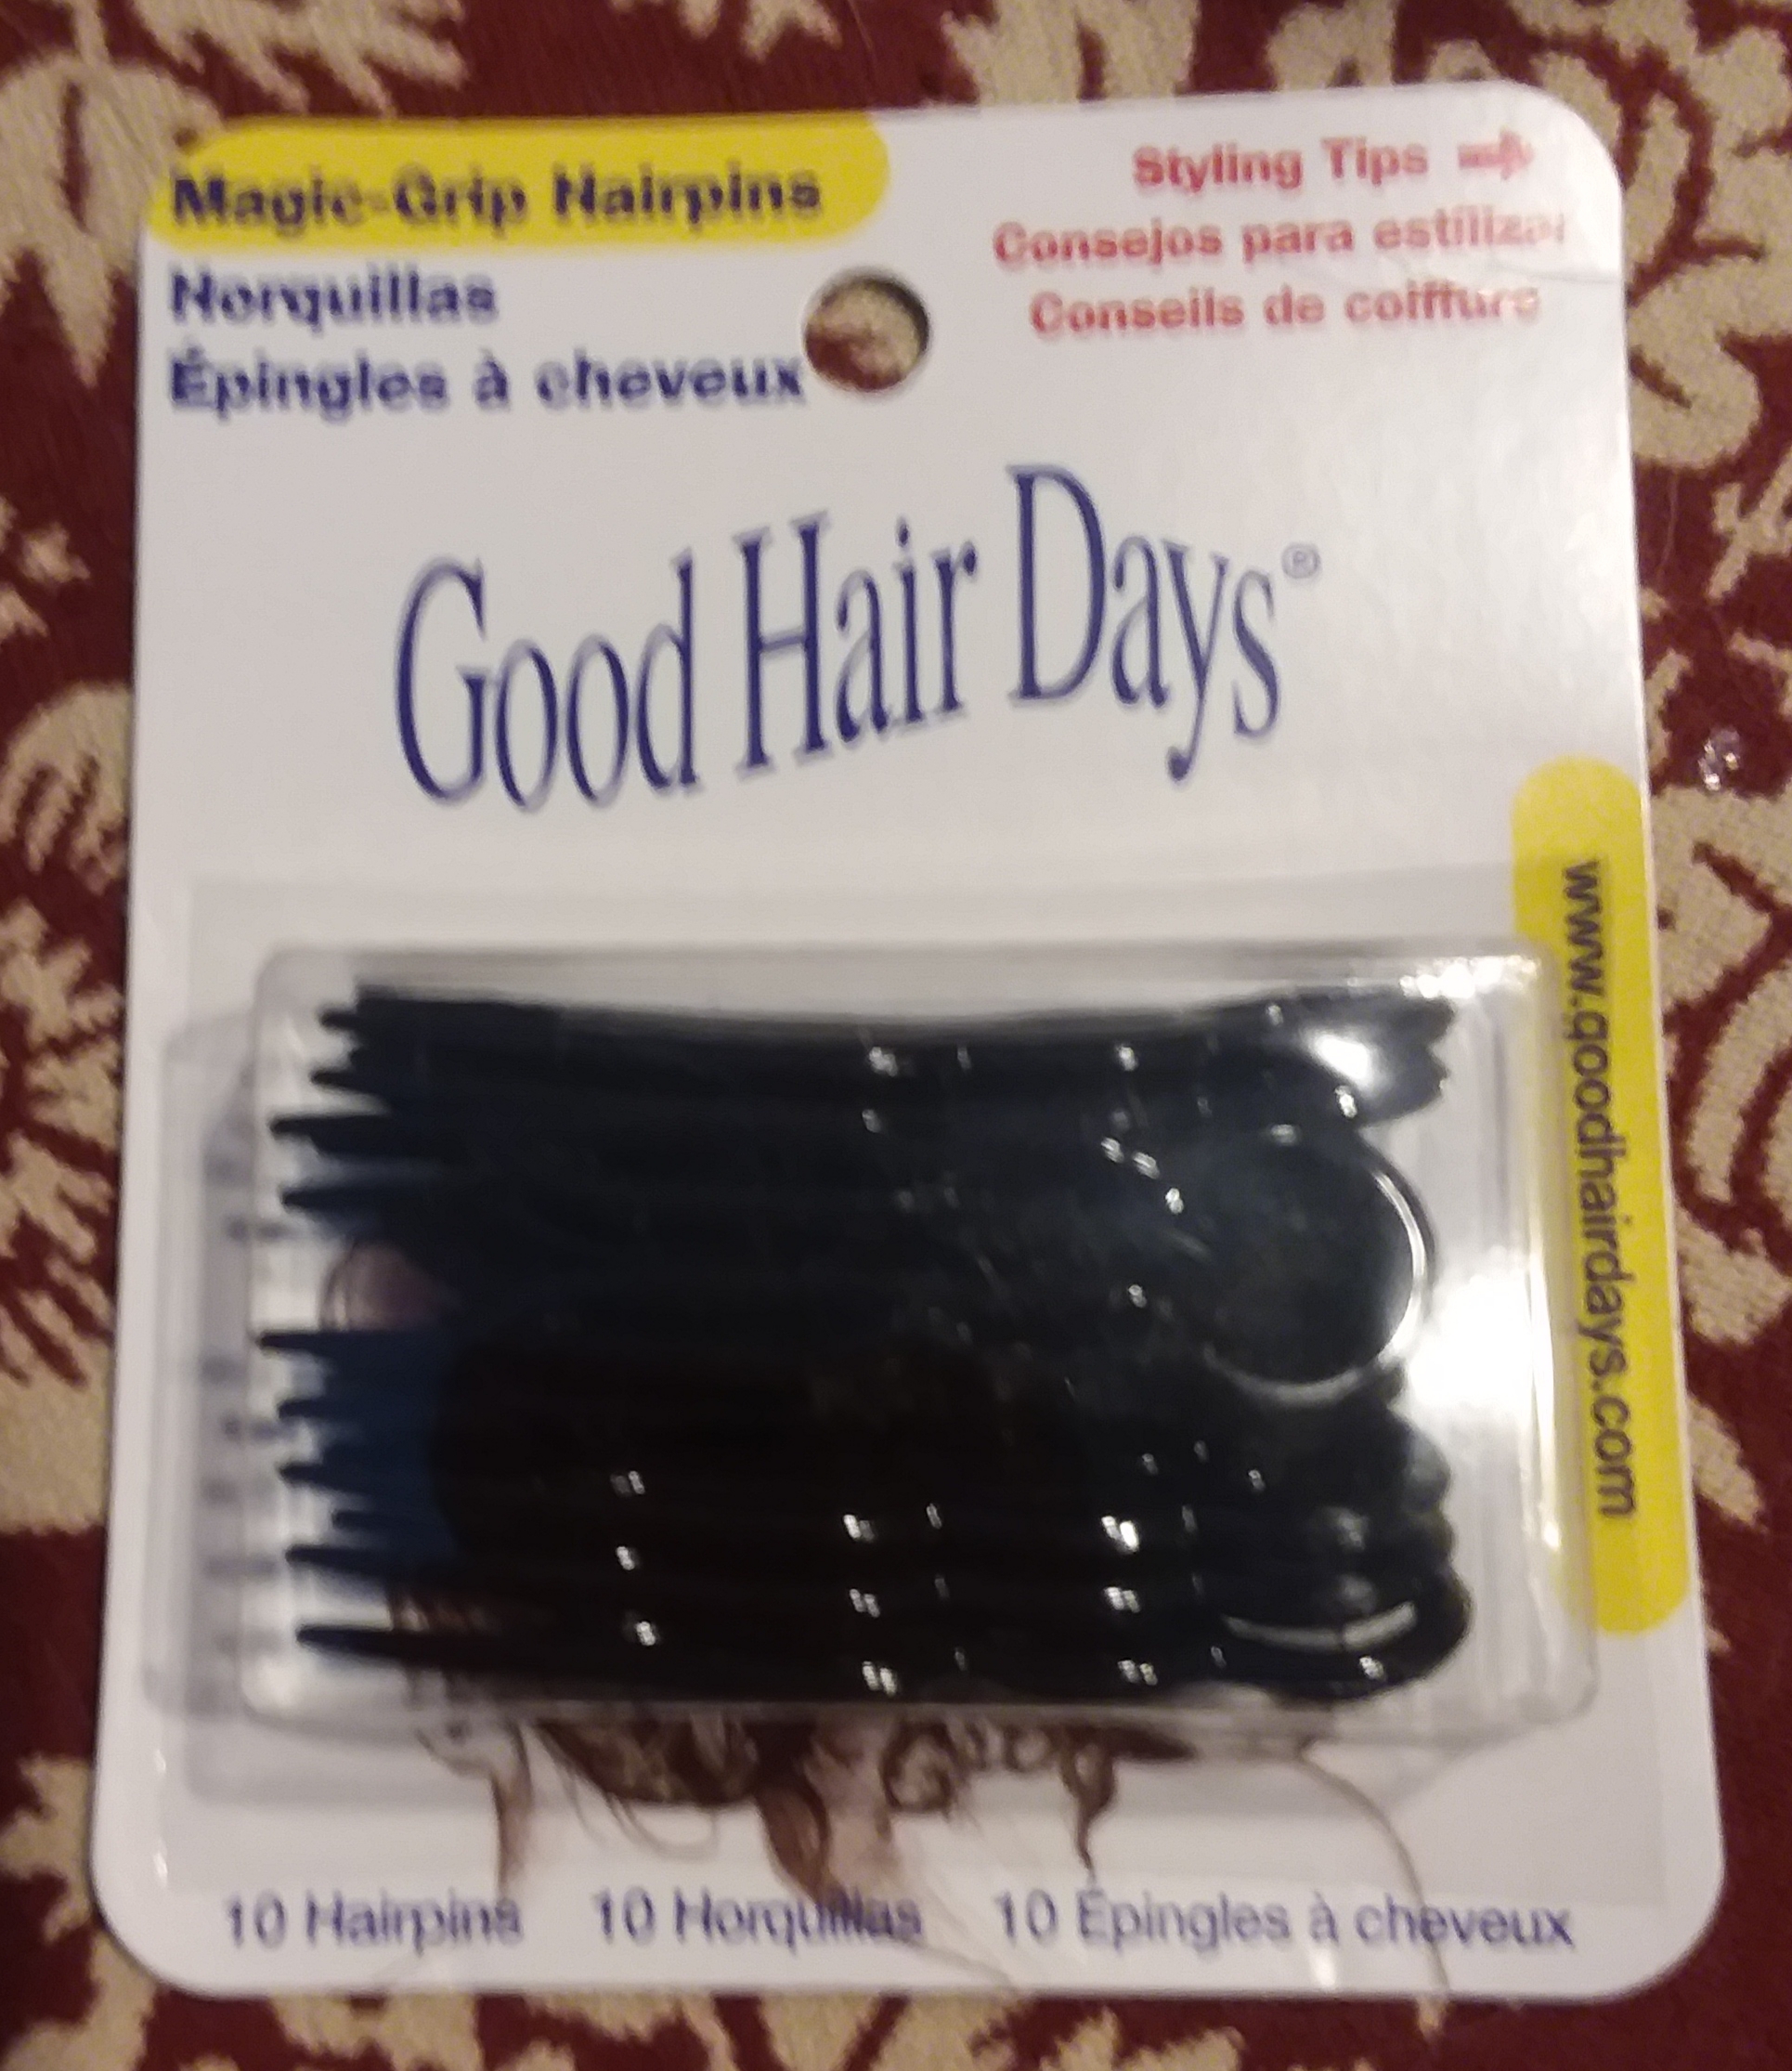
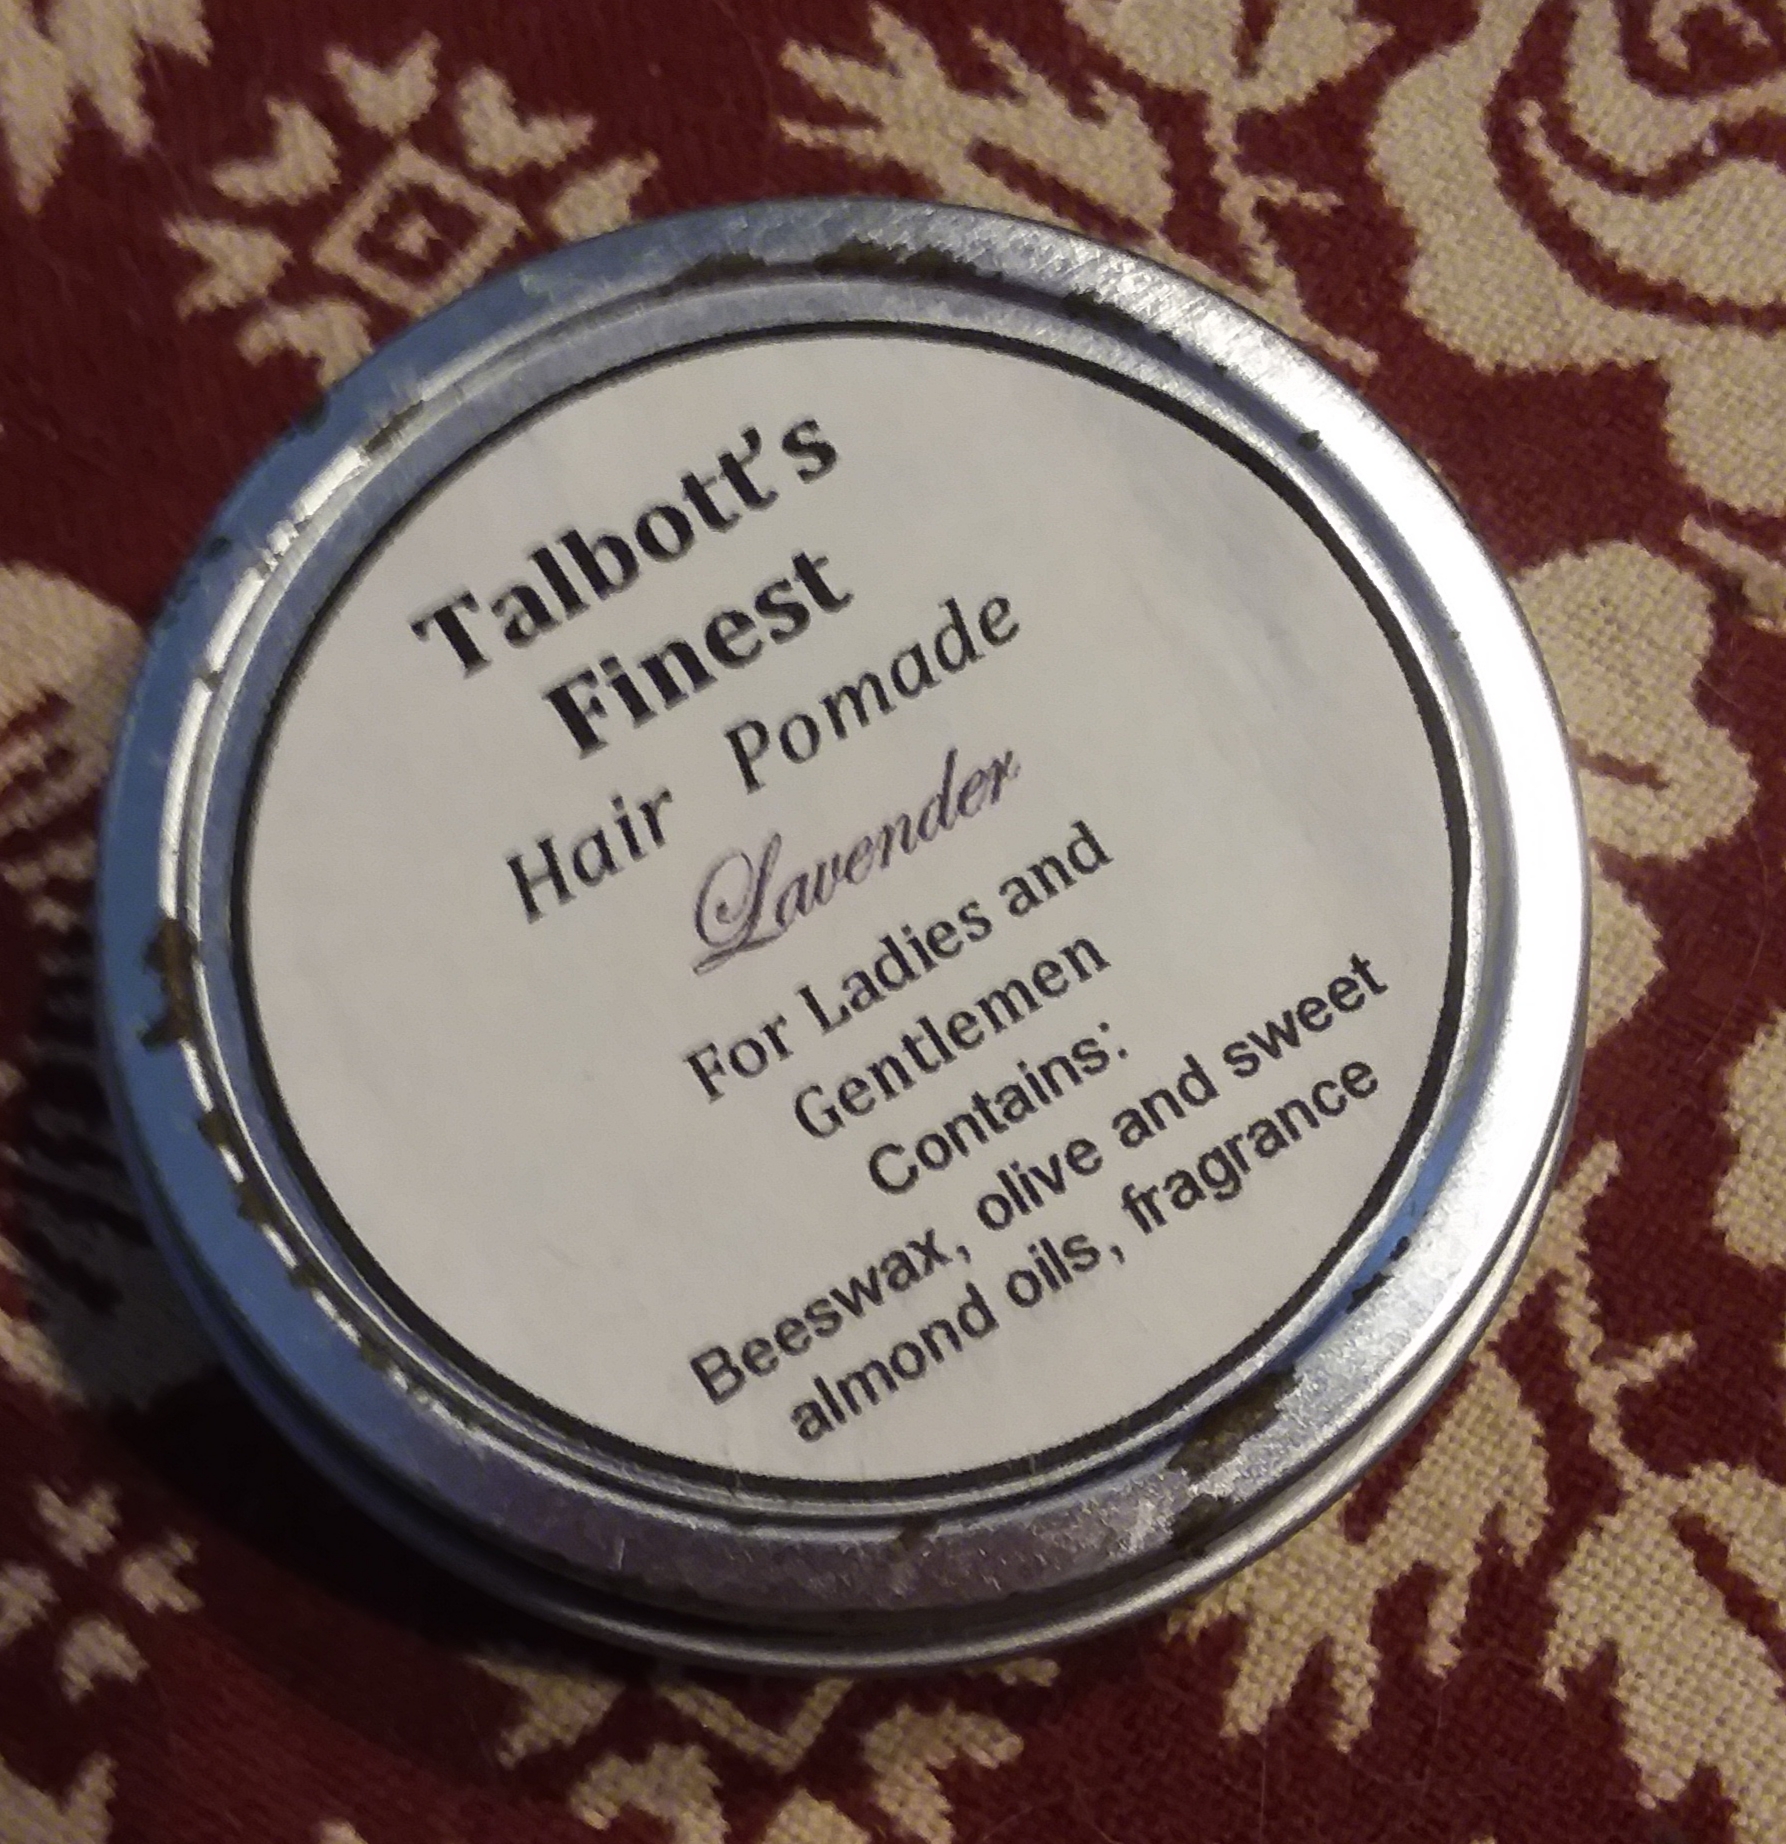
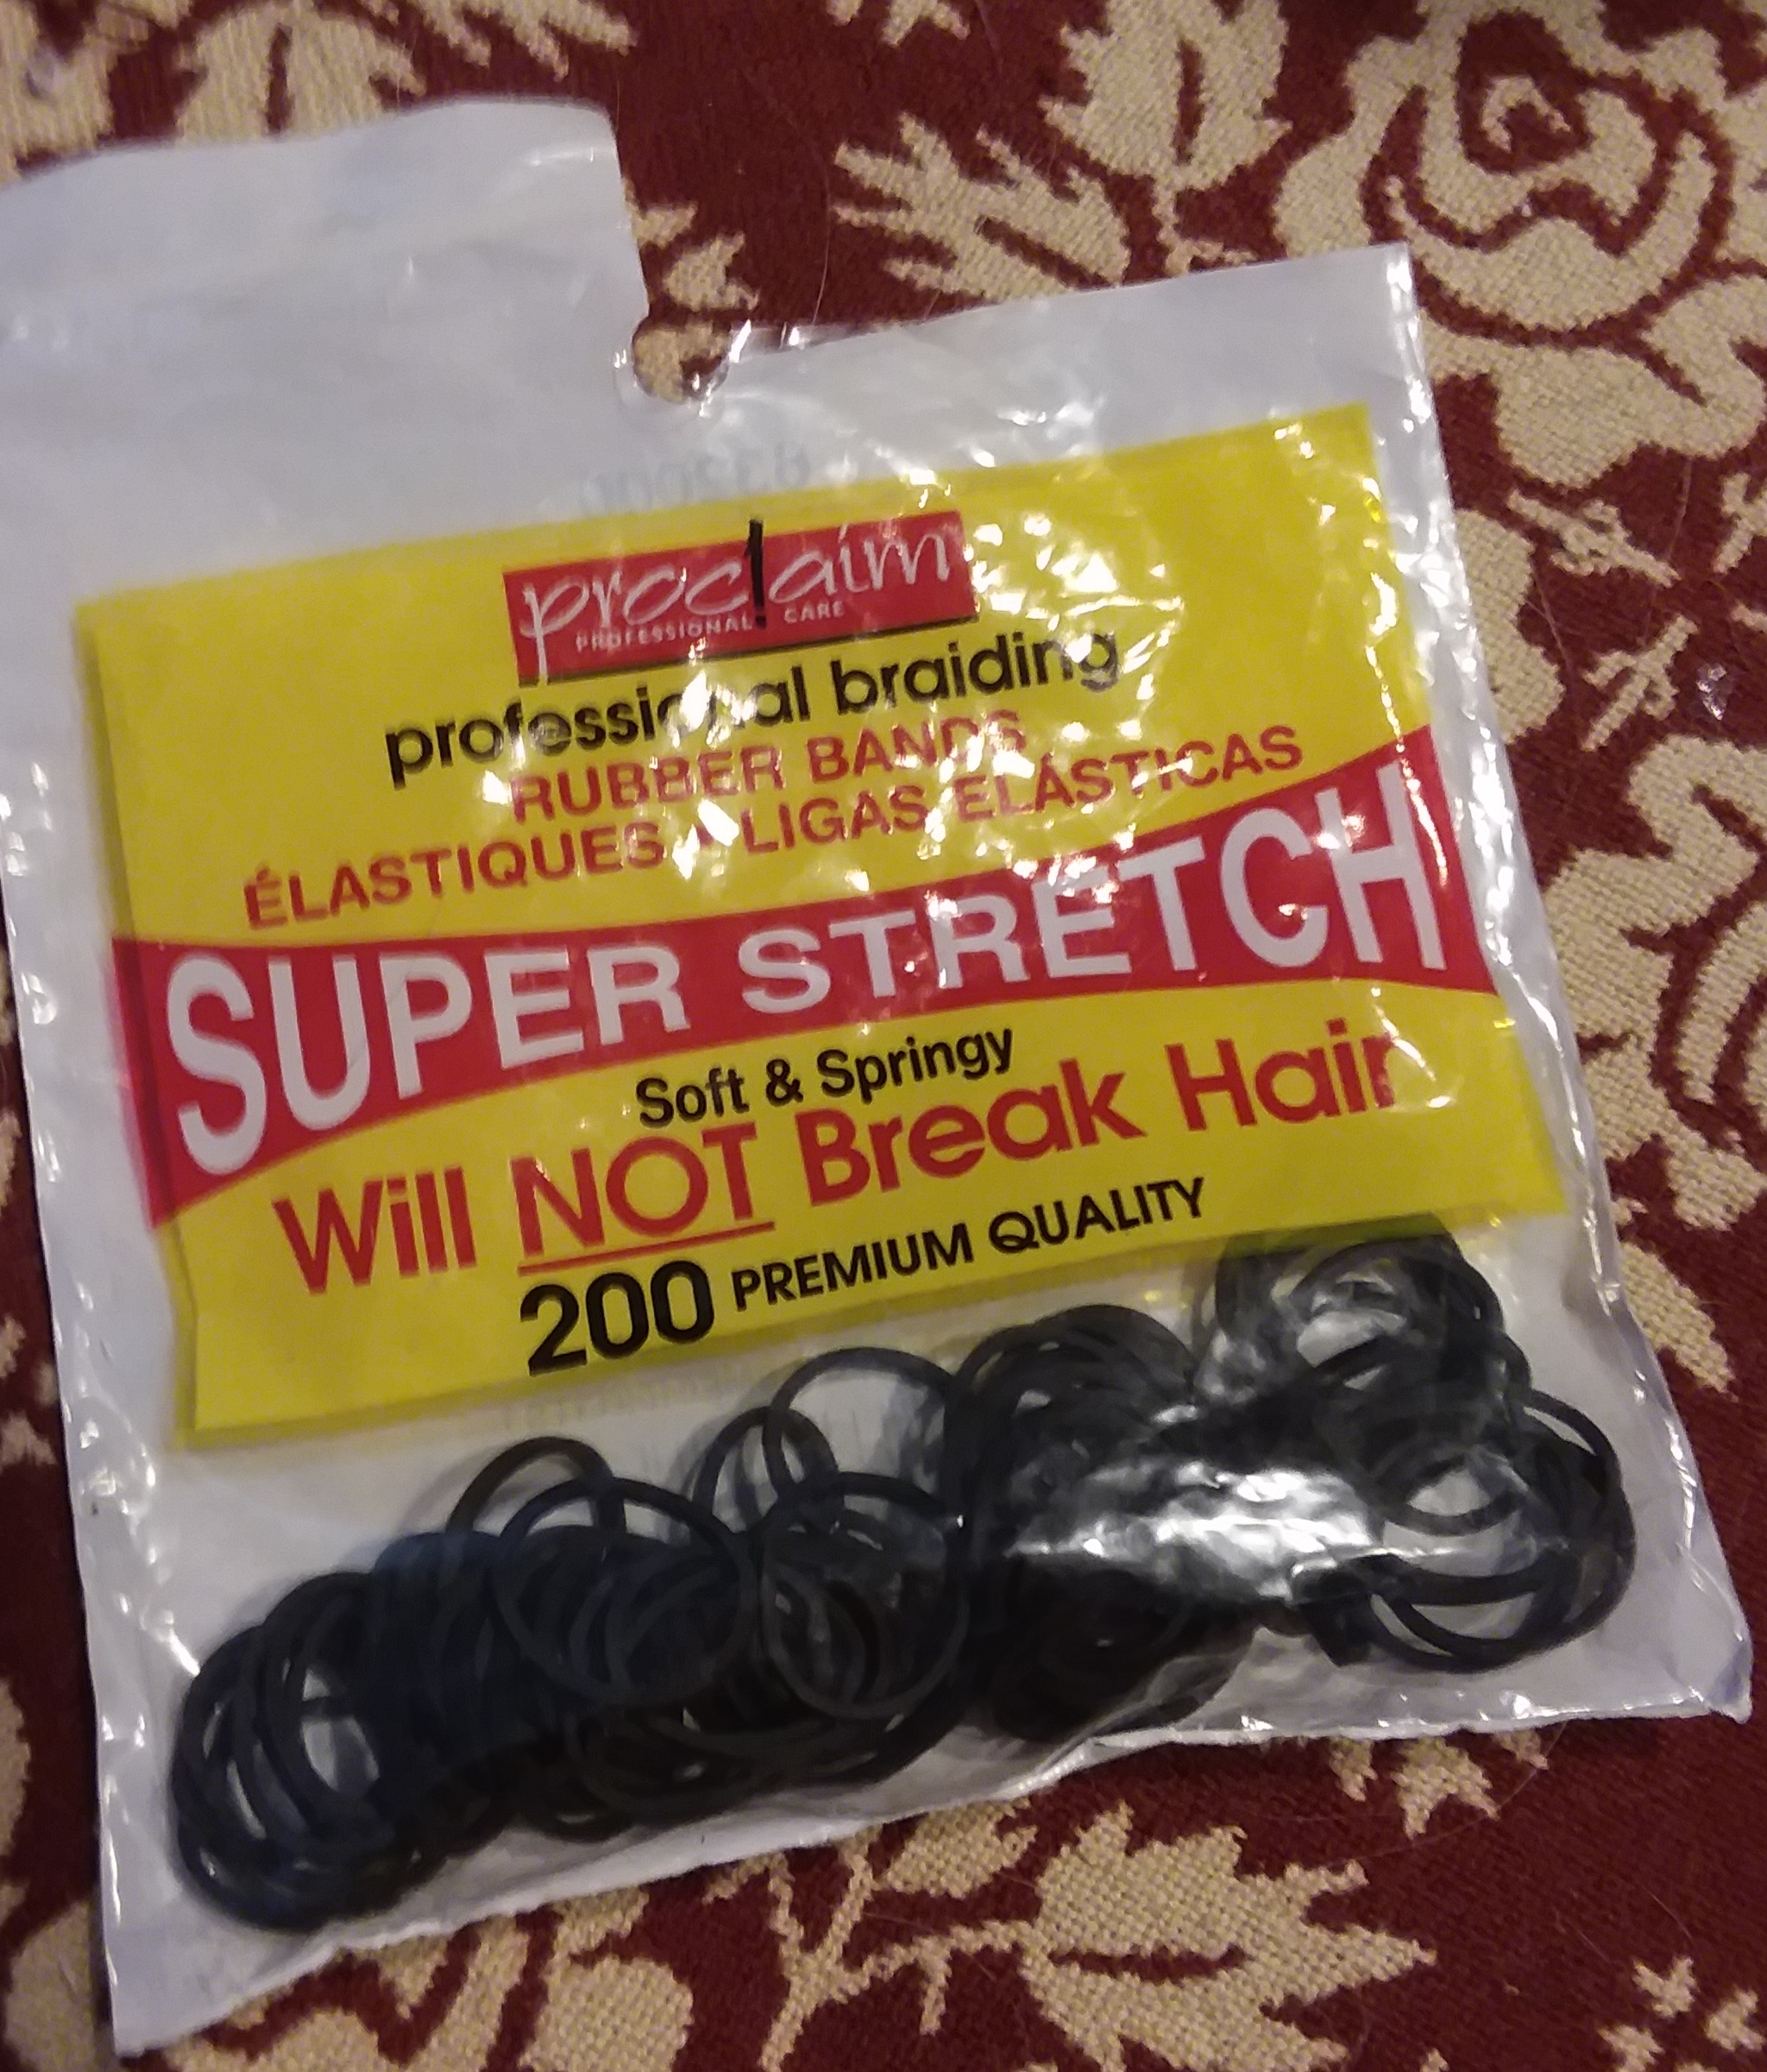
My recommendations for a basic hair kit: ● Straight hair pins ● Faux tortoise hair pins ● Plain black elastics ● Hair Pomade ● A Plain net or two ● Faux horn hair comb or two
I am lucky enough to be able to purchase these items in person, includong the straight hairpins during a day trip through the Finger Lakes. Not everyone has similar local resources. With this in mind, I am including two shopping lists: one that can be done online from home and one that can be done mostly in person. The online list supports small businesses, with the exception of one item through Amazon.
Shopping from home for approx $38.00: Order from Timely Tresses: ~~1 set of faux tortoise hair pins $4.00 or 4 chignon faux tortoise hair pins $5.00 ~~1 plain hair net $4.00 ~~1 back comb $4.00 or 2 side combs $4.00 Amazon: ~~2 sets of 12 straight hair pins in 2” or 3″ and 2.5” $12.00 Talbott and Co on Etsy: ~~1 tin of pomade $14.00
Shopping mostly in person for approx $25: Local pharmacy: ~~Plain hairnet $2 for a set of 3 ~~Faux tortoise hair pins $3 ~~Hair elastics $2 Amish dry goods shop: ~~Straight hair pins 2 sets for $4 Talbott and Co on Etsy: ~~1 tin of pomade $14.00
Are you one of the many readers enjoying my millinery blog posts? Consider becoming a Patreon patron. Doing so helps support my work and helps me write more useful articles. https://www.patreon.com/AMillinersWhimsy