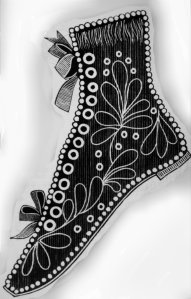
In recognition of the coming Halloween, this week’s post will look at various ways of making a pumpkin.
In terms of construction, essentially, a pumpkin can be seen as a large, orange tomato with a stalk.
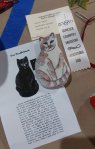
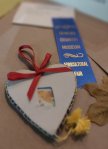
In the pages of the 1892 Vision; A Magazine for Youth, we find these directions for making a pumpkin pin cushion tucked in next to a tomato:
The foundation of the pumpkin pincushion consists of two circular pieces of stout muslin joined together at the edges, and stuffed with wool. Two pieces of orange silk the same size, are smoothly arranged over the cushion and joined with as small stitches as possible at the edges. The cushion is the caught through the center, the needle being passed in and out through the seam (which should pass along the top and bottom and two sides). Rope silk or twist should be used, and it will have to be drawn very tightly up and down through the center to divide the cushions into sections. Two pieces curved to look like a stem are filled with cotton and caught with invisible stitches to make it “crinkly;” it is then sewed very neatly to the cushion. This cushion may be made any size you desire.
The Ladies’ Home Journal, 1892. Pumpkin Pincushion. By M. J. Safford. The materials needed are a puece of bright yellow surah, satin, or any bit of plain silk stuff, a spool of button-hole twist the same color, a few scraps of dark green silk, a little wadding (wool is preferable) and a piece of thin white cambria. Commence by making the wadding and cambric into a cushion seventeen and one-half inches deep, and flatten it somewhat on the top and bottom like a pumpkin. Gather the yellow material – wool will answer if silk cannot be had – at the top and bottom, and closely together in the center and sewing firmly to the cushion underneath. Next fasten a needle full of twist at the top of the cushion, draw it down to the bottom tightly enough to indent the silk and fasten at the bottom. Repeat this eight times, keeping the threads at an equal distance apart in the center of the cushion, thus dividing it into sections of the same size. Then cut from pasteboard a circular piece two inches in diameter, cover it with dark green silk and sew it to the bottom to conceal the gathering of the silk. Cut from the same green silk a piece three inches long and two wide, and stitch lengthwise four tucks one eighth of an inch to be left outside. Stuff the ease thus made with wadding and hem the bottoms neatly down upon the yellow silk top of the cushion.
Of course, if you can make something into the shape of a pumpkin, you can make a pumpking into something.
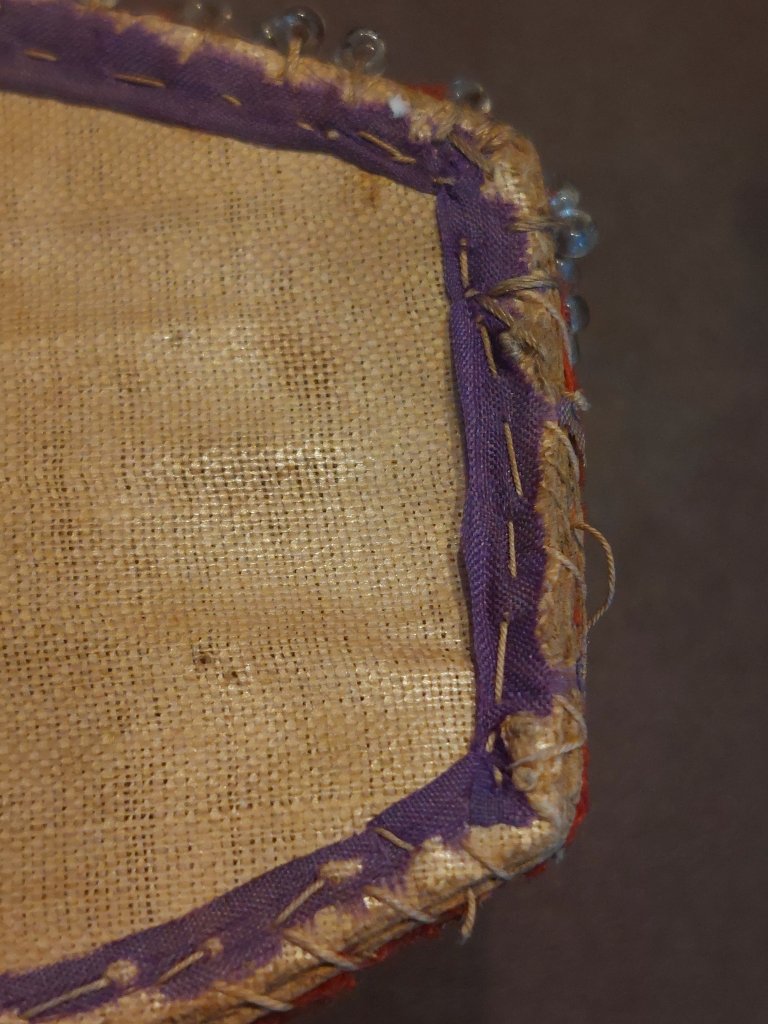
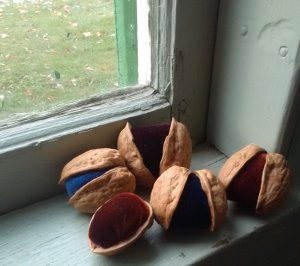
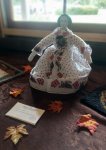
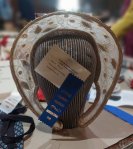
Marna found this workcase made from a pumpkin in Godey’s, 1870. I am skeptical of drying a true pumpkin dry enough in my climate. Maybe one of the gourds meant to be dried. The directions begin:

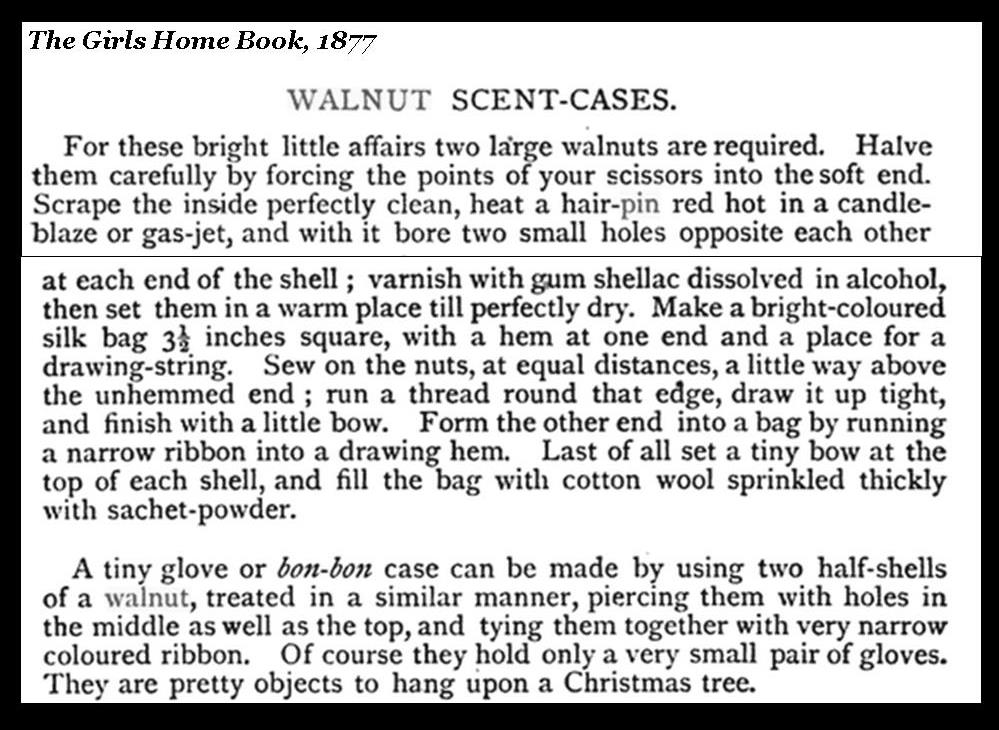
Work-Case Made of a Pumpkin.
Materials. – A yellow pumpkin measuring four and four-fifths inches across, some brown glace silk, thick brown braid, round transparent beads, gold-colored purse silk, fine gild-colored silk cord and ribbon three-quarters of an inch wide, nine round brown glass buttons, some wadding.
The pumpkin to be used for this case must be quite dry when gathered. Then hang it up to be dried. After some weeks cut it into halves, empty each half carefully as far as the skin, and bind each half round the edge with a strip of brown silk a quarter of an inch wide. …… (continued….)