My newly re-written 1850s-1860s Straw Bonnet Workbook is ready!!!!!
My Straw Bonnet Workbook walks you through hand sewing a late 1850s to early 1860s straw bonnet from straw plait. Included are directions for a high brim bonnet, often referred to as a “Spoon Bonnet” and directions for a low brim bonnet, also known as a “Cottage Bonnet.”
This workbook starts with an introduction and a brief history of straw millinery in the mid-nineteenth century with a look at original straw bonnets and bonnet blocks in my collection. The core of the workbook gives step by step instructions with color photos of working from crown to brim, guiding you through making your own straw bonnet. The workbook wraps up with a discussion of finishing materials and bonnet care.
***Please know this workbook requires hand sewing straw plait/braid. This workbook does not include directions for machine sewing or pattern pieces.***
***This purchase includes 2 downloads – The 55-page Workbook had to be divided into 2 files to fit on Etsy. Be sure to download Both files.***
Here is a past post that should fit with “April showers.”
With this soak-you-to-the-bone weather leading up to and likely through the weekend event, I am thinking about ways to keep dry. As I think through my list, I realize most of them won’t happen because the bits and pieces needed are buried deep in storage. That doesn’t mean I can’t share them with you.
Reenacting events inevitably mean walking, likely through grass or even mud. With wool boots, I find my rubber over-shoes a must. They slip right over my boots covering up to about my ankle. Extant rubber over-shoes were found when the Steamboat Arabia was uncovered. Those made by Tingley seem to be the closest.
Just in case, still pack extra stockings or socks for everybody.
A wool coat can help keep the wet off of most of you. A long paletot gives you great flexibility in the arms while buttoning up the front to keep you dry.
If you don’t have a coat, consider the largest, plain or plaid wool shawl you have. Wrapping this around you will help keep you dry.
We talk a lot about parasols in reenacting but not much about umbrellas. Use an umbrella, a period umbrella of course.
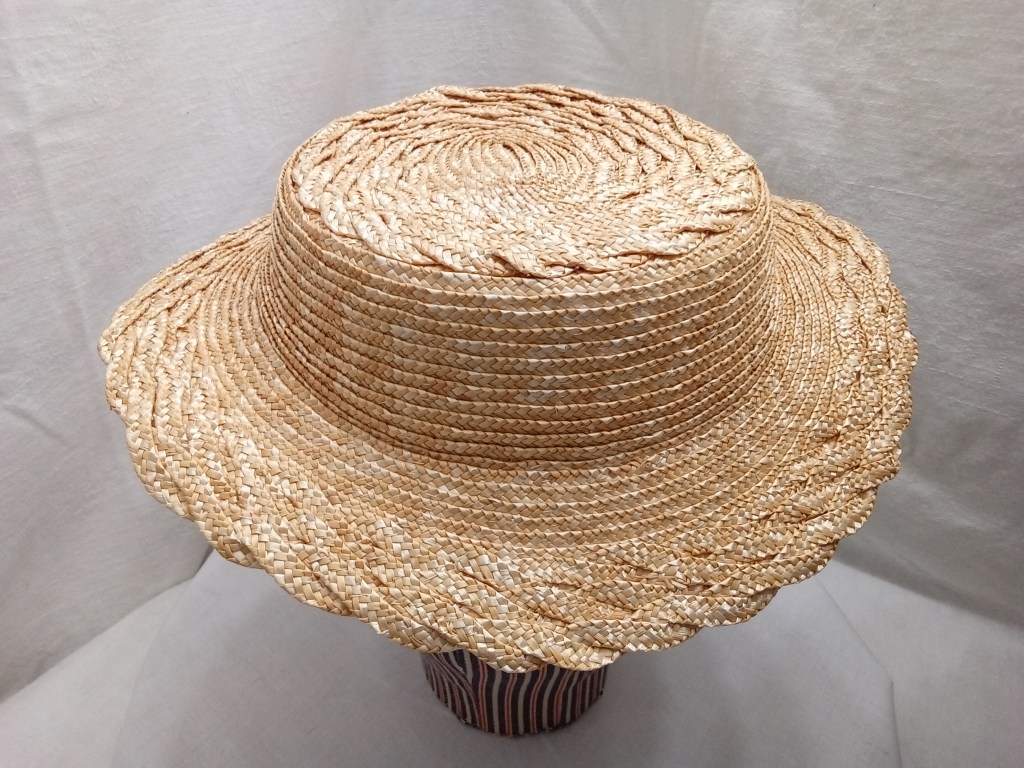
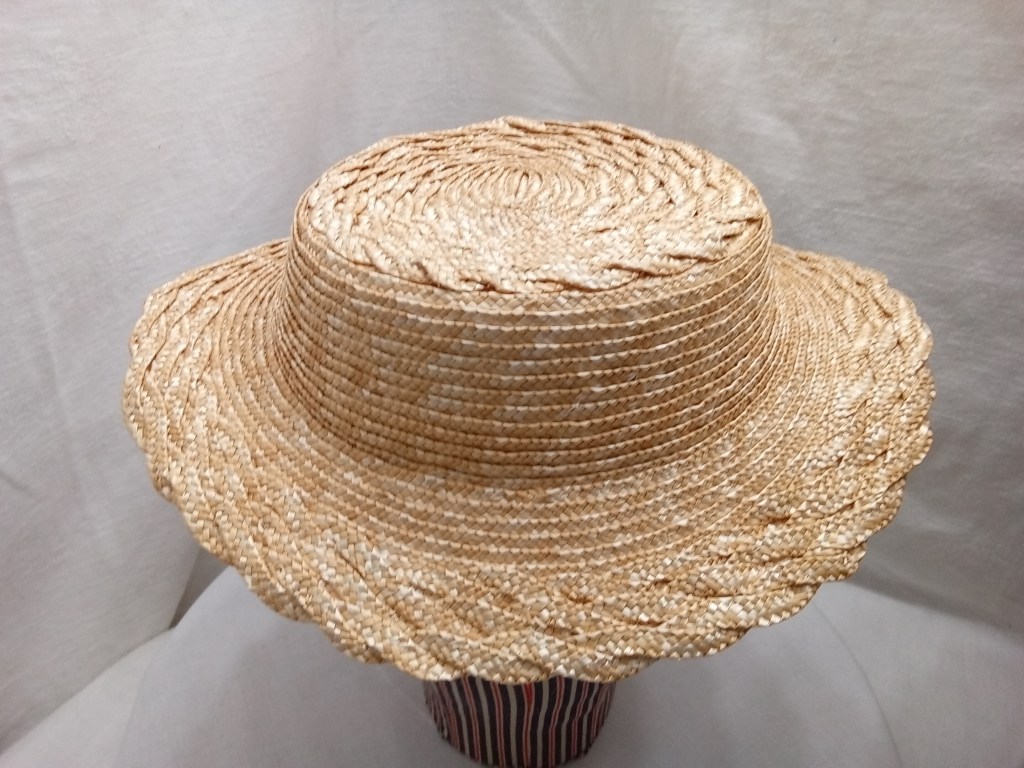
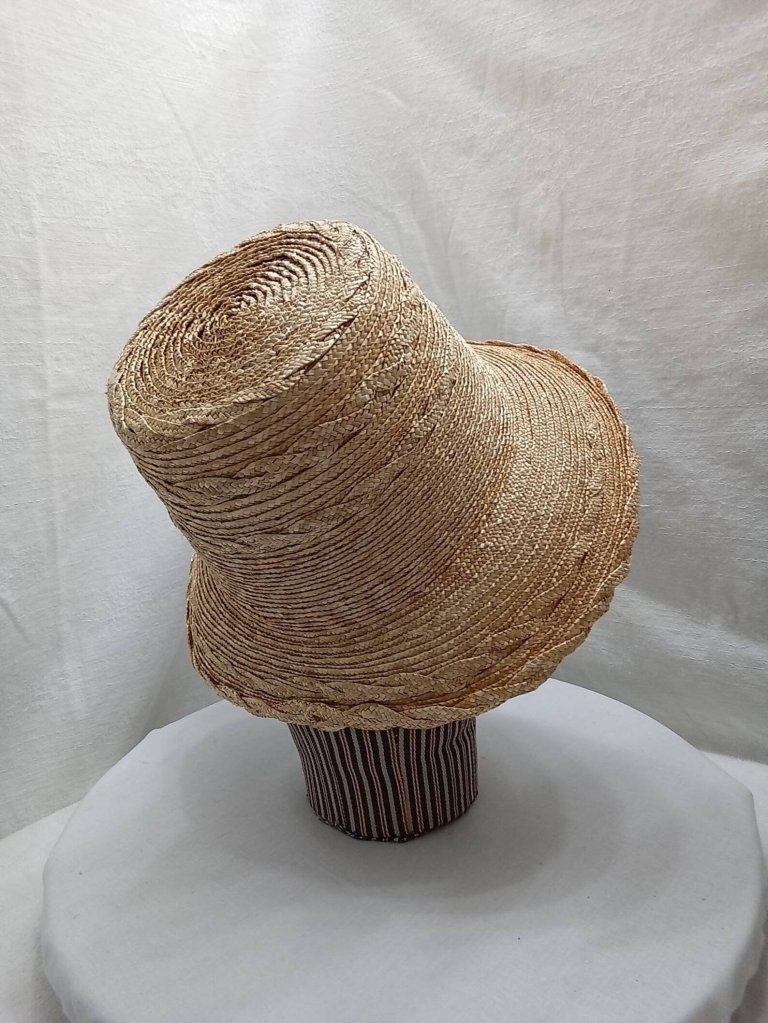
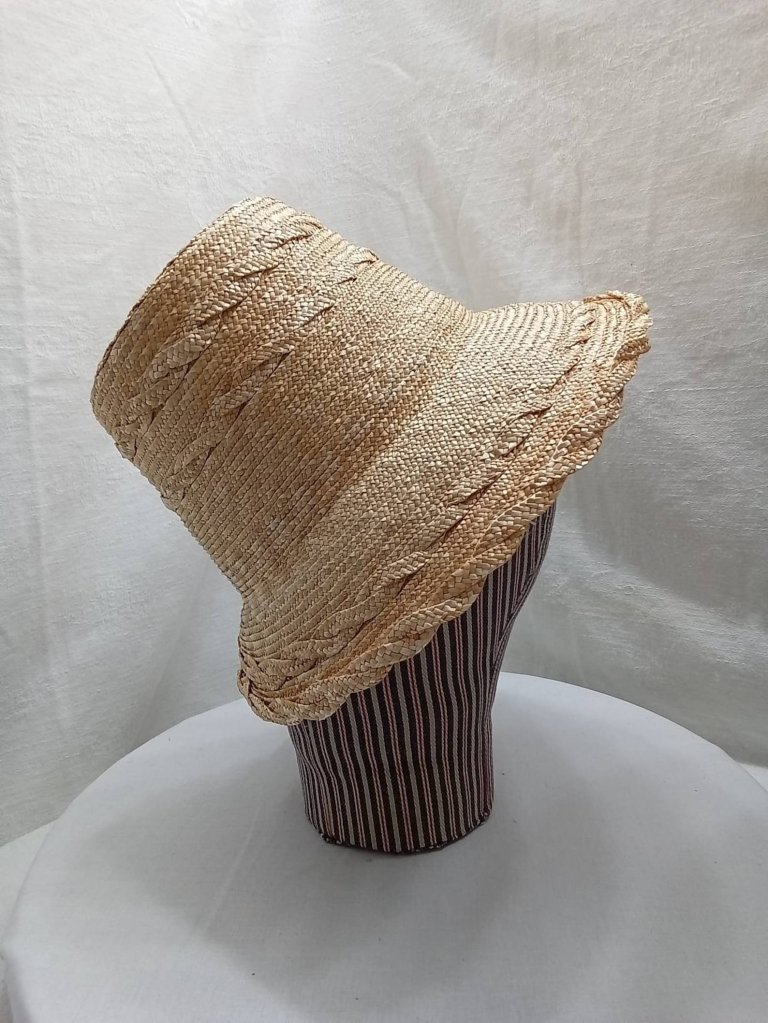
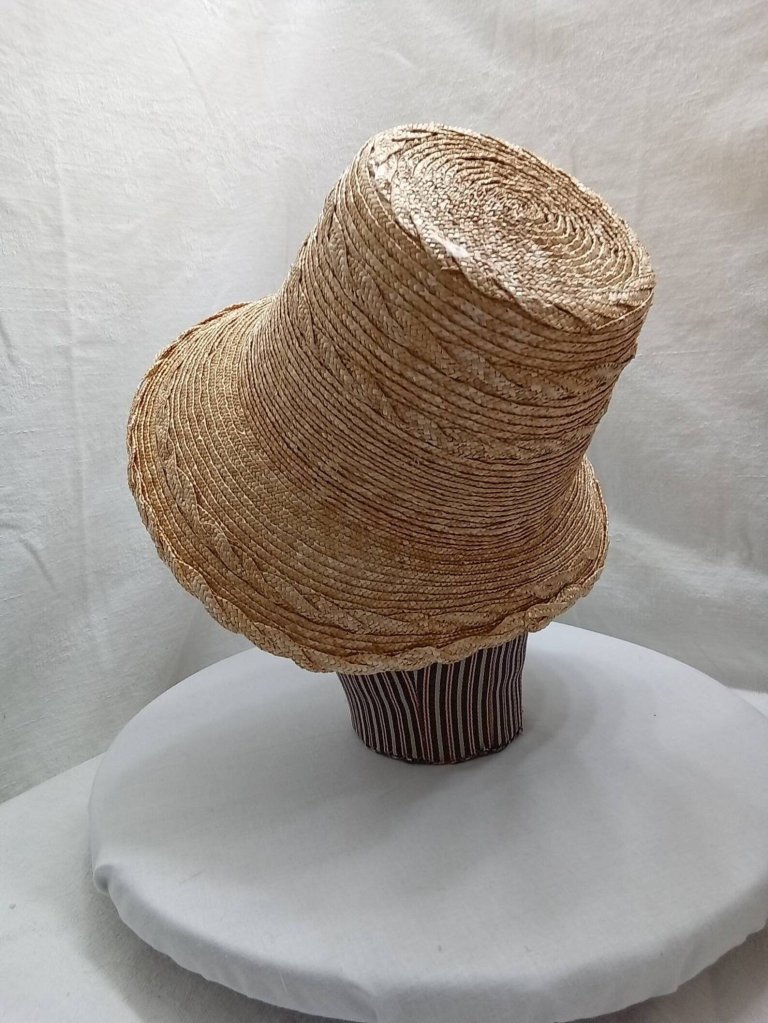
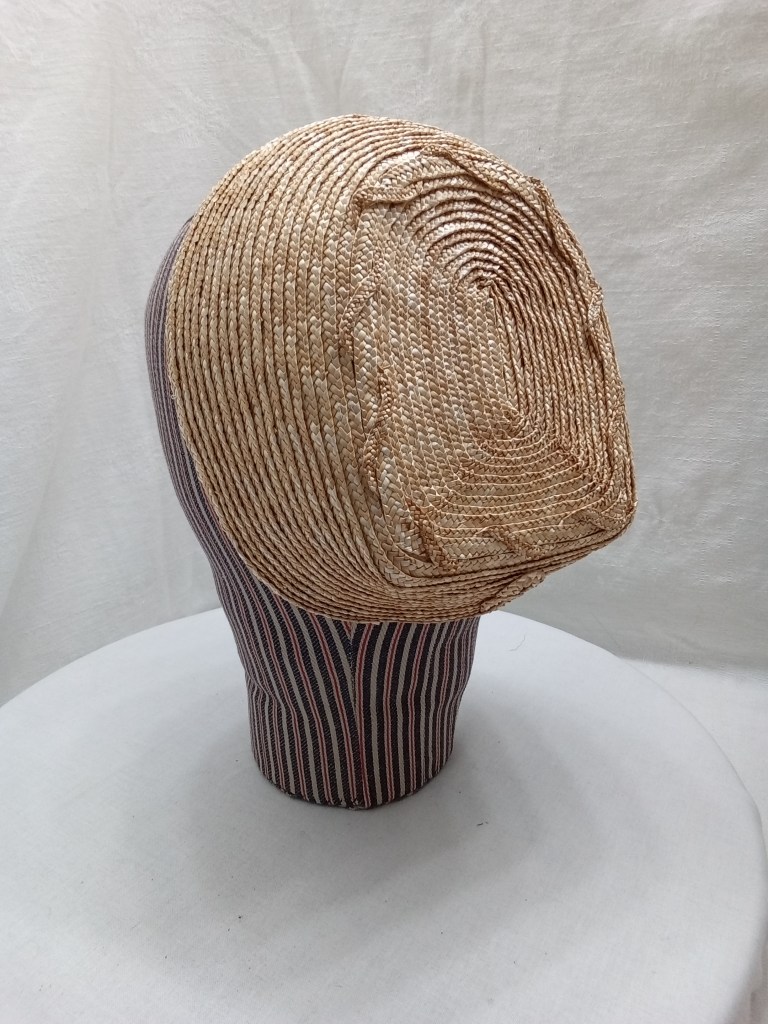
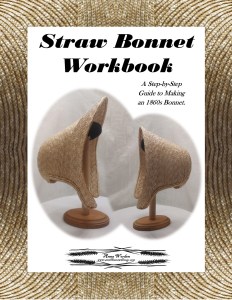
Skip the fashion bonnet. Instead opt for a sunbonnet or for a hood. Water can cause a bonnet to soften, warp and even run.
If you carry a bag, make sure it is water-resistant. You may want to try a pocket instead. A pocket hidden under layers of skirts can usually stay dryer than a bag carried out in the open. If you must carry medicines or modern technology put them inside painted canvas bags or zip-lock bags just incase.
For larger bags, choose one with a heavy carpet and good closure. If it has a leather or painted canvas bottom, even better. Leave the bandbox at ‘home’.
You will be happier with your tent if you have sod-flaps and overlapping doors. Also put down a good water barrier under your flooring. I find a wool rug helps control the moisture better than other fibers.
Inside your tent let wool rule. Wool rugs on the ground help keep the area more comfortable. Put a wool blanket layer over your cot or ticking first. Be sure it drapes almost to the ground on each side. This keeps the moisture from coming up from underneath. Make you bed how you prefer. Then cover it all with a wool quilt or blanket. This will keep the moisture from getting in during the day. If you are sensitive to a moist pillow, wrap it with an extra wool shawl during the day to keep it dry.
Don’t hang your clothes. Put them in a trunk or box with a layer of wool covering them to help keep moisture down. You may consider a layer of wool on the bottom as well.
As you settle in for the evening, light a candle or two (safely). Whether the candles really do help cut the moisture or not, they help psychologically.
What do you do if you do get drenched?
If you can lay or drape your dress flat that will be best. Hanging it can cause it to stretch under the weight of being wet. If you have a trim that can run, be sure to lay the dress so the fabric does not lay back on itself particularly the trim.
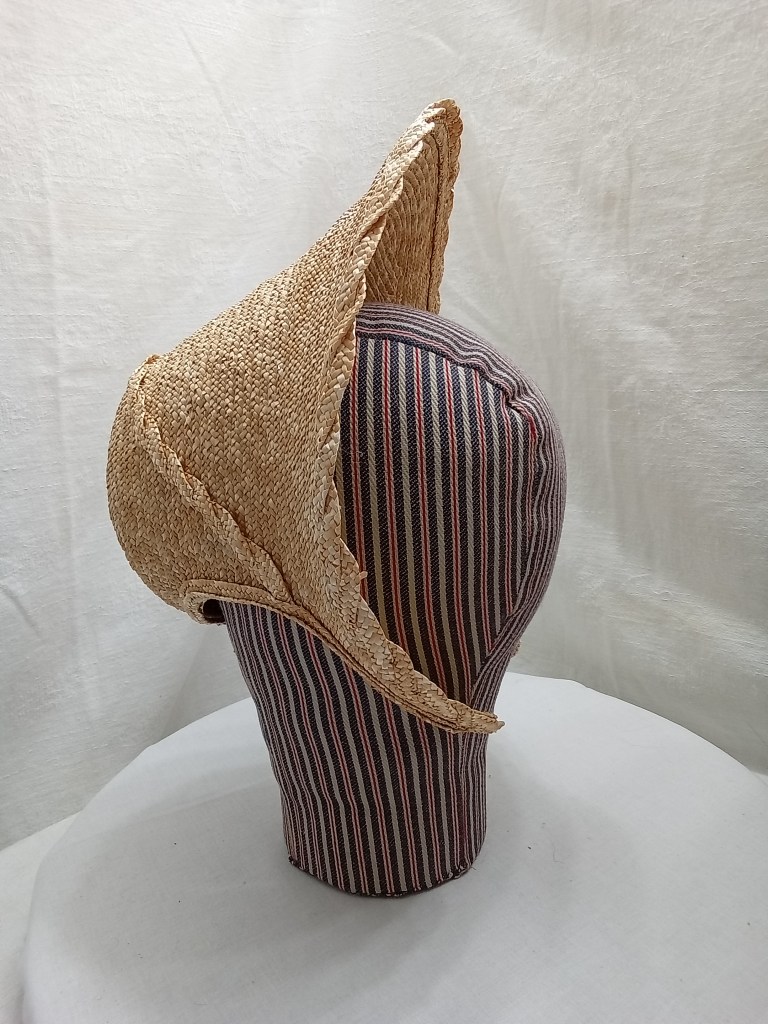
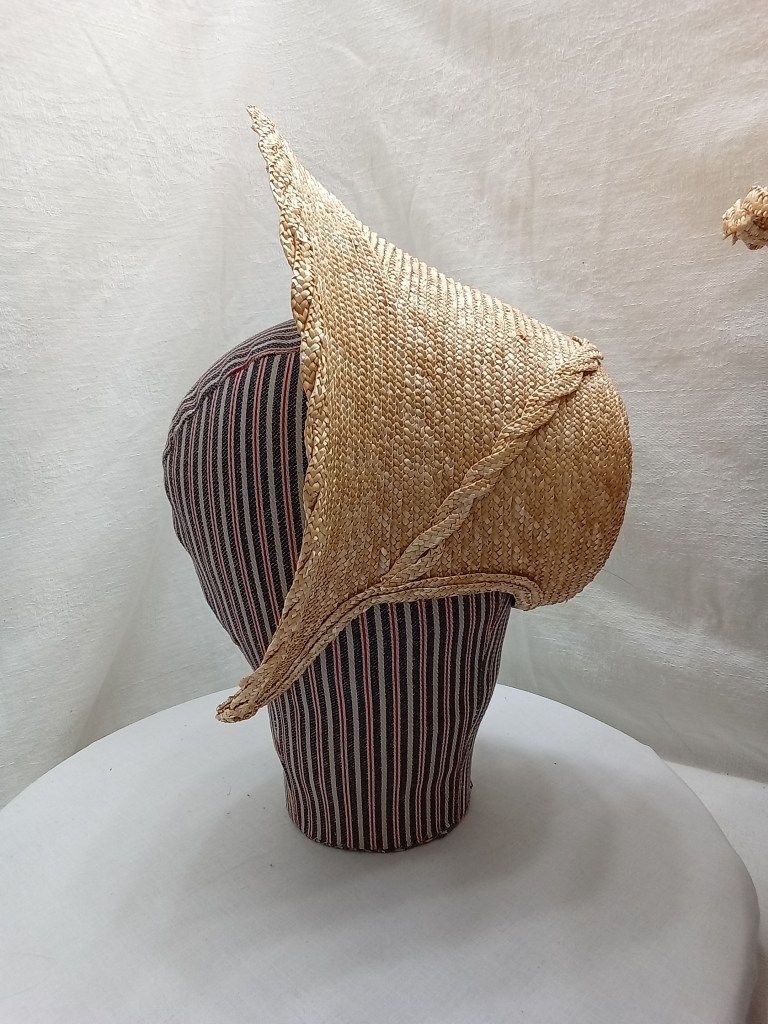
If your bonnet get damp, set it up on a hat/bonnet stand. If you don’t have on make-d0 with something like the back of a chair. Do not lay it on its side because it will warp.
If your bonnet gets particularly wet, try to blot the trimmings so there is no running water. If your flowers are pinned in or on, consider removing them so they will not run on the bonnet itself.
If your boots get wet inside, stuff them with newsprint or fabric to absorb the water. Do Not put them near the fire as they can be damaged. (most warranties do not cover fire damage)
If your corset gets wet, layer it inside material to press out any excess moisture. Drape it over the back of a chair to dry.
What I am working on this week: A new version of my Straw Bonnet Workbook.
I am updating my first work to reflect a better understanding of shaping straw for an 1860s bonnet and using finer straw. The format will parallel my wadded hood workbook, meaning it will include information from my research as well as details from an original and study pieces.
I had hoped to pull off the vast majority of this rewrite this week, spring recess for me. But, some wild thunderstorms slowed me down a little during the first half.
I do have nearly 400 photos of sample pieces and background information narrowed down (mostly) and sorted in order. I anticipate this publication will be similar in length to the wadded hood workbook, around 50 pages. This likely means being divided into two files on Etsy.
I am already envisioning future volumes focusing on an 1840s bonnet and an 1880s capote. I do have a Quilted Hood Workbook started as well.
This morning, I am trying something new. I created a few super-short informational videos in Instagram’s reels (yes, I know I am way behind the times when it comes to personal/millinery use of tech.) Now to see if they will link in WordPress…..
This week’s question comes from a visitor who wants to begin reenacting as a hobby. They are either just starting out or have been reenacting for a short time. In developing their wardrobe, they know they need a bonnet. They ask “What should be my first bonnet?” or “What bonnet should I buy.”
My answer often surprises.
A sunbonnet.
So many women post about just starting and needing a bonnet. They often waste money on a bad fashion bonnet. I would rather see them buy a sensible sunbonnet and save for the right fashion bonnet. But, no. The bad fashion purchase gets worn far too long out of the feeling of remorse for the expense.
A correctly made sunbonnet is a purchase that will last many years. It will protect the wearer’s face, hair, and neck from the sun. It can also protect the fashion bonnet by allowing it to stay “home” in inclement weather.
Do you enjoy reading my blog? Do you find it helpful? Please consider supporting through Patreon or Sending a Tip.
Wearing nineteenth century clothes, we find they fit differently than our modern clothes. The waist is in a different spot. The bust sits differently. Seams are used to accent or de-accent parts of the body. The fit feels different and moving in the clothes is different. The same is true for hats and bonnets. In previous posts I’ve talked about bonnets and perch. Here, we are going to look at how a hat was worn and how it “fits”.
In the 1850s and 1860s, hats were worn much higher on the head than we are accustom to in the twenty-first century. Think about when you wear your modern beach or garden hat. You know that line across your forehead where it sits after a long hot day? You do Not want that. A mid-nineteenth century hat sat higher, at the top of your forehead, at your hair line, or even higher. Take a look at these fashion illustrations from 1860-1862. Notice where each hat sit. In a few illustrations, the front hairline is obviously below the crown line. In others, the crown sits just at this line. The hat sits atop the head, not encompassing it. The curve of the brim is what dips to the eye line, not the hat itself.
What does this mean for you when picking a size?
There are two factors for finding a comfortable fit: Size and shape.
The difference in wear or placement means we measure for a mid-nineteenth century had differently than we do for a twentieth or twenty-first century hat. The modern hat is measured just above the eyebrow. (This is also where many of us measure for bonnets. We want to keep you on your toes.) For mid-nineteenth century, we measure higher, at the hair line. In this illustration, we can see the difference between where the two measurements would be.
These higher, hairline measurements are often smaller than those taken at the eyebrow. A hat worn at this point can be slightly smaller to slightly larger for comfort. So, add and subtract an inch to your hairline measure.
For example: I am 22.5″ around at my eyebrows and 21.5″ at my hairline. The vast land of the internet tells me that the average woman’s head measures 22.5″ to 22 5/8″ around at the modern measuring point. So, I am about average. I comfortably wear a mid-nineteenth century hat that is 19.5″ to 21.5″
General guidelines I use:
Small = Less than 21″ at the hairline (crown less than 20″)
Average = 21″-22.5″ at the hairline (crown 20-21.5″)
Large = Greater than 22.5″ at the hairline (crown greater than 22″)
Just like every head measures a bit differently, they are each shaped a bit differently.
When looking from above, some people have rounder heads while other have more oval heads. Both of these shapes to the right can have a circumference of 22.5″. Yet, the same hat would fit each head differently.
I will try to indicate which hats have rounder crowns or more oval crowns. I am in the process of naming the crowns. Hopefully, that will help.
Back in 2009, I wrote what would become one of the favorite posts on my blog. “Fringe Frustration,” later “Fringing Shawls,” walked through my process for turning a length of wool fabric into a mid-nineteenth century appropriate shawl. Since then, I published Paisley, Plaid, & Purled, going far deeper into shawls. Still, making a shawl from a length of wool is one of the easiest and simplest ways of boosting a waredrobe. Here, I offer an updated look at …
Fringing Your Wool Shawl
The red wool shawl from my original post was a favorite for many years. It traveled to event after event with me. Eventually, it traveled across the country on my first plane trip, which found me stuck in a wild storm being bounced from flight to flight to flight. By the time I reached my destination, I had scarring blisters on my feet, and my red shawl accidentally found its way into the washer and dryer, where it fulled up on itself. The wool became soft and cuddly, but the shawl was no longer usable as a 19th-century shawl.
The core of my shawl research focuses on the 1840s through 1860s. During this time, most shawls were fringed on two or four sides. This applies to wool, silk, and cotton shawls. As a shawl’s fringe was often made from its warp and weft threads, a squared shawl was fringed on the grain. The shawls I have observed have had fringe ranging from 3 inches to 10 inches in length.
The large, long, scarf shawls of the earlier Regency era tend to be fringed on the short sides. Again, the length of fringe varies.
Helpful hints before starting
Make sure you purchase plenty of extra length to work with. I often find merchants do not cut along the grain. If your fabric is not cut on the grain, you will lose length on one or both ends.
Have a lint basket nearby. This works much easier than a bag.
You might also want a lint brush to clean up with.
Pick up your favorite movie or audio book from the library. You will need several hours of video or audio.
Purchasing Your Fabric
~ For a long, scarf shawl (1800-1820s), you will need a length of fabric approximately 3 yards long by half width of the wool. This means you may be able to get two shawls from 3 yards of wool.
~ For a square shawl (1830s – 1870s), you will need the width of the fabric, plus twice the length of fringe, plus waste. For example: The fabric width is 60″. You want 5″ fringe on each end. There is approx. 1.5″ waste on each end. You will need 60″+10″+3″= 73 inches.
~ For a long shawl or double square shawl (1850s – 1880s), you will need twice the width of the fabric, plus twice the length of the fringe, plus waste. For example: The fabric is 60″. You want 6″ fringe. There is approx. 1.5″ waste on each end. You will need 120″+12″+3″=135″. If you are working with a plaid, stripe, or check fabric, you may need additional length in order to have a balanced design. Be sure to lay your fabric out on the cutting counter to double check you measurements.
Squaring your fabric
Sometimes, fabric becomes wabbly or off grain when rolled or stored. If the warp and weft threads of your fabric are not nearly perpendicular (at 90-degree angles), you will want to square your fabric up. This is a good time to get familiar with the warp and weft of your fabric.
You will need a large, flat, traffic free space for this. Double check prior to doing this that your fabric is color fast. Otherwise, you may stain the drying surface.
At each end of your fabric, snip at the selvage and tear the fabric along the weft threads. Do this at each end. This will create a straight edge along the weft. Wet your wool fabric. Do not agitate it as this can cause your wool to shrink. Press out excess water. Lay the fabric out flat using a quilter’s rule to square the edges. Place weight (jars of food work well) on each corner and side. Allow your fabric to dry.
Step 1 – Setting the depth of the fringe
You can create fringe on two opposing or all four sides of your shawl. To fringe the selvage sides, you will need to remove the selvage edge either by ripping/cutting it away or unpicking it.
At one cut end of the fabric, measure in from the end the desired length of your fringe. Mark your measurements along the width of the fabric. Repeat this at the opposite end of the fabric or all four sides.
Using a seam ripper or embroidery scissors, carefully snip the weft thread that passes through these markings.
With a thick needle or small crochet hook, carefully remove this weft thread. The space created by removing this thread becomes your measurement guide in the next step. If this line is not easy to see, remove a second weft thread in the same way. Repeat this process at the other cut end of fabric.
Step 2 – Sectioning
It is easier to fringe in sections, removing short pieces of weft rather than long lengths. Make cuts, dividing the width of the fabric into 2 inch sections. To do this – Cut along the warp threads from the cut end of fabric to the removed weft line you created above. Repeat this on the opposite end.
Step 3 – Fringing
Here is the fun part! Put a movie or audio book in the player. Using your fingers, large needle, crochet hook, or anything you think might help, remove the weft threads from each section. I find it easier to alternate from working vertically to working horizontally, removing threads.
Step 4 – Finishing
You can finish your fringe in a few ways; knotting, hand stitching, or working a weft thread back through the fabric.
One of the simplest ways to finish as shawl is to stitch along the fringed edge. Using a matching thread, make a sort-of back-stitch and whip-stich combination along where the fringe meets the fabric. Go forward 5-7 warp threads at the fabric edge, then back three threads and up tree warp threads, catch the stitch, and go forward. This sounds much more complicated than it is. Picture to come.
A method used before taking a shawl off the loom is to work the weft thread back through the edge. This process could be attempted if you can save enough of your weft thread. I have not yet tried this.
For knotting your fringe, I suggest an over-hand knot (as you would knot the end of thread) instead of a square knot (as you would start your shoe laces), because a square knot tends to pull threads together creating a puckered look. If you are going to do multiple layers of knots, creating a nice diamond pattern, I suggest starting with an overhand knot rather than continuing with a square knot for a flat diamond pattern.
Original double square shawl with a symmetrical plaid.Small scale symmetrical plaid shawl made from wool fabric.Medium scale symmetrical plaid shawl made from wool fabric.
Mistakes to Avoid
Wrong weave – Most woven wool shawls were a plain or simple twill weave. For making a shawl this way, a weave that pulls apart fairly easily will be preferable to one that sticks to itself.
Wrong weight – One of the most common mistakes I see is choosing a weight of wool fabric that is too heavy for a shawl. Most original shawls were lighter weight, folded to get warmth though layers. Look for a tropical, light, or medium weight wool. Avoid heavy and coat weight wool.
Wrong design – Choose a solid or symmetrical plaid for your shawl as these will beset reflect common shawls of the century. Avoid prints, asymmetrical plaids, and jacquard designs for the vast majority of the century.
In celebration of Women’s History Month, each day I will add a new book to this list. The growing list contains favorite books from my book shelf as well as many books from my own wish list. (I annotated these BS and WL in the list.)
You will notice my list focuses on the everyday lives of women, mostly in 19th Century America with a dabbling of further connection.
I hope you find some new additions to your reading list. Each book is available through your local library, book seller, or Amazon.
Employments of Women by Virginia Penny (Primary) (BS)
Novel Craft: Victorian Domestic Handicraft and Nineteenth-Century Fiction, by Tilia Schaffer (WL)
The Dress Diary: Secrets from a Victorian Woman’s Wardrobe by Dr. Kate Strasdin (WL)
Female Economy: The Millinery and Dressmaking Trades, 1860-1930, by Wendy Gamber (BS)
American Milliners and Their World: Women’s Work from Revolution to Rock and Roll, by Nadine Stewart (WL)
An American Girl’s Book, by Eliza Leslie (Primary) (BS)
Women in Business, 1700-1850, Nicola Phillips (WL)
Eliza’s Story, by Eileen Hook (BS)
Maritcha: A Nineteenth-Century American Girl, by Tonya Bolden (WL)
Untidy Origins: A Story of Women’s Rights in Antebellum New York, by Lori D Ginzberg (BS)
Only the Clothes on Her Back: Clothing and the Hidden History of Power in the Nineteenth-Century United States, by Laura F. Edwards. (WL)
The Chinese Lady: Afong Moy in Early America, by Nancy E. Davis (WL)
All That She Carried: The Journey of Ashley’s Sack, a Black Family Keepsake, by Tiya Miles (BS)
Women and the Law of Property in Early America, by Marylynn Salmon (WL)
Face Value: The Consumer Revolution and the Colonizing of America, by Cary Carson (WL)
Threads of Life: A History of the World Through the Eye of a Needle, by Clare Hunter (BS)
Buying into the World of Goods: Early Consumers in Backcountry Virginia, by Ann Smart Martin (WL)
Village Life in America, 1852-1872, by Caroline Cowles Richards (Primary) (BS)
Material Lives: Women Makers and Consumers in the 18th Century, by Serena Dyer (WL)
The Business of Charity: The Woman’s Exchange Movement, 1832-1900, by Kathleen Sander (WL)
Bound in Wedlock: Slave and Free Black Marriage in Nineteenth Century, Tera W. Hunter (WL)
The Wrongs of Woman: Milliners and Dressmakers, by Charlotte Elizabeth (Primary) (BS)
An Intimate Economy: Enslaved Women, Work, and America’s Domestic Slave Trade, by Alexandra J. Finley (WL)
Mothers and Daughters of Invention: Notes for a Revised History of Technology, by Autumn Stanley (BS)
Sisters in Spirit: Haudenenosunee Influence on Early American Feminists, by Sally Roesch Wagner (WL)
Vanished Arizona, by Martha Summerhayes. (A recommendation from Marna Davis.)
Shirts Powdered Red: Haudenosunee Gender, Trade, and Exchange across Three Centuries, by Maeuve Kane (WL)
The Lucky Ones: One Family and the Extraordinary Invention of Chinese America, by Mae M. Ngai (A recommendation from Anneliese Meck)
Polly Bemis: The Life and Times of a Chinese American Pioneer, by Prascilla Wegars. (A recommendation from Anneliese Meck)
Letters of a Homesteader, by Elinore Pruitt Stewart. (S recommendation from Marna Davis.)
This morning, after a silly unfolding of Monday-morning-pre-caffeine happenings, I stumbled upon a delightful video featuring my Lappet style Quilted Winter Hood.
I don’t know if I am more thrilled by how Marie introduced my digital pattern or that she chose it for the role as Beth’s hood.
Nearly two decades ago now, I created a Straw Bonnet Workbook for local weekend long workshops making straw bonnets. I made the workbook available in print, then digitally. The workbook showed how to make a handsewn straw bonnet using straw plait. A handful of years ago, I took the directions down as I felt they were out of date with my current research & techniques, and needed to be updated. With all the things that are life, that project has fallen through the cracks.
Seeing this video, more specifically, the work put into the bonnet, re-writing my straw bonnet workbook has moved up my project list.
I am reposting favorite helpful posts each Monday throughout March, April, and May.
My recommendations for a basic hair kit: ● Straight hair pins ● Faux tortoise hair pins ● Plain black elastics ● Hair Pomade ● A Plain net or two ● Faux horn hair comb or two
I am lucky enough to be able to purchase these items in person, including the straight hairpins during a day trip through the Finger Lakes. Not everyone has similar local resources. With this in mind, I am including two shopping lists: one that can be done online from home and one that can be done mostly in person. The online list supports small businesses, with the exception of one item through Amazon.
***Note – I originally did this video and pricing a couple years ago. Some prices have changed.***
Shopping from home: Order from Timely Tresses: ~~1 set of faux tortoise hair pins $4.00 or 4 chignon faux tortoise hair pins $5.00 ~~1 plain hair net $4.00 ~~1 back comb $4.00 or 2 side combs $4.00 Amazon: ~~2 sets of 12 straight hair pins in 2” or 3″ and 2.5” $12.00 Talbott and Co on Etsy: ~~1 tin of pomade $14.00
Shopping mostly in person: Local pharmacy: ~~Plain hairnet $2 for a set of 3 ~~Faux tortoise hair pins $3 ~~Hair elastics $2 Amish dry goods shop: ~~Straight hair pins 2 sets for $4 Talbott and Co on Etsy: ~~1 tin of pomade $21 (new 2023 prices)
Are you one of the many readers enjoying my millinery blog posts? Consider becoming a Patreon patron. Doing so helps support my work and helps me write more useful articles. https://www.patreon.com/AMillinersWhimsy