Where:Genesee Country Village and Museum in Mumford, NY
When:February 17th and 18th
Find me in the Town Hall for a meet & greet with local Upstate New York authors. I will have signed copies of Fanciful Utility available for purchase. My display will have print copies of my e-publications paired with samples to see in person.
It has been a long time since I’ve done an in-person event focused on Fanciful Utility. This will be a first for all of my books. I hope, if you are in the area, that you will be able to stop out and say hi.
PS – I will also bring Clara’s bookmarks.
Also Happening on Site:
The Wehle Gallery will be hosting a building tour of the Stuart B. Bolger Library. They will also have a mini display exhibit on some watercolor books in the collection!
The Nature Center will be hosting a K-8 read-a-thon where they are inviting kiddos to bring their favorite blanket and book and read with nature. There will be read aloud story time and a themed hike through the woods to look at some animal tracks and trees found in the books in their collection.
The Historic Village will be talking about book sellers, book binding, paper making, mailing letters, and more.
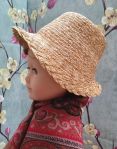
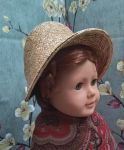
Initially, I was going to do a post today showing you the cute trio of doll hats I made with blocks I bought. Then, I realized some of you might be asking what is with the doll millinery lately? Why are you making doll hats? Where are the regular 19th century hats & bonnets?
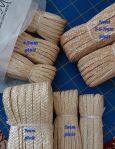
It comes down to straw supply. I keep hearing from my millinery suppliers that there is a material shortage. Simply straw isn’t getting braided into plait, and they don’t have the plait I need. For the list of human hats I have on my wish list, I have a very limited supply of the straw in the upper right. I have been trying to order 6-7mm straw to match the witdh of the dyed straw plait available. My preferred vendor messaged they only had the widths a available at the bottom. One being a very durable plait that makes a strong hat, but can also be tougher on the hands. The other being the same width I have a stash of. I tried a vendor I previously used for years, ordering their 5-6mm straw. What arrived is the same as my growing stash of narrow plait.
I have quite the box of this narrow 4-5mm straw plait.
This narrow plait is great for small doll millinery.
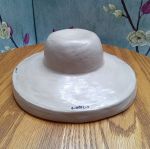
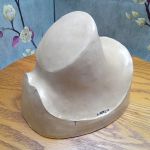
So…. I started trying to make some doll millinery blocks and ordered a few. Luckily, I found a few at affordable prices.
I should back up. Previously, I have made doll size straw millinery. I even taught a Millinery in Miniature class. I have avoided selling them because I find doll heads difficult to fit. With their porcelain hair arrangements or apple shaped heads, accurately shaped bonnets don’t often fit. Bonnets need to be adjusted and distorted. Hats are a good bit easier.
Back to the present.
With a stash of narrow straw and what appeared to be a strong, positive response to doll millinery in the fall, I decided to make more doll pieces.
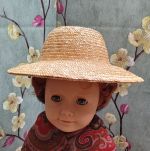
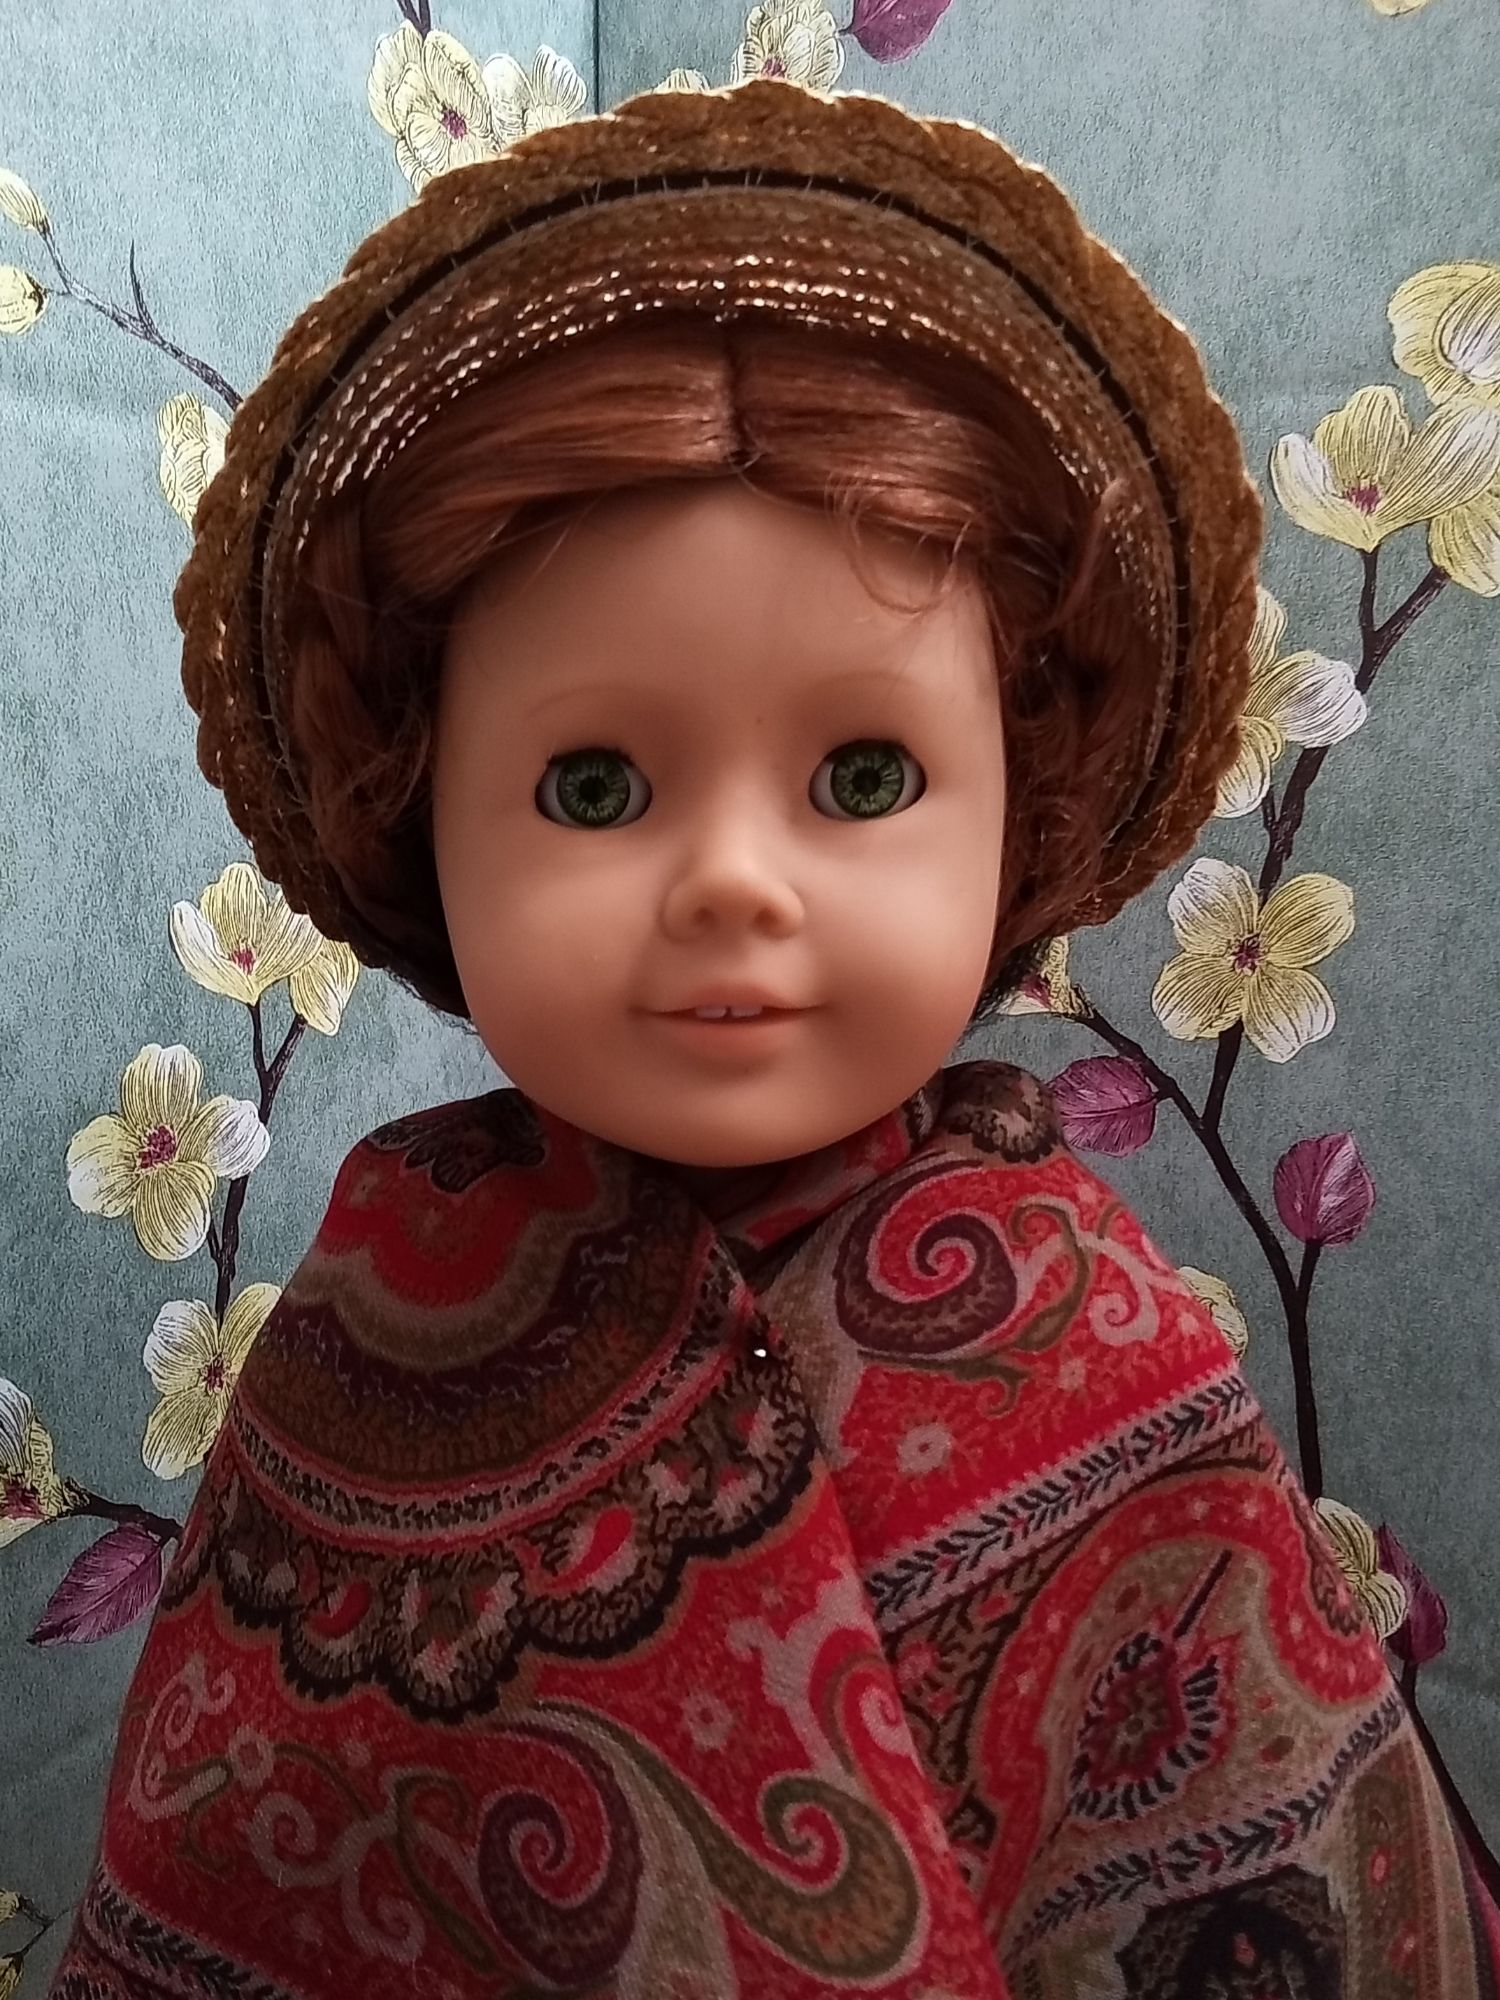
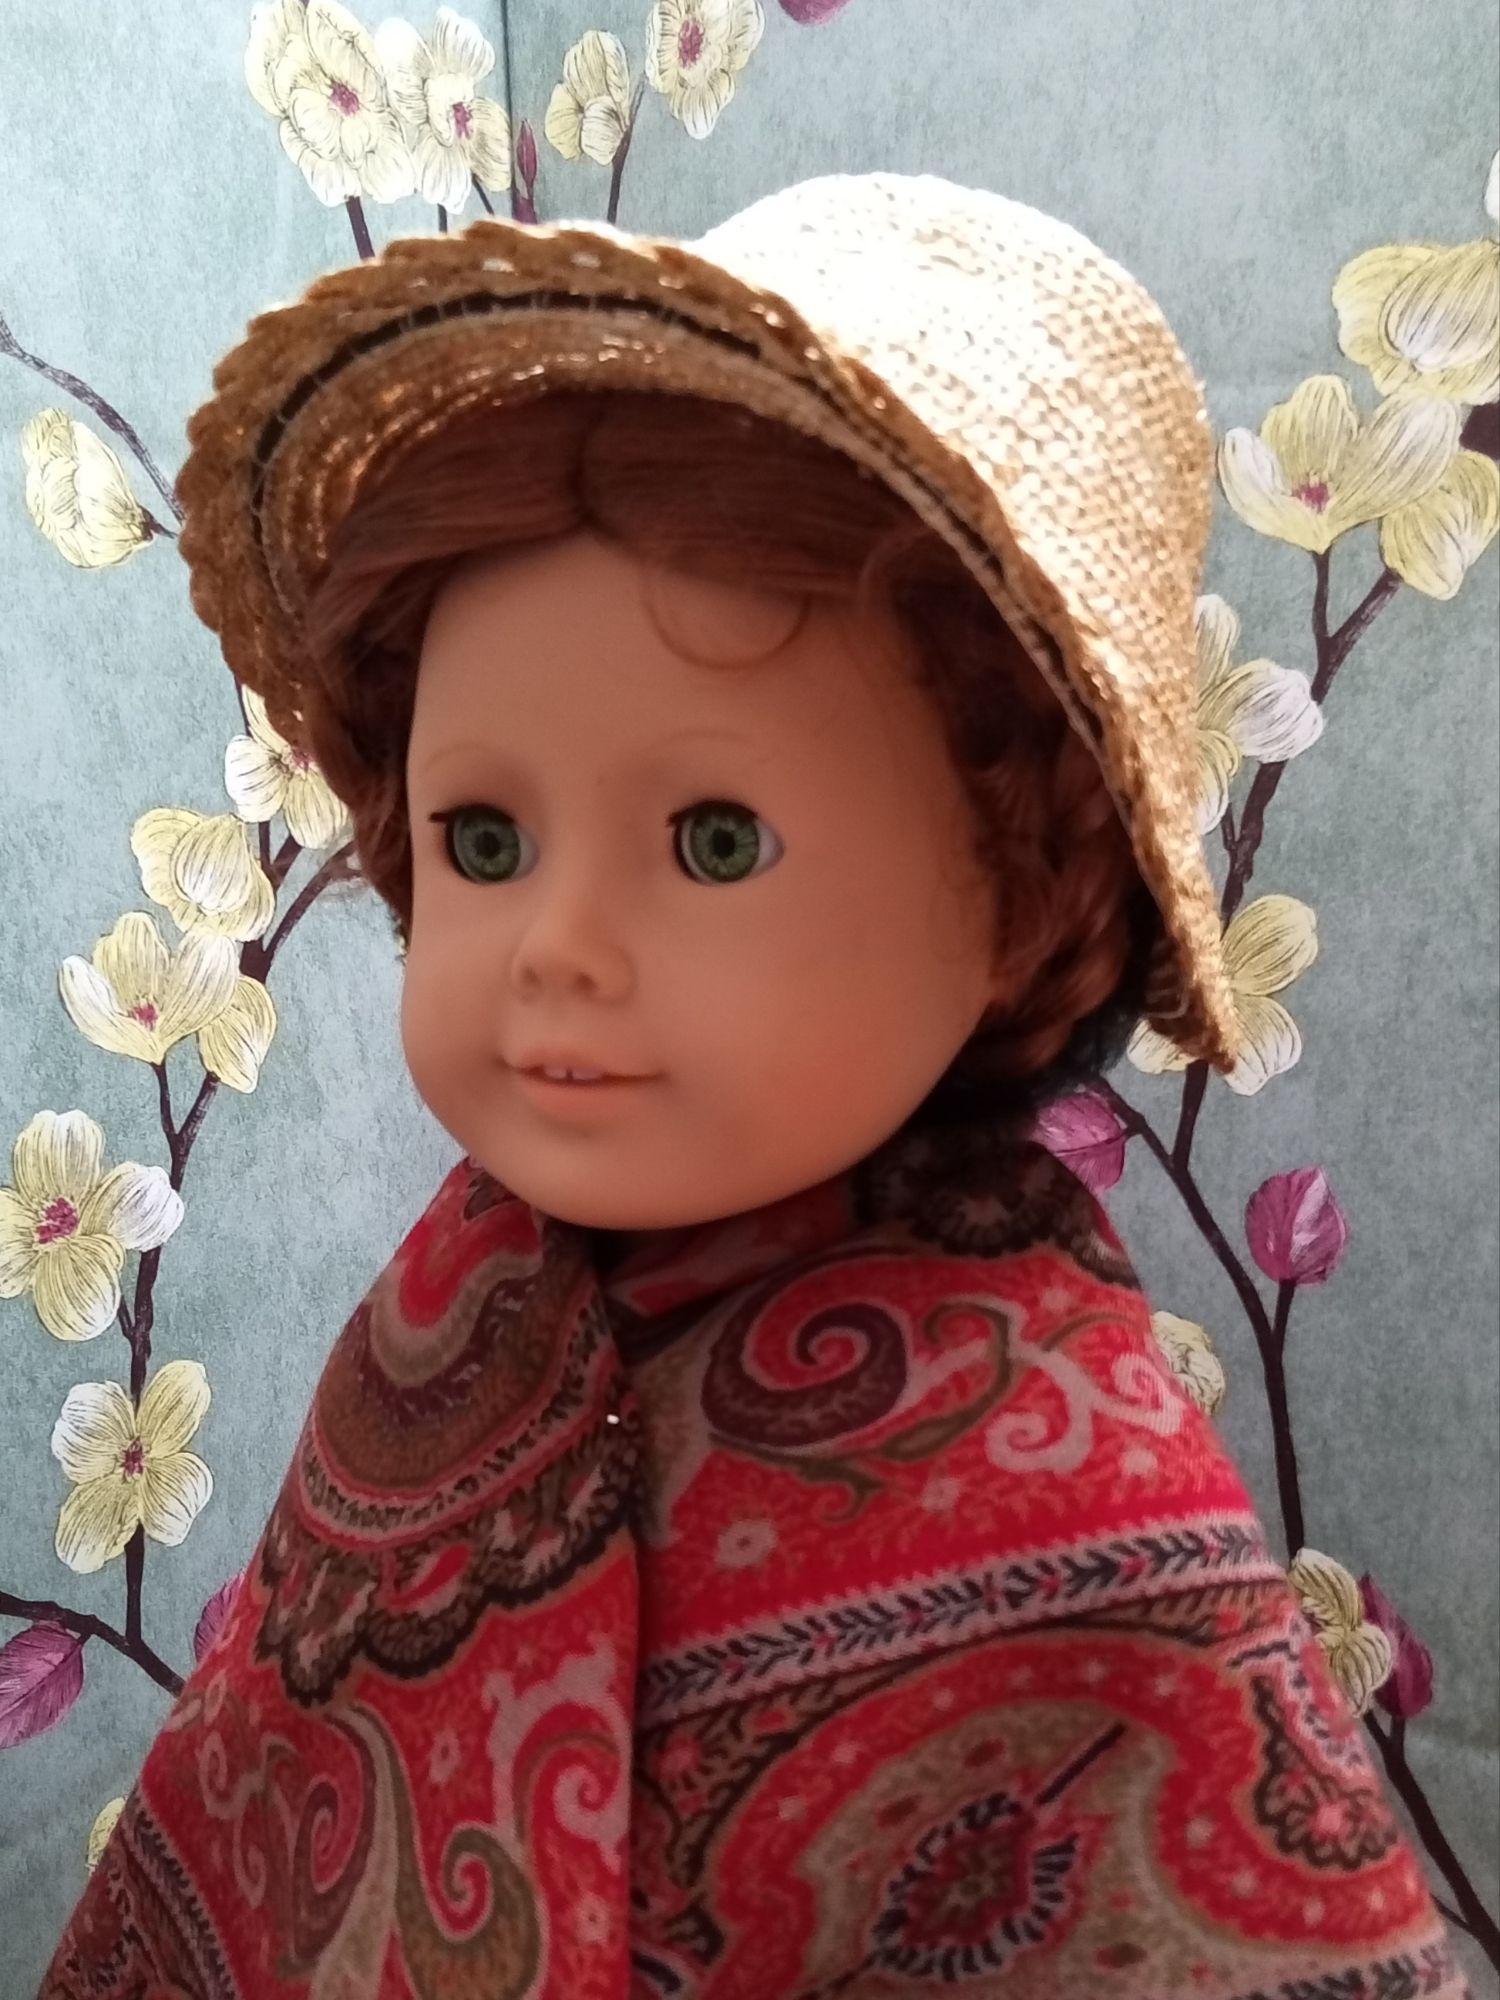
This week, I focused my work on the larger doll blocks that arrived. These are millinery pieces for dolls with 12″-13″ head circumference. As you can see, each piece nicely fits a modern 18″ doll. (I have 1 more block on the way.)
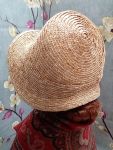
I sewed each as I would a full size hat or bonnet, starting with the crown and working forward. I tried to create the layering I would expect on the pieces if they were full size. Each piece took about 5 hours of sewing, blocking, and wiring. I used almost a whole hank to make the three pieces.
I did try to ease down the brim of the middle bonnet because the block was so similar to an original millinery block in my collection. The difference being the up turned brim front.
Yes, I will be adding these to my Etsy shop. I have to decide whether to over them as a set or individually.
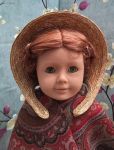
While she was wearing the cute Paisley shawl, I took another photo with her spoon bonnet.
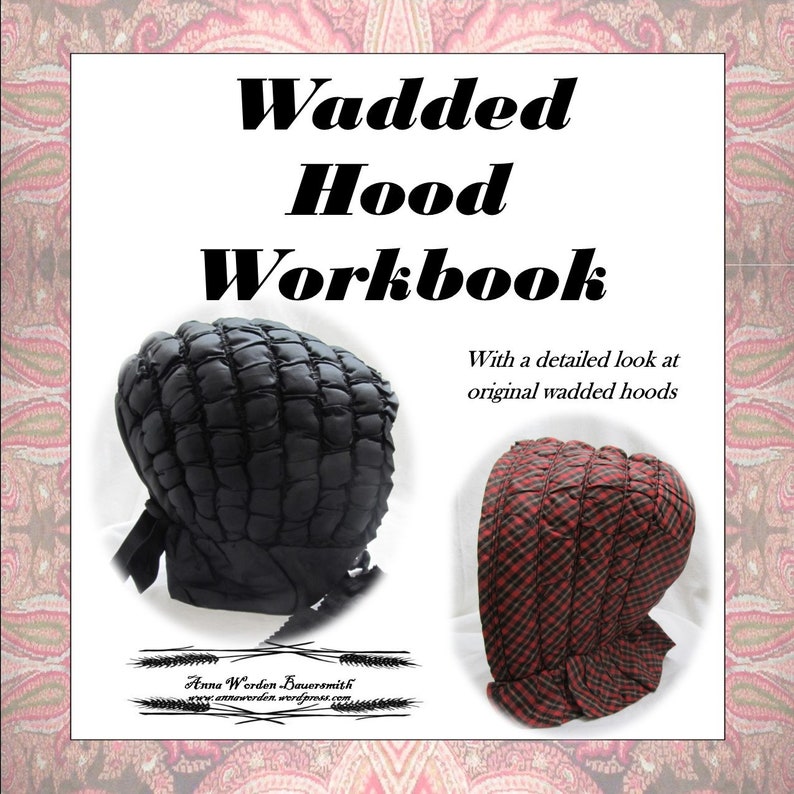
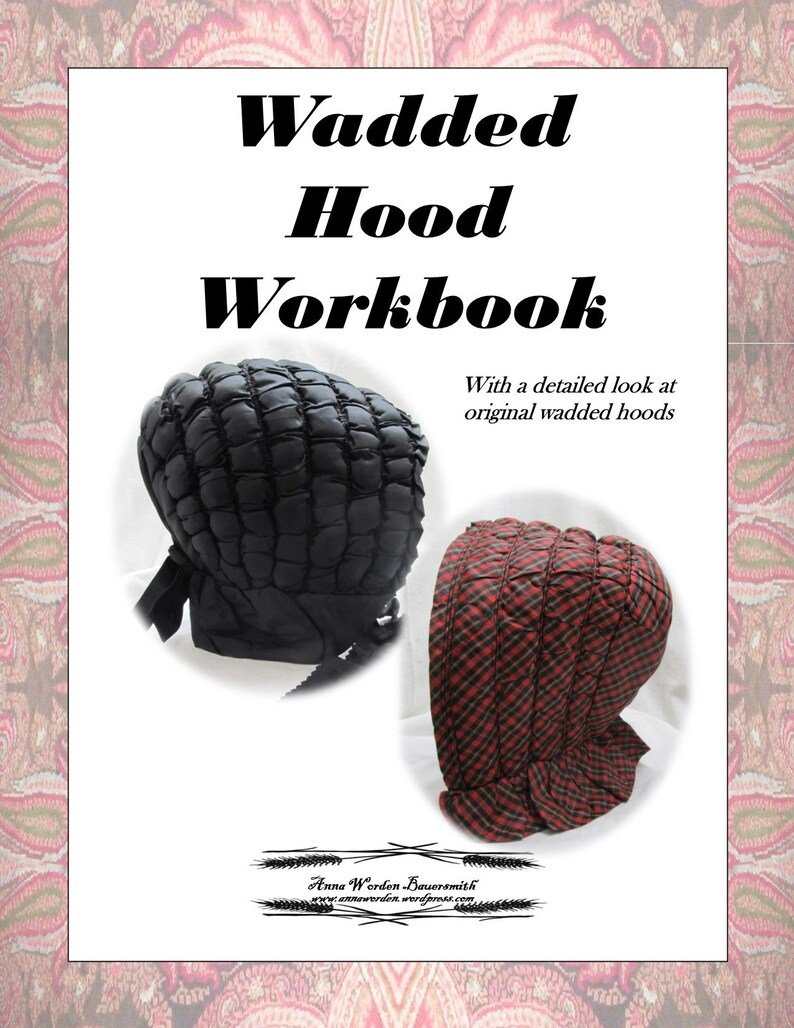
When I started writing my publication on wadded hoods, I realized a standard pattern format wasn’t going to cut it. I needed to share their story as well as how to make them. Thus, the idea of a comprehensive workbook developed.
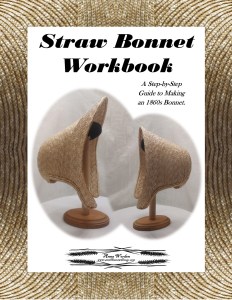
I now have 3 workbook style publications available: my Wadded Hood Workbook, Quilted Winter Hood Workbook, and Straw Bonnet Workbook.
Each Workbook begins with a look at original examples, highlighting key details of construction, technique, and material choice.
The second part of each Workbook walks you through making an accurate hood or bonnet of your own. The winter hood workbooks include pattern pieces and directions for making different styles directly based on originals. The straw bonnet workbook shows the process for making two different styles.
The directions are heavily accompanied by images showing the steps and methods of construction. I included tips to aide in enhancing the longevity of a piece, with site costuming in mind.
She is wearing plaid lappet style winter hood. The plaid is cut on the bias for the brim. It may be silk or wool. There are extant lappet hoods of both wool and silk.
A lappet style winter hood is distinguished by its elongated cheektabs reflecting the look of a lace lappet. These extended cheektabs align with a deep brim that comes forward of the face. Lappet style hoods are batted thinner than many other hoods. This makes it easy to fold back the brim. Laid flat, this deep brim and long lappets can protect the face. Folded back it allows for ease of vision.
This style hood is distinct among its quilted and wadded counterparts, yet lacked a name. The distinct long, wide cheektabs so similarly reflect a lappet’s shape and position of wear, the name lappet became obviously appropriate.
Lappet style hoods are found with three piece construction and two piece construction.
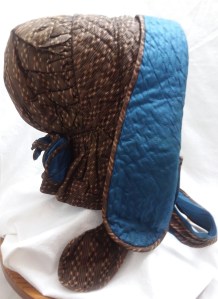
This lappet style hood is a three piece construction. The exterior uses two different brown stripe silks: one for the brim and bavolet, one for the crown. The lining is a bright blue solid silk taffeta. The ties and back bow are made from the brown stripe silk and the blue lining. For more details.
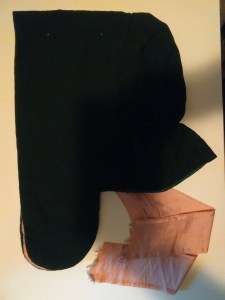
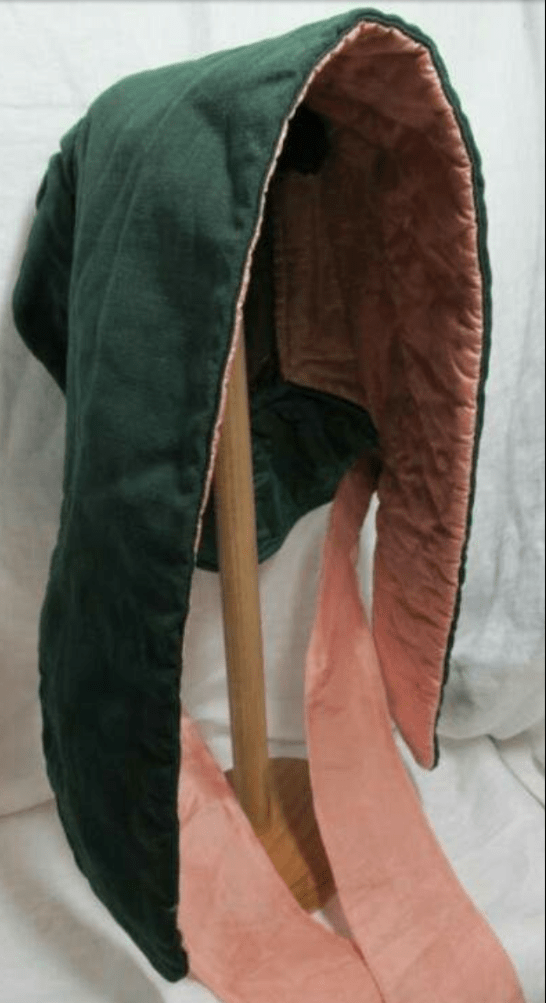
This hood is a three piece construction: crown, brim, and bavolet. This example has a green wool exterior and pink silk interior for the brim while the crown and bavolet are lined in green polished cotton. The pink silk interior would be visible if the brim was turned back. In most of this style, the neck edge of the crown, where the bavolet is attached, a channel is created so it can be drawn up for fit.
This next hood is a two piece construction: a combined brim/crown piece and a bavolet. Notice the bavolet length is on the longer side compared with other styles of winter hoods. This hood had the same green with pink color combination as the one above, but the exterior and interior are both silk.
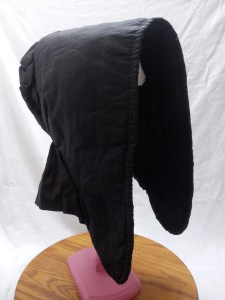
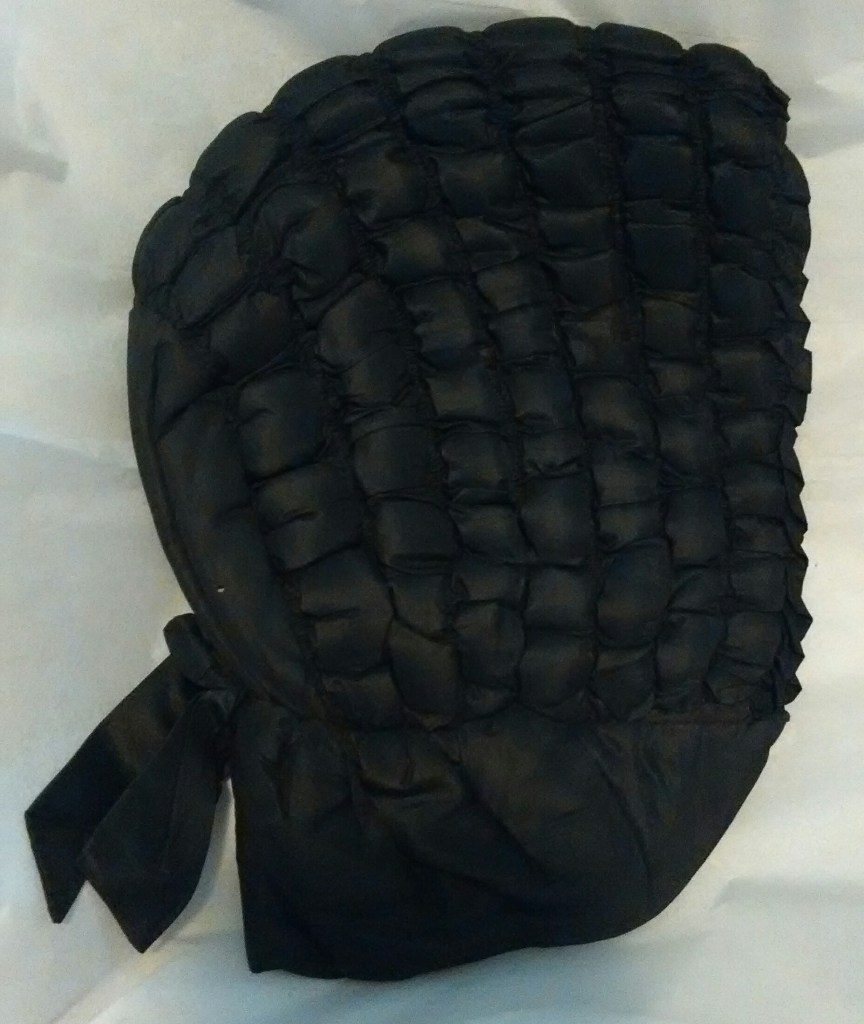
This all black example is a three piece construction with an silk exterior and interior. You can see a line where this brim was turned back.
Lappet style hoods in other collections:
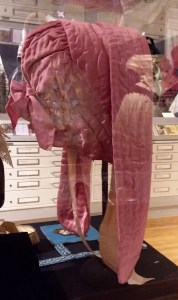
This pink lappet style hood is currently on display at the Genesee Country Village and Museum. It is shown with the brim turned back. You can see how the neck edge of the crown can be drawn up inside for comfort and fit.
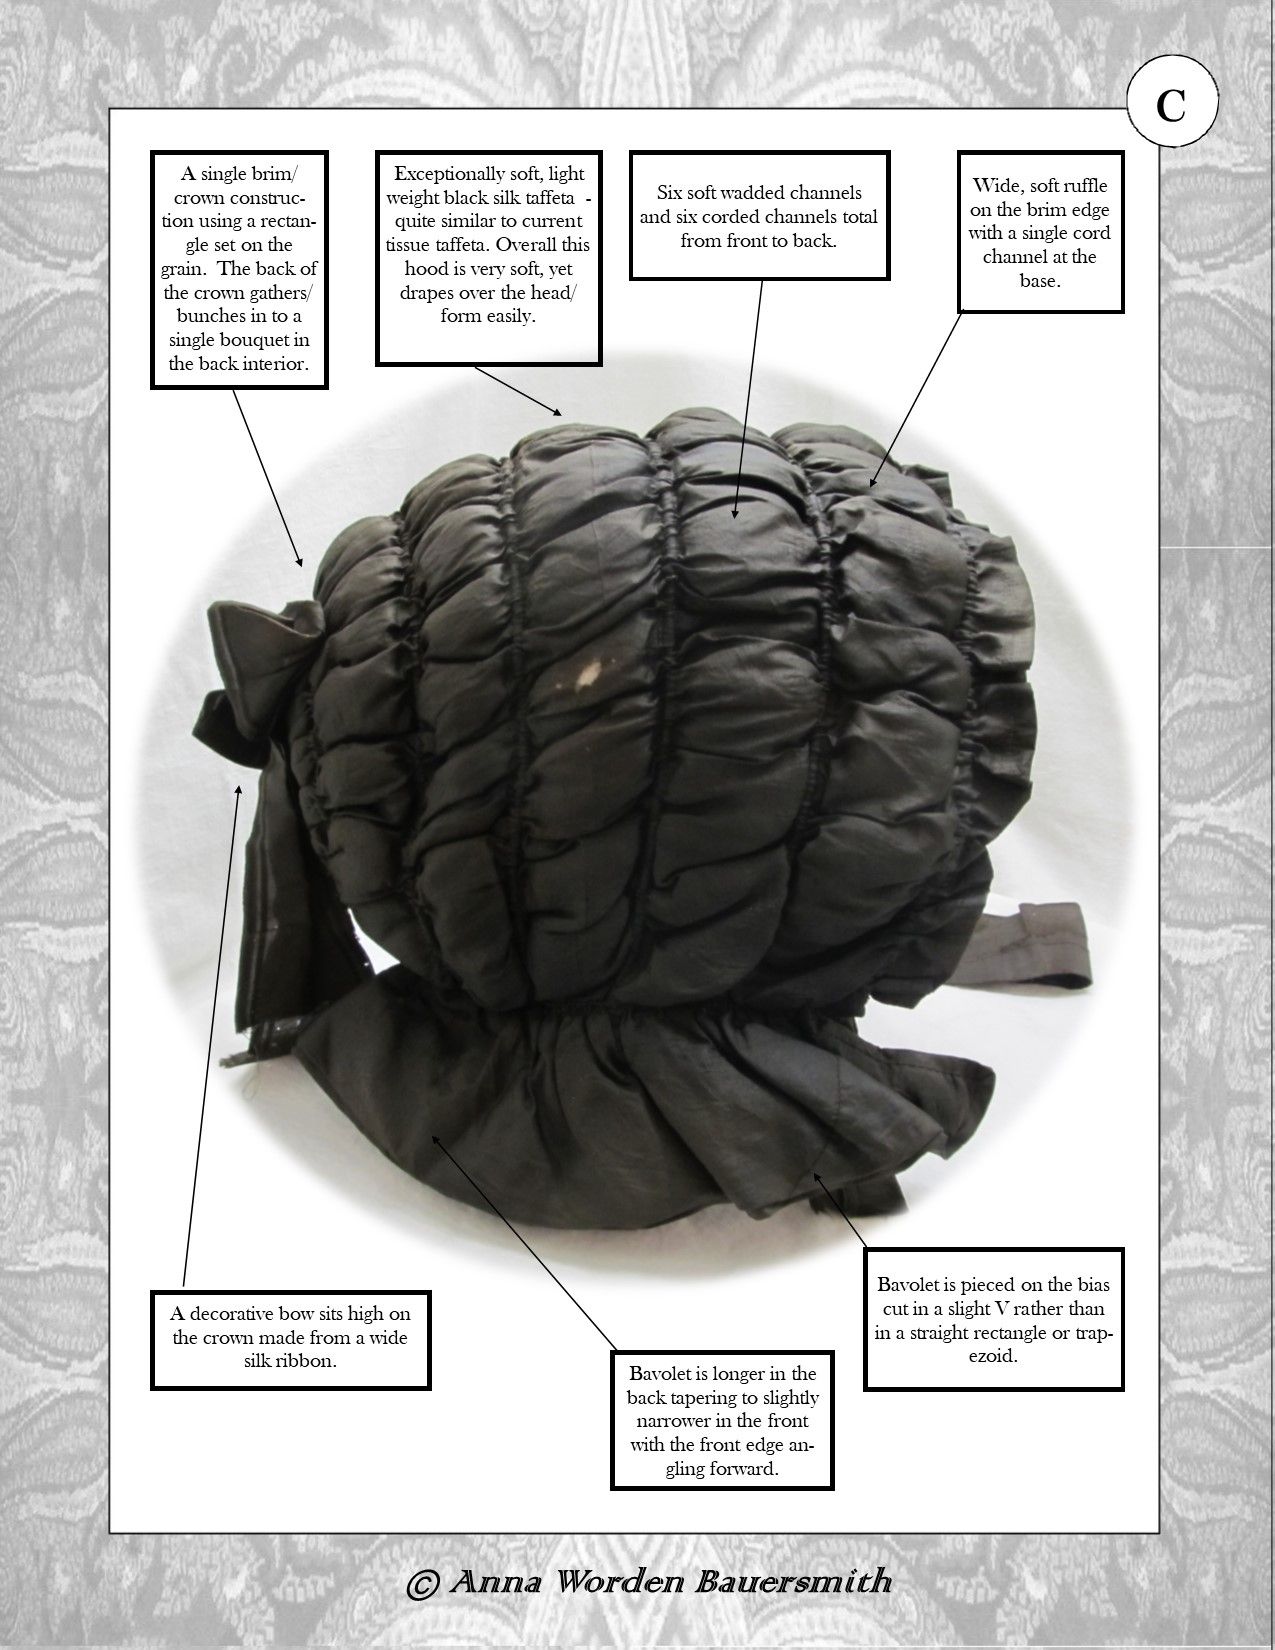
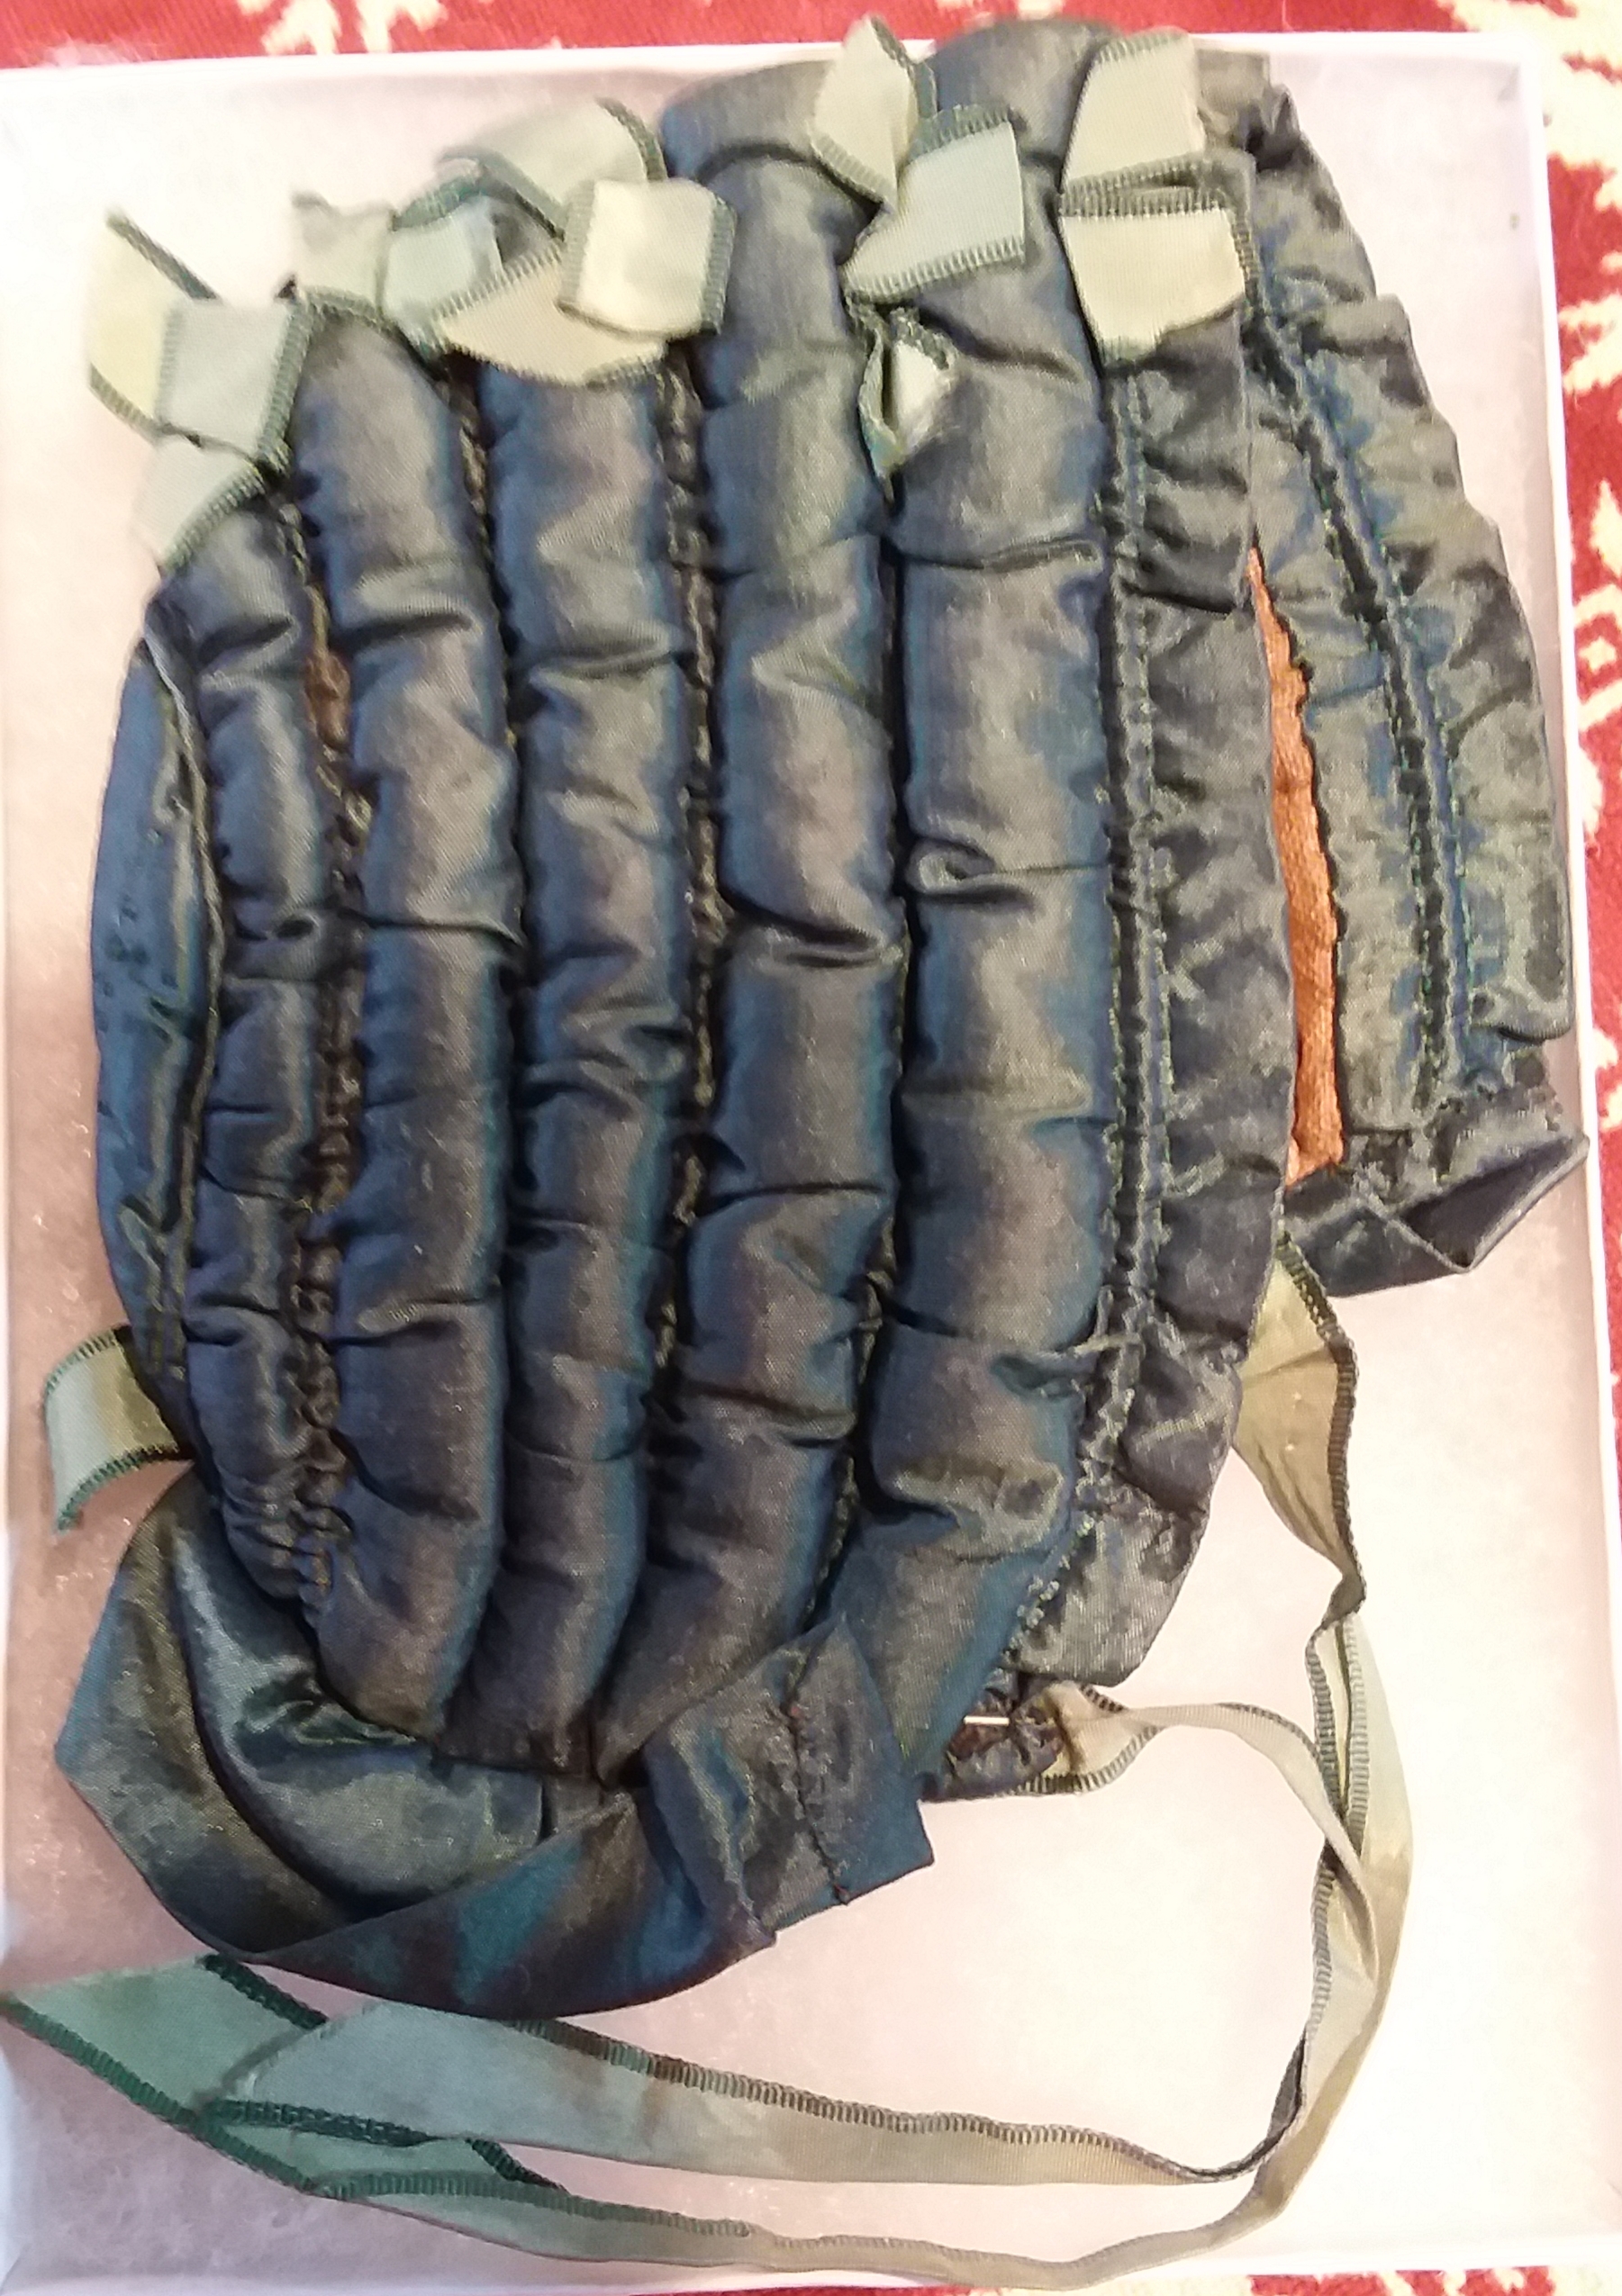
A “Pumpkin” hood or bonnet is a wadded bonnet, most commonly made of silk on the exterior and polished cotton, cotton or silk on the interior. Wide, full channels are filled to a full loft with wool batting either lightly or densely. The channels are separated by smaller channels, single or multiple, that are drawn in by cord or ribbon. The front brim may or may not have a decorative ruffle, attached or tucked from the base exterior fabric. These usually have a petite to moderate bavolet either lightly filled with batting or without batting.
Some other terms that seem to apply: Wadded bonnet/hood, “Ugly”, a “Kiss-me-quick”.
How early were these worn?
Most museums seem to start their dating of wadded, pumpkin style hoods in the second quarter of the century. Some do push earlier, as far as the late 1700s/early 1800s, such as this example from the Boston Museum of Fine Arts.
As domestically made winter hoods were a utilitarian garment rather than a fashionable one, their appearances in fashion literature is limited. I see one set of passages referencing a wadded hood or bonnet, drawn in, worn close to the face that may help us give wadded hoods drawn close to the latter 1830s:
In the Ladies Pocket Magazine, of 1838, London, we see a mention of wadded bonnets as a fashionable item. Of English fashions – “Wadded bonnets which before were very much in vogue, are now almost the only ones adopted in promenade dress, and it must be confessed nothing could be better calculated for the season, particularly when they are worn, as in often the case, over a blond morning cap of the demi-cornette form.” (In this passage, wadded pelisses and wadded mantles are also mentioned.) Of Paris fashions “Winter has set in with all its rigour, but that is of little consequence to our elegantes, who, occupied with the grand dinners, balls, and fetes that are always given in the commencement of winter, have deserted the promenades. Novelty in out-door costume is consequently out of the question, velvet or satin mantles, which are trimmed and sometimes lined in fur, that their busts are defended by a large fur palatine, their hands doubly shielded by fur cuffs, and a muff, and their pretty faces guarded by a large wadded bonnet, which completely meets under the chin, we have said all that can be said of out-door dress.” The year prior, the same publication tells us: “We may cite with confidence, among the new bonnets will be very fashionable, the capotes a conlisse ouatees, or wadded drawn bonnets; the are a most comfortable head-dress, composed of satin or pou de soie, lightly wadded, and simply trimmed with ribbon. They differ a little in shape from the other bonnets, sitting closer round the face.” This may or may not be the beginning point of the wadded, pumpkin style bonnet. Neither publication includes an illustration of this practical winter wear in the midst of the popular large bonnets of the era.
In that same time period, we see wadded and quilted hoods/bonnets constructed for children in The Workwoman’s Guide. The illustrations suggest the quilted versions have larger crowns that are volumous in some cases. It is important to note the difference between this shape and the Pumpkin shape. I believe this is the construction that evolves through the rest of the century as the quilted bonnet.
Blackwood‘s suggested I should look at “quilted wadded capotes” as well as “bonnets” and “hoods”. Though, this February and March 1843 Peterson‘s suggest capotes were quilted, rather than wadded with loft.
One of only photographs clearly depicting a wadded “pumpkin” style bonnet/hood is a bit of tease. While taken in 1897, the photograph does not show contemporary/current wear, rather historical costume wear. This photograph is held by Deerfield.
Were they worn during the Civil War?
Yes, evidence suggest wadded hoods were worn in the 1860s. The 1860 painting, School Girls, by George Augustus Baker, shows the girl on the left in what could be a red silk wadded pumpkin bonnet. The artist did several studies for this painting, including Little Girl in a Red Bonnet,which is undated.
Examples:
Learn more about Wadded Hoods and How to Make Your Own in my New Wadded Hood Workbook.
With busy schedules, taking on a project, particularly a new project, can seem overwhelming. Even after years of making winter hoods, I find switching from my rhythmic sewing for straw to construction sewing for winter hoods to be a big shift.
I find I need to break each hood into steps I can do after work. These steps give me an achievable goal and a sense of completion.
Here is my recommendation for working through my Quilted Winter Hood Workbook. Each of these is meant to be achievable in an evening. This pace completes hoods A & C in two weeks, while hood B will take a few more days for quilting.
Read Part 1
Read Part 2
Print pattern pages. Tape together and cut out the pieces you need.
Layout and cut fabrics & batting
Mark quilting lines. Make bias and piping.
Start quilting the brim.
Continue quilting the brim.
Finish quilting the brim.
Quilt the crown.
Assemble & quilt the bavolet.
Bind or pipe the brim (varies by style)
Attach the crown.
Attach the bavolet.
Finish interior and add ties.
For many, a quilted winter hood can be made in a weekend of handsewing. I would recommend reading in advance. Do steps 3, 4, & 5 on Friday evening. Start Saturday morning with quilting steps 6 to 10, accompanied by a good audiobook. Sunday, commence binding or piping, and assemble the hood through the finish.
Keep in mind that everyone works at a different pace. You may find you have limited time and need to do each step over a couple of days. Or, you may be able to do more than one step in a sitting.
A similar breakdown can be used for my Wadded Hood Workbook.
Quilted winter hood with silk exterior. Featured in my upcoming Quilted Winter Hood Workbook.
The most common sewn winter hood of the early through mid-nineteenth century was the quilted hood. This type of hood most often consisted of three pieces: the brim, crown, and bavolet, each of which were quilted with a lining fabric, outer fabric, and wadding or batting inside.
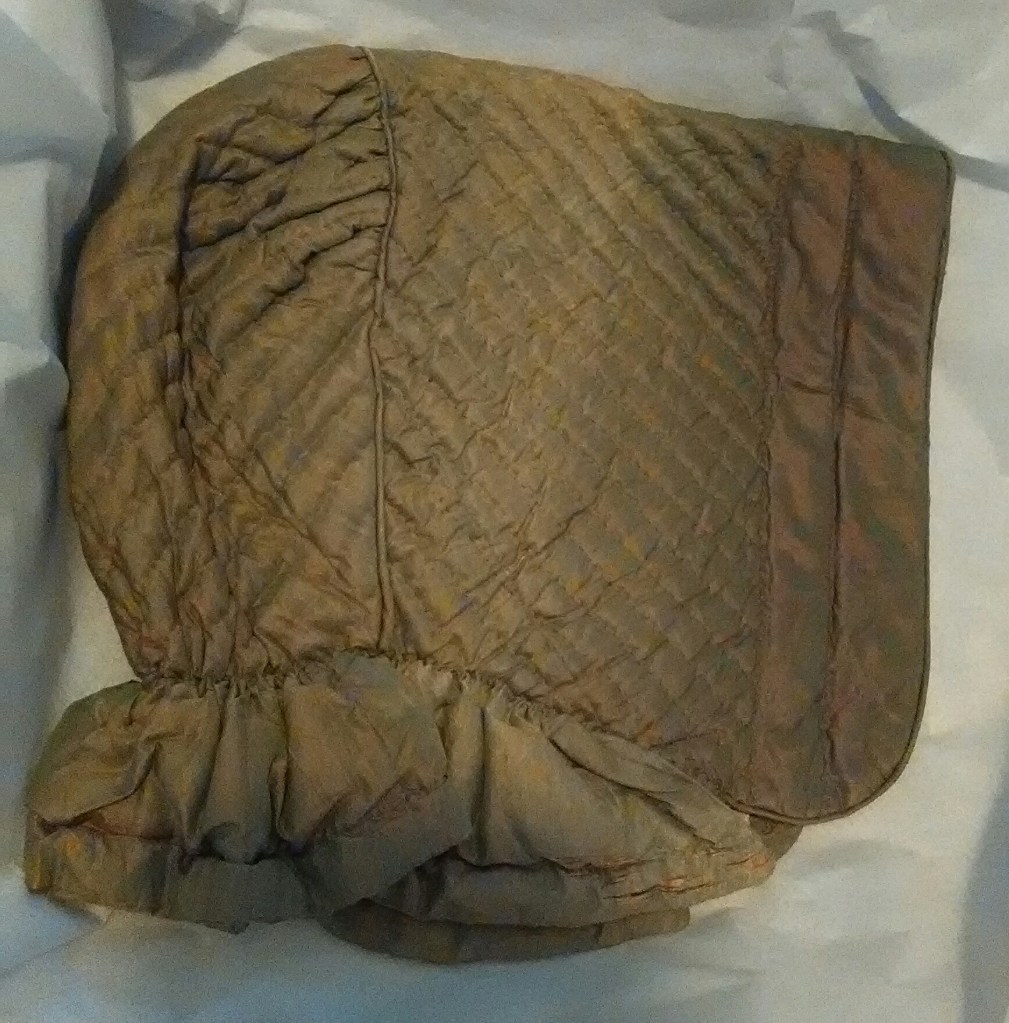
Quilted winter hood with larger crown full at the top and wired brim edge. I theorize this bonnet was worn in the 1820s or 30s. When it arrived, it was obvious it had been stored flat for many decades with the brim and crown misshapen. I’ve slowly been adding support to the crown and brim to reveal its original full shape.
The shape and proportions of the individual brim, crown, and bavolet pieces and some construction details evolved from decade to decade, reflecting the needs of changing hair styles. When the coiffure was placed high on the head, more space was needed high in the crown. When the coiffure was placed low on the neck, an adjustable bavolet to crown seam was needed.
Most commonly, a tight weave silk taffeta was used for the exterior material. A tigh weave, smooth wool is also seen in originals for the exterior. A tight weave with a smooth surface helps snow slide off of the hood with minimal moisture absorption.
The wadding or batting is most often wool, though occasionally other fibers. The bits of wool batting peeking through seams, fractures, and holes in original hoods range from white to golden/orangey yellows to dark browns. I have observed both cleaned and uncleaned wool with plant fibers inside. I have found fulled wool fabric quilted inside original hoods as well.
Quilted winter hood with plaid silk facing.
Inside quilted hoods, linings most often consist of polished cotton or silk, though to a much lesser extent printed cottons are also found. The smooth surface of a polished cotton or silk causes less disruption to the wearer’s hair. The front few inches of the brim can be faced with another silk, solid, striped, or plaid. Often, this facing is on the bias. On multiple pieces, I have observed ribbon used for the facing, pieced together on the bias.
Quilted winter hood with paper quilted into the brim along with wool wadding.
Some quilted bonnets have structural support used in the construction. So far, I have found: wires, cane, paper, pasteboard, buckram, and straw.
New Quilted Winter Hood Workbook
The next winter workbook will either be doll hoods or children’s hoods. Which would you prefer?
Now that wi ter has finally settled in to the North-East, many are thinking about how to keep warm in their nineteenth century attire, including how to keep their head warm.
The great news is there were several styles of winter hoods worn in the nineteenth century.
The challenging news is there were several styles of winter hoods worn in the nineteenth century.
With the many styles available, how do you pick the one right for your impression or interpretation?
I have this ongoing love (obsession) with sewn winter hoods. I am fascinated by how each is put together, what the commonalities are, what the uniquenesses are, and which suits which situations best.
This overview looks at sewn winter hoods focusing on the mid-19th century. It does not include the many knit styles that were made.
Let’s start with some basics.
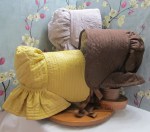
Sewn winter hoods generally fall into two catagories: quilted and wadded, with some draped hoods which do not have interior guts. Winter hoods were most frequently made with a silk exterior and a silk or cotton interior. They could also be made from wool. The breakdown lands somewhere around ⅔ silk with ⅓ wool. The silk used is most frequently a tight weave taffeta, with the occasional fraille or tight jacquard weave. The tight weave and smooth texture is important for resisting water. Think about how an umbrella resists water. If rain or wet snow fall onto a silk hood, you want the moisture to roll off. If dry, fluffy snow falls onto a silk hood, you want it to slide off. The same principle applies. Similarly, when wool is used, it too needs to be a tight, smooth weave. A tight weave will minimize absorption. A smooth weave will encourage snow to slide off. A fuzzy wool will act almost like velcro, grabbing and holding onto snow. In terms of weight, the vast majority of original wool hoods I’ve examined have been light weight with some slightly medium weight wools.
Common styles of winter hoods. (Top left to bottom right) Quilted hood with black on black silk exterior and pale pink silk interior – black silk wadded hood – striped silk quilted hood – silk quilted hood – lappet style hood with tight tweave wool exterior and pink silk interior – black silk wadded hood with brown cotton interior.
Turning to the interior, silk and cotton are commonly found. Silk is often a solid color, either a taffeta or tissue taffeta. Cottons is more often a polished cotton in a solid color or a sateen, with the occasional smaller print. Often, the interiors include multiple fabrics of the same fiber. The color selection can be a dark neutral, black or brown, or a bright, vivid color such as pink or yellow.
Pink silk interior of a quilted winter hood.
Now, let’s talk situations and styles. I break this down environmentally.
If you are doing an event that is likely to be windy and/or stormy, you will want a hood that can protect your face. For this situation, I recommend a hood that comes forward, protecting the face. A lappet style hood is a good choice for this. The brim extends forward of the face with the lappets hanging below. This was the style I had on when a sudden heavy, icey burst of rain hit. I found while walking through the village, my face was fully protected and dry. A capote style hood, one with minimal structure and a deep brim, would work well for a stormy situation as well.
Lappet style winter hood in silk.
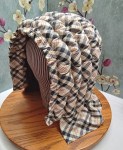
If you are doing an event that will be very cold, while you need to be active, you will want a warm hood that stays in place while giving you a good line of sight. For this, I recommend a wadded hood. A wadded hood is likely the warmest of the hoods as it is filled full with wool wadding or down. A well fit wadded hood will snug the head, keeping out drafts, and stay put while you actively work. The edge of the brim frames the face giving you full range of peripheral vision, which is important for working with livestock or visitors.
Wadded winter hood in plaid silk
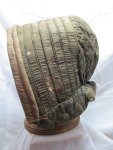
If you are doing an event where visitors need to see your face while giving you protection from the cold weather, I recommend a quilted hood with a brim that can be turned back or is shaped with wire. This style hood can be made with lighter or cotton batting for subtle warmth or with heavier or wool batting for more warmth. A channel can be added to the inside of brim so the hood can be drawn in to hold in place if it is windy or the interpretation role is an active one.
Quilted winter hood in black silk. Note bonnet shape.
While some winter hoods are trimmed, the majority of the everyday/common hoods I have studied are not trimmed. Simple trims can include ruched ribbon or pinked silk along the brim edge or simple bows on the crown or along the center top of the brim.