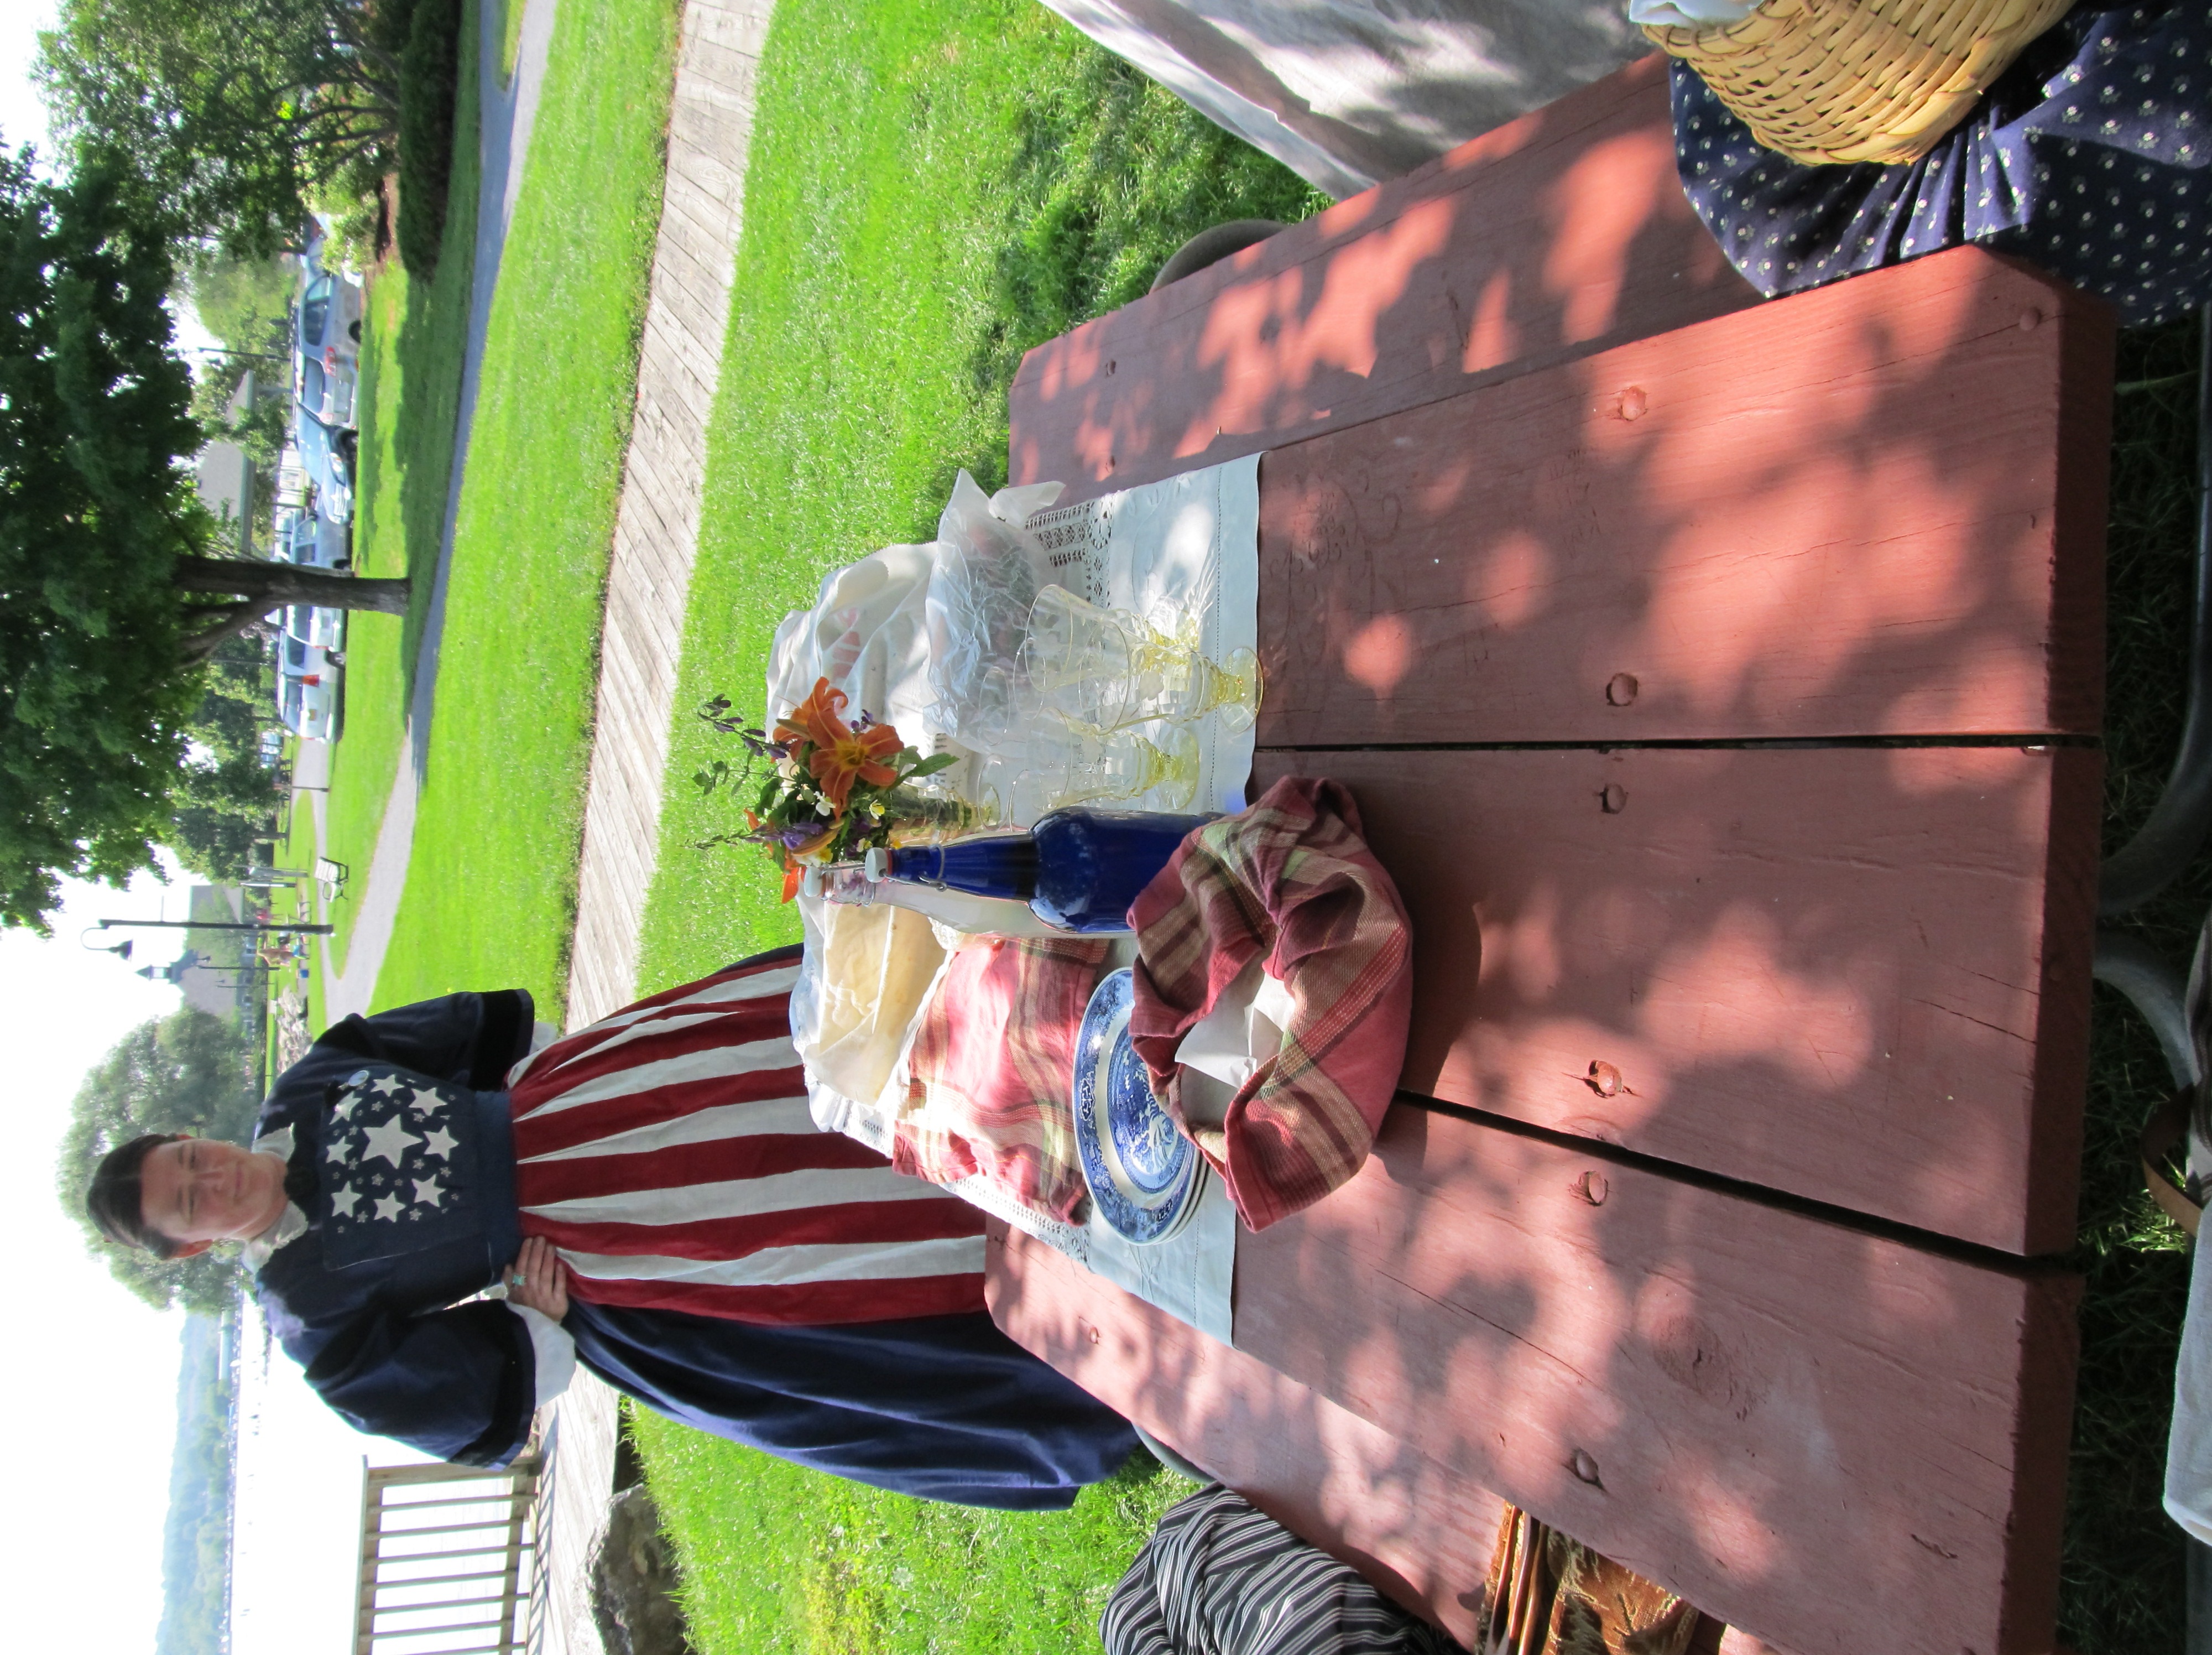
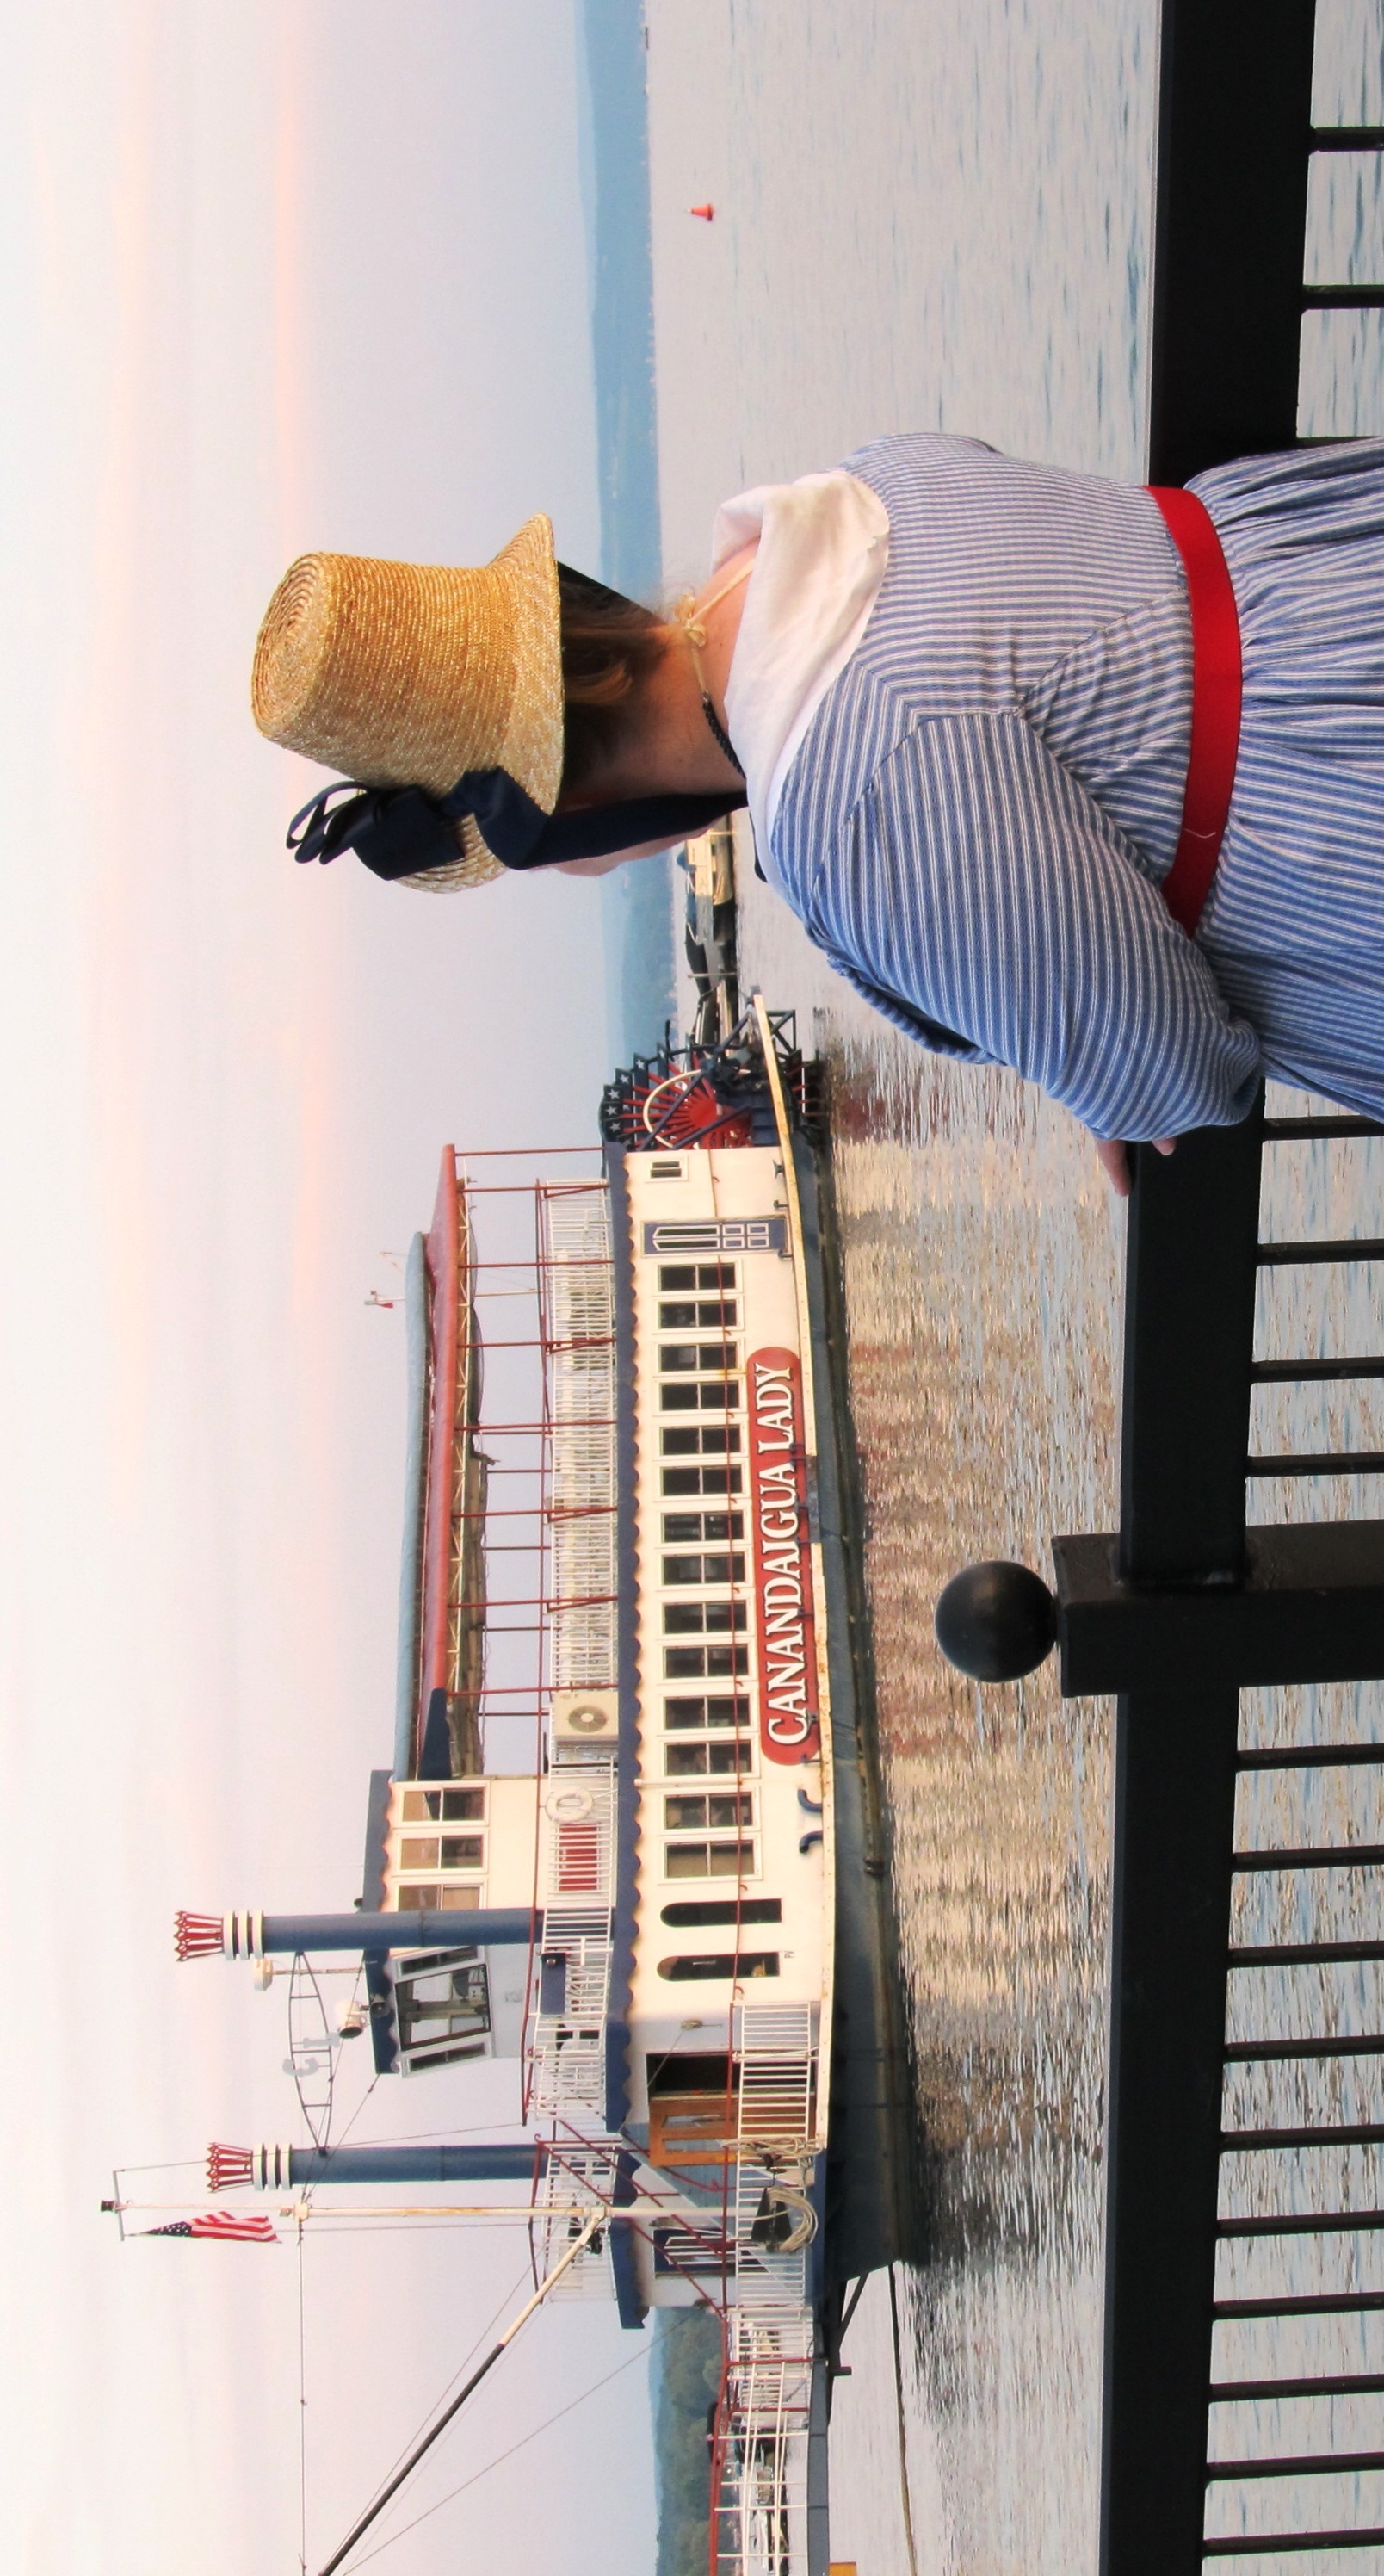
Today is day two of the Genesee Country Village’s Civil War reenactment.
And… I am home. Not there. Home.
This in a word, Sucks.
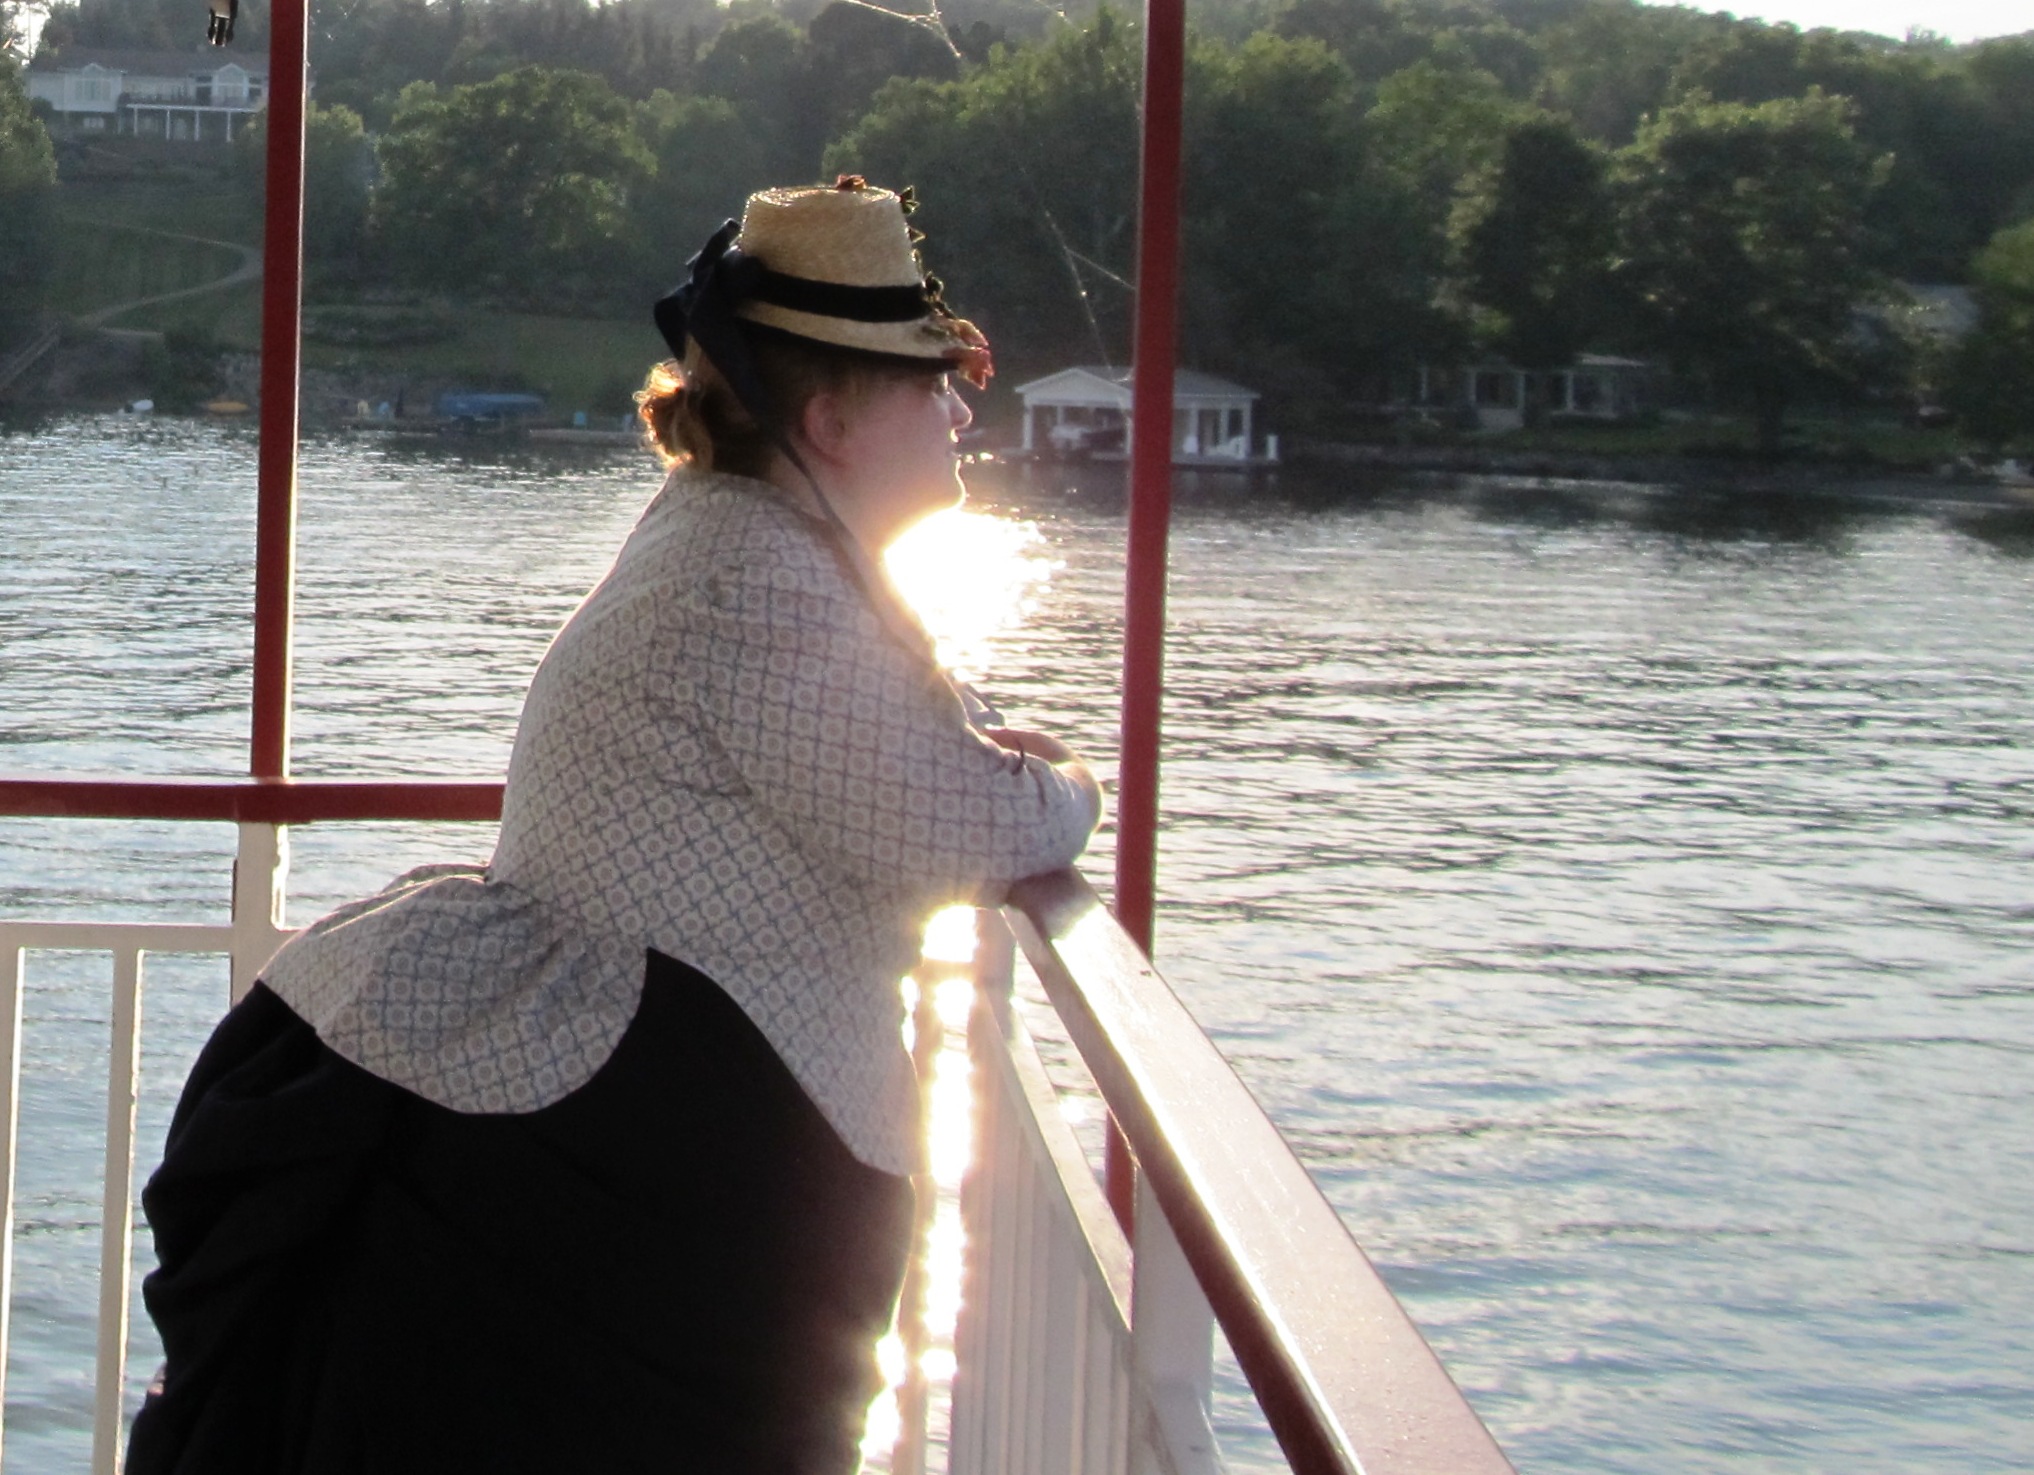
Yesterday started wet, sticky, hot and gross. But, I thought I was doing okay. Sure, I was red. But, I am always red.
I drank water the way I was supposed to. I had a few little pickles the way I was supposed to. I ate light like I was supposed to. I stayed out of the sun like I was supposed to. Really, the only times I was in the sun was from the car to the office, from the office to the Millinery, one run to the bathroom with the umbrella, then from the millinery to the office, then to the car.

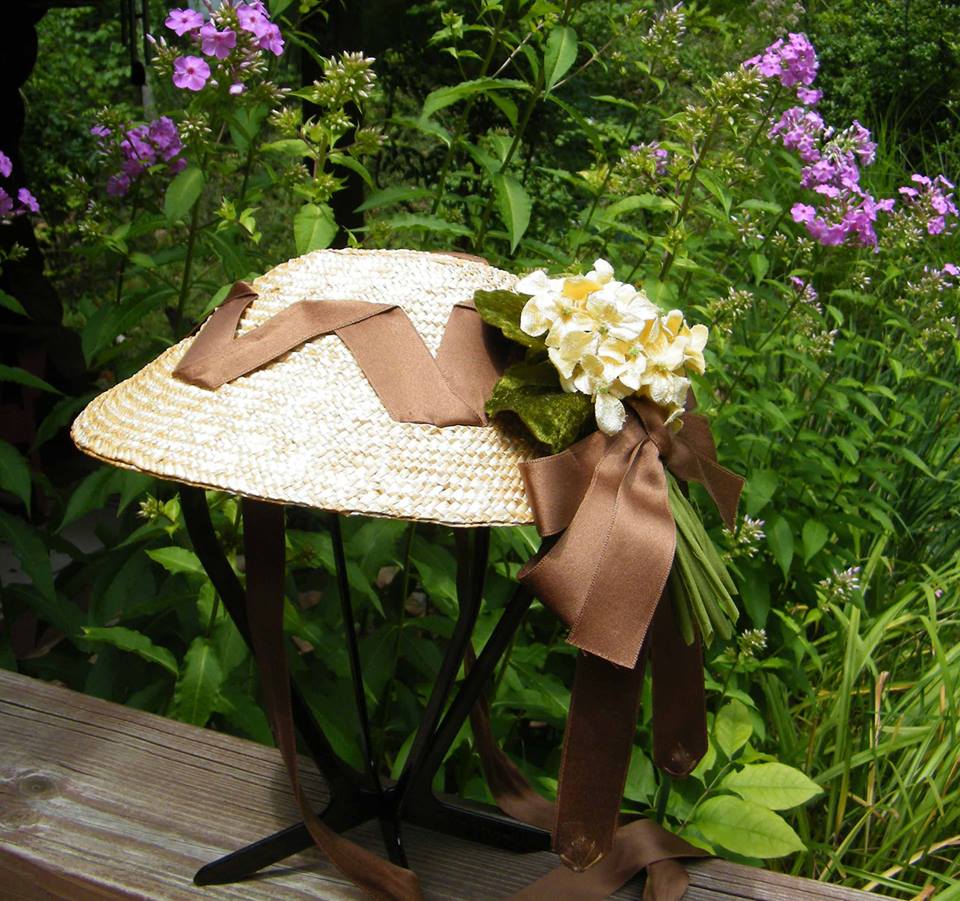
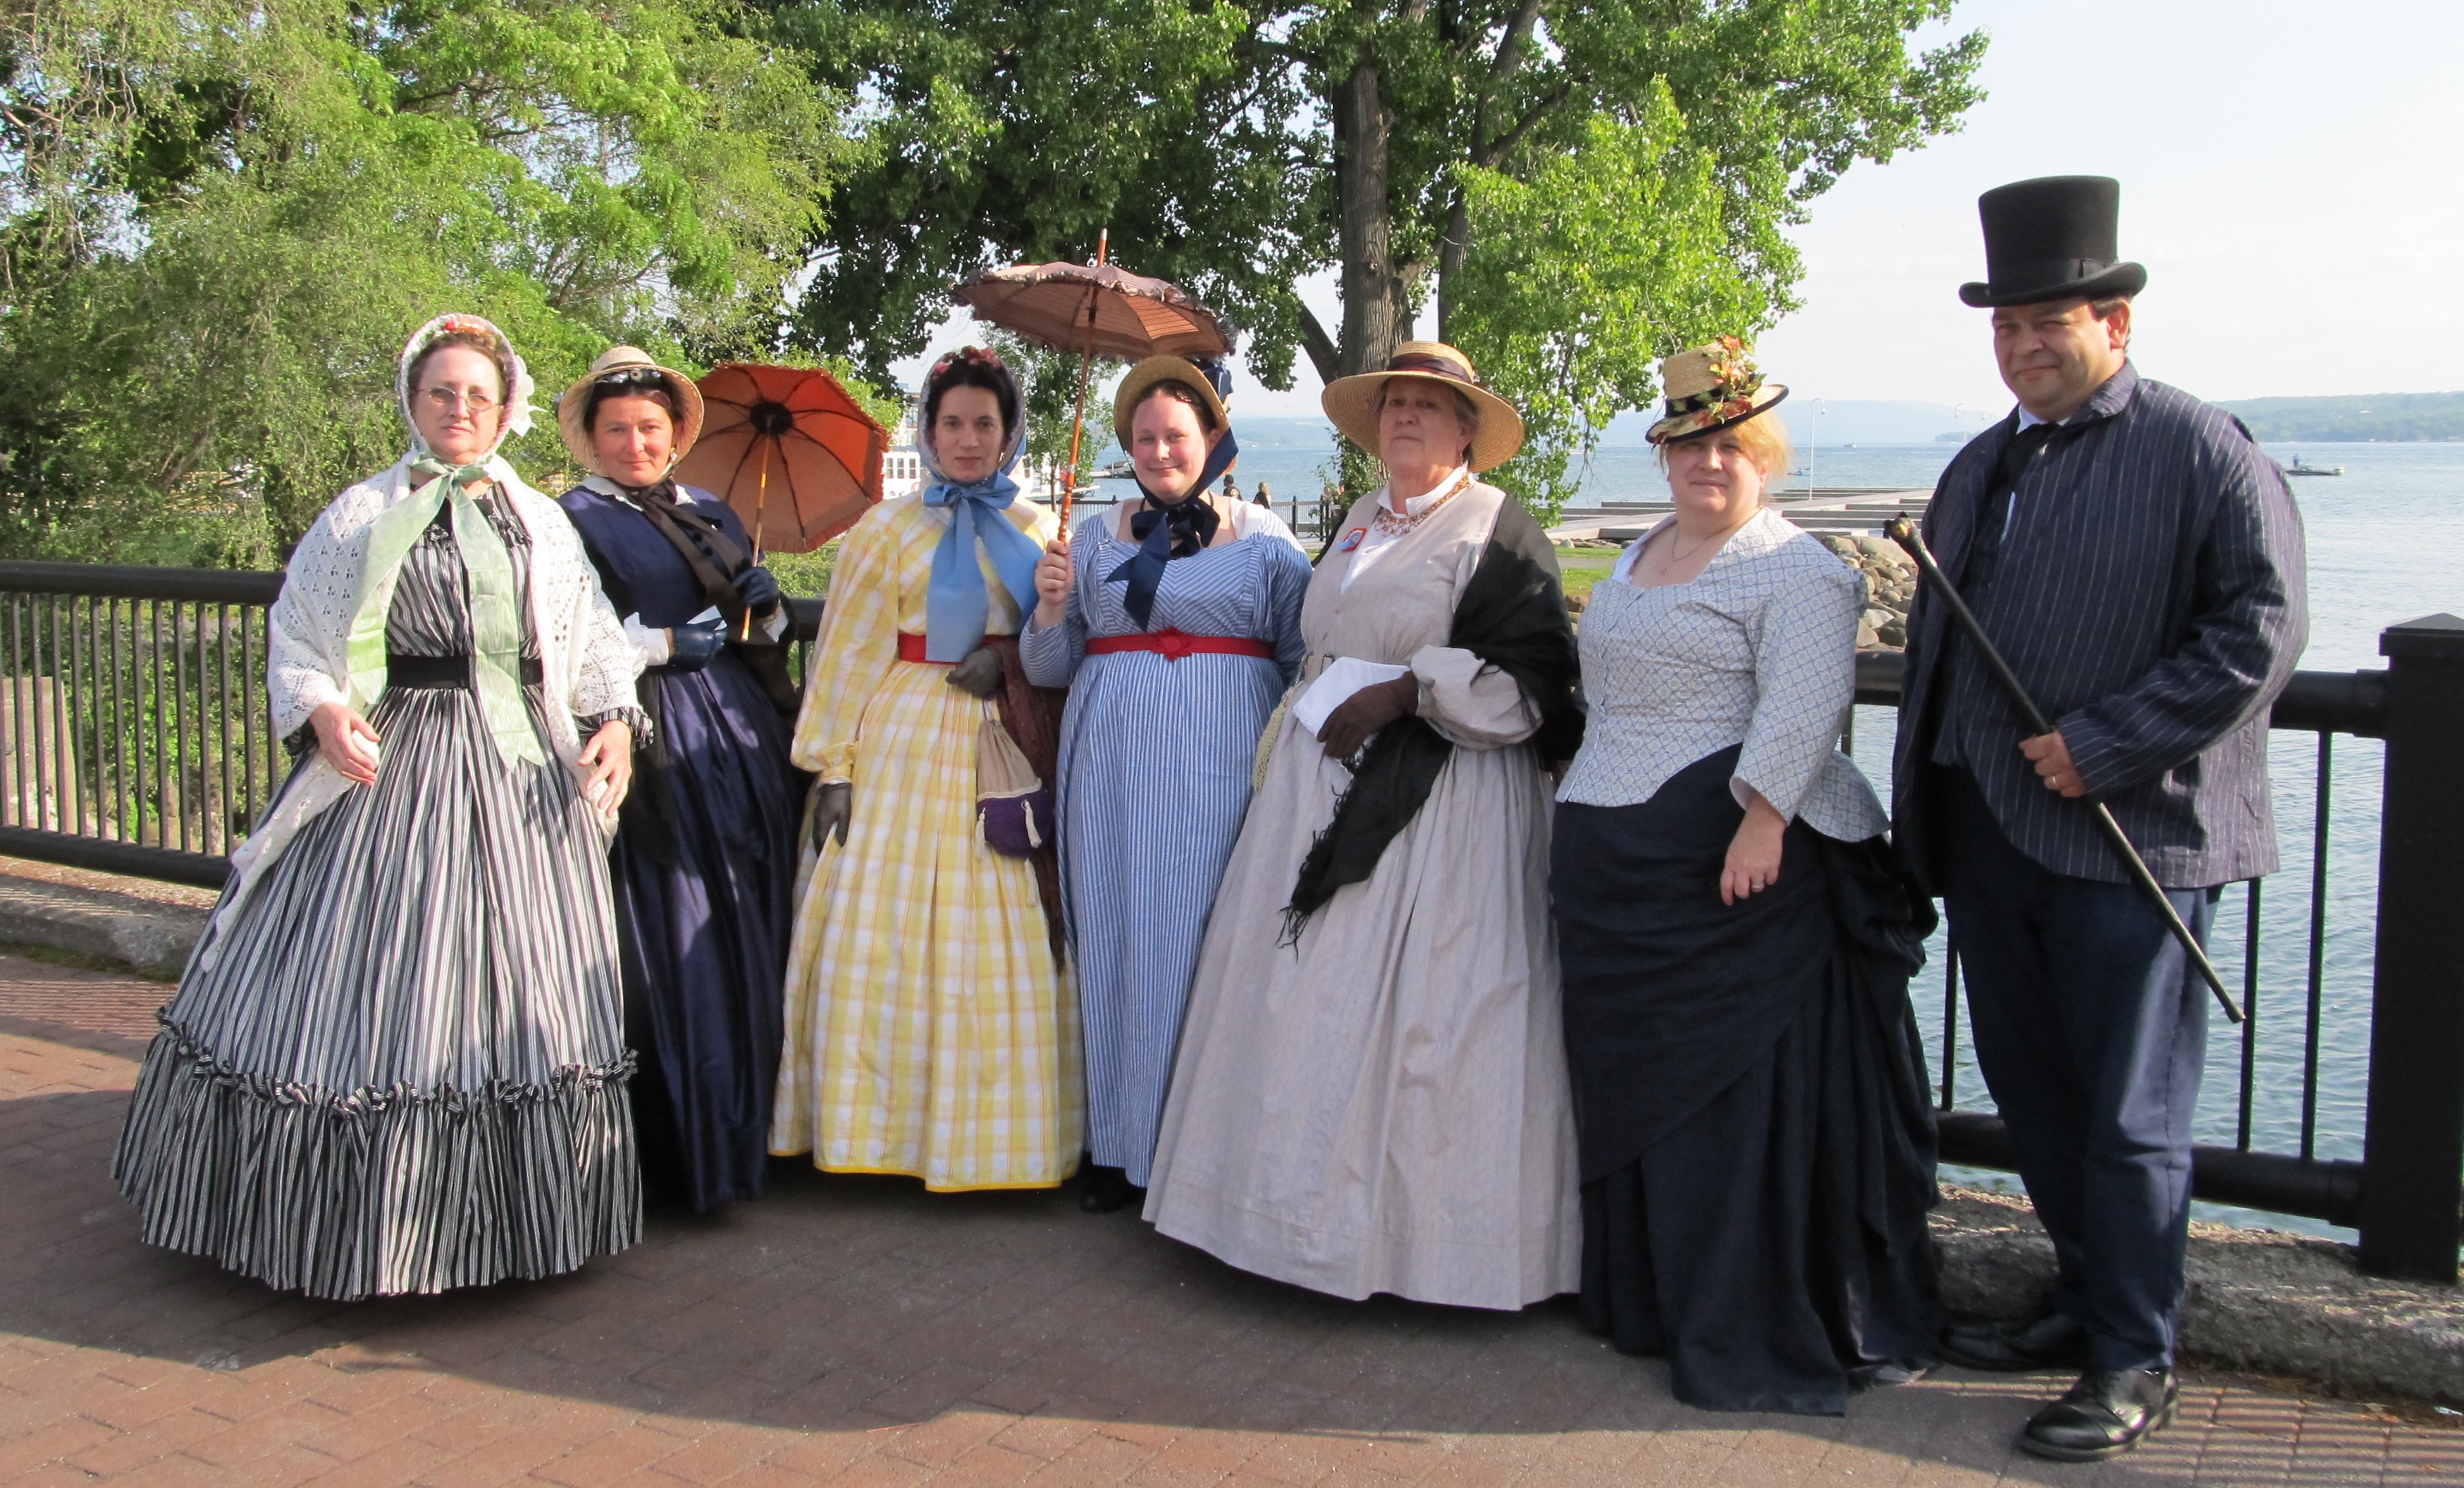
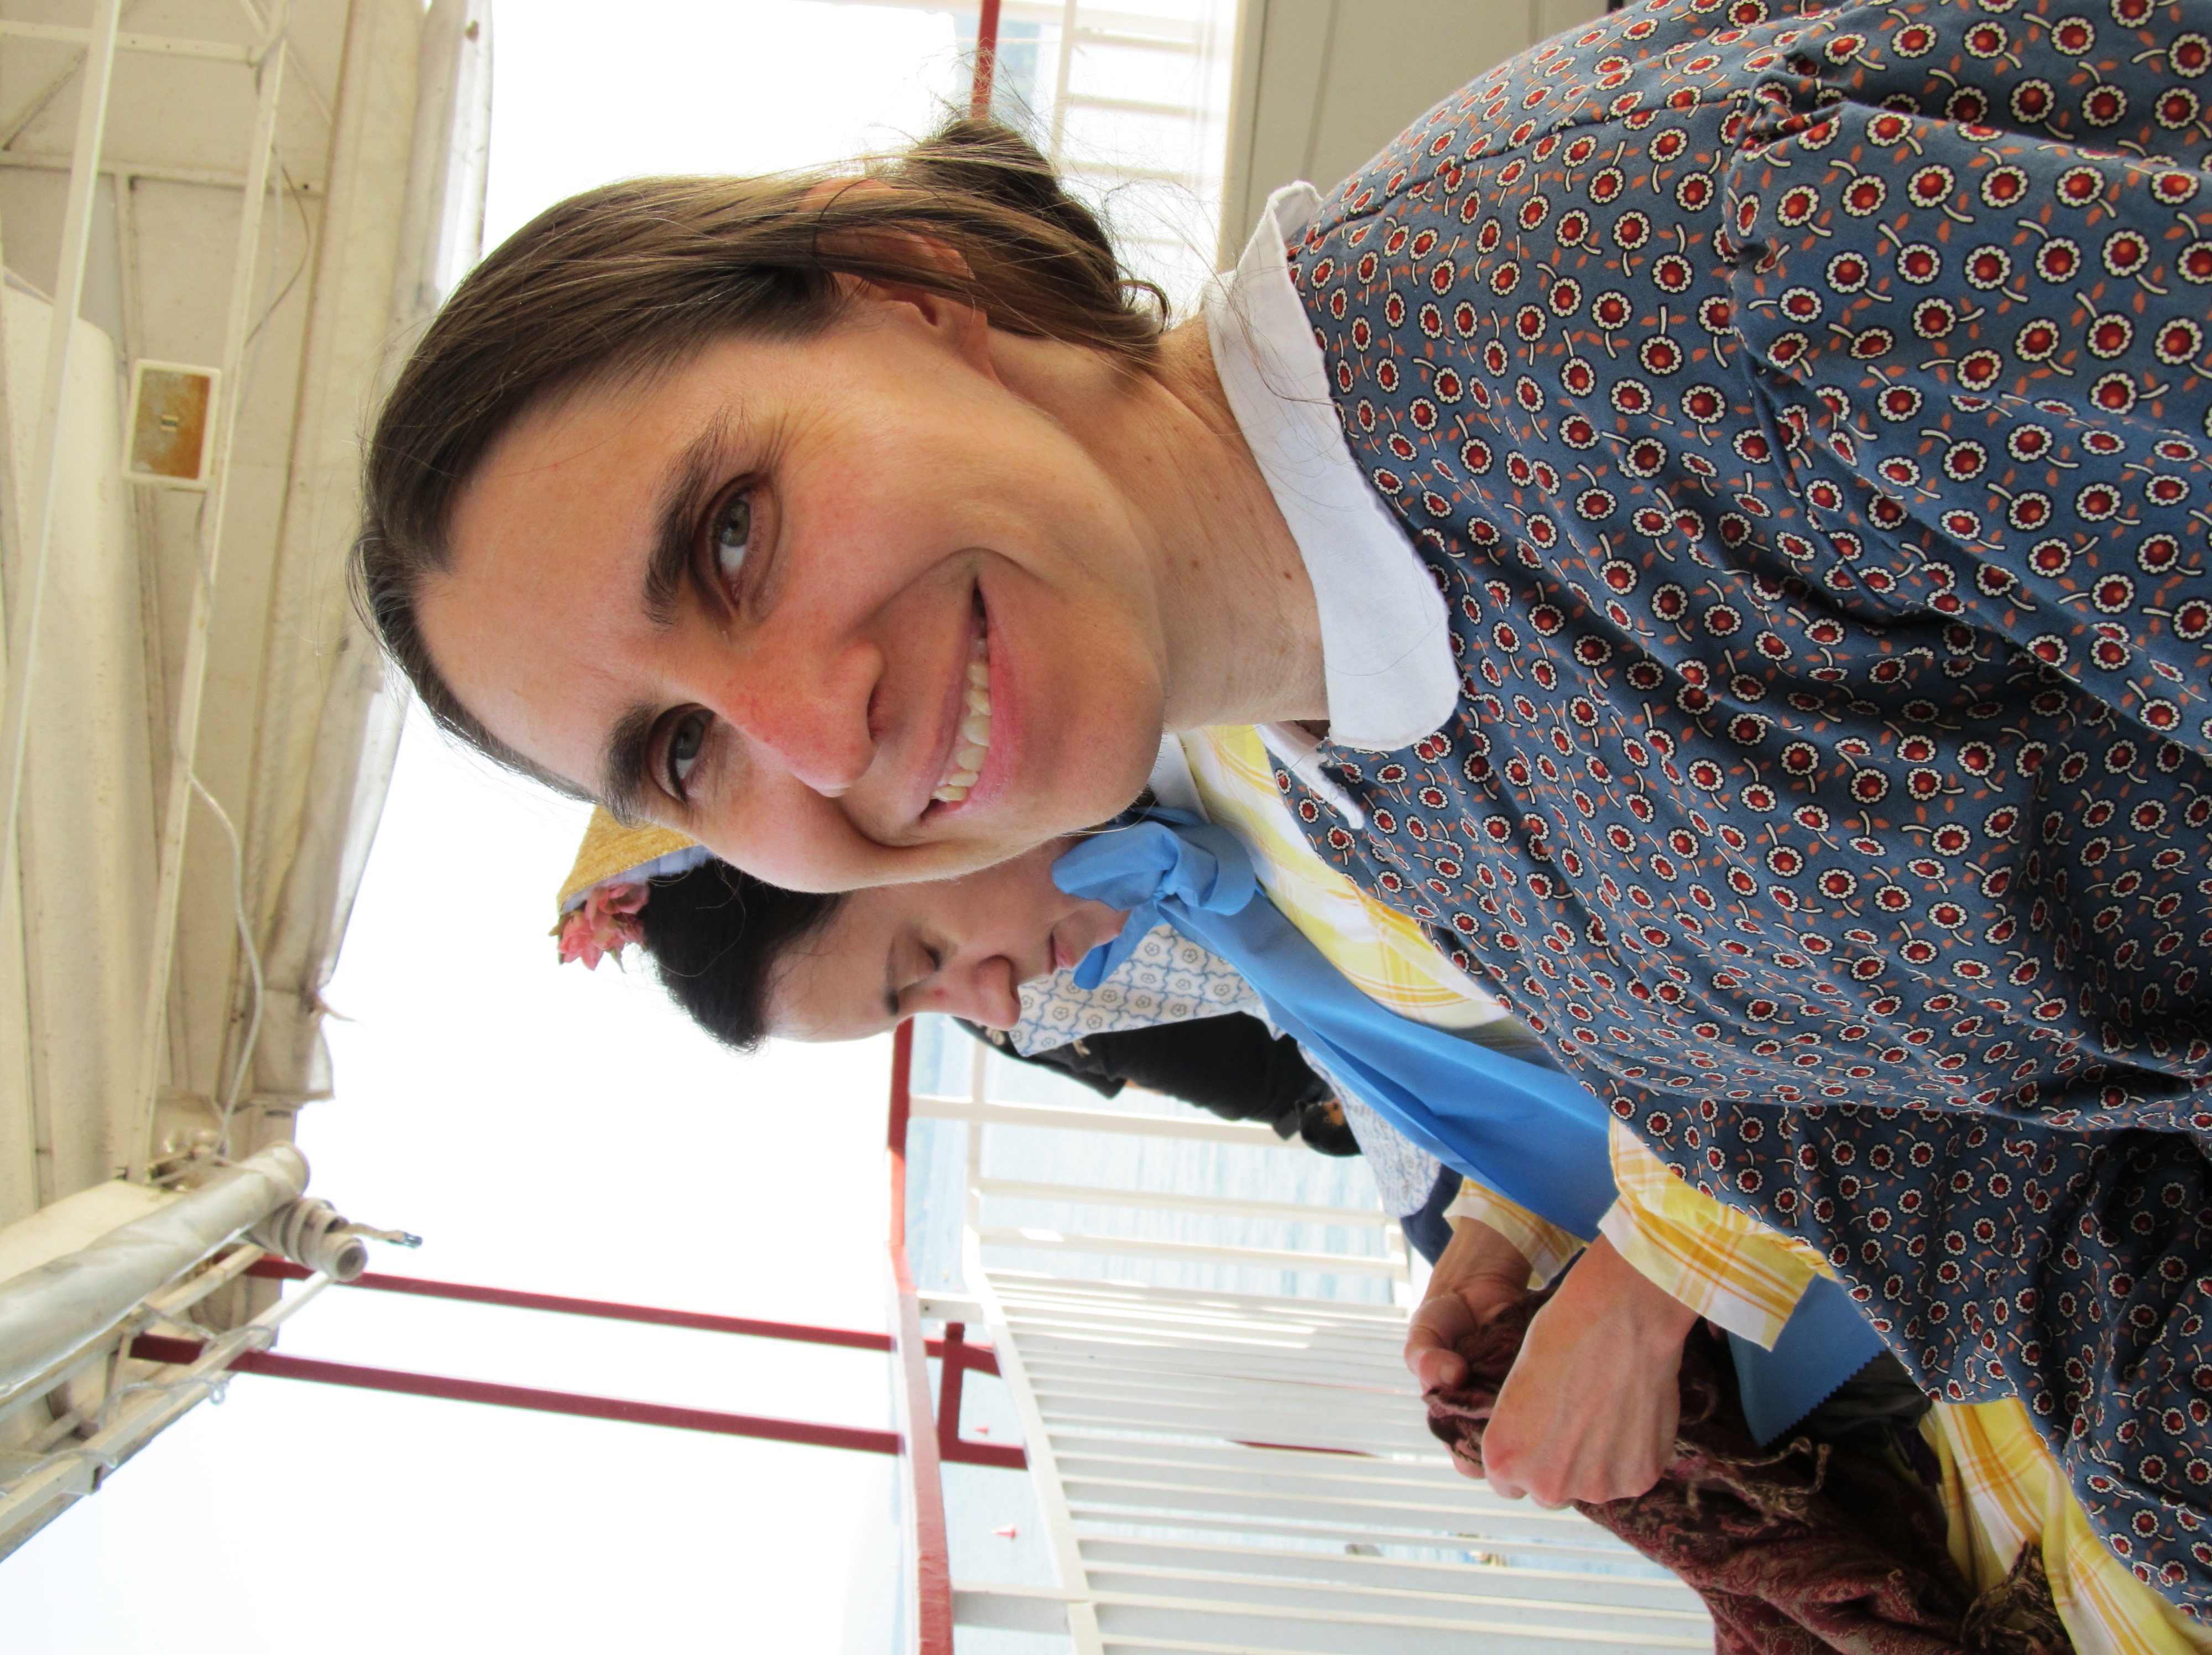
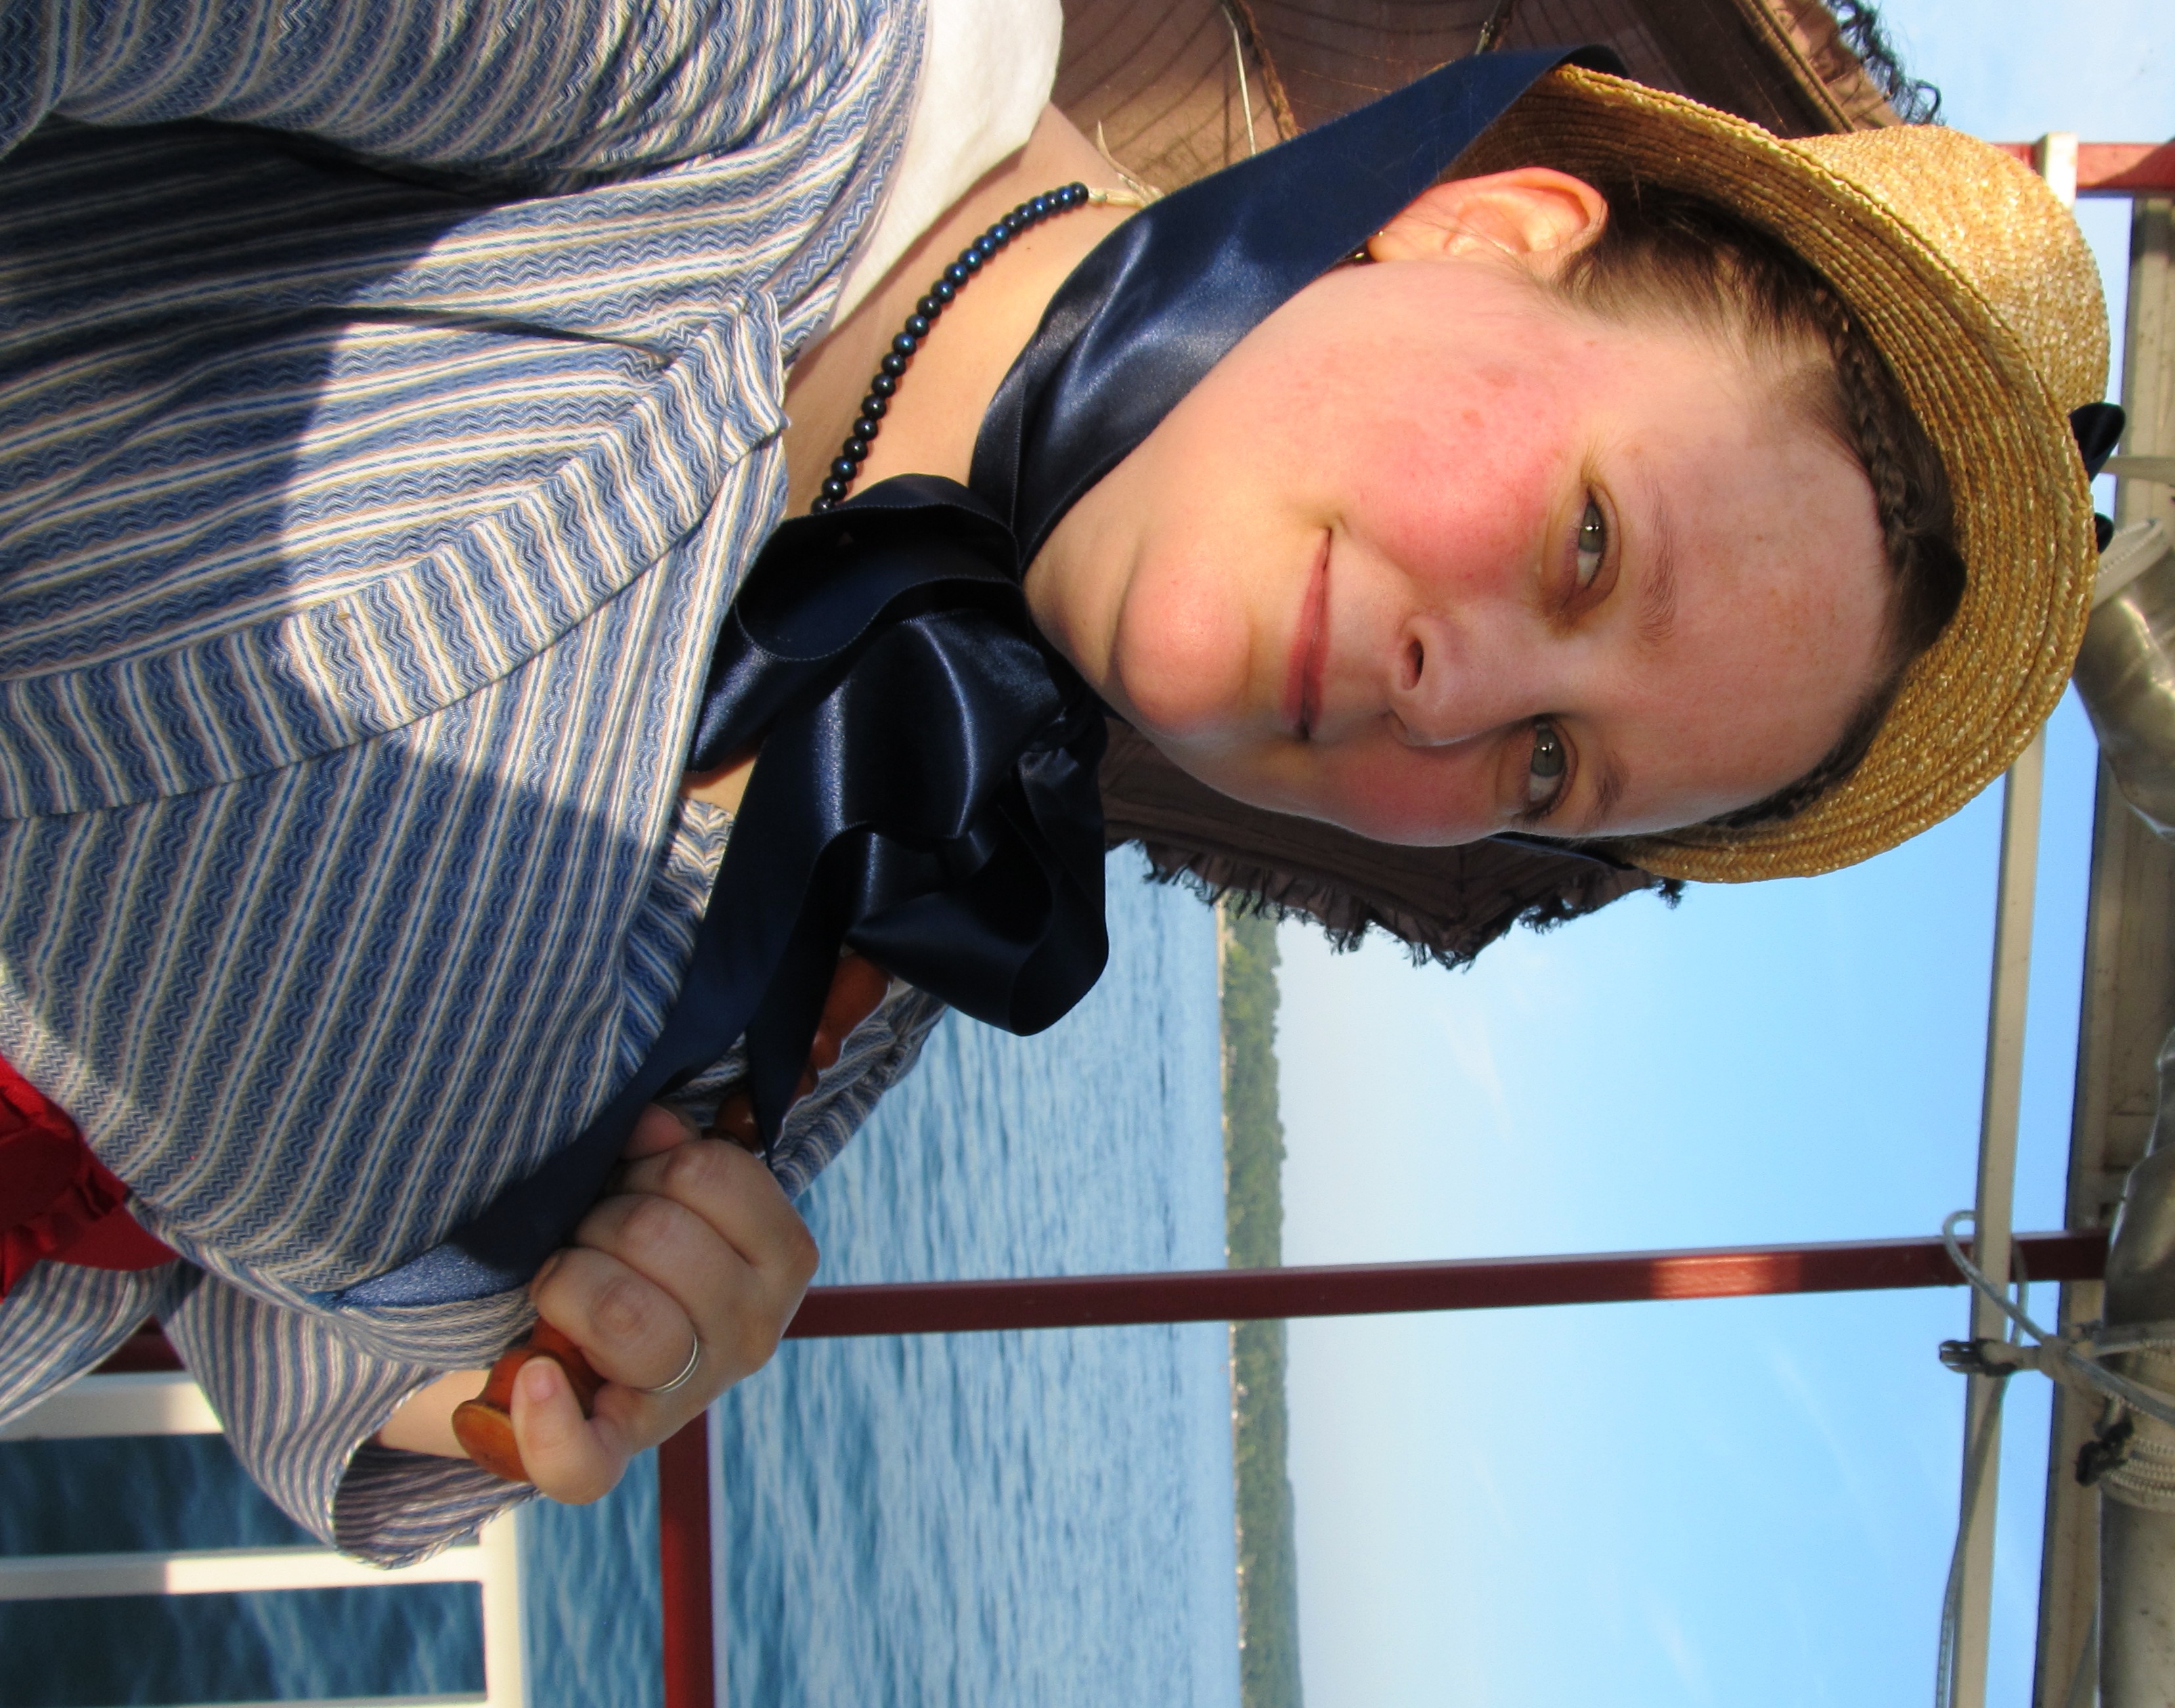
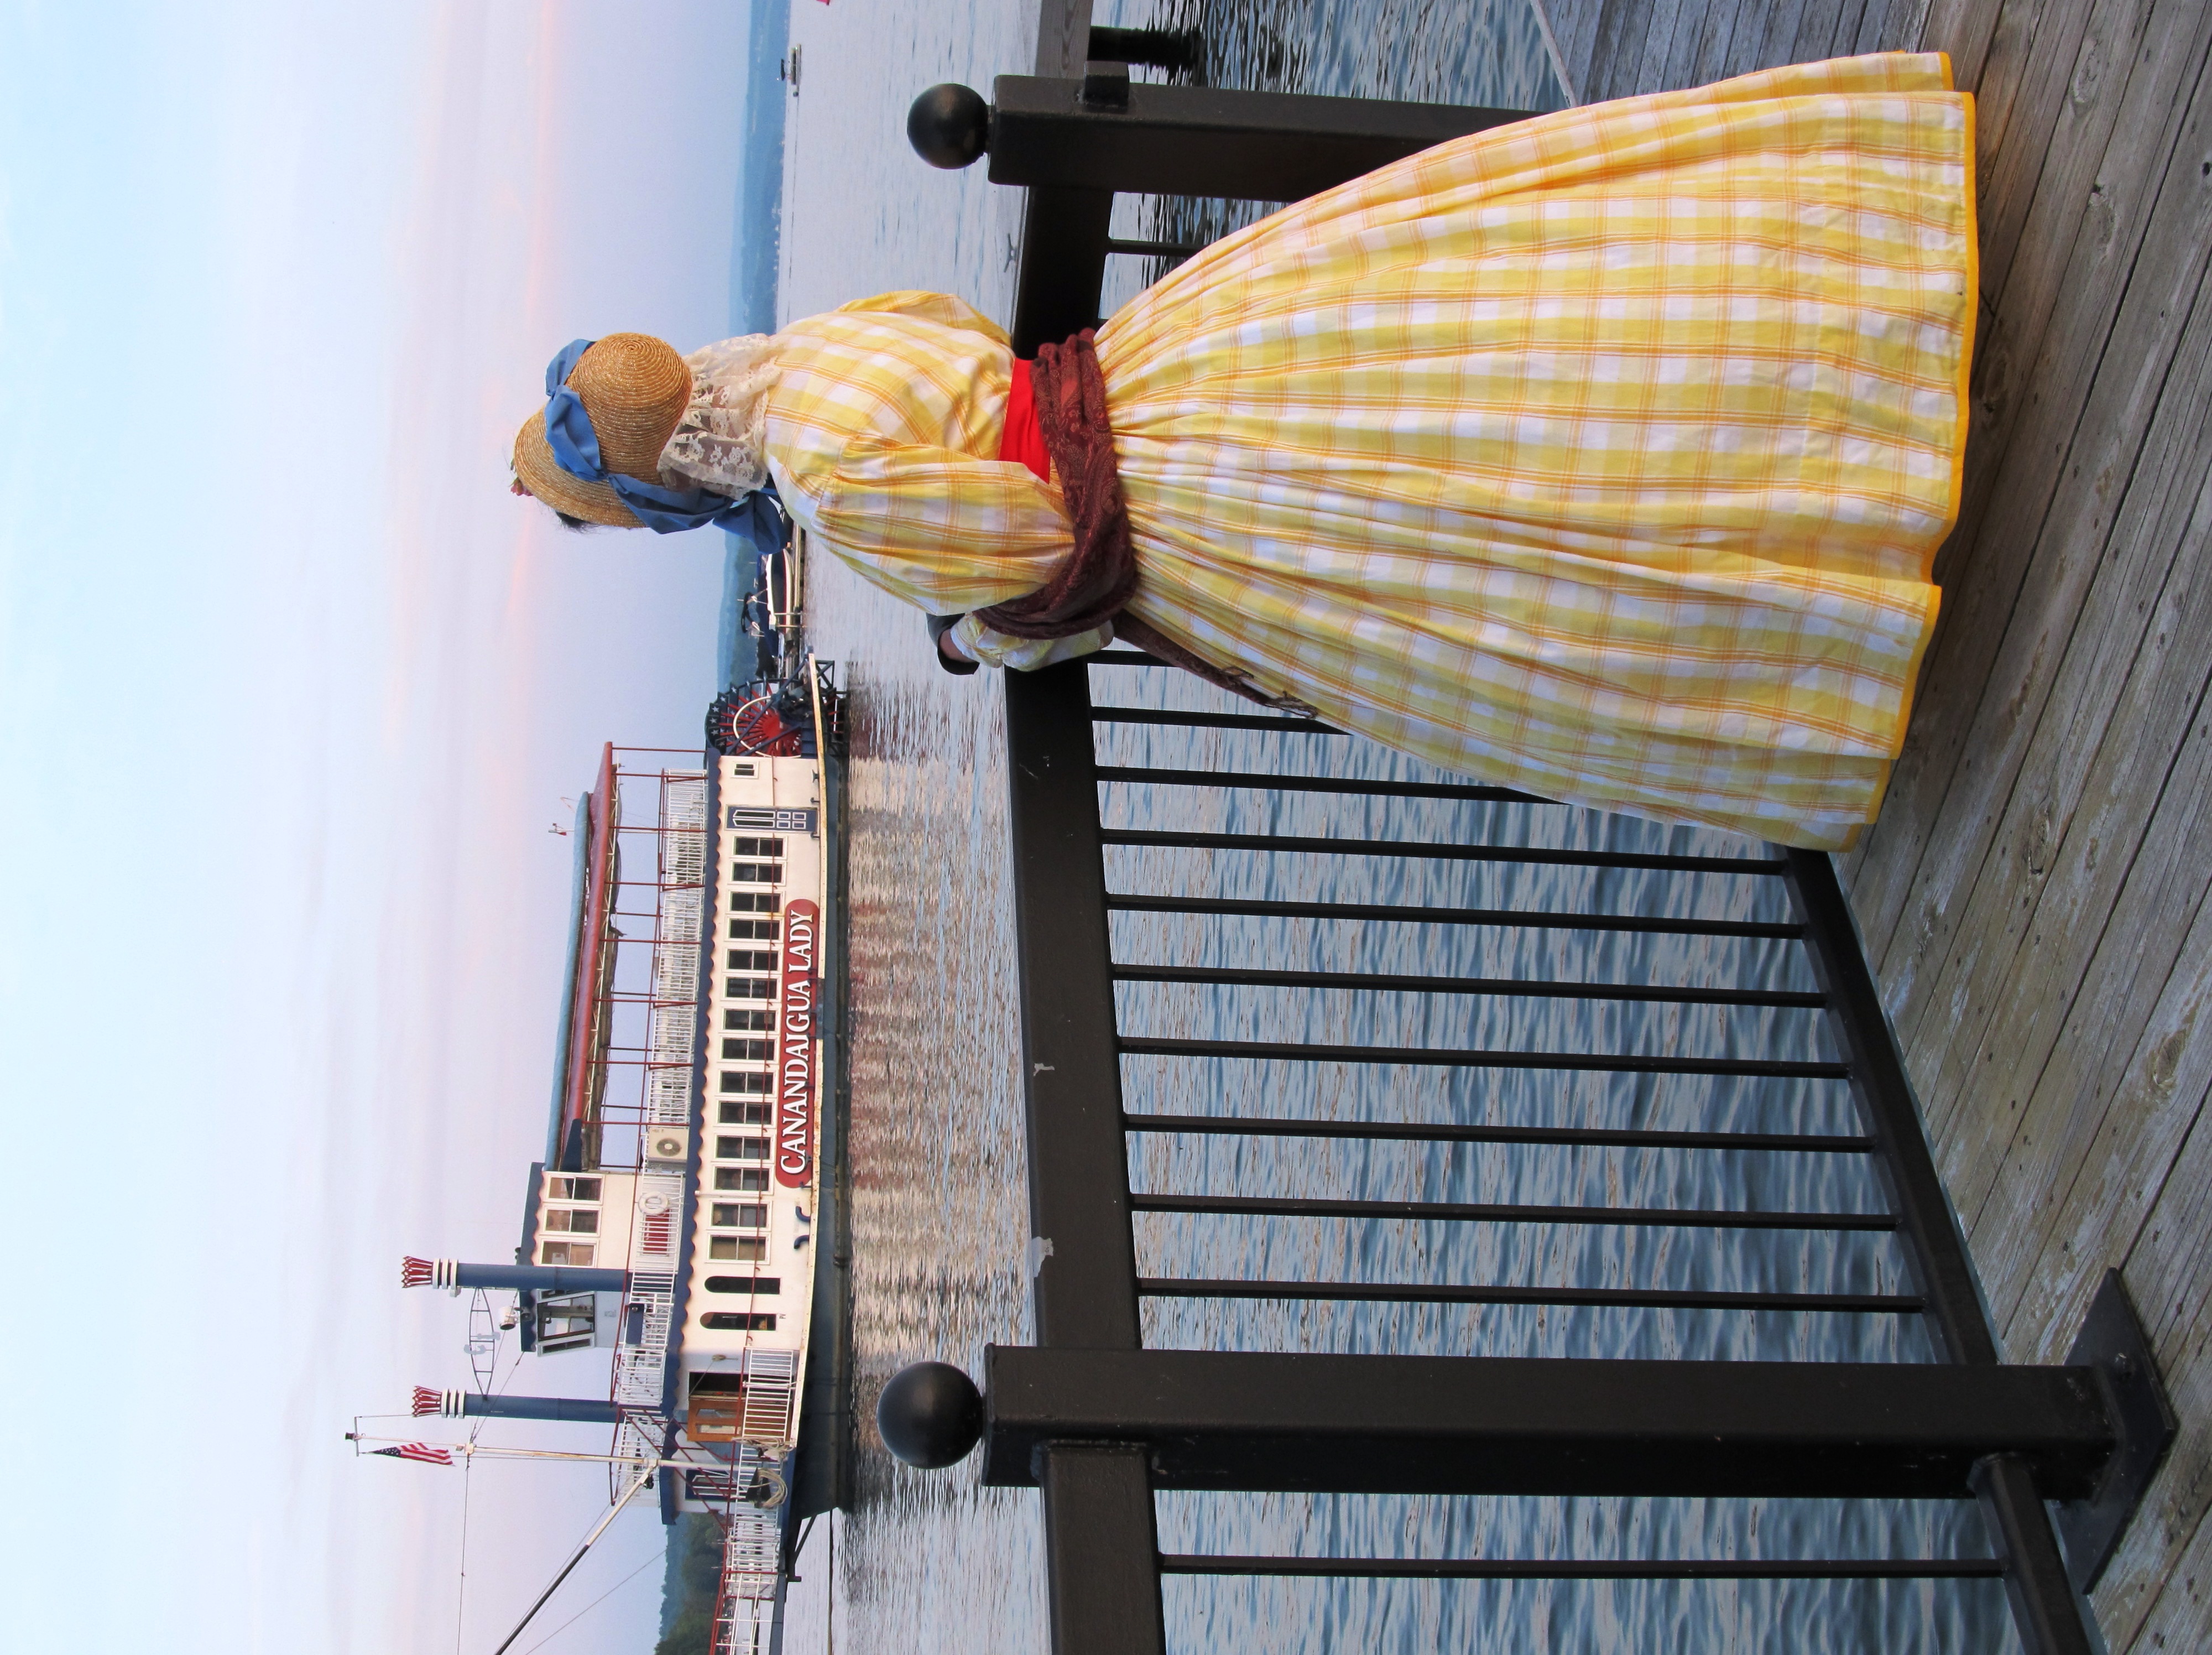
Photo: Ruby Foote, July 18, 2015 GCV.
Long, TMI story cut short – Sometime late morning I caught myself looking out the window jealously at those who could walk in the sun without issue. Then I started noticing I was seeing floaties. Then I started getting just a bit of that twang in the side of my head. I ignored it. Told myself I was fine. Put on a smile and kept drinking water. I think that is roughly when Ruby took this photo (right.)
I think this was the start of my downward slope though I didn’t really realize it. By the time the battle came, let’s just say the stomach was displeased and I was too stubborn to say anything.
Drink, breath, smile. Drink, breath, smile.
It was the walk out to the car that hit me. Wham. The stomach was saying “screw you”. The head was saying I only had minute to get home.
At home, the clothes piled on the floor, I went into the shower.
I really wish that was the end of the story. But, no. My body was cooling down. My head was heating up. My face was bright red. My whole head and face felt like it was burning up. It was like I had spent the whole day in the sun and got the lobster sunburn all over again. But, I hadn’t. The only time I didn’t have the parasol or umbrella was first thing in the morning and from the car into the house, which is mostly tree covered.
This is the part that is all a jumble. There was lots of pain. Crying in the bathroom. Crying in the bedroom. Some of it was the pain. I ended up finally falling asleep with my head packed in ice packs.
So, now, here it is mid-morning. I had to call the museum to let them know I’m not coming. That was after about an hour of my clothes in front of me, trying to decide what to do. I knew health wise I shouldn’t go. But, they are counting on me being there. I Hate feeling like I can’t be counted on. My stuff is all there. Others are expecting me to be there.
I’m editing this last whiny medical bit down to say I’m going to talk to my doctor this week. I figure those who know, know.
Now that I have let my fingers run on and on and on, thank you for listening.
On the upside, I have a new pinking machine thanks to Janet at the Button Baron.


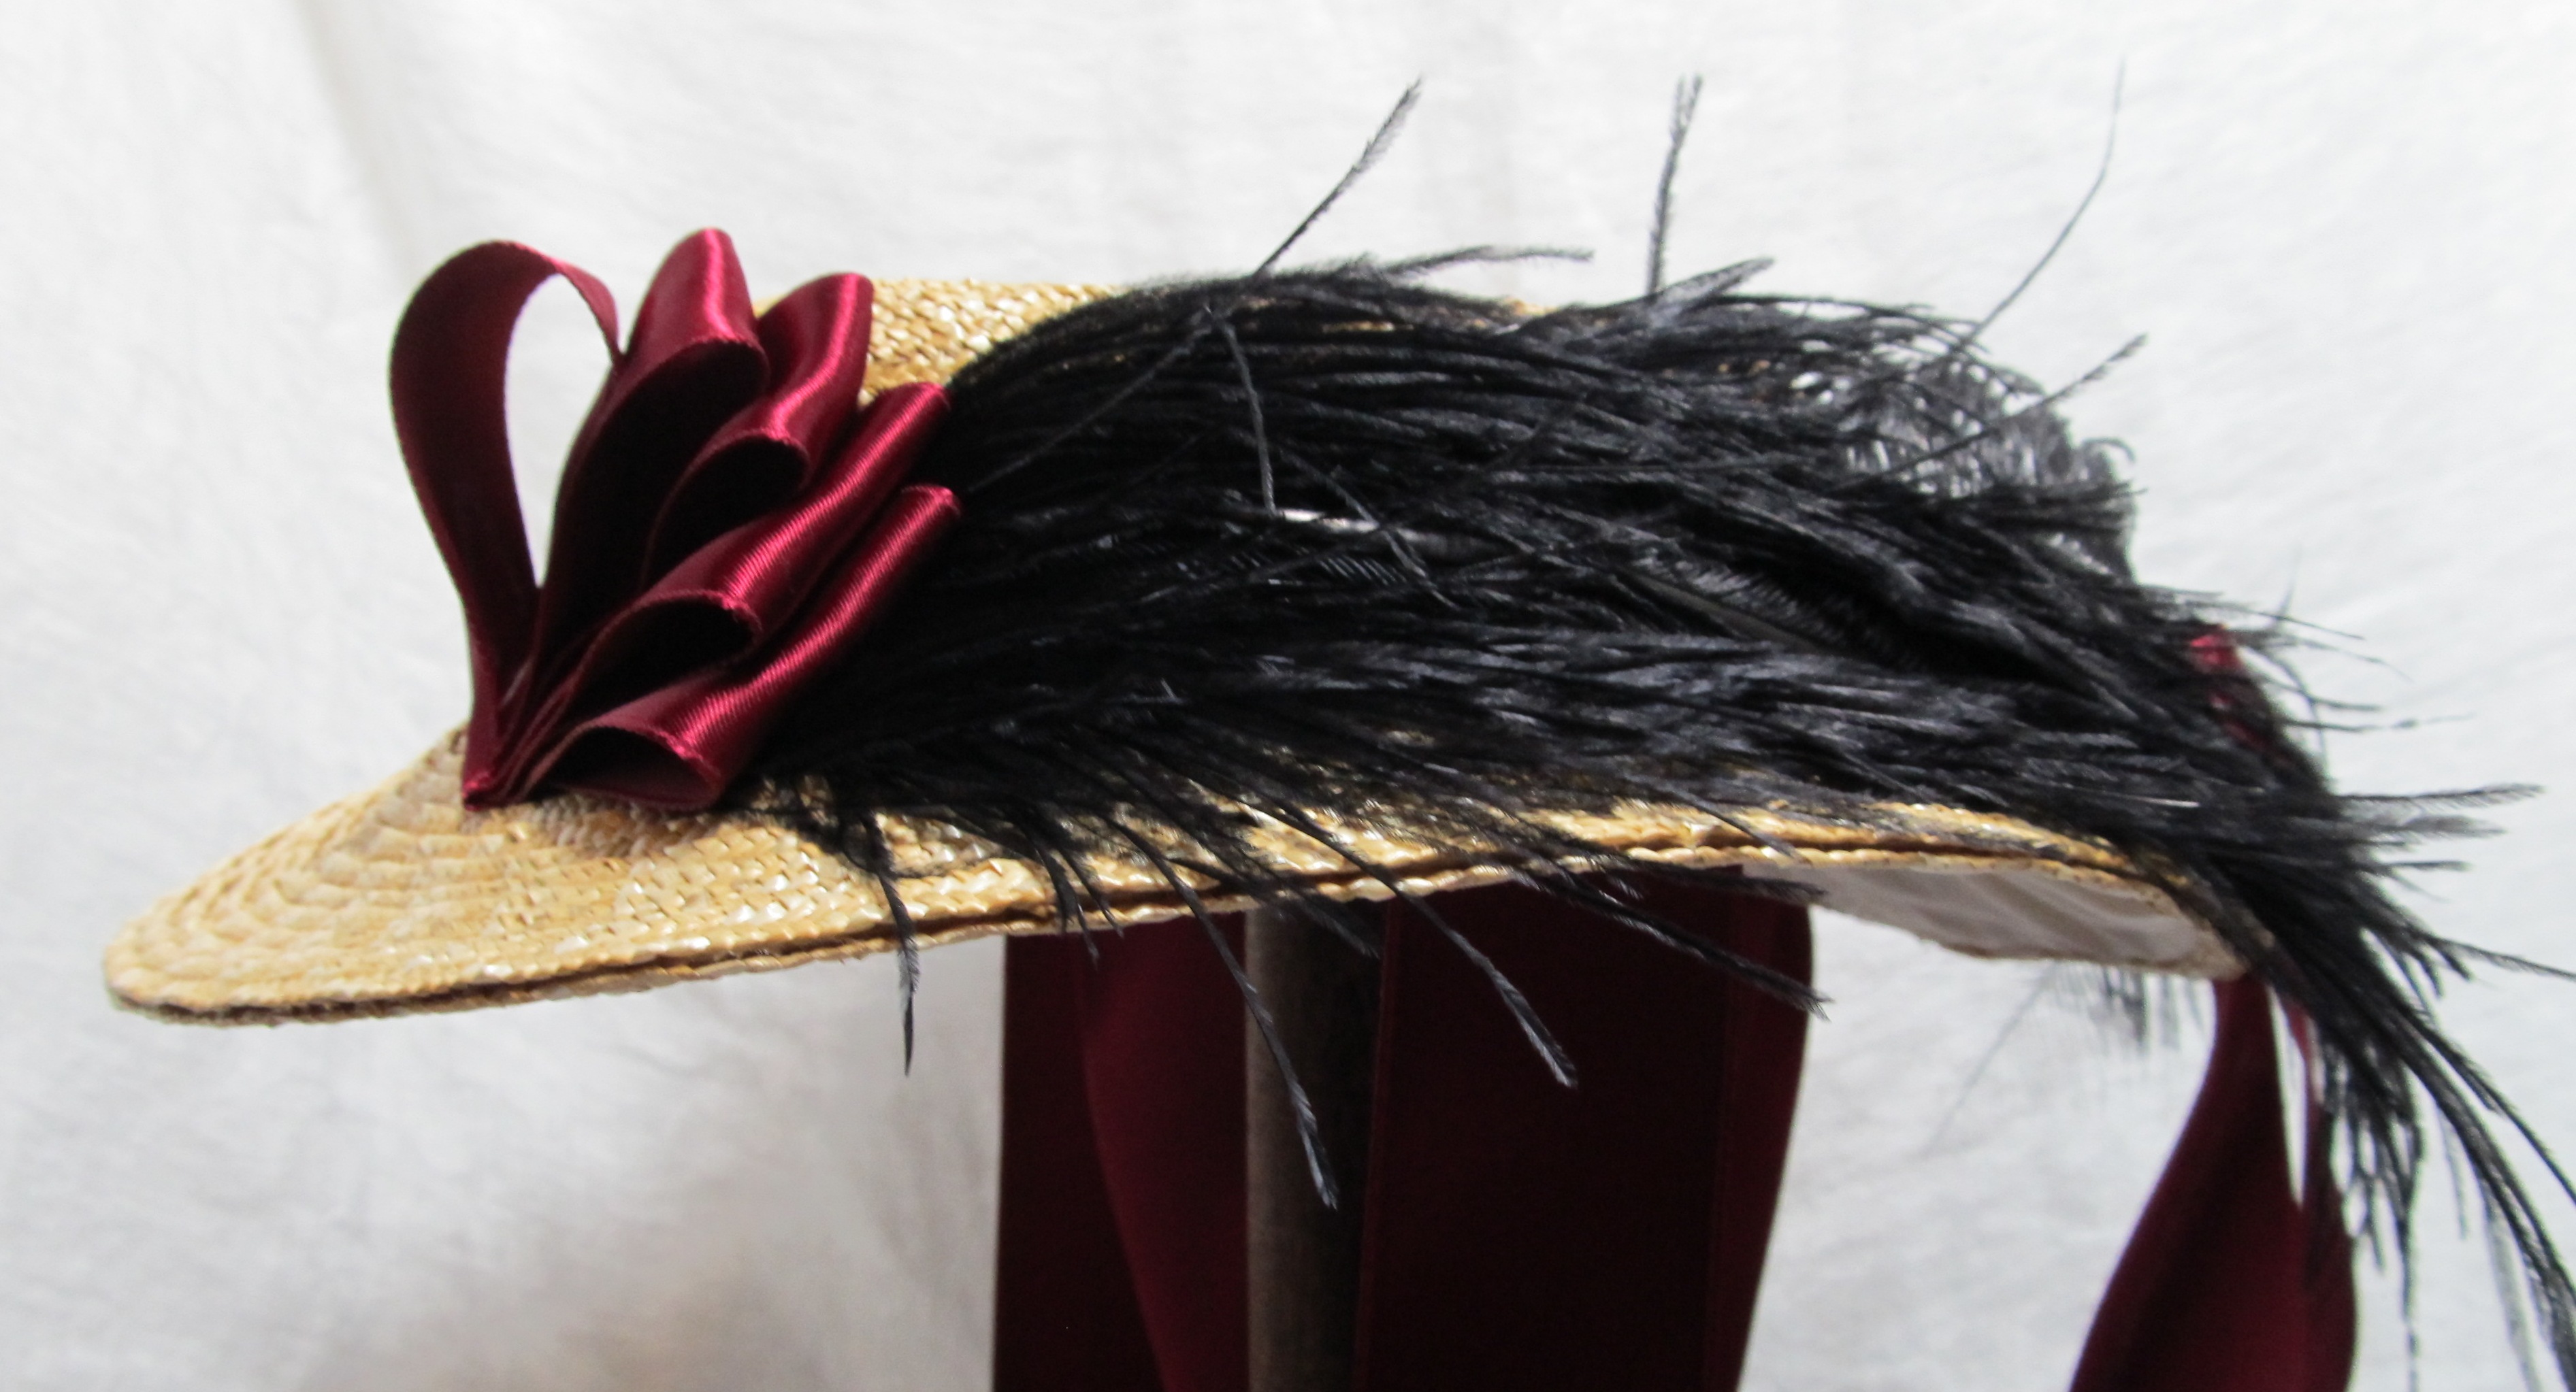
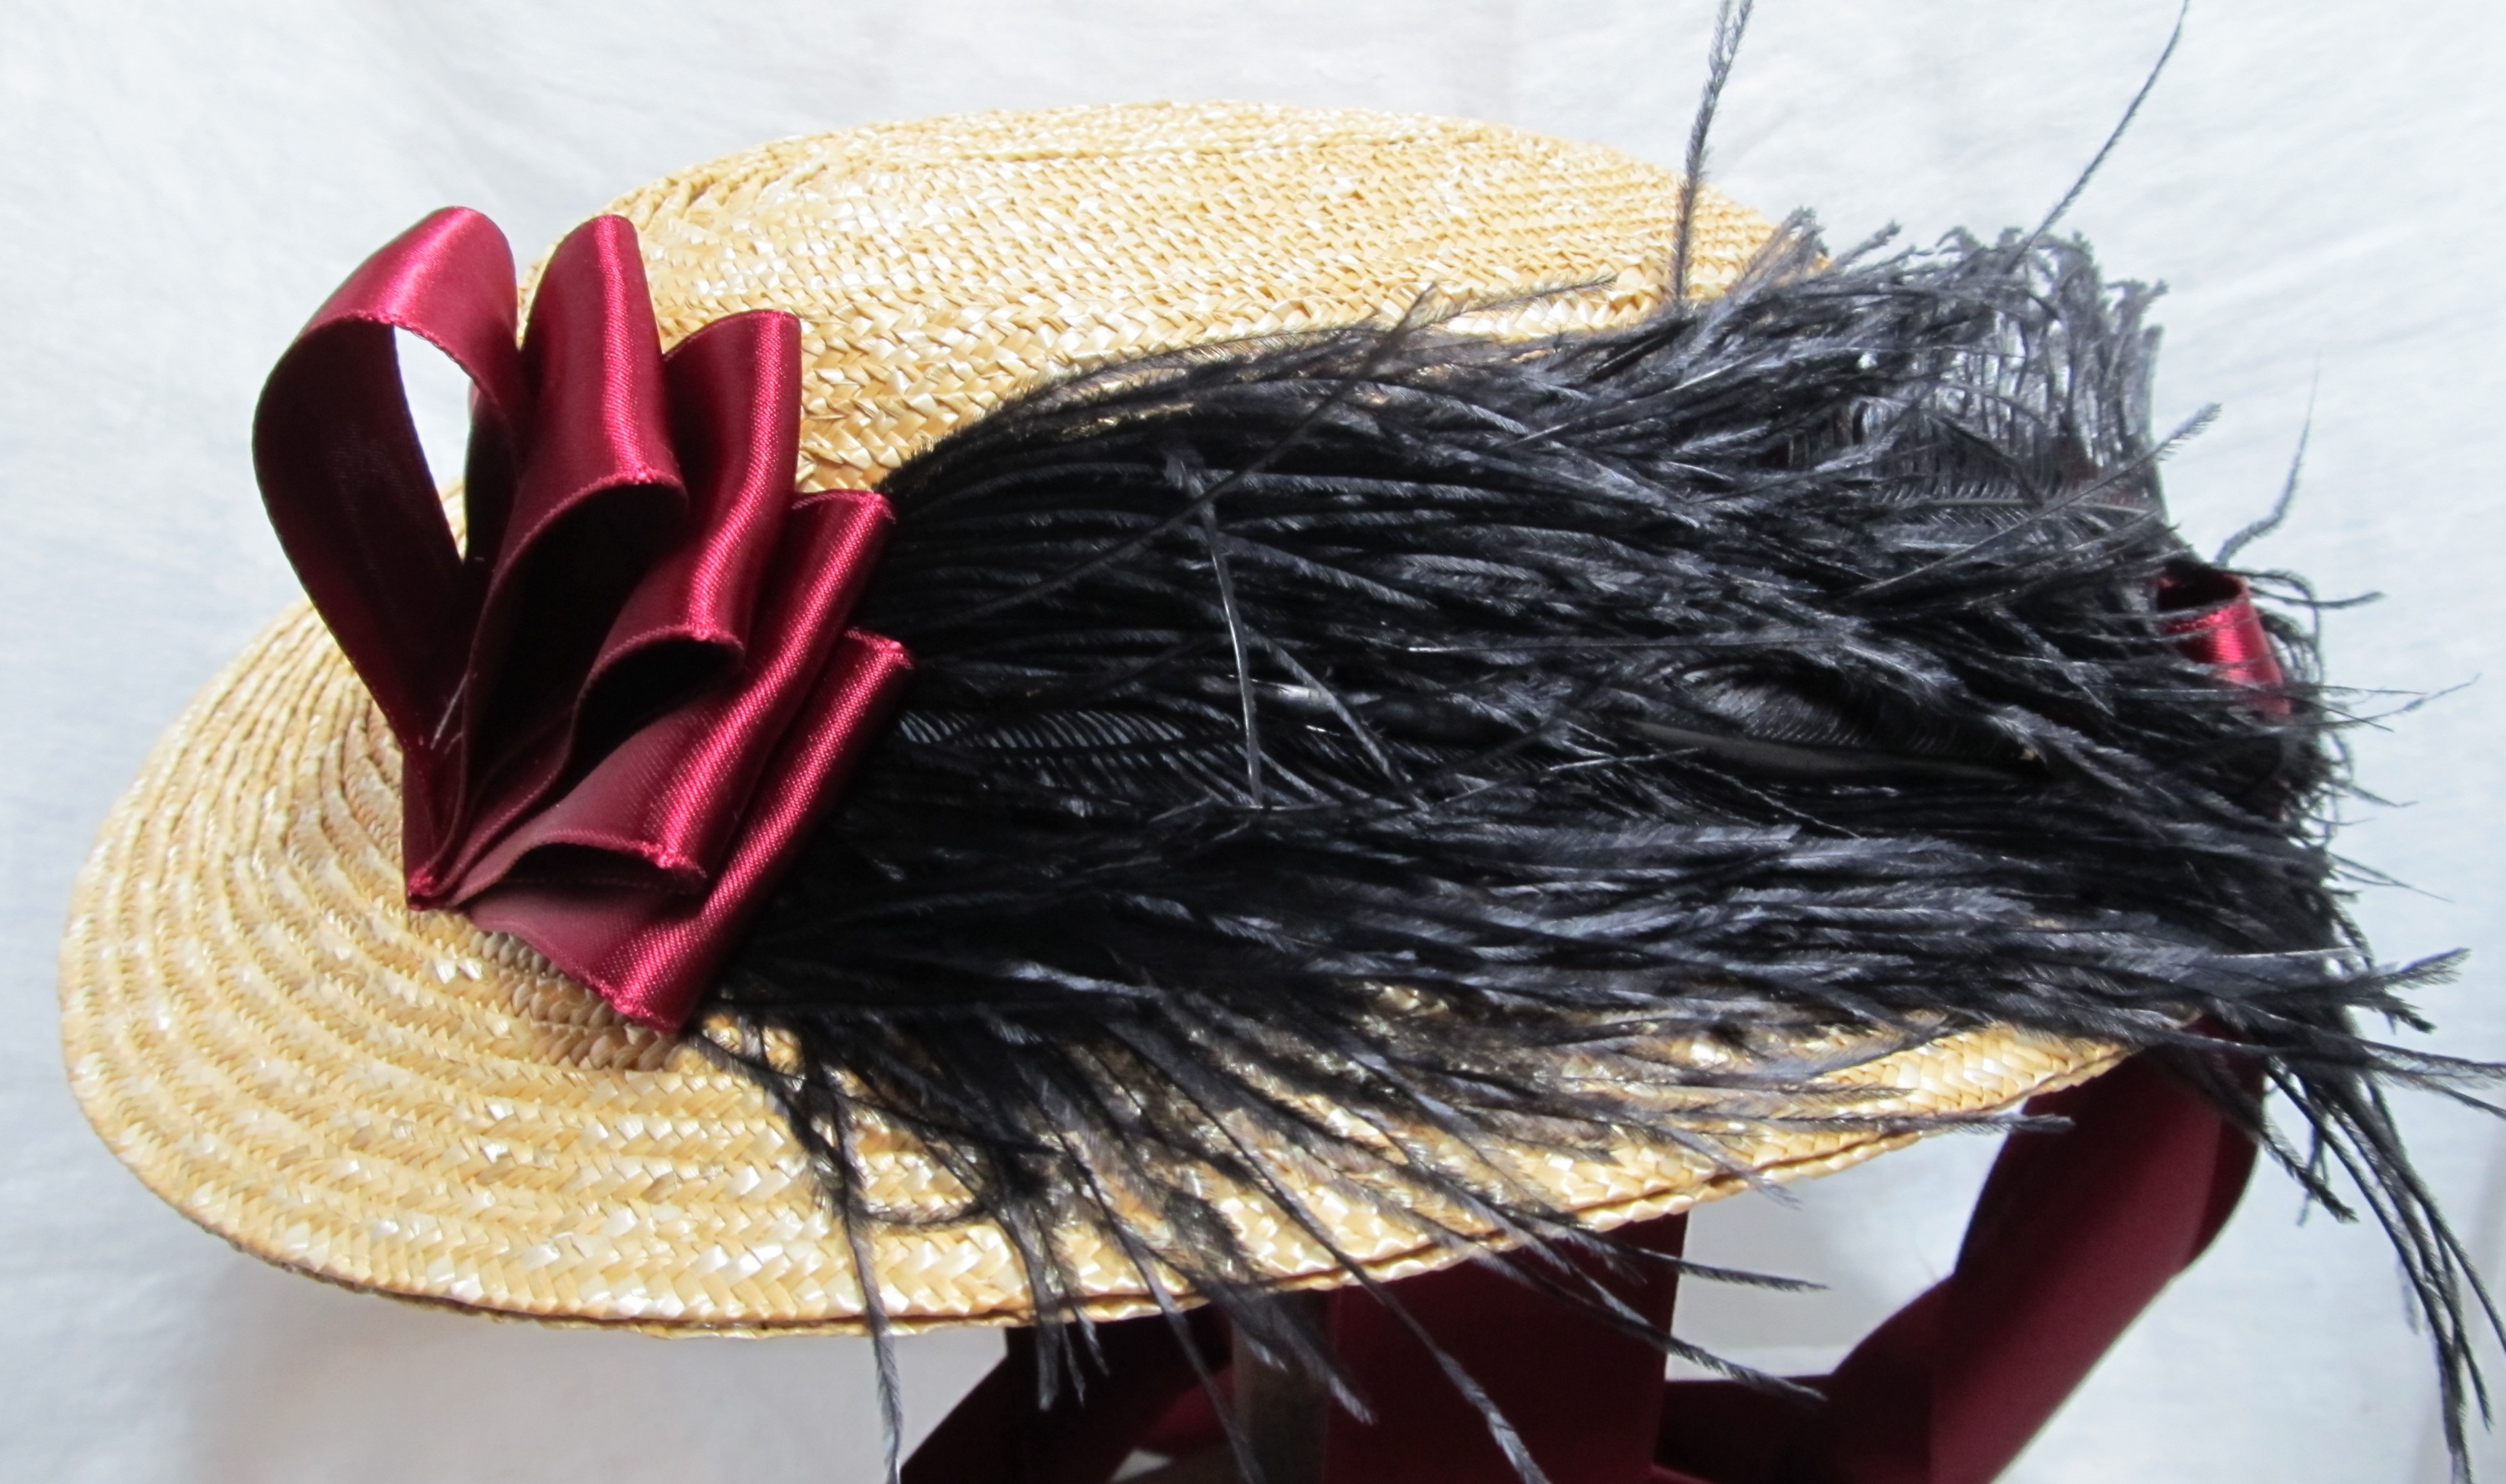
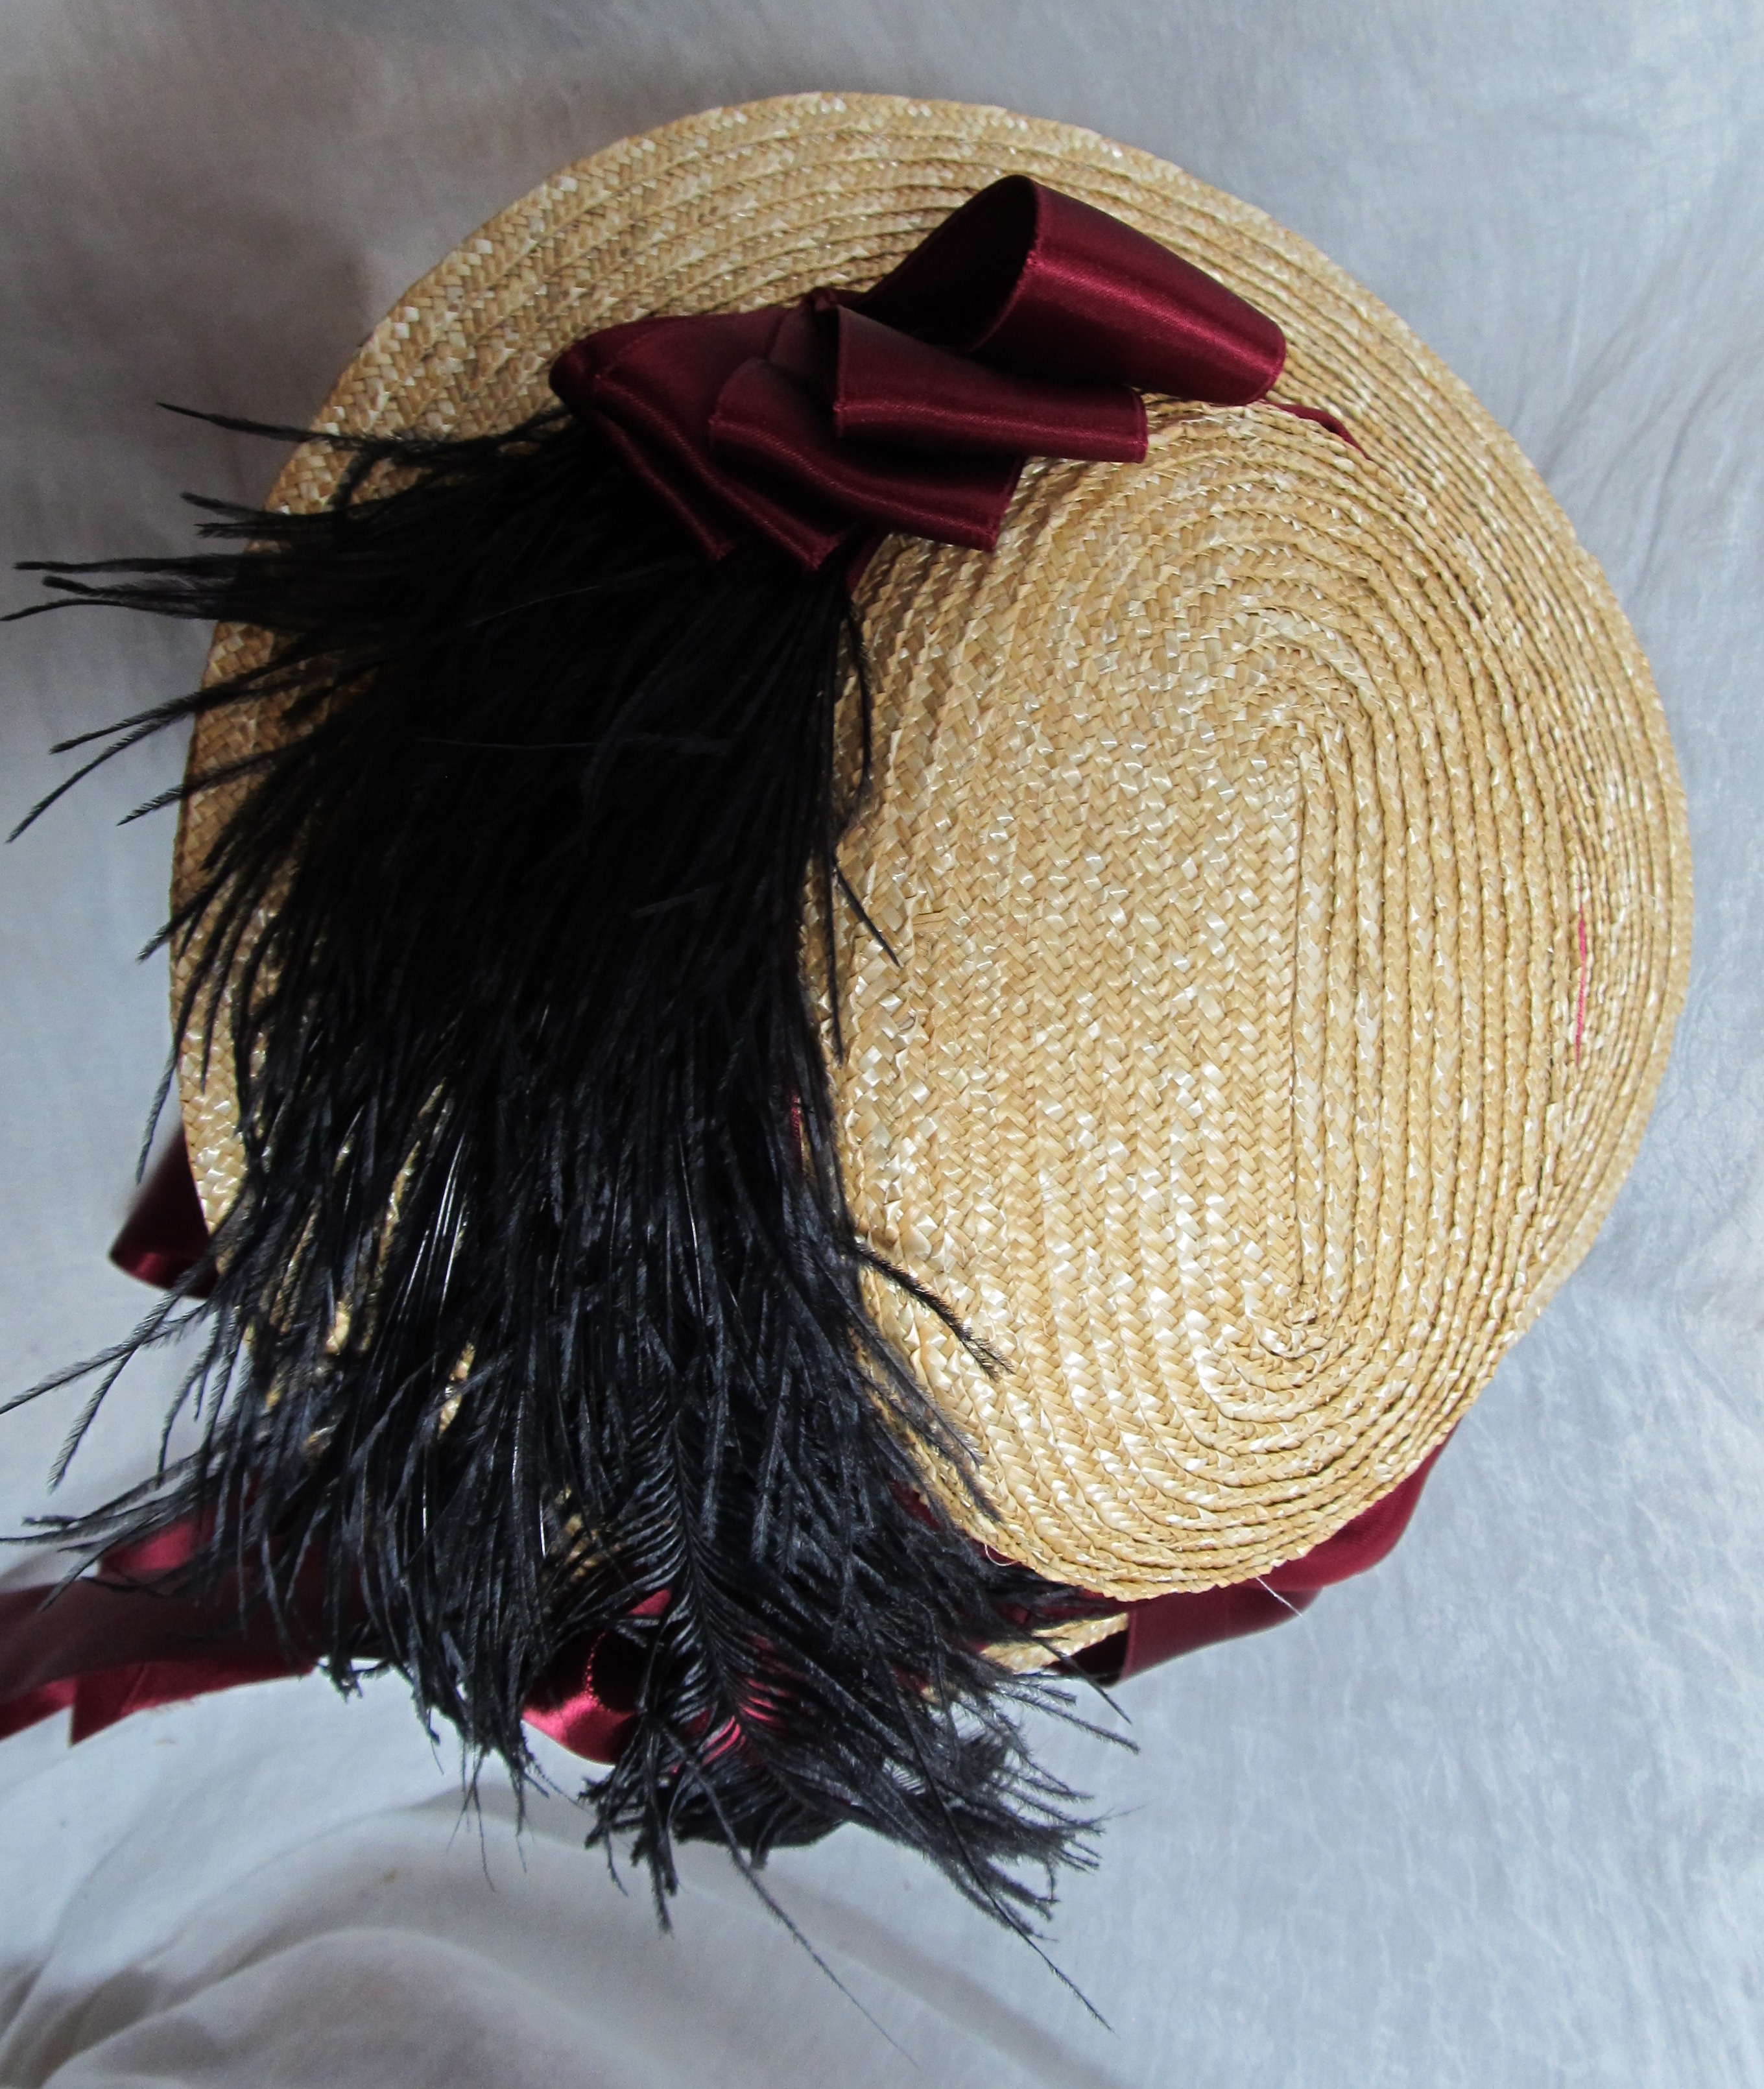
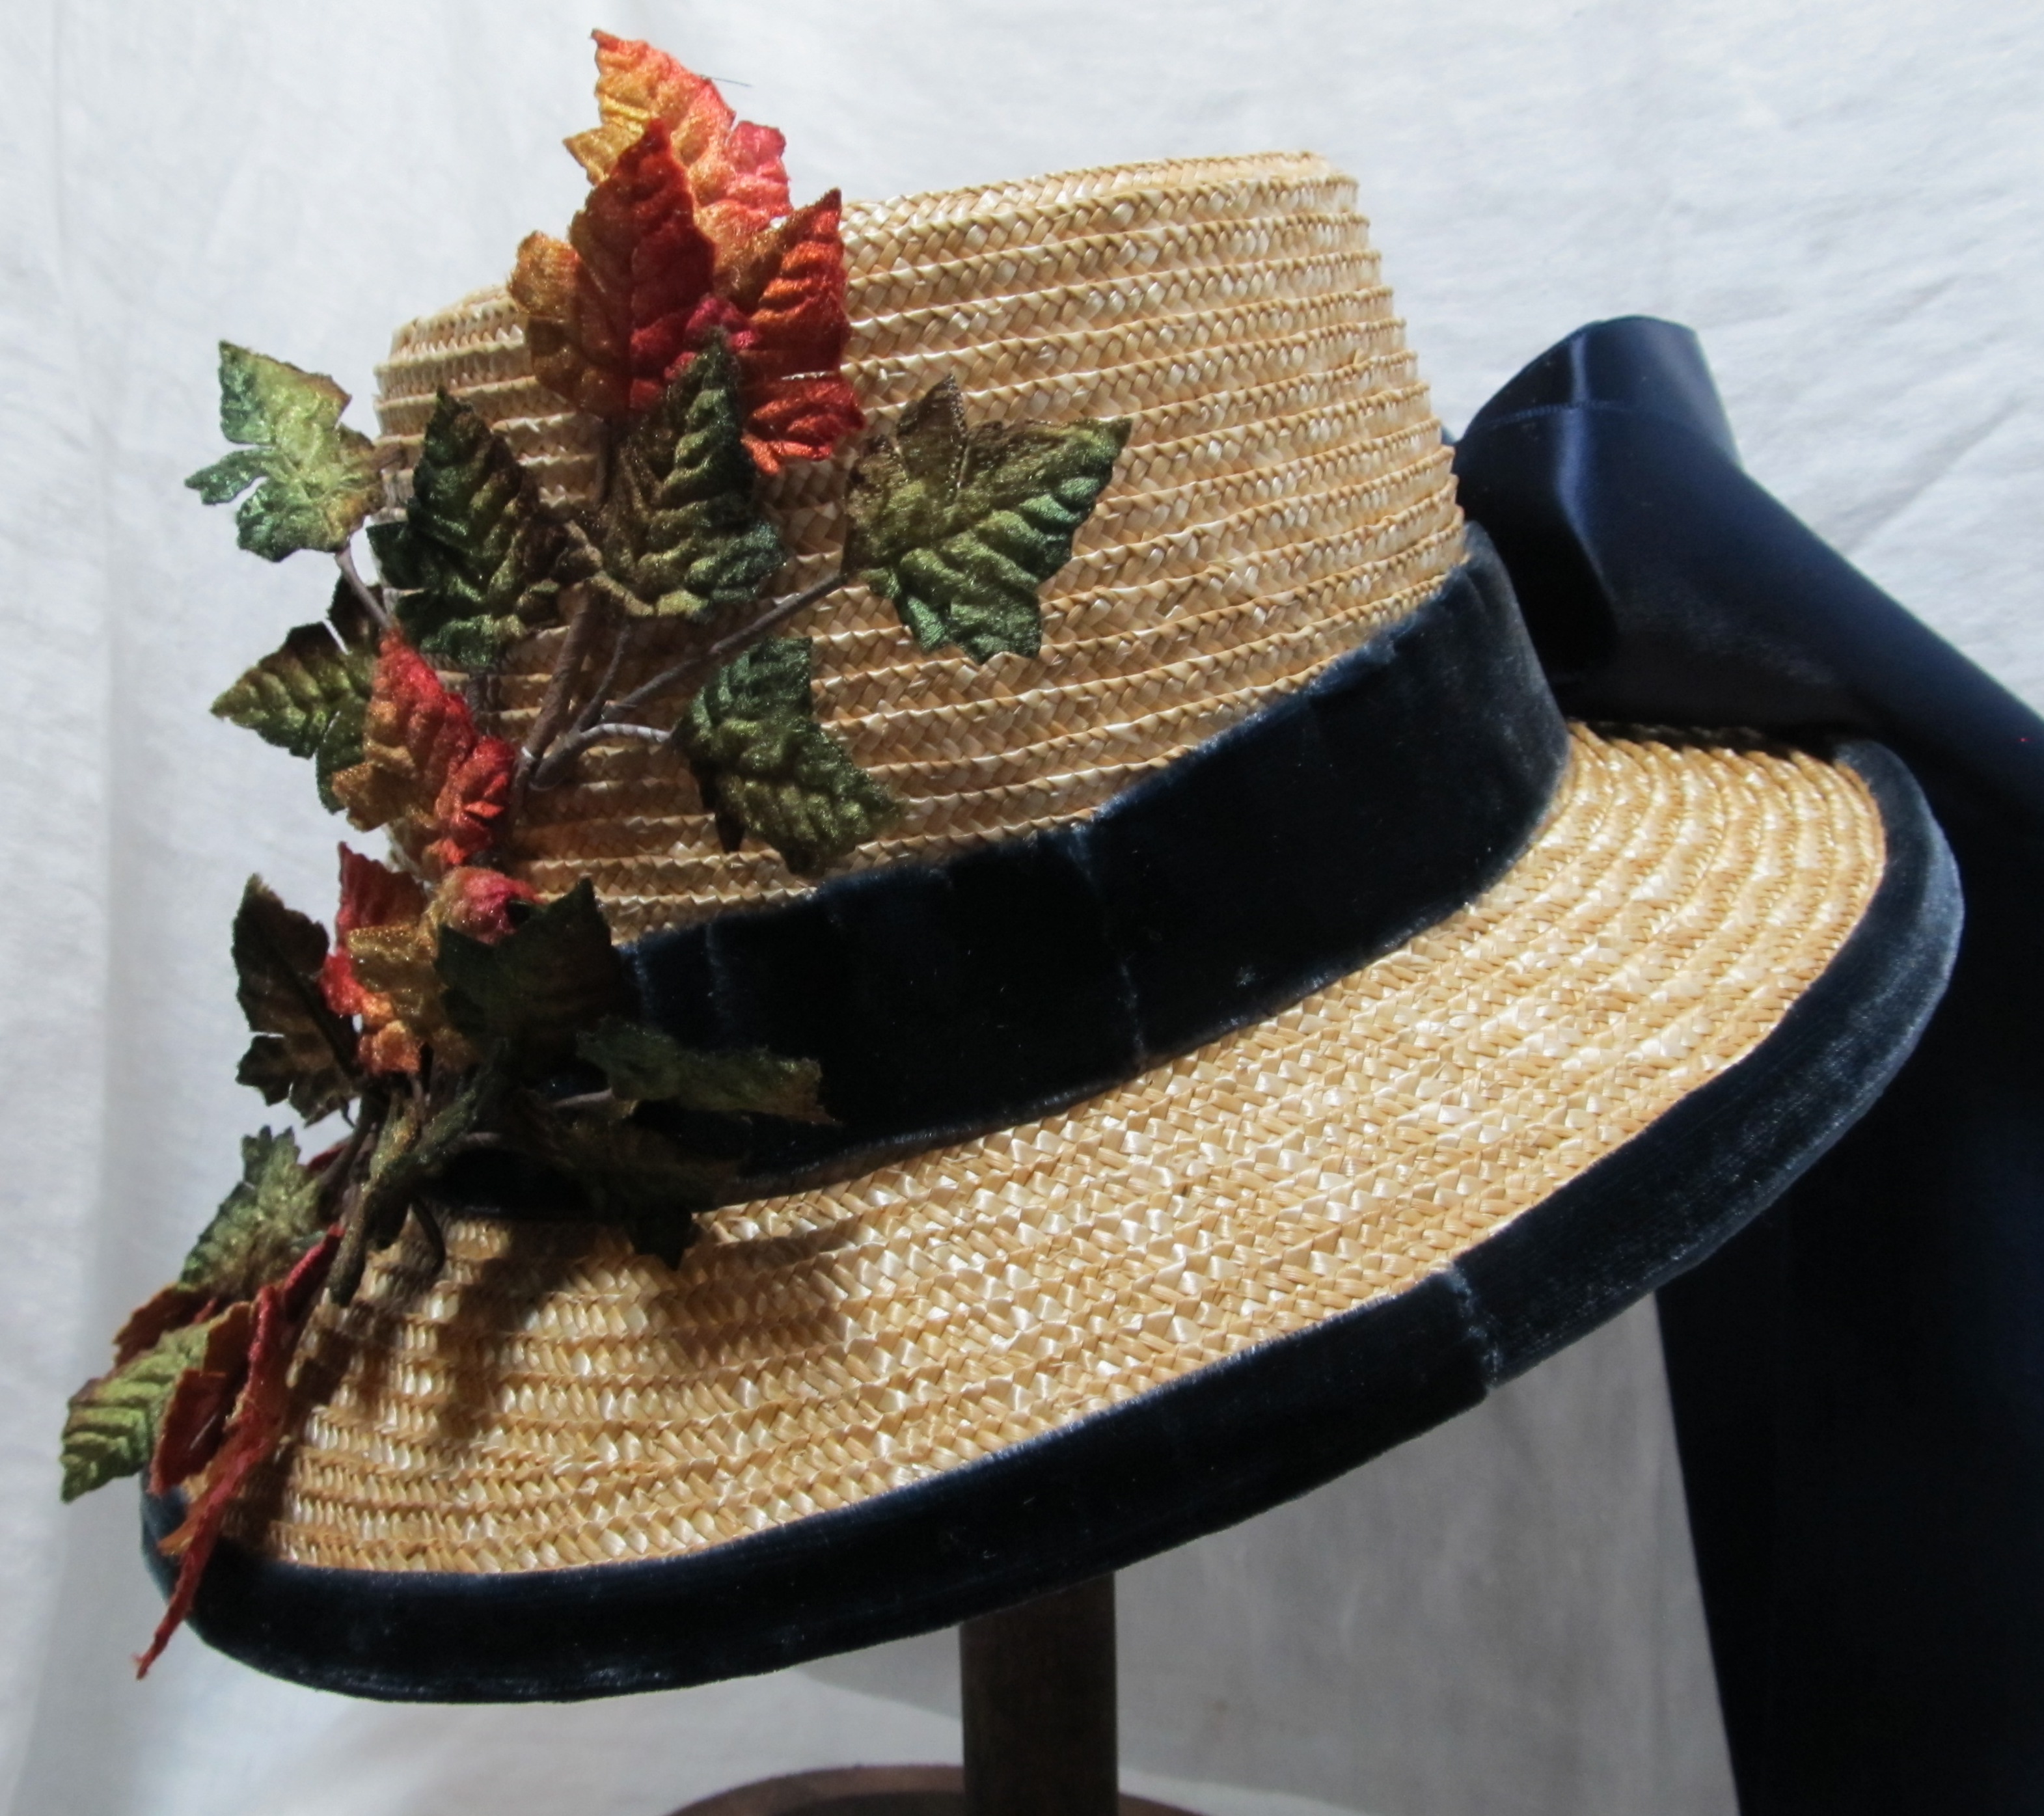
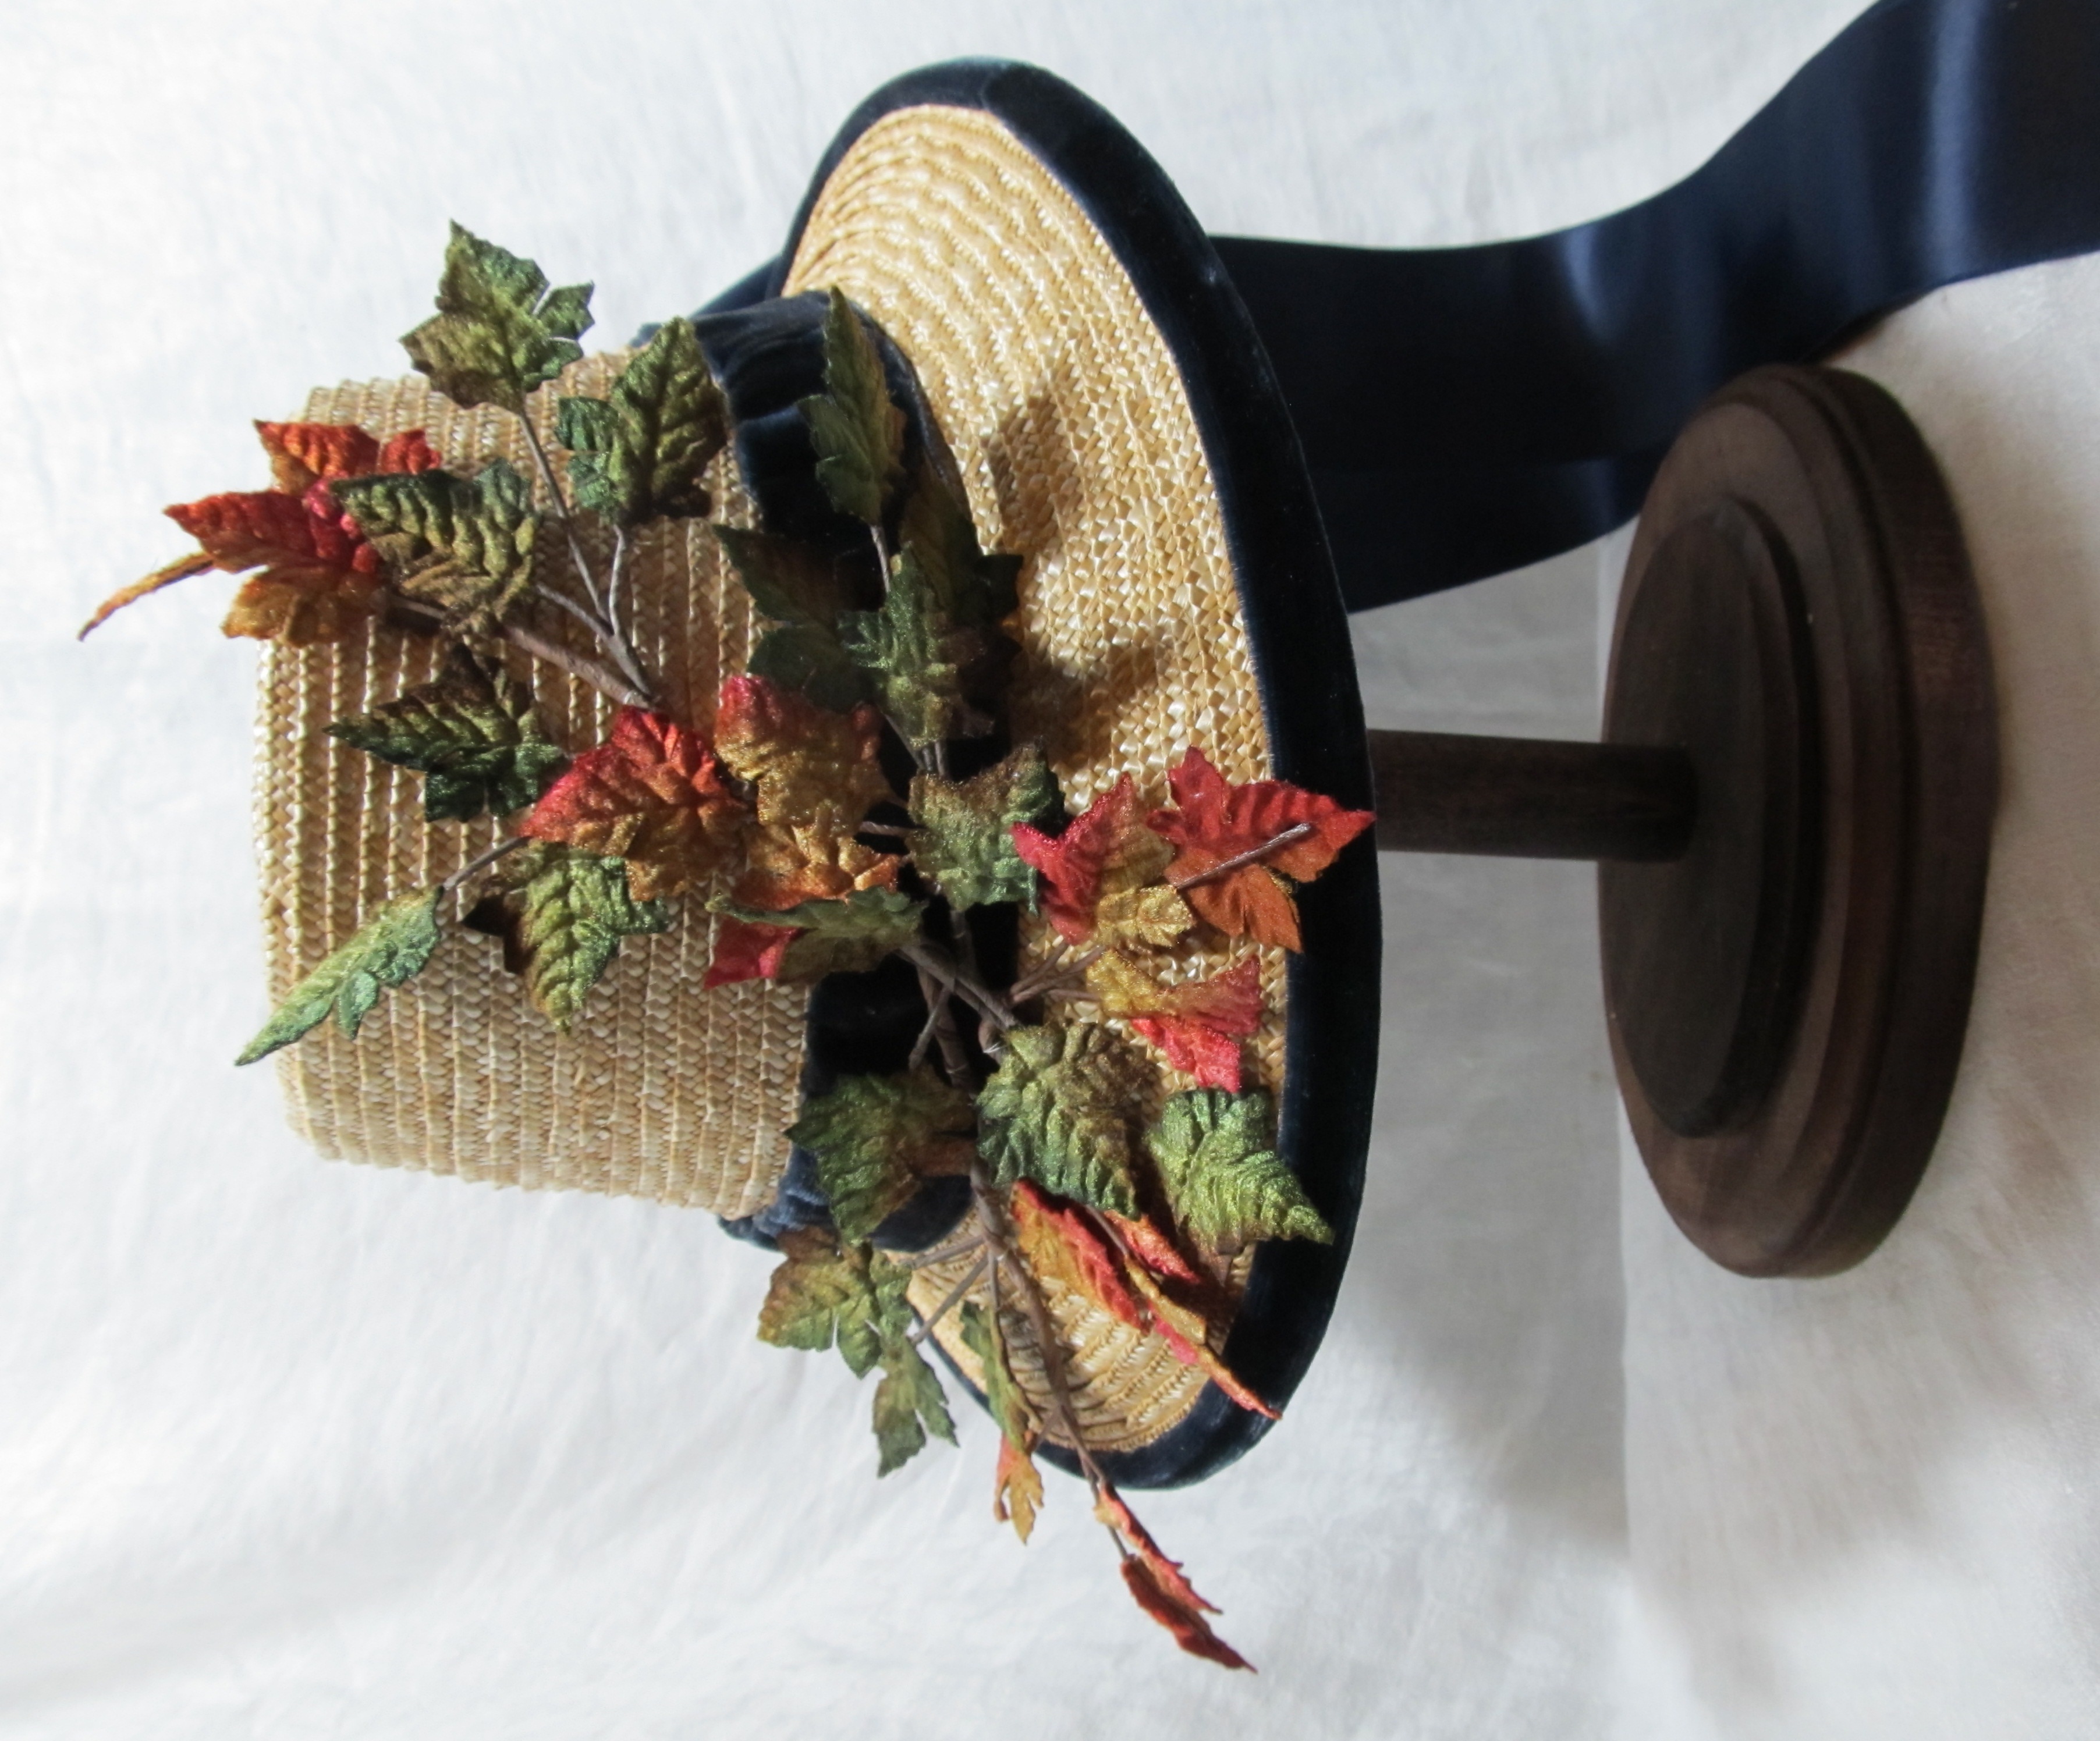
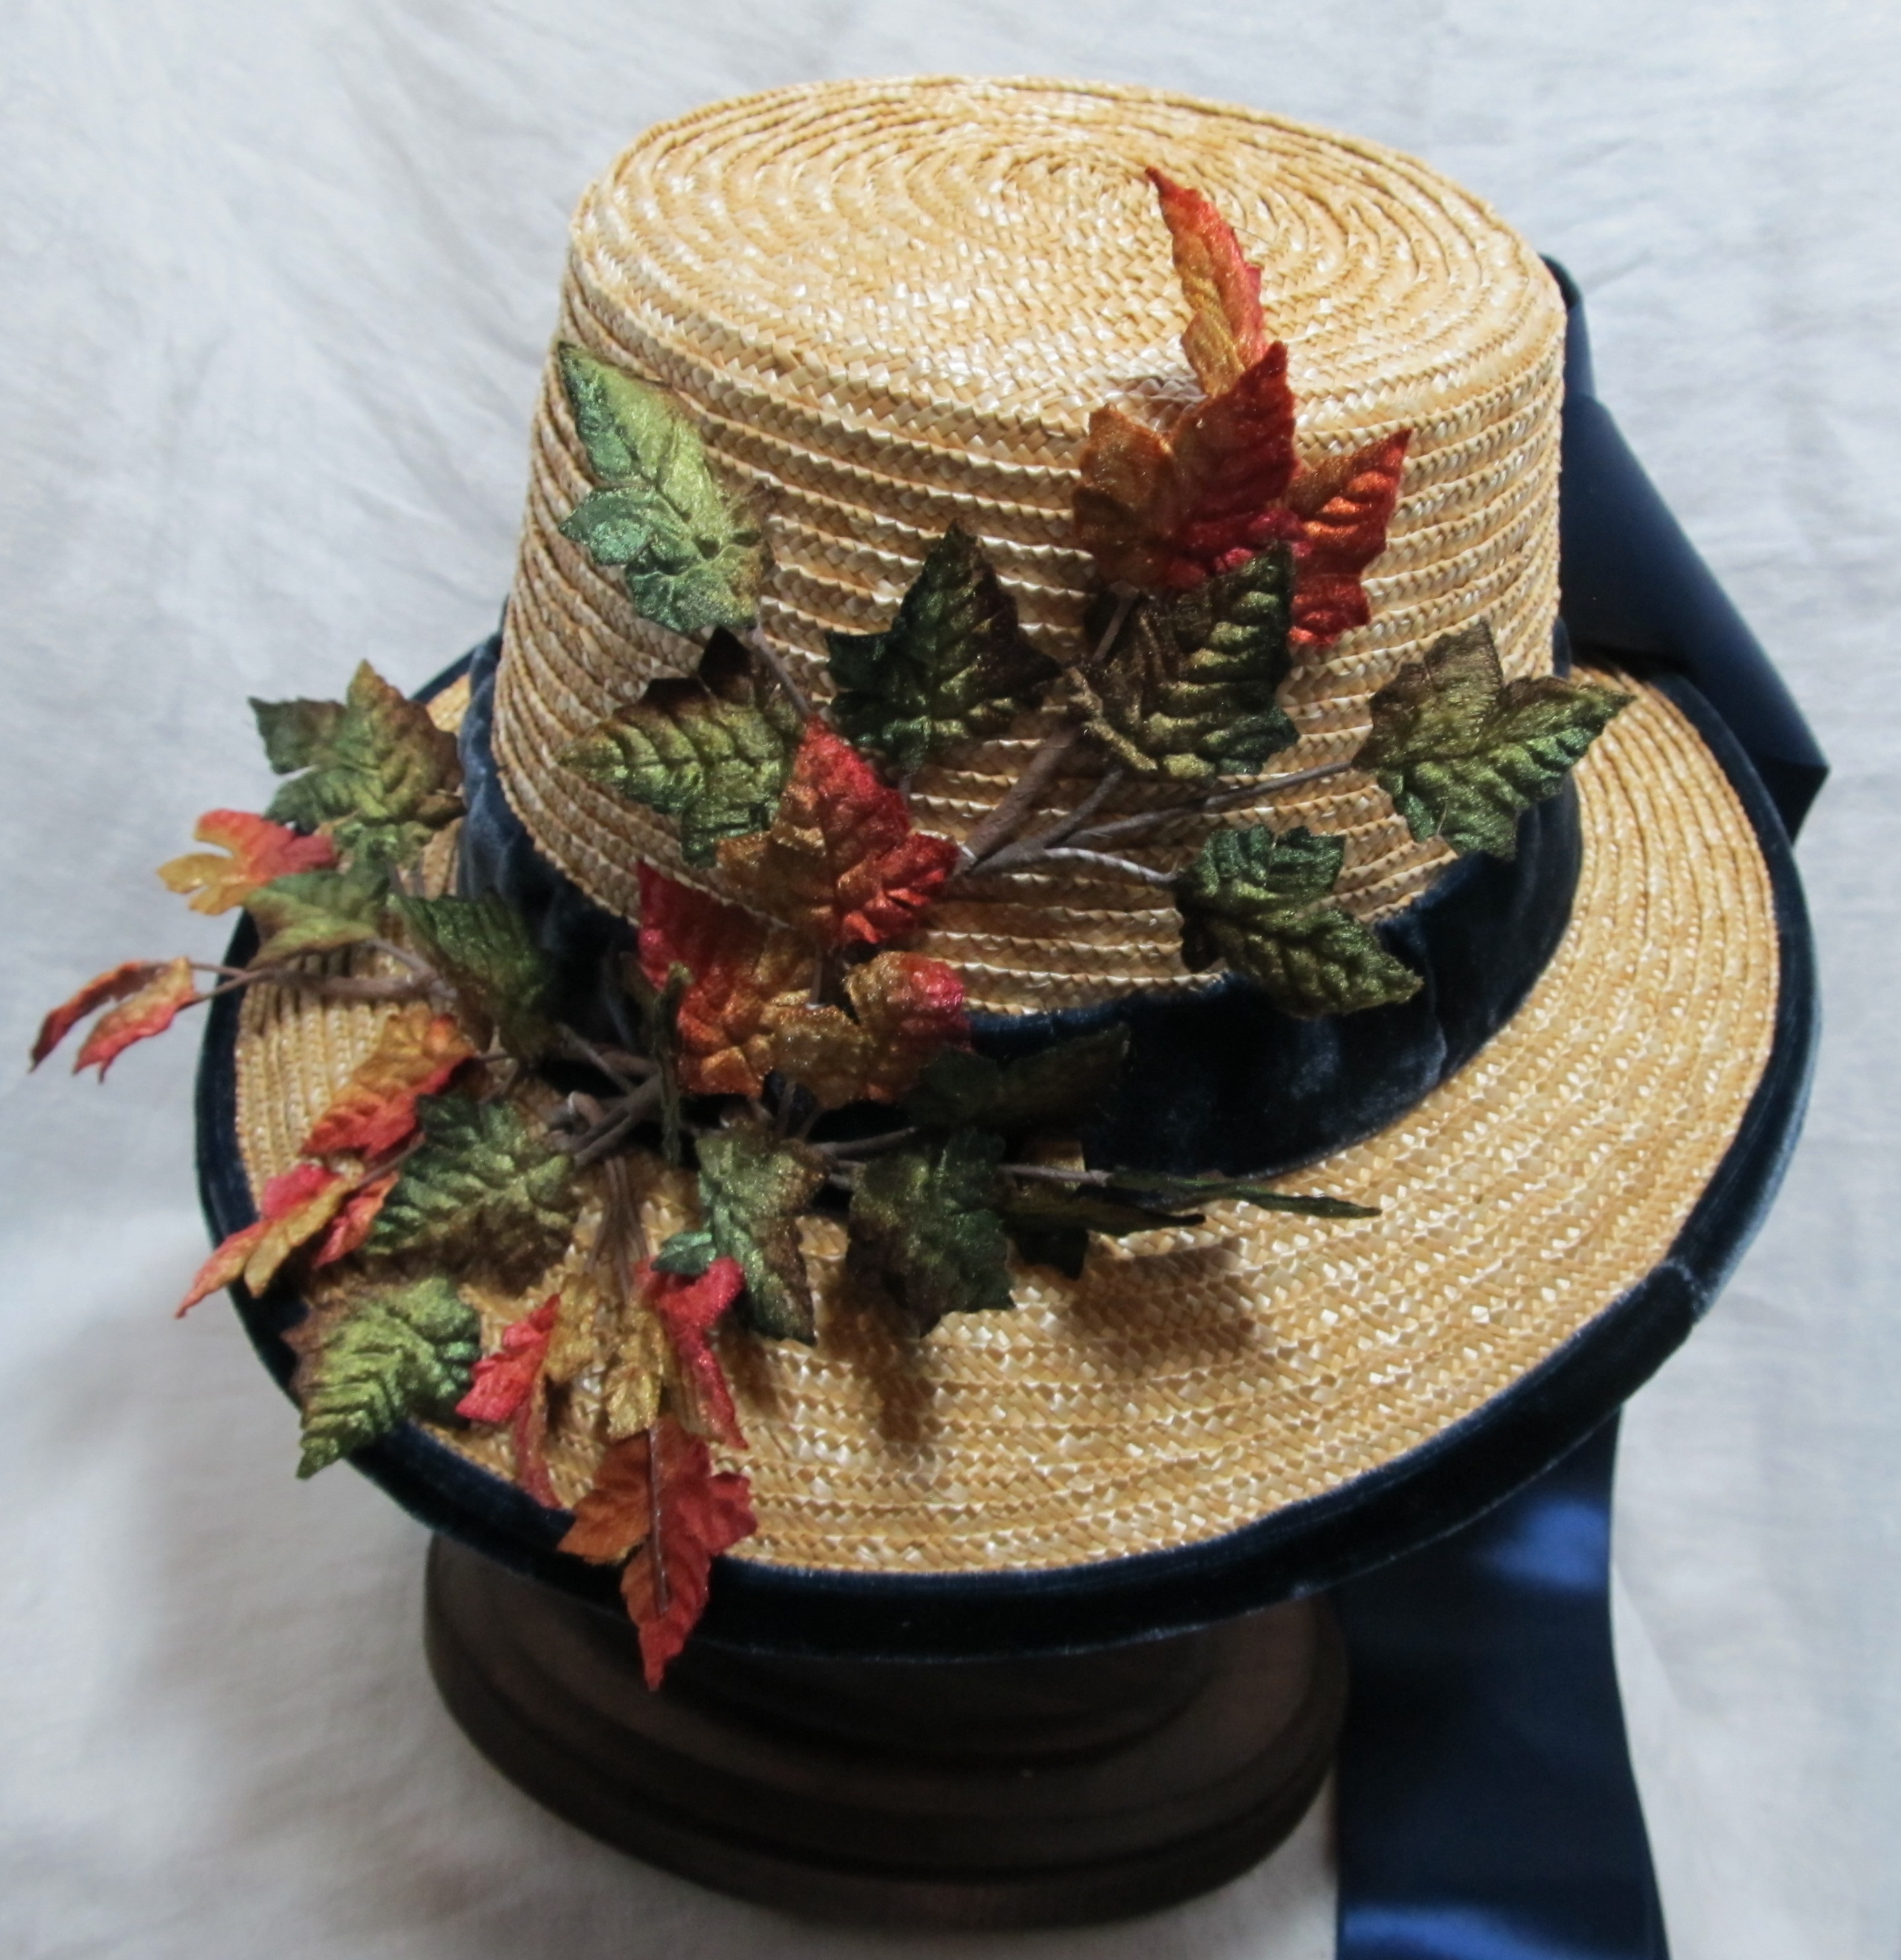
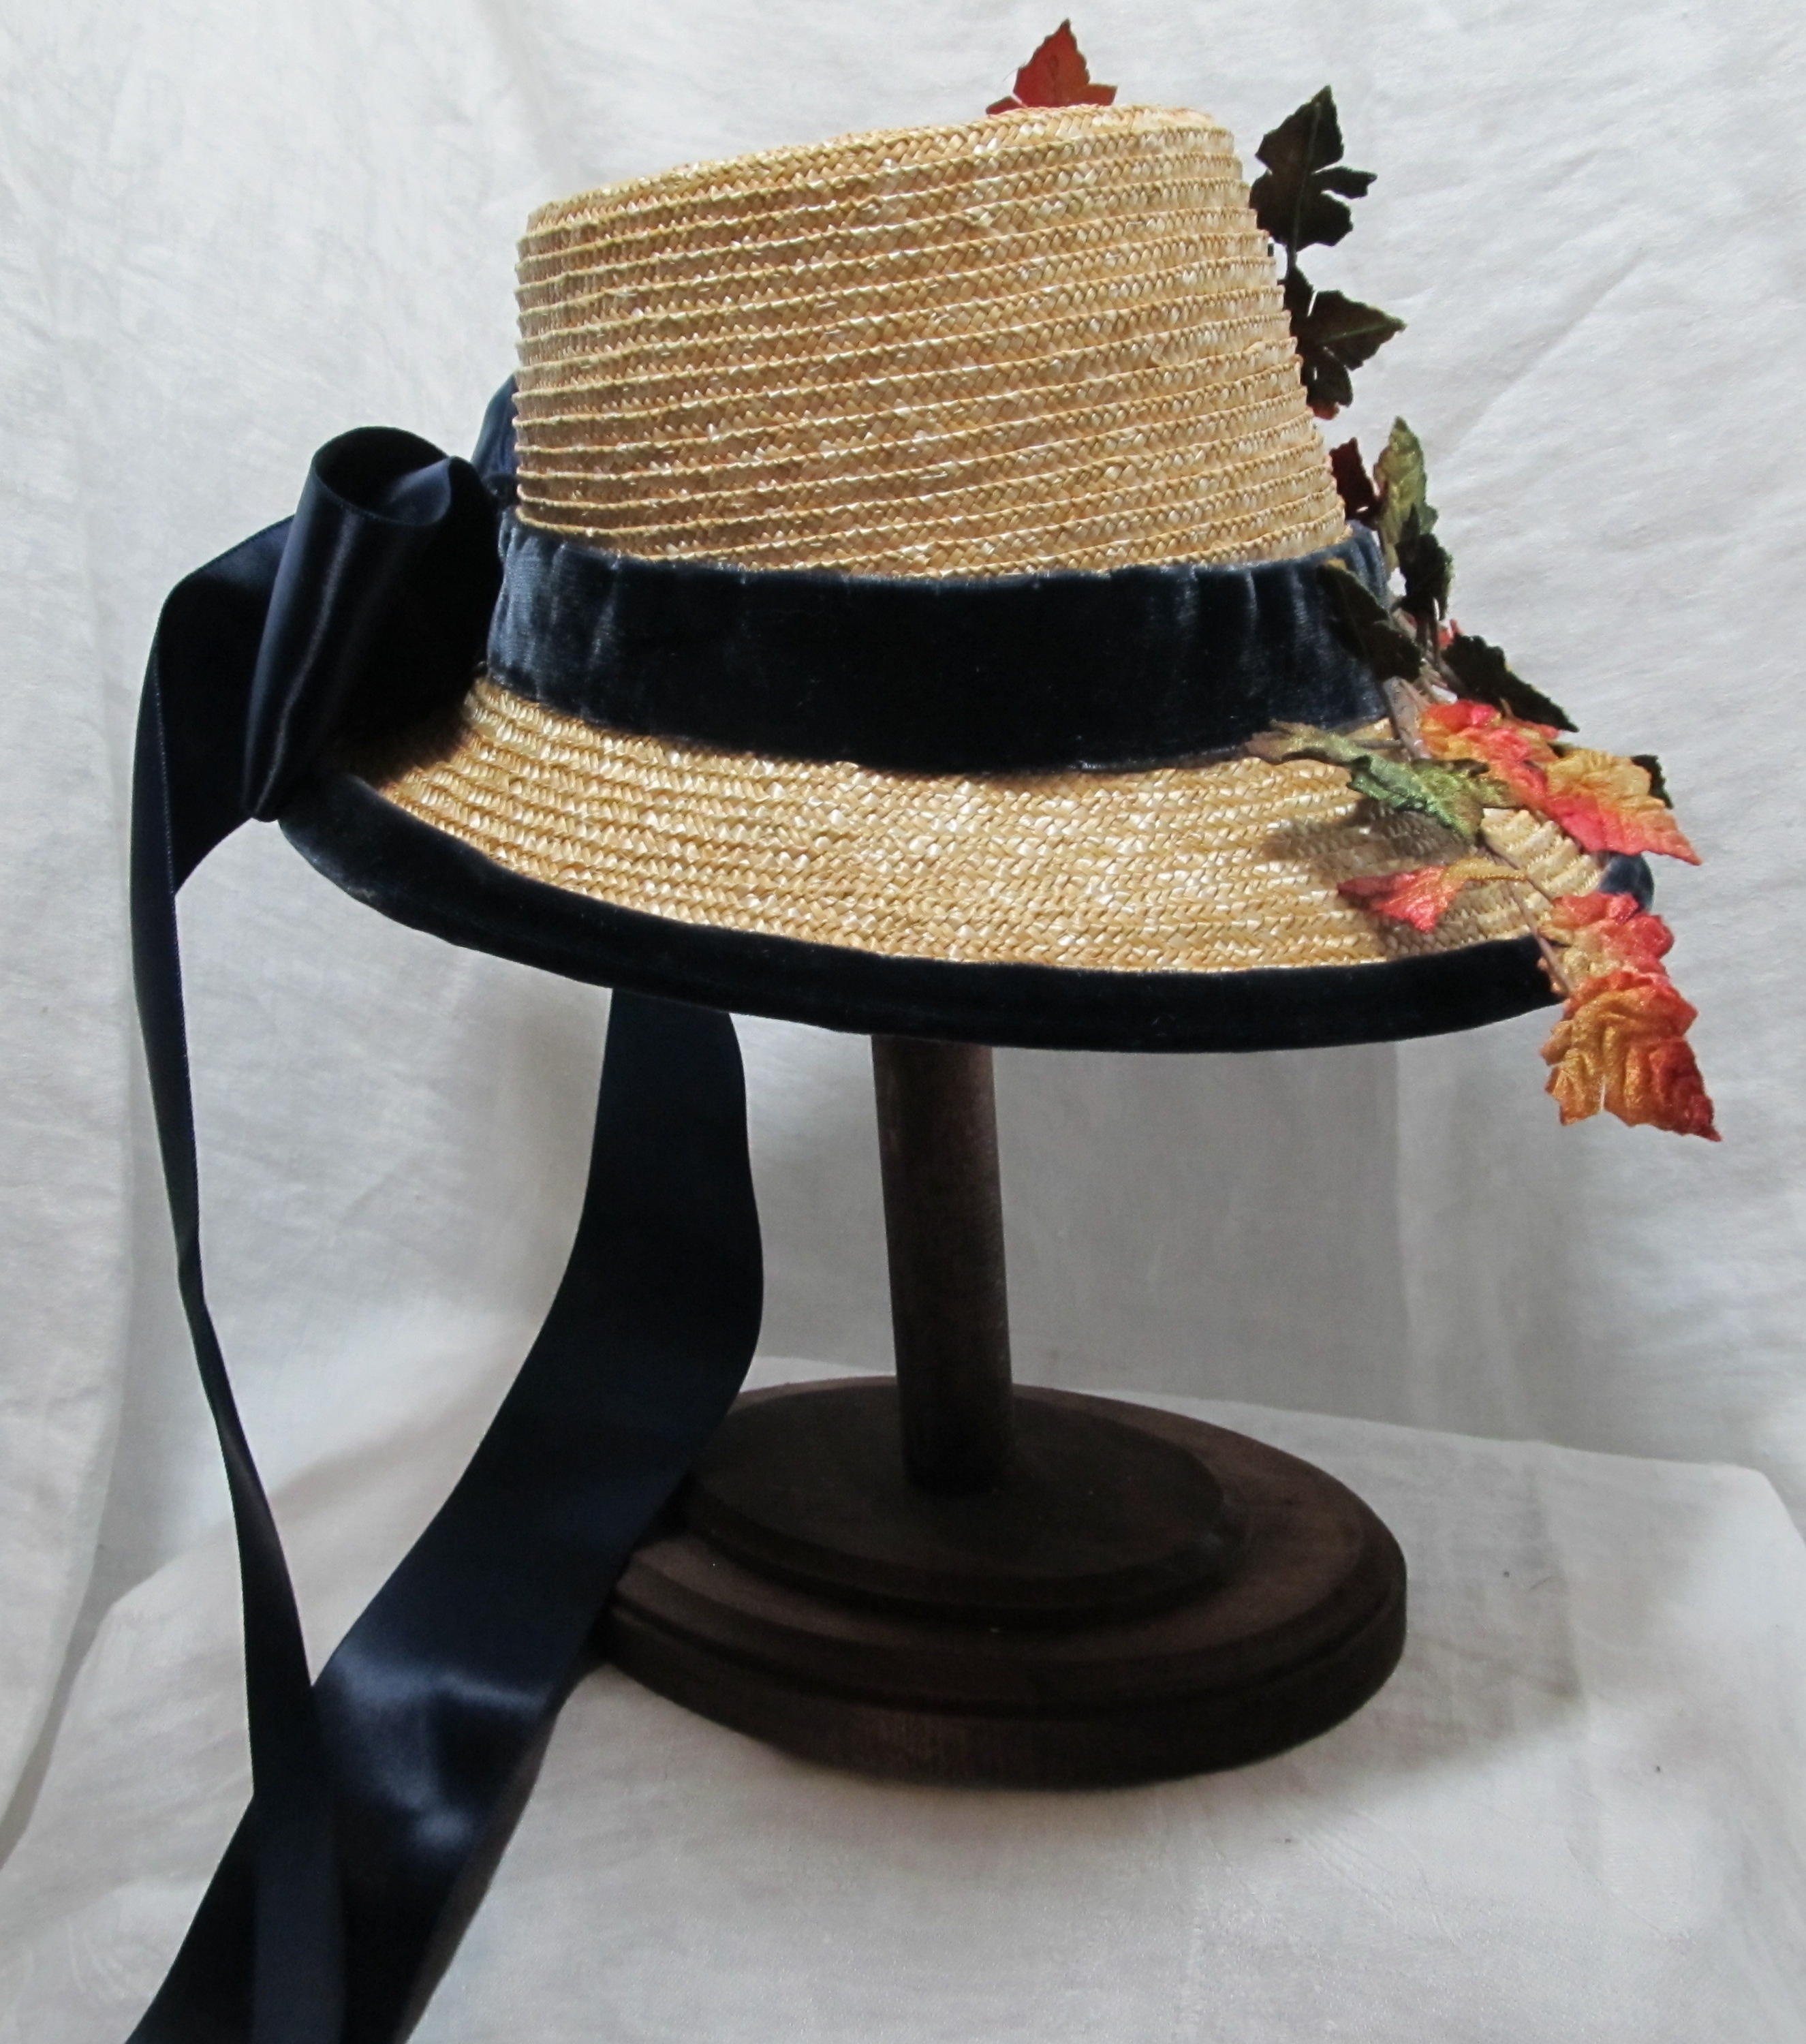
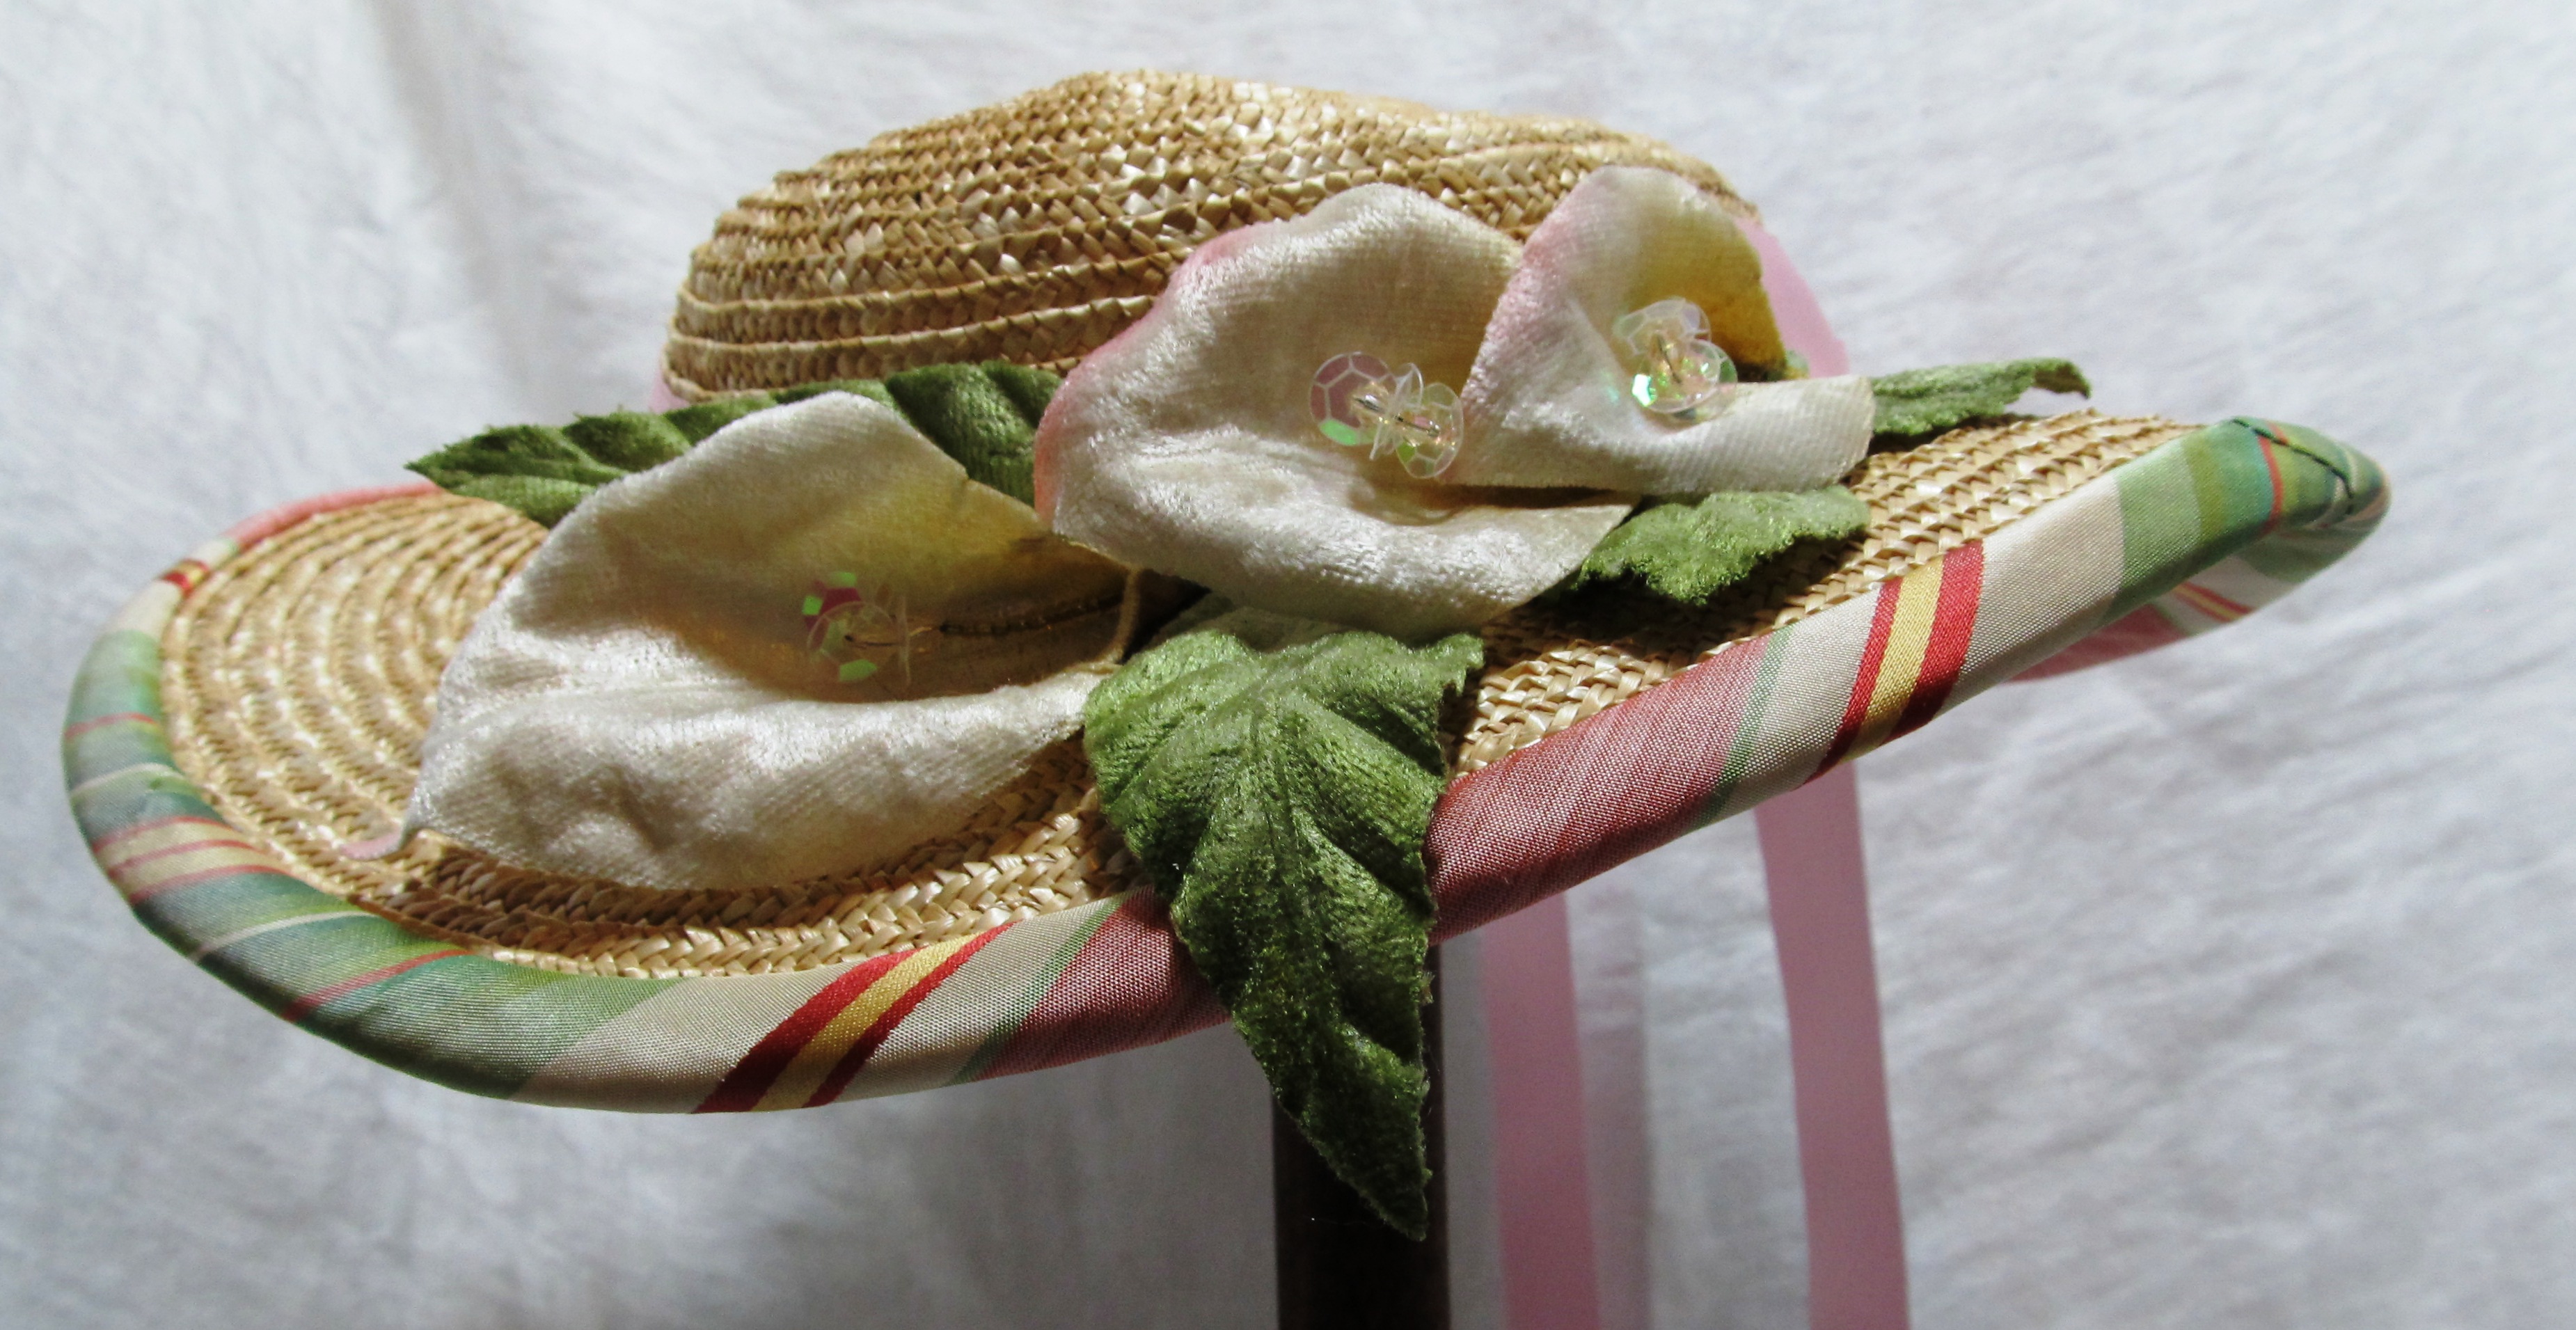
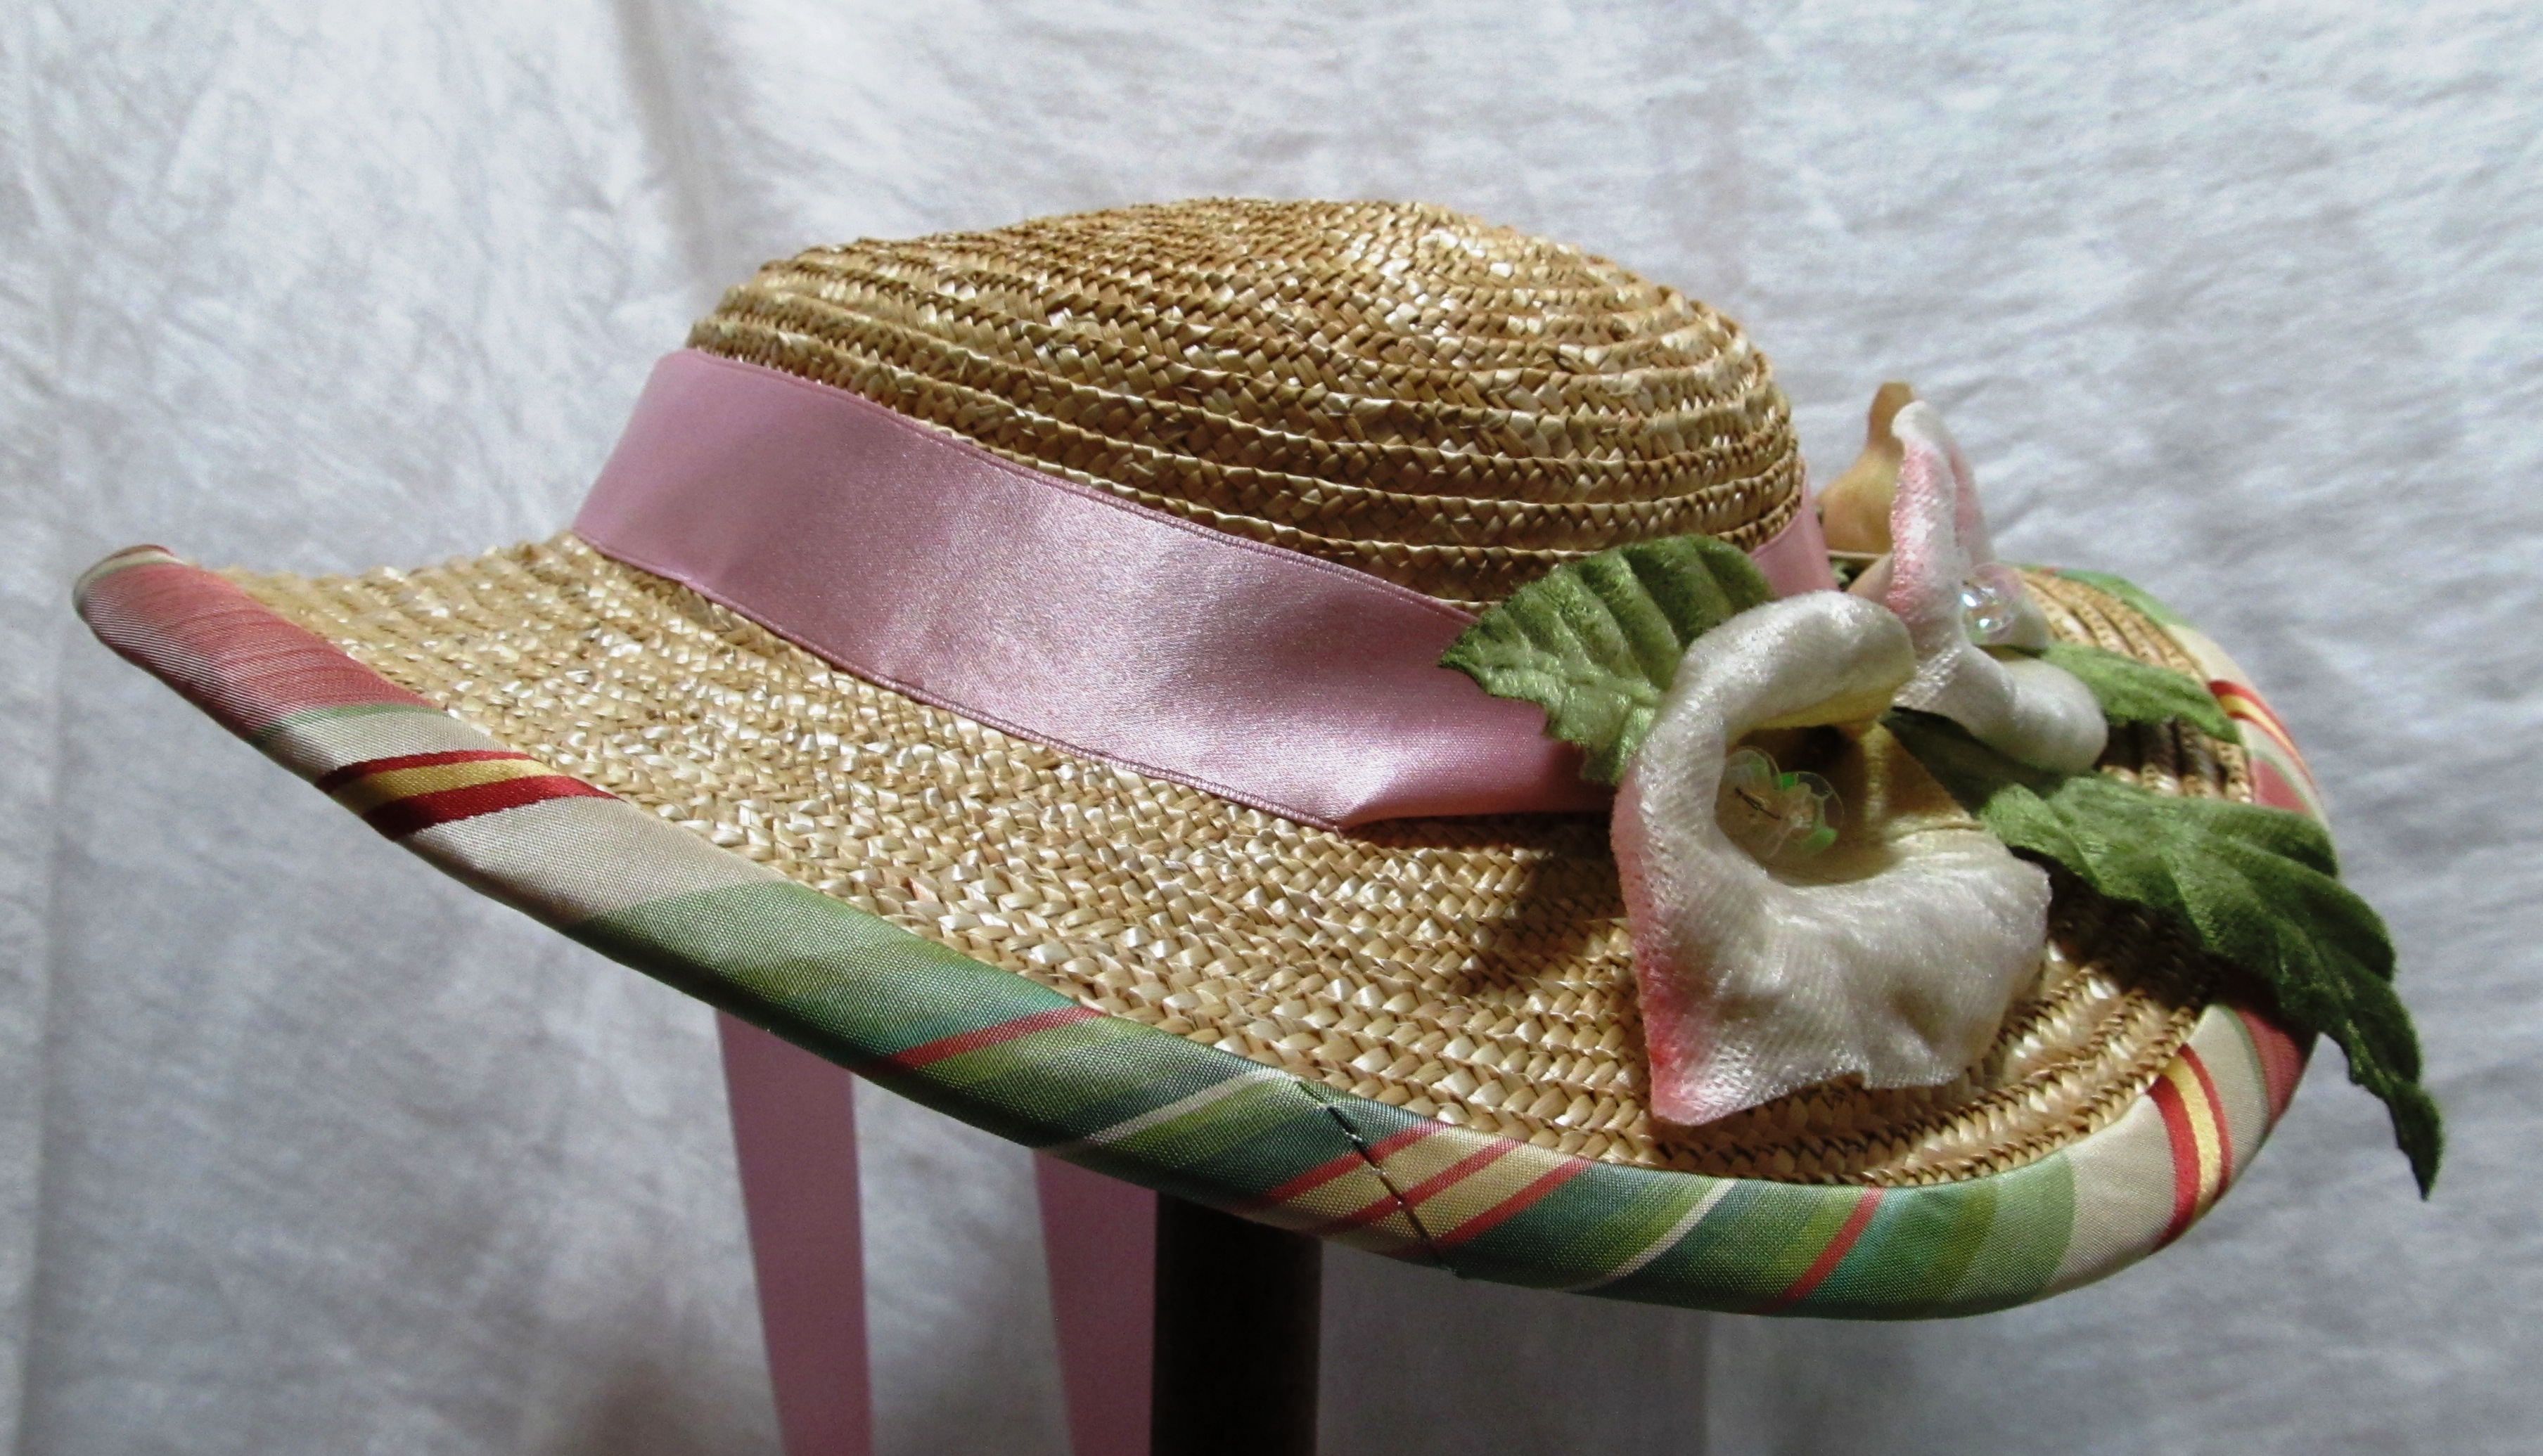
 This weekend at the museum I ran short on straw. So, I opted to change direction on the hat I was working on and make a pork pie hat. I had just the right amount of straw left for that. (I had declared it my first pork pie. But, yesterday, I realized I made a small hat last month that technically is also a pork pie.)


 When it arrived and I was happily trying it on, I thought of the o
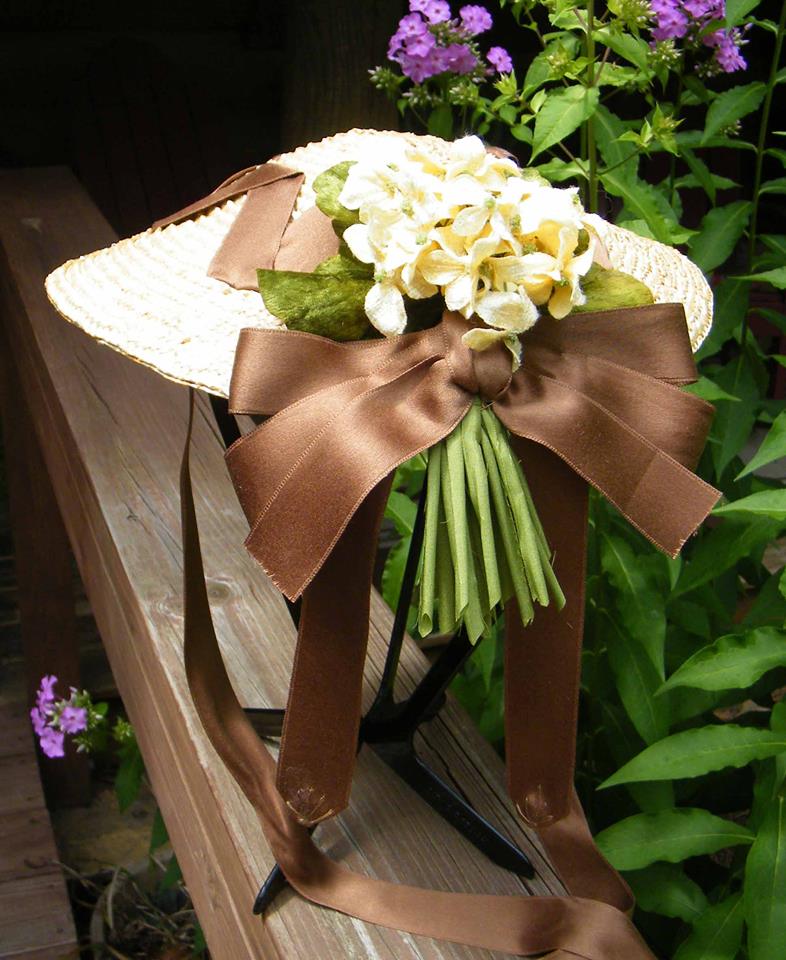
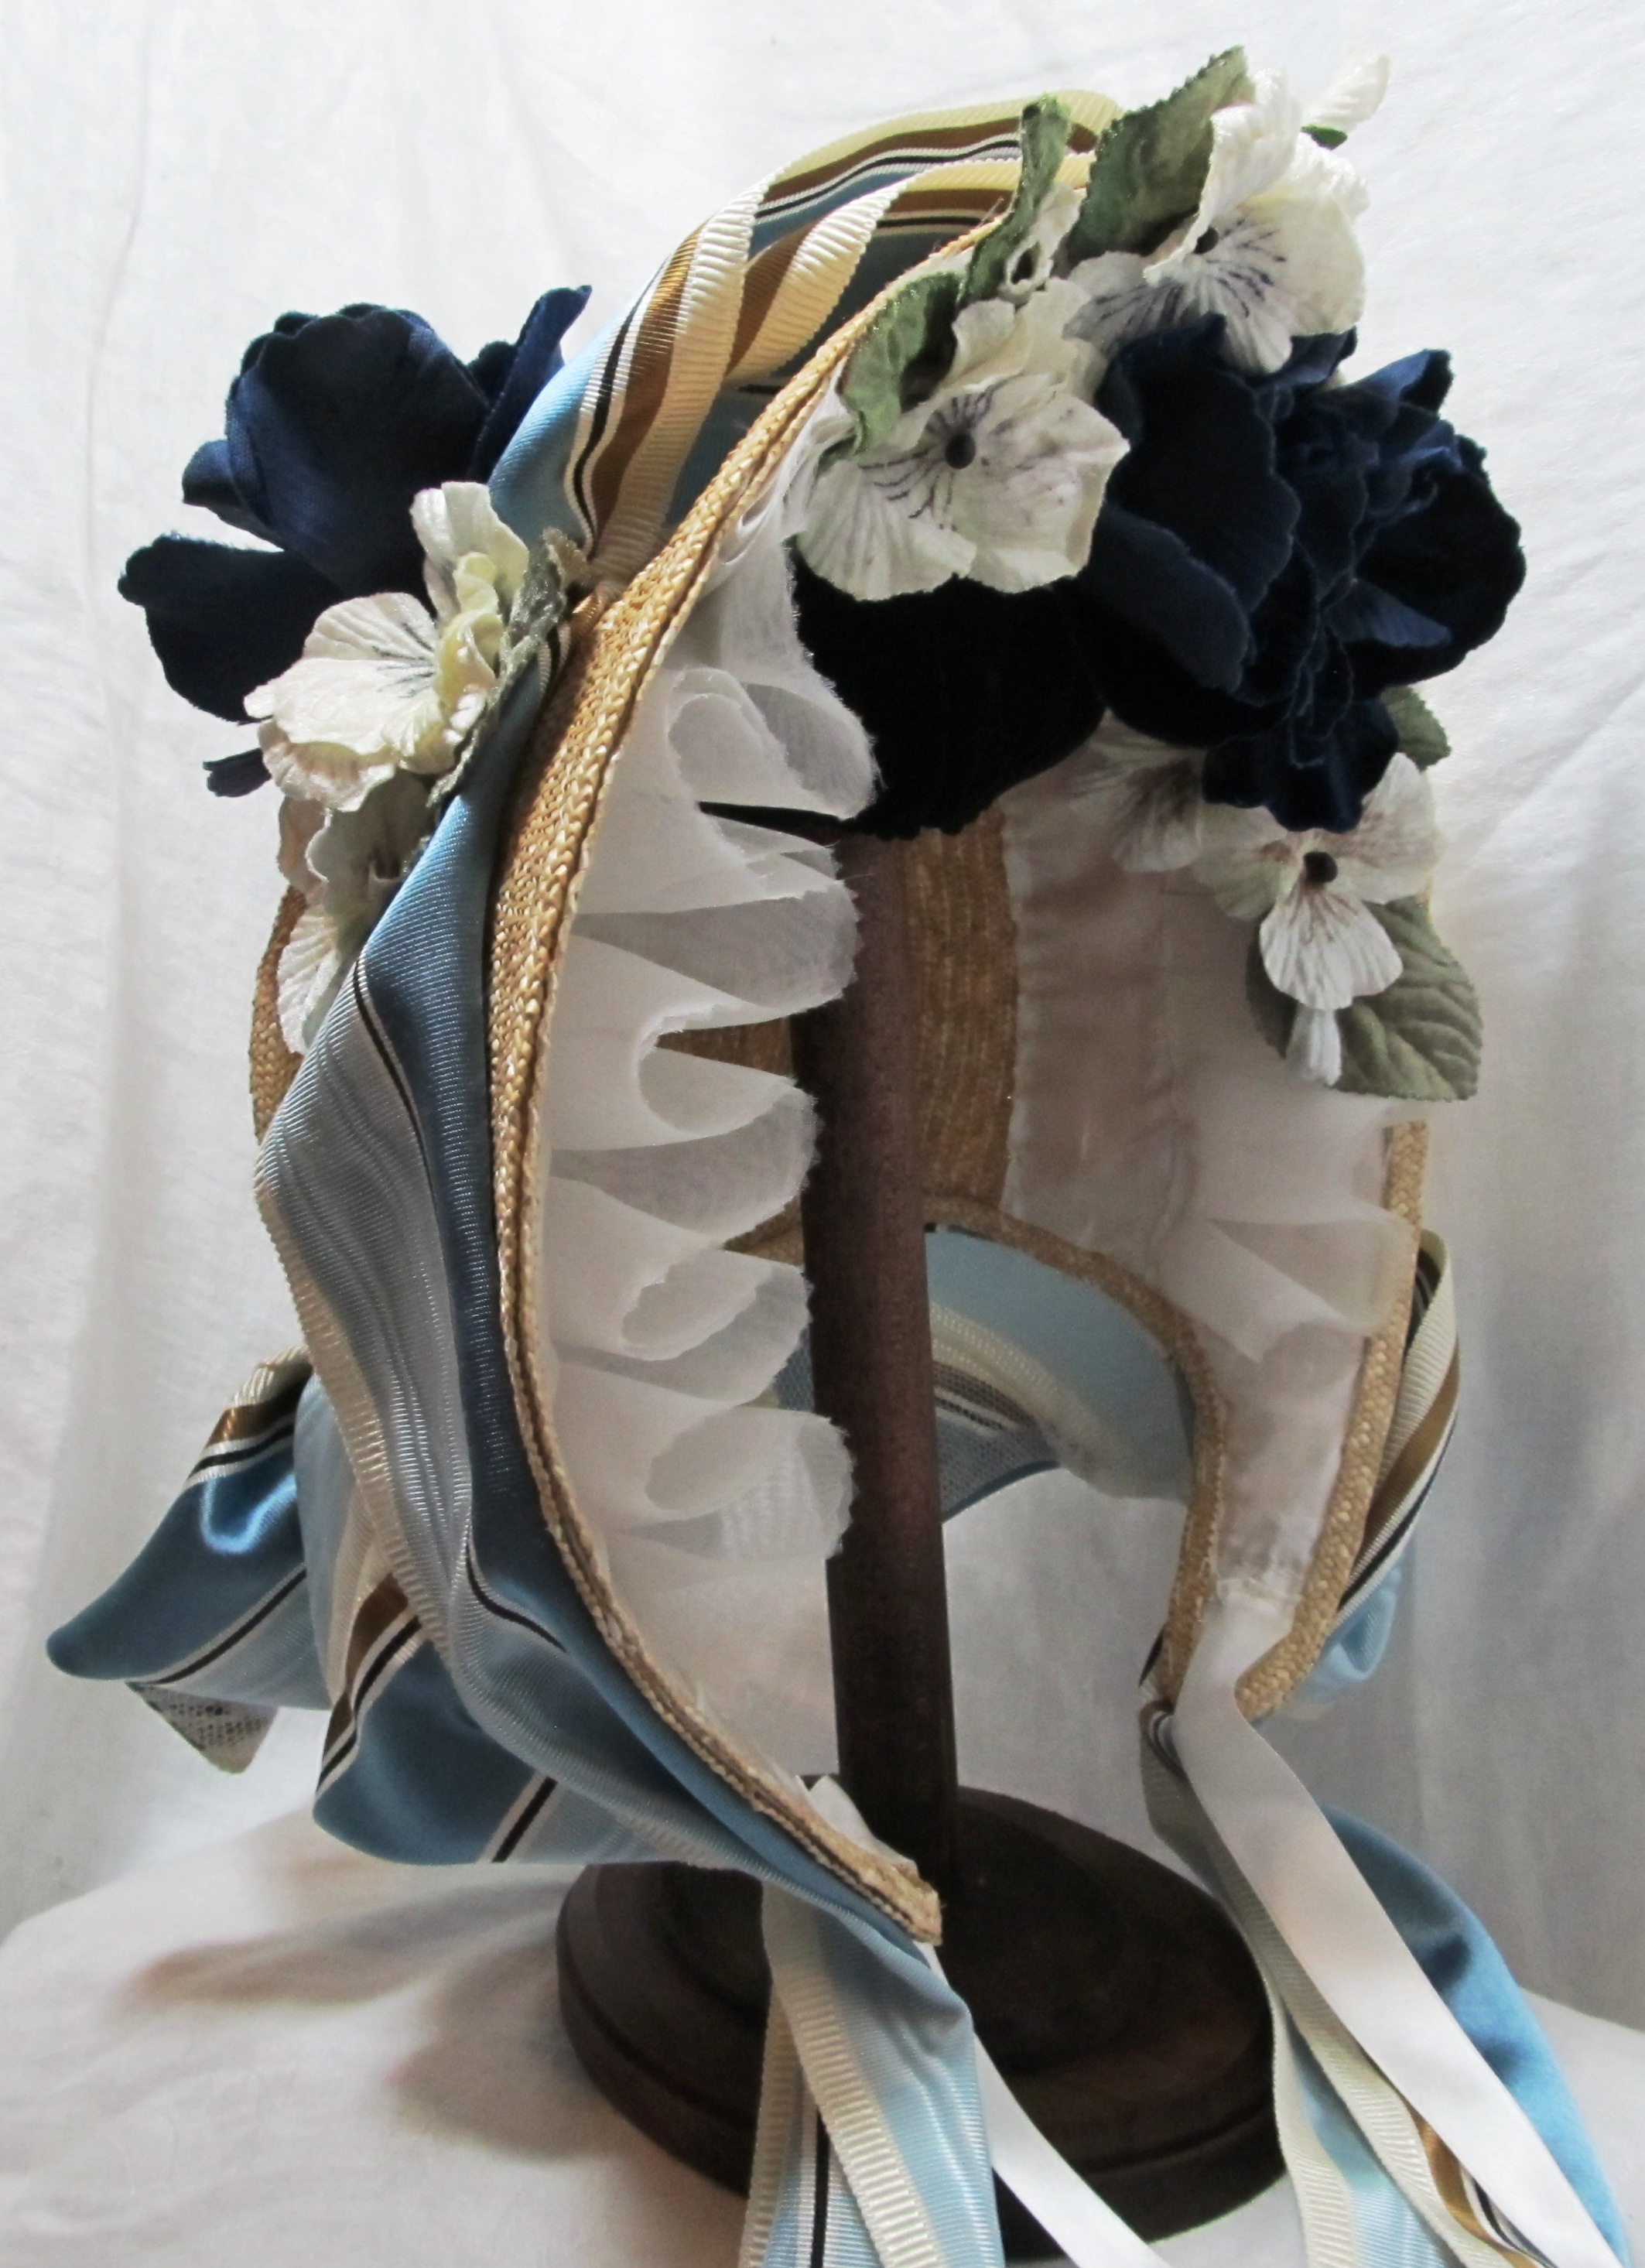

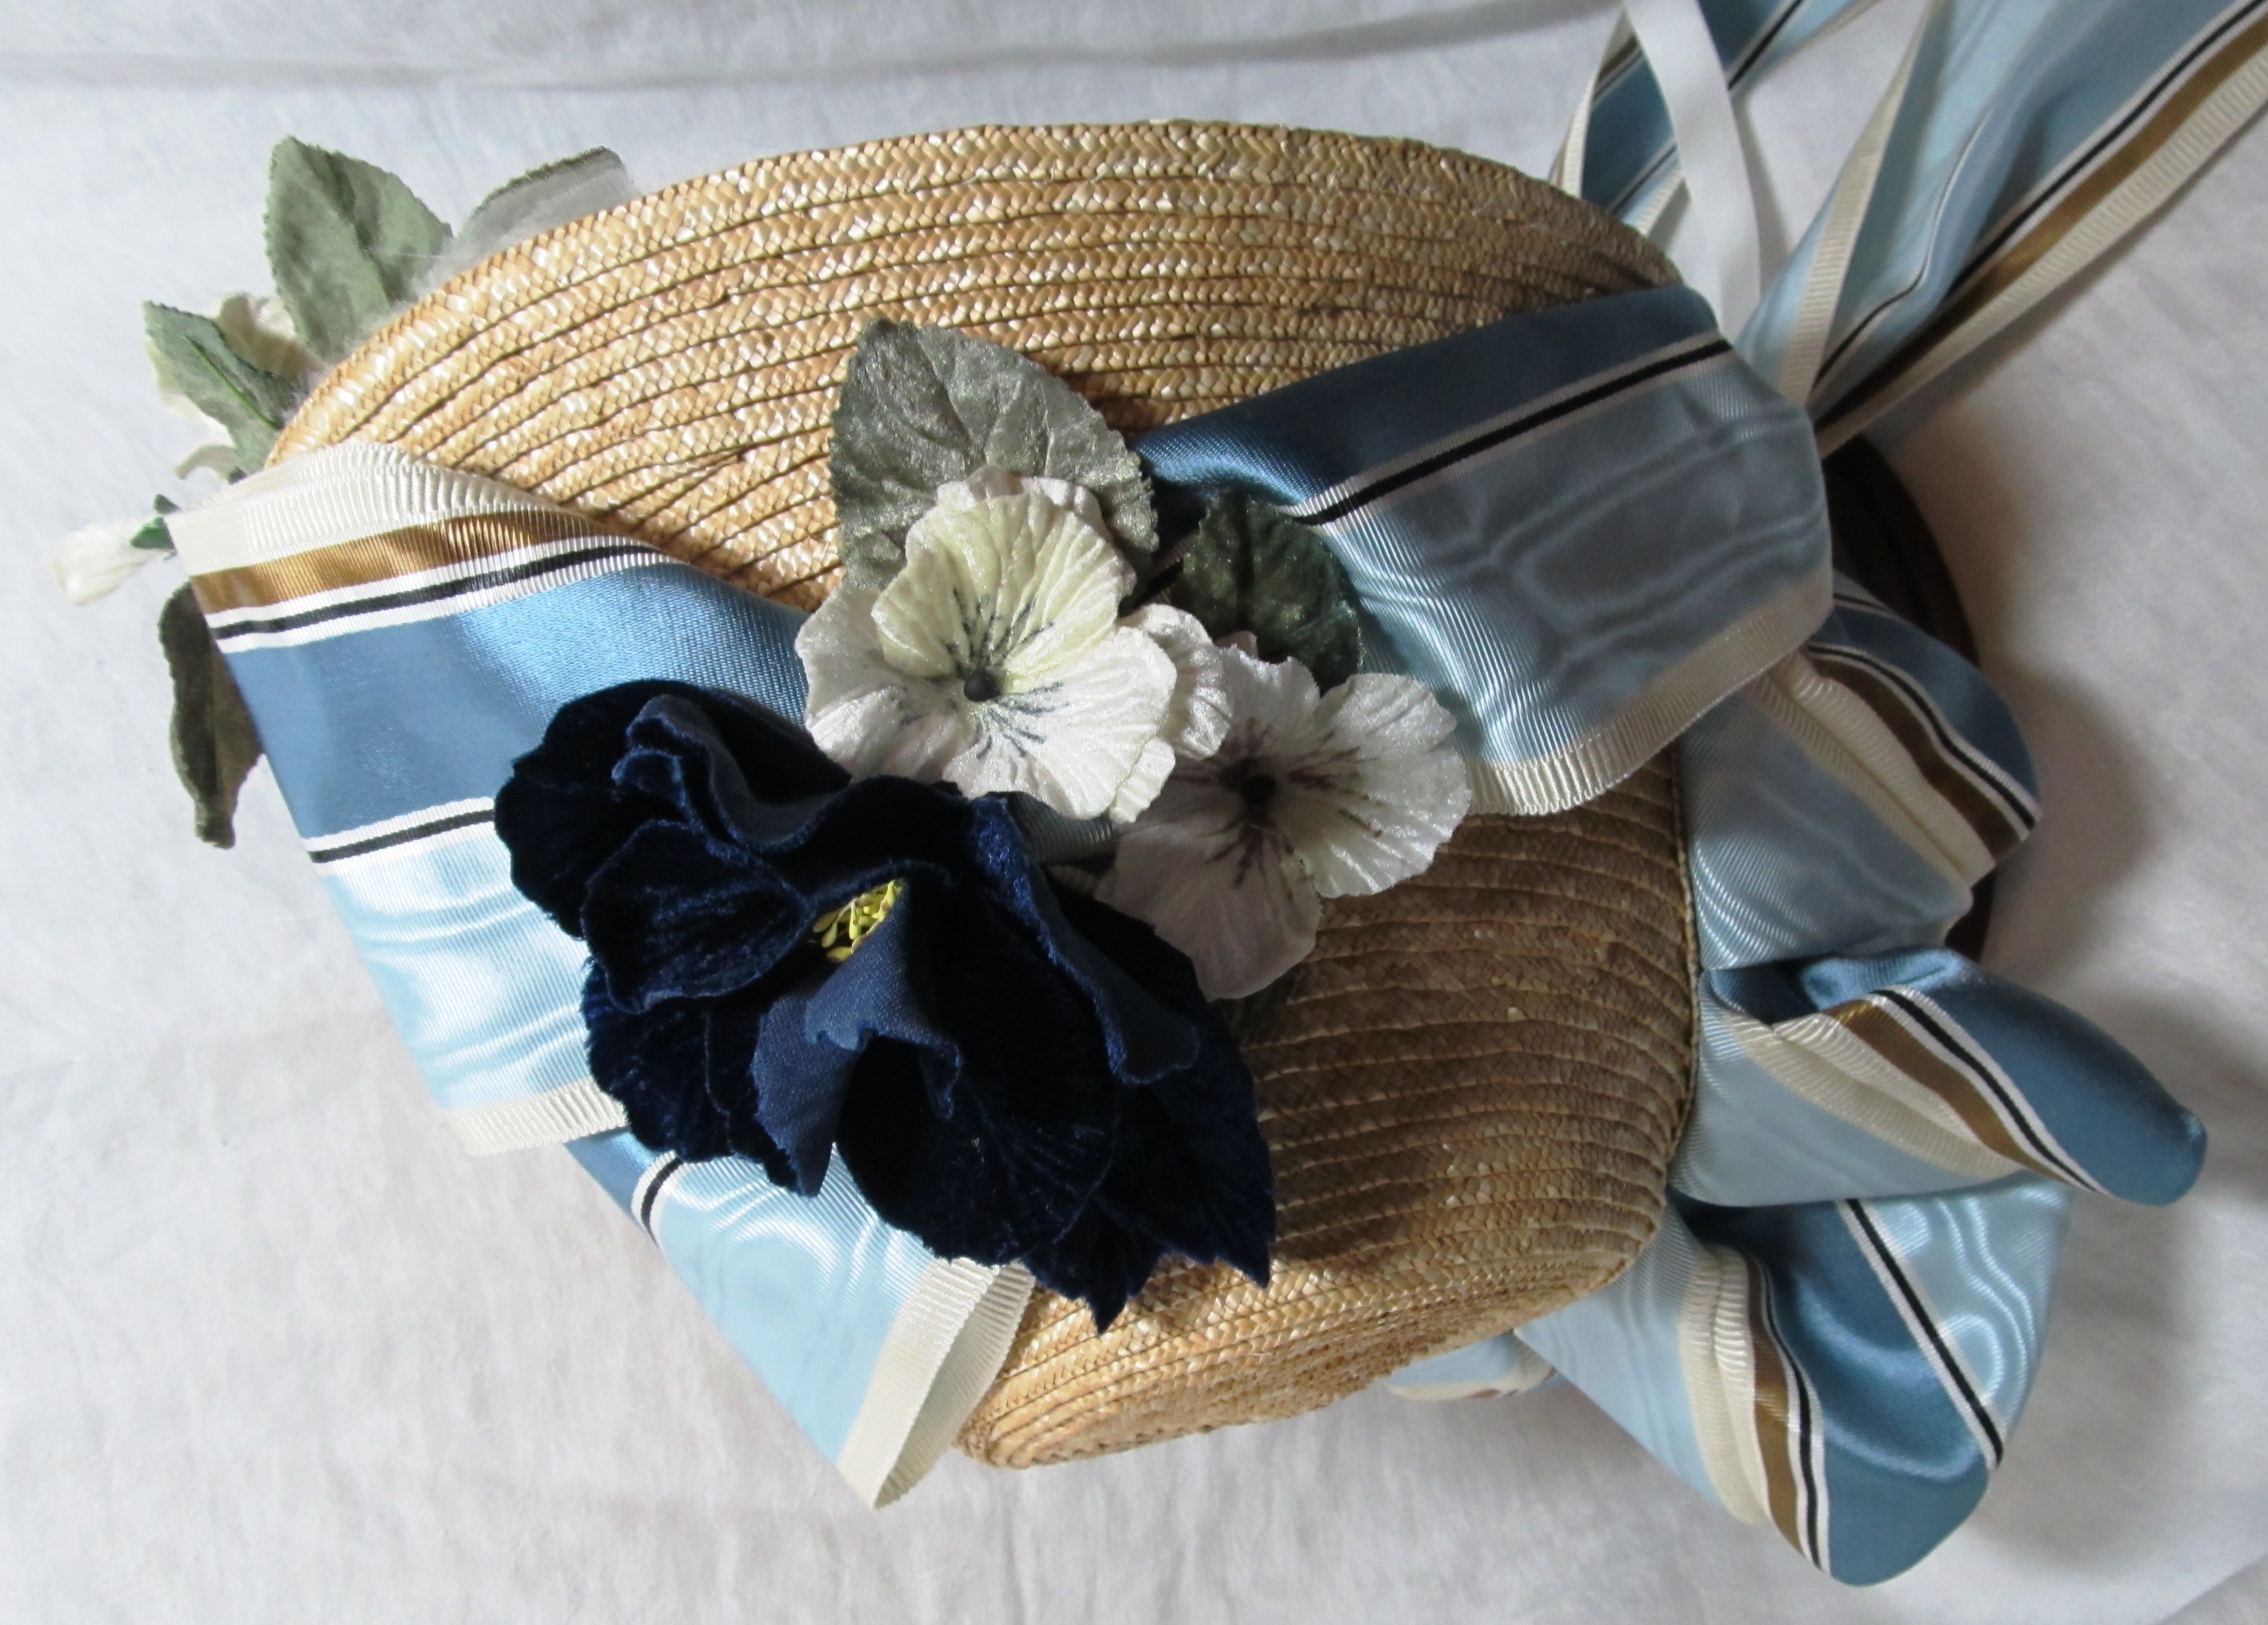

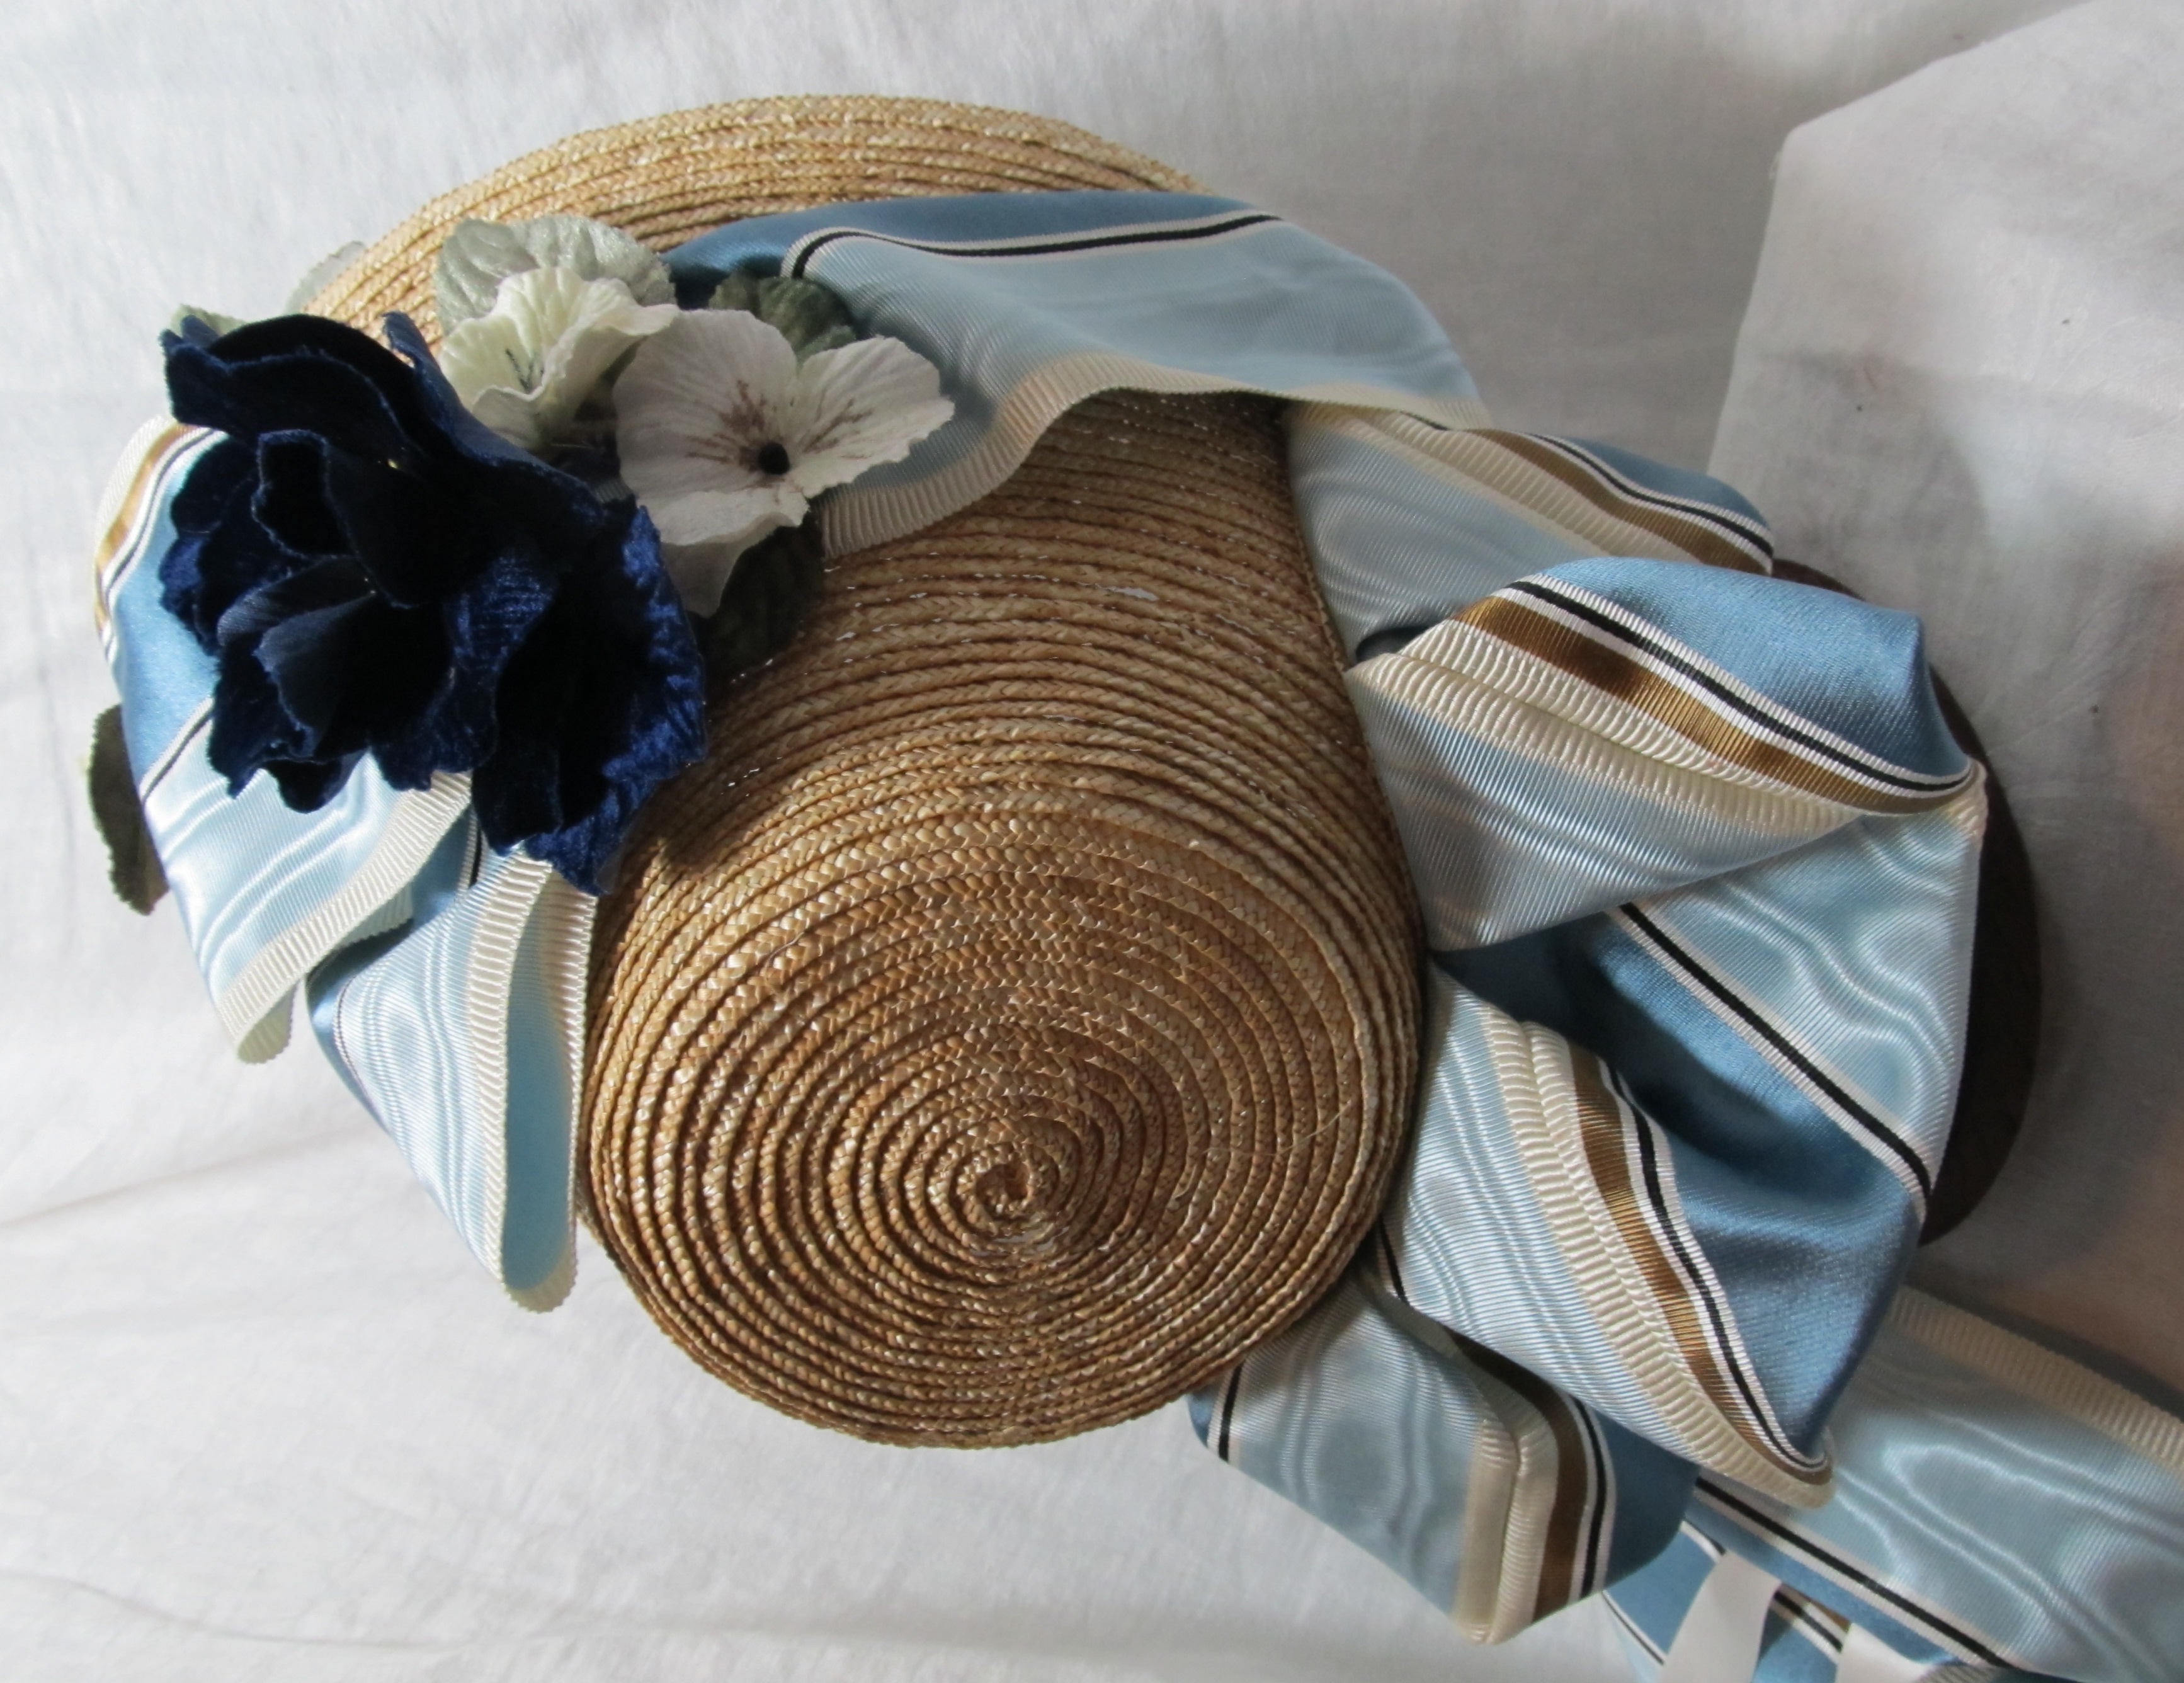
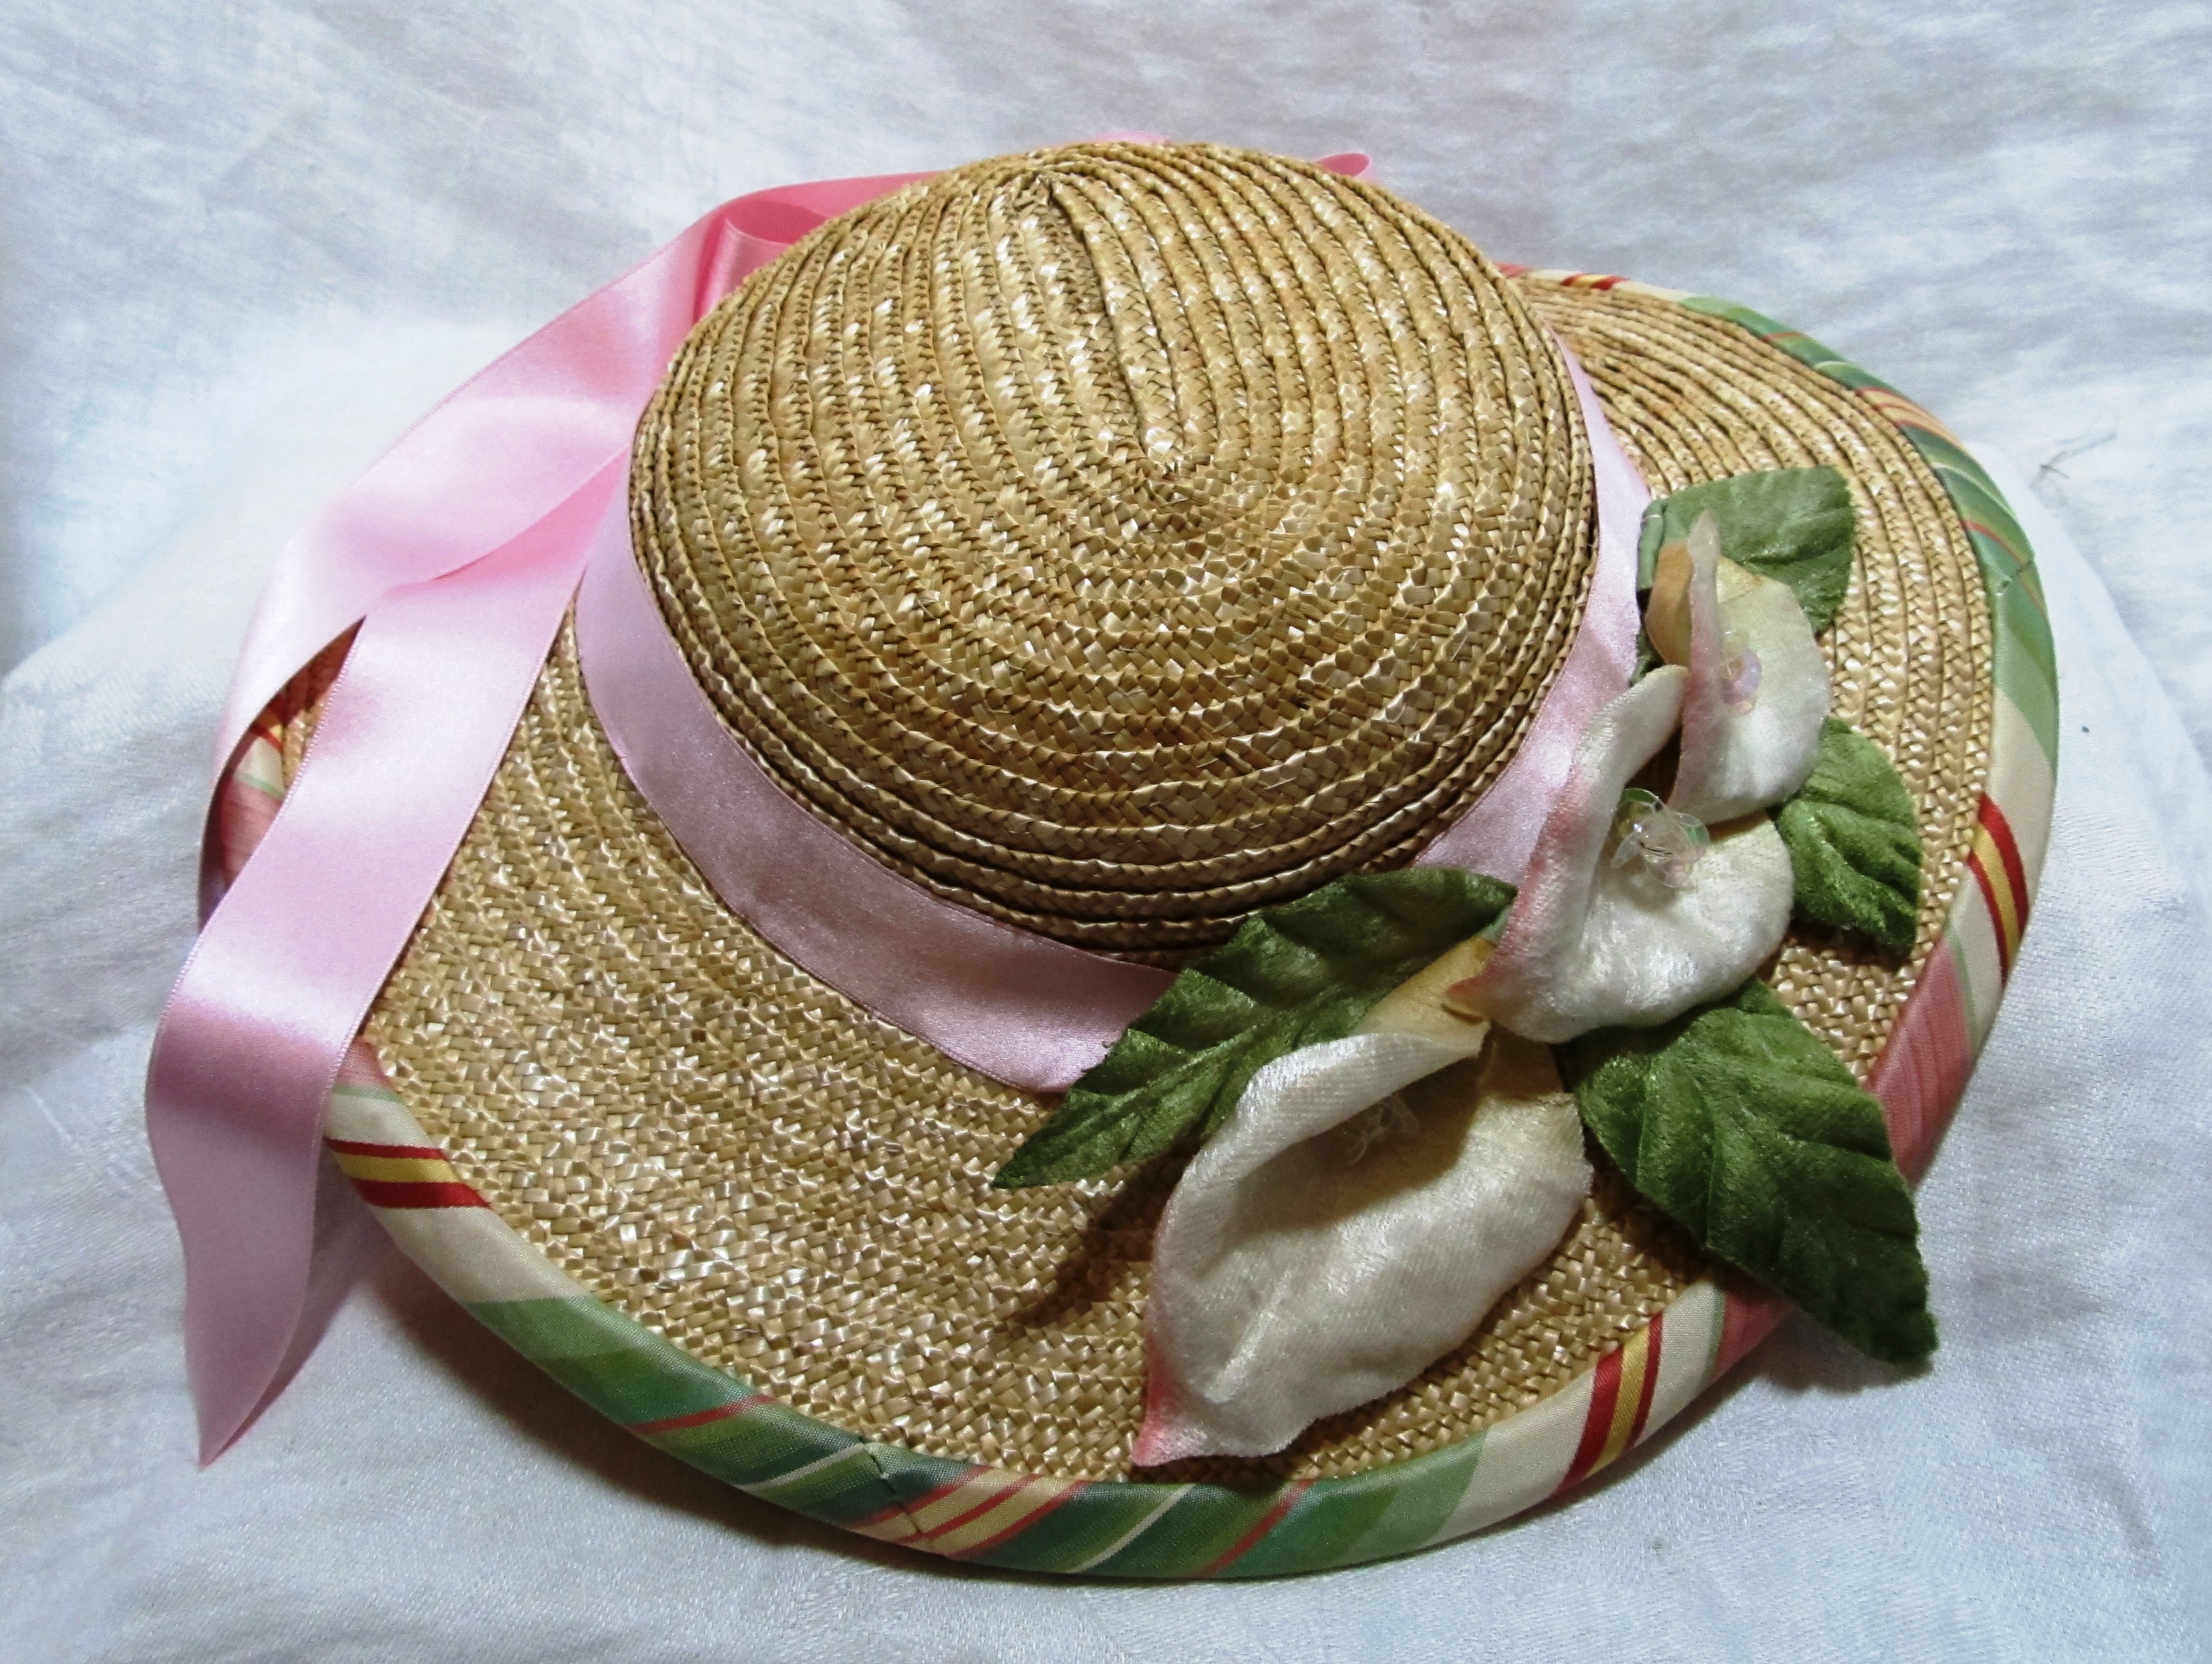
 I’ve had a pink and green hat stuck in my head for weeks. I kept putting it off because I thought I was nuts to want to line the underside of the brim with a multi-color silk. Well, I couldn’t shake it. So, here it is.
 The pink and green silk taffeta wraps around the brim edge and lines the underside. To be happy, I had to get the stripes as lined up as possible.


