This particular hat was a bit of a challenge. I met a woman at the GCV Jane Austen/1812 event who wanted to see me make a shape she called a “capote”. I have to admit, from My mid-nineteenth century perspective I had quite a bit of trouble wrapping my head around this shape that encompassed the back of the head with no brim.
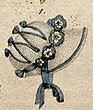
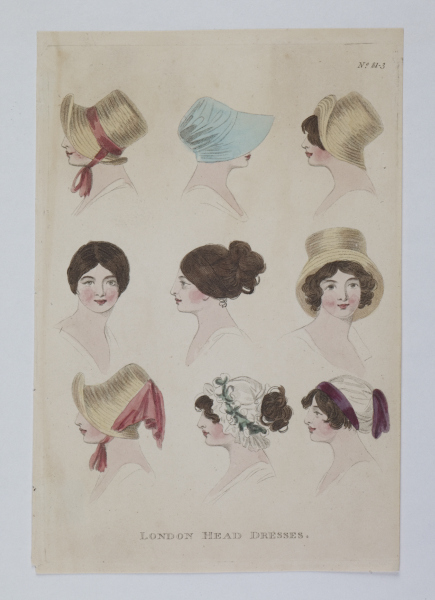
Of course, I had to look a little further. Looking at fashion plates and originals, I saw a few things. First, the word capote being used for soft bonnets in several shapes, often cap like, but not in straw. 😦 Next, originals in the shape she described made out of fancy straw plaits, an inch to two inches wide. Not the plait that is easily acquired, nor tried on a new shape. I also saw a few plates with similar shapes in straw. These were each called Chapeaux de Paille.


From The Museum of London.
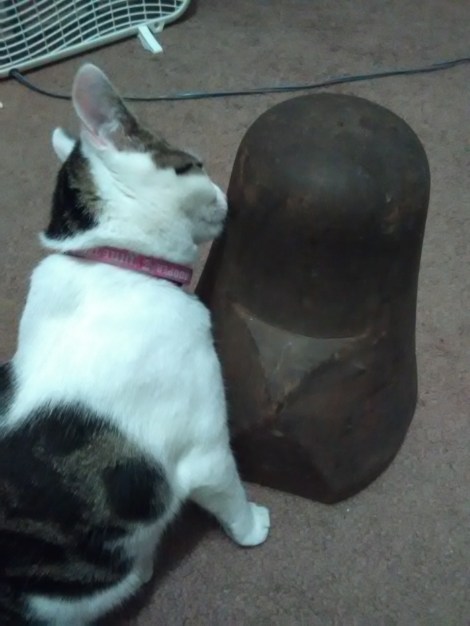
Working from the fashion plates, this is the bonnet/hat I created. As I started working with the straw, the illustration with the flared brim and green spray is where I leaned for the brim and front of the crown, while looking more towards the two with blue ribbons for the crown and tip. I used my new block to get the shape of the crown as I learned from the test block that it fit the head very nicely.


I see this lined through the brim with a flattering color silk taffeta and a spray of greenery or blossoms around the flare. (I’m eyeing a champagne silk for the inside.)
I will get this listed soon.
Here is the shop listing. (Sold)


