Paralleling my Millinery Monday posts, I am going to try to share a regular series of Fancy Work Friday posts this year. I will confess I do not have as solid of a plan for this series of posts. But, I figure I should start in the beginning 🤔 sort of…..
My fascination with fancy work began with the release of my book Fanciful Utility: Victorian Sewing Cases & Needle Books in 2012. FanU, as I and a few others affectionately call it, is packed full of projects for making an assortment Victorian era sewing cases, work pockets, huswifes, and needle books using. The goal of FanU was to share the beauty of handmade, 19th-century sewing accessories while making the period techniques for recreating them accessible.
One of a trio of original sewing cases I purchased in Nunda, NY. This case, and its companions, sparked my interest in handmade sewing cases. Its construction is included in Fanciful Utility. Sadly, I had to sell this case prior to publication.
In opening the door that was FanU, I entered the realm of making small items that were both functional and fanciful, utilitarian and whimsical, the vast majority of which could be made from bits and pieces, odds and ends. I was captivated.
I draw from both extant surviving examples and written literature. The abundance of illustrations and directions for ladies’ fancy work, workpockets, pin cushions, pin keeps, needle-books, etc. in the pages of magazines and books are a veritable rabbit hole, labyrinth, and candy store combined. Once entered….. well….. here we are over a decade later, and I continue to find bits of fancy work I absolutely must make.
I find my focus shifts from year to year, venturing from sewing cases to pin cushions to pen wipes to book novelties to doll novelties to animalia…. Interests steered and derailed by stumbling across a mesmerizing original or the coolest “new” illustration shared by a friend.
I decided to share one of two posts about hat size, fit, and measuring each month to help those looking to select a hat. Thank you for understanding.
There are two factors for finding a comfortable fit: Size and shape.
Size
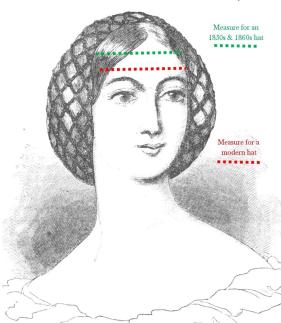
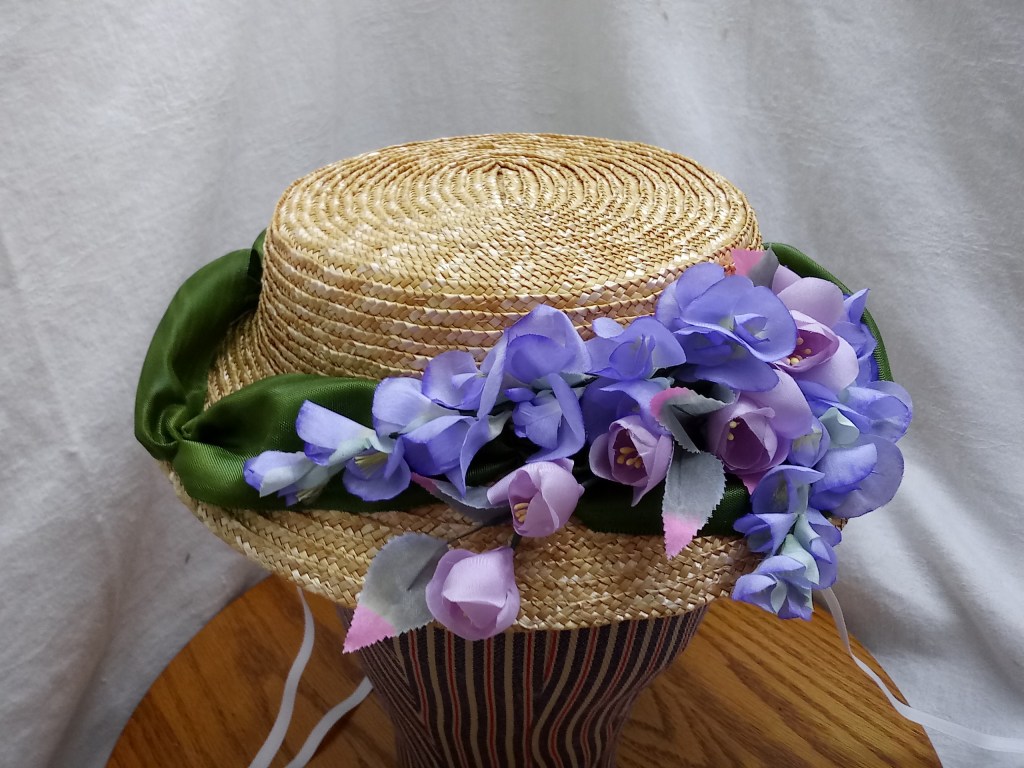
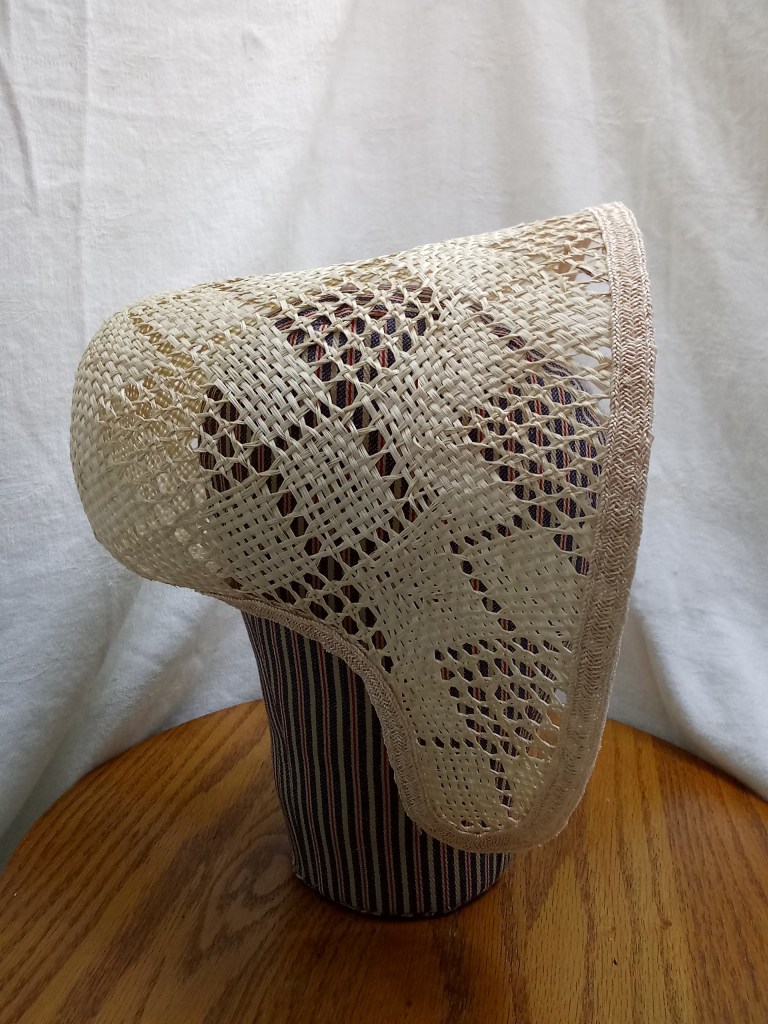
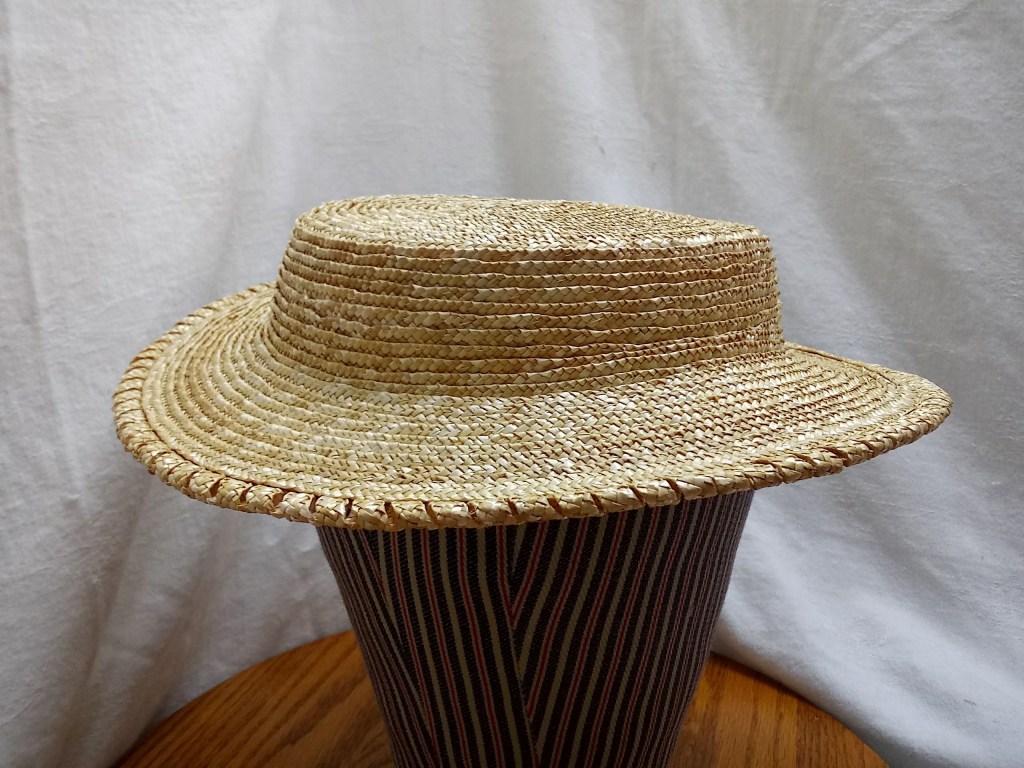
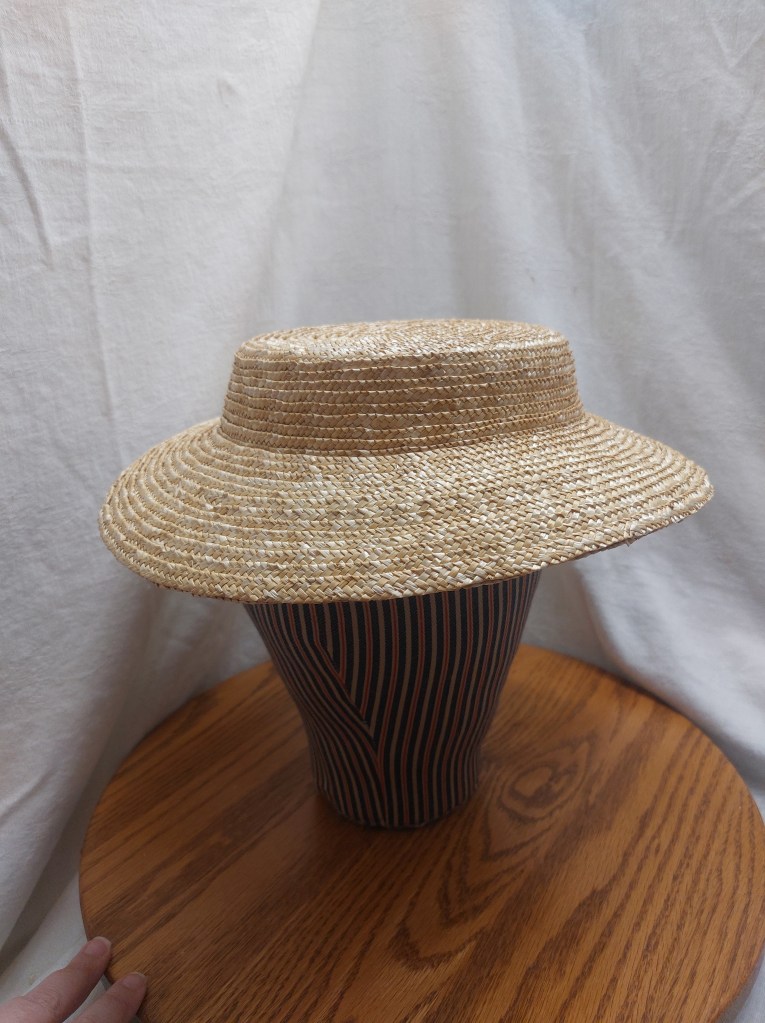
The difference in wear or placement means we measure for a mid-nineteenth century had differently than we do for a twentieth or twenty-first century hat. The modern hat is measured just above the eyebrow. (This is also where many of us measure for bonnets. We want to keep you on your toes.) For mid-nineteenth century, we measure higher, at the hair line. In this illustration, we can see the difference between where the two measurements would be.
These higher, hairline measurements are often smaller than those taken at the eyebrow. A hat worn at this point can be slightly smaller to slightly larger for comfort. So, add and subtract an inch to your hairline measure.
For example: I am 22.5″ around at my eyebrows and21.5″ at my hairline. The vast land of the internet tells me that the average woman’s head measures 22.5″ to 22 5/8″ around at the modern measuring point. So, I am about average. I comfortably wear a mid-nineteenth century hat that is 19.5″ to 21.5″
Here is my head with the tape showing where to measure. This is where I wear most CW era hats. This is the circumference of my head. My measurement is 21 1/2″. (Note: this is a full inch smaller than the modern measurement take lower.)
General guidelines I use:
Small = Less than 21″ at the hairline (crown less than 20″)
Average = 21″-22.5″ at the hairline (crown 20-21.5″)
Large = Greater than 22.5″ at the hairline (crown greater than 22″)
Shape
It is helpful to know whether your head is more round or more oval.When looking from above, some people have rounder heads while other have more oval heads. I have an average oval head. Very round hats don’t work for me without adding to the lining.
Hat blocks can be more round or more oval with the same circumference. To illustrate: Both of these shapes to the right can have a circumference of 22.5″. Yet, the same hat would fit each head differently.
Easing into 2023, I have developed a few goals for the coming year. While each is a goal with 6 challenges, the true goal may be to find the right balance as the year progresses. This year, I want to:
Better meet the needs of my readers and clients.
Identify and attract new readers and clients.
Better meet my needs. (This is a big balance thing as I do need more “me” time as well as more nature and social time.)
Write more
Enjoy what I do.
Blog
As part of these goals, I plan to provide more consistent and balanced content on my blogs and Patreon. This will include posts on the topics readers have responded they want: millinery, fancy work, events & interpretation, and contextual writing. I am going to use theme days to help remind myself to post:
Millinery Monday – New and Past informative posts about straw millinery.
Work-in-Progress Wednesday – Post about what I am currently work on.
Fancy Work Friday – Victorian fancy work projects such as pin cushions, pen wipes, book marks, etc., featuring original items and projects.
I scheduled much of the year’s foundation of Millinery Monday posts. I will be working up to more Fancy Work Friday posts. I am considering reserving new shop posts for the weekend.i haven’t decided yet.
Projects
I don’t have much of a project list developed yet for the year. What I have so far:
Complete the Quilted Hood Workbook – This will be a format similar to my Wadded Hood Workbook to replace my first Quilted Hood Pattern.
Super secret Ag Fair project.
A couple of items using straw plait including two different straw workbags and slippers.
Possibly an 1850s reform dress ensemble.
Events
Not too many local events have been announced with dates yet. I am currently restricted by how far my aging car will go. I am hoping this year will include GCVM events of Opening Weekend, Mother’s Day, the Antique Show, Chocolate Weekend, Independence Day, and a few others, plus maybe some other small local events.
I would also like to add a couple workshops or discussions/presentations. Those responding to my survey showed a strong interest in virtual programs and in-person programs. I need to develop these on the logistical end.
As with this type of post, I may come back and add to it as new ideas develop. Thank you for your continued support.
I decided to do 22 photos to reflect on 2022. These highlight my favorites, projects I’m proud of, and moments of good.
This was a healing year for me, healing to my soul and heart as well as body. I still have rough moments or days, but those are fewer and further between.
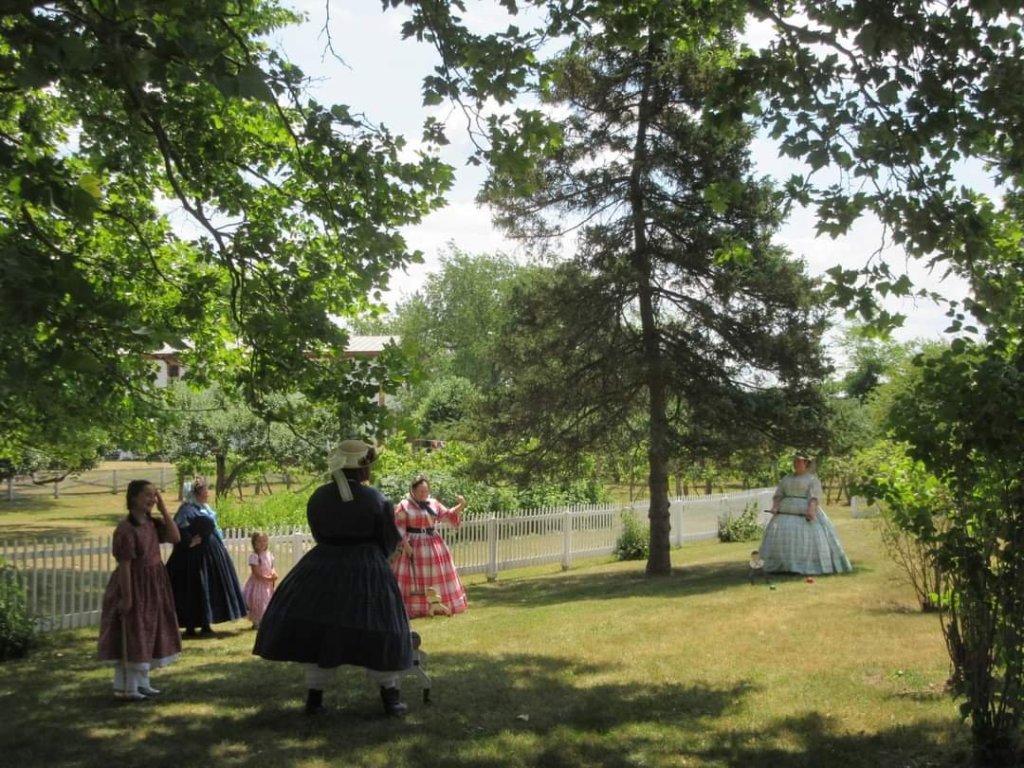
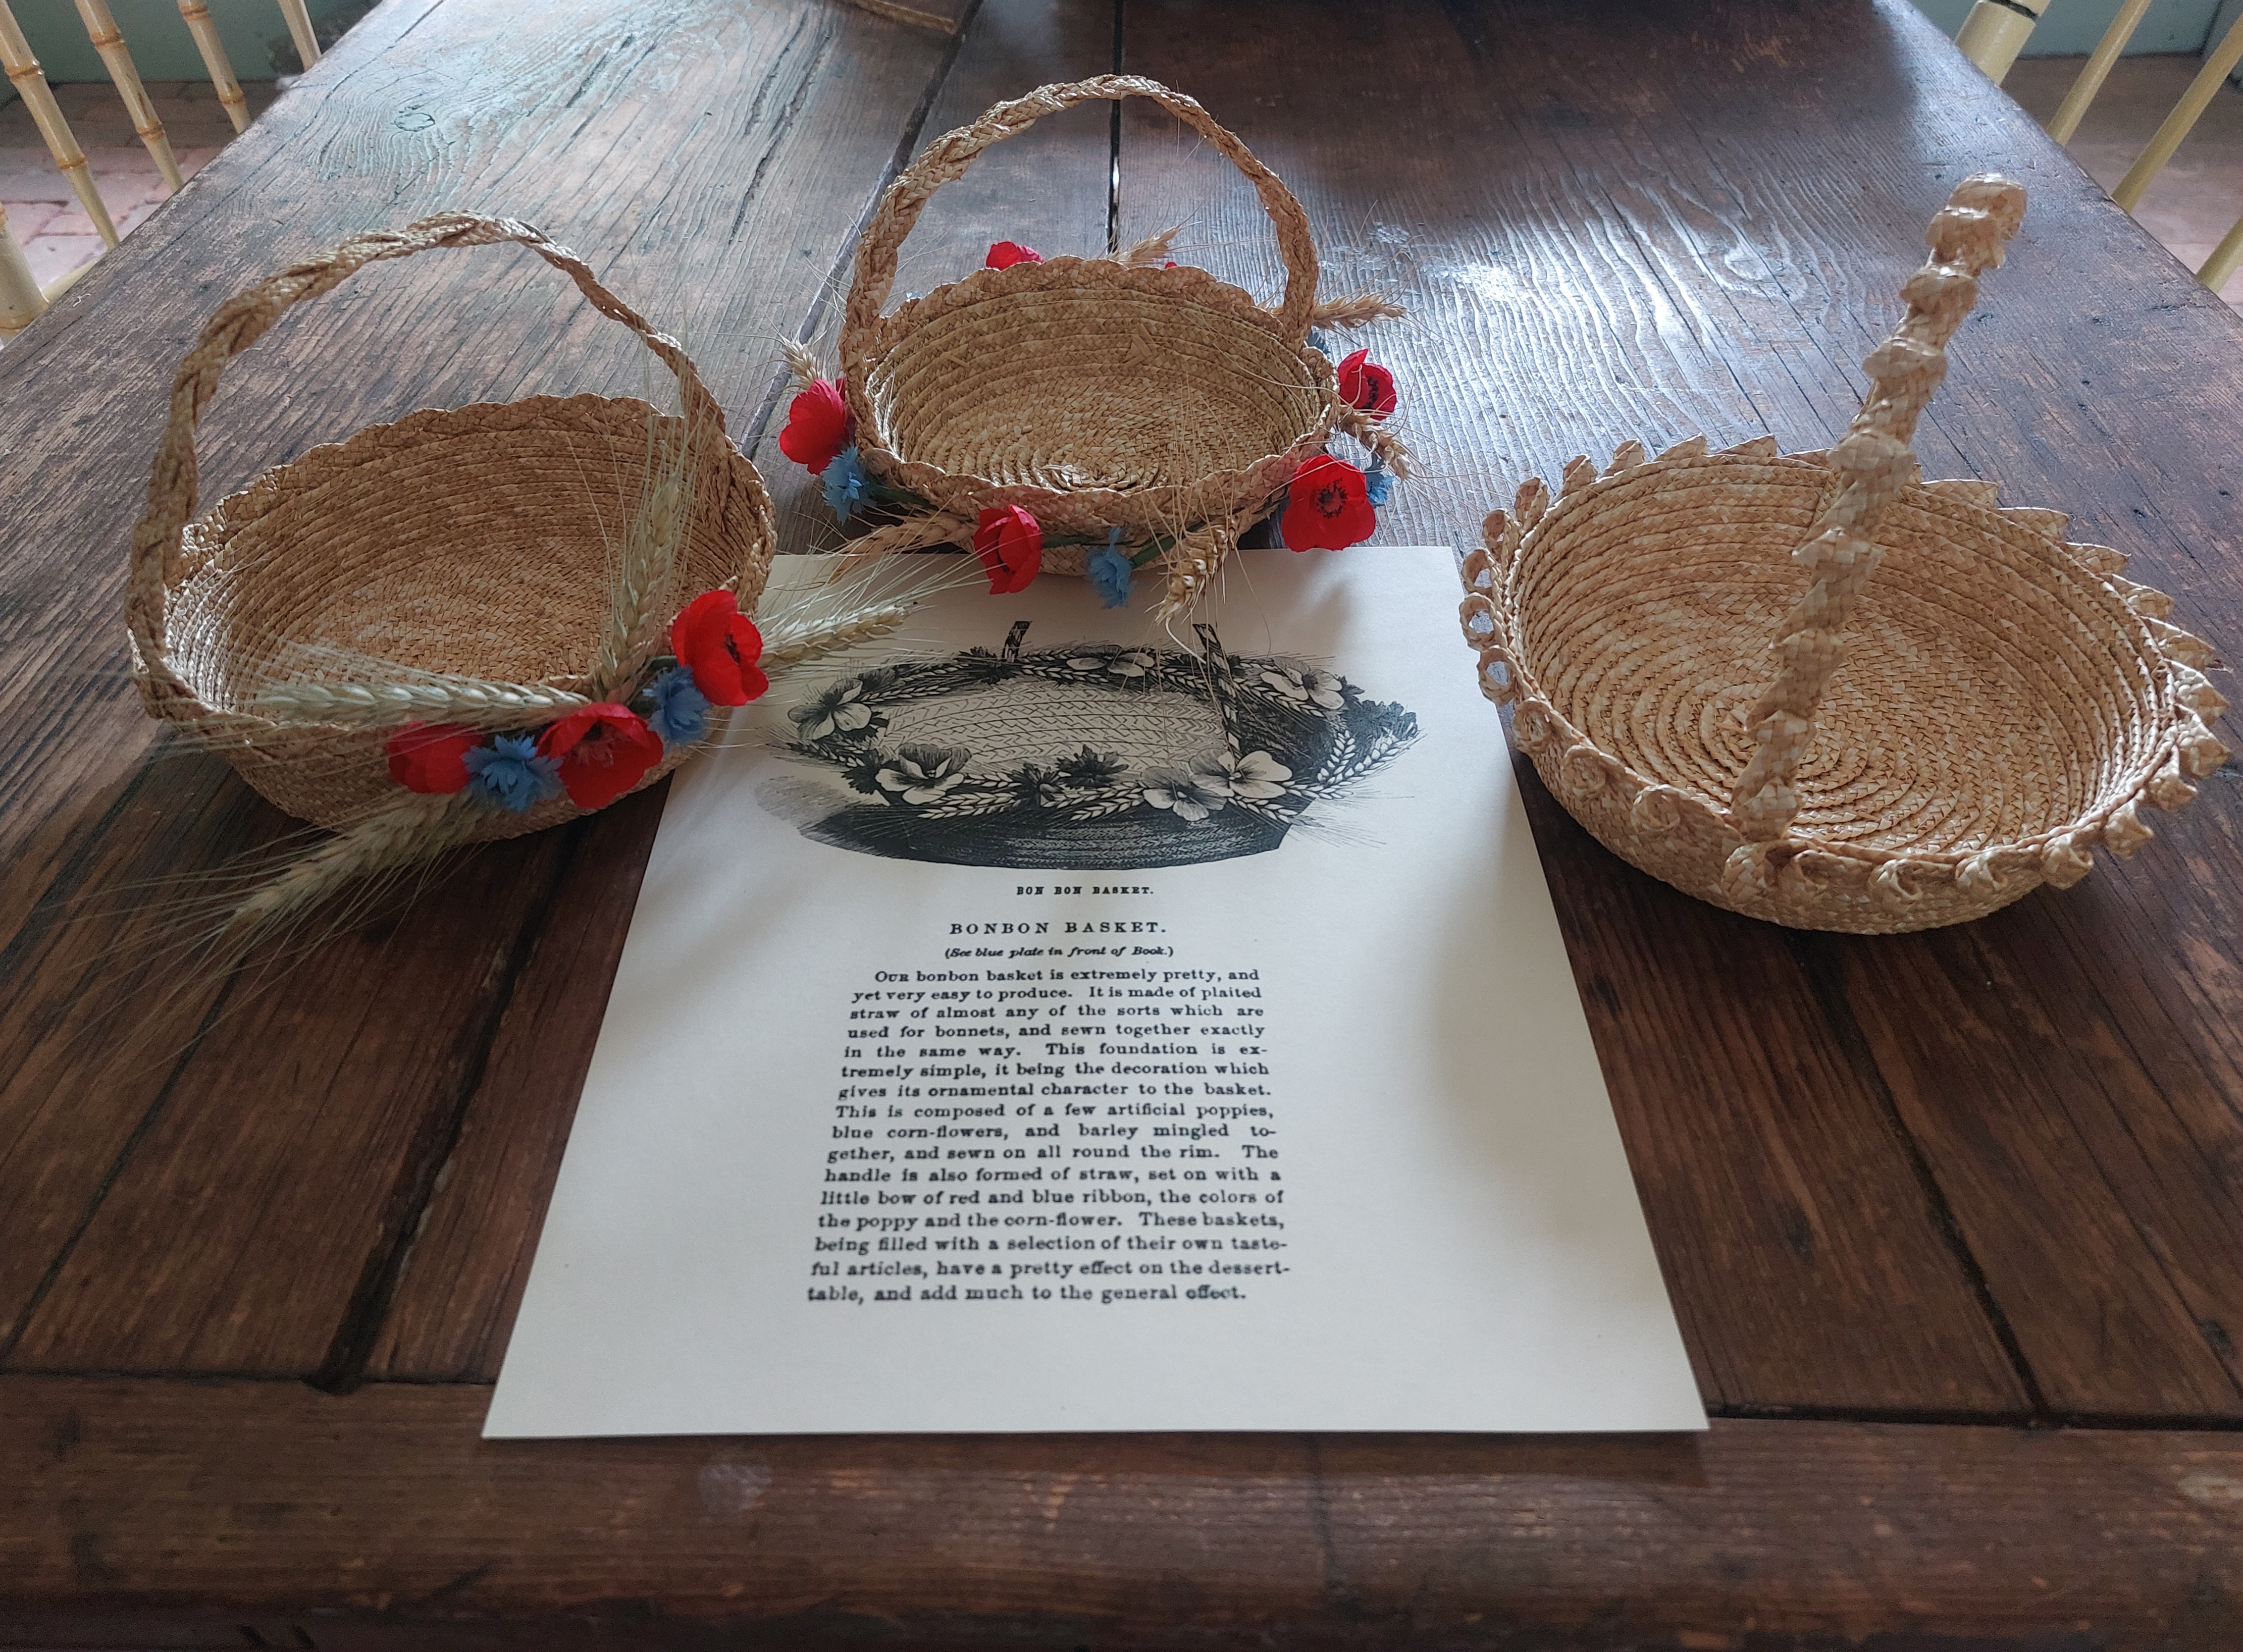
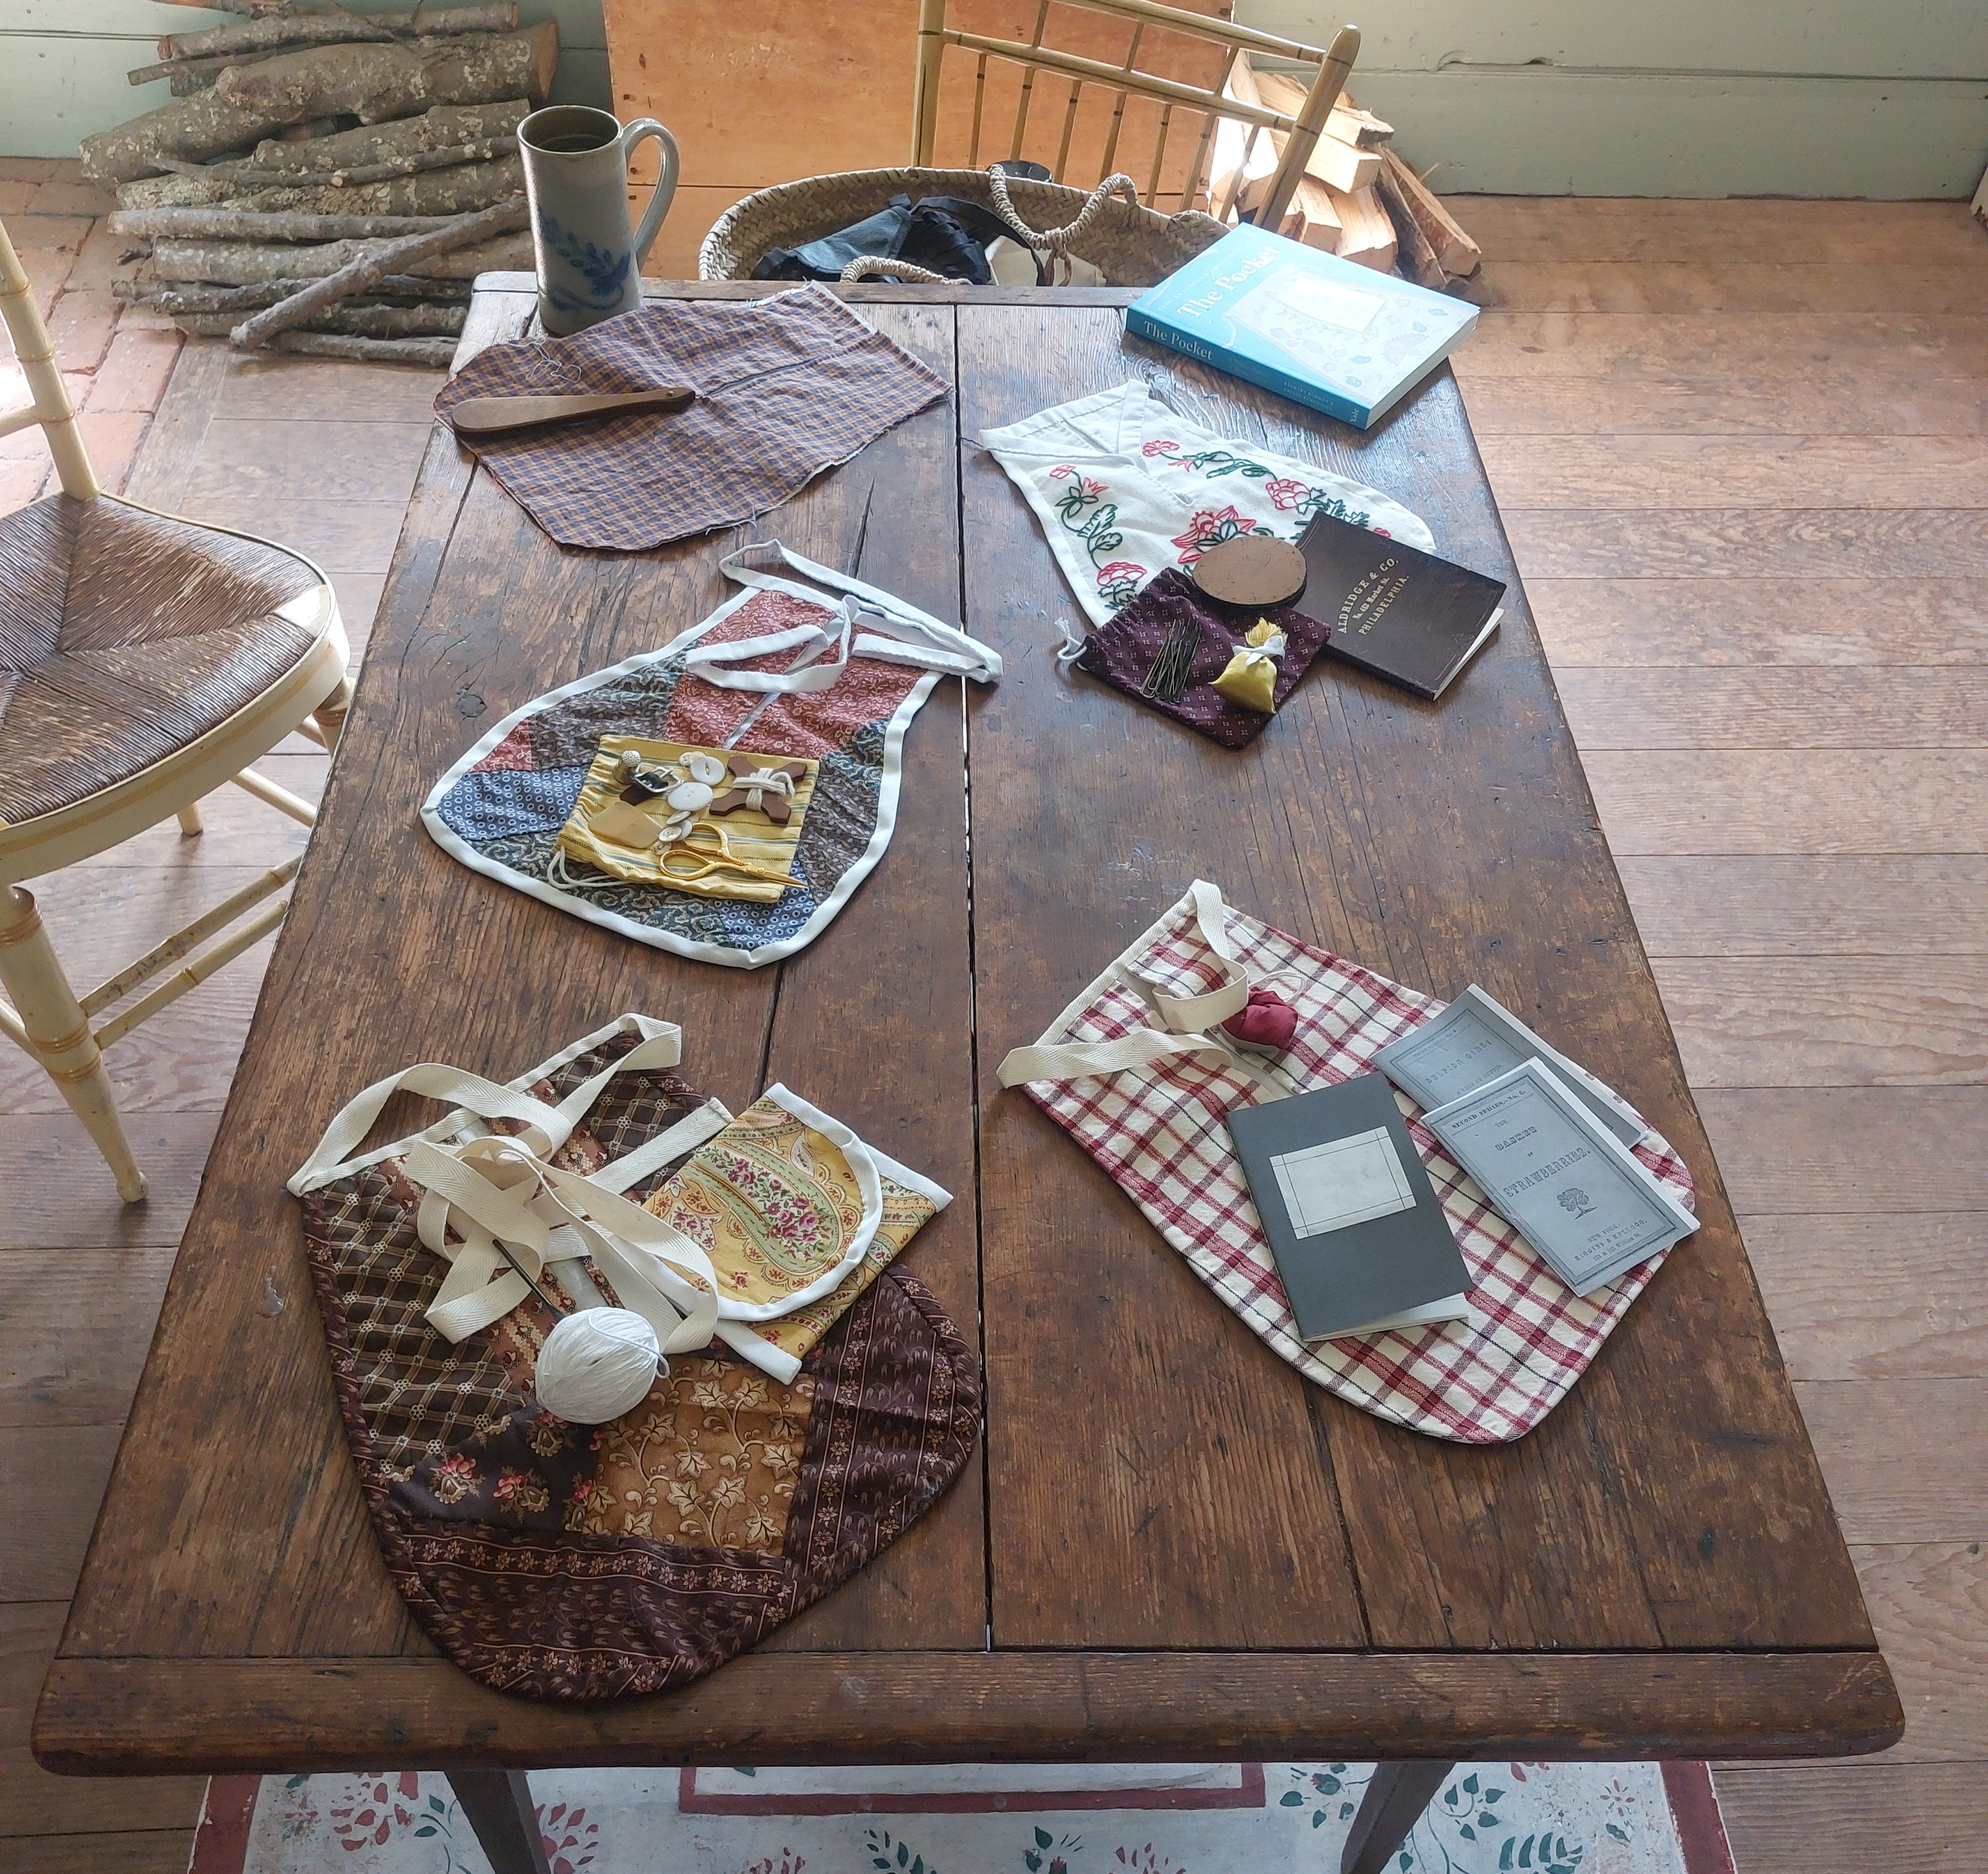
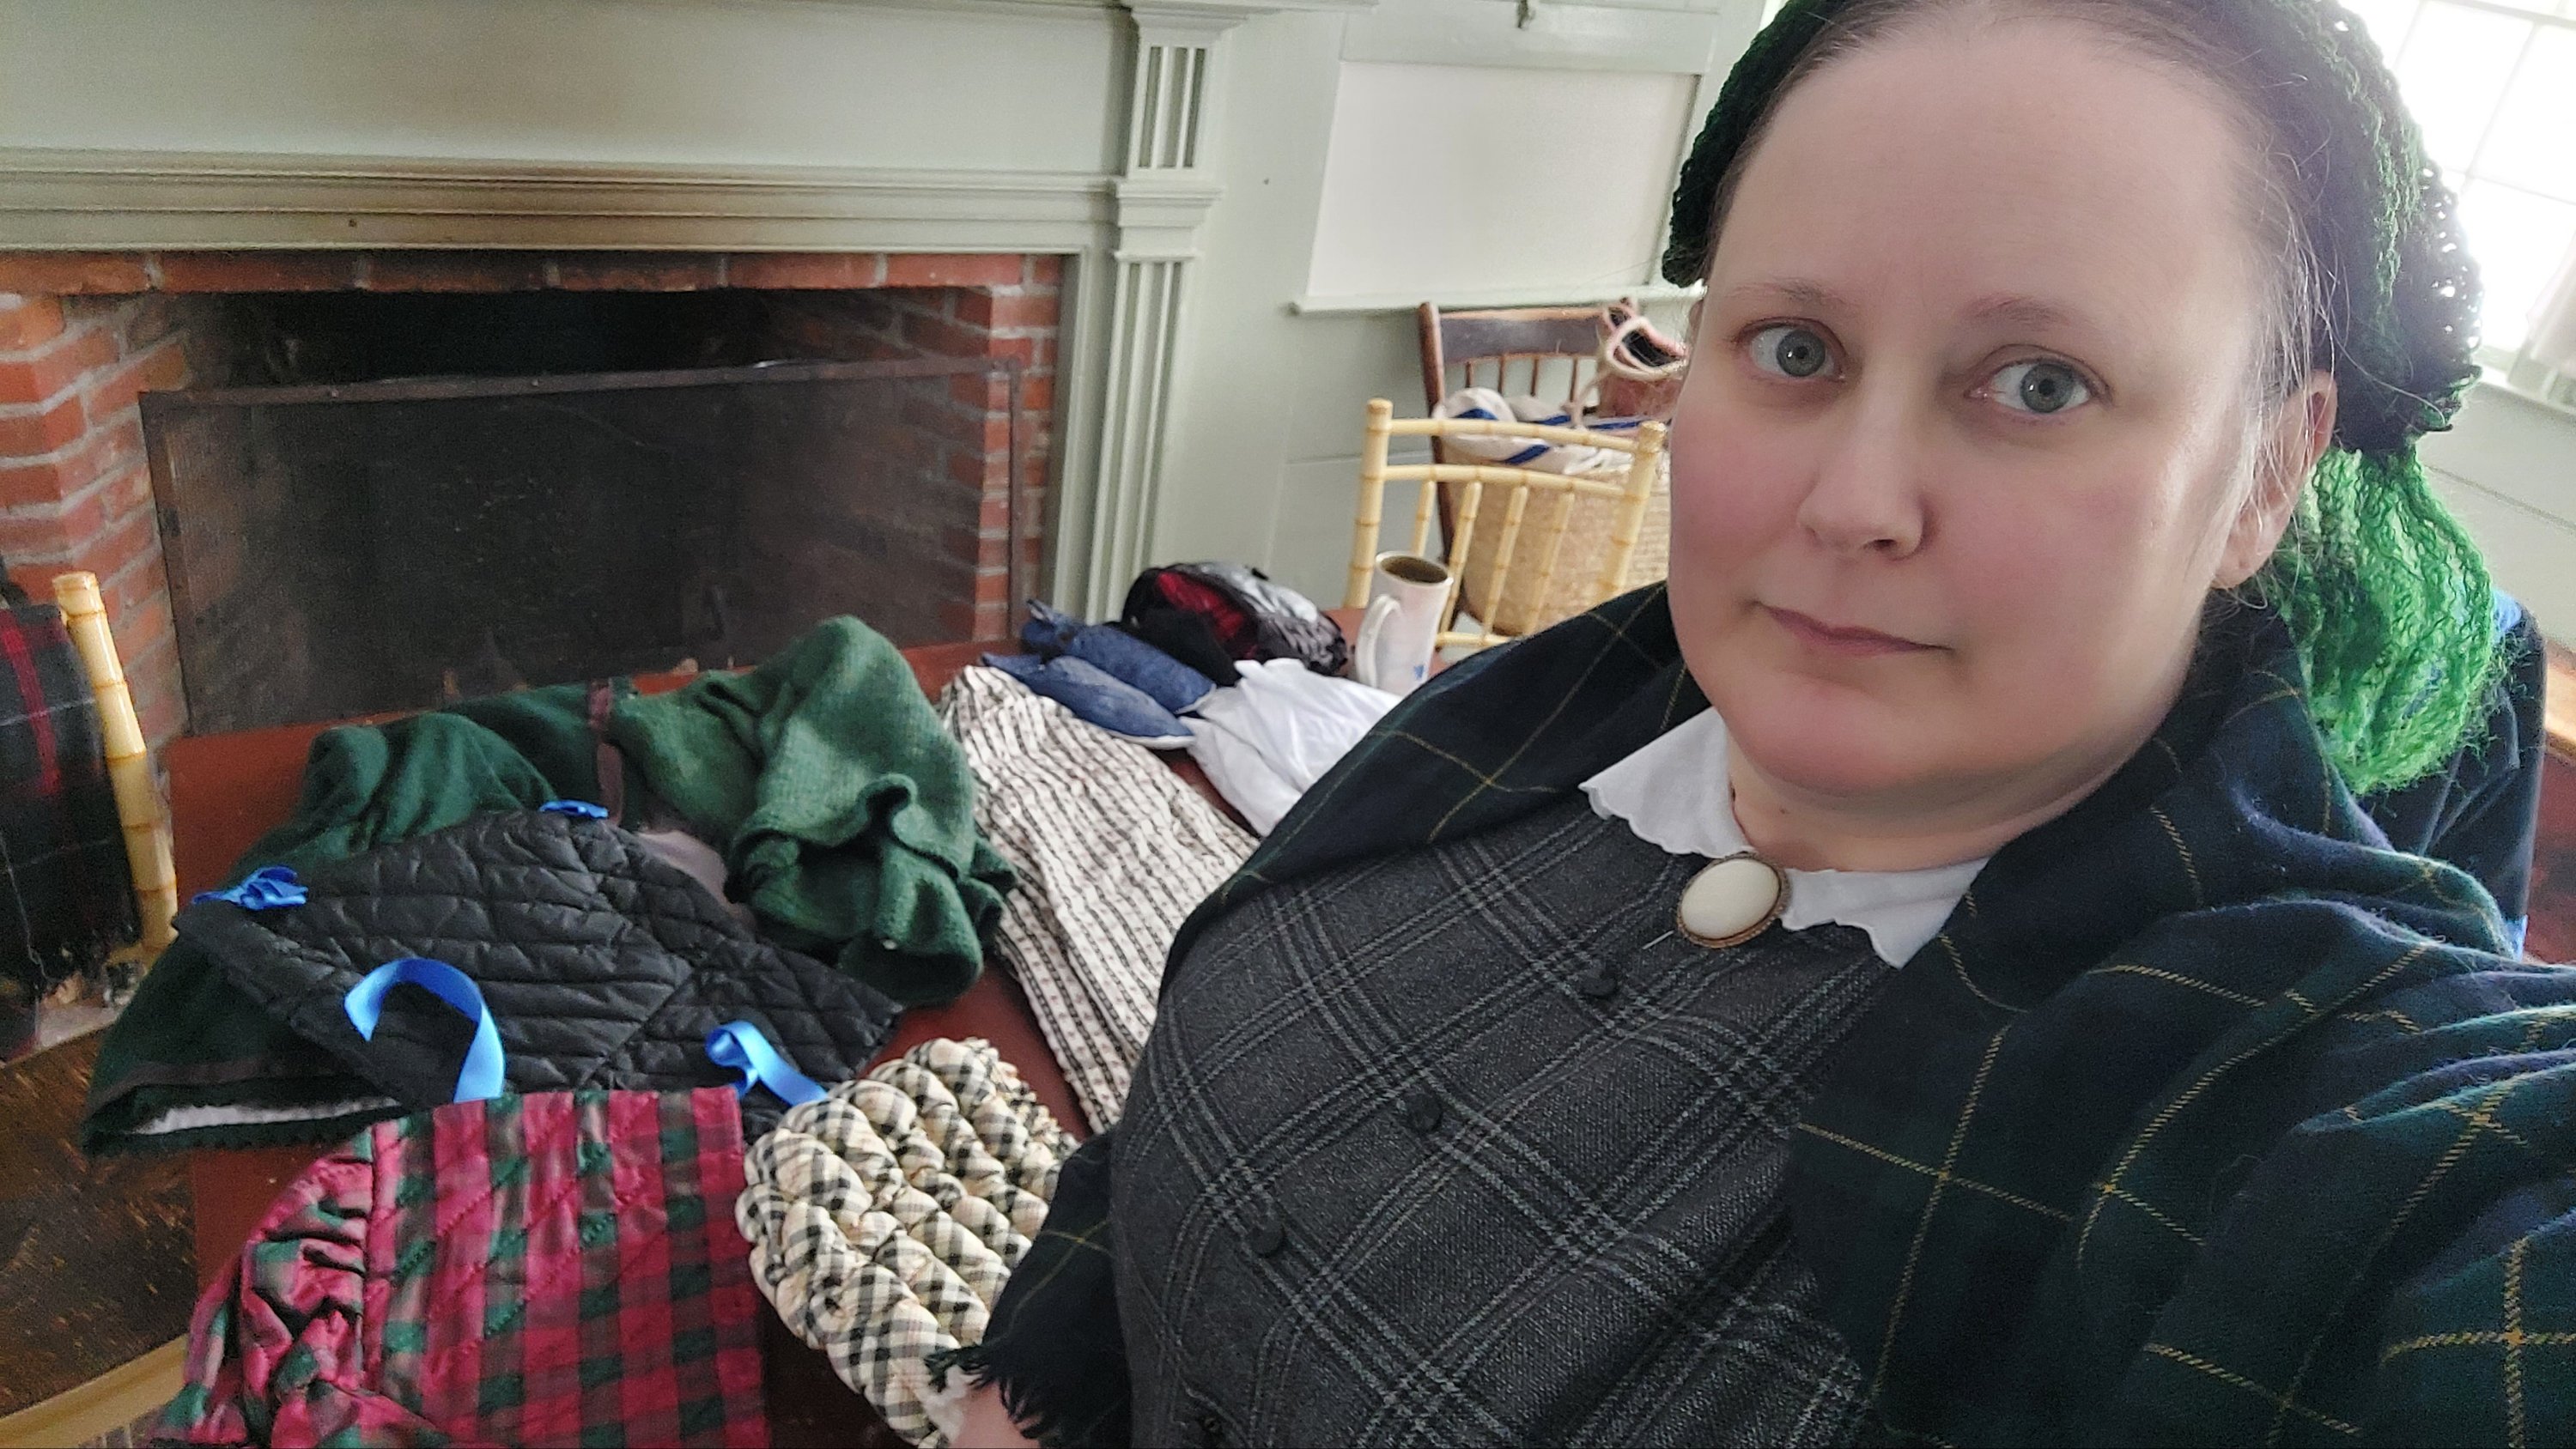
When I first started rescuing dolls, I said they were just for fun, not for interpretation or work. Well, that went out the window didn’t it? For Opening Day & Mother’s Day weekend, I dressed Theo, newly named by visitors, in one of the museum’s reproduction kerchiefs released this year. I love how Theo’s dress came together. I love even more the interest visitors had in the process. During the Antique Show, I shared my “Tools of the Trade” display/demonstration. I talked with visitors about the different tools used to split straw for plaiting, shape millinery, and make the flowers. This is one component of a larger interpretation theme I have rolling around in my head. (Some day?) One of my favorite photos of the year. Independence Day was beautiful. I had so much fun playing a modified game of croquet in the side yard of Livingston. I had a silly amount of fun spinning around taking these photos and playing with the settings on my phone’s camera. I love how this red wool challis 1850s dress came together. I was so excited to read this bon bon basket description. I think I flipped past it many times in the past without reading it. I loved creating something a little different out of straw plait. (I have a couple more descriptions for projects using straw plait I want to make in the coming year if I can get enough affordable straw.)The millinery shop set up is by far the most physical work of the year – getting everything out, sorted, into the car at the right time (east facing car becomes an oven), rearranging the building, setting up….. It is a chance to talk about some of the types of work women did during the mid-19th century. I started developing this pocket based discussion earlier in the year, maybe the year before. During neighbor’s weekend, I did a partial version to see how it was received. Each pocket is filled with items a woman from the village may have carried with her. Each pocket and its contents tells a story. I hope to do more with this. And suddenly…. brrrrr! Preparing for Winter was a cold 🥶 weekend as the first major (4′ in some parts) snow hit west of the village. I used the weekend to test out my mid-nineteenth century layers while talking about winter clothing. I filled the box for Holiday Open House throughout the year. This year I focused on handmade gifts that are sewing items. (Next year, I think I want to either focus on toys or animal items.)I like this photo not only because of my lovely new shawl but because I look relaxed. In all the stress of the year, I find as it wraps up, I am good with myself.
Things I made
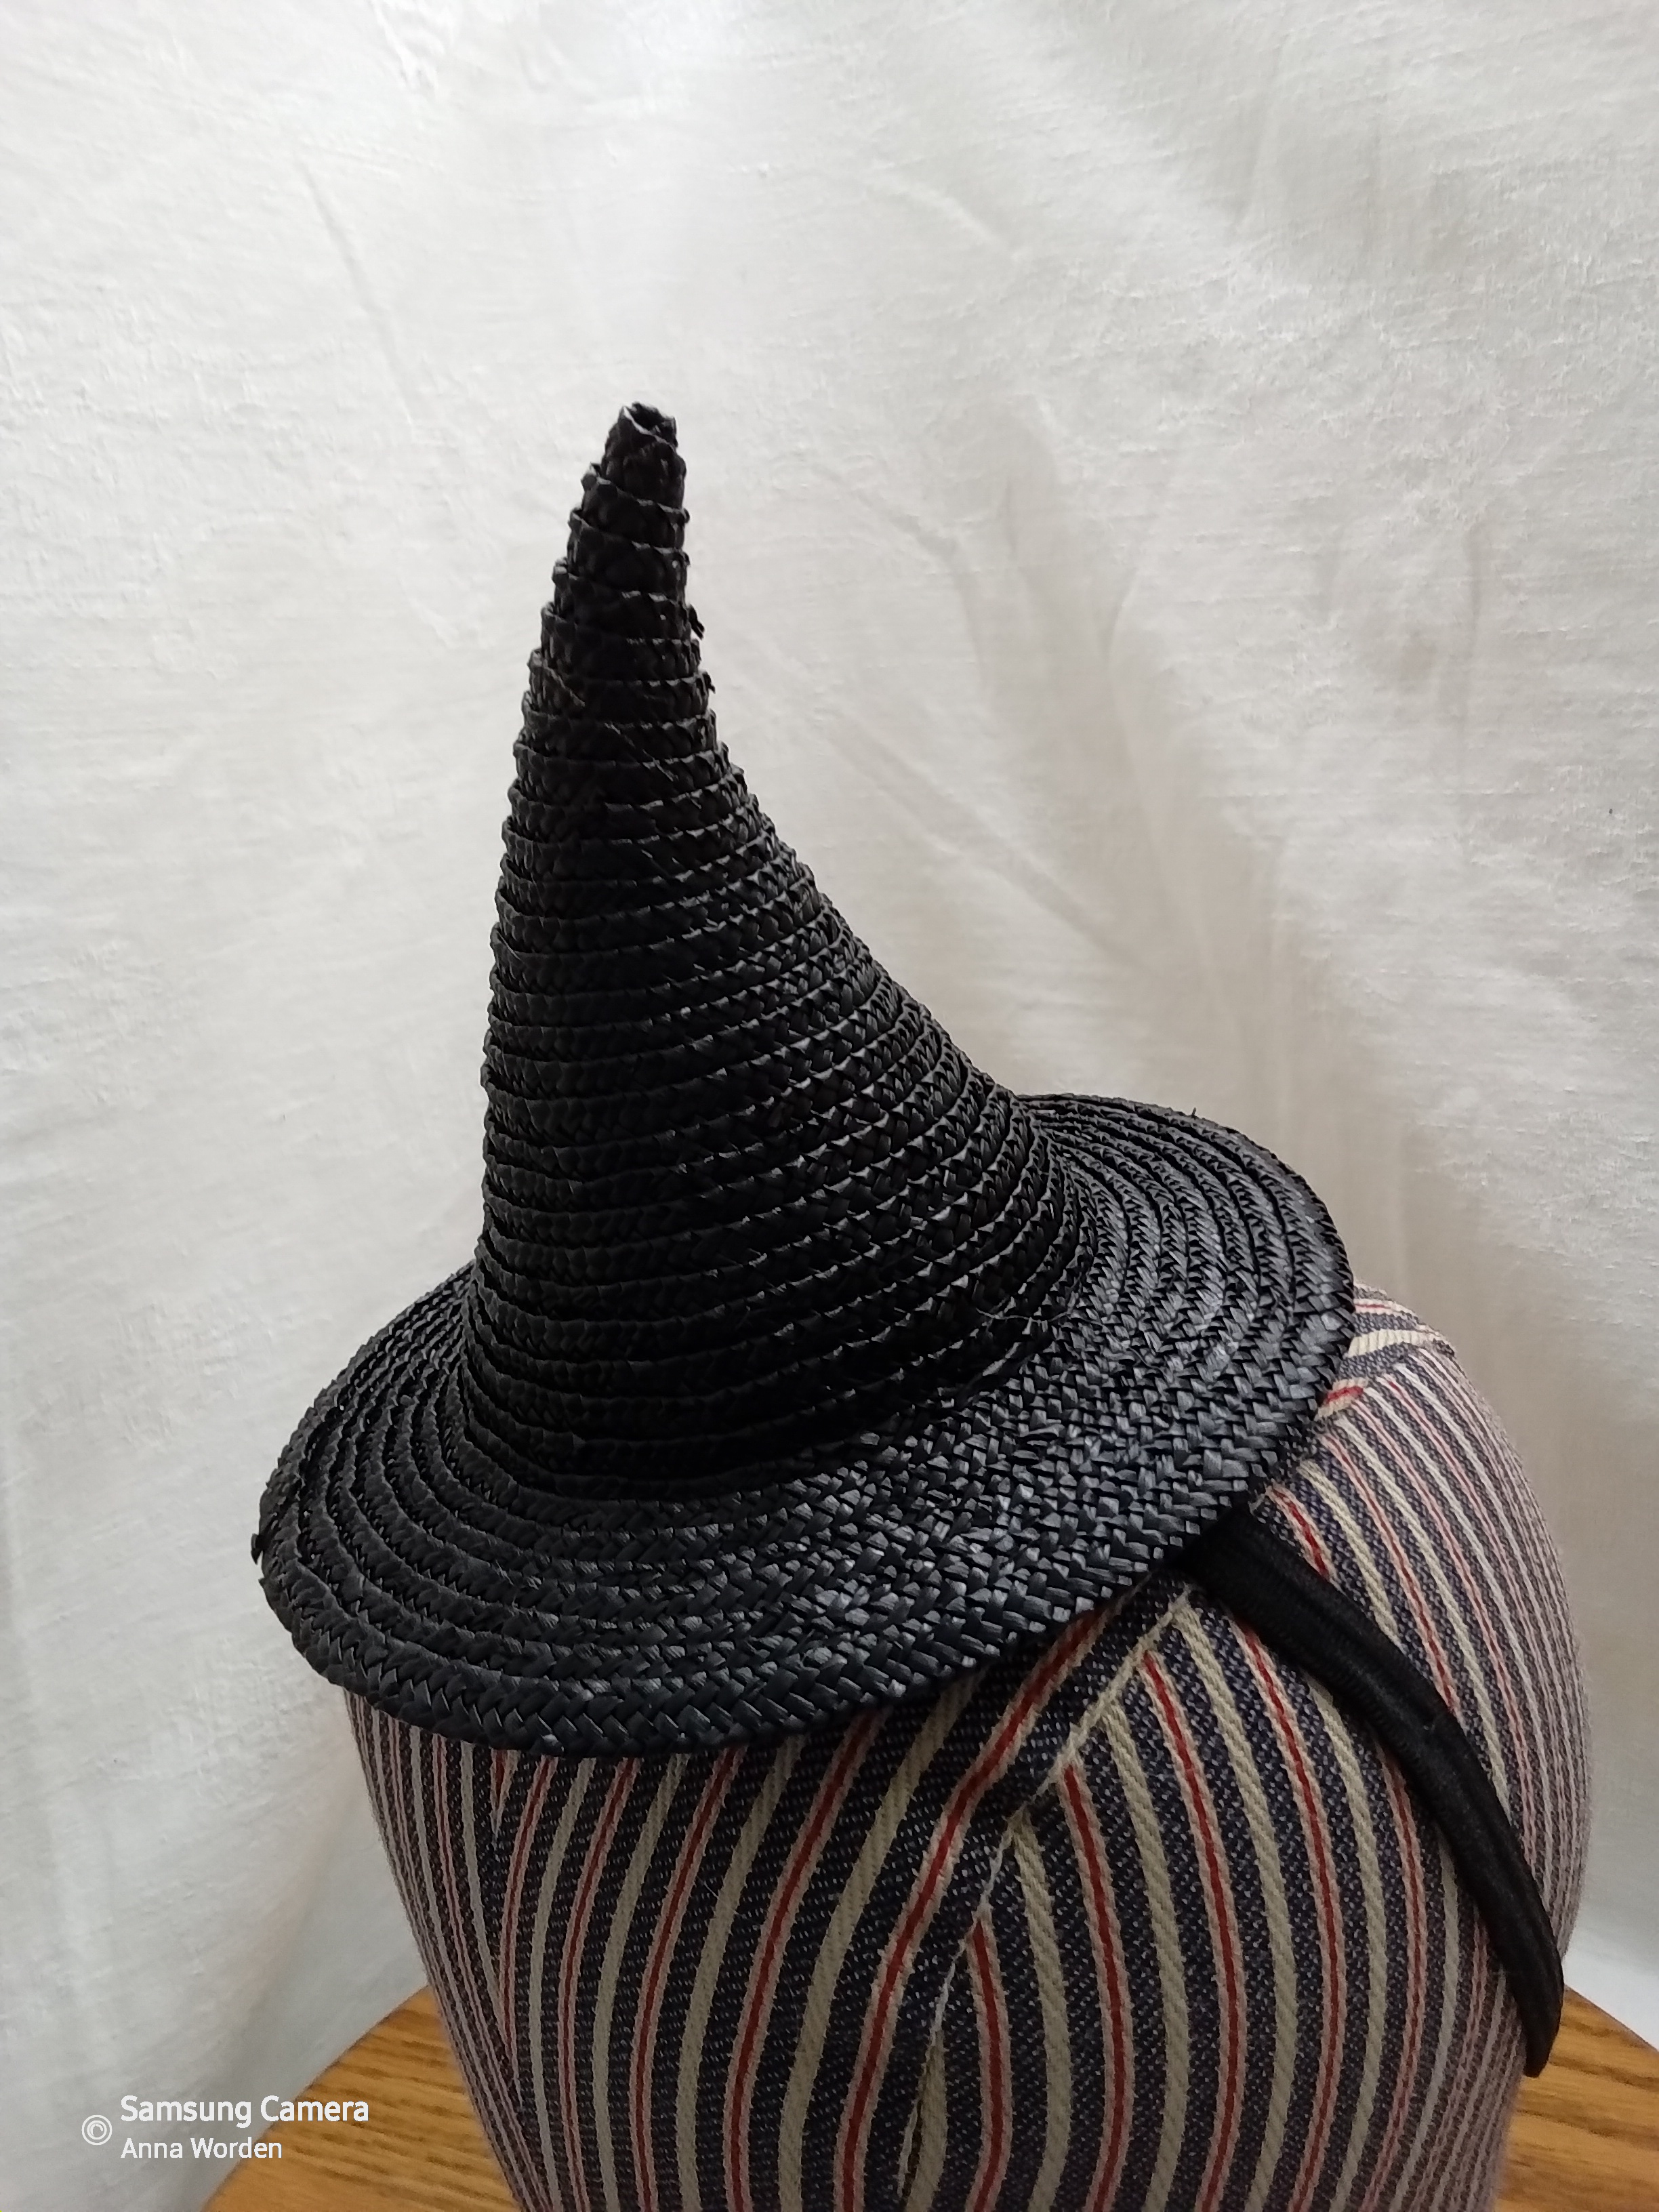
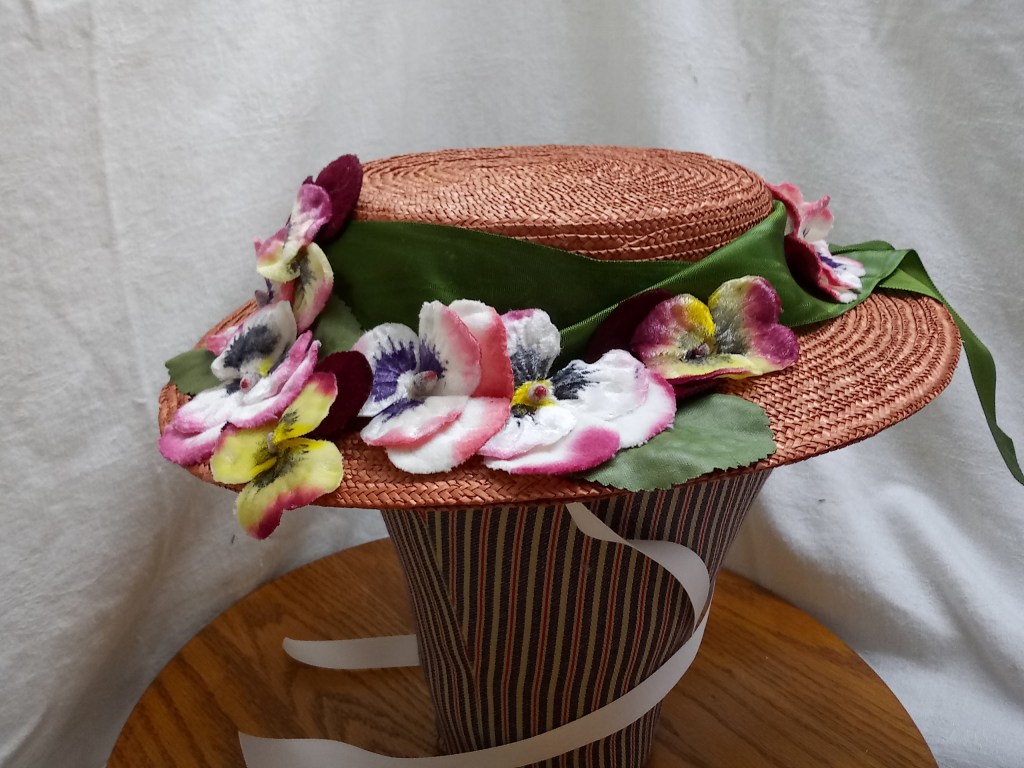
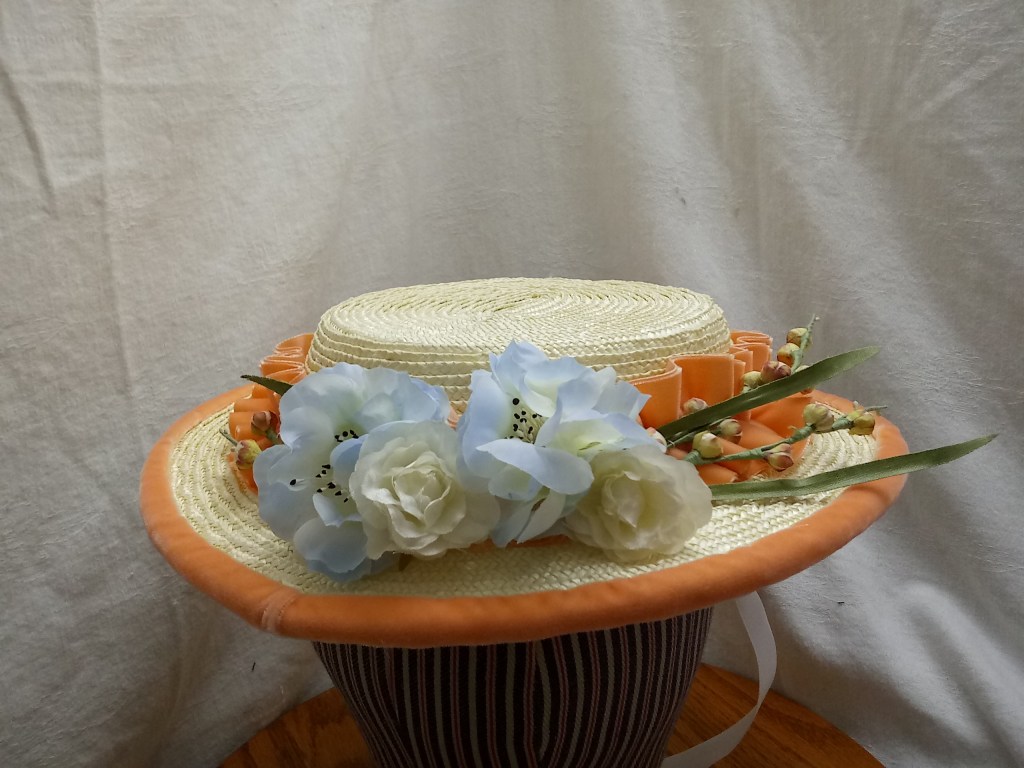
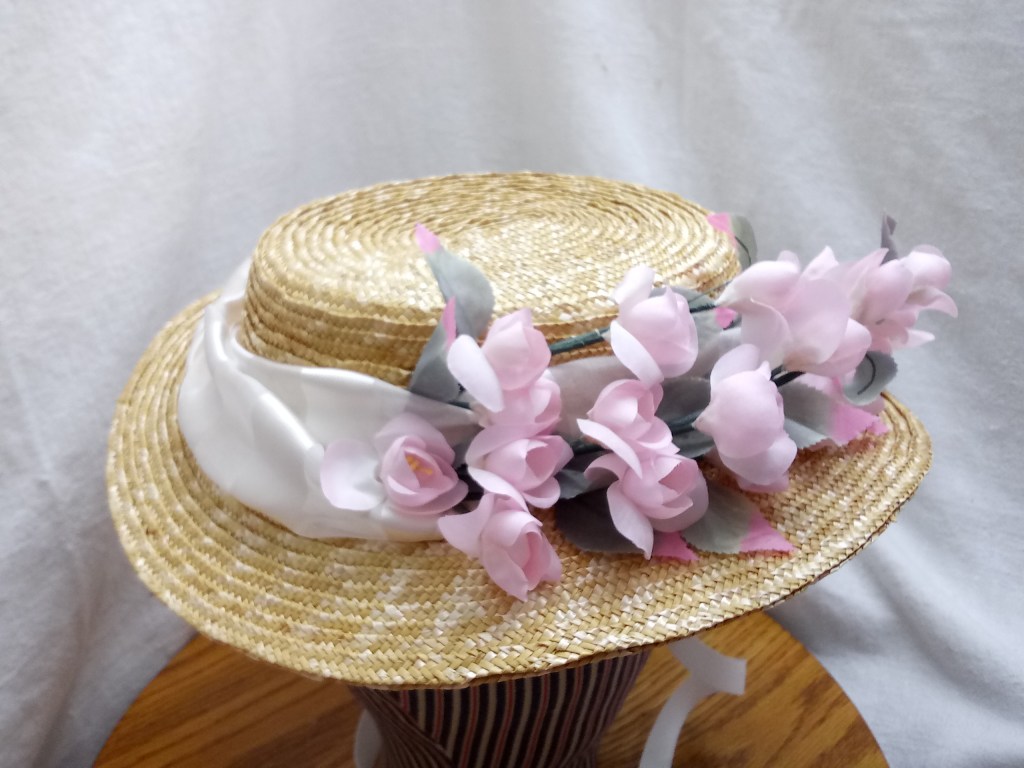
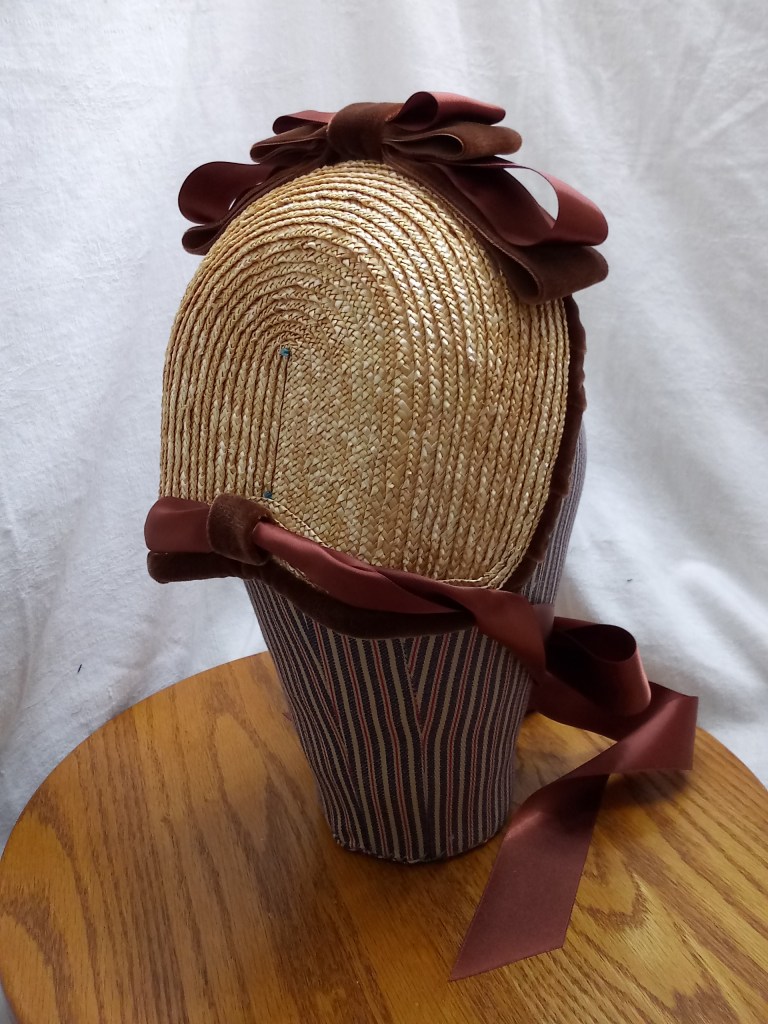
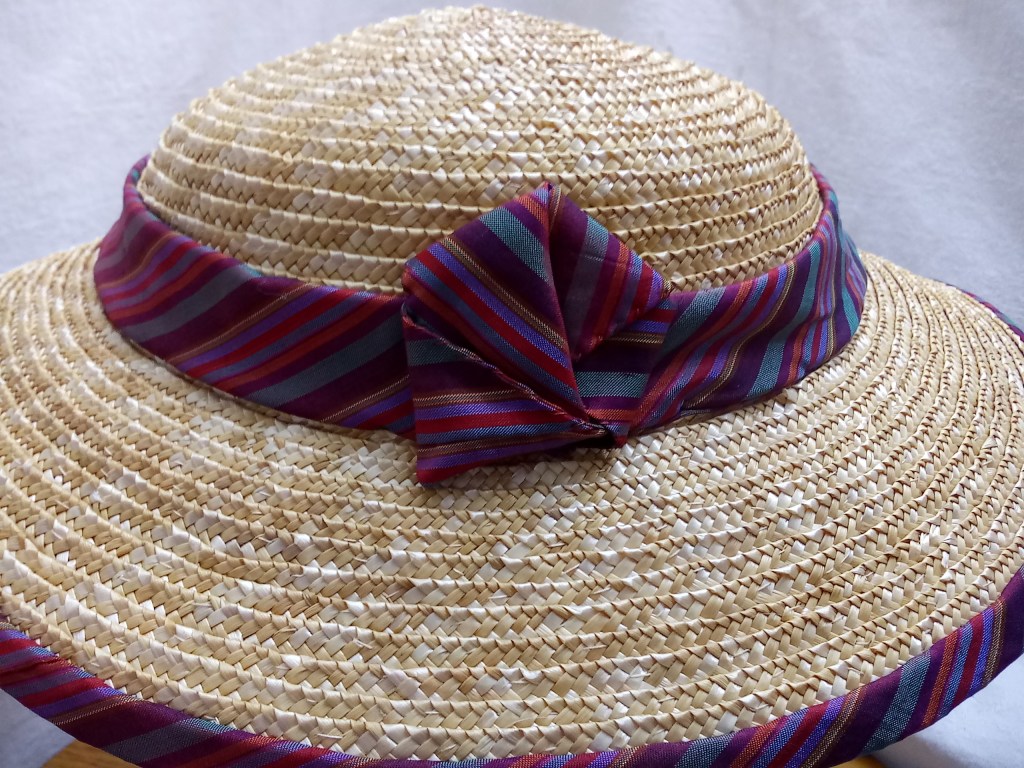
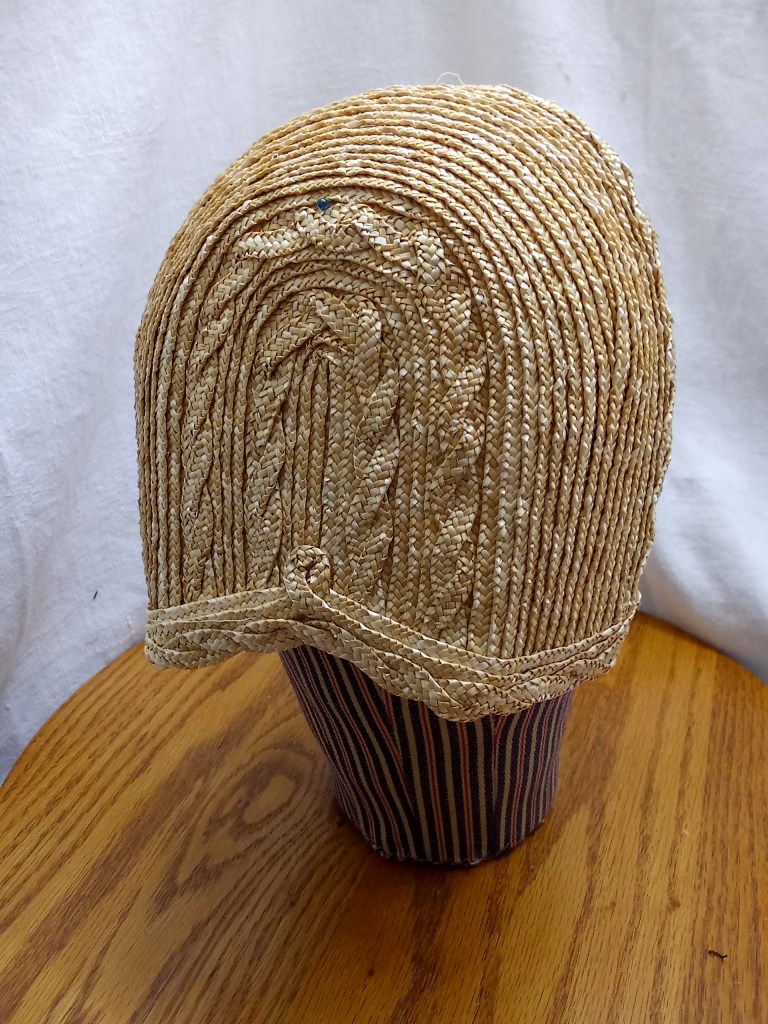
For my Agricultural Society Fair entries this year, I wanted to bring the pieces I made for events through the year, plus a couple other things. I had been wanting to make a bonnet and/or hat with straw motifs for a couple years. It kept getting procrastinated. I am pleased I finally did. This still needs all its decorations. Maybe in the coming year. I loved the idea of these little baskets. Still live them. They are just too darling and fun. Sadly, others didn’t seem to love them as much. They may end up doll accessories instead of decorations. Adding the headbands to my little straw witch hats was a spur of the moment, direction change. I am glad I tried it. You’ll likely see more of these. This 1880s straw capote was one of my favorite pieces of the year. I was shocked to see it sit in the shop for as long as it did. (I have theories why.)Making straw basket pin cushions had been on my to-do list for a while. Okay, a long while. I finally made a few. I am quite pleased with them. I may make more.
Things I found
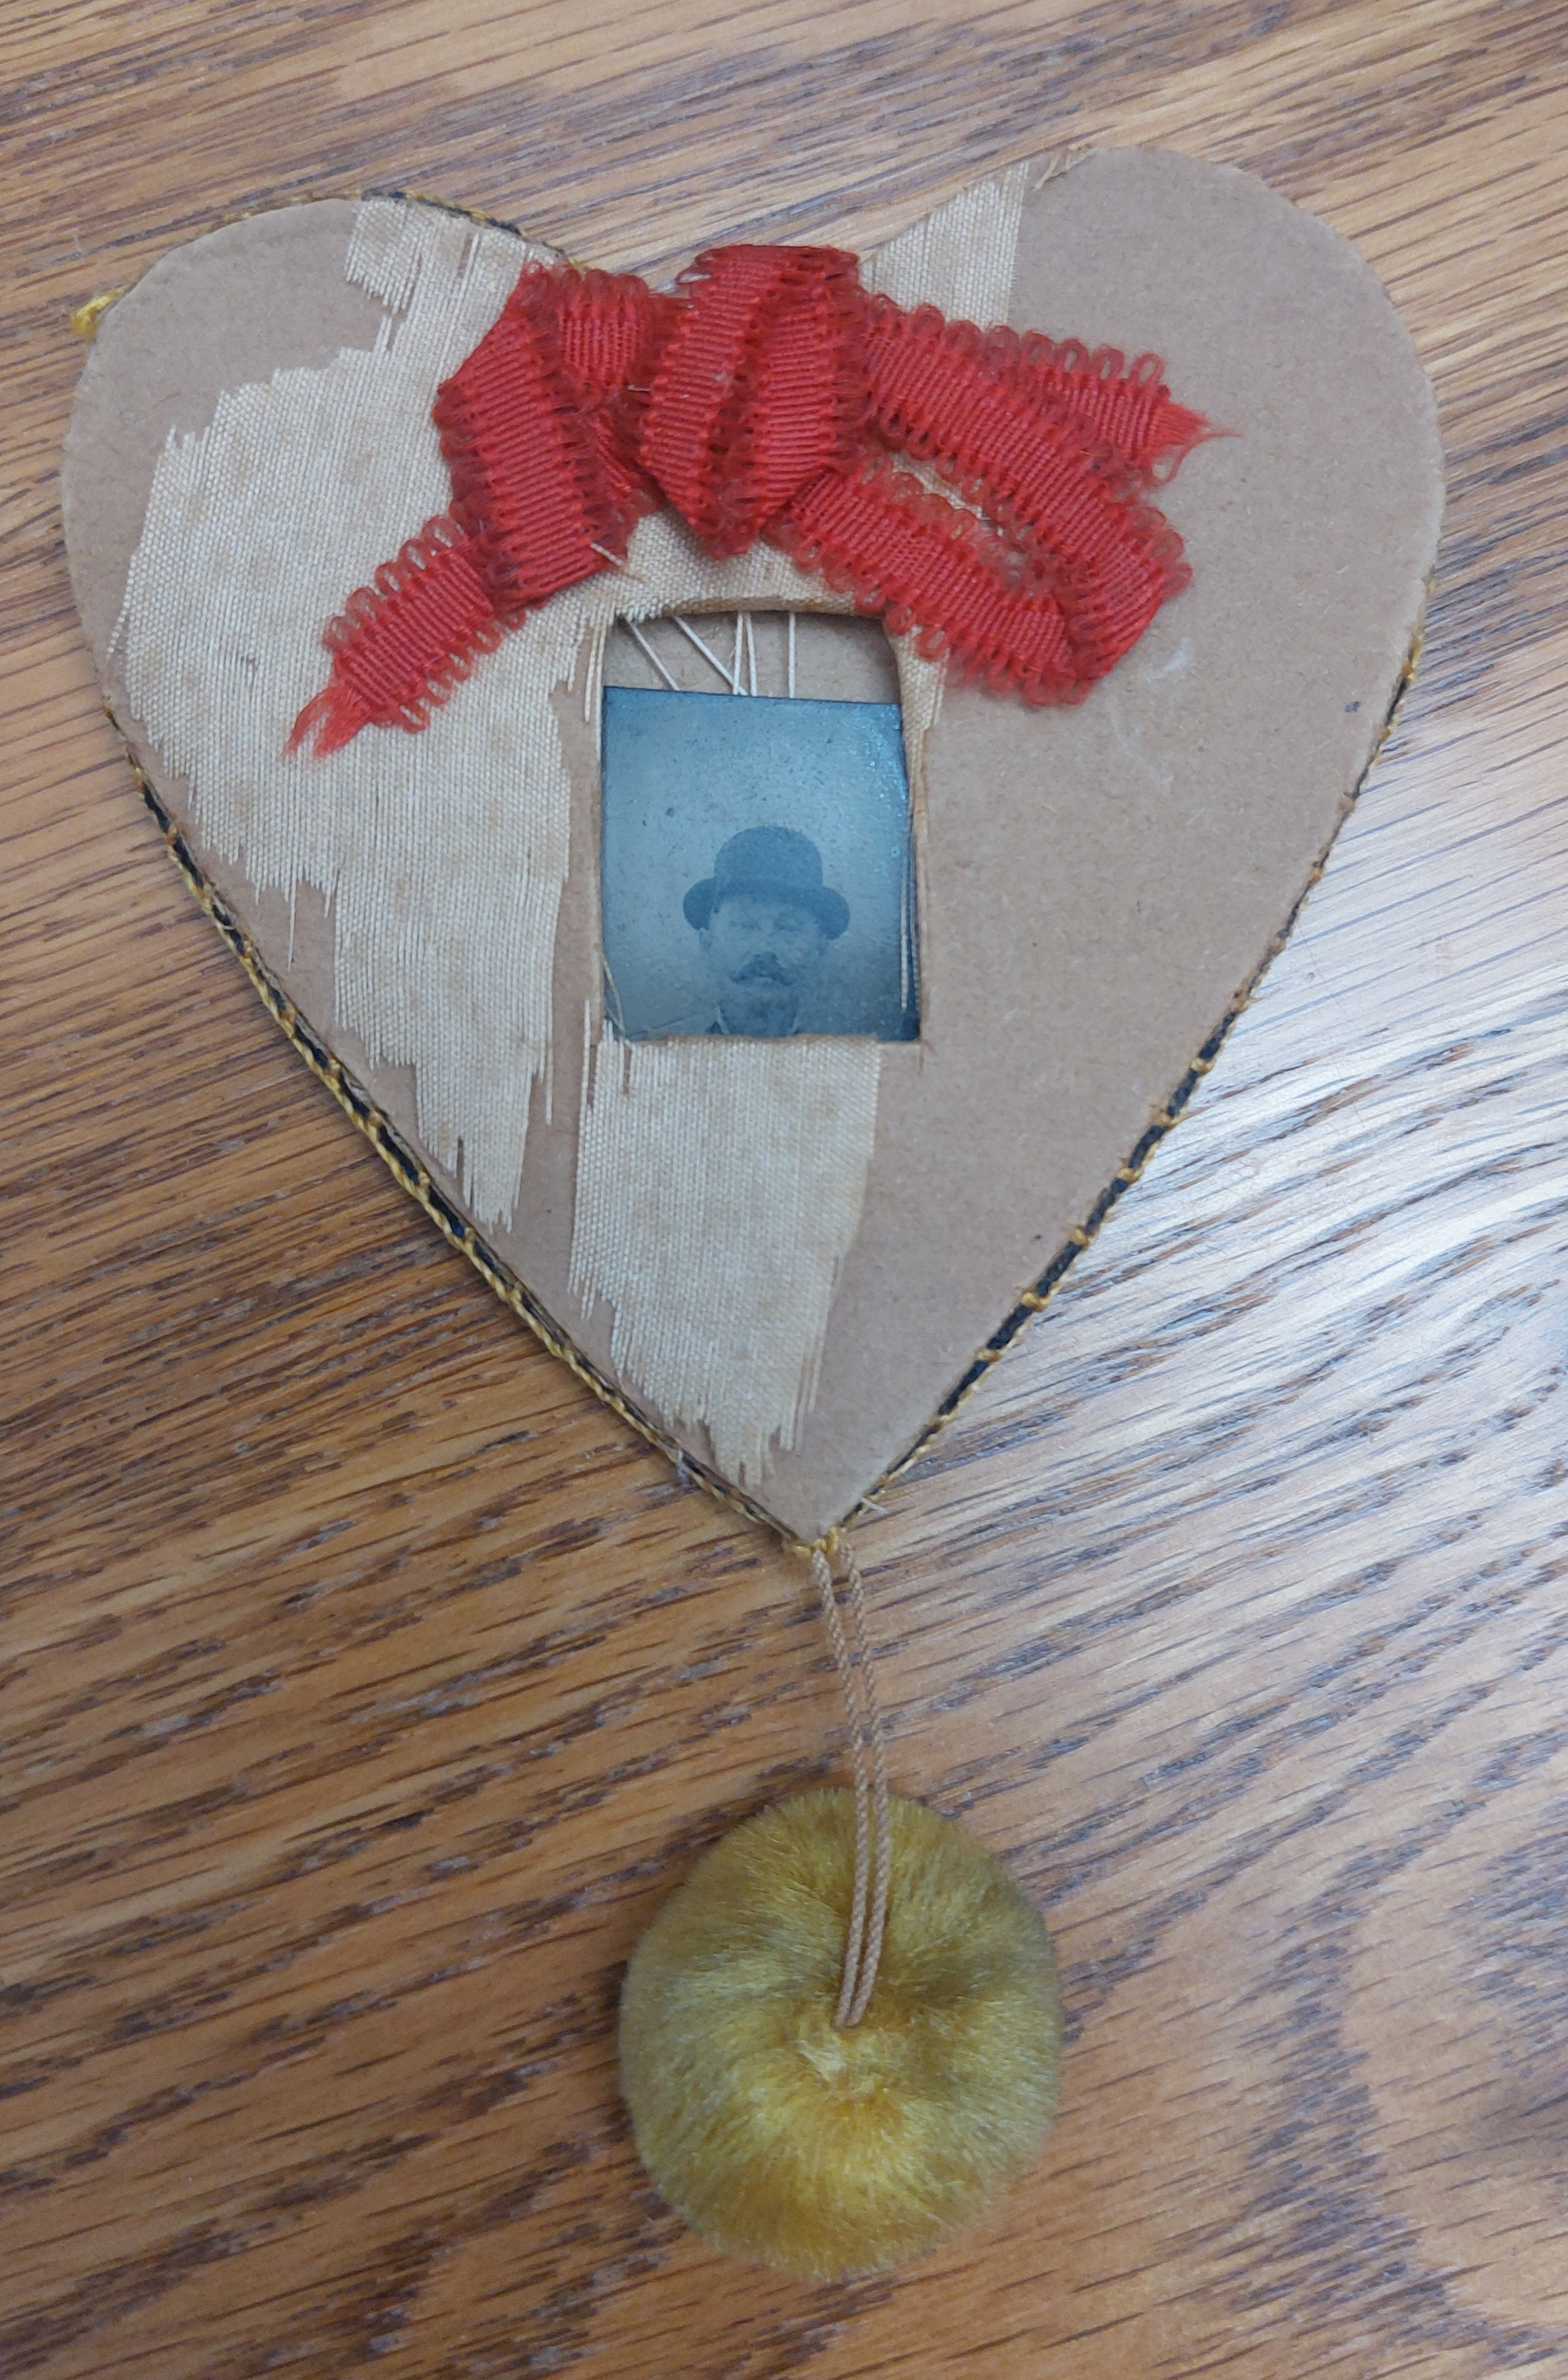
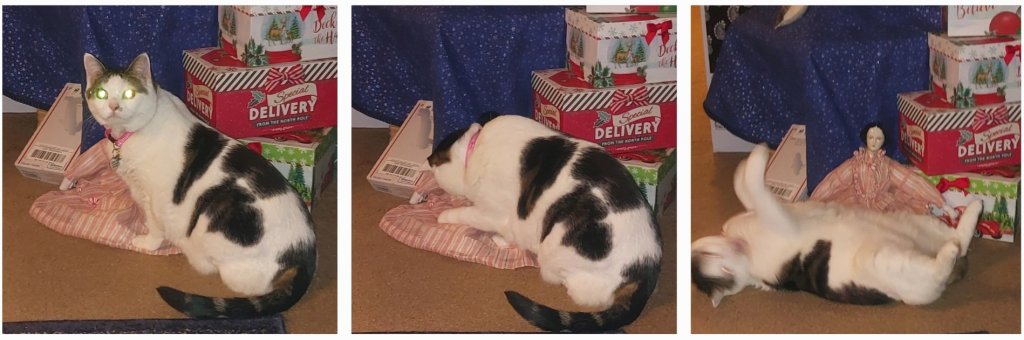
These triangle shaped friendship books are some of the coolest things I’ve stumbled across. They a curiosity that I will continue to look into. I still can’t believe this beautiful original bonnet is mine. Swoon….This well tattered heart frame was a lucky rescue. I happened to stop at a local shop that changed hands. They were in the midst of rearranging. This was in a little basket in a corner I previously avoided. So glad I saw it. And one last photo group (which counts as one photo) for my Clara fans.
Thank you all for your support over the past year. As difficult as the year was in many ways, I feel like I was able to accomplish several things , both artistically and scholarly.
Please help me plan for the year ahead by taking my quick survey:
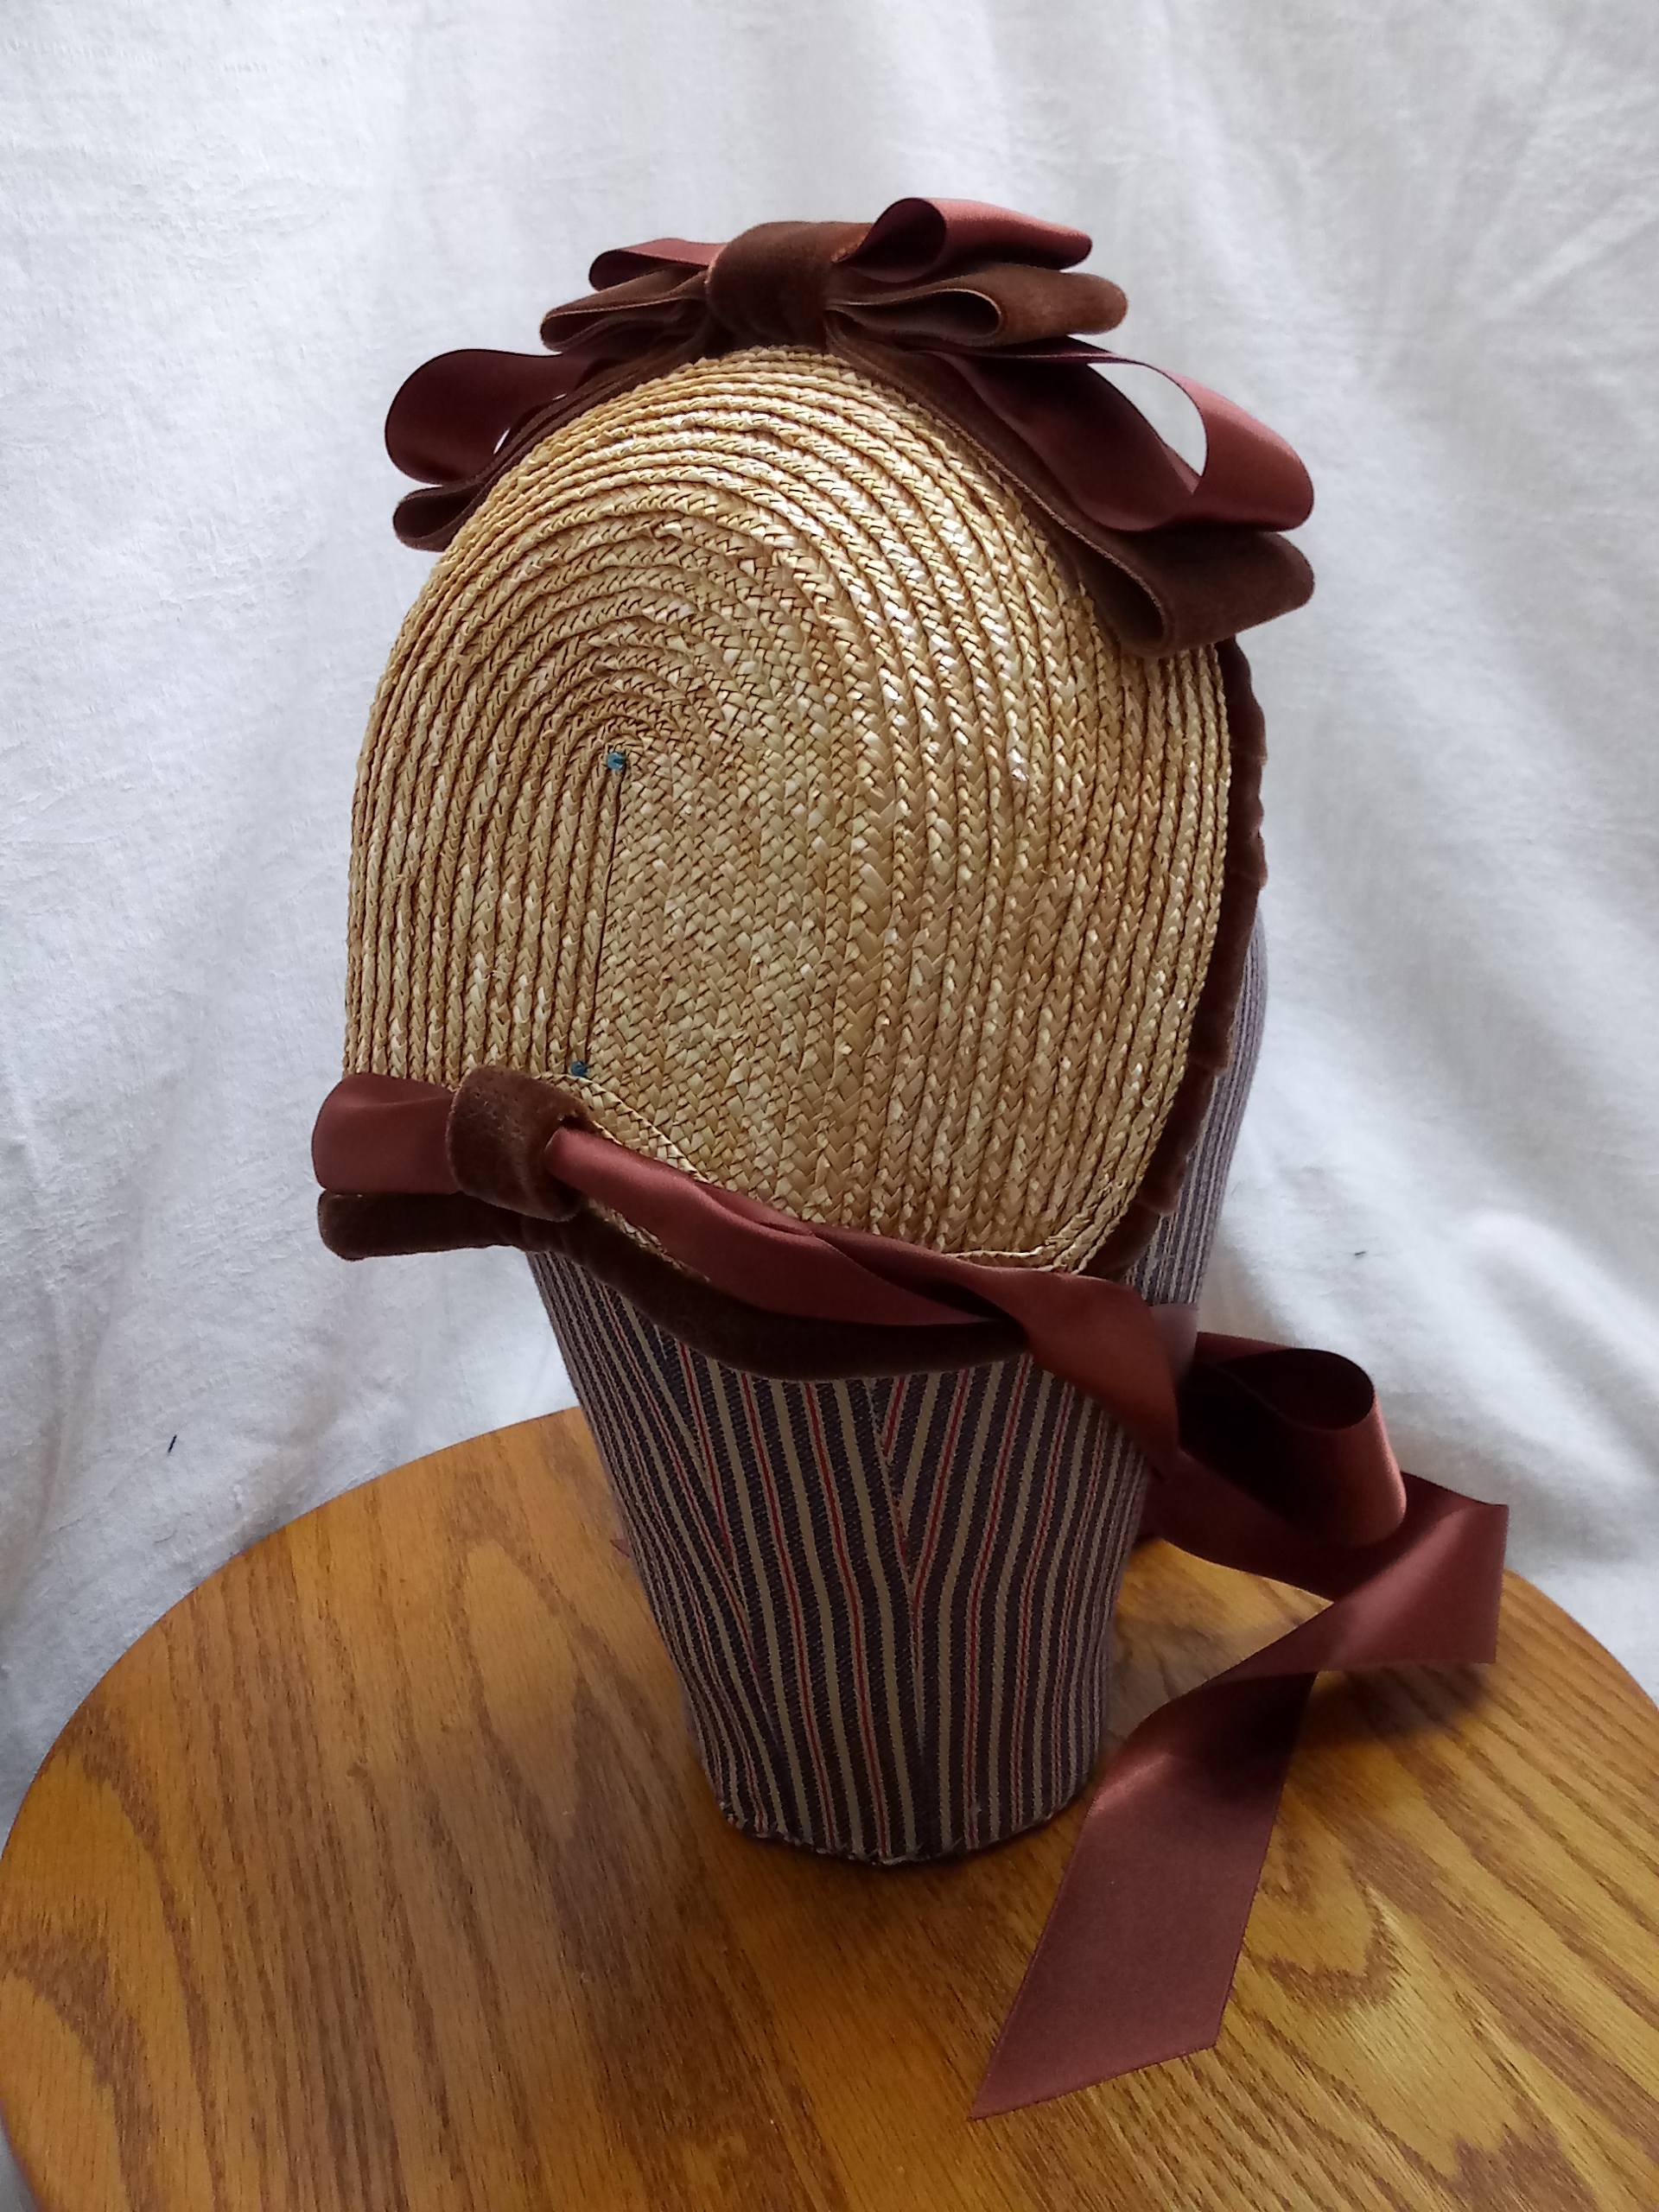
This year, I added a “new” 1880s capote bonnet block to my collection. This has been an enjoyable block to work with as it has unique lines and works well with fancy straw plaits. I played more with manipulating plait and using fancy plait for bonnet and hat edges. I also started working with additional materials to mimic the look of horsehair and other period materials.
I am currently curled up in the couch with my blanket and gingerbeer warming up from a great day. Today was type of day where I start talking at 10 am and don’t stop until the last visitors leave as the sun shifts downward.
I love these days.
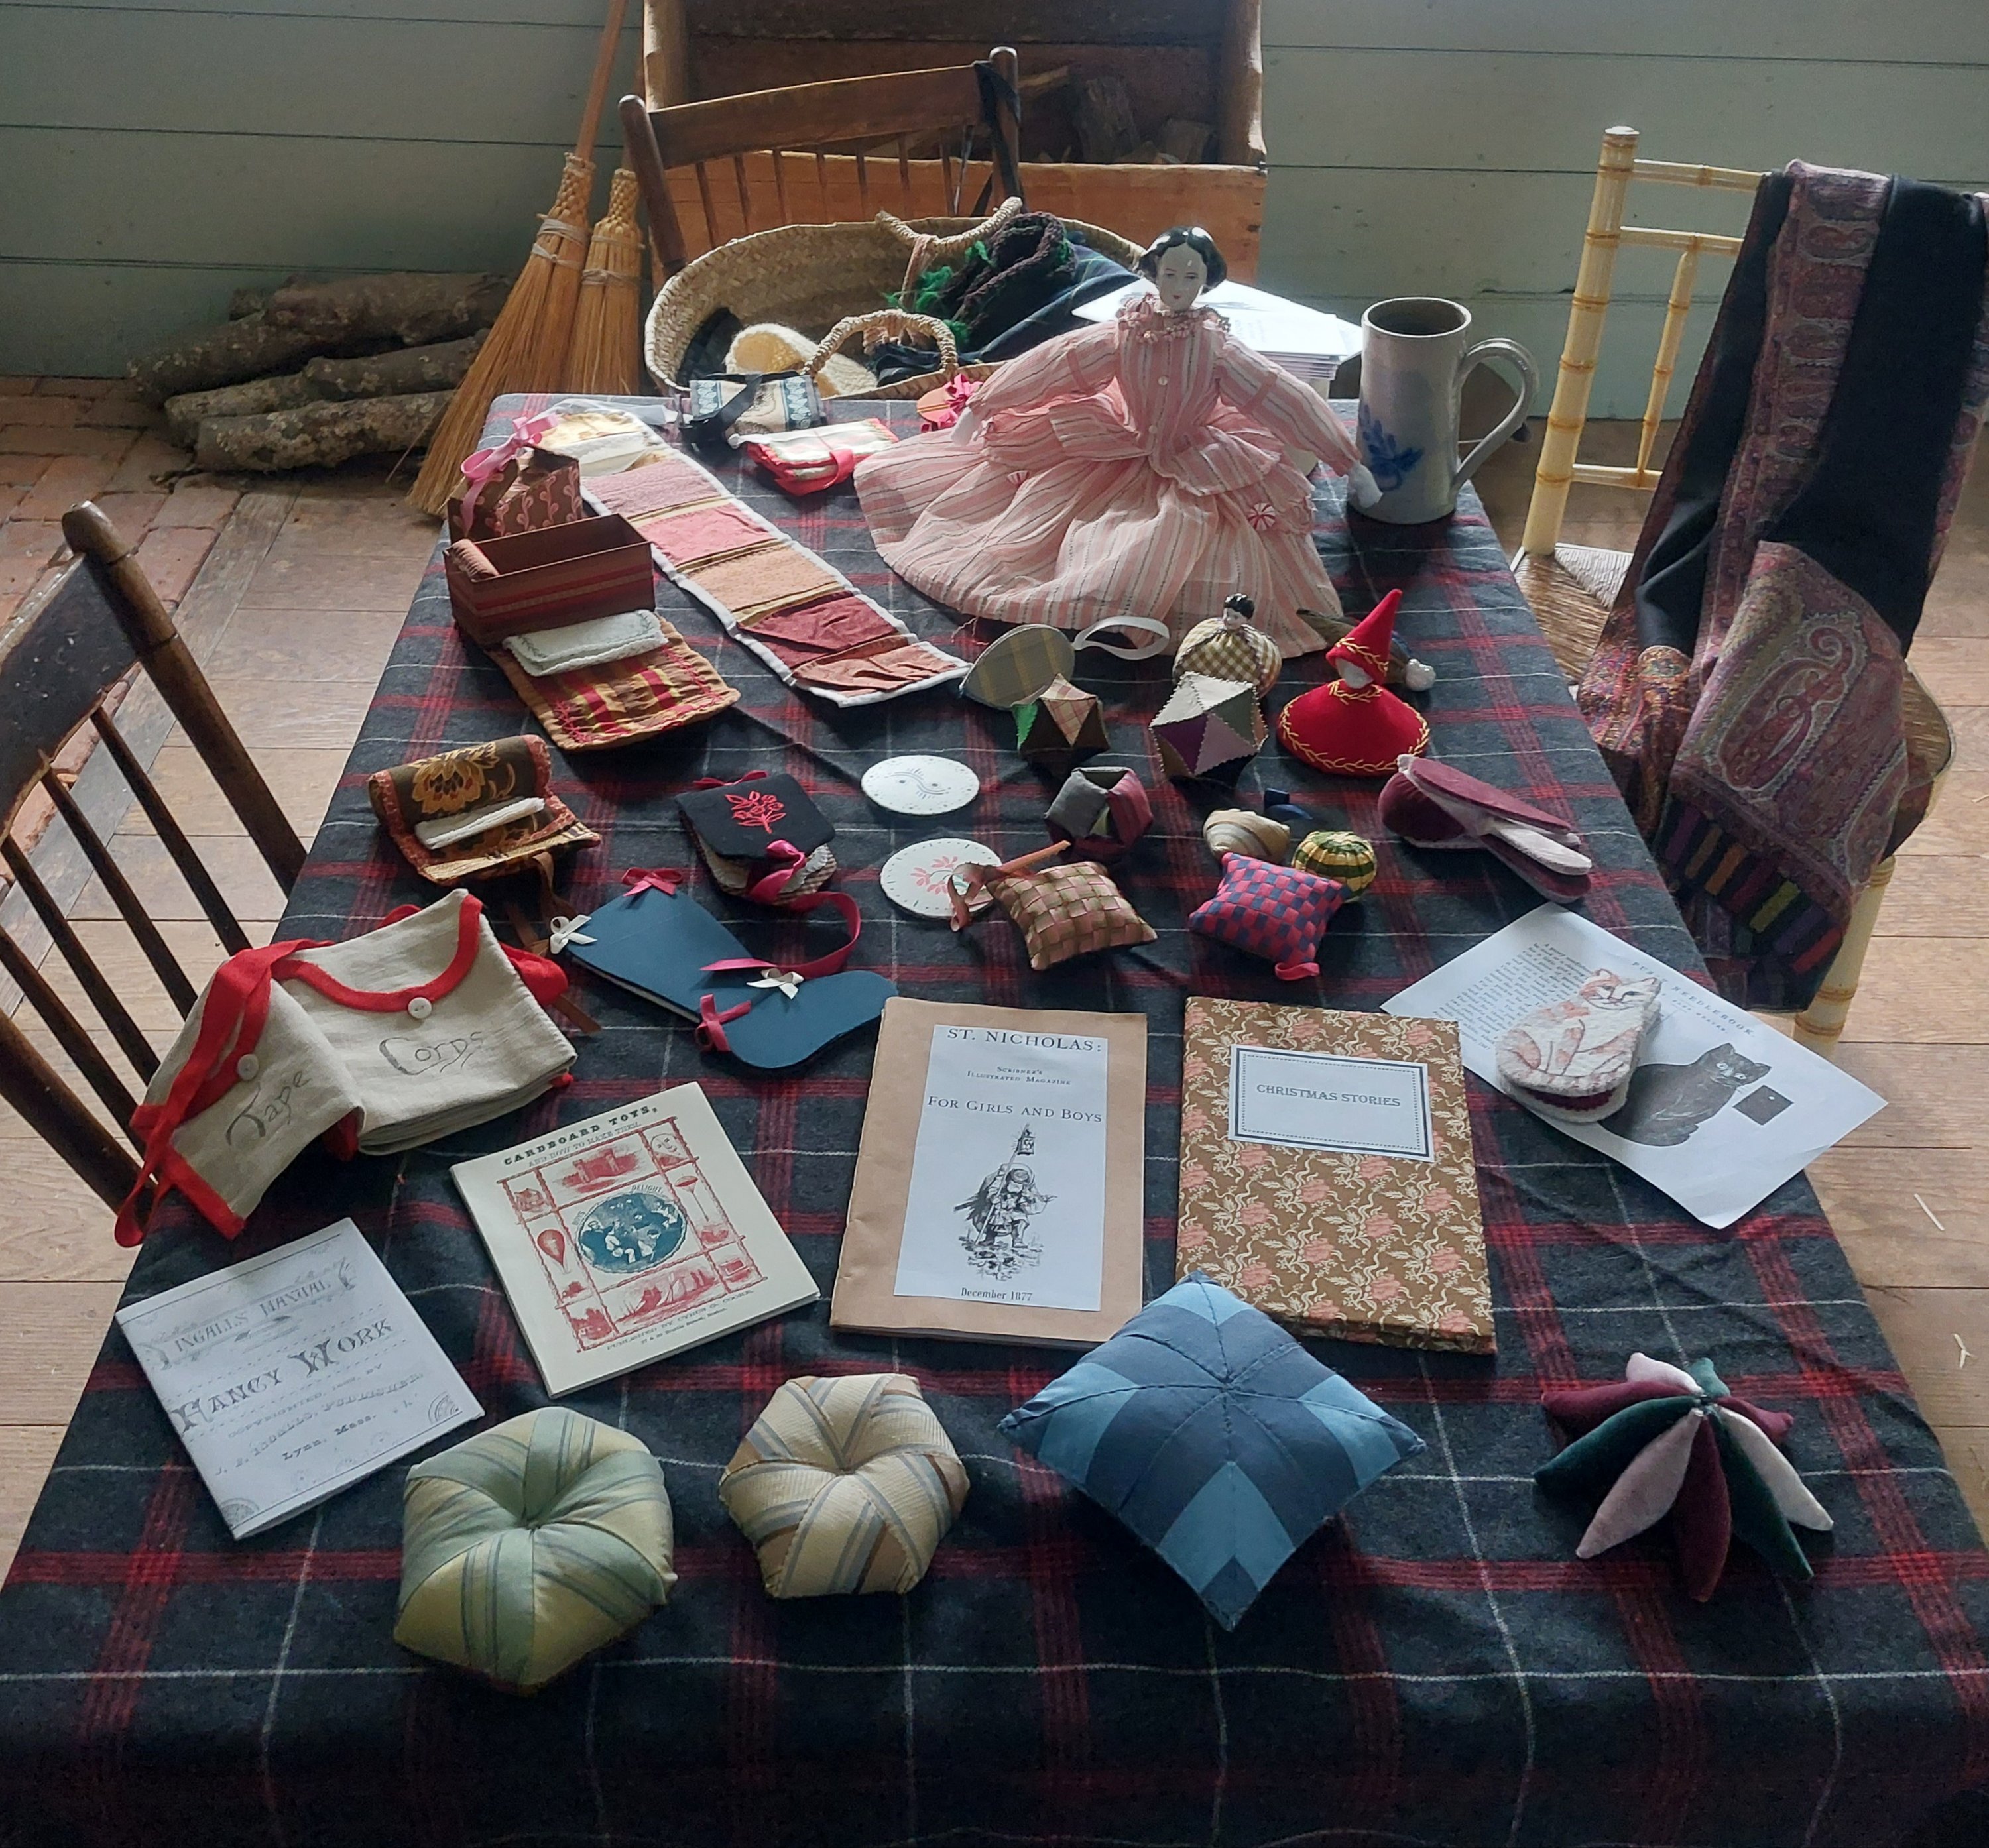
As with the past few Holiday Open Houses, I shared some of the many handmade gifts of the nineteenth century. This year, I chose to focus on the sewing items found in ladies’ and children’s publications. I selected an assortment of pin cushions, needle-books, pin keeps, and sewing cases.
The cat needle-book and paper pieced pin ball were by far the most popular. The shape of the pin ball is similar to a D20 die, or so I learned from visitors.
I am already thinking ahead to next year’s selection, thinking a variety of toys from the pages of Godey’s, Peterson’s, and St. Nicholas’s would be a hit.
This event gave me the perfect opportunity to wear my beautiful new shawl a friend picked up for me from India.
I did a seperate post in Don’t Paint the Cat for the new Peppermint Doll: Here
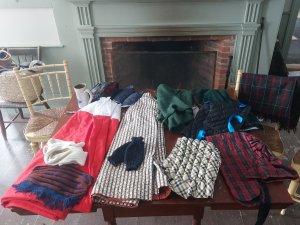
Just before Thanksgiving, I spent the weekend at the Genesee Country Village and Museum for their Preparing for Winter event. This annual event not only gave me an opportunity to talk about how to stay warm during the cold winter months, it gave me a chance to test out my mid-nineteenth century winter layers.
Before diving into the layers I wore, let’s talk about that weekend’s weather for those of you not from the area.
This was the weekend the Buffalo, NY area was blanketed with record breaking snow coming off of Lake Erie. Some areas on the south side of Buffalo saw over four feet of snow. This bought of lake effect snow covered from Buffalo south and east to the museum, which is south-west of Rochester. Meanwhile, Rochester saw little snow. In the historic village, it was in the mid twenties and deceptively sunny making Saturday absolutely beautiful, nearly perfect day to visit. Sunday morning as I got ready my weather app said it was 18 degrees with a windchill of 4 degrees, expecting a high of 27… and… it was Windy, very windy. The 8 mile route to the museum was drifted over causing my 10 minute trip to take closer to 35 minutes. This was the perfect weekend to test out the layers.
I want to take a moment to talk about the physical aspects of interpreting compared to an actual living situation in the 1850s, the era I was dressed for. If I was living in this house in the 1850s, fires would have been going in each of the fireplaces for several days maintaining a level of heat within the house. The floors would have been warmer and potentially covered with a floor cloth or carpet possibly insulated with paper or straw. Other techniques would have been used to winterize the home (see previous post below.) As an interpretive space, magical, modern heat replaces or supplements the lack of fireplace heat. The entry door is opened regularly as visitors come and go, allowing heat to escape and cold to come in. The floors are either bare wood or covered in mats in visitor traffic areas. These are the realities of interpreting historic spaces.
Layers Work
Now, let’s talk about my layers. I have an abundance of cold weather wear accumulated from over the years. I used to participate in several other colder events including Yuletide and teaching events that would get so cold my contacts literally froze in their case. Developing my layer preferences has been a learning curve. This event allowed me to test myself – could I still put on my 19th century only clothes and go? Overall, I was very comfortable the whole event including coming and going in the cold wind. My two cold spots are noted below.
As I was inside, I opted for basic cotton chemise and drawers. If I were to be outside for the whole of the event I may have opted for wool flannel drawers. In previous years I wore them and found them to be absolutely lovely. My corset was the same of course.
I selected wool stockings. I think the pairs I grabbed from the basket were both from Delp. I do have Woolies or Wool OTKs from Sock Dreams.
I opted to wear my elastic gusset boots due to the snow and salt. I didn’t want to damage nicer boots. I find my Sekela made balmoral boots are notably warmer than my side-lacer boots or slip-on elastic gusset boots. See my thoughts below on boots and feet.
For petticoats, I wore both a quilted petticoat and wool petticoats. The quilted petticoat is a layer of wool batting sandwiched between layers of quilt weight cotton. One wool petticoat is a balmoral style made of red wool flannel with ribbon bands. The other is a plain weave lightweight wool in a darker brown color.
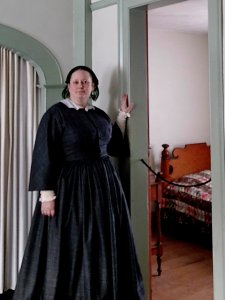
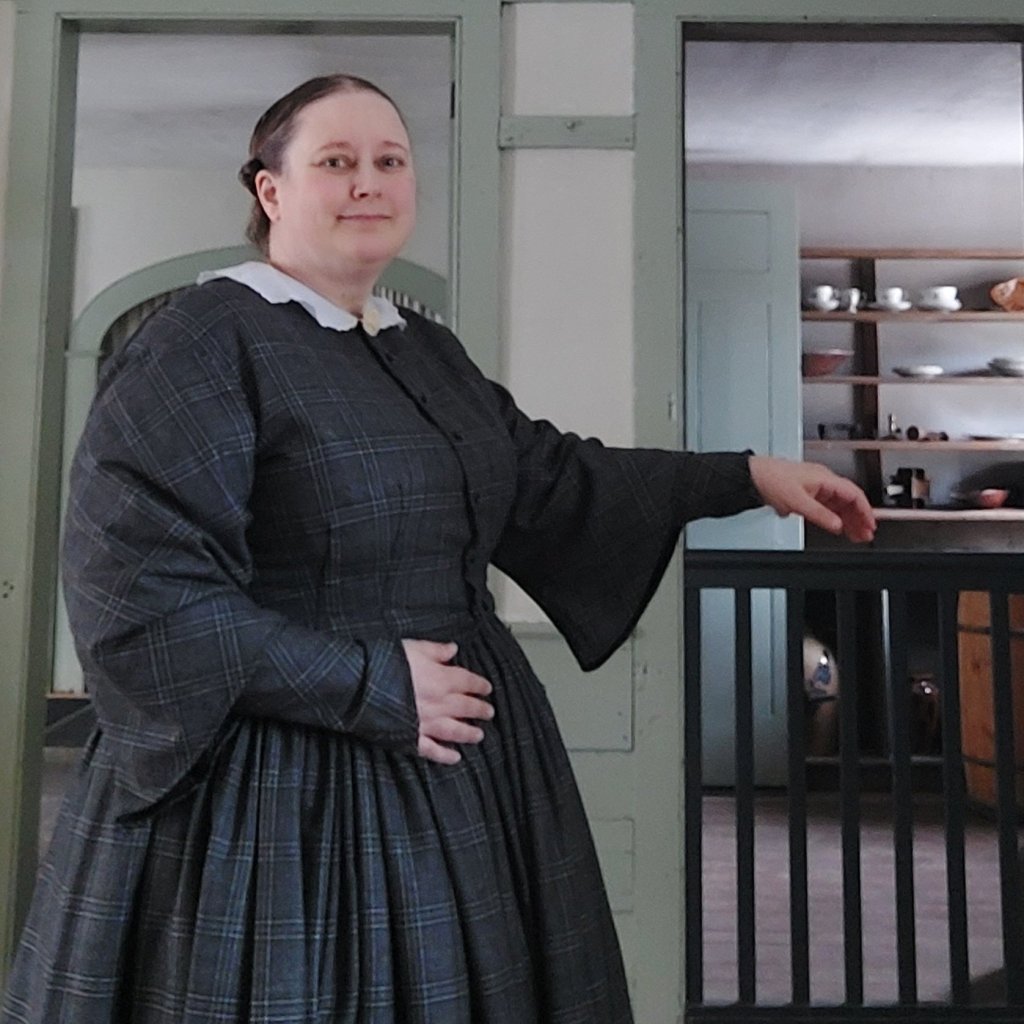
My dress was a light weight wool in grey plaid. The weight is light but not quite tropical weight, similar in density to quilt cotton. I added knit wool undersleeves instead of sheer cotton ones. (see thoughts below.)
On Saturday, I wore a woven wool shawl. This was made using light weight wool fabric fringed around the edges. I didn’t wear one on Sunday.
When I went outside, I added a black wool paletot style coat edged in blue quilted silk and a black silk taffeta quilted hood. I may have added a wool scarf on Sunday, I can’t recall for sure. (If I knew where I packed them, I would also wear my Tingley rubber overshoes outside. These not only help with keeping the feet warmer and dry, they help with slipping on ice.)
Hands and Feet
In complete disclosure, I can not say my winter weather layers were a complete success. There were two cold body parts I found unsatisfactory, or interpretive mis-steps. One brings us back around to the realities of interpretive space. The other is a detail of the clothing I selected.
First, my feet. This is where the dynamic differences of living in the mid-nineteenth century and interpreting the mid-nineteenth century really showed through for me. If I were living in the mid-century I would have removed my leather boots upon entering the house, selecting warm slippers for indoor wear, opting to keep my feet up on a small foot stool while sewing. Instead, I wore my leather boots through the day on Saturday. Even with keeping my feet off the floor, on a make-do stool (aka a log), my feet were cold. For Sunday, I decided to bring a pair of soled slippers to change into rather than wear boots again. Even though the slippers have far less coverage, leaving about half of my foot with only wool stocking for coverage, my feet were definitely less cold on Sunday. (The building was already about 20 degrees warmer on Sunday morning though.)
Next, my forearms. Leading up to this event, I made a new wool dress focusing on the early 1850s. I was very indecisive about the sleeves trying to decide between a funnel sleeve highlighting the fashion of the early 1850s or a coat sleeve with the winter weather in mind. A week before the event, I needed to get sleeves on the dress. I decided on the sleeve that showed up most in 1851/1852 illustrations – a funnel sleeve. This decision resulted in cold forearms. My dress sleeves fell to mid-forearm. Saturday, I wore slim wool undersleeves made to wear with my 1860s coat sleeves. These came to just below my elbow. While technically all of my arm was covered, draft or chill easily reached my elbow area. Cold radiated down to my forearms and hands all day. Knowing I could not do another day like that (and that I wouldn’t have time to make another pair of undersleeves… and my ego wouldn’t let me use a modern solution,) Sunday I turned a pair of thicker cotton stockings into undersleeves. Yup. I basically cut the feet of a pair of white cotton stockings I rarely wear and put them on my arms. It worked. (I will be making new undersleeves this weekend for next weekend.)
Want to know more? Check out these previous posts:
I am going to pair up two favorite projects from lockdown for this week’s Fancy Work Friday: The Parasol Pen Wipe and Pin Cushion
Materials for both the Pen Wiper (PW) and Pin Keep (PK):
2 parasol handles (1 for each project)
Tight, densely fulled heavy weight wool (PW)
Sead beads (PW)
Ribbon (PW)
Silk taffeta – solid or a small design (PK)
Tight, fulled medium weight wool, preferably light color (PK)
Embroidery floss (PK)
Pin Keep
Pen Wiper
For the Pen Wiper, cut 1 and a half circles of the densely fulled wool with a pinked edge:
Are you one of the many readers enjoying my millinery blog posts? Consider becoming a Patreon patron. Doing so helps support my work and helps me write more useful articles. https://www.patreon.com/AMillinersWhimsy
Here are some of the period directions for making parasol accessories: