 Today is the day to sign-up for the FanU “The Greene/Green” Swap!
For “The Greene/Green” Swap, Swappers have 2 options. The Greene Group will exchange early to mid nineteenth century appropriate cotton fabrics that reflect a component of Susan Greene’s work in Wearable Prints. The Green Group will exchange Green color fabrics from the 19th century.
We will mail our fabrics on January 30th.
Please read all the details below.
To Sign-up, simply comment below with your email and mailing address. (I’ll erase those before approving your comment, so the whole world doesn’t have that info.)
What is a Swap?
This is a chance for to exchange fabric with a small group of people. Each group will have 8 people exchanging pieces of fabric. All you need is a half yard of fabric and envelopes along with your copy of Fanciful Utility.
To Participate:
1: Sign Up Day!
On sign-up day, groups will be assigned on a first-in basis; the first eight will be the first swap group, second eight in the second group, etc. **Please be certain you will be able to fully participate by mailing your fabrics on the Mail-Out Date.**
The Greene Swap Sign-Up Day: January 20th
2: Mail-Out Day:
Place a 9×9″ piece of fabric suited to the mid-19th century in envelopes for each of the 7 other people in your swap group, stamp them (be sure to double check at the post office, but the small 9×9″ pieces should mail in a regular envelope with a normal stamp), and send them off no later than the Mail-Out Day.
The Greene Swap Mailing Day: January 30th
3: Get Fanciful!
Use your Fanciful Utility templates and techniques to make a project from the book, or copy your own from 19th century sources. We’ll all look forward to seeing your projects! You don’t have to sew right away, but don’t keep us waiting forever to see all the fun things!
(If you need a copy of Fanciful Utility, you can purchase them from the publisher at www.thesewingacademy.com
Fabric Guidelines:
- For the cotton and silk categories, your fabric should be early to mid-nineteenth century appropriate. (If there is a want for an earlier or later group, we can do that.) Prints and motifs should reflect those available in the 1840s, 50s and 60s. Cotton should be 100% cotton. Silk should be 100% silk.
- To keep the swap and sewing possibilities interesting, please avoid solids as best we can.
- Fabrics that do not work well for sewing cases should not be swapped. These include sheers, gauzes, heavy, thick, easy-to-fray, slippery and stretch fabrics.
- For the “crazy swap” category, think crazy quilt in a sewing case. This could include satins, velvets, textured fabrics. Quality synthetic fabrics are invited.
Swapper Guidelines:
- Please be certain you can fully participate in the swap before you sign-up.
- If something arises after you sign-up that will effect the date you are mailing your fabrics, please email your group so everyone is aware.
- If you fail to fully participate in a swap, you will not be able to sign-up for future swaps. (We do understand medical and family emergencies. I need to be able to ensure swappers will receive fabrics when they send fabrics out.)
Q&A
Yes, you can participate in 1, 2 or 3 of the swaps.
Yes, if we end up with multiple groups, you can participate in more than one group to swap more fabric. If you participate in 2 groups, you should swap 2 fabrics.
Yes, you can swap large and small scale prints.
Yes, you can swap now and sew later.
Yes, we would love to see what you’ve made with the swapped fabric.
Yes, you can use your own fabric in your swapped project.


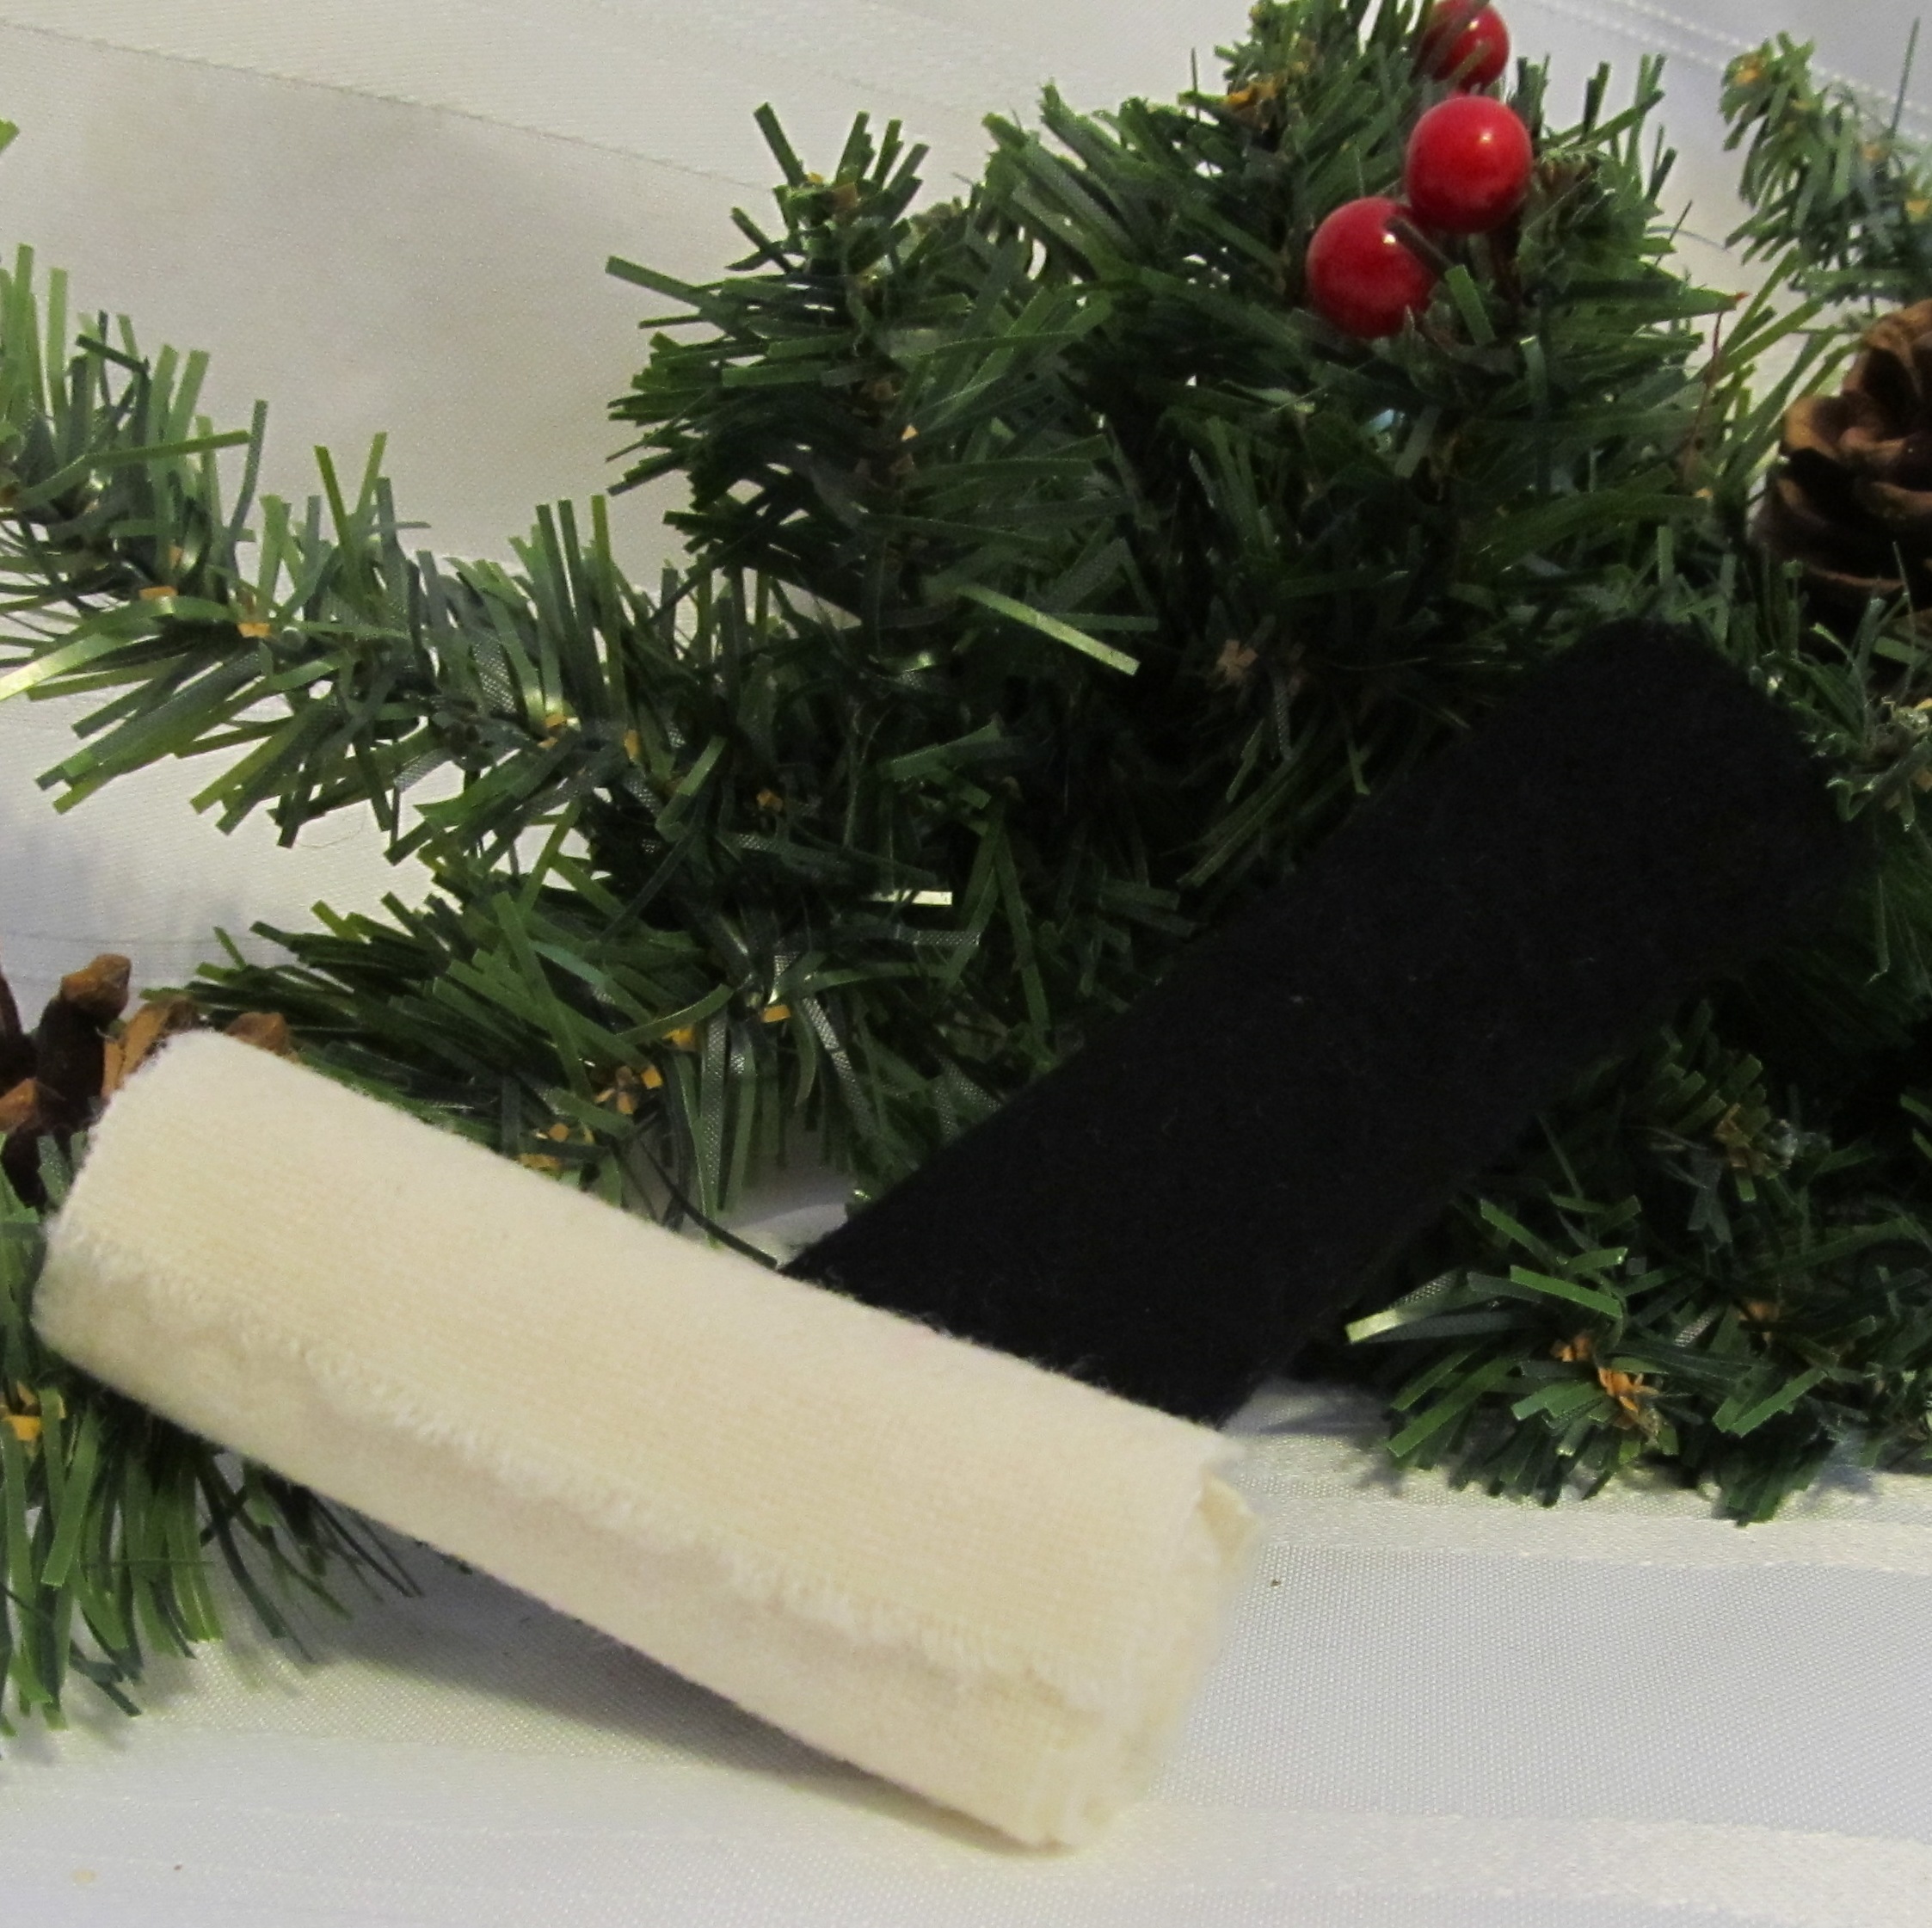
 All the measurements are as exact as I could get. I kept with the original seam construction as well, right down to the use of salvage which I’ve come to love for its great reduction in bulk. I did make two additional changes besides the color. The original has a piece of half inch broken cane. As it is only a fragment and the pinholes that previously held it only showing in a small area, I could not determine exactly where it ran. I have not included that. There is a piece of black ribbon attached flat along the bavolet seam on the outside that is just off. I suspect it was either added later to cover pinholes from where a decorative ribbon was placed or to cover wear. (
 Now, I’m sure you are wondering why I’m calling this “The Ultimate Winter Wind Hood.” When I finished it and tried it on, I was greatly impressed by how wind resistant this hood is. The brim comes very forward of the face. At the same time, the ribbons inside the brim draw the interior of the hood down around the head, holding it snuggly and comfortably in place. The photo to the left an show you sort-of how those ribbons draw the interior down.
 The bavolet that appears flat and rather long is just right for keeping the wind off the neck. It sits right around the neck so to not let the wind catch underneath.
 Back to the exterior, you’ll see an interesting combination of quilting. All the quilting is made of diagonal stripes spaced at 1.25″. But, the front of the brim and where it turns under to the inside the quilting makes diamonds, while the mid to back section of the brim is simply diagonal stripes. I happen to really like the way the look comes together. The bavolet and tip both have the full diamonds. (I can tell you, this is a lot of quilting.)