I started writing a From the Work Box series of posts a last year, but never finished them to post. With a recent question about scissors coming up in a particular FB group, followed by a reply from an exceptional merchant pointing out which scissors are most popular with reenactors, I decided I really need to finish this post for the sake of balanced accurate material culture interpretation.
Do I have I have a bias against stork scissors? Yes. I am just not a fan. I just don’t see the point of having an asymetrical bird hanging out on my scissors. I also just don’t understand why they seem to be everywhere. They are like the poly-cotton tomato’s best buddy. They are, without a doubt, over represented in historical settings. Why are there so many of this one kind of scissors when the 1851 Great Exhibition has 230 different pairs in a single display? Um, proportional variety please?
Okay, enough of my whining.
At the minimum, every interpreter’s sewing kit needs at least a pair of scissors. According to Miss Leslie, everyone in the mid-nineteeth century should have three:
You will find it necessary to have three pairs of scissors; a large pair for cutting out things that are thick and heavy; a smaller pair for common use, and a very small pair for work that is nice and delicate. They should all be sharp-pointed. When your scissors begin to grow dull, have them ground at once. The cost will not exceed six cents for each pair, (even if ground at a surgical instrument shop,) and haggling with dull scissors is very uncomfortable work. (Miss Leslie’s Lady’s House-book. 1850)
What did these scissors look like?
What I would love is an 1850 catalogue filled with illustrations of each and every household item someone would have needed. Wouldn’t that be nice. Instead, we can look at a few other places for glimpses of scissors: Paintings, museum collections (inside sewing cases), and occasional illustrations. Just keep in mind we want the scissors an ordinary person in the US would have had; we don’t need the uber-pretty pair that we could not have afforded. Here is a catalogue illustration of scissors that would be plausible for a working class impression: http://collections.musee-mccord.qc.ca/en/collection/artifacts/M930.50.3.132/
What do I use?
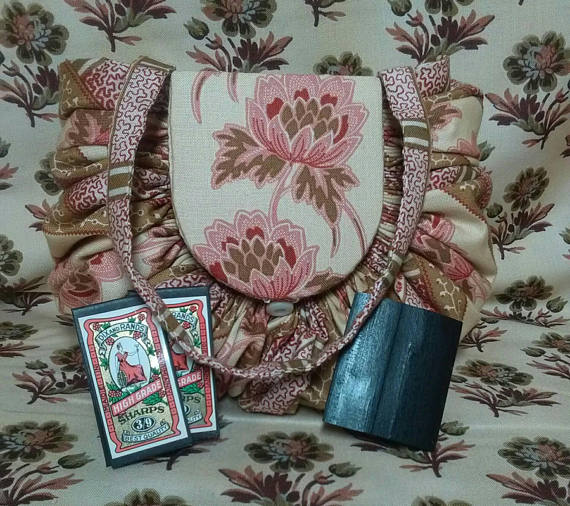
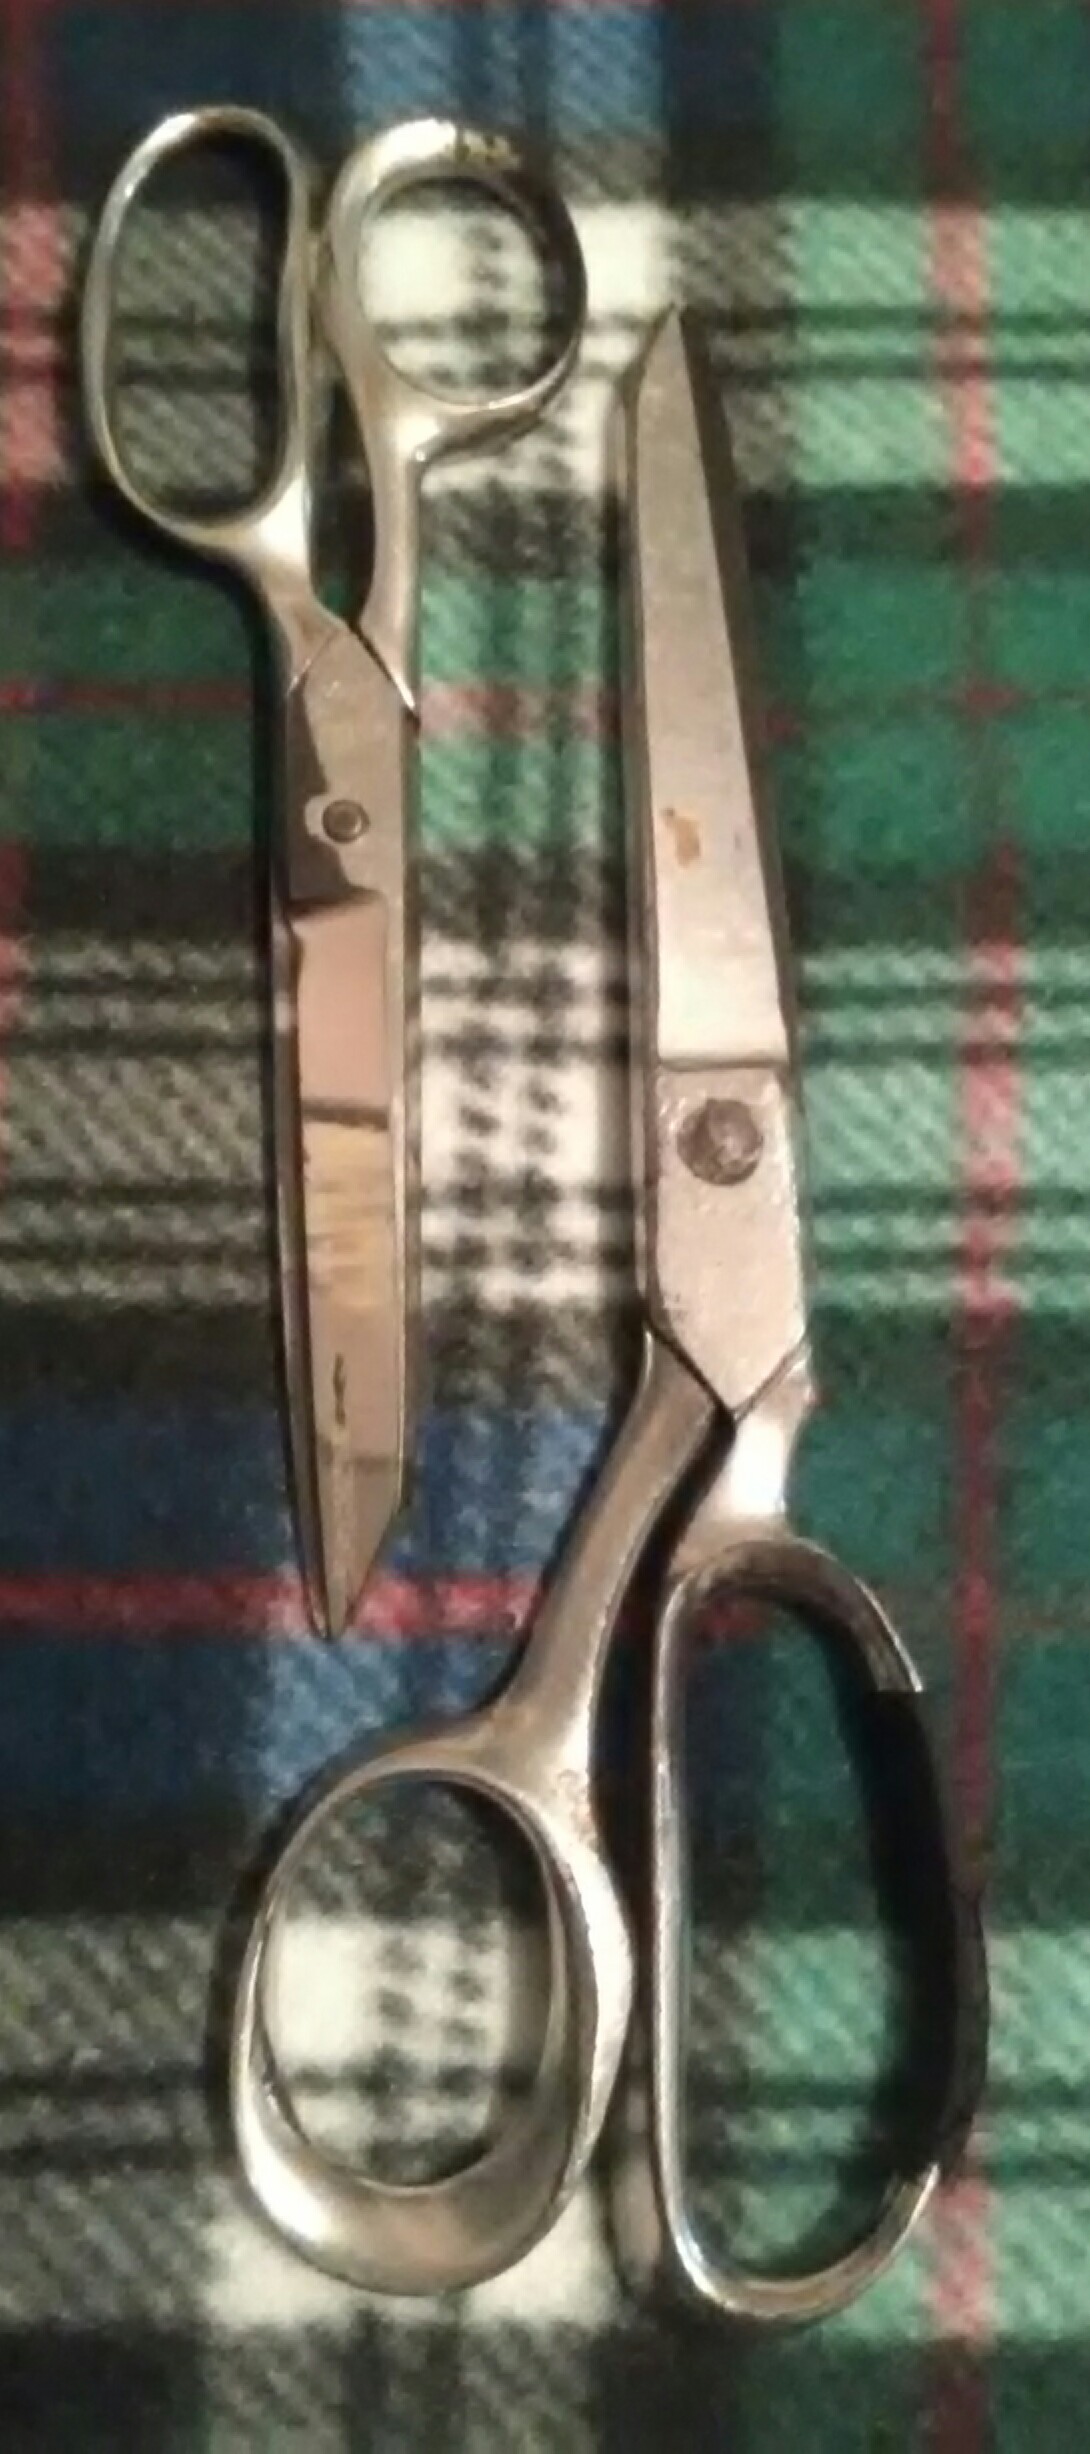
 When sewing on the go, I am doing one of two things: Either I am sewing small things with pieces already cut or I am sewing straw. This means I need two types of scissors – One for cutting thread and one for cutting straw. To the right are some of the scissors I use in my various sewing kits for the thread snipping part and the occasional ribbon cutting. Two are reproduction. Three are antique. My straw cutting scissors are roughly 5″ long, an estate sale find. To have a rounded visual interpretation I should carry a larger pair of scissors as well. Admittedly, I remember these when I take my large box, but tend to forget them when I have my smaller kits.
 Looking for your own?
(Liz posted some of her picks in said FB thread)
 Small Scissors options:
- Burnley and Trowbridge Scissors $6.00
- Button Baron Scissors $9.00
- Gingher embroidery scissors at Joann’s $21.99
- DMC Peacock Embroidery Scissors at Joann’s $10.99
Full Size Scissors Options:
More information:


 The world of millinery went rather well this year. By the time the snow fell again, I made 57 straw millinery pieces this year. I lost track of the winter hoods. I also added a line of evening headdresses, focusing on simple, classic looks of the mid-nineteenth century.
 Thanks to some wonderful people, a trio of original bonnet blocks arrived early in the summer. I’ve only been able to really work on one,
  I did make it to a couple events. I am aware that I made it out to the Independence Day celebration in modern clothes. Though, I don’t remember much at all. I did make it to the
  I set up my Millinery Shop and
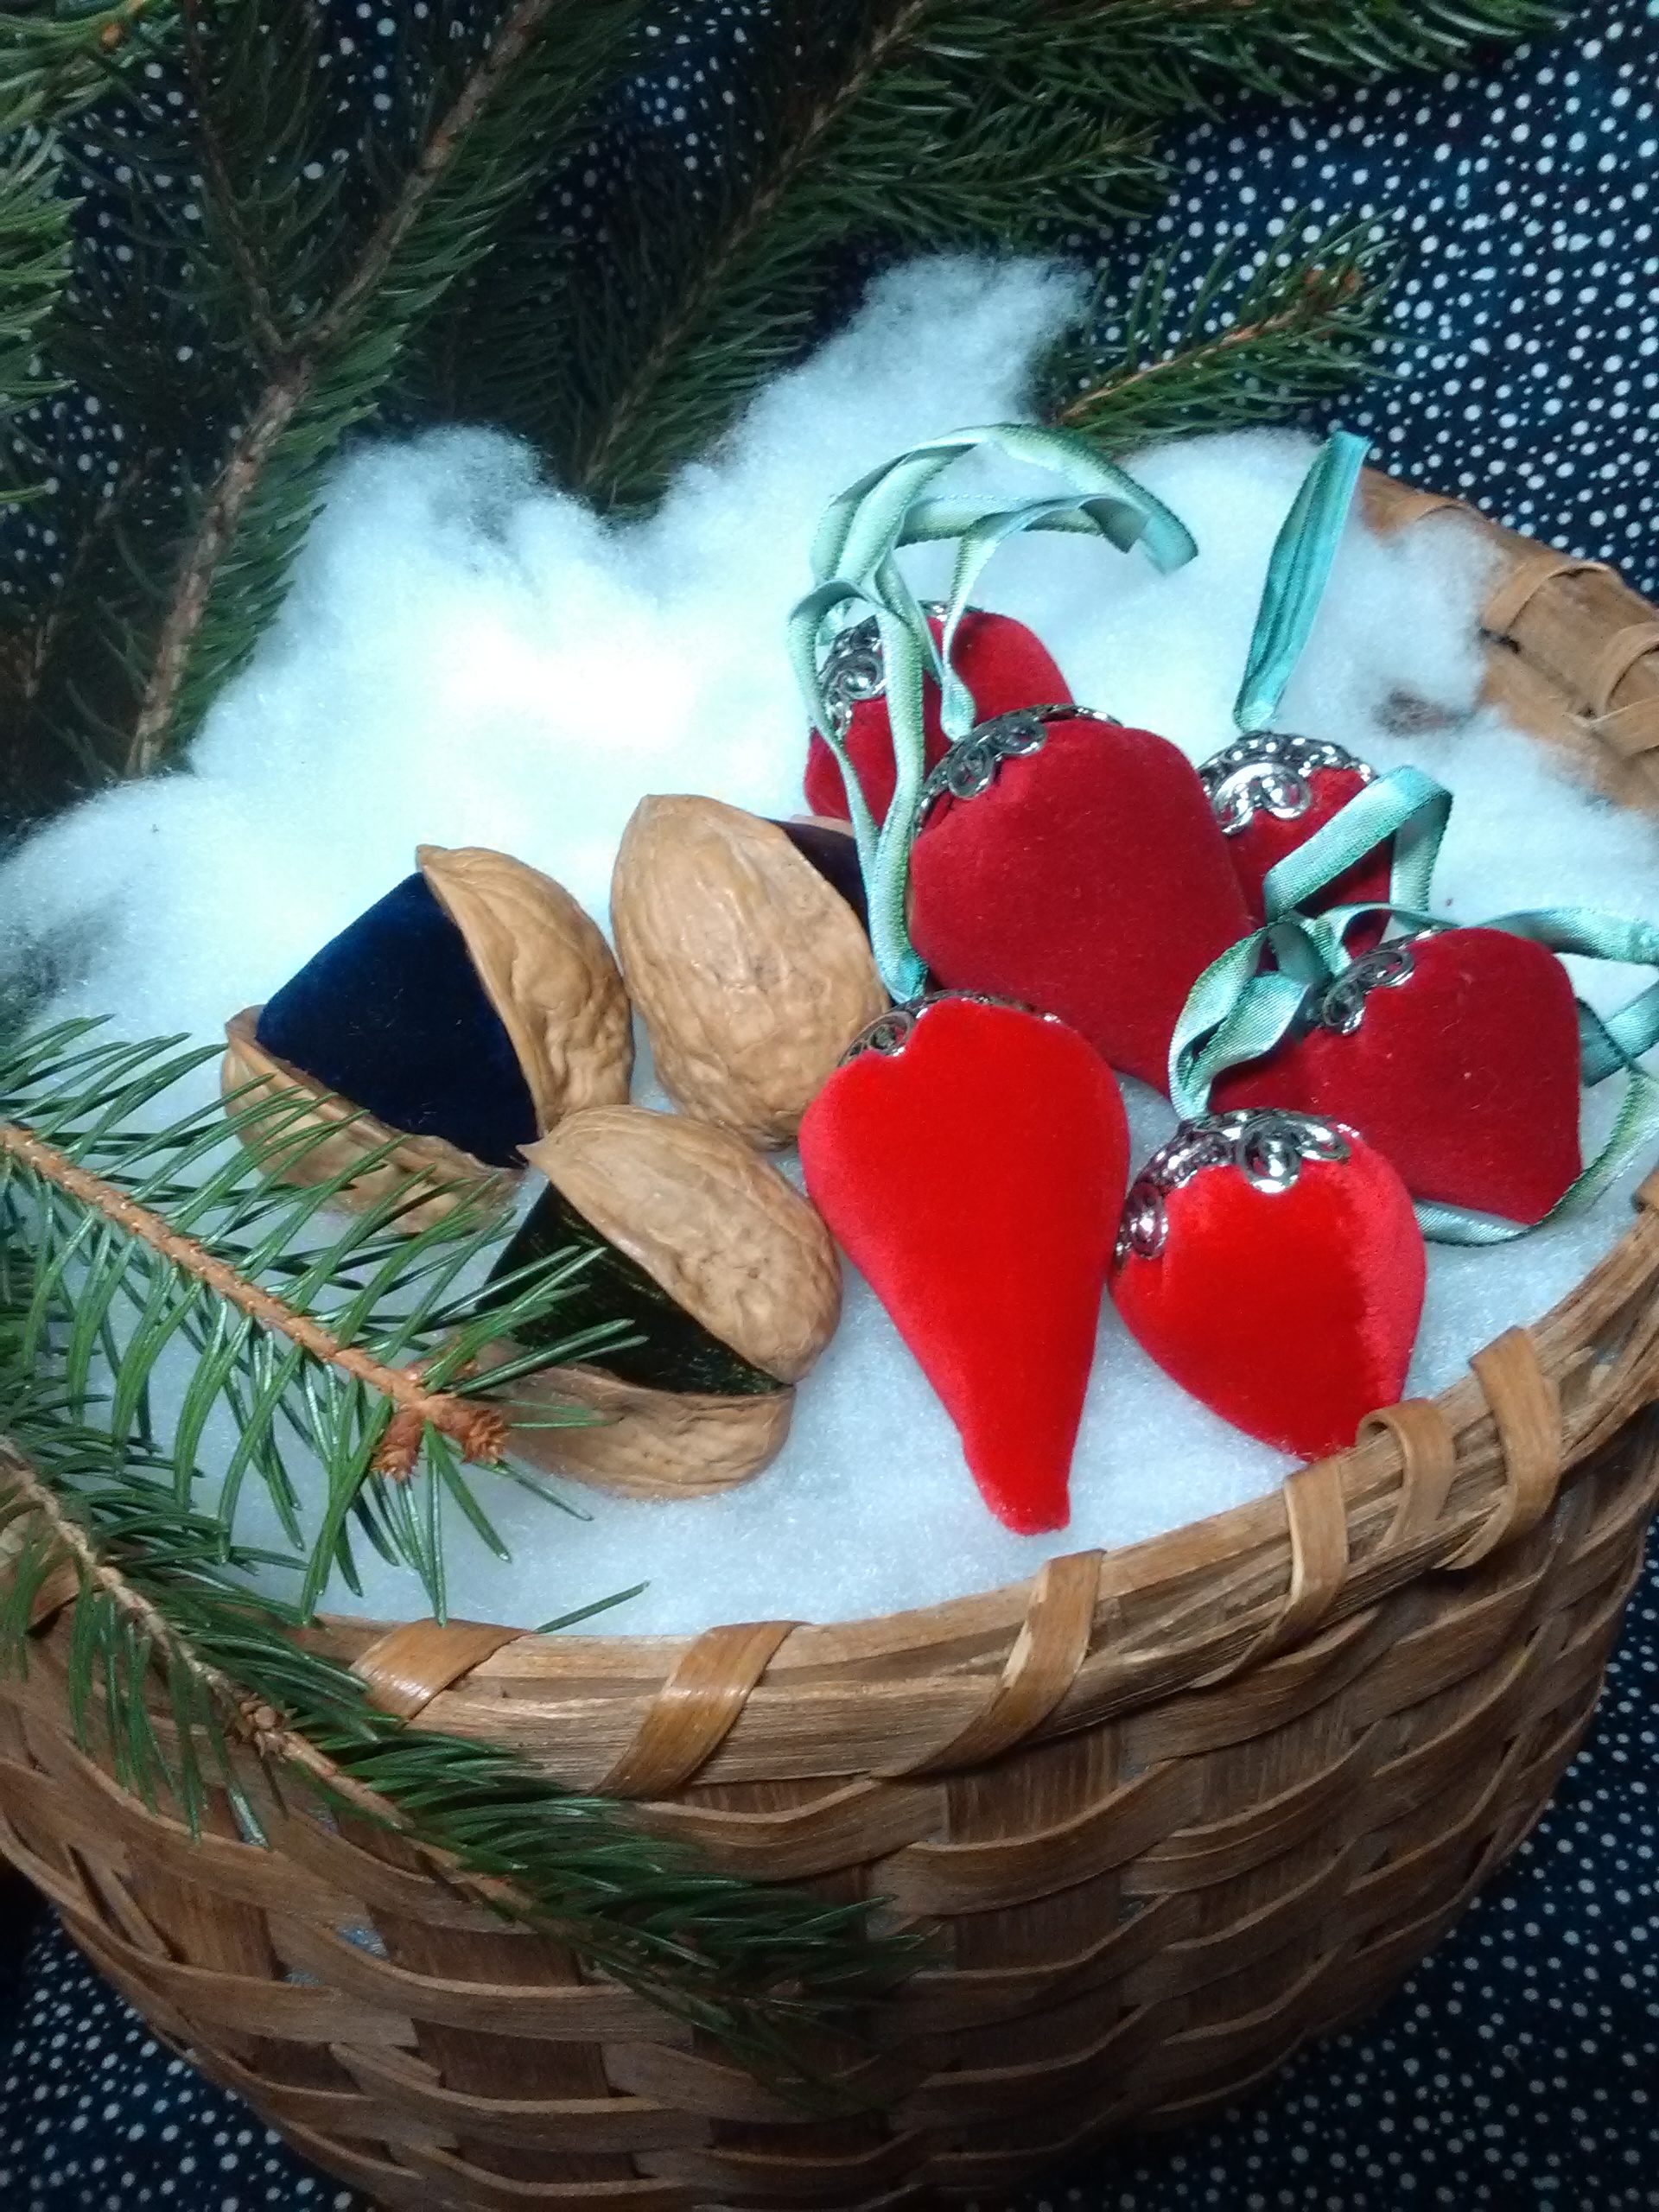
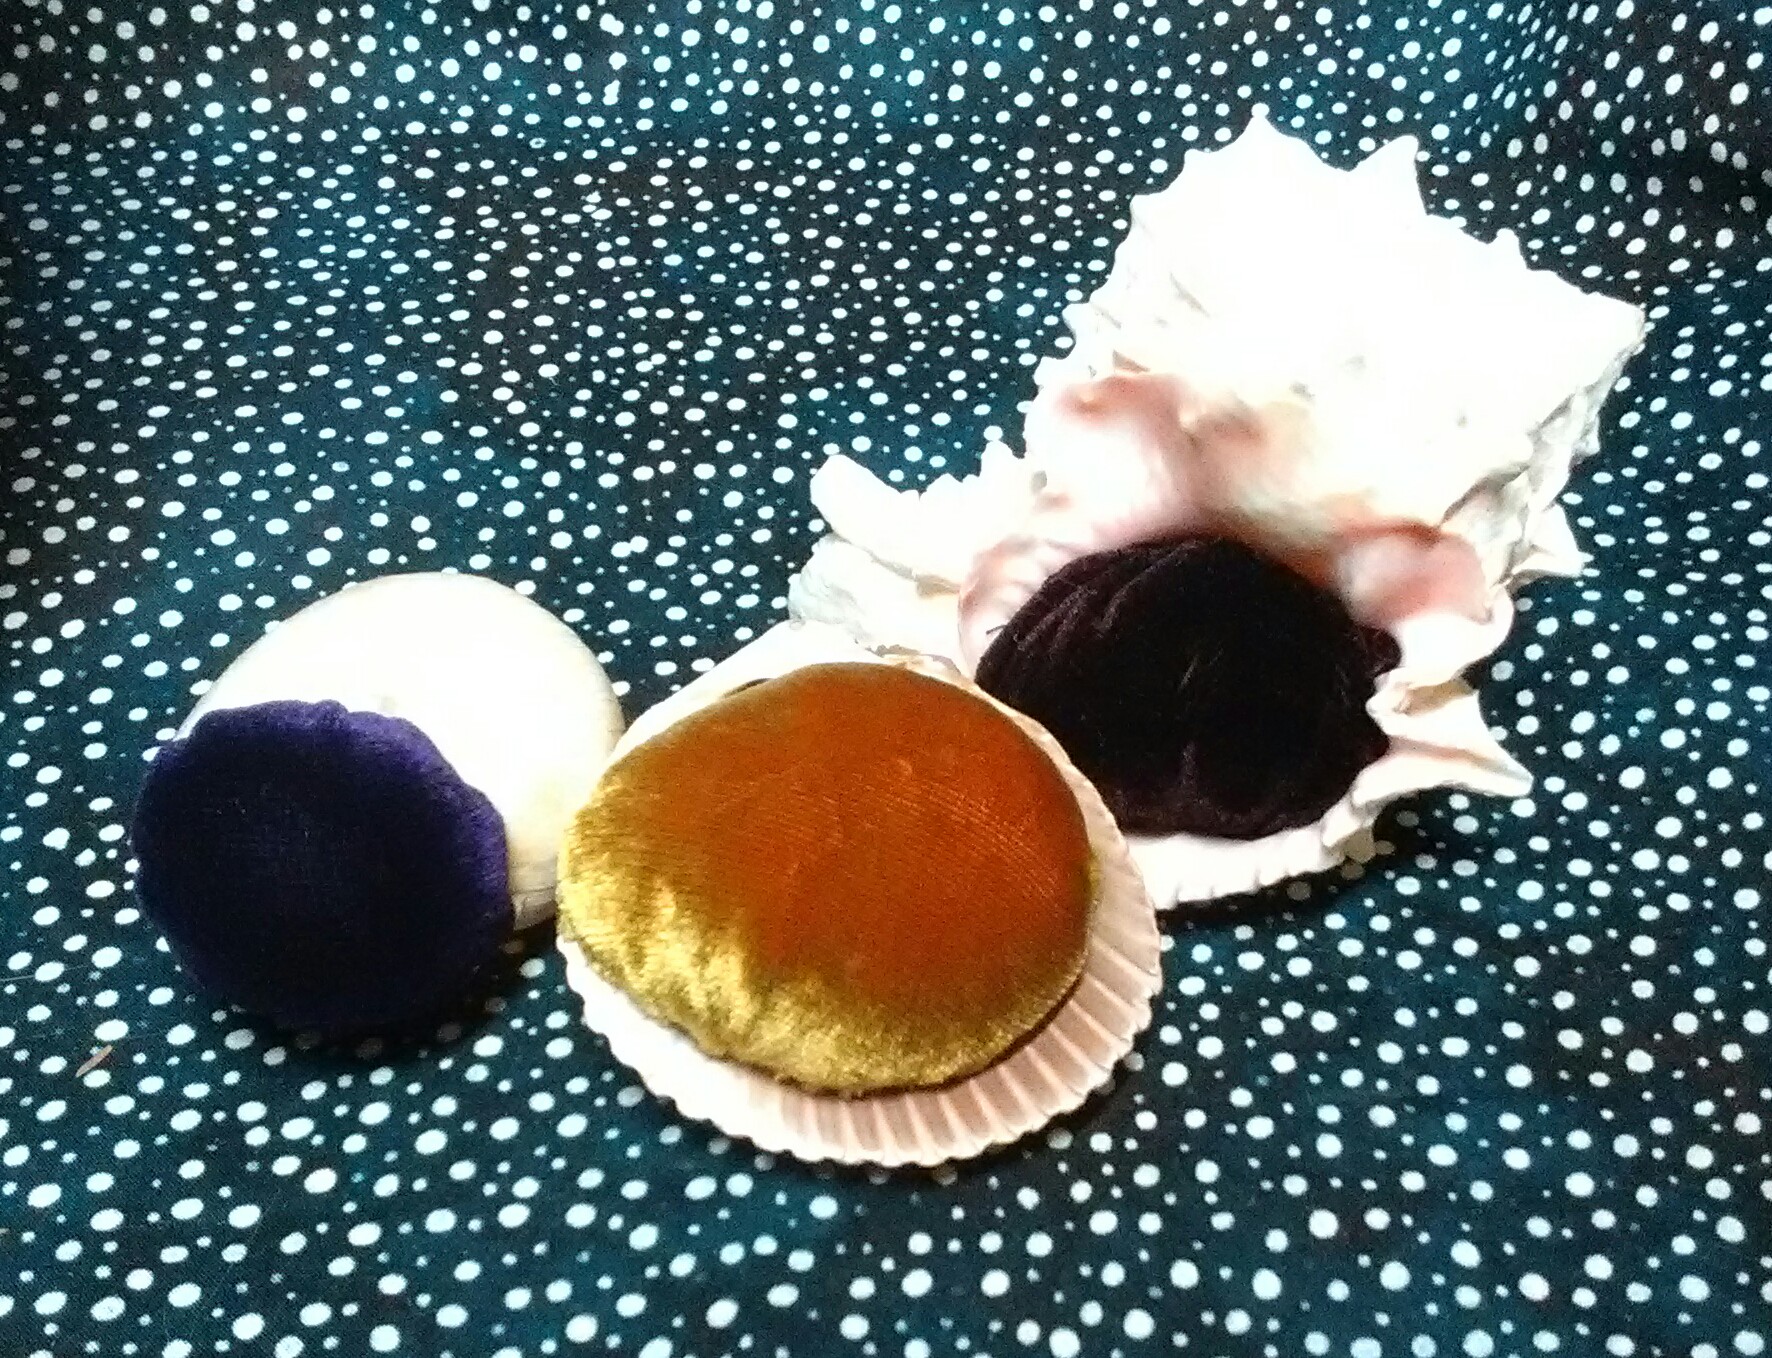
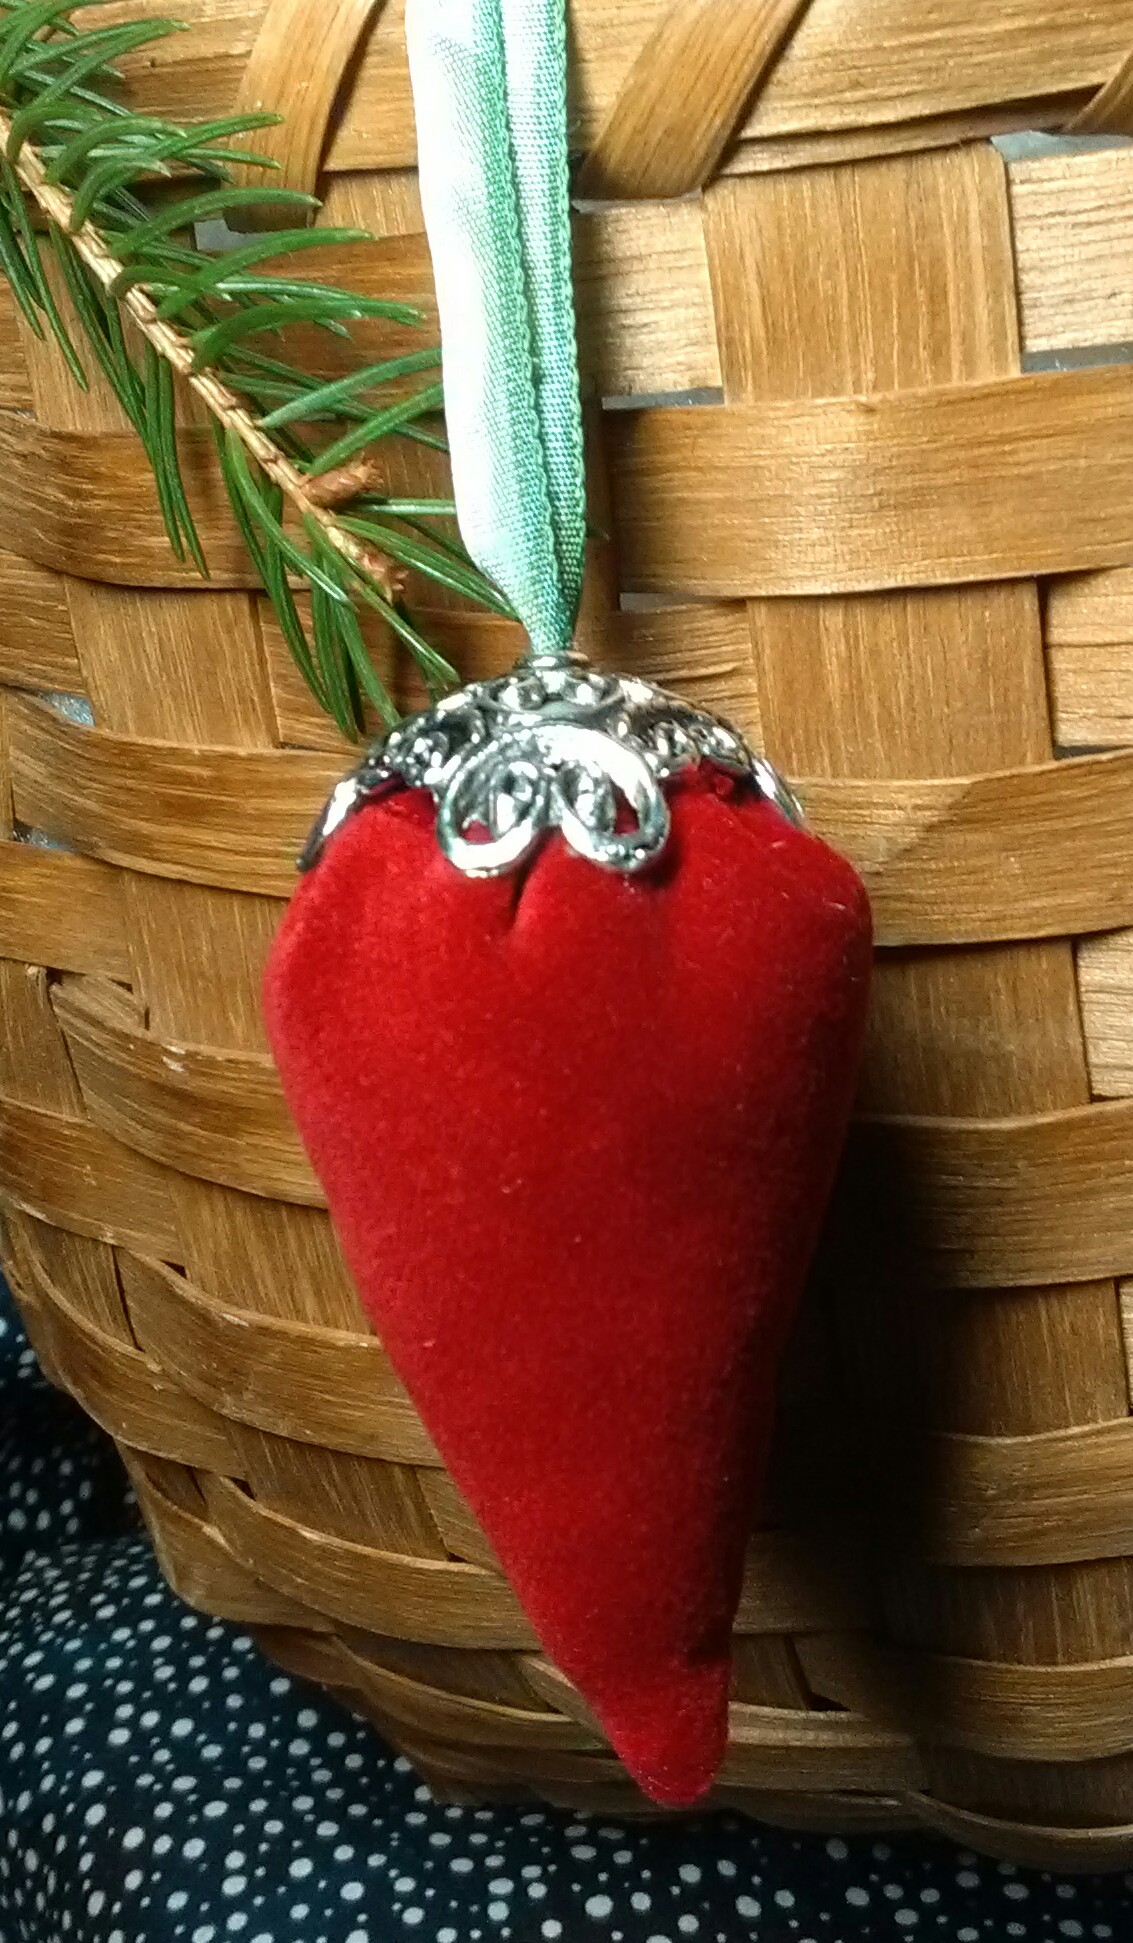
  In November, I offered two very different workshops at the Museum’s Domestic Skills Symposium. On Friday, I offered Tools and Trims, a completely different, kinda crazy workshop looking at how to mimic the trims of the later 18th and 19th centuries. I spent much of the year acquiring pinking machines and dies for this workshop. On Sunday, I offered a favorite with a twist: A Pin Cushion Sampler. This year the sampler included Victorian favorites: a strawberry, a walnut, a seashell and and acorn.
 Ah, the ugly. That which dictated much of my 2017. I mentioned in my
  On the other hand…. I did do pretty decent for someone who totally got her butt kicked by a 12mm stone. I actually feel pretty darn good about that. Despite utter exhaustion on many days and this weird pain in my side, I made some pretty great pieces this year, I kept the shop up, and learned a few things.
 If you haven’t noticed, I have started a monthly project post that I hope to continue through the next year. Each one will be something small with some guidance or direction on how to do it your self. They won’t quite be a thorough as the
  In and around my experiments with lazy, I’ve made a few things. I started the month with
  I designed a
  The shop had a nice December. After a crazy year, I was of two hearts on the shop going into December. Part of me wanted to stock it with all sorts of goodies. Part of me was in dire need of down time. See above to figure out which won.


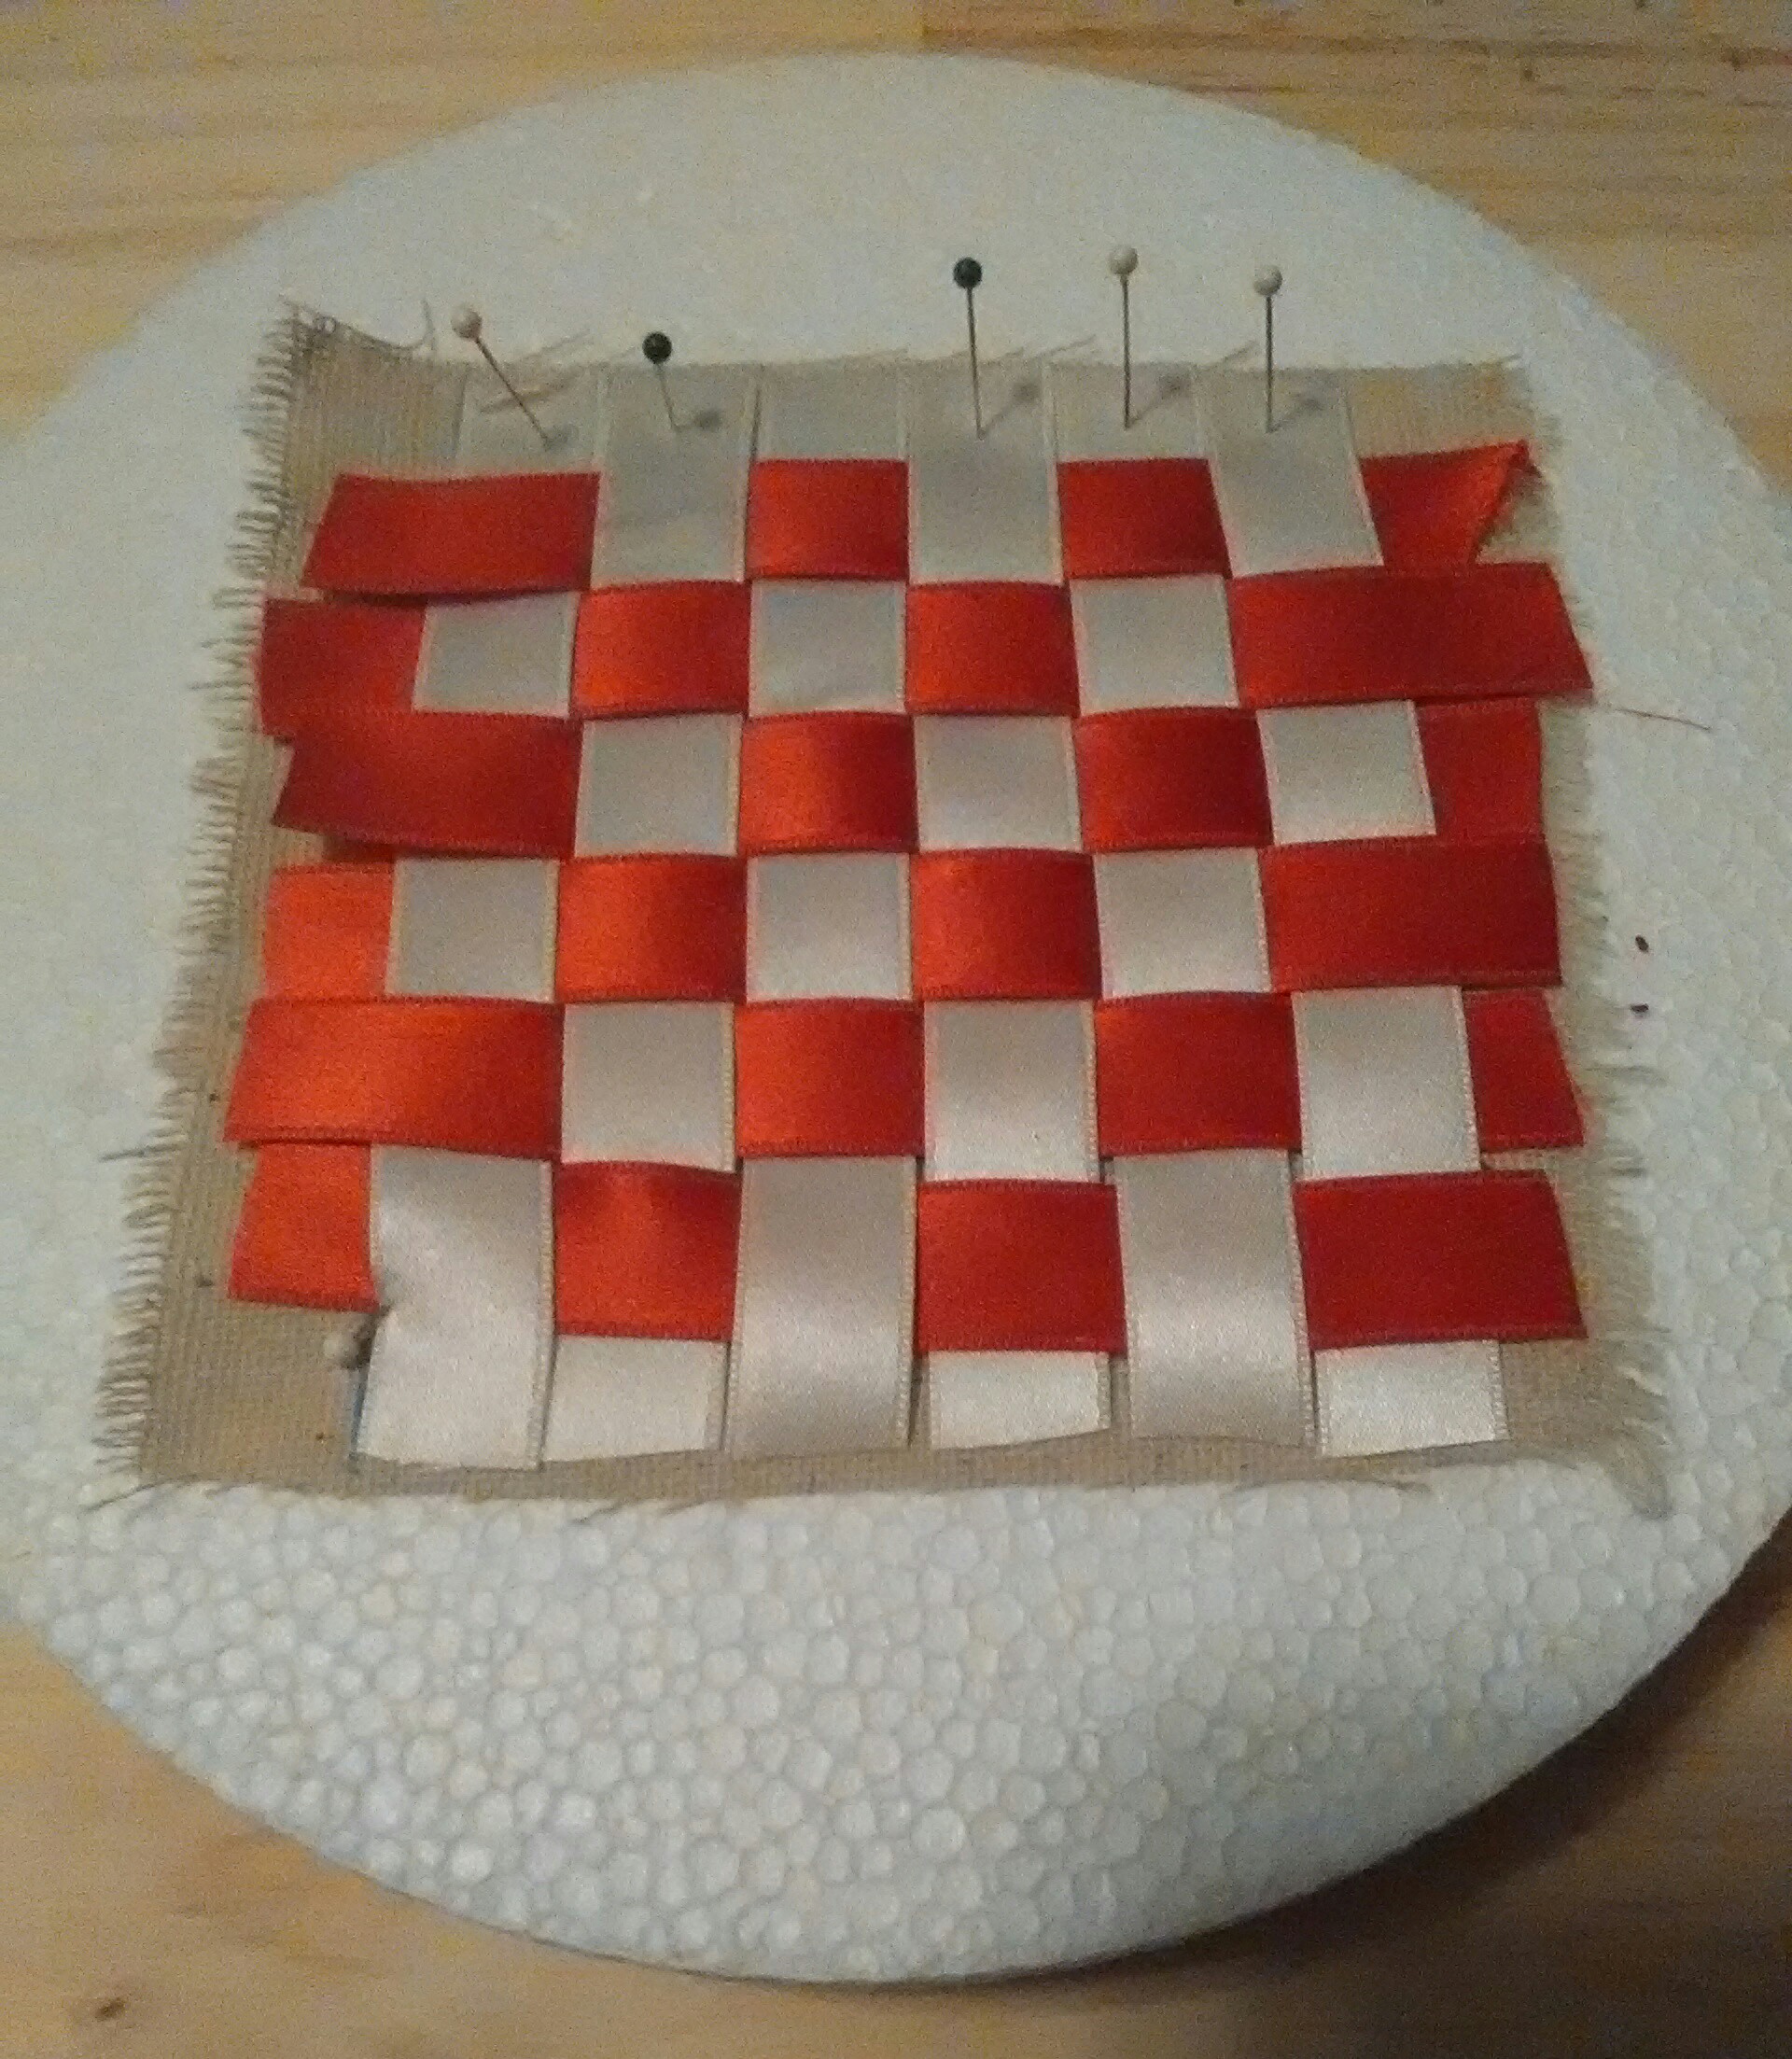
 These pretty pin cushions combine two ribbons woven together either square on the cushion or on the diagonal. The ribbons are most often in contrasting colors, though not always.


 The silk ribbon acts differently than the cotton. No surprise there. This is most apparent while weaving the ribbon. The silk is slipperier and doesn’t want to snug up to it neighbors as well as the cotton. It is lighter weight and possibly less thick, or least less dense then the cotton. This effects how the sides of the cushion sit. I find the silk makes a smoother edge than the cotton, which can have more fullness. I suspect the cotton would wear better over many repeated pin stickings as the weave of the ribbon itself is tighter. I can’t say that I like one over the other though. Each has its own advantages.


 Trim the corners. Turn right side out.


 This year, the museum’s annual appeal focuses on very special village residents – the animals: