It has now been a full year since I’ve put on 19th-century clothing since I’ve interpreted within a historic building or historic village. I haven’t even visited a site or event with period dressed interpreters. This wasn’t by force as nearly everyone faced in the worst of the pandemic, this was by personal choice.
Why?
The why is a convergence of many factors. Some I can share. Some I will not.
One significant factor was the need to reevaluate my income – where it comes from & where it goes. After a lot of reflection, I acknowledged that meant focusing more of my energy on programs that pay me, rather than cost me. Interpretive programs – with the wardrobe creation, upkeep, period-appropriate presentation materials, and research (particularly documentation acquisition) – can be expensive. Sometimes very expensive. When all of my interpretive programs were being done volunteer, this put me in the red every time.
I couldn’t keep doing that and stay afloat. I needed a shift.
Another factor is something I am calling fluff for a lack of a better word. In the year or so leading up to my need to step back, I started feeling like I was being asked to present light, surface level topics, for example: fashion just as fashion or “what did they wear when…” While there is nothing wrong with this type of programing, it wasn’t what draws me in, nor is it my platform for connecting with visitors.
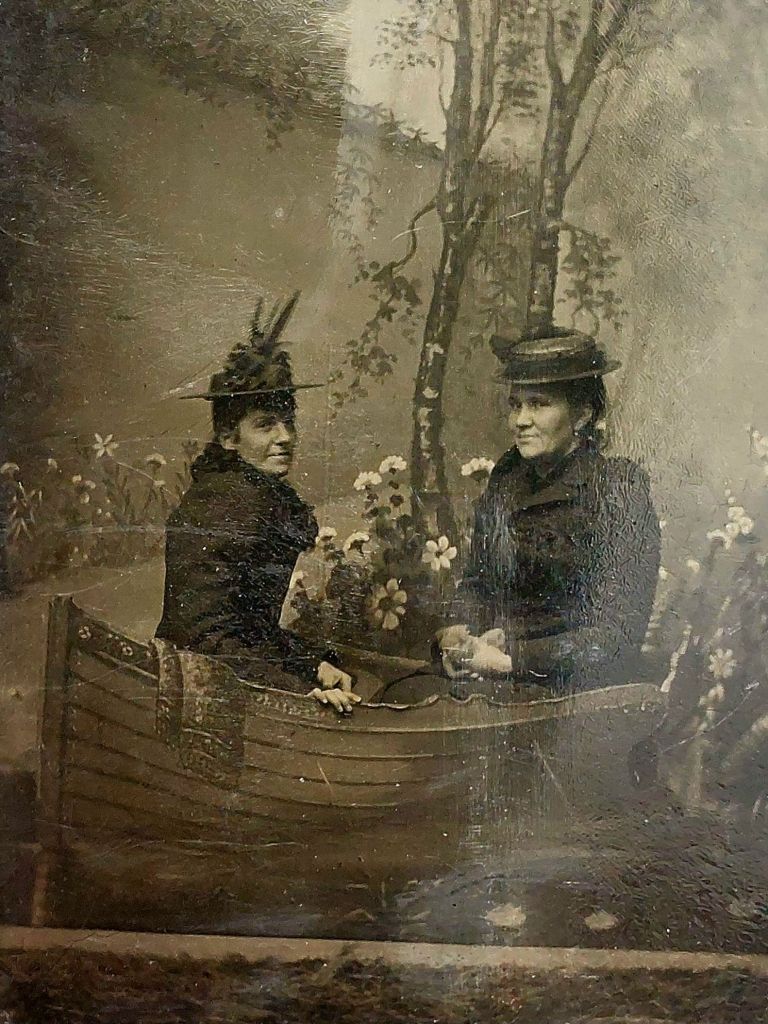
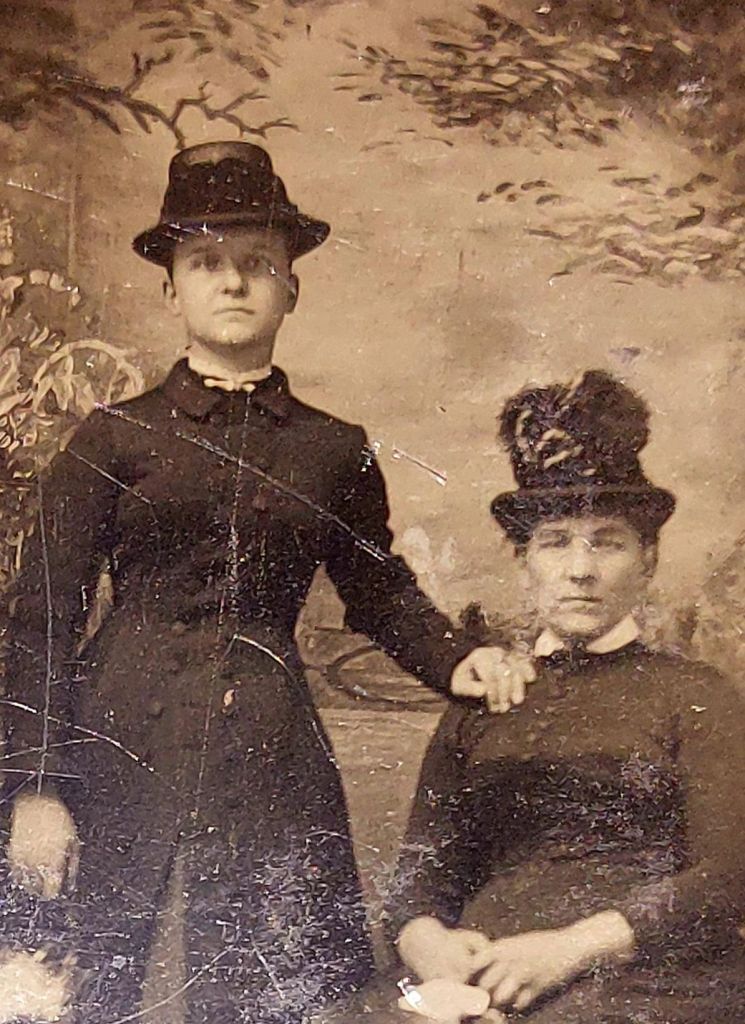
For me, the connection doesn’t come from the fashion of the bonnet or the hat or the dress.
The connection is to who made the bonnet or who ran the store where the bonnet was sold,
what their lives were like, the financial and physical ramifications of working in the millinery industry.
In this too, I needed a shift.
What do I Miss?
Hands down, it is the people I miss. I miss both the coordinating people and the visitors. I miss working with the people I built a rapport and relationships with over the many years, dare I say decades. I miss the sharing of ideas and building off each other’s enthusiasm. I miss bouncing a pebble around seeing it connect with this thought, and that tid-bit of info, and this thing someone just learned, as it emerges into a web of possibility.
I miss the connection with visitors: The woman standing off to the side watching me talk about pen & ink and pen-wipes with tears in her l eyes, waiting for the others to leave so she could share her memories of her grandmother writing. The frequent visitor who got stuck with me in a rainstorm and shared the story of his milliner mother who fled to England during WWII, where she made money to support his family by refurbishing hats. The couple who attended nearly every event, intent on seeing who could take the best photos with their phones. The visitors whose eyes would light up when they recognized the small, red velvet strawberries I was sewing, and just had to share their memory. The moments when I wondered just how many people could fit in the dining-room, thrilled that no one wanted to leave as questions bounced back and forth around the enthralled crowd.
I also miss my personal connection to actually doing the thing. Over the last three decades, I’ve gone from working full time in informal education to a mix of working & volunteering heavily to volunteering less. I’ve gone from sharing how I see integrating family/person/student focused education into historical interpretation, I feeling like a complete fake. At one point, my articles were required reading for a course in South Africa. How cool is that? Now, I feel like I am so far removed, I am irrelevant.
What do I Not miss?
Clutter & Chaos – It is amazing just how much clutter and visual chaos preparing programs creates. At one point, my goal was an average of one costumed program a month. This meant a constant cycle of planning, content creation (cutting, sewing, assembling), wardrobe, packing, etc. With shifting my focus, I’ve been able to slowly sort, pack, and purge program materials. This is not to say I’ve eliminated all the chaos from my home. I have not. I simply have too little physical space for all the ideas in my head.
What have I been doing?
I’ve been up to some new stuff and some busy stuff. I won’t bore you with the busy from my mundane day job other than to say I quite literally was dreaming spreadsheets last spring. On to the new stuff.
I started doing speaking style presentations – the kind where I make an informative PowerPoint and stand up in front of a group talking about a nifty topic. I rather enjoy that I can put information together about an arcane tid-bit of research I find fascinating and share it with people while they are socially obligated to stay in their seats and listen. Okay, so I hope they don’t feel obligated and instead really do want to sit there and listen.
Sometimes, I bring along a display of items as well. I love to share what I have in my collection and what I’ve created with people. It is sad to keep it all packed away in boxes. At the same time – I do need to evaluate how often I do this because at one point I was wheeling in the equivalent of two months’ salary and two+ decades of collecting around in my little red wagon.
There is another really cool thing, that I suspect is two cool things, but I don’t have the green light to share what that is yet. I think I can safely say that as the other end of the cool thing comes together, you will be able to see my part of the cool thing. As soon as I know, I can share about the cool thing, I will share. It would be great if this cool thing lead to additional cool things.
I am also doing a completely different writing thing that I am not ready to share with people
yet. It is a close-to-my-heart-really-need-to-do-for-myself thing.
Is this the End?
I am hoping this is a new beginning.
In regards to clothing and interpretation – I have not decided if I miss making historical garments. I have not sewn a single garment since the creation of the hiking outfit, which got wadded up in a ball and thrown in a corner. (It is now packed in a box as part of the sort/pack/purge.) It is strange to think at one point I was making myself a full new wardrobe each year, yet now, for the first time in 30 years, I haven’t made a single garment.
I do not know if I will pick back up. I accumulated a tote of materials for a 1776 ensemble last winter. Each time I think about it, I know now is not the time. For this particular garment there is a deadline. We shall see.
Though – It may help that I had a lovely dream in Regency era clothes with BtVS characters
the other night.
Added/Edits:
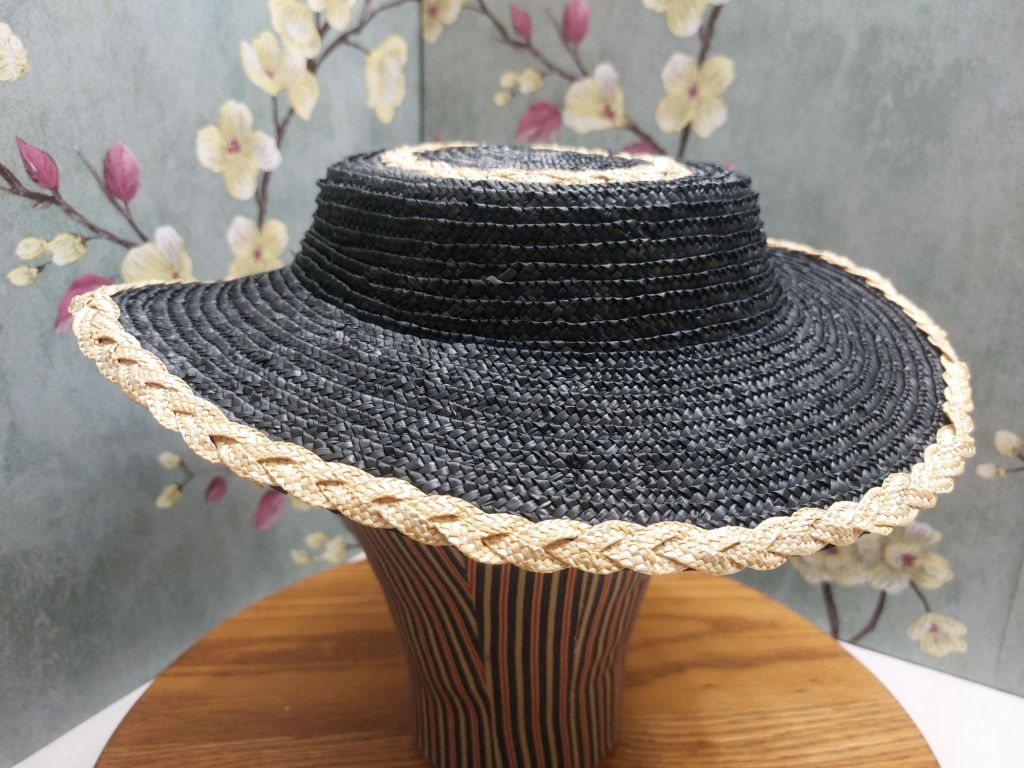
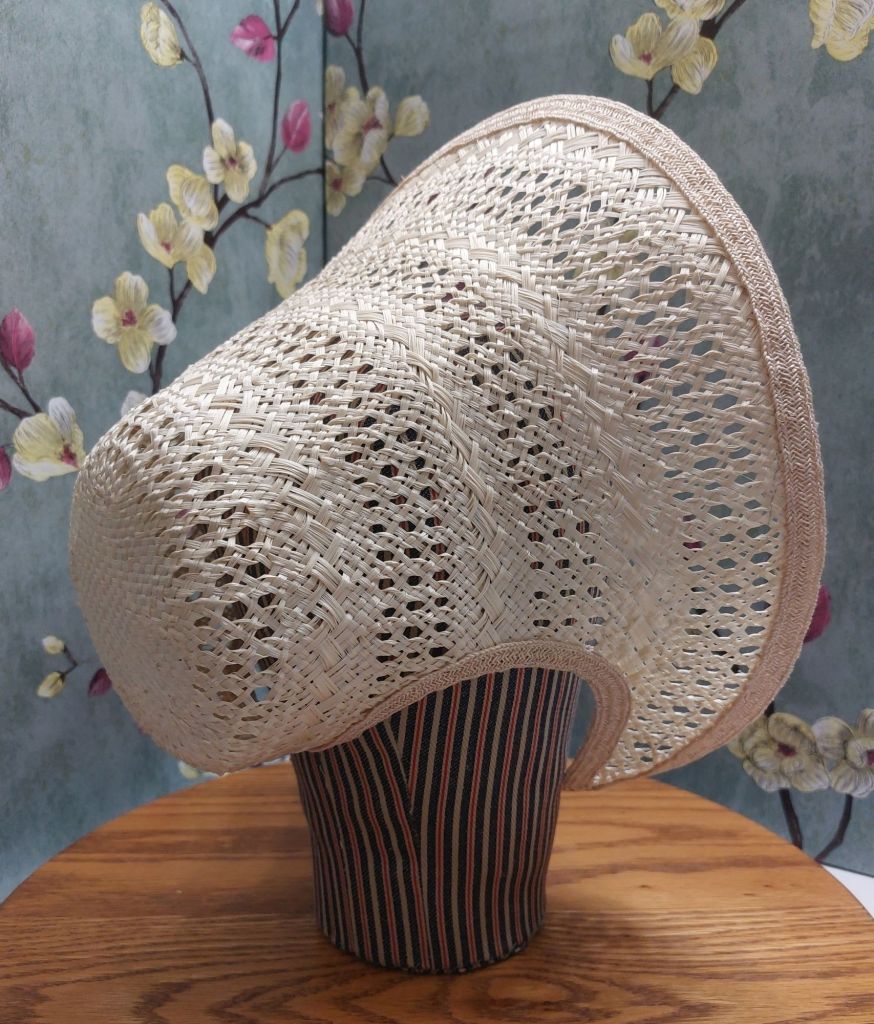
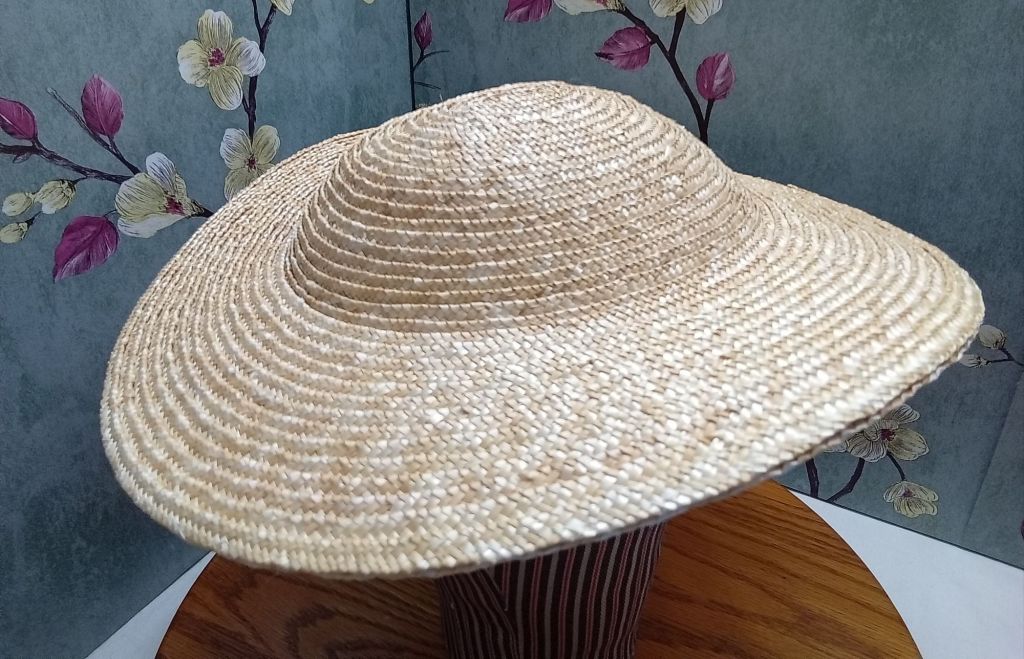
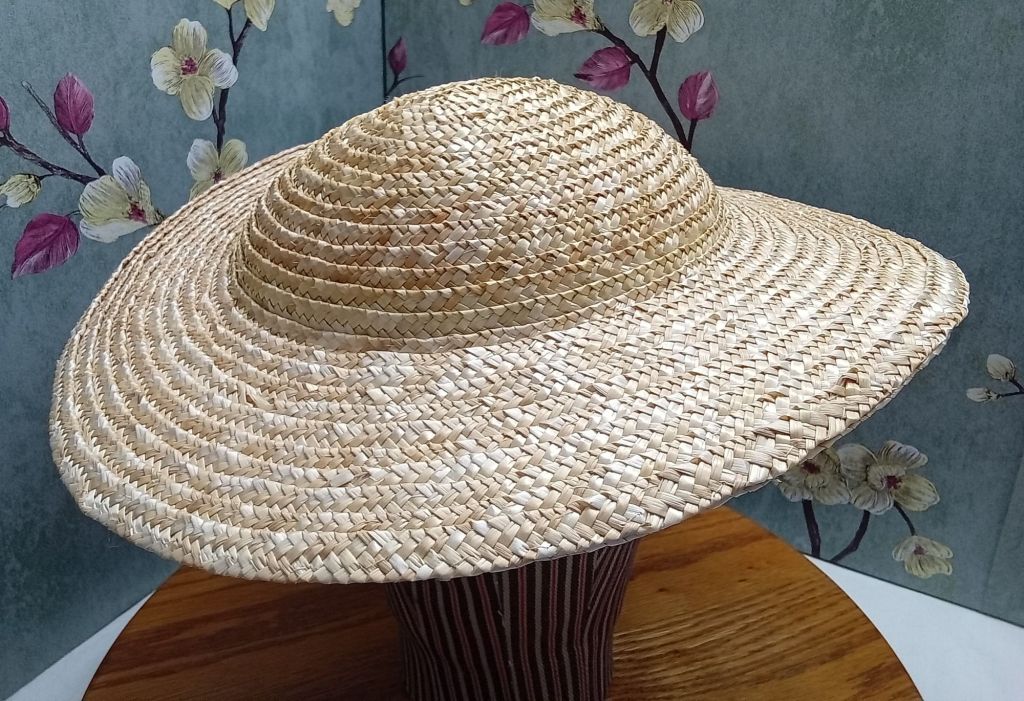
Yes, I will continue to sew straw hats & bonnets as long as I have straw. This will be less frequent compared to previous years.
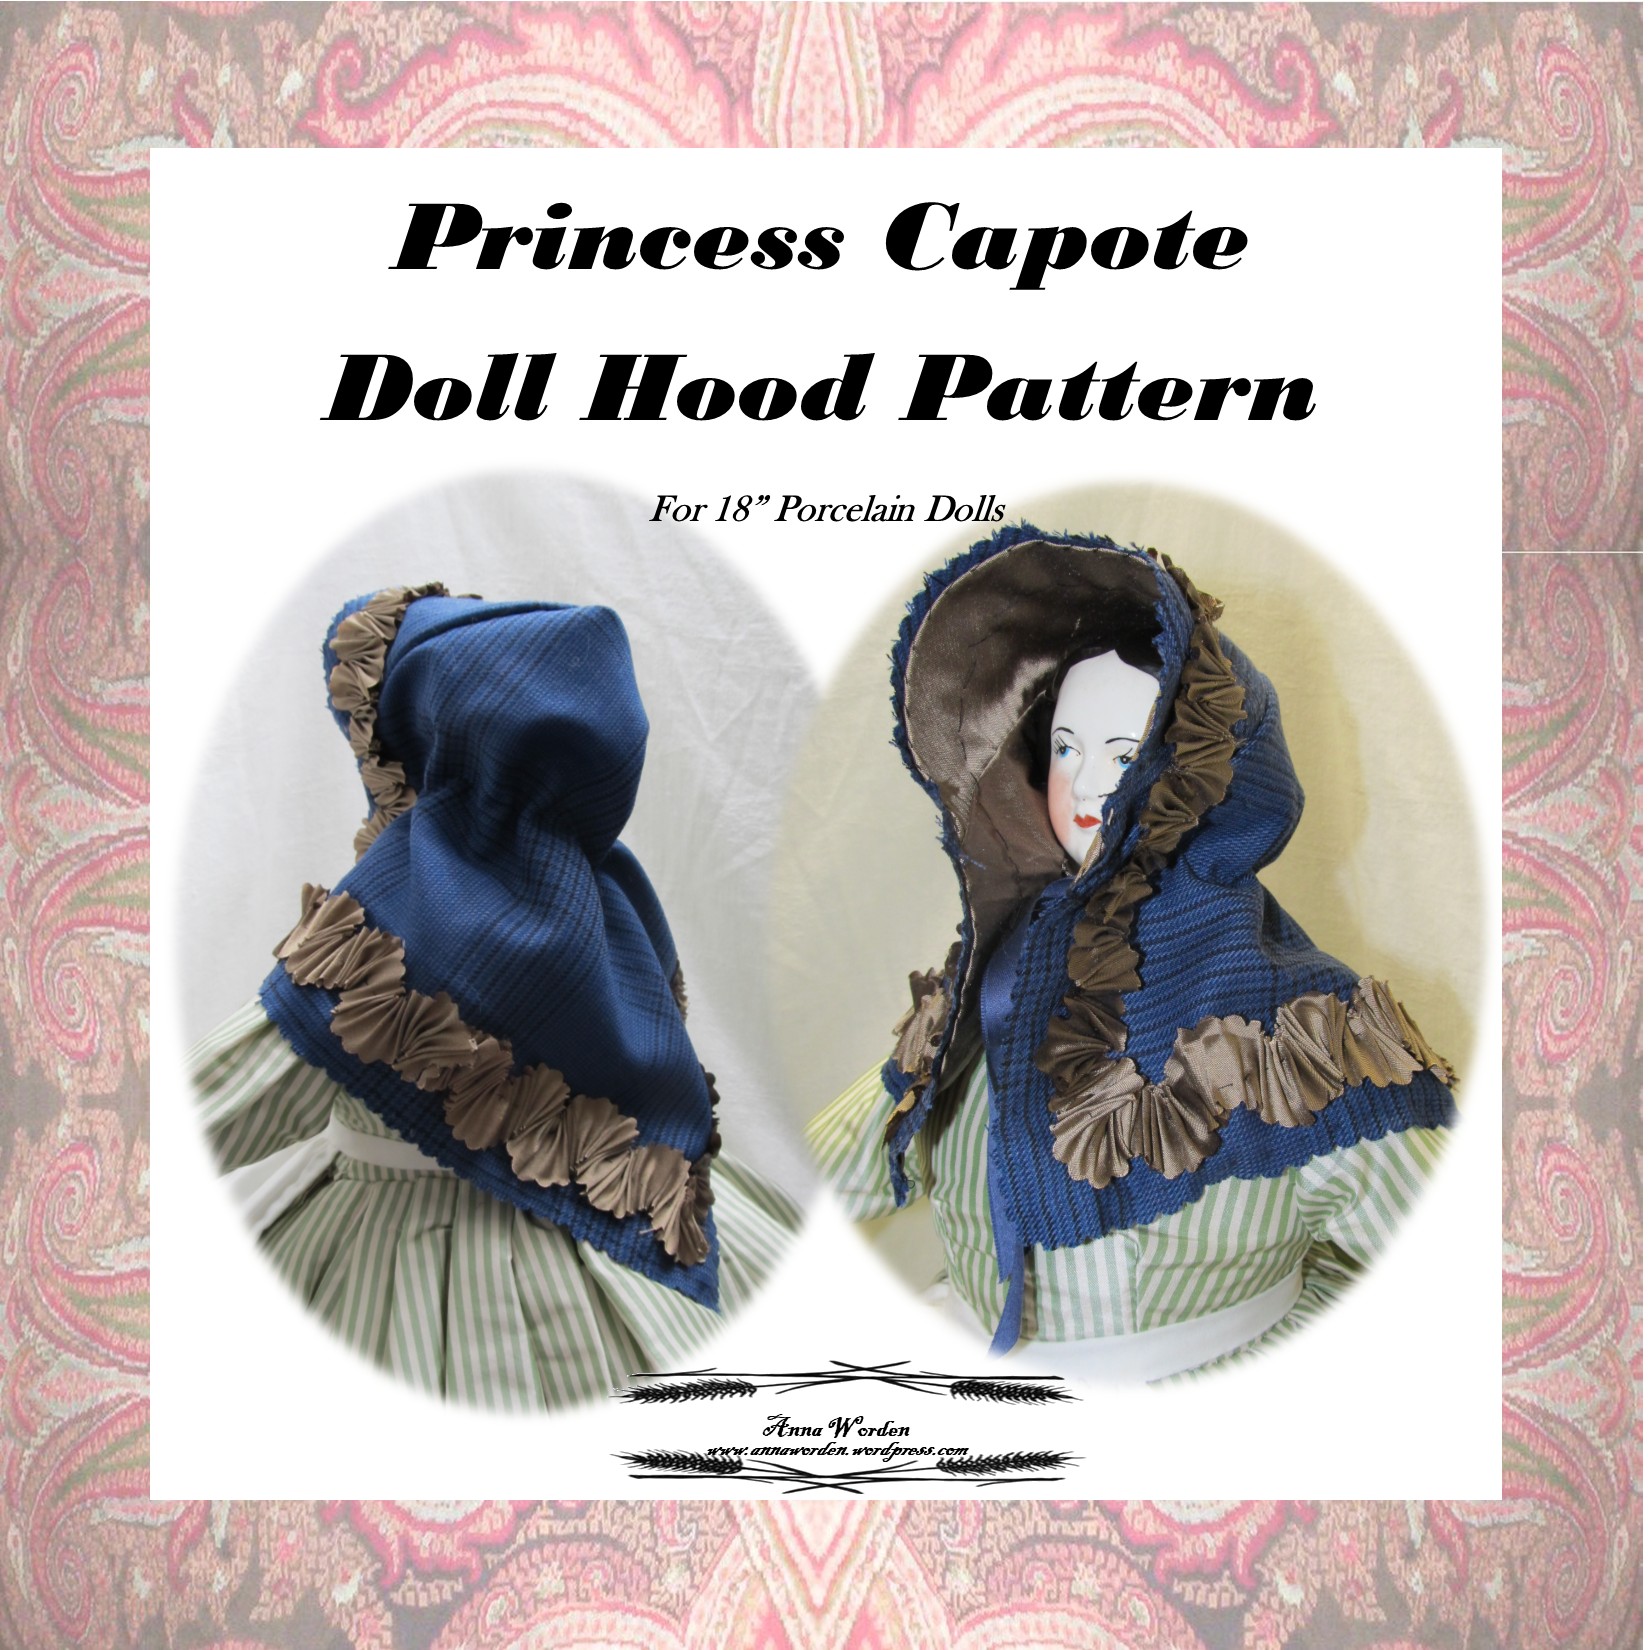
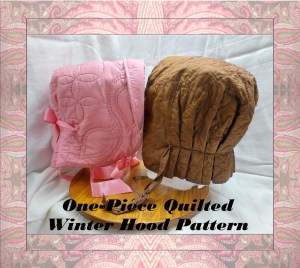
Yes, my current plan is to offer a new pattern publication this winter. I am undecided what that will be. It may be a sweet hood pattern I’ve procrastinated or a compilation of doll headwear.