This is for a Sewing Academy Thread. It looks like I didn’t do the post I thought I did. Just for some quick looks, here is a PDF of close-up images for now.
Let’s expand this a bit…..
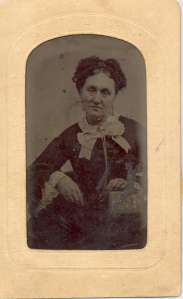
Neck ribbons are a fun, easy and affordable accessory to add to your wardrobe. I opted to say neck ribbons rather than neck bows because not all are tied in a bow while they are almost all ribbons or fabric cut into ribbons. (You might want to open the pdf file above in a separate window as I’ll be referring to images there in the text below.)
Where are neck ribbons worn? Neck ribbons are worn where the collar meets at the base of the neck. They are seen worn alone or with a pin/broach attached to the knot area. Most often the ribbons are arranged and attached at the top of the dress, where the collar is without ribbon going around the neck. There are several images however where the ribbon is tied around the neck. Take a look at page four of the pdf file above as well as the third picture on the third page.
How are neck ribbons worn? When I say arranged, usually that means tied into a bow but not always. Some ribbons are worn simply crossed and pinned where the collar comes together at the closure of the dress. Some ribbons are tied in decorative knots. One example can be seen on the fourth page of the pdf file. As for the bows themselves, these do vary. Some are rather compact with short loops and short tails. These compact bows likely have loops and tails each only a couple inches long. Among these compact bows, you will find bows that are completely horizontal with the loops and tails laying in a fairly flat row, sitting across the dress/collar closure. A couple of examples of these are the two in the first row of the first page of the pdf file. The first one appears to be a double bow with two pairs of loops on top of the tails. Another compact bow has short loops and short tails with the tails angling below the loops. These can be seen on the first page as well. A very common bow continues to have the small loops with longer tails. The bows continue to be two or so inches wide, each, while the tails are longer then a couple inchs. This is a good example of this bow: 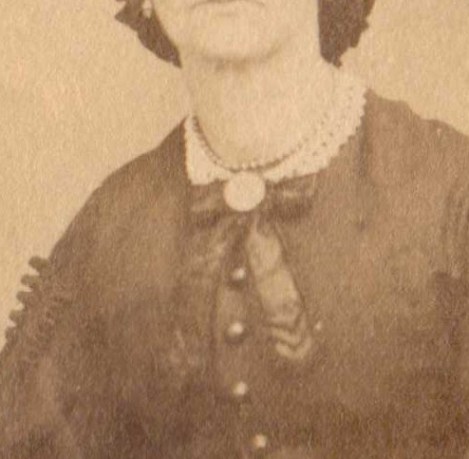
More examples of a bow with small loops and longer tails can be seen on pages two and three of the pdf file. A larger bow with longer loops and tails is also seen in images. With wider ribbon, these bows can simply appear larger. A sort-of example can be seen on page two in the first image on the second row. With narrower ribbons, the bow can appear to be looser and drapey. This is a good example of such a bow. 
The bows seen in images are single bows as well as double or possibly triple bows. On page three, the first image shows a bow made with multiple loops. The first image in each row on the first page also show multiple loops. Bows are both tied and sewn. (more on that in making them.)
What kinds of ribbons are used? While it is nearly impossible to say what color neck ribbons were based on photographic images, we can find some clues about the types of ribbons. We can find solid ribbons as the most common. We also see ombre, stripes, velvets and edged ribbons. The image above appears to have a narrow edge as well as the worked chevron pattern on the tails. On page one, there are a couple of examples of velvet ribbons as well as a ribbon with narrow stripes on the edge. The second image in page two shows an asymmetrical ribbon with a stripe and a scallop edge. In the second row, you see a ribbon with a lace edge added. It appears the lace on the knot could have been added after the bow was assembled. On page three, we see a clouded or ombre ribbon. Widths also varied, possibly with time and fashion. On page three you will see a narrow ribbon which may be as narrow as a half-inch. The asymmetrical ribbon on page two may be as wide as three inches. Most ribbons appear to be around and inch, possibly and inch and a quarter wide. The tails appear to most often be cut either straight or a single diagonal. Much rarer are fish tail or chevron cuts seen above. Some images are seen fraying. This example of an untied ribbon was posted by a SA member, Paula. Notice the end is fraying.
How do I make my own neck ribbon? To make your own ribbon/bow, first you need a ribbon or fabric to cut into a ribbon. For ribbon look for a silk ribbon with some body. A droopy ribbon will look sloppy. A stiff ribbon will irritate your neck. Depending on the size or length of your loops and tails, you will need between 9 and 24 inches. Unless you want a particularly wide or narrow ribbon, look for one a three-quarters of an inch to an inch and a quarter wide. For a ribbon made from fabric, choose a tight weave fabric and cut on the grain, especially if it is a stripe or plaid. If you want an edge on your bow, you can add it before or after making the bow. You can either tie your bow traditionally like you would your shoe or bonnet, or you can make the loops and tails securing them with a ribbon/fabric loop. To make the bow with the latter technique, cut a small 2 to 3 inch piece of the ribbon from one end. Find the center of the ribbon. Form a loop (or two or three) on each side, securing them with a thread. Angle your loops and remaining tails as desired. Secure with thread. Bring the thread to the back. Wrap the short piece of ribbon around the center, overlapping the ends in the back. You may prefer to turn the outer raw edge under. Sew the ends together.
How do I wear my ribbon? You can attach the bow to your collar, where it comes together with a pair of straight pins (or safety-pin). The straight pins can go through your collar then through your ribbon from opposite directions. It is also possible to pin vertically, but this can be a greater risk of poking yourself. To add a pin/broach, simply pin it through the bow.
Additional images:
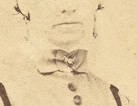
- This image is later 60s.


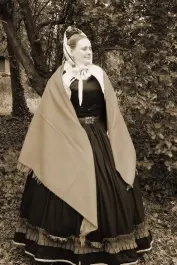
 I was thrilled to see a surviving double square in a red check available. (a double square is a shawl that is twice as long as it is wide, usually 60″ by 120″, also called a plaid regardless of design.) What stuck in my mind as this shawl found its new owner, was the tendency of reenactors and interpreters to play it safe, buying what they see or are comfortable with, whether accurate or not. How does this related to this shawl? The check. When it comes to buying or making an everyday wool shawl, it seems we most often go with a symmetrical plaid or a solid (see the close-up of her other shawl below.) I don’t see a check like this worn often at all. Why? I have a couple thoughts. The first is we wear what we see and what we are comfortable with. Second, extant documentation under represents what I believe was actually available. Going huh? Basically, there are fewer surviving examples of small check shawls then women actually had. In general, there are fewer everyday, working class shawls remaining then the nicer paisleys, lace and higher end silks. A few things may have happened to cause this. The everyday shawls could have been worn out in their day. These shawls could have been deemed by the owner not worth saving. Or, at some point between the mid-19th century and now, the shawls were deemed not as important and worth conserving as other items. Either way, we have fewer examples of everyday shawls to look at and even fewer small checks. Does this mean they didn’t exist as much? Of course not. When looking at original images, we see small check shawls represented. This post-war image shows a small check with a border design. (Sorry, only one on hand until I find the right disk with more images.)
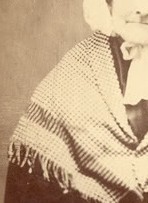 Small check wools are an acceptable choice for a shawl when purchasing a shawl or fabric for a shawl.
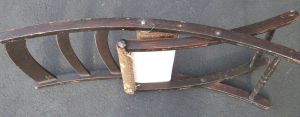
 This chair from the New York State Museum, is circa 1866. This walnut chair was made in NYC by B.J. Harrison And Company. The museum’s descriptions is as follows “32 1/2 x 16 x 17 in. Curved crest rail above two side rails ending in molded rear seat rail. Beneath this are two dowels fitted to another molded rail. Oriental-type rug seat (not original).” The seat folds up with a side X pivot while the back folds down. A similar chair construction can be seen in this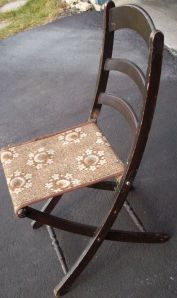
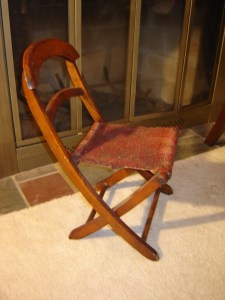
 This circa 1860-70 chair is Marta Vincent’s. It has been repaired and recovered from the naked state in which it was found with the finish was completely worn off and the carpet seat was in tatters. The back splint has been replaced. The seat is now a piece of ingrain wool carpet supported by canvas.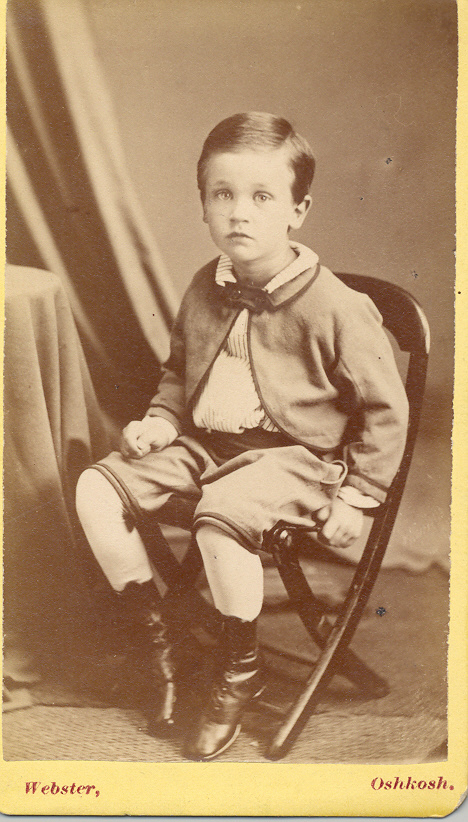
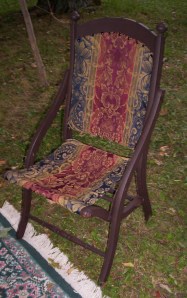
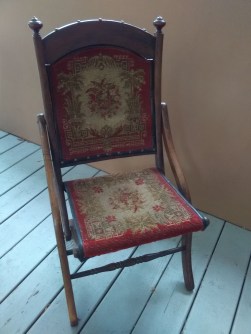
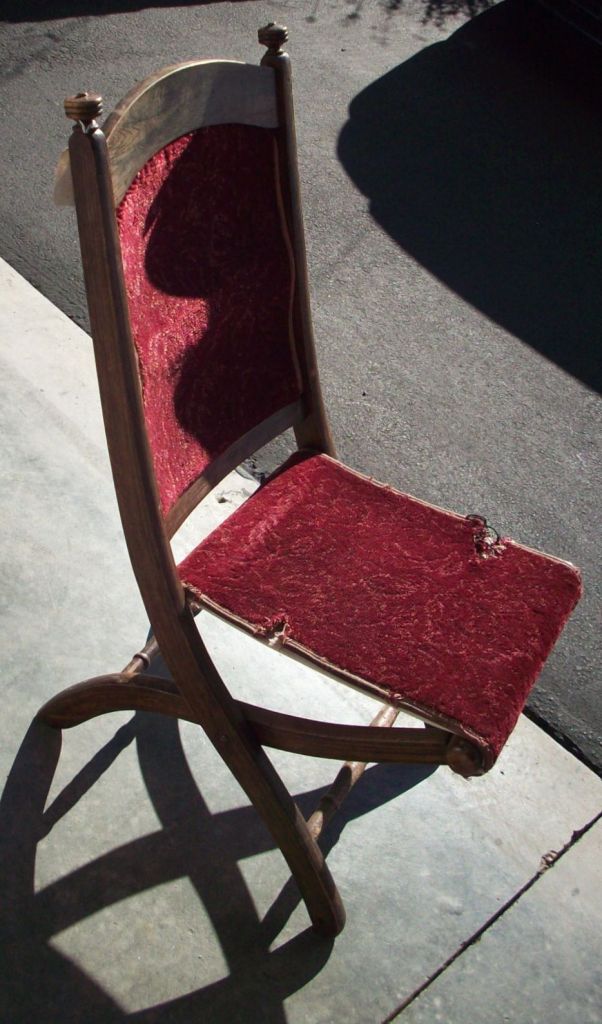
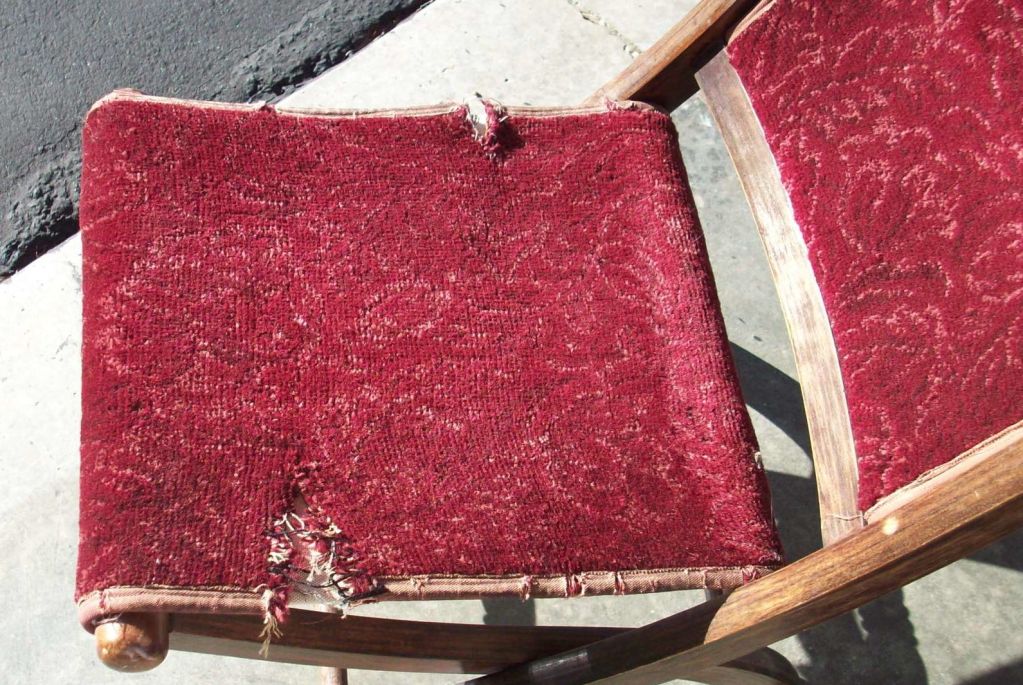
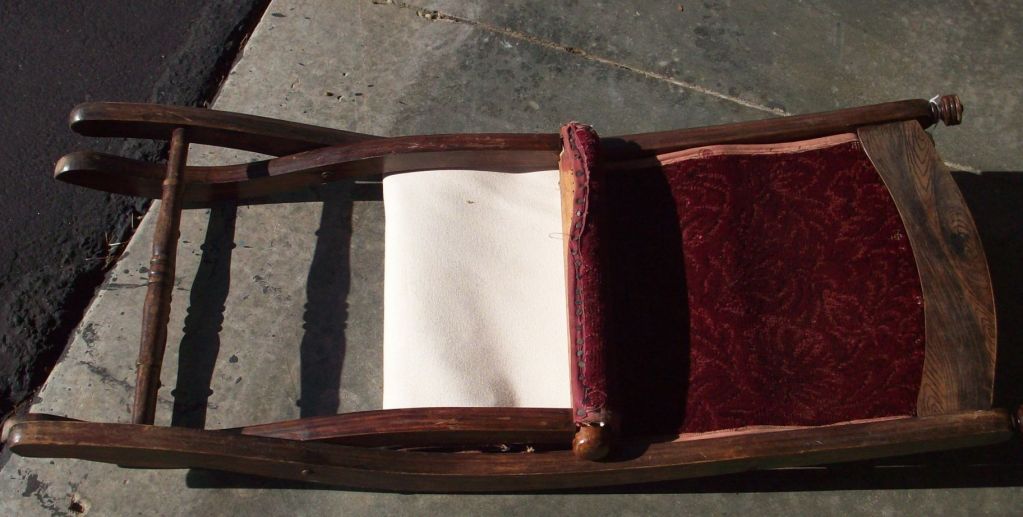
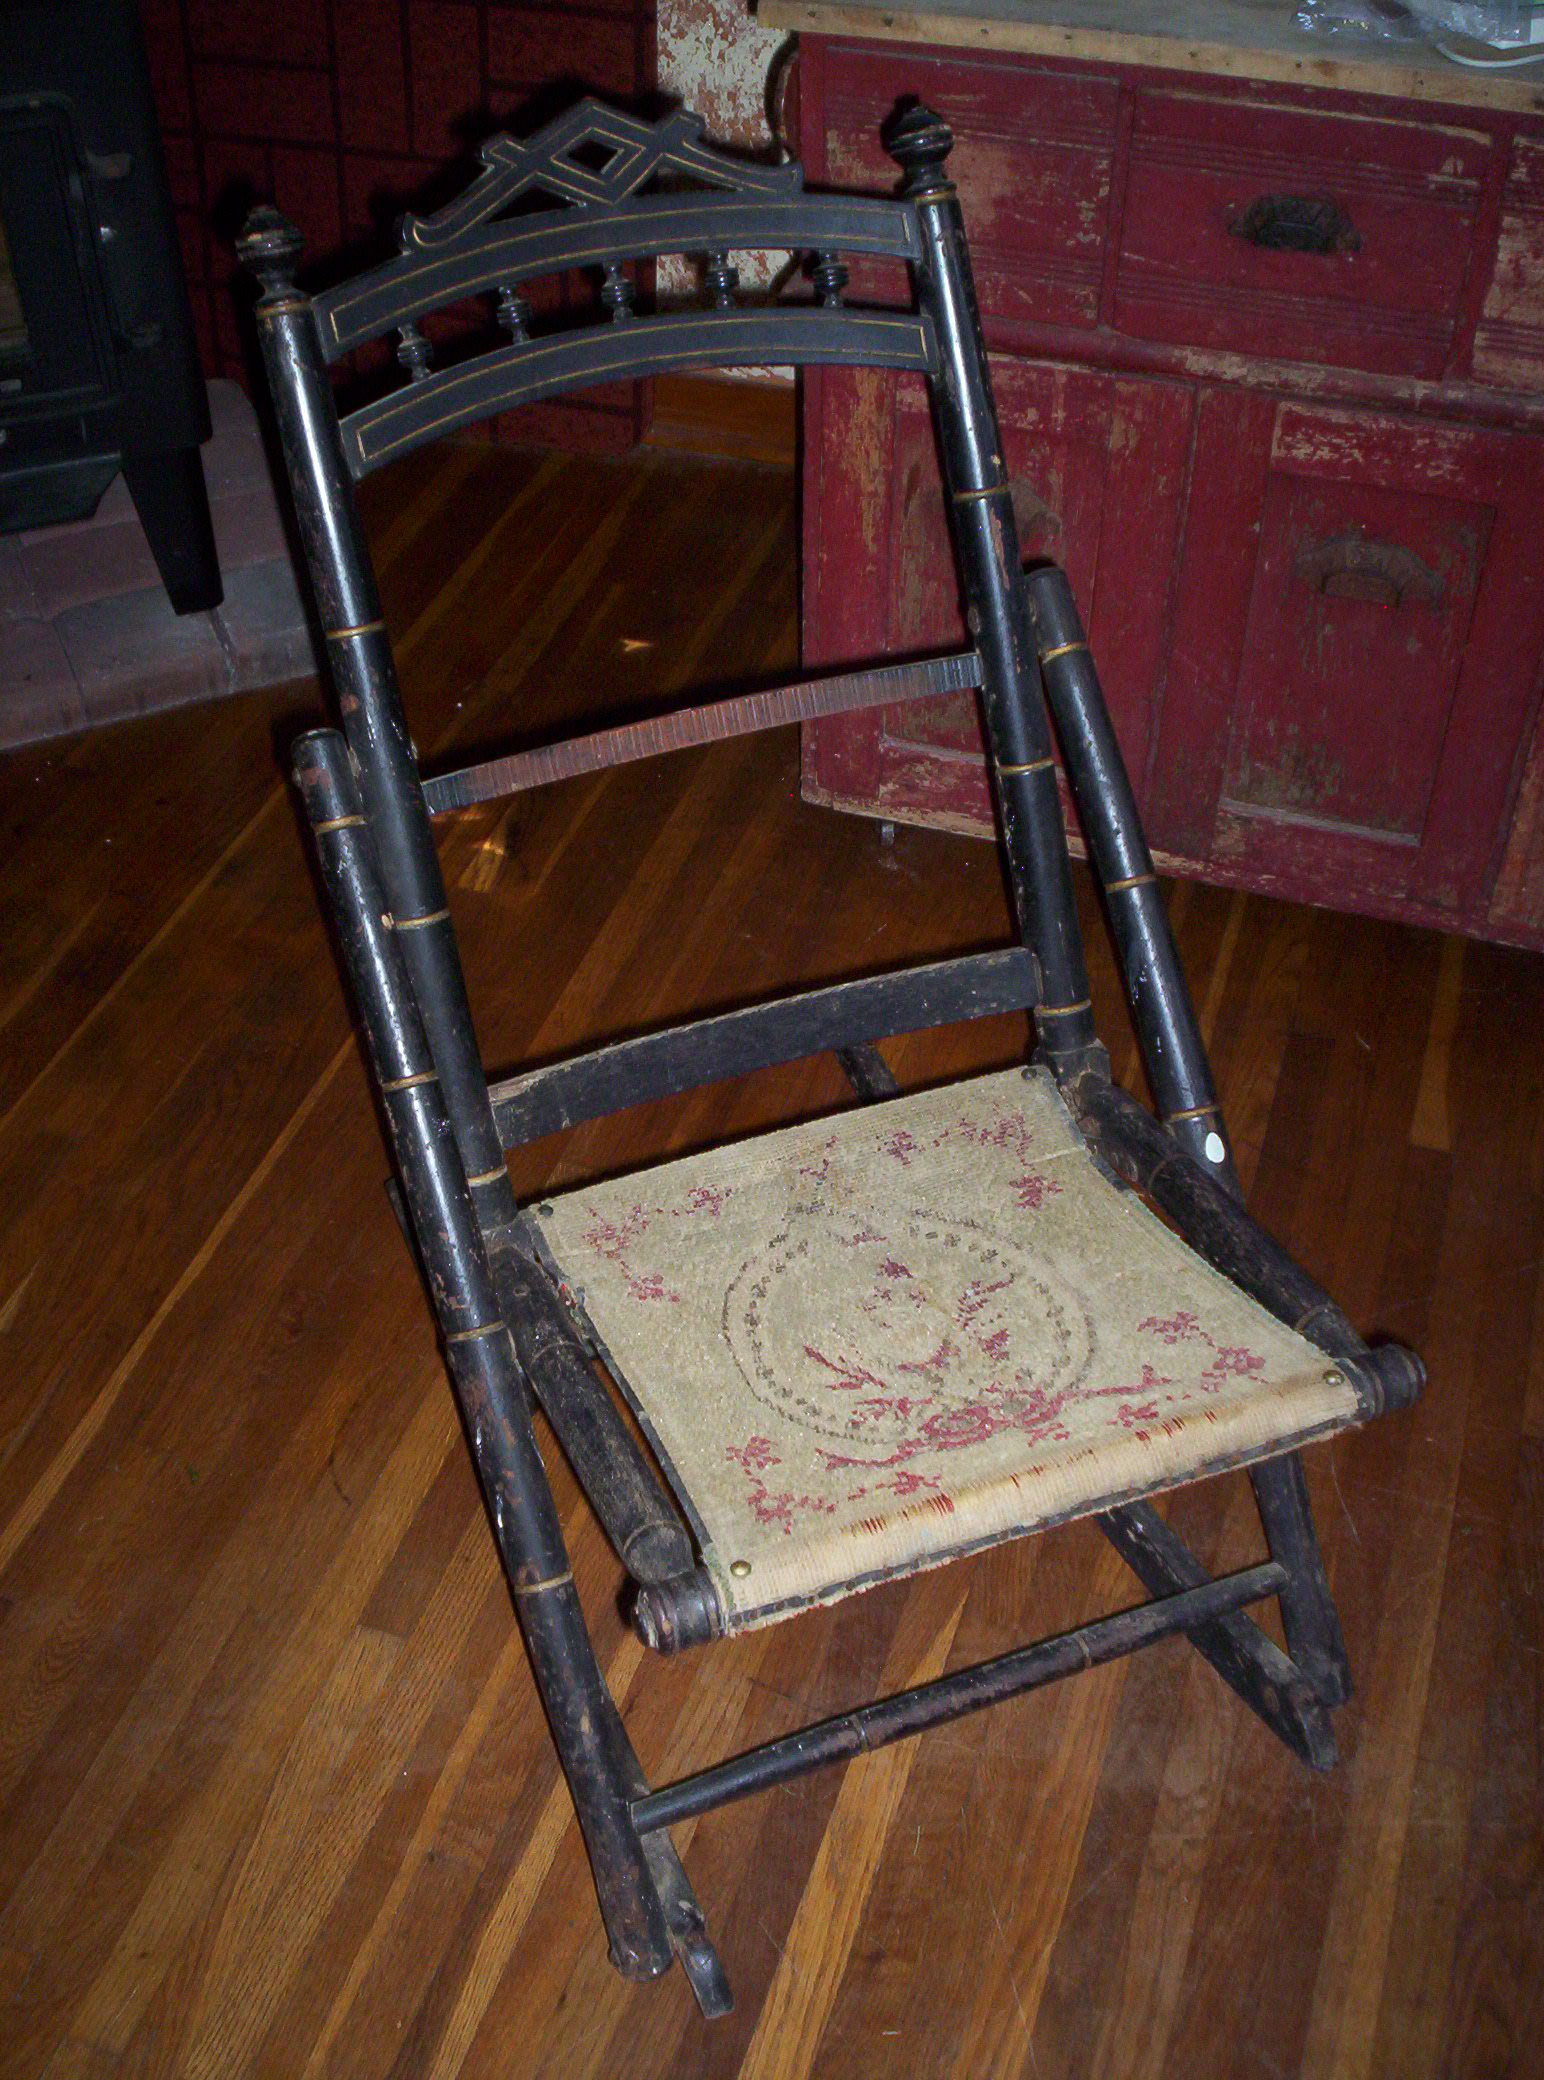
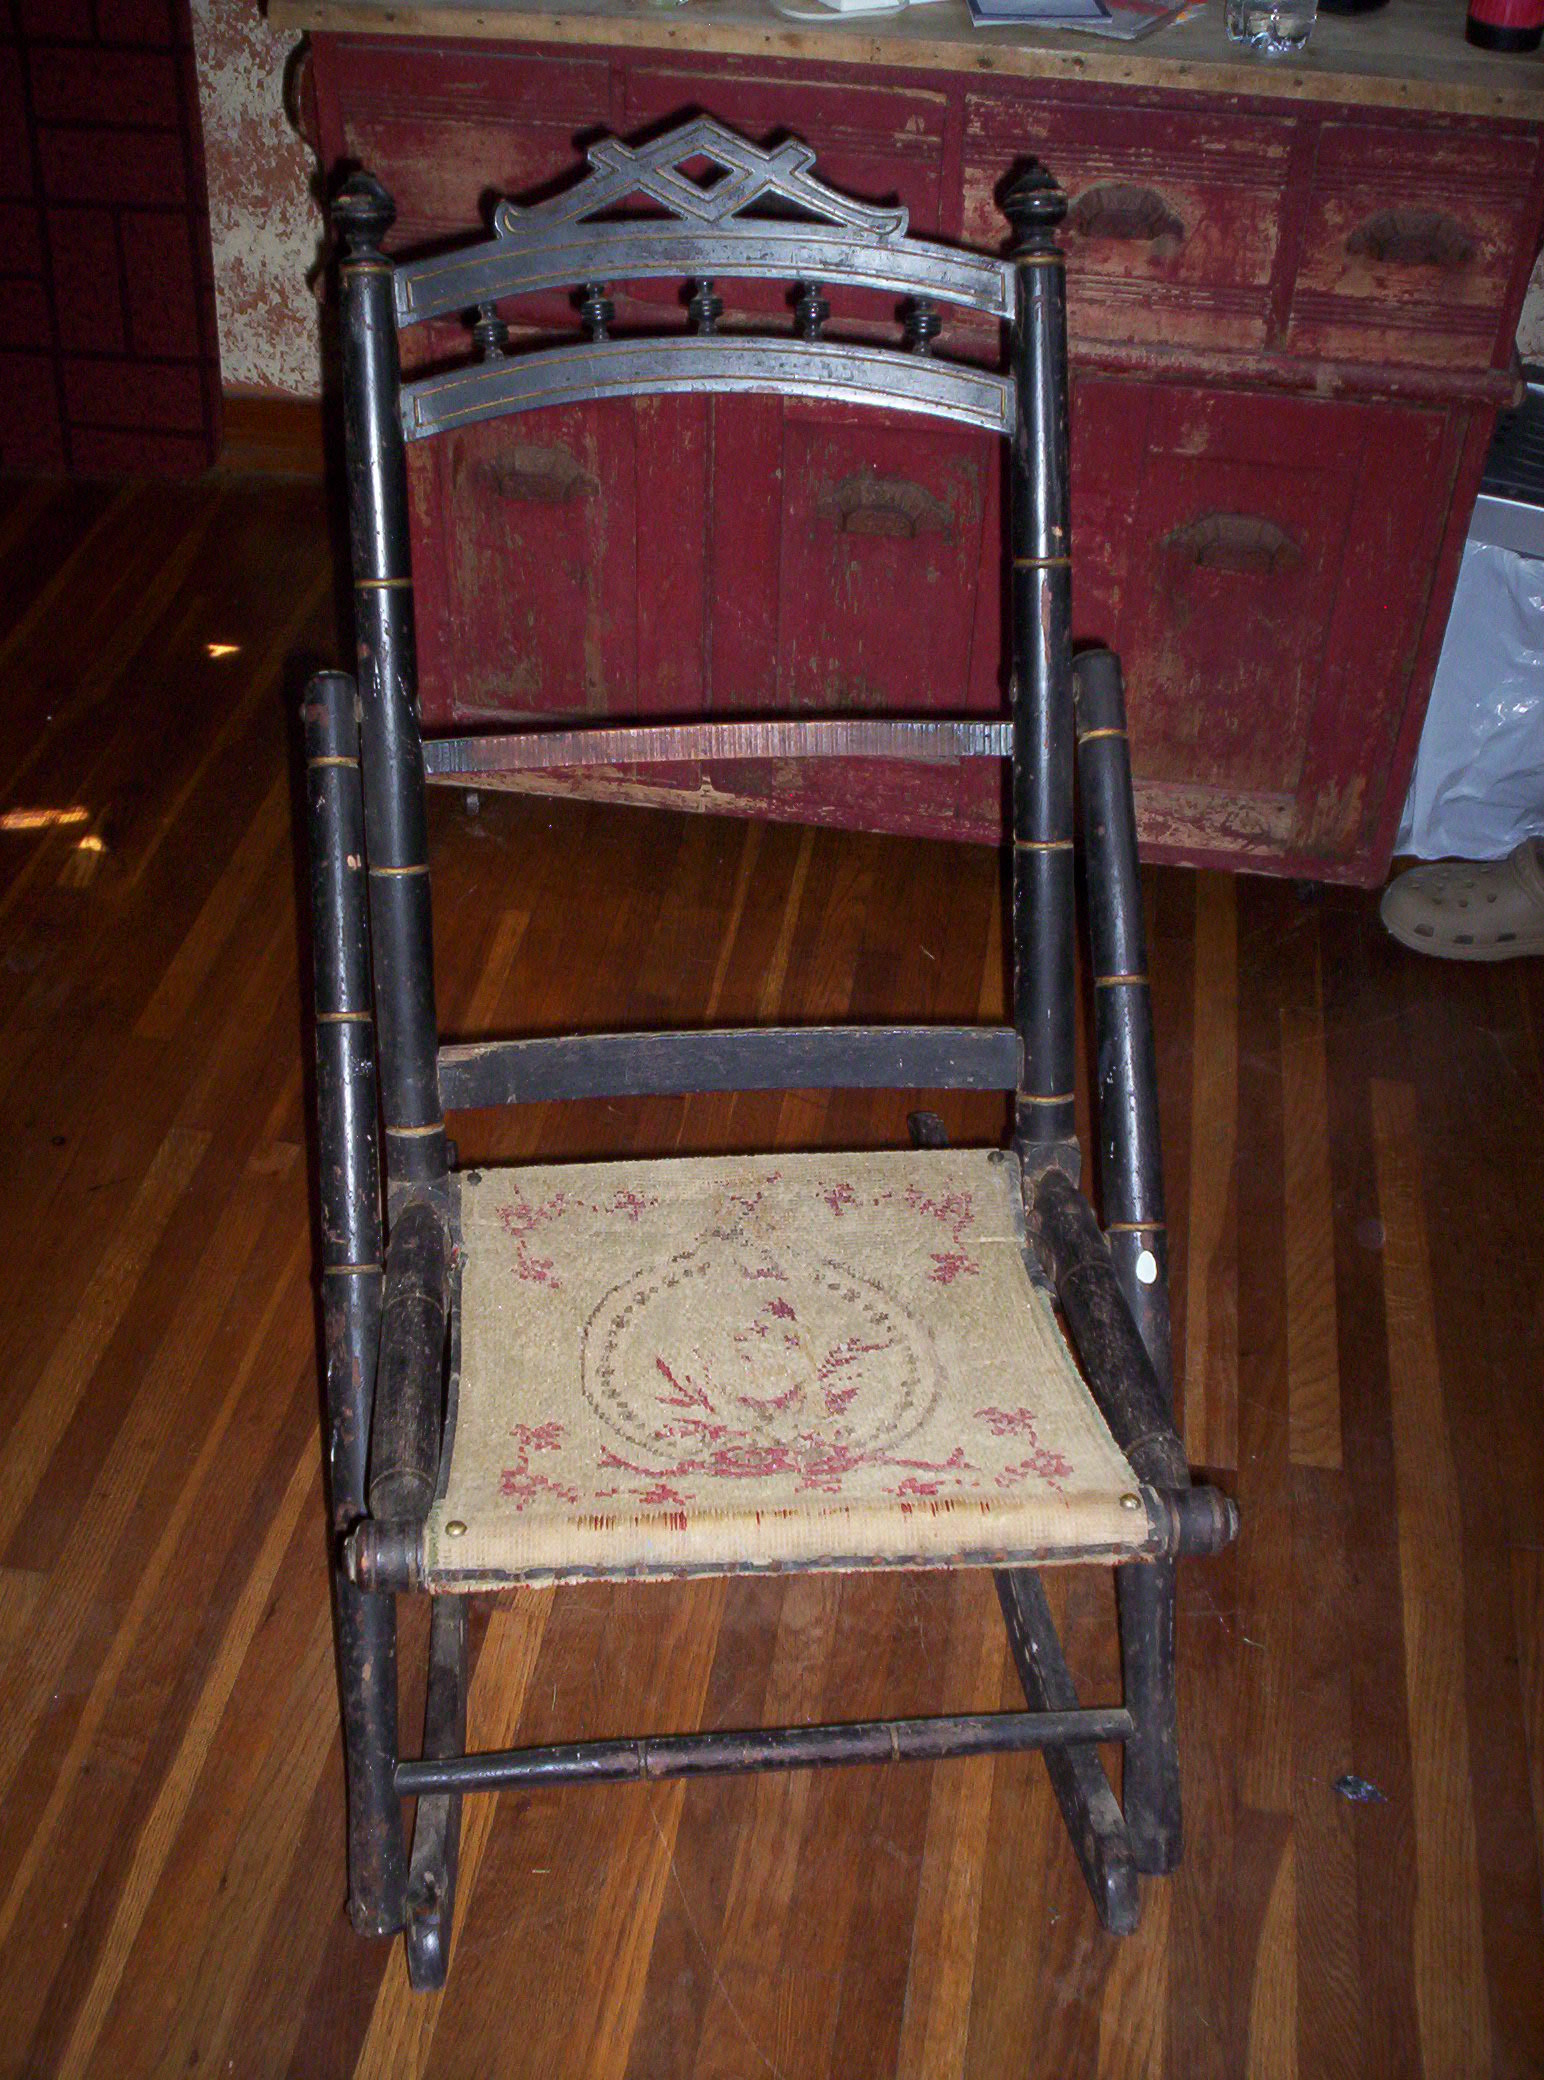
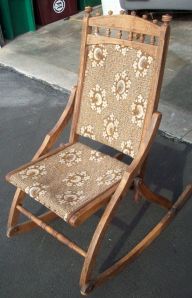

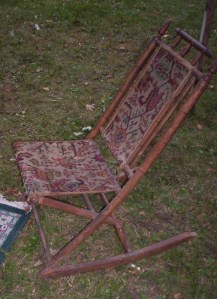 This chair is as it was found. Though nicely intact, the seat and back may not be original. The turning and finials on this chair are quite different then the other chairs seen here. The closest patent I’ve found for dating is this
 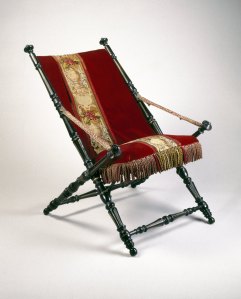 This Chair is held by the Brooklyn Museum. It is attributed to P. J. Hardy as the maker while Hunzinger was likely the designer based on the style and the metal tag Hunzinger label. The Museum’s description is “Folding chair. Ebonized wood with gilt incised decoration, metal hardware, and original upholstery. Turned gilt incised members that terminate in small ball pads intersect at mid-point on sides, secured by small metal rods on which they pivot and allow folding action. Identical turned and gilt incised stretchers connect lower front and back legs. Dark red plush upholstery with central vertical machined floral tapestry panel. Multi-colored fringe to front and sides of seat secured with domed metal tacks. Slung narrow woven textile strips with red key pattern on white ground form arms attached to front and rear stiles with metal attachments; the attachment on back stile has pressed head of putti. Movable black metal members hinged to underside of seat at sides and attached to upper front legs below seat to secure chair when open for seating. CONDITION – Original upholstery faded and distressed, but intact.” For more on Hunzinger’s furniture, please visit this
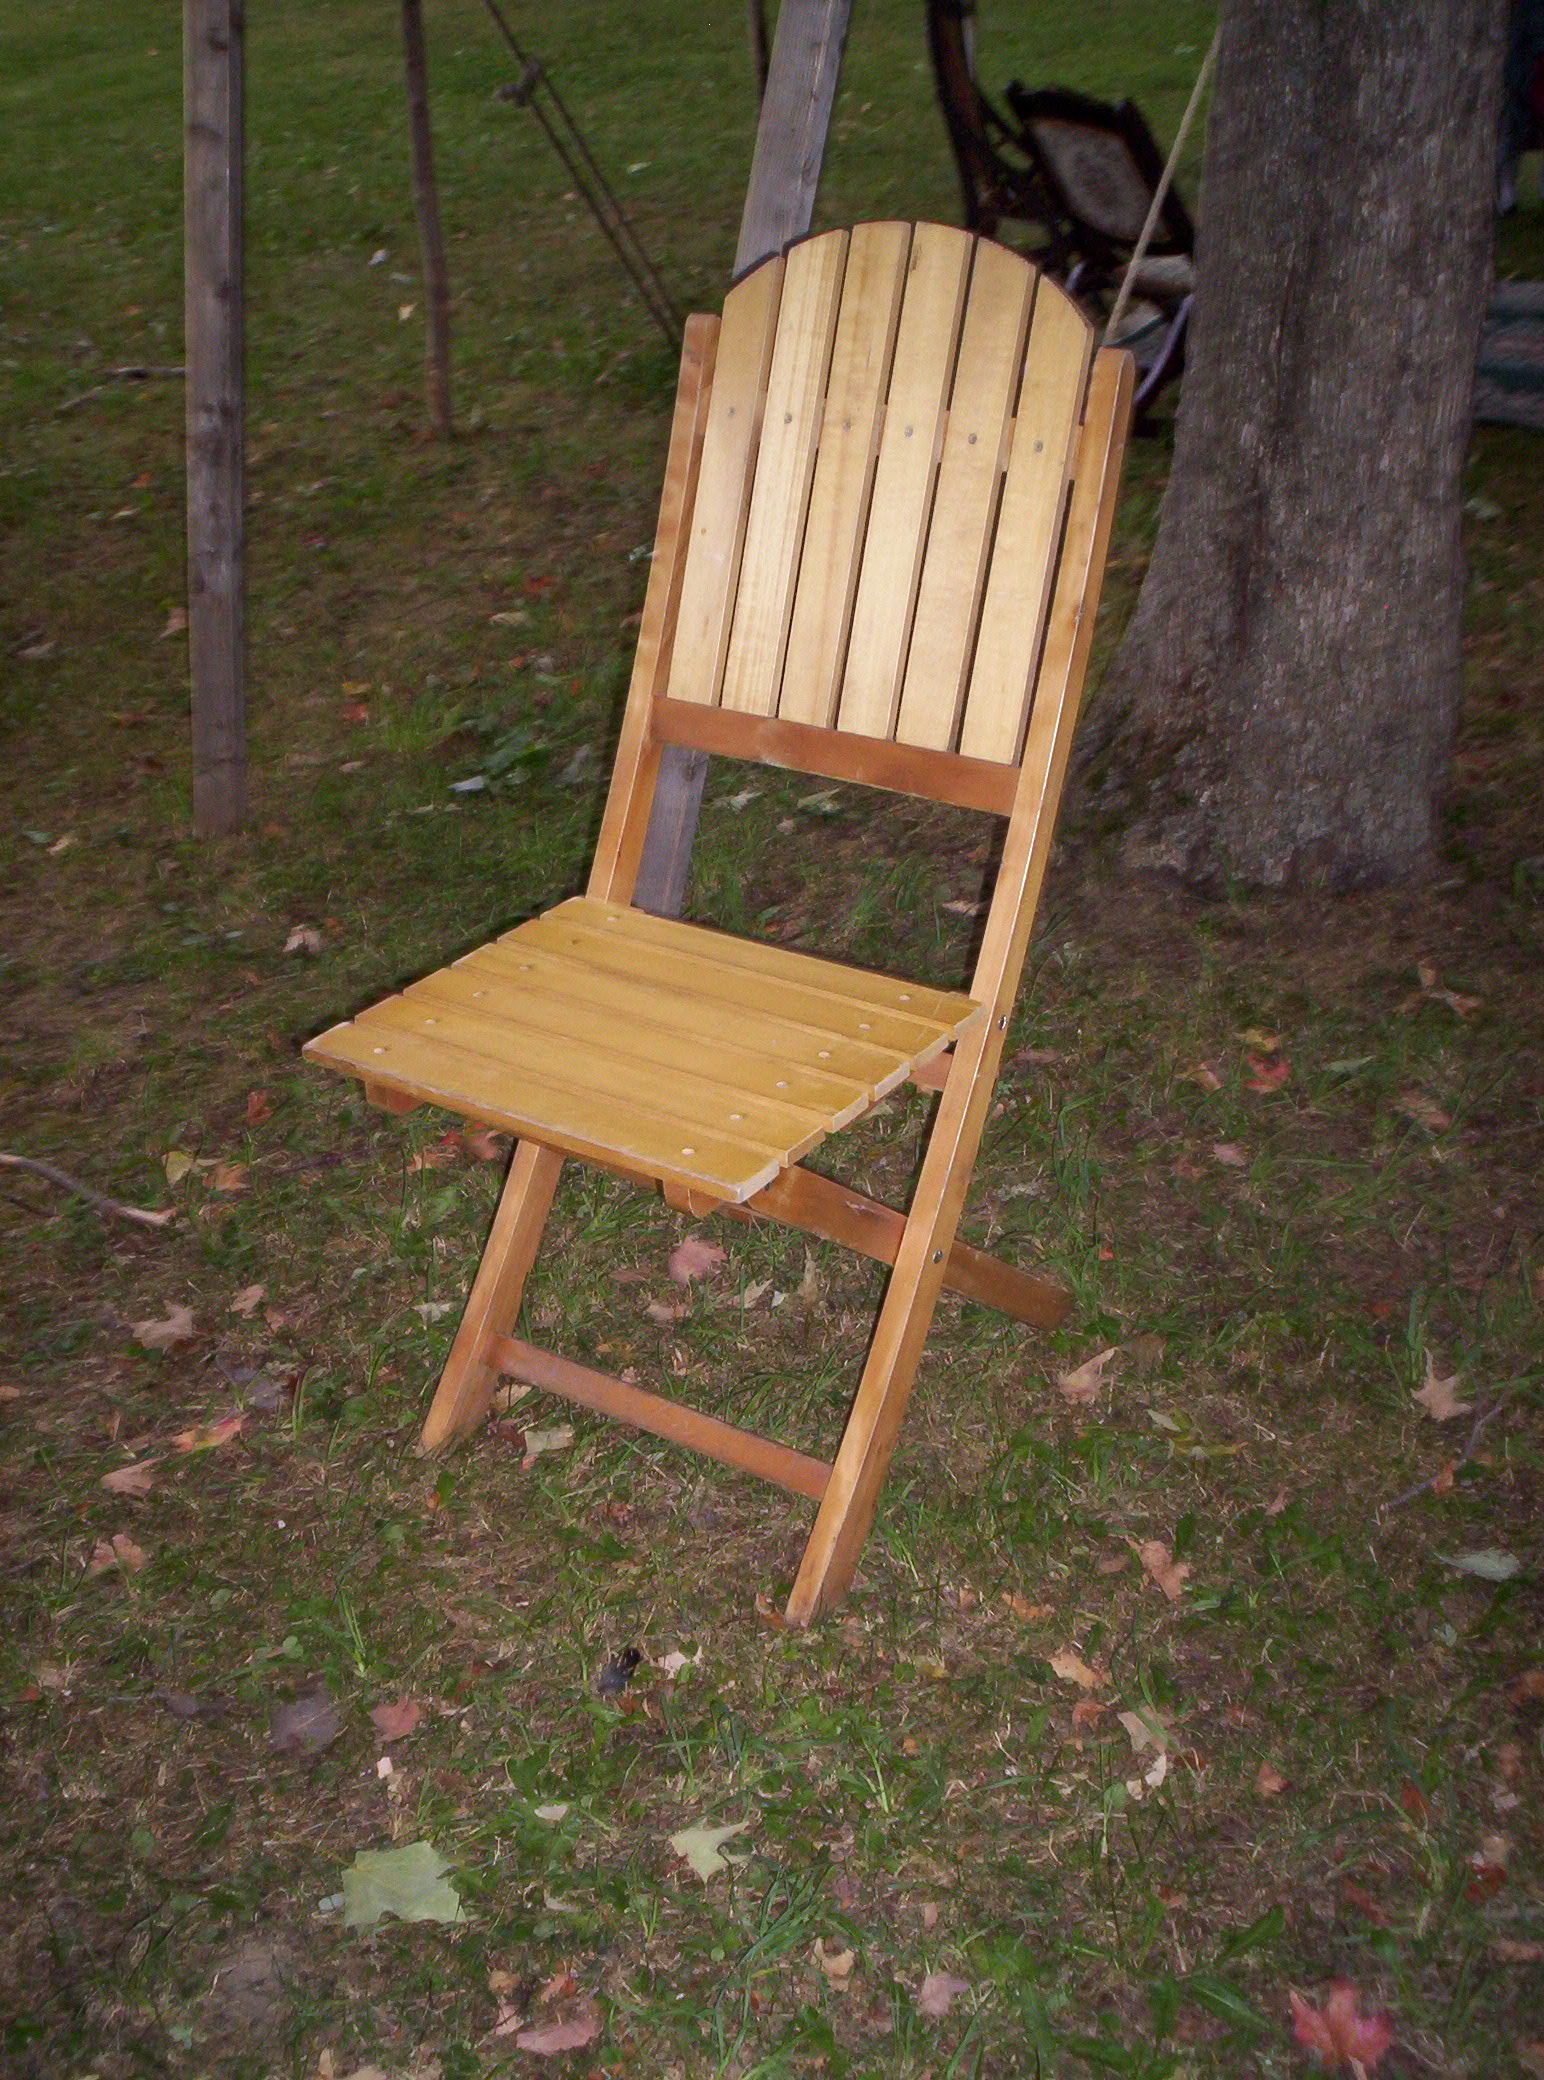
 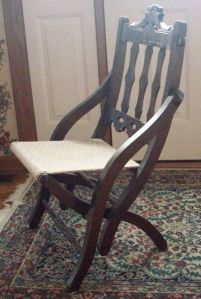 Late 19th century folding chair with an Eastlake feel.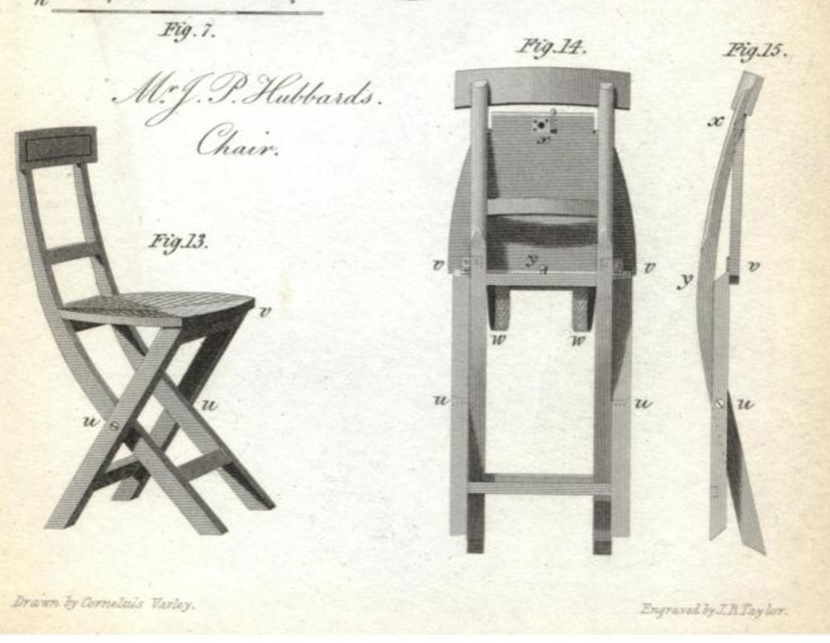


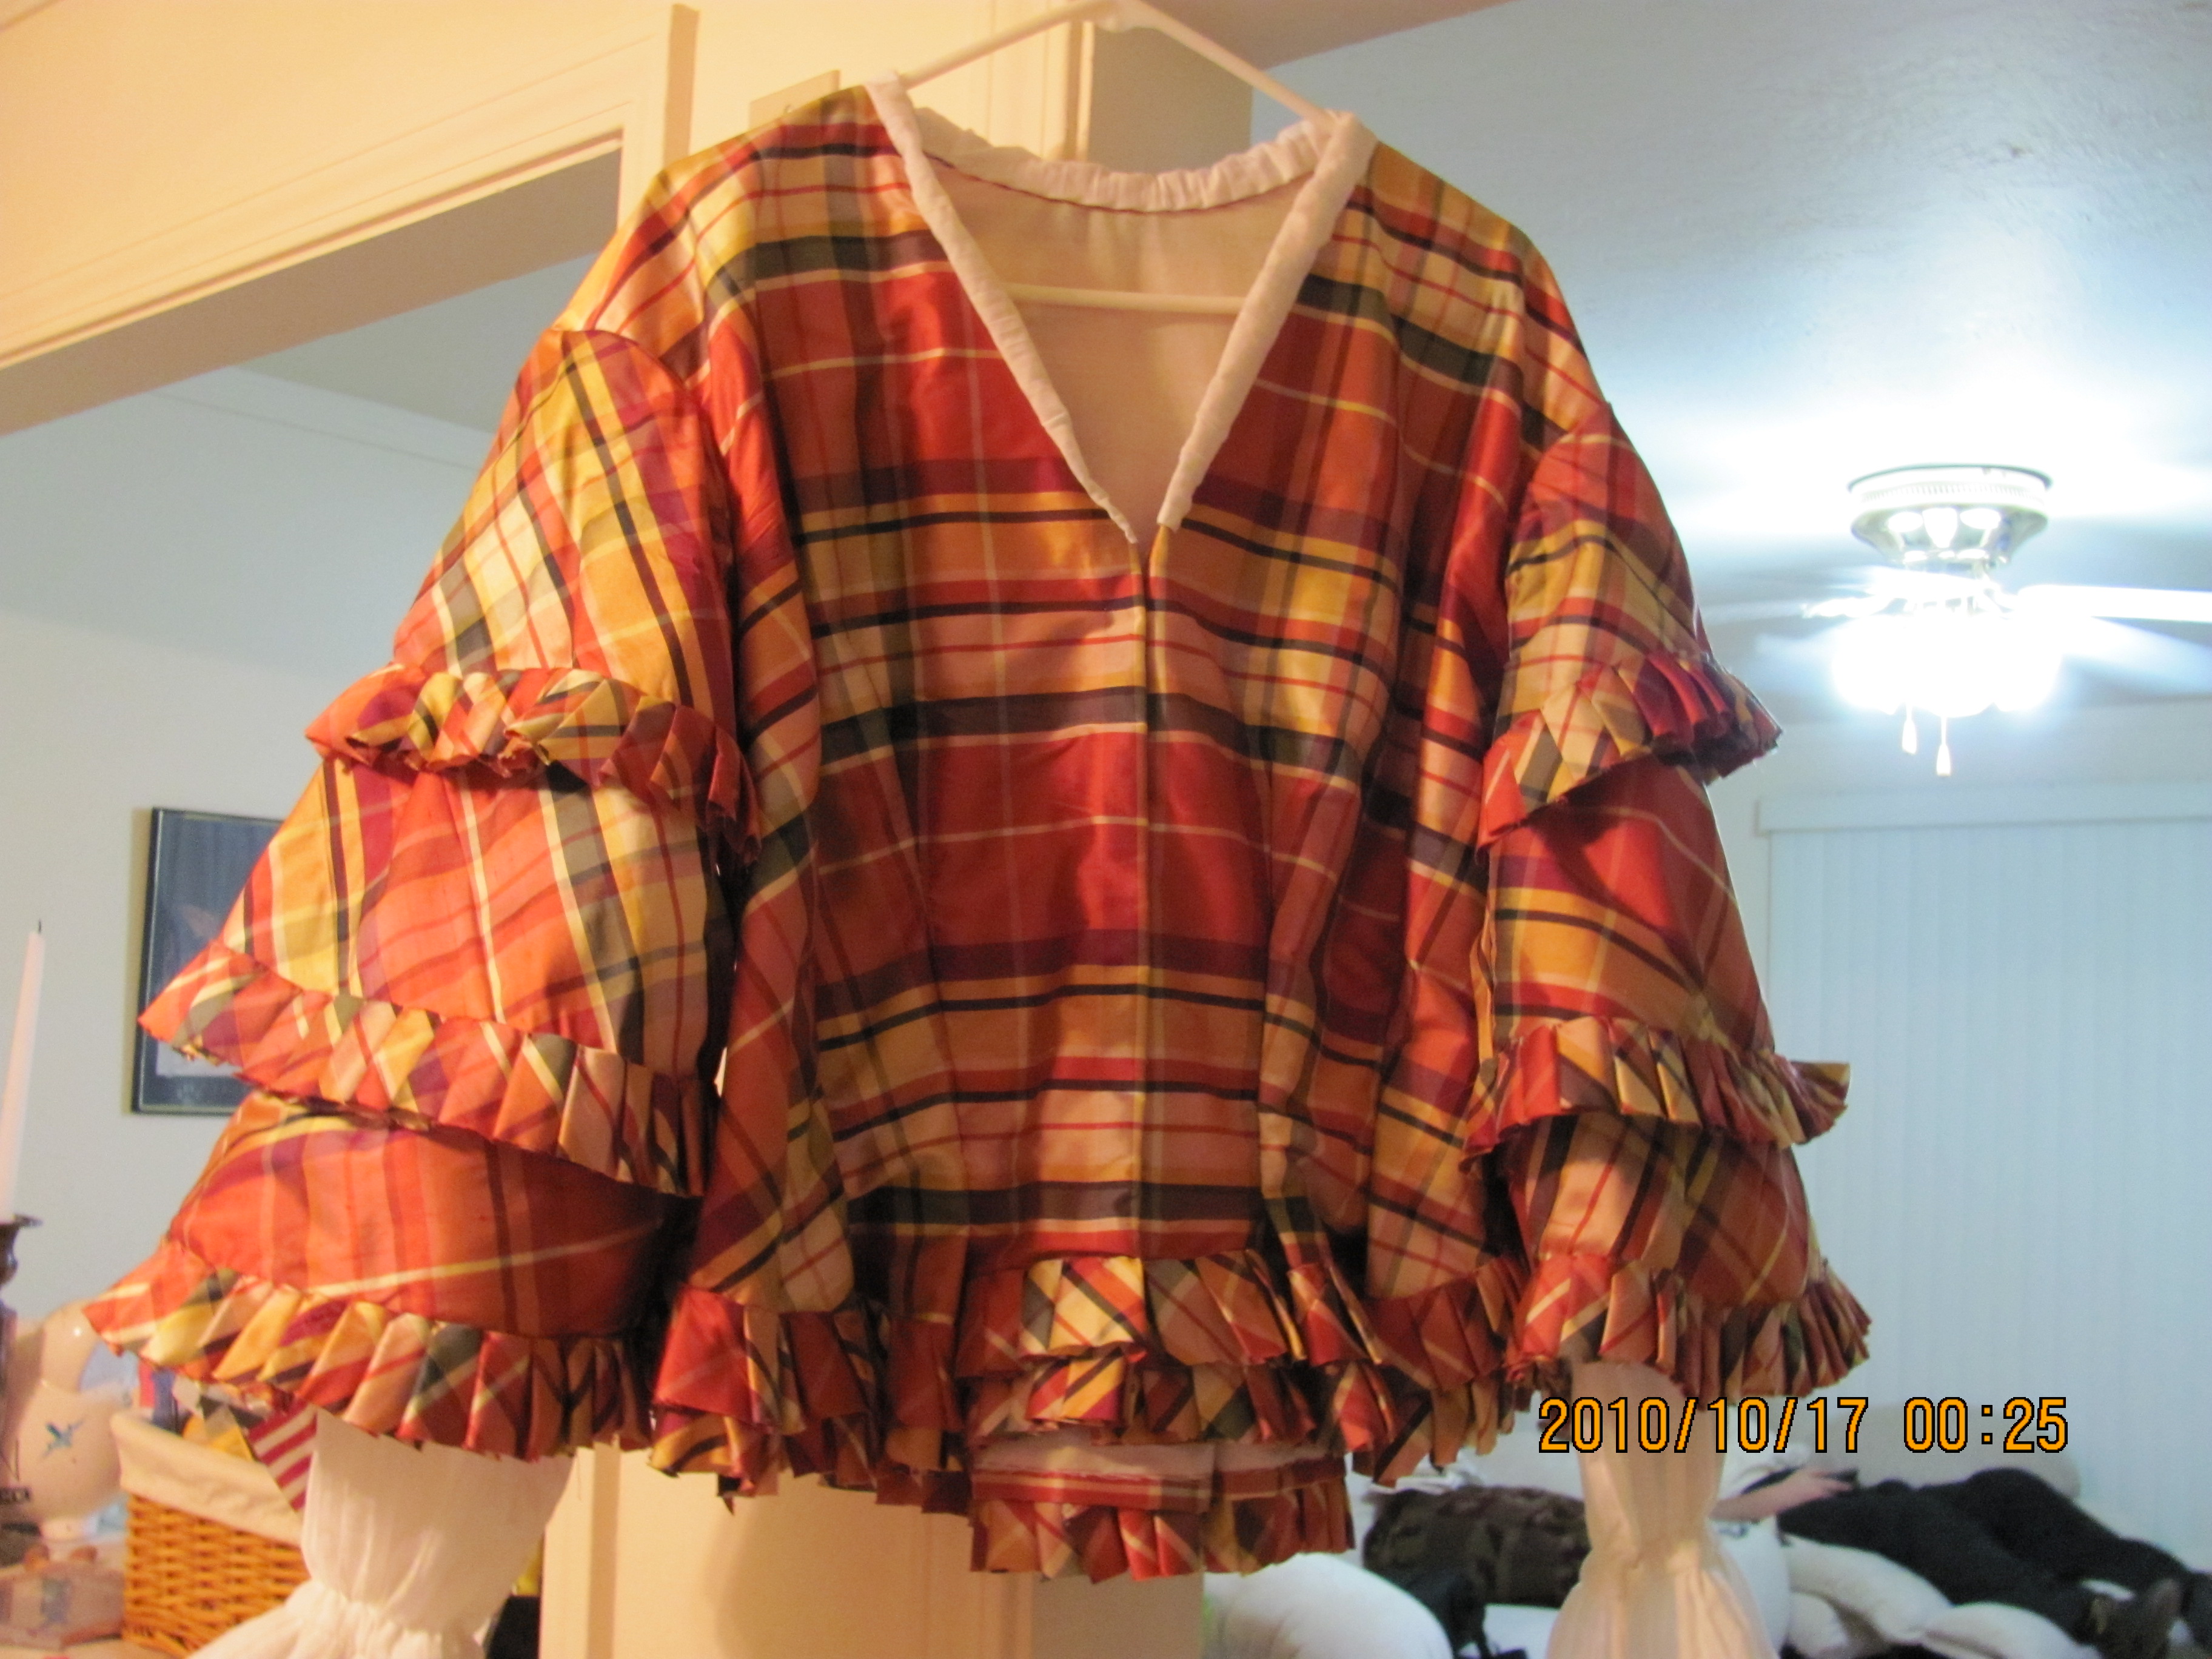
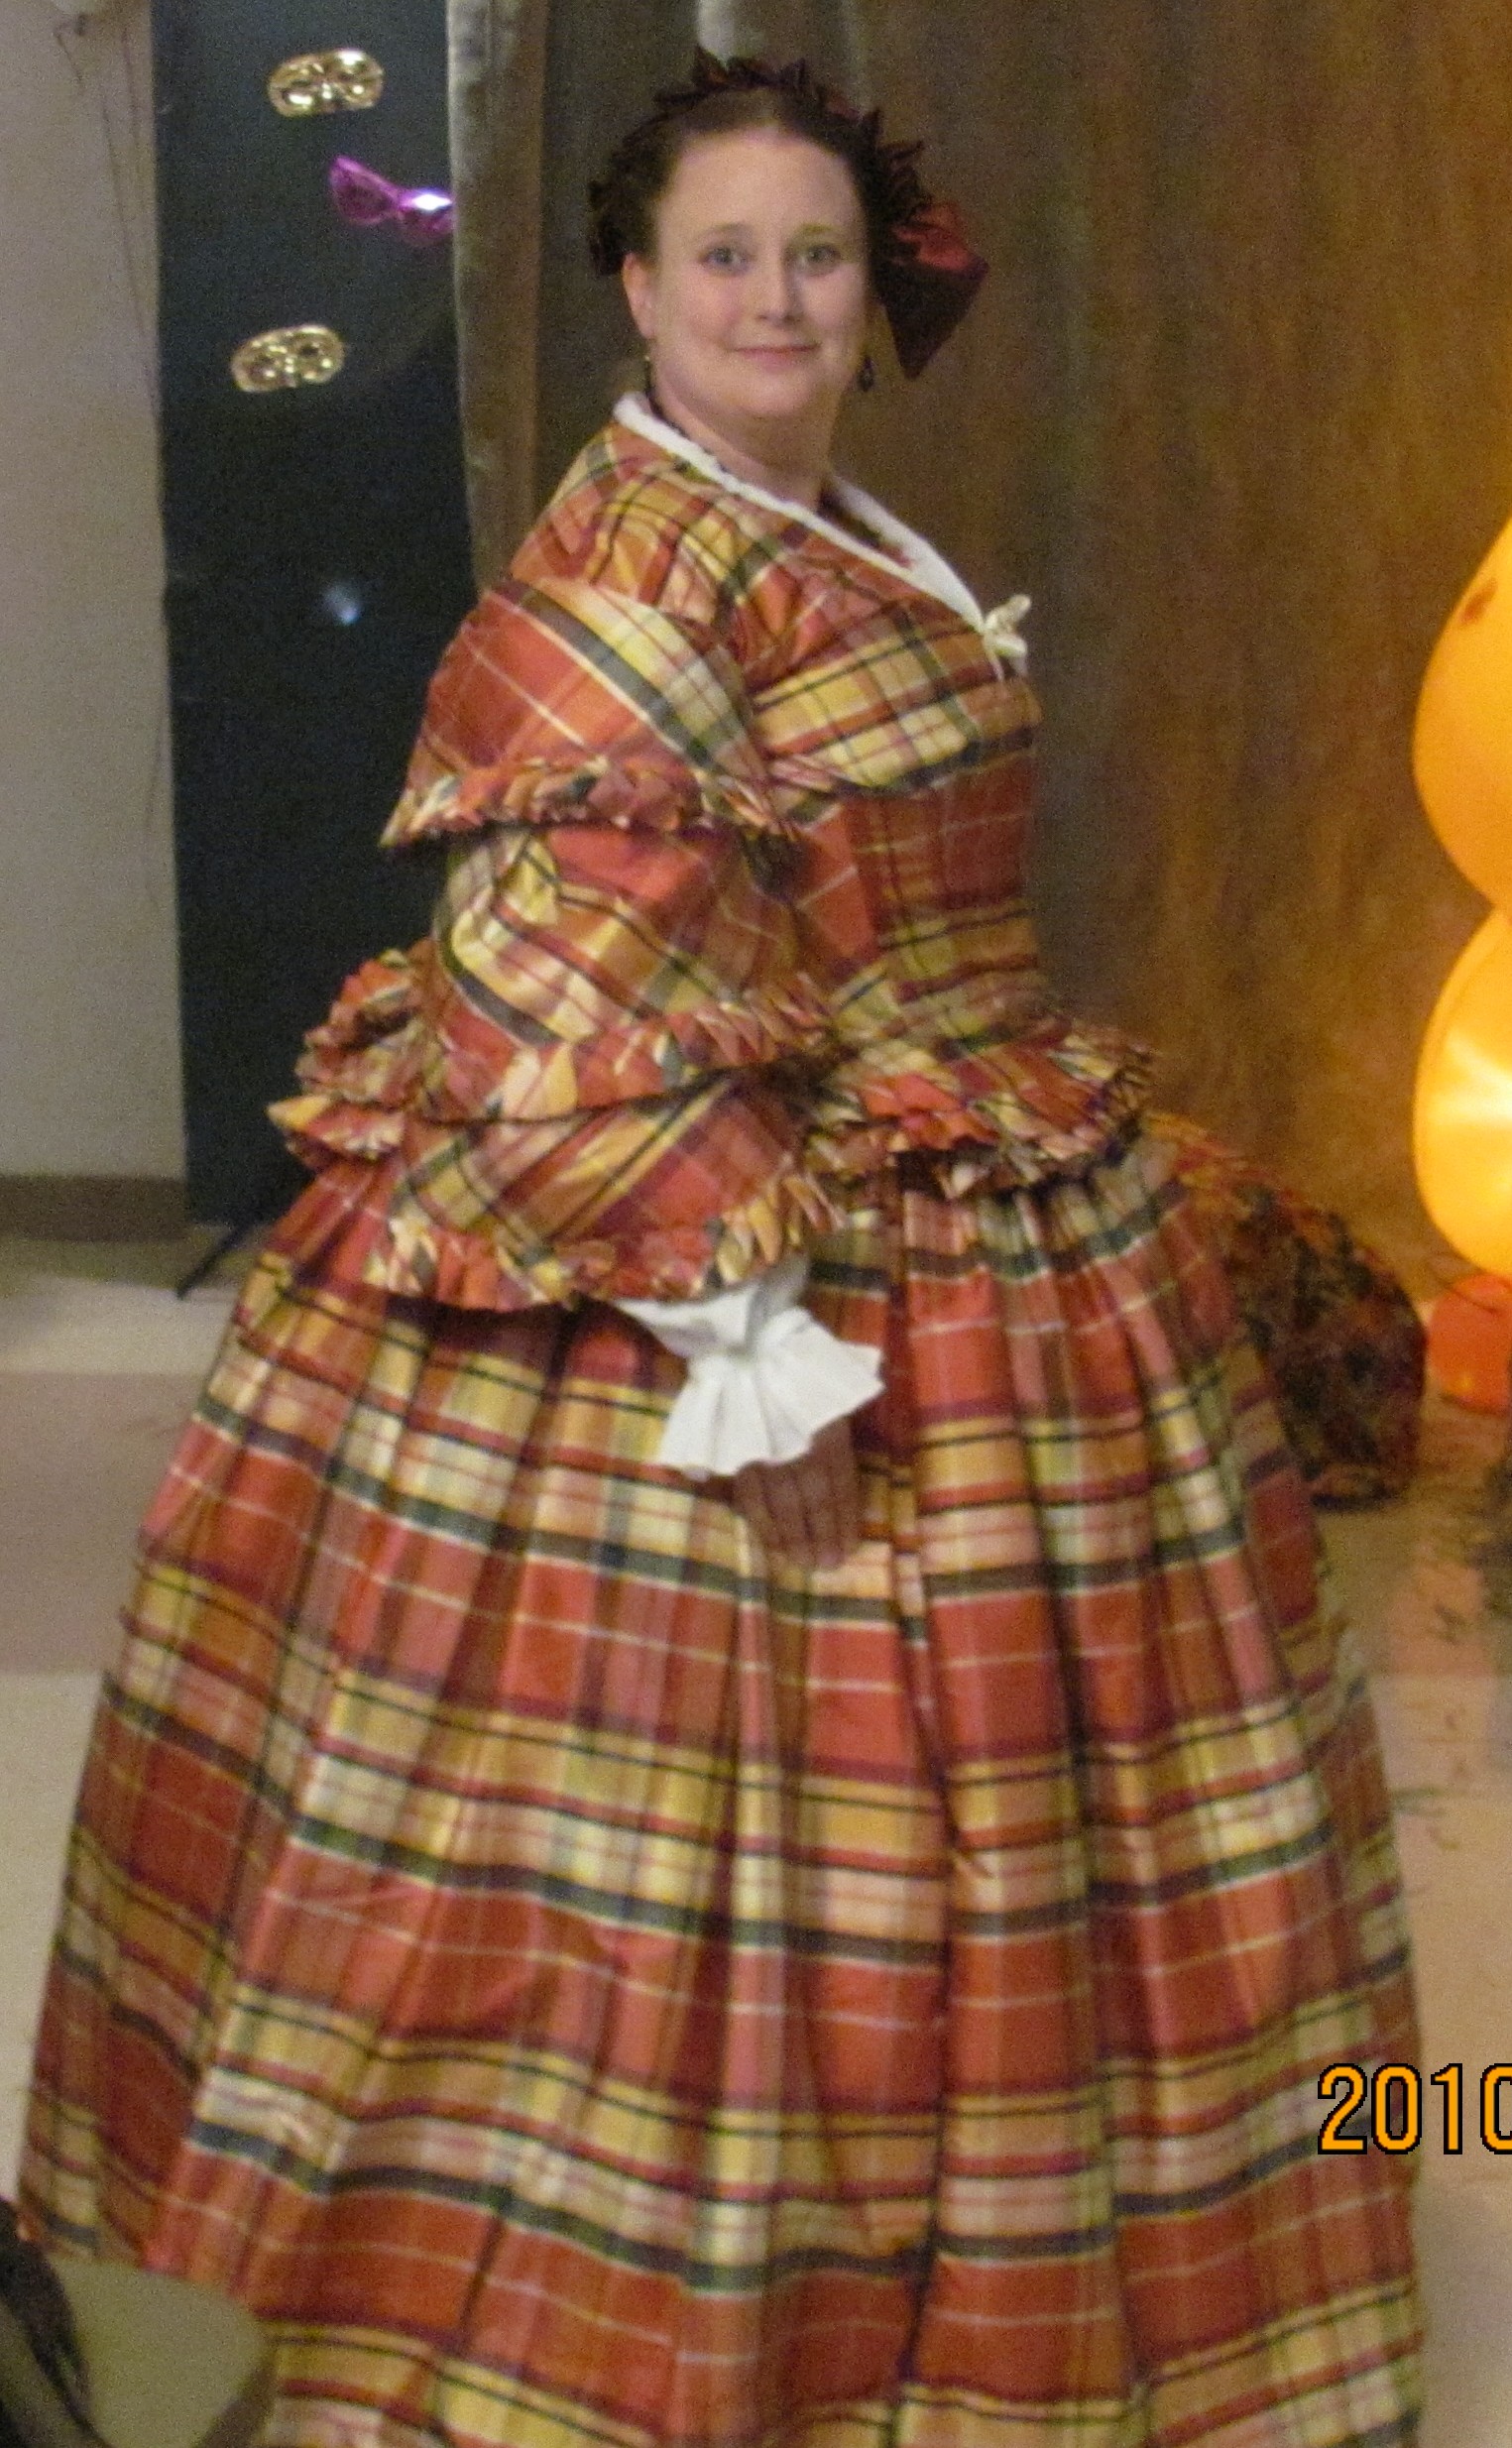
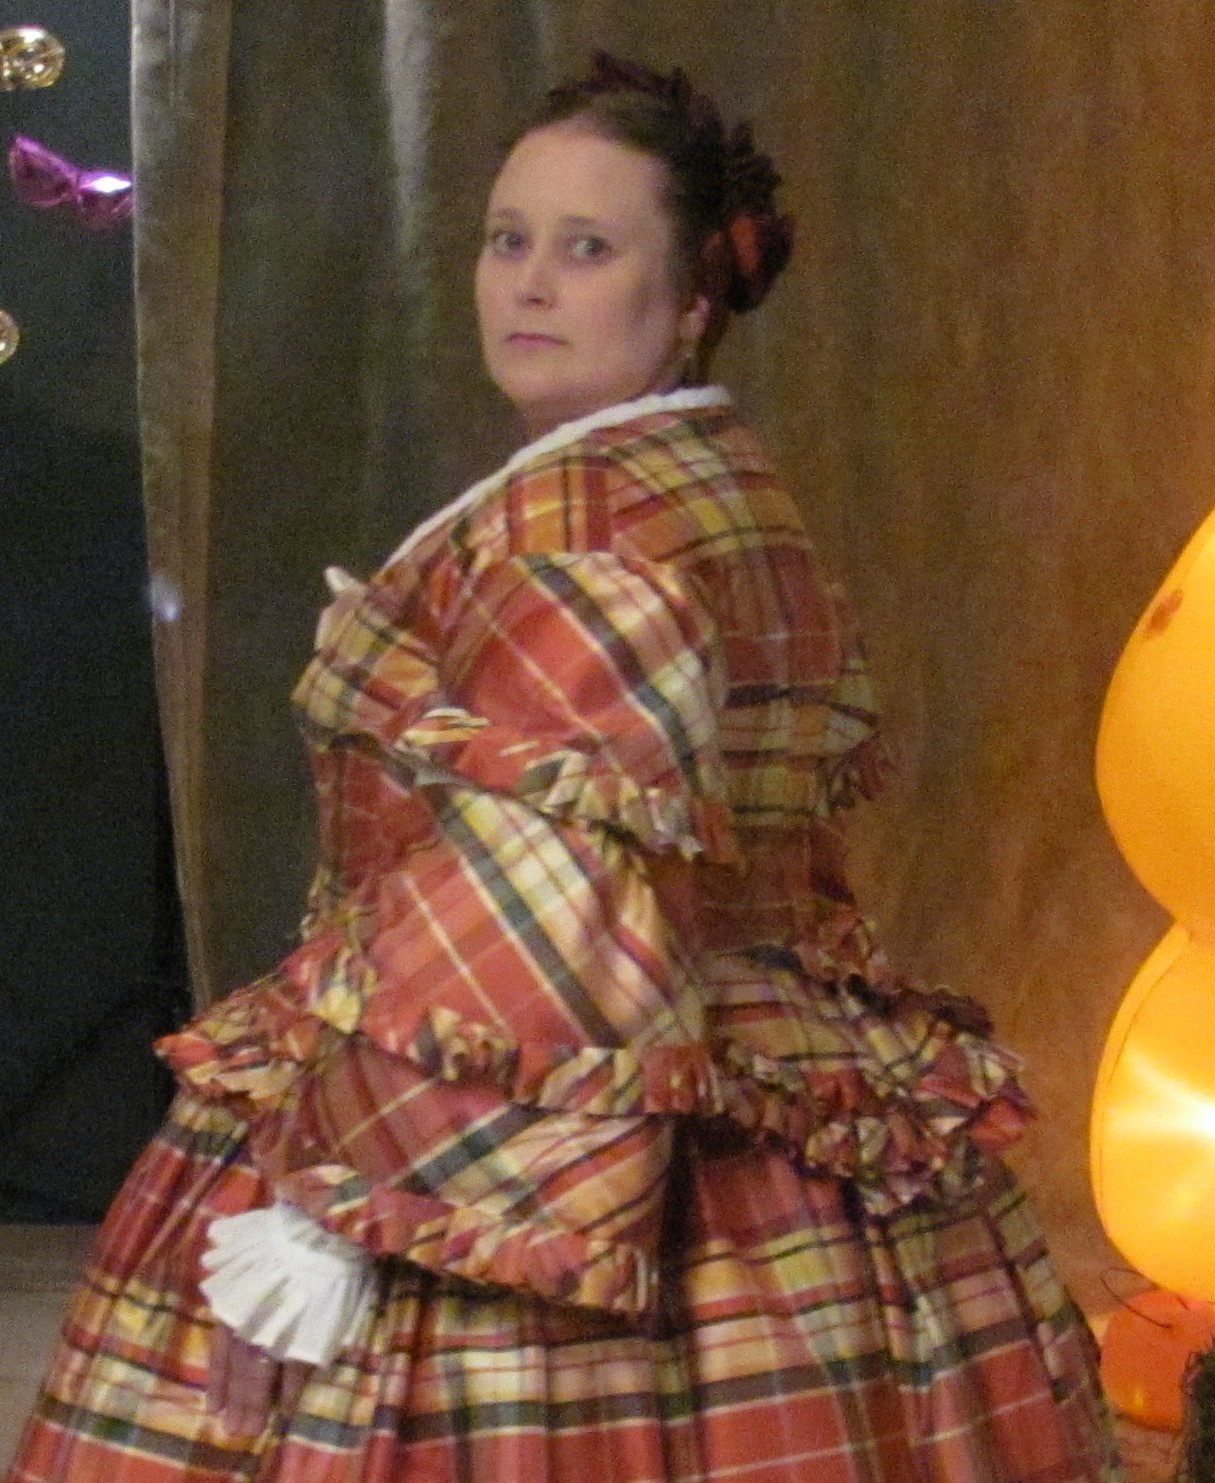
 The back is a two piece back. I tried to line up the plaid horizontally. I think I did fairly well given how the pieces curve. The pepulum is shaped with two box pleats underneath the pleating. The trim was actually an after-thought when I had some left.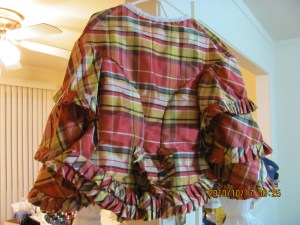






 If I Had My Own Blue Box: