With busy schedules, taking on a project, particularly a new project, can seem overwhelming. Even after years of making winter hoods, I find switching from my rhythmic sewing for straw to construction sewing for winter hoods to be a big shift.
I find I need to break each hood into steps I can do after work. These steps give me an achievable goal and a sense of completion.
Here is my recommendation for working through my Quilted Winter Hood Workbook. Each of these is meant to be achievable in an evening. This pace completes hoods A & C in two weeks, while hood B will take a few more days for quilting.
Read Part 1
Read Part 2
Print pattern pages. Tape together and cut out the pieces you need.
Layout and cut fabrics & batting
Mark quilting lines. Make bias and piping.
Start quilting the brim.
Continue quilting the brim.
Finish quilting the brim.
Quilt the crown.
Assemble & quilt the bavolet.
Bind or pipe the brim (varies by style)
Attach the crown.
Attach the bavolet.
Finish interior and add ties.
For many, a quilted winter hood can be made in a weekend of handsewing. I would recommend reading in advance. Do steps 3, 4, & 5 on Friday evening. Start Saturday morning with quilting steps 6 to 10, accompanied by a good audiobook. Sunday, commence binding or piping, and assemble the hood through the finish.
Keep in mind that everyone works at a different pace. You may find you have limited time and need to do each step over a couple of days. Or, you may be able to do more than one step in a sitting.
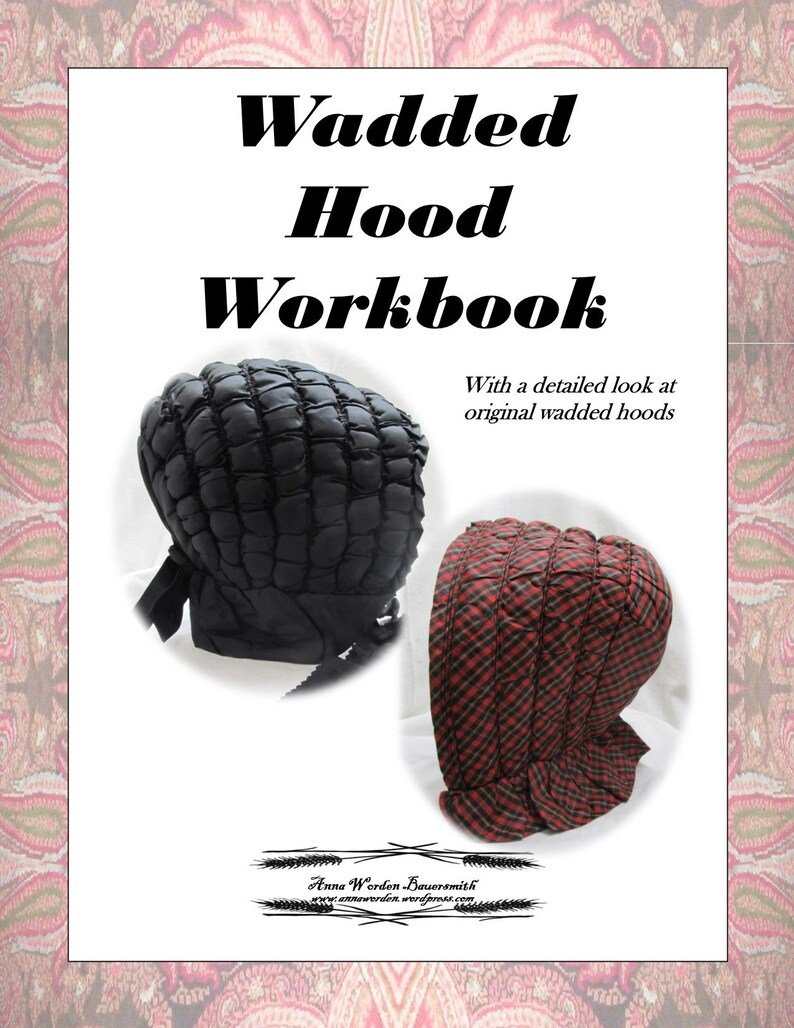
A similar breakdown can be used for my Wadded Hood Workbook.
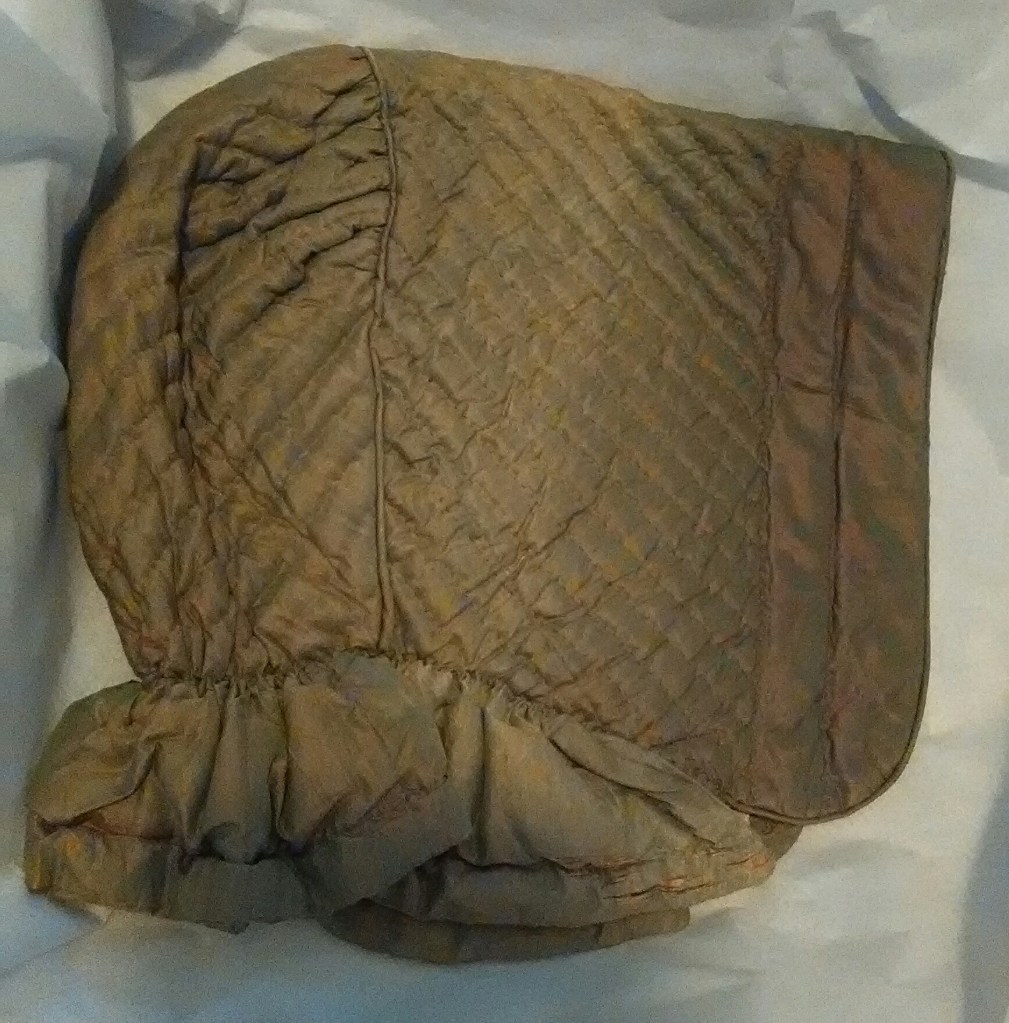
Quilted winter hood with silk exterior. Featured in my upcoming Quilted Winter Hood Workbook.
The most common sewn winter hood of the early through mid-nineteenth century was the quilted hood. This type of hood most often consisted of three pieces: the brim, crown, and bavolet, each of which were quilted with a lining fabric, outer fabric, and wadding or batting inside.
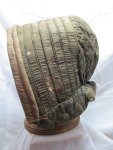
Quilted winter hood with larger crown full at the top and wired brim edge. I theorize this bonnet was worn in the 1820s or 30s. When it arrived, it was obvious it had been stored flat for many decades with the brim and crown misshapen. I’ve slowly been adding support to the crown and brim to reveal its original full shape.
The shape and proportions of the individual brim, crown, and bavolet pieces and some construction details evolved from decade to decade, reflecting the needs of changing hair styles. When the coiffure was placed high on the head, more space was needed high in the crown. When the coiffure was placed low on the neck, an adjustable bavolet to crown seam was needed.
Most commonly, a tight weave silk taffeta was used for the exterior material. A tigh weave, smooth wool is also seen in originals for the exterior. A tight weave with a smooth surface helps snow slide off of the hood with minimal moisture absorption.
The wadding or batting is most often wool, though occasionally other fibers. The bits of wool batting peeking through seams, fractures, and holes in original hoods range from white to golden/orangey yellows to dark browns. I have observed both cleaned and uncleaned wool with plant fibers inside. I have found fulled wool fabric quilted inside original hoods as well.
Quilted winter hood with plaid silk facing.
Inside quilted hoods, linings most often consist of polished cotton or silk, though to a much lesser extent printed cottons are also found. The smooth surface of a polished cotton or silk causes less disruption to the wearer’s hair. The front few inches of the brim can be faced with another silk, solid, striped, or plaid. Often, this facing is on the bias. On multiple pieces, I have observed ribbon used for the facing, pieced together on the bias.
Quilted winter hood with paper quilted into the brim along with wool wadding.
Some quilted bonnets have structural support used in the construction. So far, I have found: wires, cane, paper, pasteboard, buckram, and straw.
New Quilted Winter Hood Workbook
The next winter workbook will either be doll hoods or children’s hoods. Which would you prefer?
Now that wi ter has finally settled in to the North-East, many are thinking about how to keep warm in their nineteenth century attire, including how to keep their head warm.
The great news is there were several styles of winter hoods worn in the nineteenth century.
The challenging news is there were several styles of winter hoods worn in the nineteenth century.
With the many styles available, how do you pick the one right for your impression or interpretation?
I have this ongoing love (obsession) with sewn winter hoods. I am fascinated by how each is put together, what the commonalities are, what the uniquenesses are, and which suits which situations best.
This overview looks at sewn winter hoods focusing on the mid-19th century. It does not include the many knit styles that were made.
Let’s start with some basics.
Sewn winter hoods generally fall into two catagories: quilted and wadded, with some draped hoods which do not have interior guts. Winter hoods were most frequently made with a silk exterior and a silk or cotton interior. They could also be made from wool. The breakdown lands somewhere around ⅔ silk with ⅓ wool. The silk used is most frequently a tight weave taffeta, with the occasional fraille or tight jacquard weave. The tight weave and smooth texture is important for resisting water. Think about how an umbrella resists water. If rain or wet snow fall onto a silk hood, you want the moisture to roll off. If dry, fluffy snow falls onto a silk hood, you want it to slide off. The same principle applies. Similarly, when wool is used, it too needs to be a tight, smooth weave. A tight weave will minimize absorption. A smooth weave will encourage snow to slide off. A fuzzy wool will act almost like velcro, grabbing and holding onto snow. In terms of weight, the vast majority of original wool hoods I’ve examined have been light weight with some slightly medium weight wools.
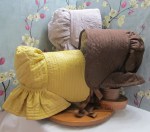
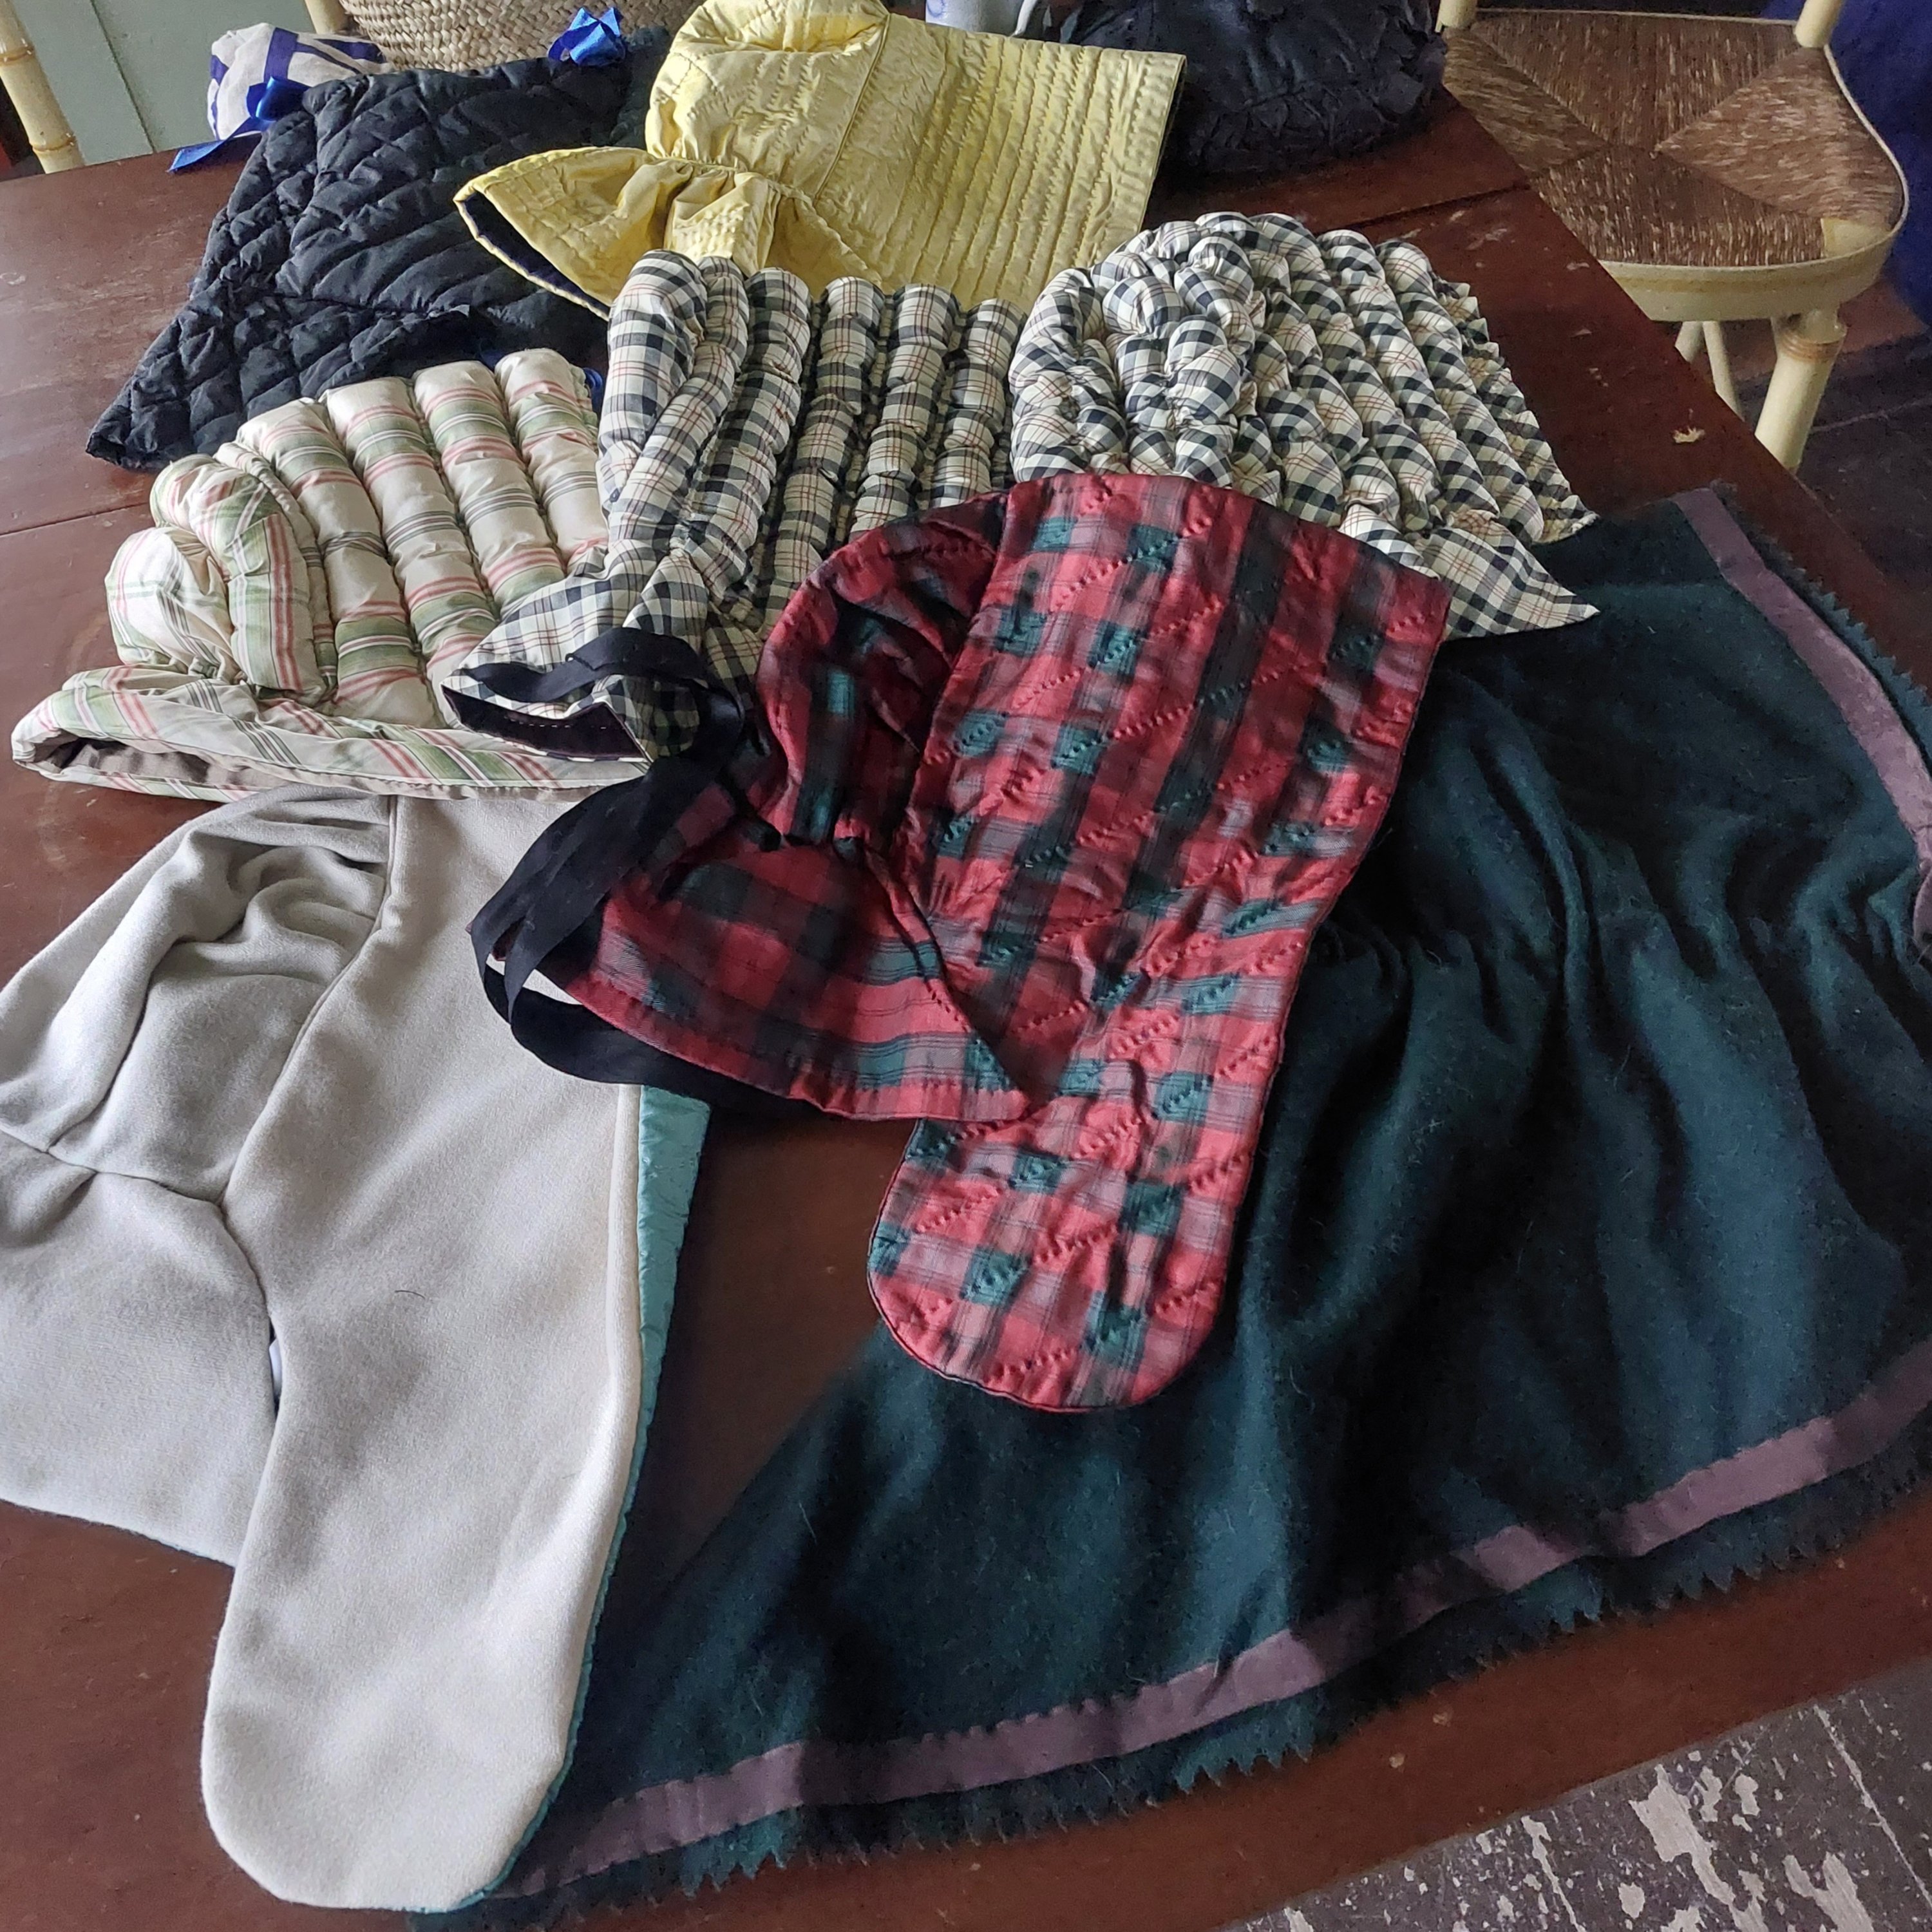
Common styles of winter hoods. (Top left to bottom right) Quilted hood with black on black silk exterior and pale pink silk interior – black silk wadded hood – striped silk quilted hood – silk quilted hood – lappet style hood with tight tweave wool exterior and pink silk interior – black silk wadded hood with brown cotton interior.
Turning to the interior, silk and cotton are commonly found. Silk is often a solid color, either a taffeta or tissue taffeta. Cottons is more often a polished cotton in a solid color or a sateen, with the occasional smaller print. Often, the interiors include multiple fabrics of the same fiber. The color selection can be a dark neutral, black or brown, or a bright, vivid color such as pink or yellow.
Pink silk interior of a quilted winter hood.
Now, let’s talk situations and styles. I break this down environmentally.
If you are doing an event that is likely to be windy and/or stormy, you will want a hood that can protect your face. For this situation, I recommend a hood that comes forward, protecting the face. A lappet style hood is a good choice for this. The brim extends forward of the face with the lappets hanging below. This was the style I had on when a sudden heavy, icey burst of rain hit. I found while walking through the village, my face was fully protected and dry. A capote style hood, one with minimal structure and a deep brim, would work well for a stormy situation as well.
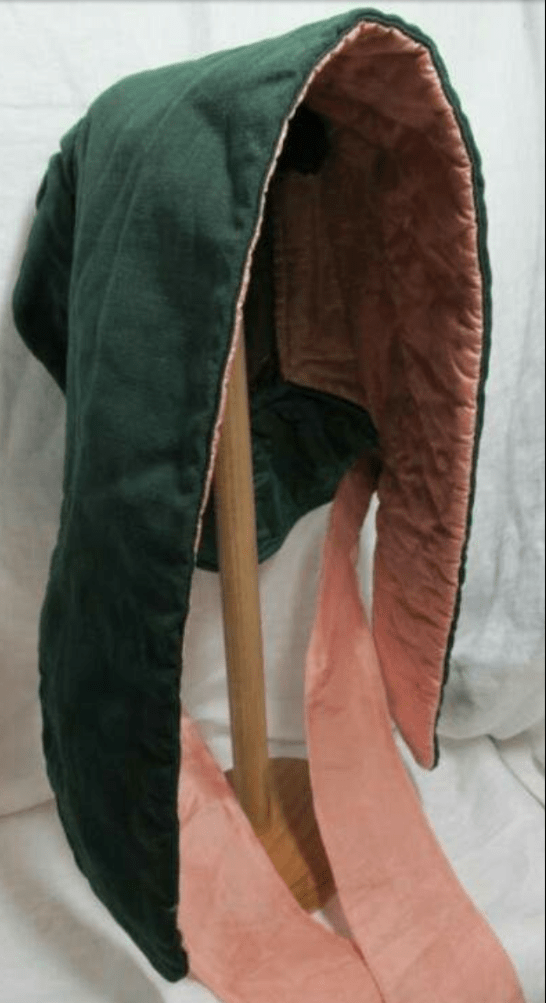
Lappet style winter hood in silk.
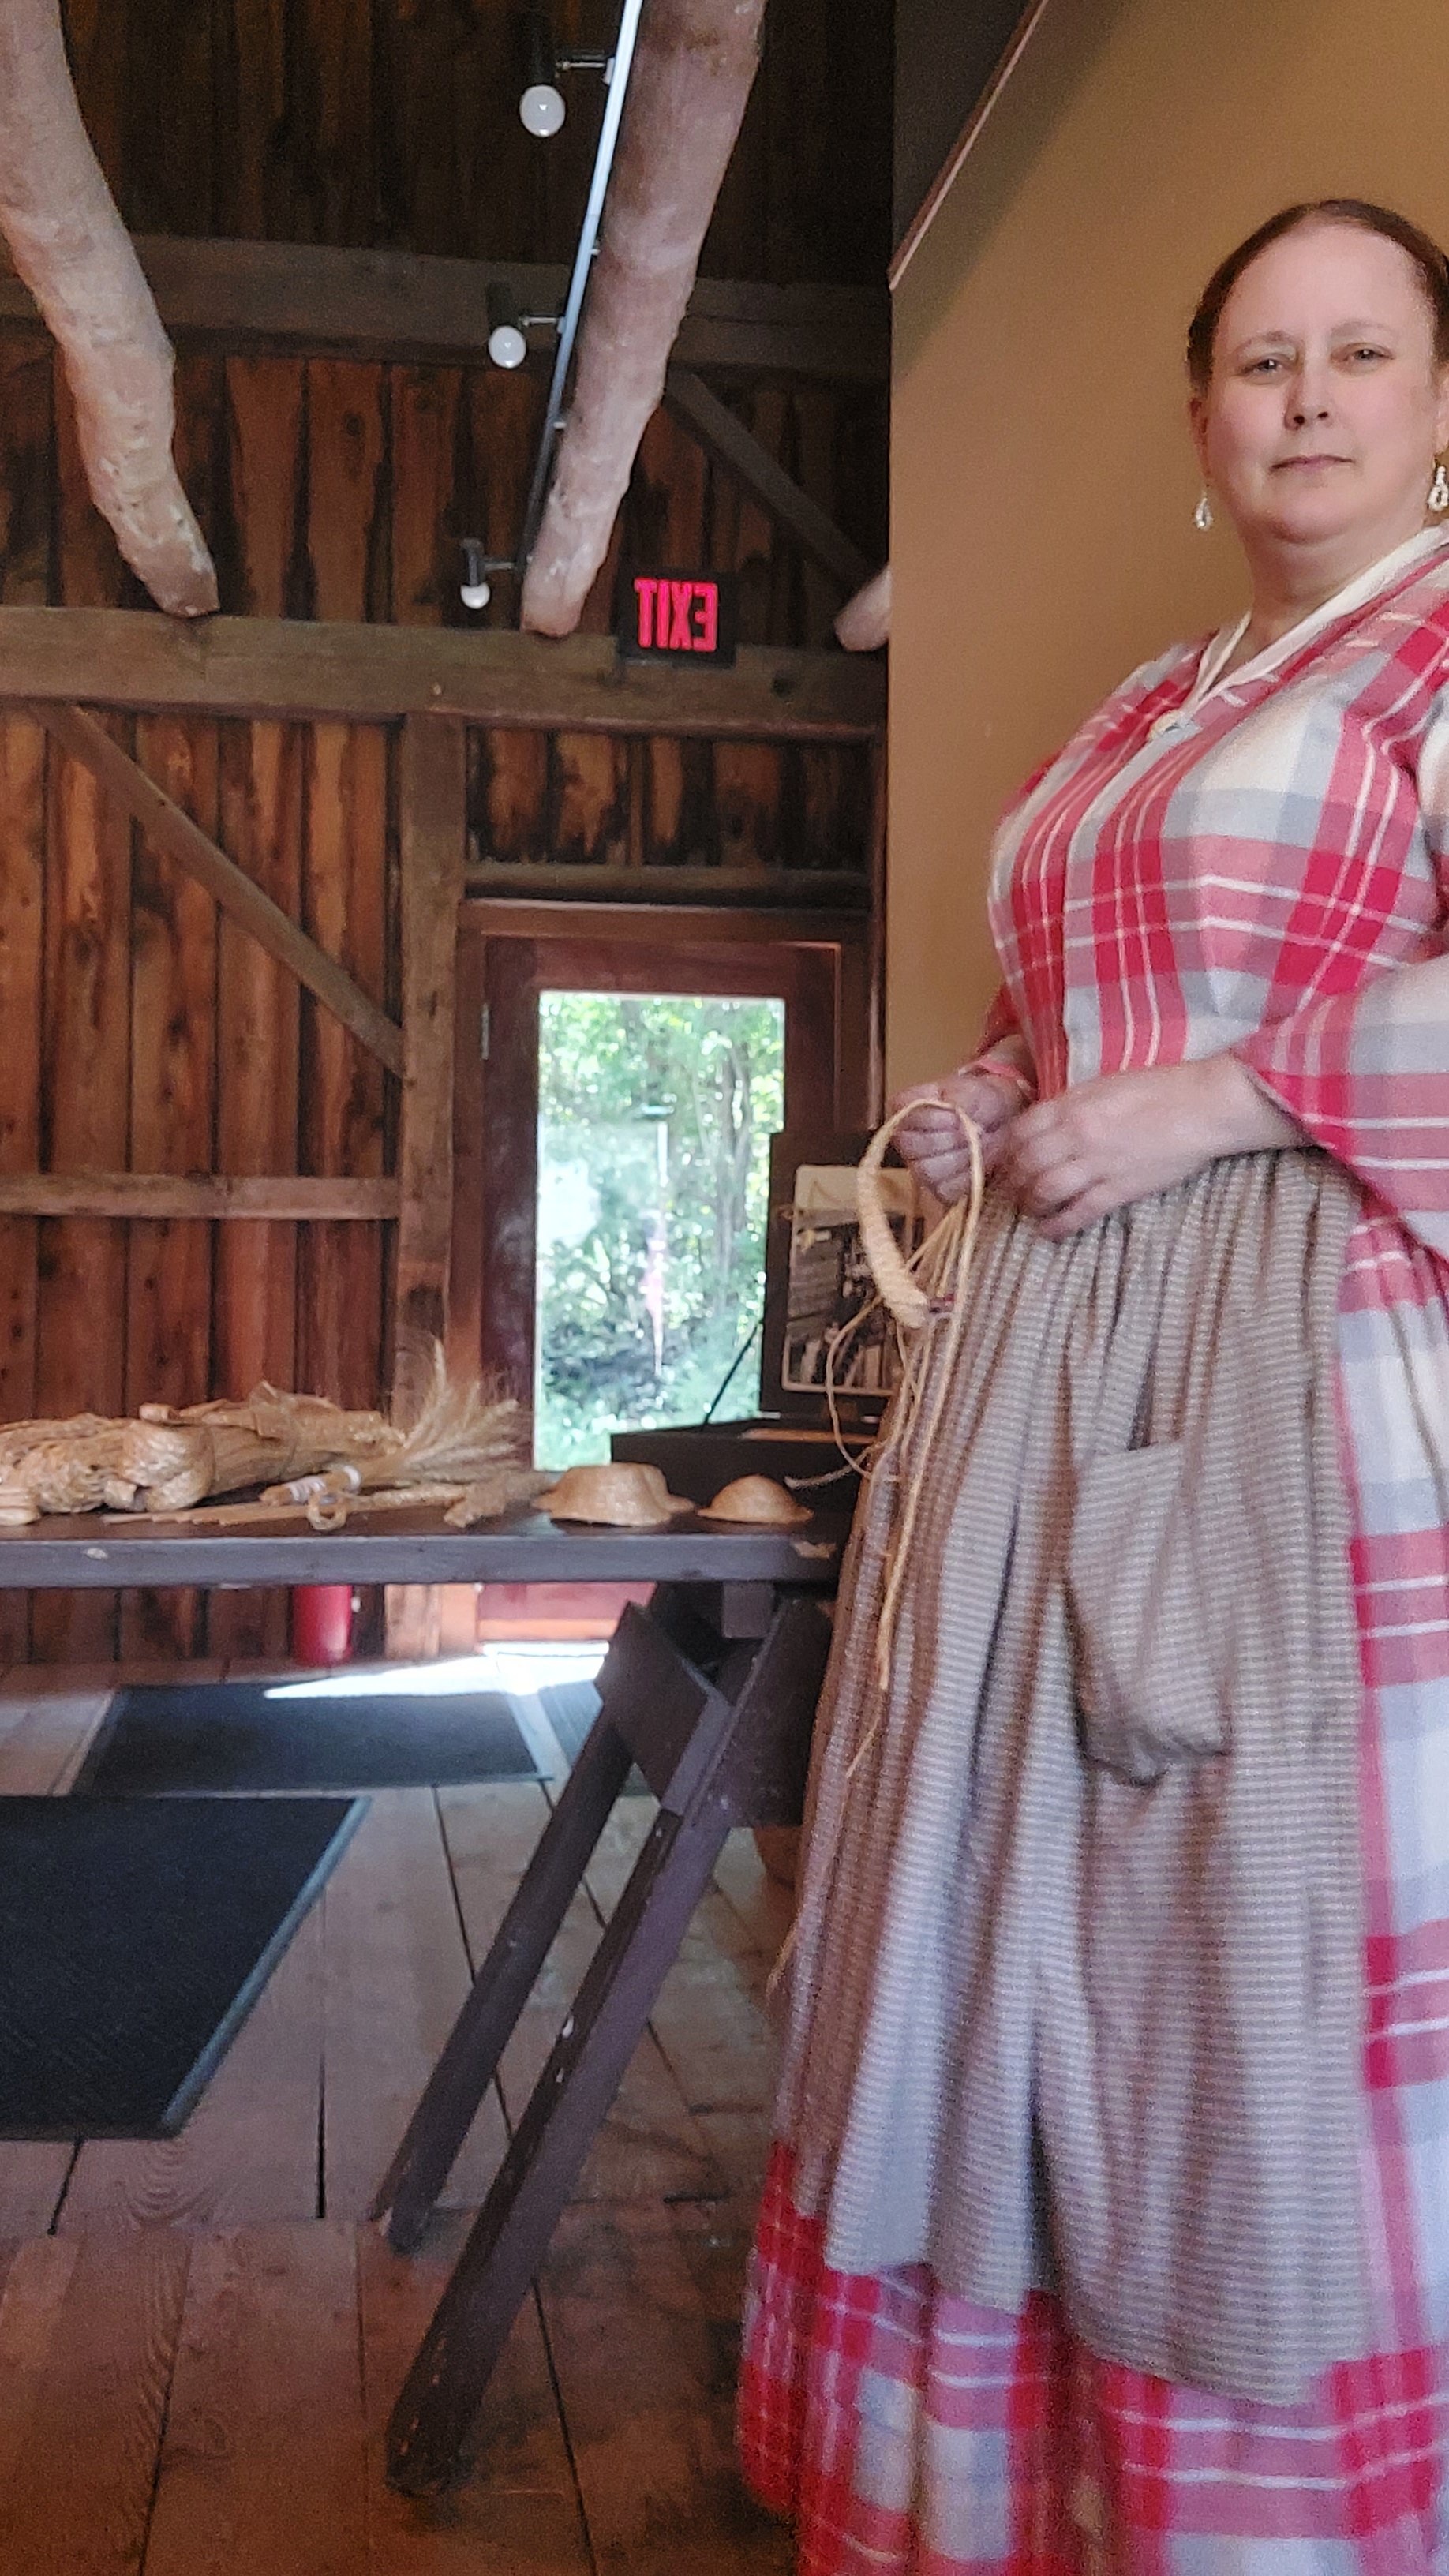
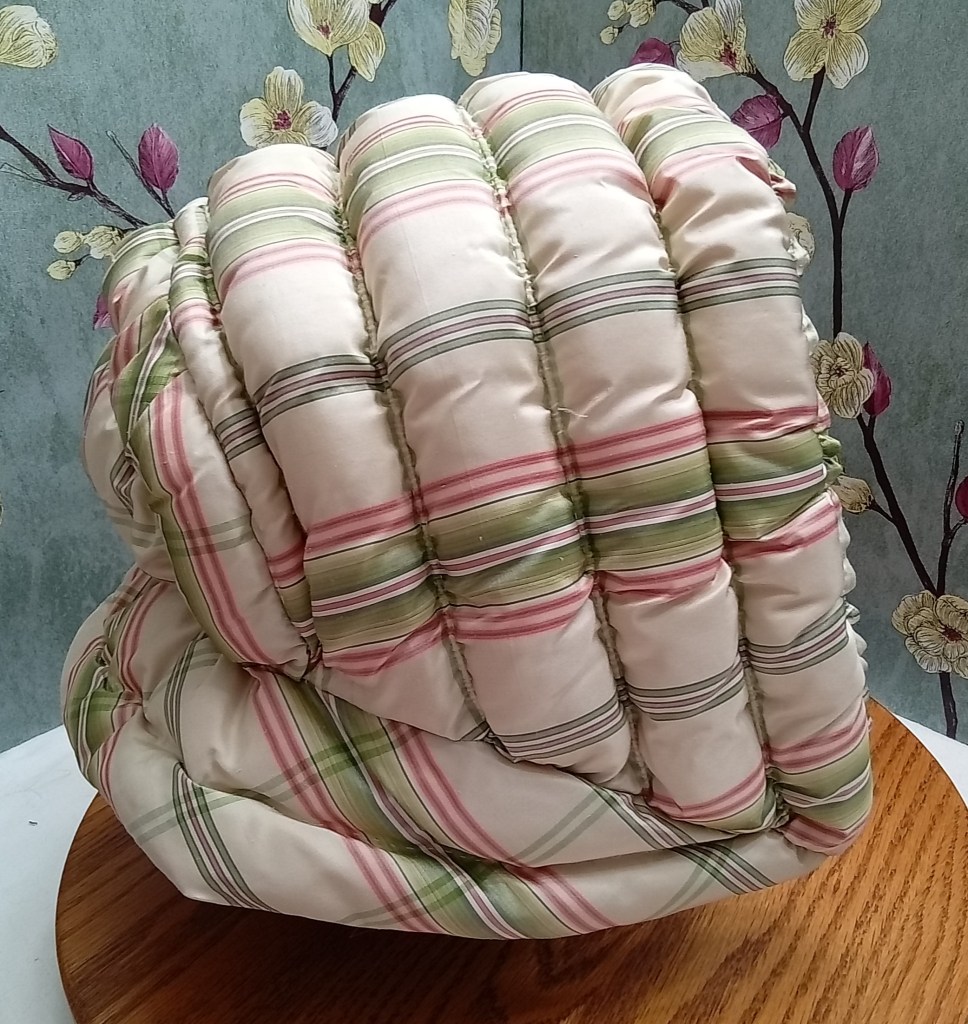
If you are doing an event that will be very cold, while you need to be active, you will want a warm hood that stays in place while giving you a good line of sight. For this, I recommend a wadded hood. A wadded hood is likely the warmest of the hoods as it is filled full with wool wadding or down. A well fit wadded hood will snug the head, keeping out drafts, and stay put while you actively work. The edge of the brim frames the face giving you full range of peripheral vision, which is important for working with livestock or visitors.
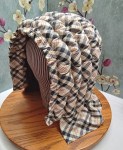
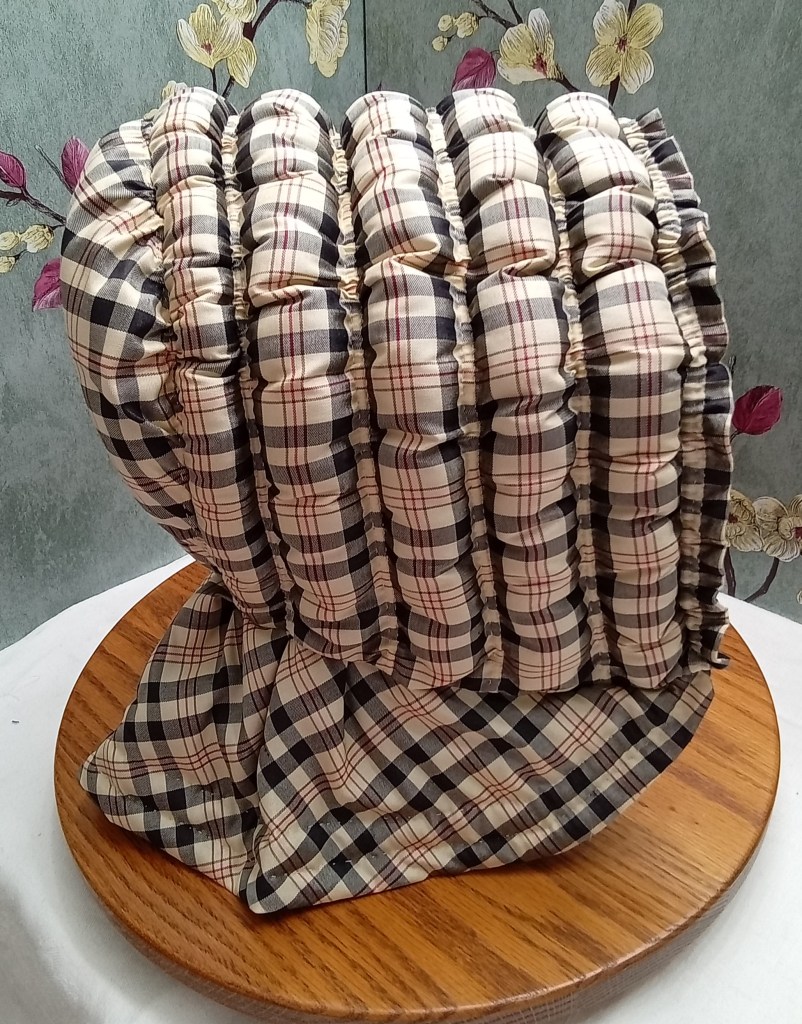
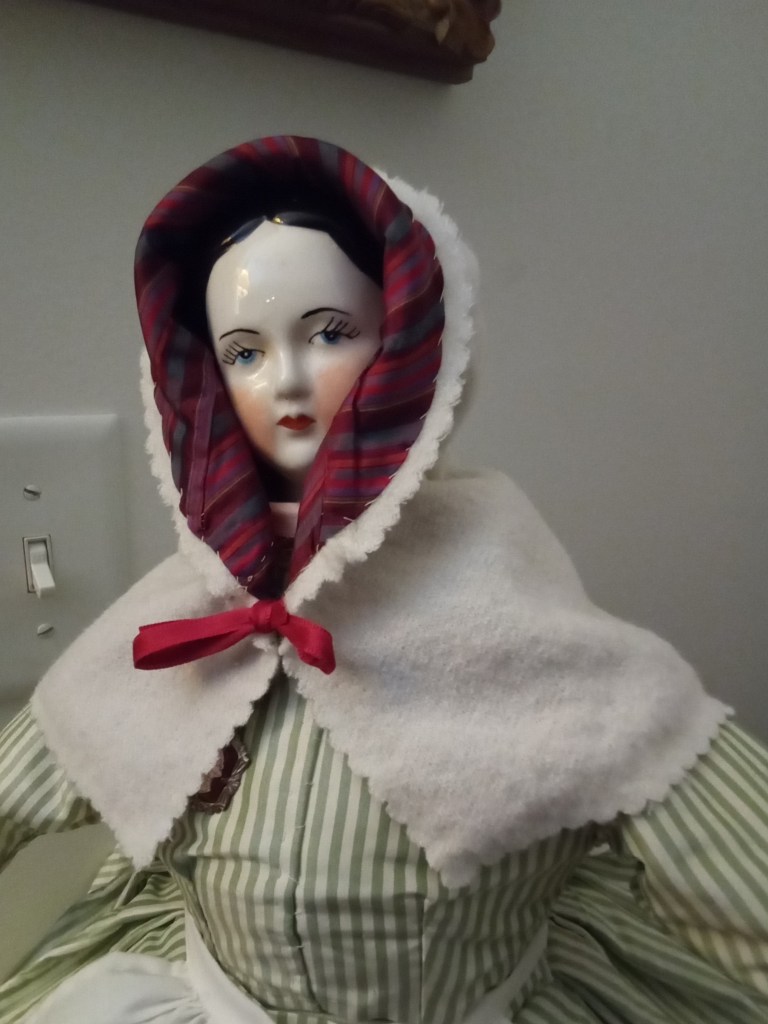
Wadded winter hood in plaid silk
If you are doing an event where visitors need to see your face while giving you protection from the cold weather, I recommend a quilted hood with a brim that can be turned back or is shaped with wire. This style hood can be made with lighter or cotton batting for subtle warmth or with heavier or wool batting for more warmth. A channel can be added to the inside of brim so the hood can be drawn in to hold in place if it is windy or the interpretation role is an active one.
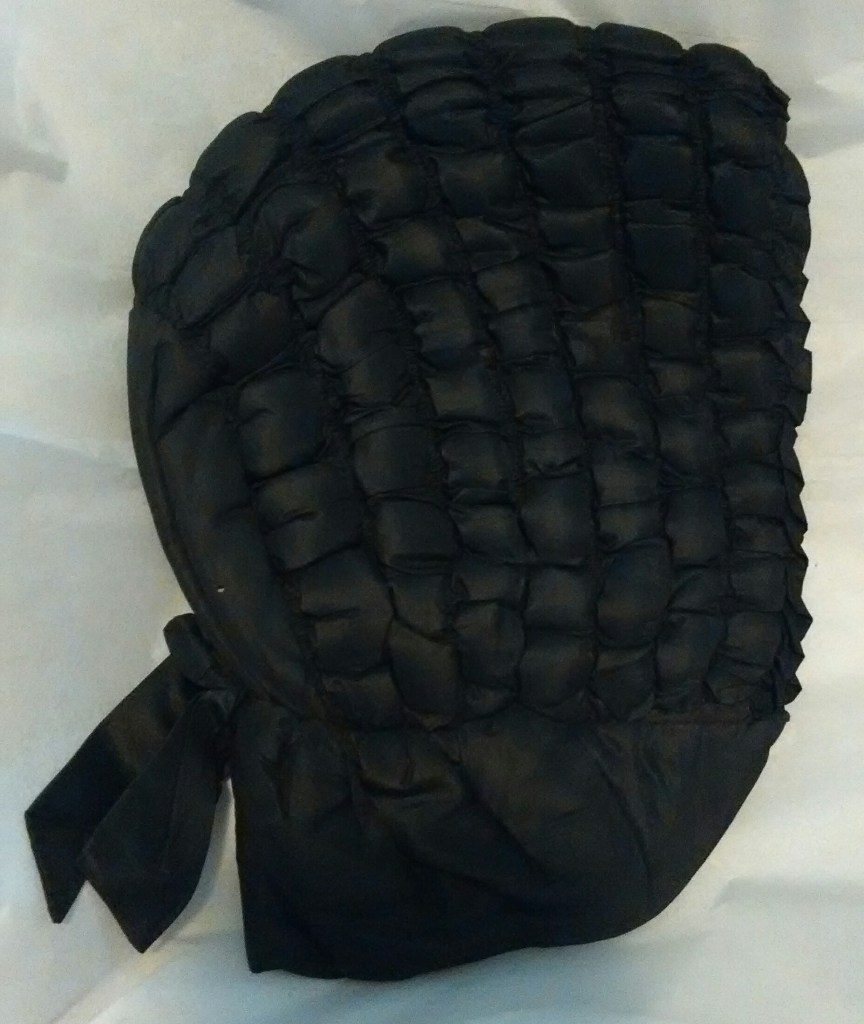
Quilted winter hood in black silk. Note bonnet shape.
While some winter hoods are trimmed, the majority of the everyday/common hoods I have studied are not trimmed. Simple trims can include ruched ribbon or pinked silk along the brim edge or simple bows on the crown or along the center top of the brim.
I decided to start the year with fun doll sets. These were so much fun to make.
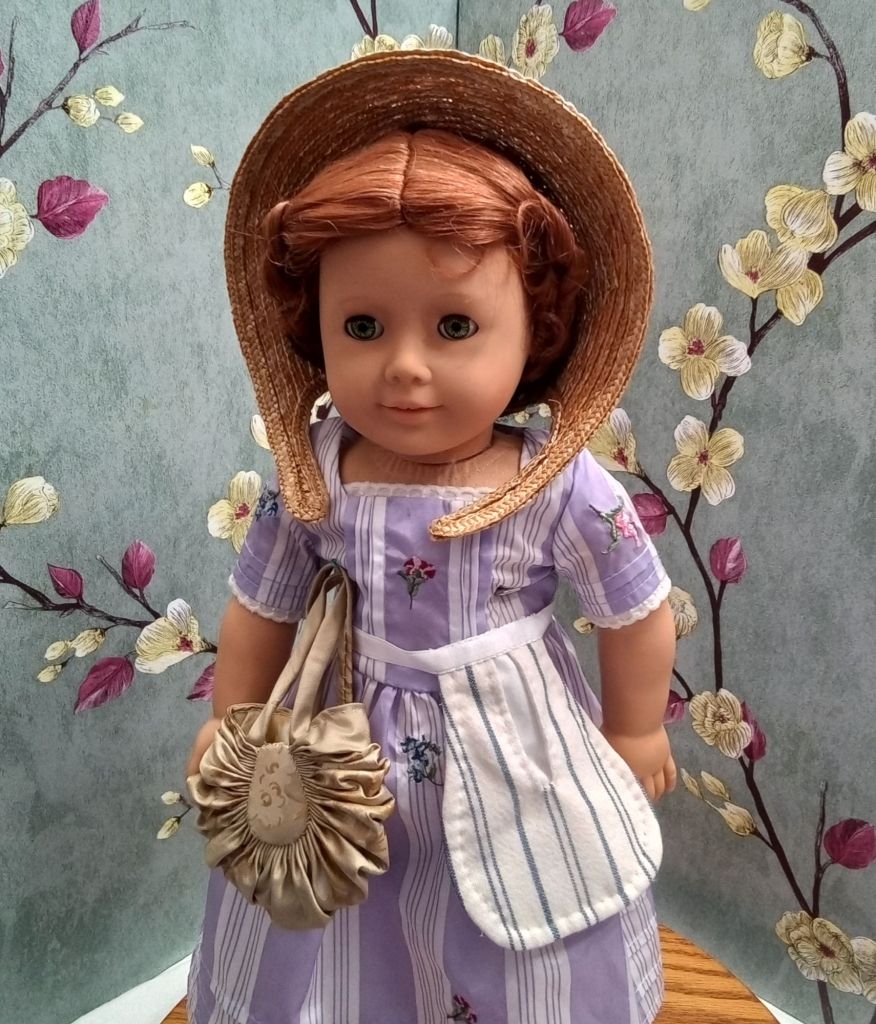
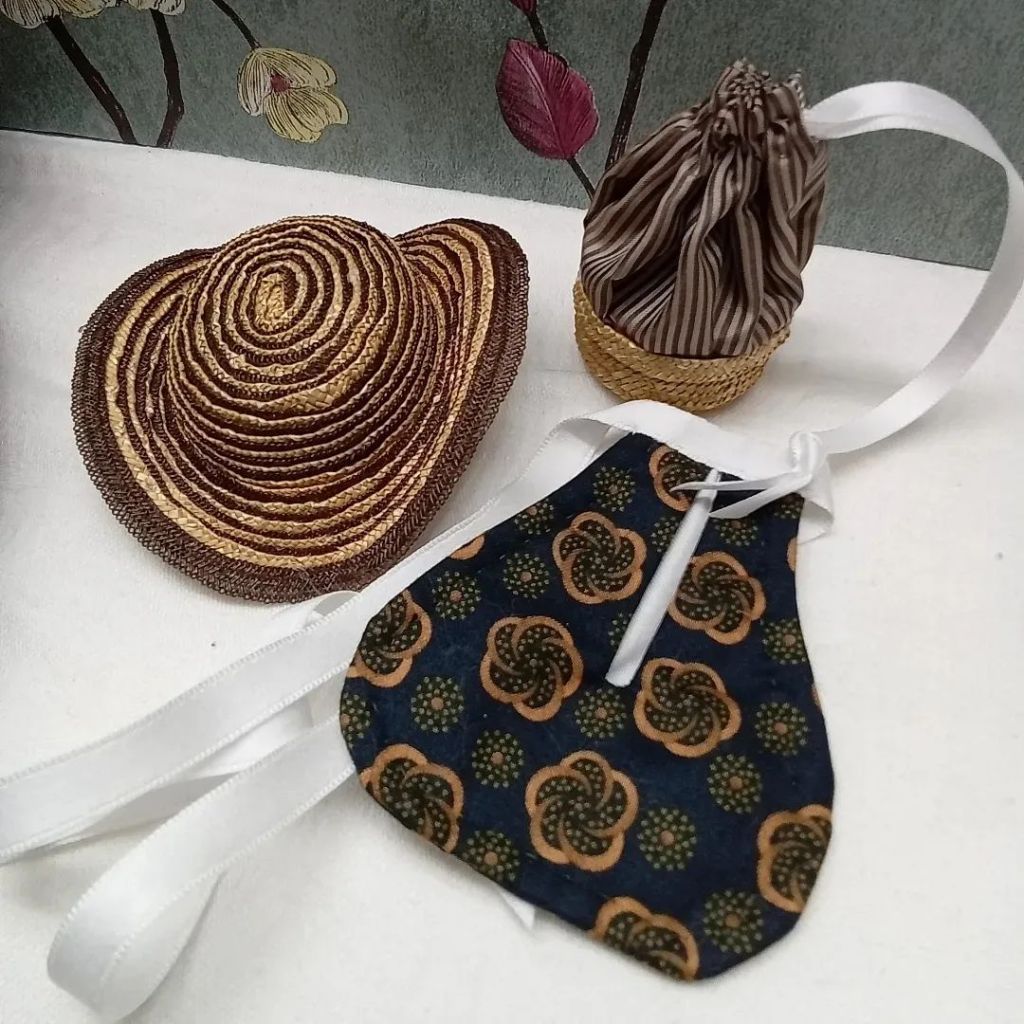
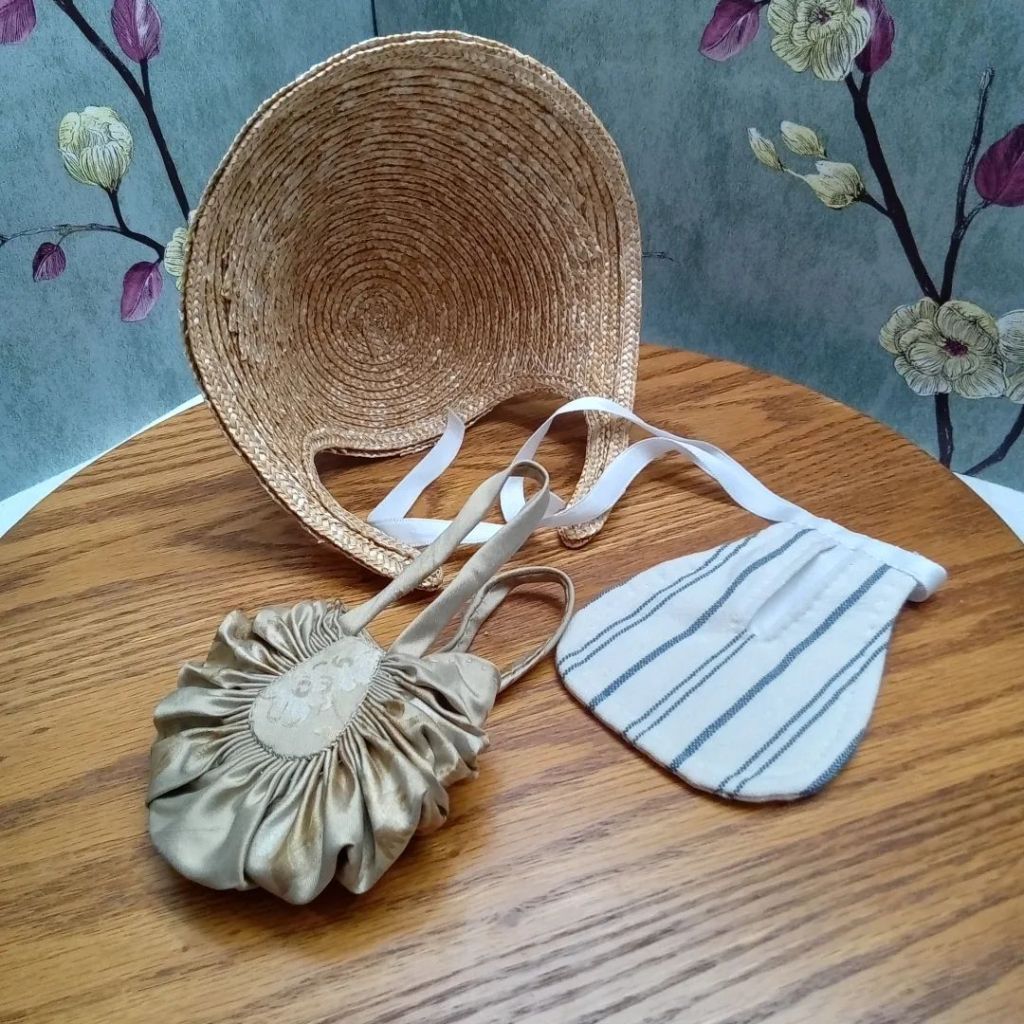
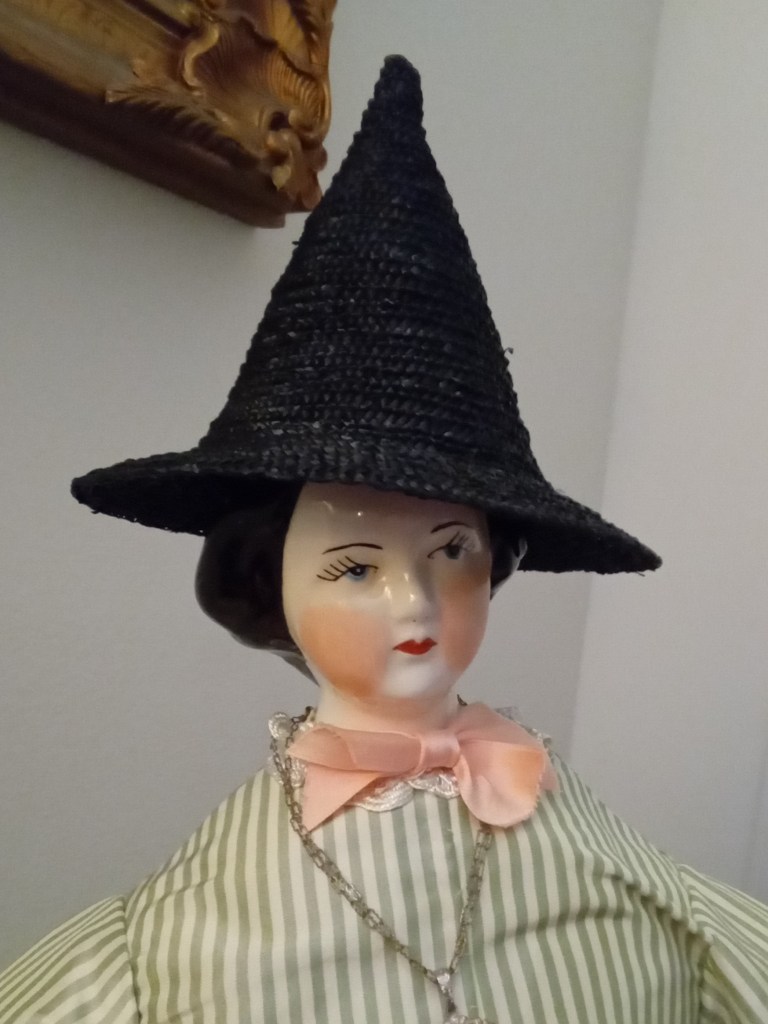
Violet is modeling two sets. Violet is a reproduction doll with a Jenny Lind hairstyle. She stands 18″ tall, while her head measure 8.25″ around. There are three pieces in each set she models. Each trio includes a straw hat, straw and silk workbag, and cotton pocket. The fashionably shapped straw hat is made with straw plait and brown, faux horsehair plait. It is block firm, without wire. The workbag has a straw base and silk bag, which draws closed with a ribbon. The bag is lined but the straw is not. The pocket is cotton in a mid-nineteenth century appropriate print. The pocket is lined with cotton sateen ribbon for the ties.
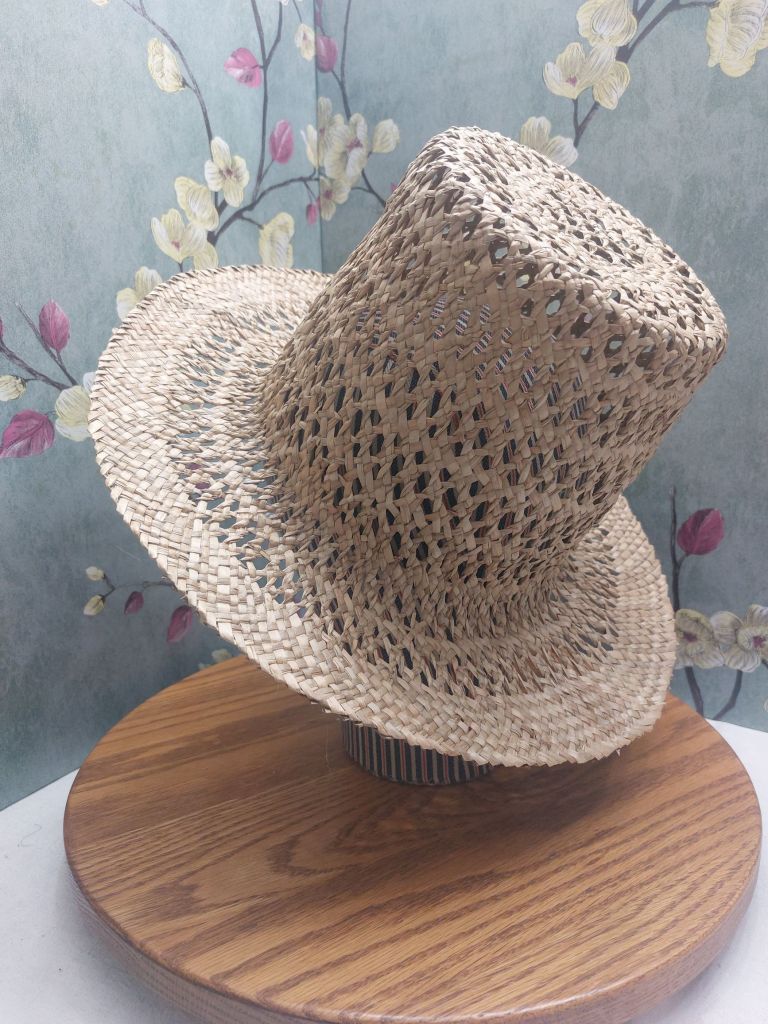
The final set from today is model by a popular modern doll who also stand 18″ tall with a head measuring approximately 13″ around. She shows off a trio that includes a straw bonnet, silk workbag, and cotton pocket. The bonnet is a high brim straw bonnet appropriatefor the late 1850s through early 1860s. The workbag is silk with pasteboard centers. itnis a style seen through out the century. The pocket is an Heirloom Family Weavers cotton. The pocket is lined with cotton sateen ribbon for the ties.
I am currently trying to squeeze in one more thing for New Year’s Day. So, this Year in Review will be mostly photos.
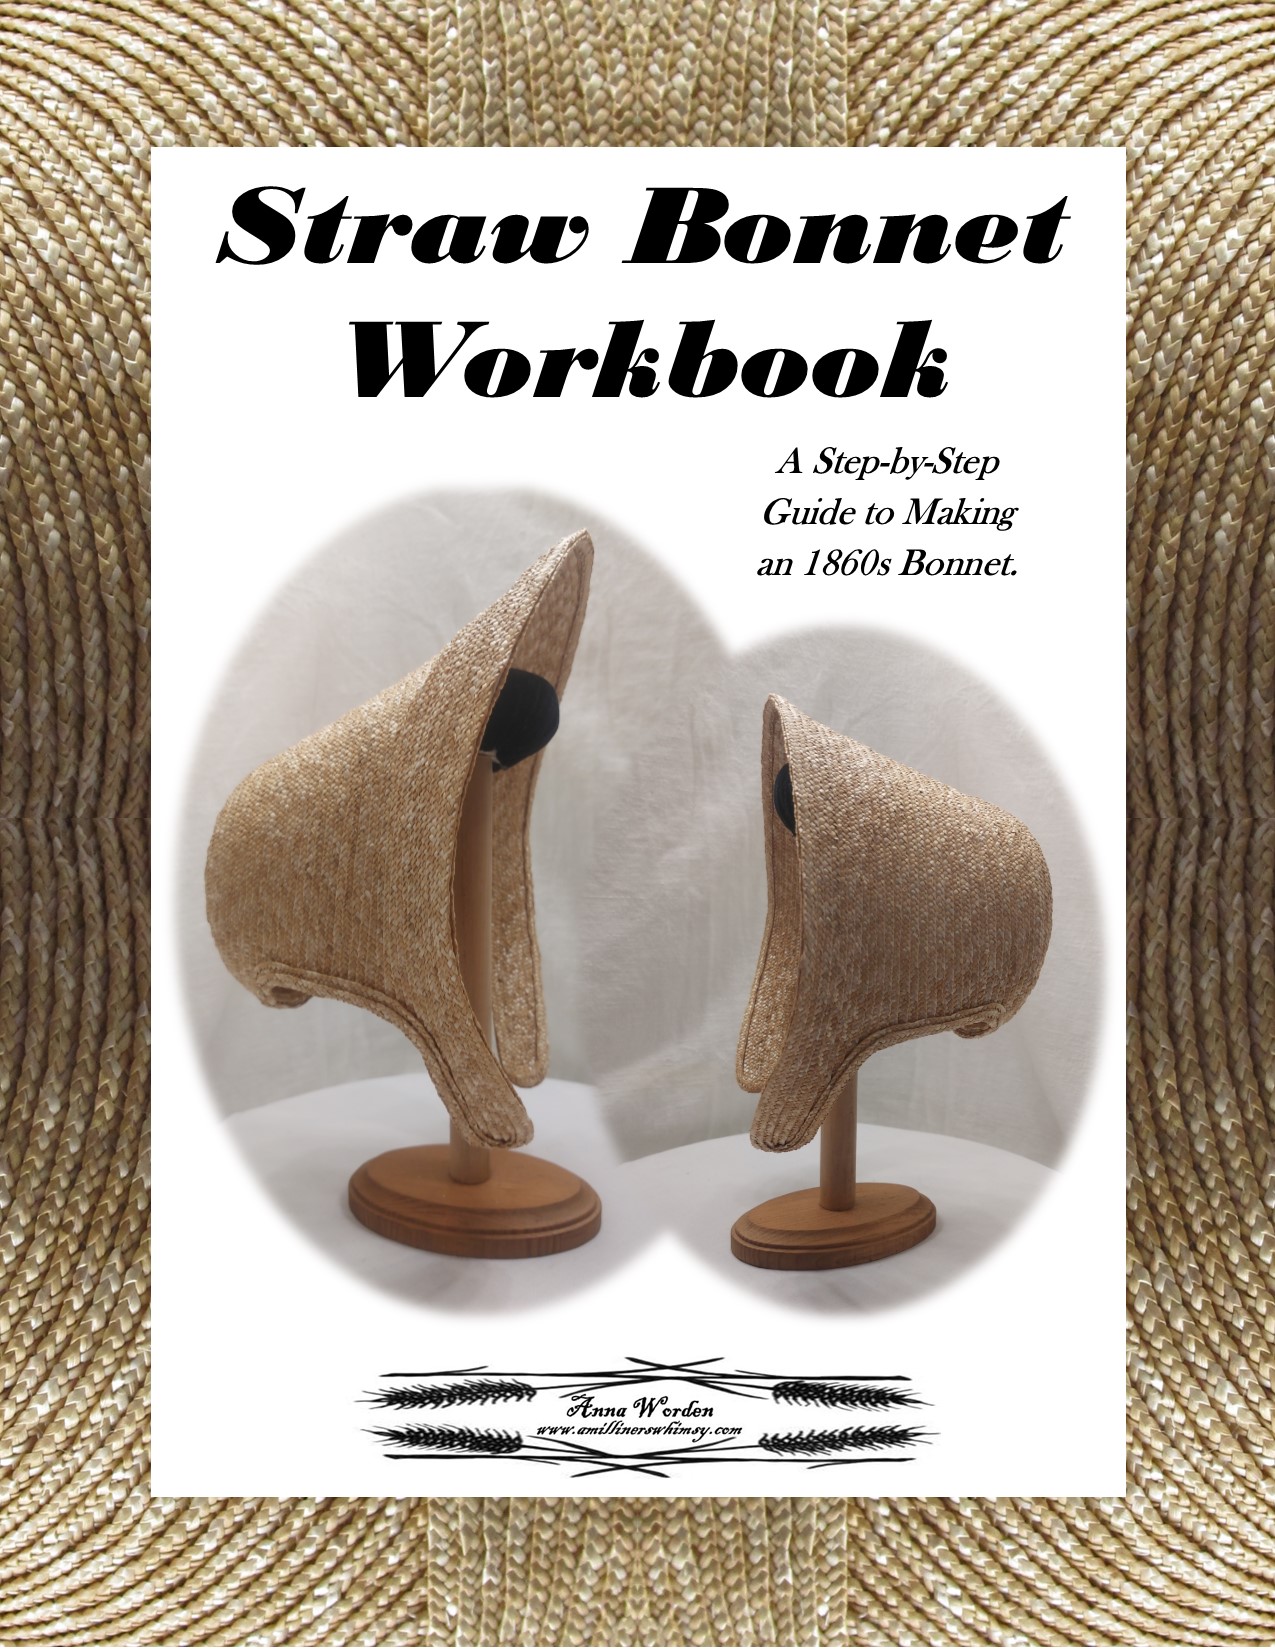
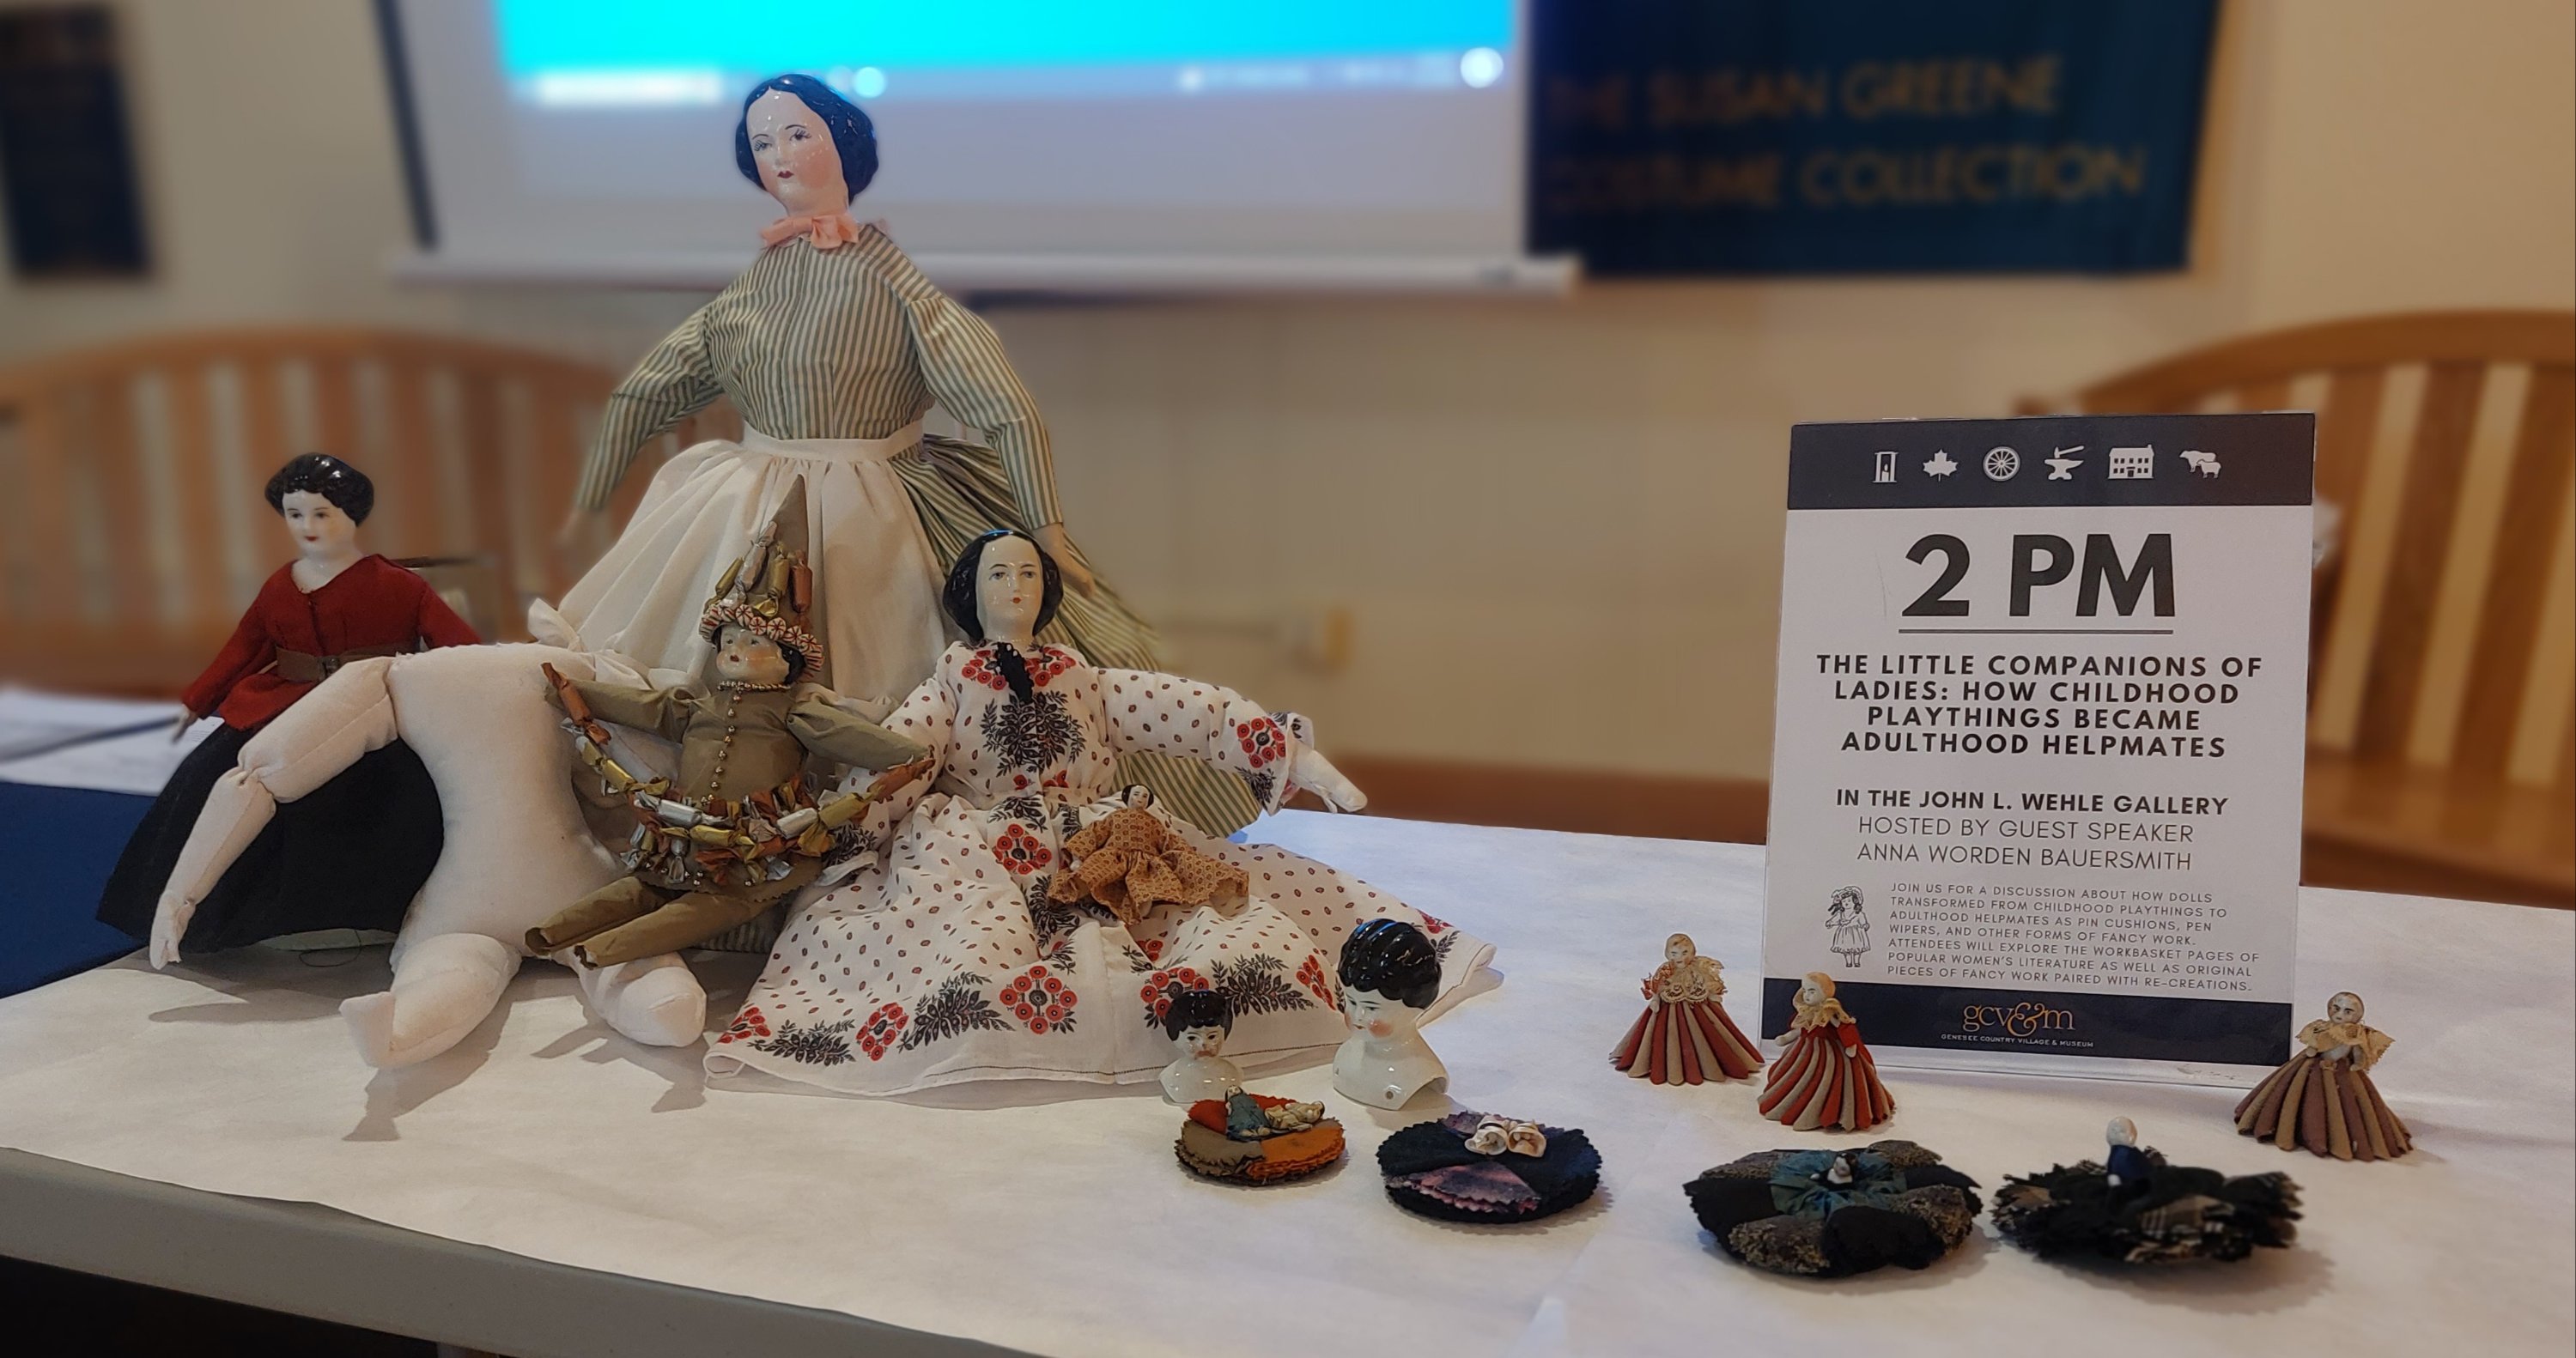
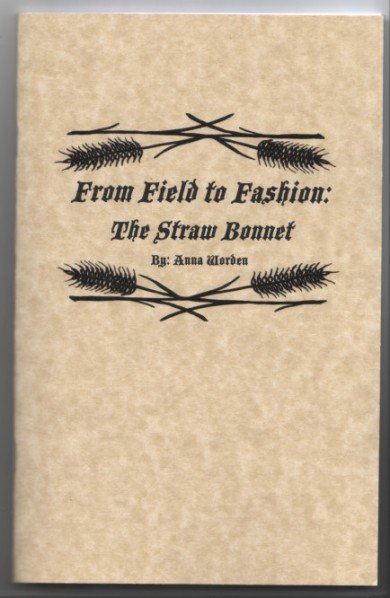
New Publications – Straw Bonnet Workbook and Quilted Winter Hood Workbook, plus some free mini-publications.Straw adventures – I made a few new things out of Straw. I really enjoy these workbag and baskets. I even started making some in doll size. I started my Pocket of the Month series on Patreon Dolls as Fancy Work and Sewing Accessories The Little Companions of Ladies Women’s Employments: Millinery Braiding Straw and Other FibersVoice in CommunityWinter, Cold Weather WearI did an assortment of presentations & interpretations. Come fall, I decided I wanted to make a point of attending something educational or inspiring each month. I will continue this in the coming year. A few learning curves with a mix of successes and failures.
Introducing my Quilted Winter Hood Workbook, an in-depth exploration of original quilted hoods from the 1840s through the 1860s, complemented by patterns and instructions for making three quilted hoods.
To enhance accessibility, the workbook is divided into two halves due to its file size. The first section opens with a brief introduction and transitions into a detailed examination of original quilted winter hoods drawn from my personal collection—designated as A through J—dating back to the 1840s and spanning through the 1860s. The second section of the workbook features comprehensive guidelines for creating the first three quilted hoods detailed in section 1.
This Workbook includes 3 downloads:
The Pattern Pieces (20 pages) (Hand-drawn)
2 files for the Workbook (58 pages total)
The Quilted Winter Hood Workbook is a PDF. This means you can read it on almost any device. You can even send it to Kindle. Of course, you are welcome to print your own paper workbook.
Please Note: I am working on a supplemental page for increasing size. Please message me if you need this.
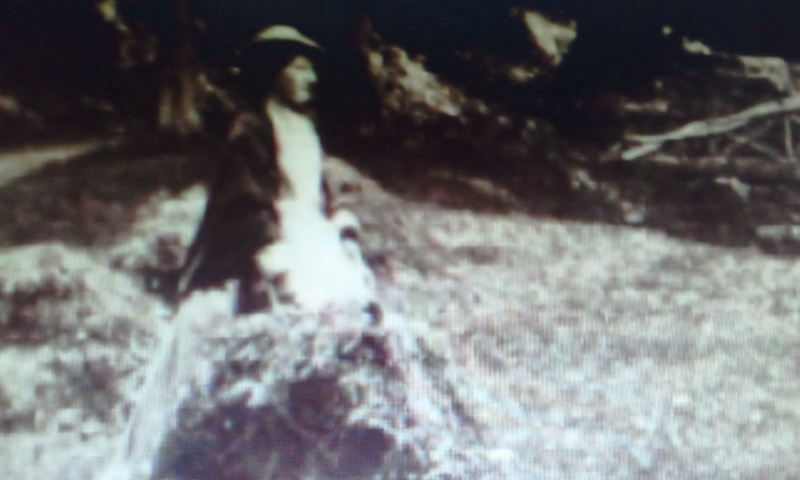
Wearing nineteenth century clothes, we find they fit differently than our modern clothes. The waist is in a different spot. The bust sits differently. Seams are used to accent or de-accent parts of the body. The fit feels different and moving in the clothes is different. The same is true for hats and bonnets. In previous posts I’ve talked about bonnets and perch. Here, we are going to look at how a hat was worn and how it “fits”.
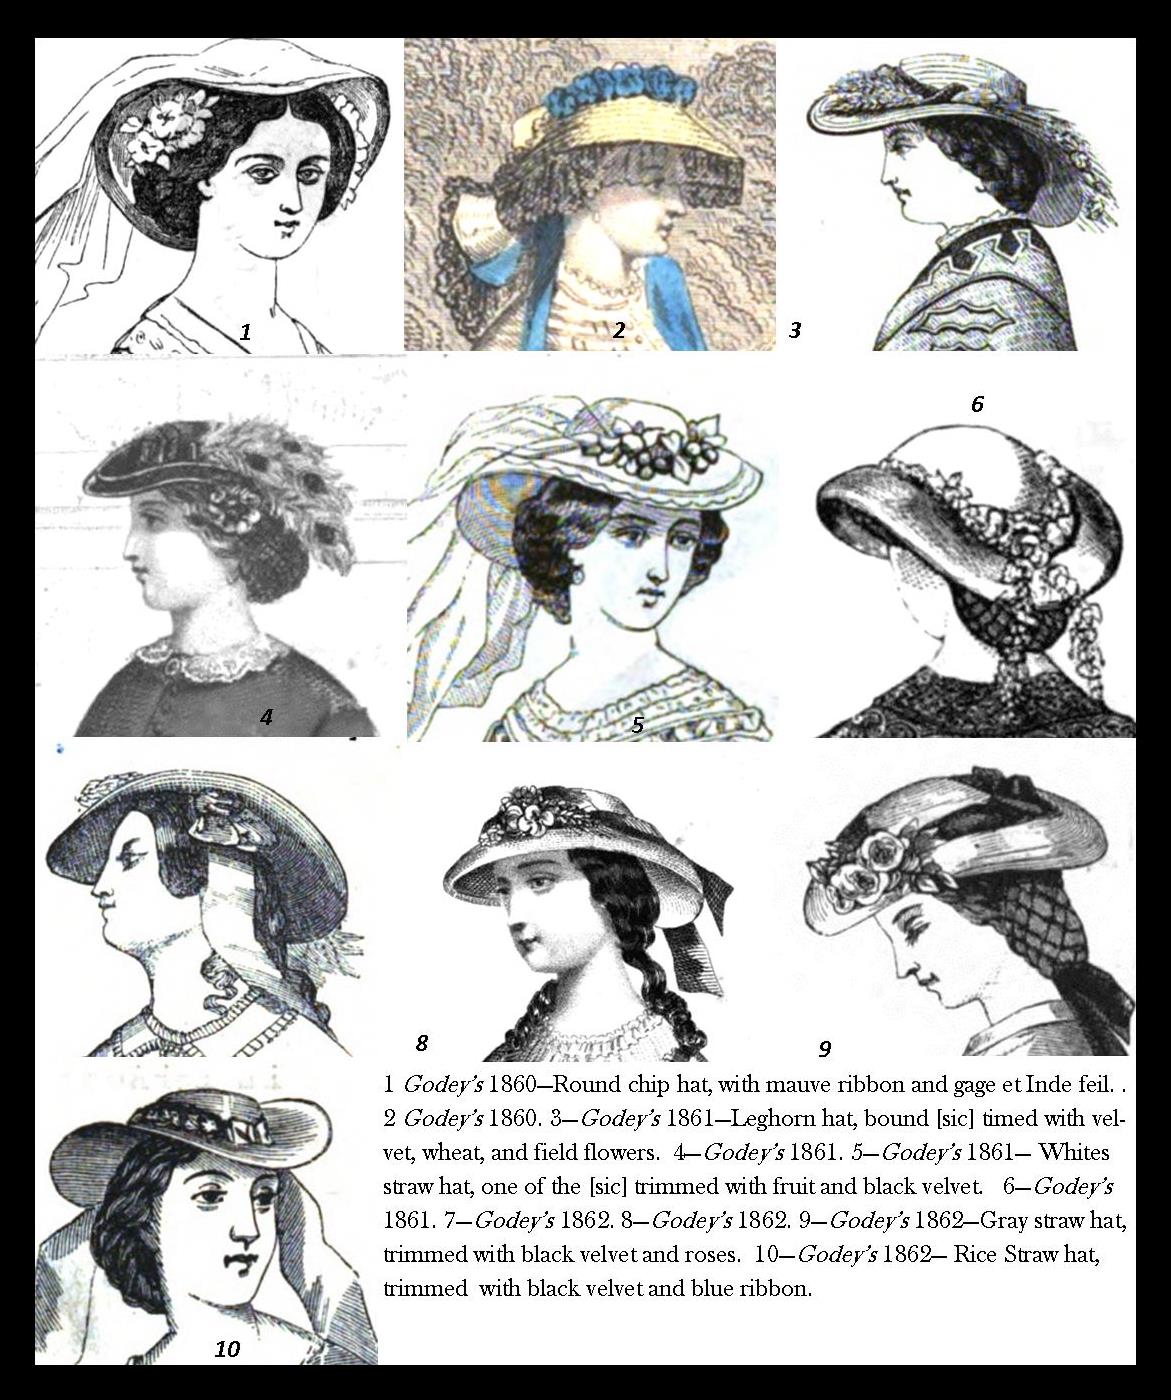
In the 1850s and 1860s, hats were worn much higher on the head than we are accustom to in the twenty-first century. Think about when you wear your modern beach or garden hat. You know that line across your forehead where it sits after a long hot day? You do Not want that. A mid-nineteenth century hat sat higher, at the top of your forehead, at your hair line, or even higher. Take a look at these fashion illustrations from 1860-1862. Notice where each hat sit. In a few illustrations, the front hairline is obviously below the crown line. In others, the crown sits just at this line. The hat sits atop the head, not encompassing it. The curve of the brim is what dips to the eye line, not the hat itself.
What does this mean for you when picking a size?
There are two factors for finding a comfortable fit: Size and shape.
The difference in wear or placement means we measure for a mid-nineteenth century had differently than we do for a twentieth or twenty-first century hat. The modern hat is measured just above the eyebrow. (This is also where many of us measure for bonnets. We want to keep you on your toes.) For mid-nineteenth century, we measure higher, at the hair line. In this illustration, we can see the difference between where the two measurements would be.
These higher, hairline measurements are often smaller than those taken at the eyebrow. A hat worn at this point can be slightly smaller to slightly larger for comfort. So, add and subtract an inch to your hairline measure.
For example: I am 22.5″ around at my eyebrows and 21.5″ at my hairline. The vast land of the internet tells me that the average woman’s head measures 22.5″ to 22 5/8″ around at the modern measuring point. So, I am about average. I comfortably wear a mid-nineteenth century hat that is 19.5″ to 21.5″
General guidelines I use:
Small = Less than 21″ at the hairline (crown less than 20″)
Average = 21″-22.5″ at the hairline (crown 20-21.5″)
Large = Greater than 22.5″ at the hairline (crown greater than 22″)
Just like every head measures a bit differently, they are each shaped a bit differently.
When looking from above, some people have rounder heads while other have more oval heads. Both of these shapes to the right can have a circumference of 22.5″. Yet, the same hat would fit each head differently.
I will try to indicate which hats have rounder crowns or more oval crowns. I am in the process of naming the crowns. Hopefully, that will help.
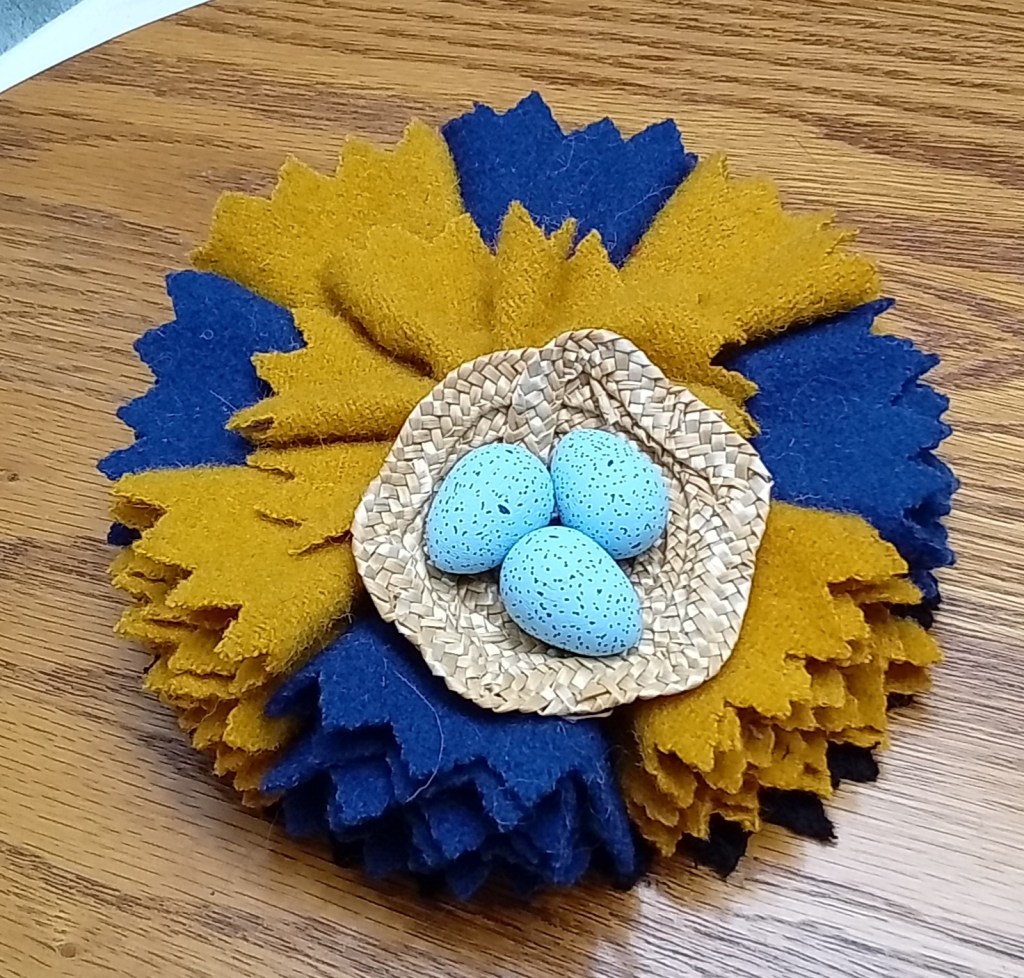
I added a few things to my shop this evening to go towards my car fund. There are 3 wadded hoods and two nest pen wipers that would look cute in a tree.
I did put together a trio of doll millinery. It sold nearly instantly. I was already planning to have a second set done for tomorrow (Thursday) night. The straw hat is currently drying.
Normally, I have a sale for my e-publications at the end of the year. This year, I need to start it a little earlier.
Sadly, I need to replace my car. My car is old enough to graduate high school. I bought this car shortly after my Dad died in 2008. It has across the country and back with me. It has seen me through a lot. If I could afford to keep it running forever, I would. But, I can’t. The repair bills keep adding up. It’s reached the point where I start to panic each time it pulls or creaks as I envision a wheel falling off. (I’d like to say that is an irrational fear. But, it happened to a previous car.)
I plan to sensibly buy a used car of a similar size and good safety rating. I have an appointment with my local dealership on Thursday. Everything from this past week’s sales will be going towards the down-payment. Ideally, I would like to come up with another $4,000 to get the payment where I would like. I know I can’t pull that off this time of year when shipping is so high risk. Thus, this early sale.
I was ecstatic to see the response to my Fanciful Utility theme Mystery Boxes. Fanciful Utility was published twelve years ago. In this day of social media and high-speed digital information exchange, that may as well be a lifetime.
Or, so I thought.
The near immediate sell-out of my FanU themed boxes tells me first, Fanciful Utility still has a strong following, and second, I’ve been neglecting FanU fans.
With this in mind, I’ve added a new FanU Fan tierto Patreon with the plan to add a monthly FanU Spotlight post.
FanU Spotlight posts will take a look at current, past, and future FanU and fancy work projects ranging from pin cushions to pen wipes; work-pockets to boxes. Some will include templates, too.
This tier will also be able to see the Pocket of the Month posts. (I think Patreon allows you to see past posts & content as well.)
My goal is to have 30 Patrons by the end of February and 40 by the end of 2024.