Even since making the bonbon baskets, I have been wanting to make other items from straw. Luckily, lady’s magazines and fancy work manuals are speckled with projects, including workbags.
There are three different style workbags I want to make in straw.
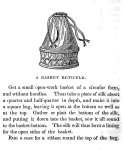
The first style is this basket bag style. The base is a basket made of straw plait sewn to shape. The top is a silk bag that draws closed. The construction concept is seen in A Girl’s Own Book, by Lydia Child as well as other publications. The basket base is made with a variety of materials in each description.
For my first two of this style, I created a tapered square straw basket base. The bag tops are silk taffeta with drawstring closures. Both the basket and bag are lined with silk. I may have over engineered the process considering it was past 10pm when I finished the bag portions last night.
Both of these bags are available in my shop. I think I will be able to do one more. I have a smaller round version in mind as well. If there is interest, I will make a couple straw basket bases as well.
The next style is one I can’t help seeing as a taco. The straw base is a circle or oval in a taco shape with the silk bag set inside. I have a mini taco waiting as I write. I have two different ways of making this in mind.
The third style came to me as I was looking for something else yesterday. I already misplaced the image. It was a “duh” moment as I was reading a description of plaited grass/straw fibers being sewing into circles and used for the centers of what was essentially a Balloon Bag. Yes, the Balloon Bag for the sew along years ago. So, of course, I need to make one. I am not sure how well guaging silk onto straw will go. I may add a layer for strength.
Look forward to these styles in the next few days.
Many thanks to Joyce, ot the Time-Traveler’s Rabbit Hole, and Marna for their assistance in finding the examples in the thousands of pages of original publications.
There are two factors for finding a comfortable fit: Size and shape.
Size
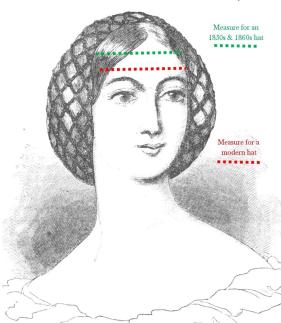
The difference in wear or placement means we measure for a mid-nineteenth century had differently than we do for a twentieth or twenty-first century hat. The modern hat is measured just above the eyebrow. (This is also where many of us measure for bonnets. We want to keep you on your toes.) For mid-nineteenth century, we measure higher, at the hair line. In this illustration, we can see the difference between where the two measurements would be.
These higher, hairline measurements are often smaller than those taken at the eyebrow. A hat worn at this point can be slightly smaller to slightly larger for comfort. So, add and subtract an inch to your hairline measure.
For example: I am 22.5″ around at my eyebrows and21.5″ at my hairline. The vast land of the internet tells me that the average woman’s head measures 22.5″ to 22 5/8″ around at the modern measuring point. So, I am about average. I comfortably wear a mid-nineteenth century hat that is 19.5″ to 21.5″
Here is my head with the tape showing where to measure. This is where I wear most CW era hats. This is the circumference of my head. My measurement is 21 1/2″. (Note: this is a full inch smaller than the modern measurement take lower.)
General guidelines I use:
Small = Less than 21″ at the hairline (crown less than 20″)
Average = 21″-22.5″ at the hairline (crown 20-21.5″)
Large = Greater than 22.5″ at the hairline (crown greater than 22″)
Shape
It is helpful to know whether your head is more round or more oval.When looking from above, some people have rounder heads while other have more oval heads. I have an average oval head. Very round hats don’t work for me without adding to the lining.
Hat blocks can be more round or more oval with the same circumference. To illustrate: Both of these shapes to the right can have a circumference of 22.5″. Yet, the same hat would fit each head differently.
This is one of the hardest questions for me to answer. Why? Because I don’t fully know.
Ideally, I would have a big pool of bills/receipts, an assortment of ledgers from many different milliners, and a few dozen diary entries to create a database of prices based on year, region, area, time of year, type of piece, etc.. Then, I would feel like I had a hint of an answer.
But, I don’t have that. I don’t think anyone has that.
I save every 19th century bill/receipt that comes up for sale. I have even bought a few. I note every diary entry.
I try really really hard not to cry at the auction in front of all those people when a dealer out bids me on the stack of ledgers with a milliner’s ledger in it.
Take a moment.
Yes. It happened. I saw them go out the door.
….
Diary entries like these from Caroline Richards of Canandaigua, NY give us a look at the prices she paid for her millinery:
Wednesday, 1854 – Ann Eliza is going down street with us this afternoon to buy us some new summer bonnets;. They are to be trimmed with blue and white and are to come to five dollars. We are going to Mr Stannard’s store also, to buy us some stockings.
April 12, 1856 — We went down town this morning and bought us some shaker bonnets; to wear to school. They cost $1 apiece and we got some green silk for capes to put on them. We fixed them ourselves and wore them to school and some of the girls liked them and some did not, but it makes no difference to me what they like, for I shall wear mine till it is worn out. …
Saturday, 1854 – We got our new summer hats; from Mrs Freshour’s millinery and we wore them over to show to Aunt Ann and she said they were the very handsomest bonnets she had seen this year.
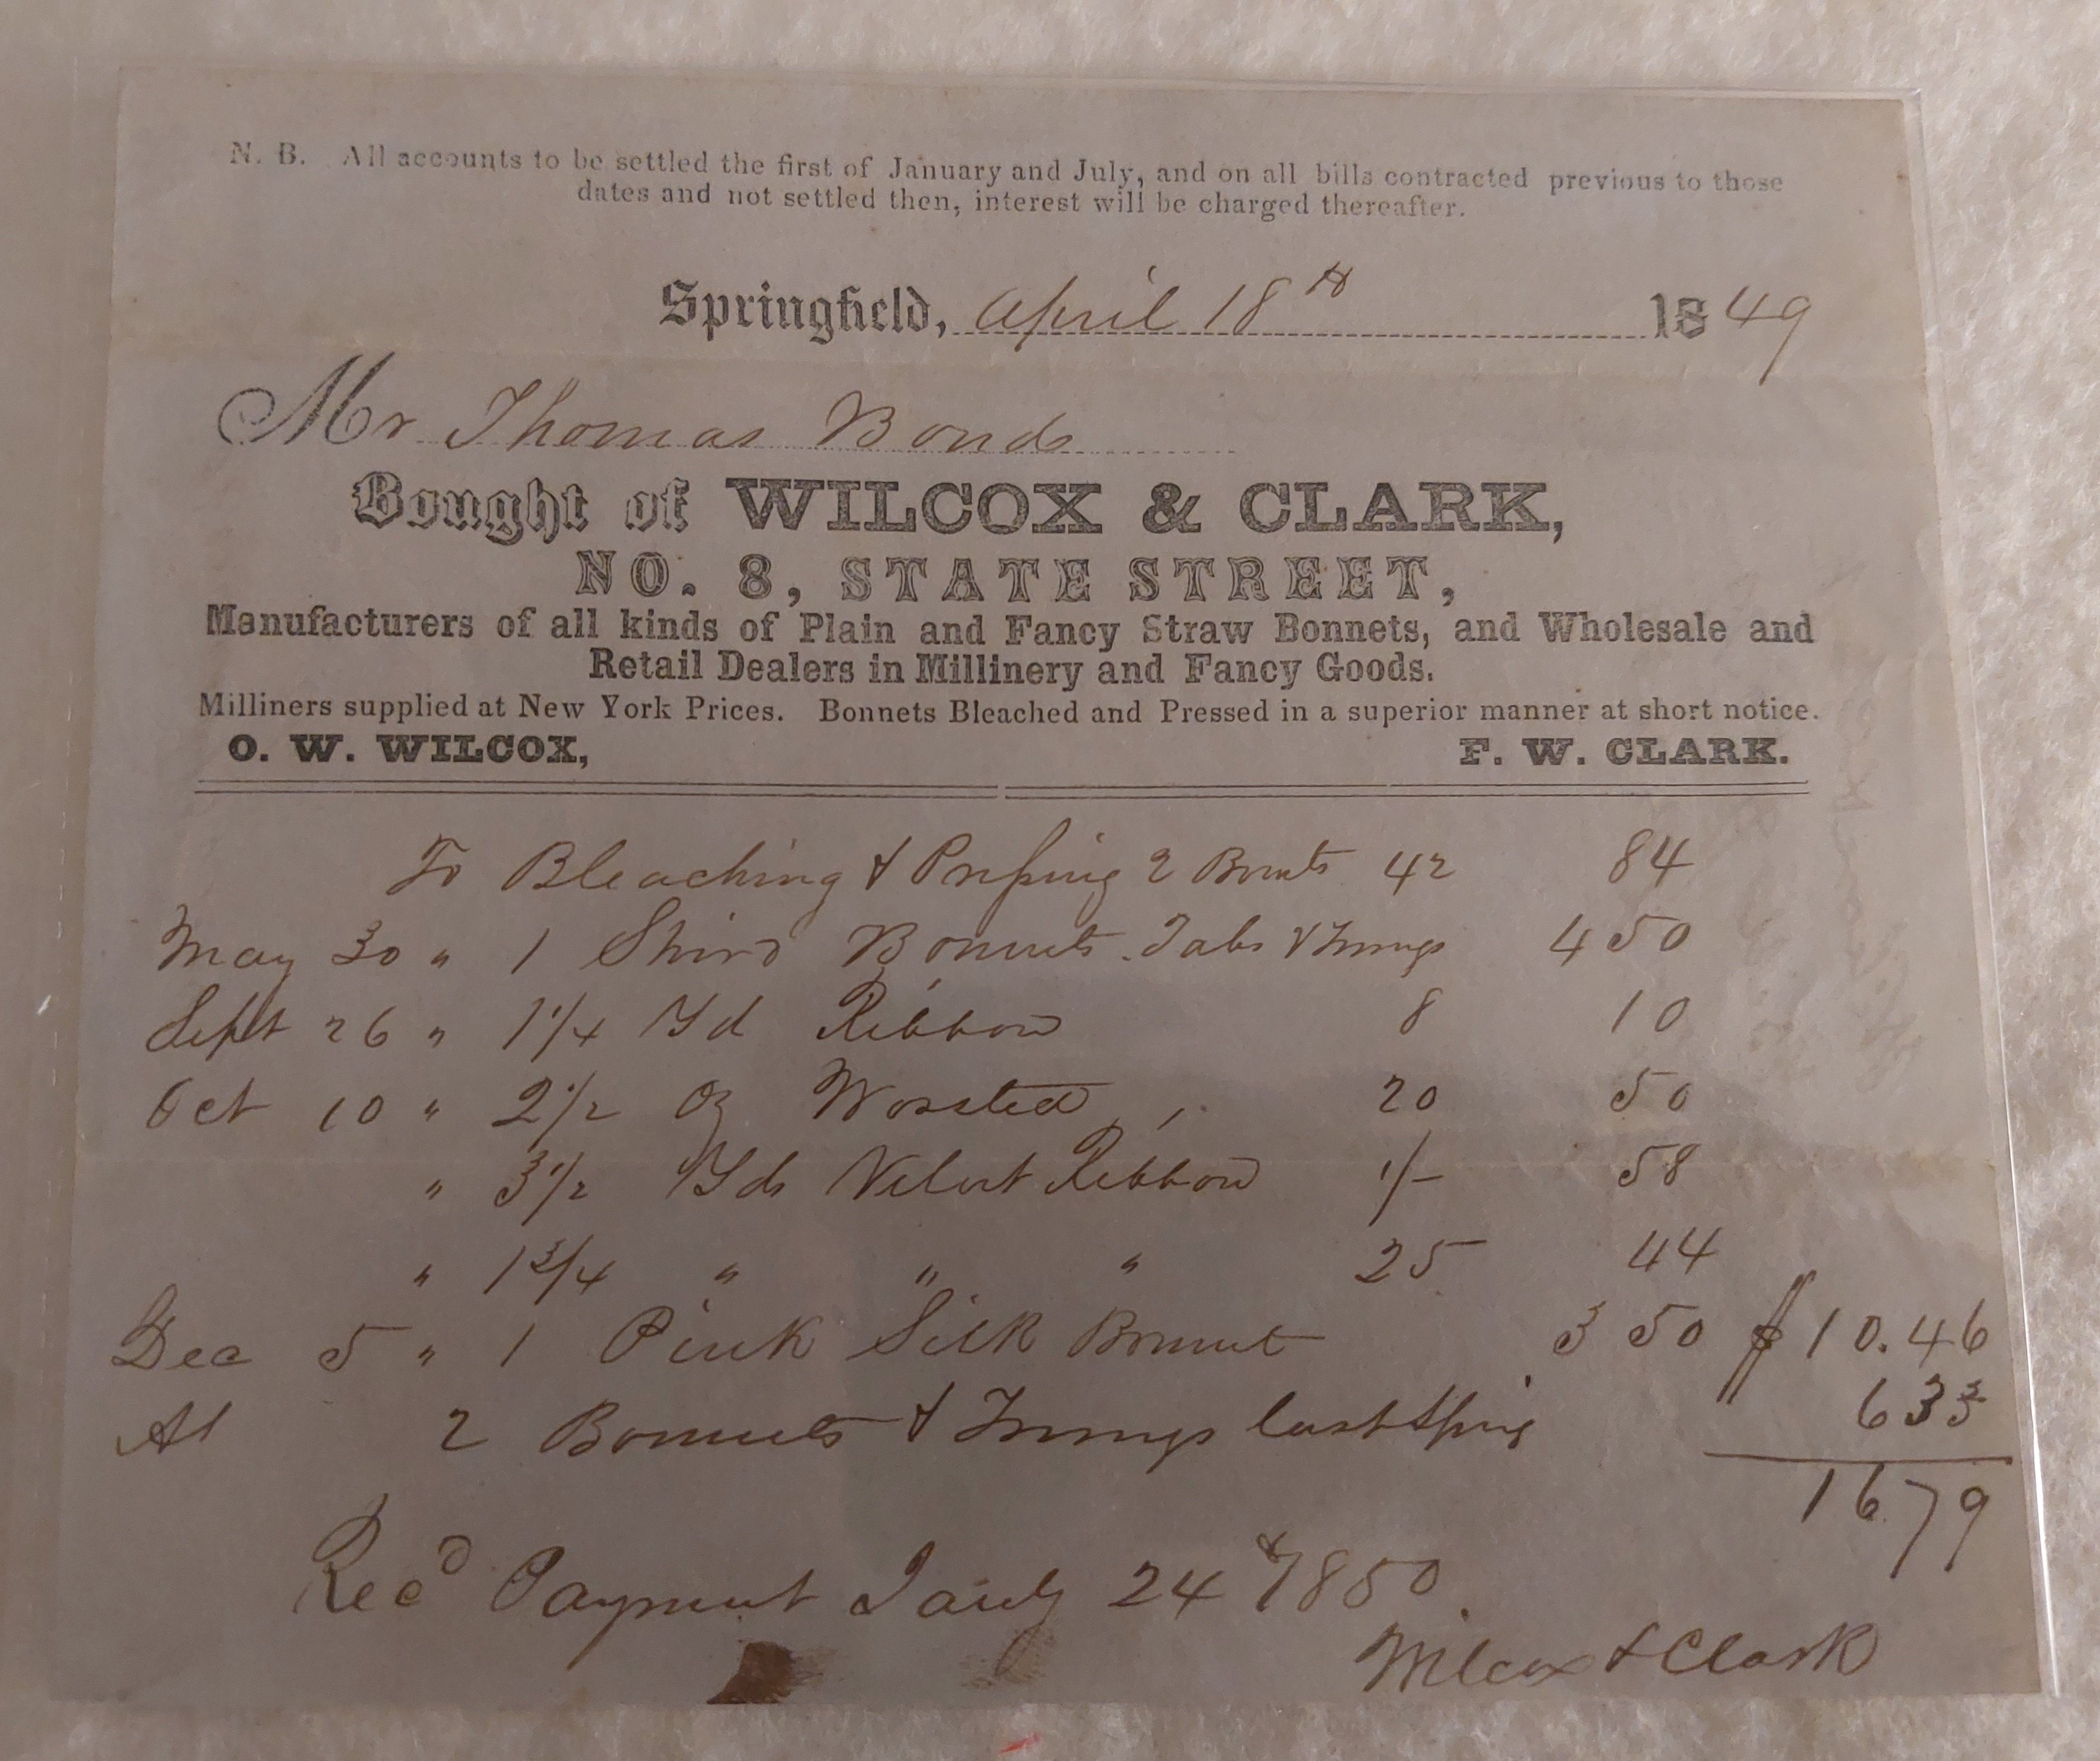
Bills or receipts can show the price of items from particular stores. They can also show the variety of store types as well as methods of keeping track of sales. This bill from 1849 lists several items purchased:
One trimmed bonnet cost $4.50 in May. A pink silk bonnet cost 43.50 in December. Two bonnets and trimmings “last spring” cost $6.35. (This bill also tells us the products and services this shop in Springfield provides, the frequency in which this family of an unknown number of women purchases bonnets, and the delay in payment from “last spring” to April, 1849 for this bill to January, 1850 for the payment.)
If I have to give a price, I can give a window for the mid century of as low as $1 for Shaker bonnets for school to $4.50 for a decorated silk bonnet. But, my answer has holes in that these examples span two different geographic regions and come from two different size cities.
So, the exploration continues…….
Do you enjoy reading my blog? Do you find it helpful? Please consider supporting through Patreon or Sending a Tip.
In person, as a visitor watches, the question is usually “Are you hand sewing all of it?” or something about the stitches itself. Online, the question I get is about what kind of machine I am sewing with.
Straw plait millinery was hand sewn up until the invention of the straw sewing machine in the late 1860s. The first straw sewing machine was for sewing the bind edge of a bonnet or hat, not the whole body. The machine for sewing all of the straw came just a short time later. These machines came into common, but not universal use, in the 1870s. I say not universal use because some original pieces from the 1880s still show hand sewing for the construction.
I sew my straw millinery as they did in the nineteenth century up through the mid-century: by hand.
I use little stitches on the outside and long, half inch to inch long stitches on the inside.
To this day, I am still amazed by the visible stitches inside many straw bonnets. Here is an original bonnet I have in my TLC collection. The left photos is outside. The right photo is inside. Notice how you can barely, if at all, see the stitches on the outside, while on the inside the stitches are very visible.
From an artistic or craft standpoint, I find I have far more control over the straw when working by hand. I can adjust the tension, slightly curve, shape, or even fold the straw as I work. This allows me to create the shapes of each style including the height seen in an 1860’s spoon bonnet or the straw bavolet in an 1840s bonnet or the V point of a Regency or late century hat. This straw manipulation is the job of my left hand. So, both hands get tired, often very tired and sore, when I push them. I go through a lot of creams and visit my massage person regularly.
Do you enjoy reading my blog? Do you find it helpful? Please consider supporting through Patreon or Sending a Tip.
A cottage industry at its simplest is product creation in the home.
Product creation in the home, cottage industry, simultaneously provides income for the home, ideally utilizing the resources immediately or locally available, and contributes to the economy of rural and developing areas. When the product created went from the home to a larger manufacturer, as was the case with sewing straw bonnets or hats, this was known as piece work. This is not to say home manufacturing solely occurs in rural or developing areas. Product development can also be done in urban homes, where it is often referred to as home manufacturing instead of cottage industry. In this case, the materials are often provided. Flower making or band-box making would be examples of this.
Straw plaiting and straw sewing as cottage industries in the 19th century were prominent in England and Italy in Europe, and in the New England through New York areas of the United States. (Some areas, such as Luton in England, continued plaiting well into the 20th century.) Straw cottage industry took fibers easily grown in these regions, commonly wheat and rye, and transformed them into money earning product. (more details in From Field to Fashion) The workflow differed between the US and England. In England, straw markets were the norm. Plaiters and sewers exchanged their goods for the best price of the day based on their materials and work. In the US, an industry representative would come to collect finished work in exchange for pay. (I did read a single passage saying a woman could take her work to the local dry goods store with the merchant acting as the industry representative. I need to find additional support for this to be sure of the actuality.) These pieces (bonnets and hats) would then go a factory to be wired and finally sized (blocked and stiffened.) At this point, they were ready to go to straw goods stores and millinery shops.
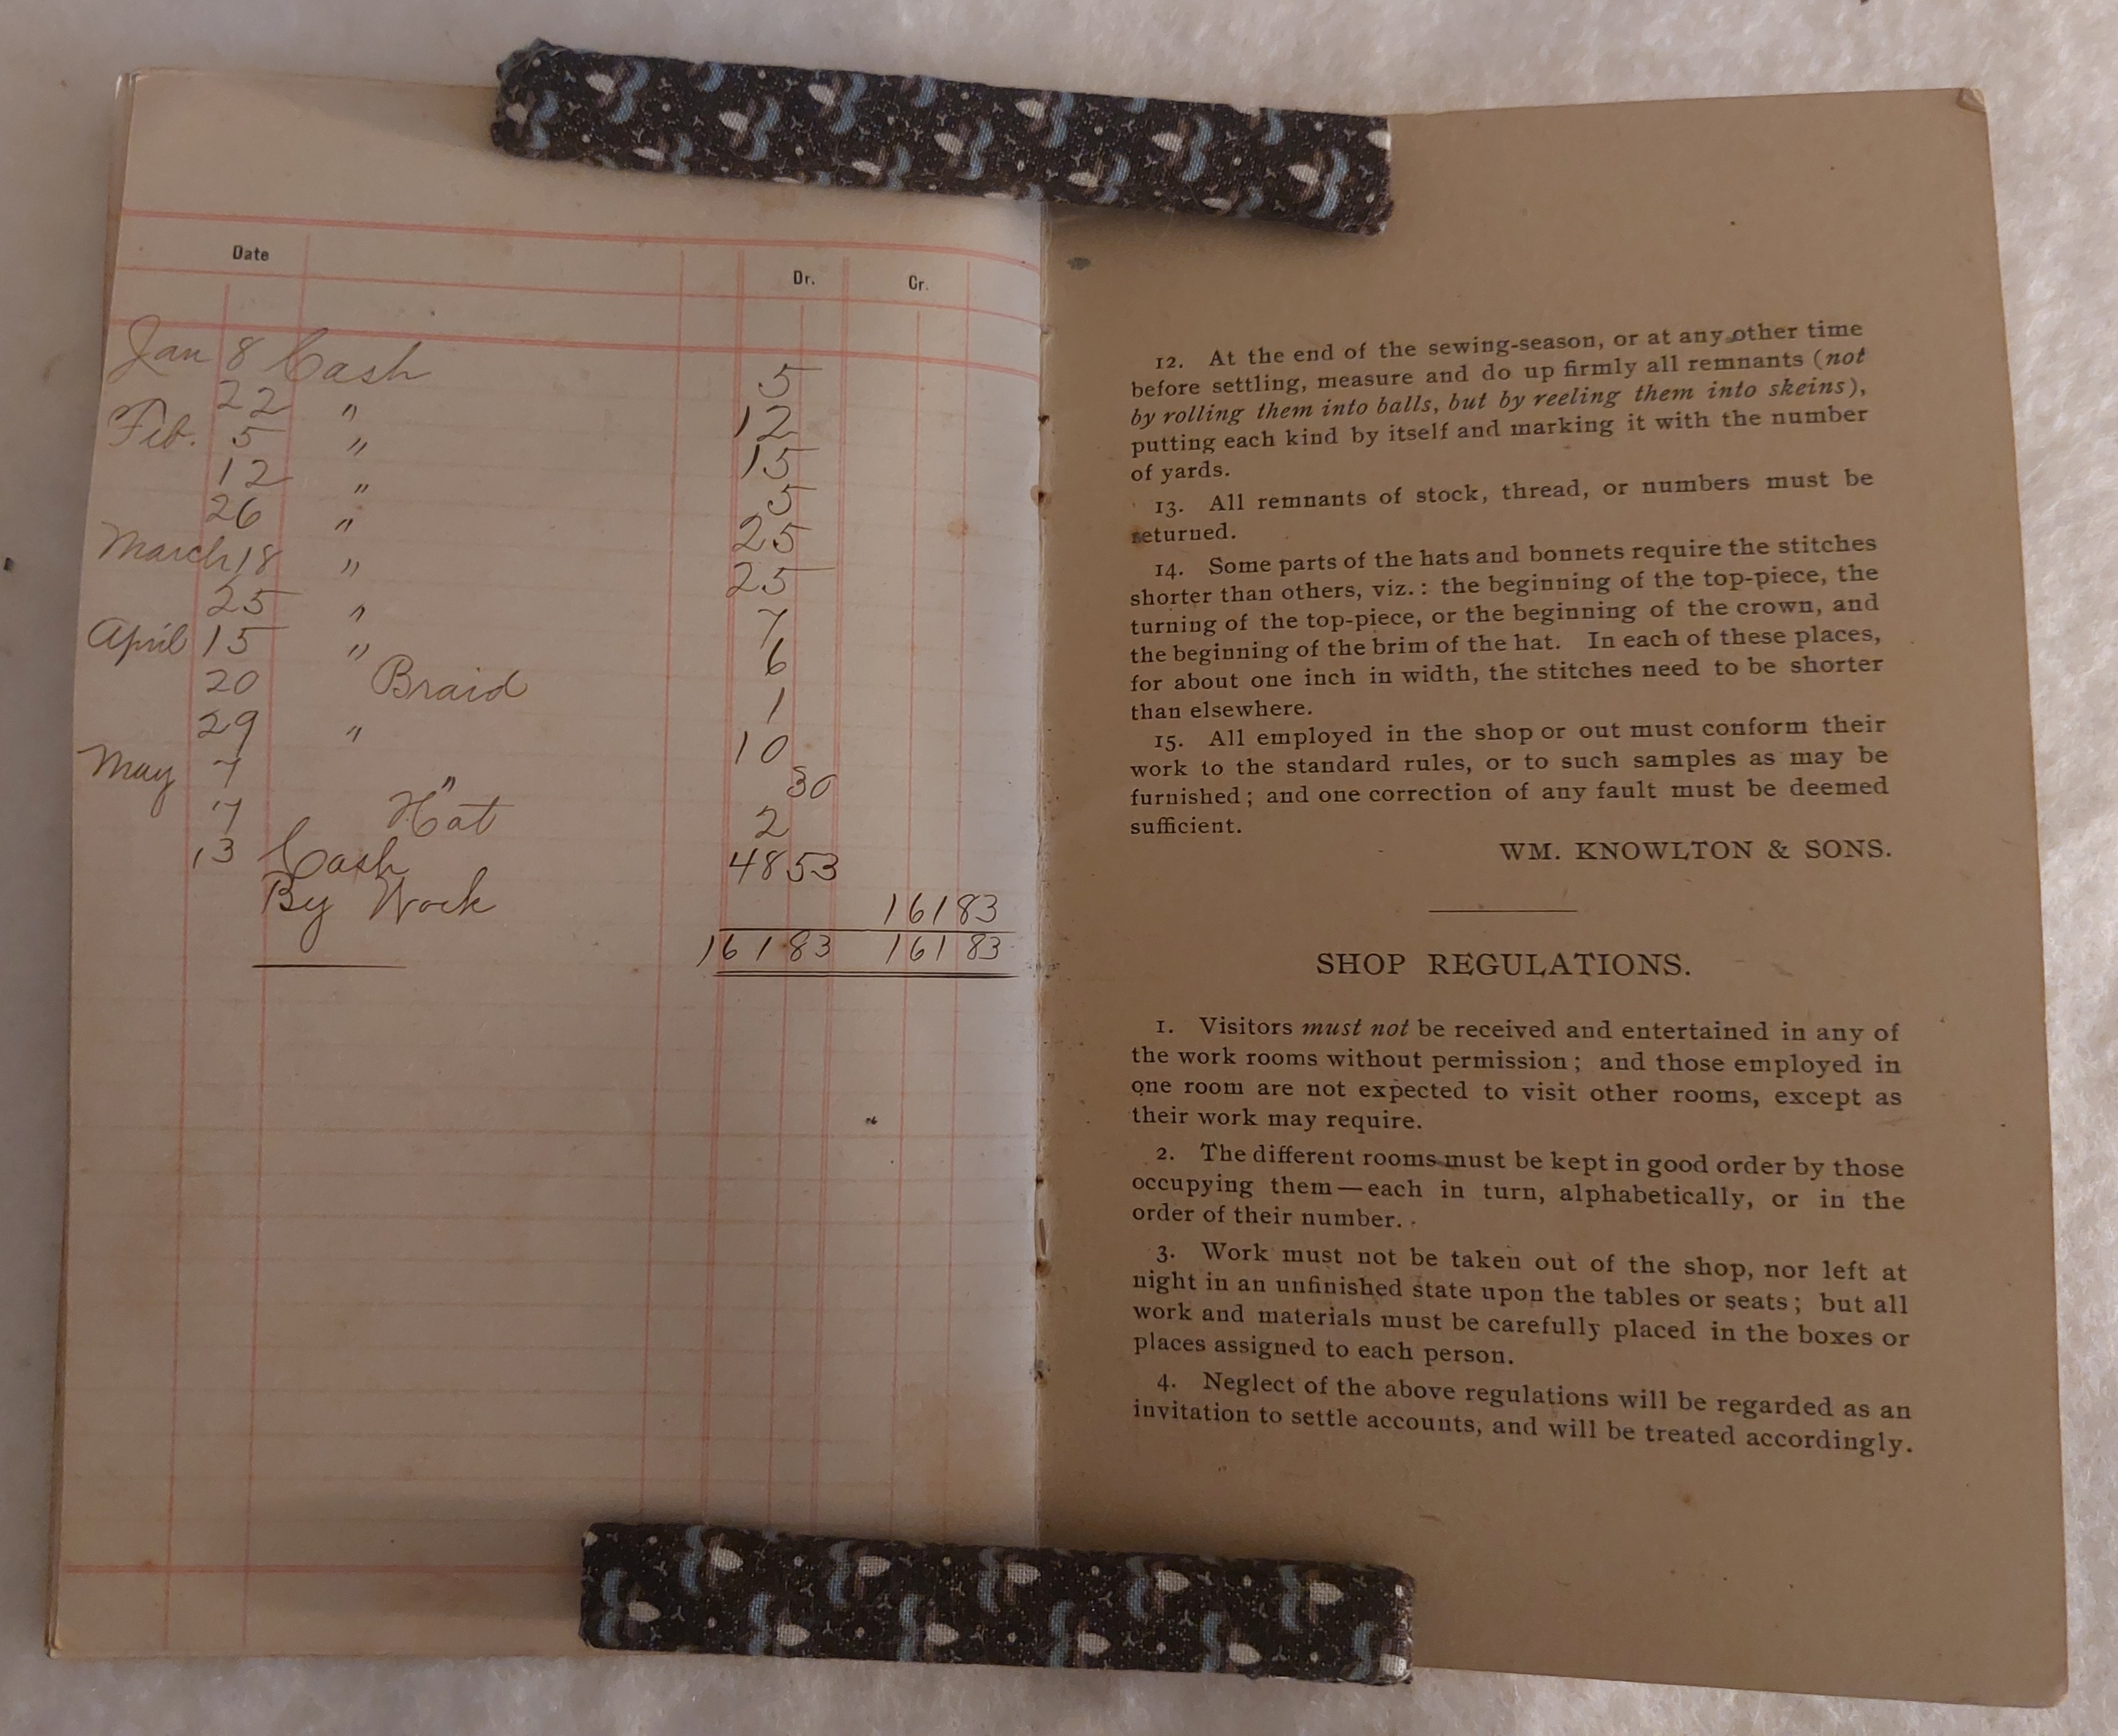
I used to think straw sewing as a cottage industry in the US faded out by the turn of the century. Then, I discovered this log book for tracking straw sewing from 1904. Likely, this sewing was done by machine. This is based on the year and by the number of pieces this person could get done in a month. The booklet gives directions for sewing and shop regulations inside each cover. The pages give space for tracking: Date – Block – Pattern – Goods – Price – Amount
Do you enjoy reading my blog? Do you find it helpful? Please consider supporting through Patreon or Sending a Tip.
A few years ago we looked at how some original women wore their bonnets perched on the backs of their heads as well as how we can also do so. If you missed it, the post was called Got Perch?
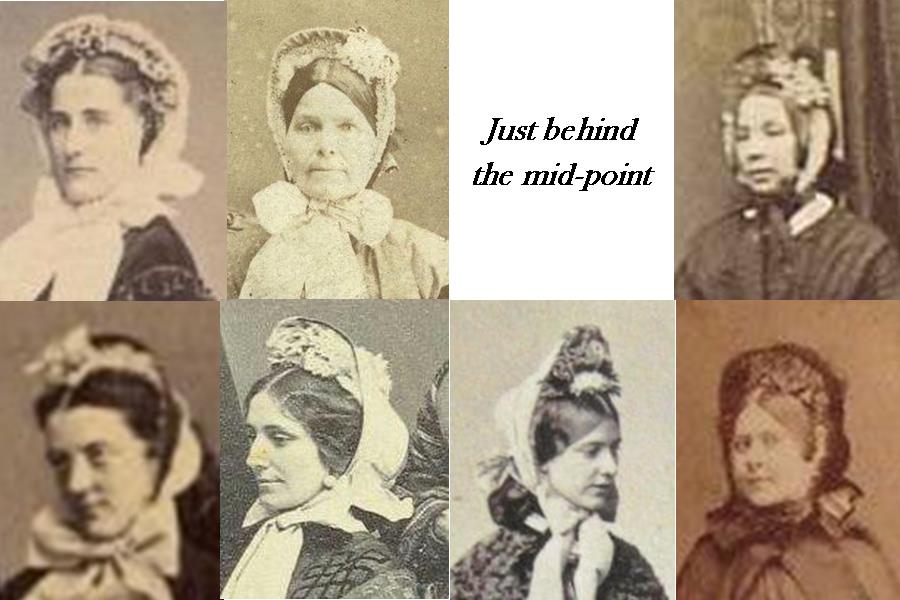
This was only one of several ways women wore their bonnets. Today, I would like to look further at how mid-century women wore their bonnets. Let us start with more examples of the bonnet being worn behind the mid-point of the head.
You will notice some variation in how far back the bonnet is worn. The two women on the lower left appear to have their bonnet furthest back among the group. These two also happen to have their bonnets angled more than the others. From the views/positions we have, the third woman from the left on the bottom row appears to have a nearly vertical position to the brim and tip. We can not say for certain with the other women; though I suspect the top left may also be nearly vertical. We can also see that most of these women have their flowers reaching further forward than the brim edge of the bonnet. The position of these flowers may help hold the bonnet in place. In the lower right, the flowers can be seen cupping the top of her head. Take a particularly close look at the woman on the lower left. There is a piece photographing white sitting below the flowers/decoration. This may or may not be a stay.
This next group of women are wearing their bonnets at or just forward of their mid-point.
We see greater variety in the angle of which these bonnets are worn, seeing them worn nearly vertical, angled slightly forward and angled slightly backward. The bottom right and bottom left images show the further forward reach of the spoon bonnet while displaying noticeable difference in the depth, angle and shaping of the crown and tip. In the top left and top right images, we can see how the frill aids in holding the bonnet on. Again, the flowers are aiding in securing the bonnet to the head. In the bottom row, third from the left, you can see the woman’s flowers reaching down over the hair line. (The lower right image could be considered as wearing her bonnet quite forward.)
In this next group, we see the bonnet worn quite forward of the mid-point.
Many will notice these women each look more mature. I do not know if this is a coincidence or if there is truly a connection between age and mode yet. I will look further into this. While these bonnets are worn further forward and a couple are rounder, the fashionable spoon shape is present. The bonnet with the daisies, second on the bottom row, demonstrates well how the flowers can hug the top of the head. In several cases, the flowers sit forward enough to reach to or even beyond the hair line. If there is a connection between age and this mode of wearing, there could be further speculation that this positioning of flowers could conceal a thinning part.
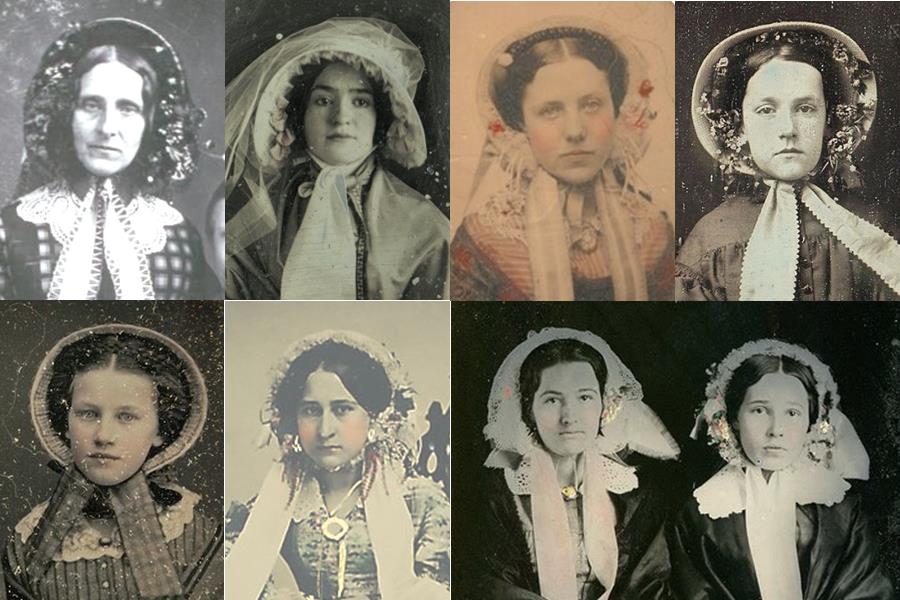
The following group was collected as I was looking at untied or partially tied bonnets. These are late 1840s through early 1850s examples. Each either has the ribbons simply looped over each other without a bow or completely untied. Many, if not most, of the women above would have worn their bonnets in this style ten to twenty years previous.
One would think I would have gotten around to having my image struck at some point in the past 30-some years. It is, after all, one of those things reenactors and living historians do. They have sit for period photos in their period attire.
Me? Not so much.
I need to clarify…. Back in the 90s, I did stand for images take during a PR shoot at the museum. I posed with a coworker on the steps of Altay, if I recall correctly. I have no idea where those images ended up. I’ve wanted one of my own ever since.
Two weekends ago, the weekend I did the dolls as fancy work presentation, I learned Dave, a wet-plate photographer of Victorian Photography Studio, was on site doing photos for staff. Better yet, he would be back the next weekend for the Civil War living history event. I was determined I would finally go to get my tintype done.
So…..
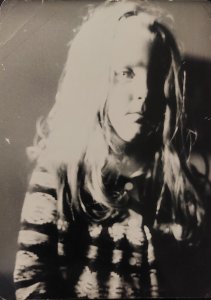
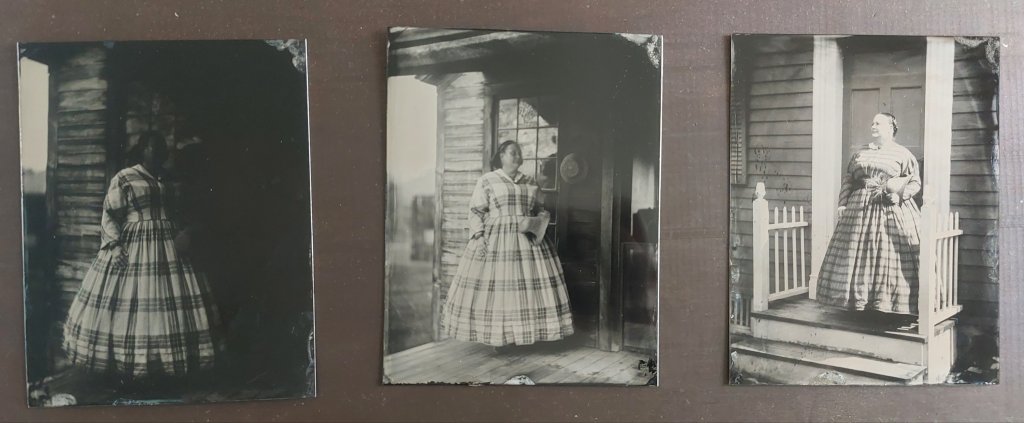
Saturday morning rolls around, and it was raining. Rain means clouds. Clouds mean dark. I wasn’t sure if photographs would even be possible. We did a few test shots. The first (left) came out spooky dark. The second (center) came out better, but with notable shadows.
I actually really like the test shots because they remind me of a particular photo Dad took of me when I was little. It, too, has a spooky vibe in a way.
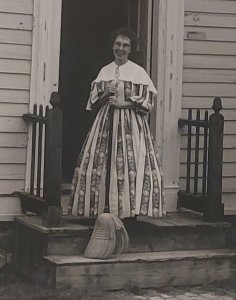
Sunday morning was much nicer and brighter. Sadly, I wasn’t able to wear my wool challis dress as I had before because the skirt was still wet.
This time, I posed on the steps of MacArthur. For those who don’t know, this was one of the houses Grandma used to interpret in and the last house she worked in before getting ill. A large photo of her standing on these same steps hangs on my wall. That made this posing particularly meaningful. (right) This one will be going up on the wall near Grandma’s photo.
I am happy I finally decided to get my image done. I do regret not finding the time and funds to do it earlier and multiple times.
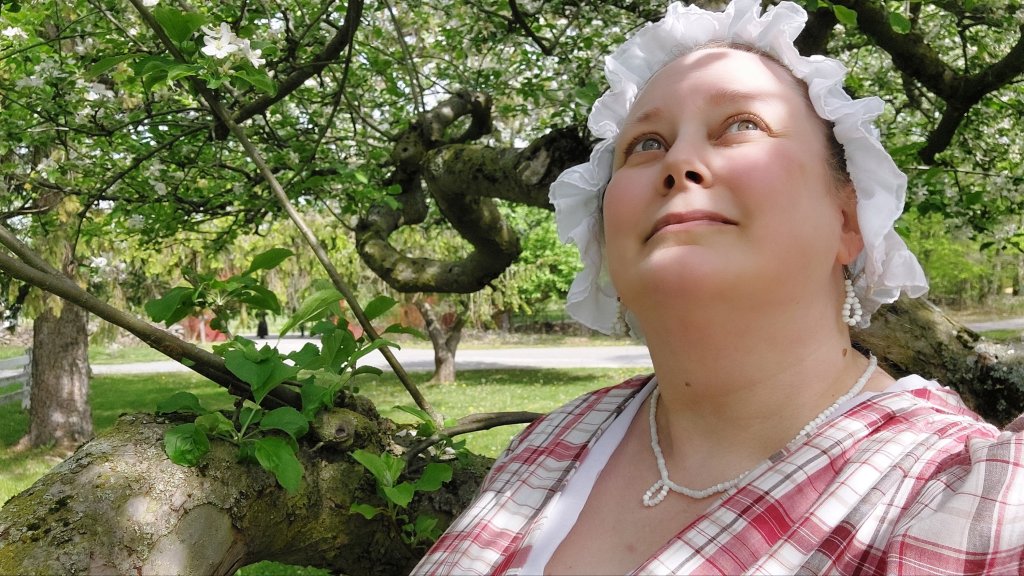
For those interested in how dress colors photograph with period techniques, Saturday’s dress is a wool challis in a large scale plaid with white, red, and grey. The grey is blue hued, and read white in the image. Sunday’s dress is a cotton polychrome shirting that reads dark and predominantly red to the eye. The secondary colors are blues and greens, which read light in the image.
For the first time in years, I took a personal day for personal enjoyment. This allowed me to go to the museum Friday morning to set up the millinery shop prior to opening. It also meant, I was their as students arrived for their field trips. I miss field trip days. These kids and teachers did too. It was nice to see such happy and excited faces bouncing around the village.
Saturday morning was a surprise turn for me. When I checked the weather app Friday morning, it said 10% chance of rain. Saturday morning, it said 90%. I grabbed my umbrella. I should have opted for a not sheer dress or grabbed my coat. It pretty much rained all day.
Saturday morning video….
One of my favorite questions of the weekend came from a young visitor. They asked about what to do if the straw mildews or gets moldy. What a great question, especially on a rainy day. Mold and mildew are a threat to straw. If a straw hat or bonnet gets wet and does not dry fast enough, it can develop mildew or mold. As bleach will weaken or dissolve the straw, I try spraying the straw with diluted vinegar. If need be, use an old toothbrush to work the mildew or mold free.
On Sunday, a troop of Girl Scouts were my first visitors. They had many good questions while being excellent listeners. They reminded me of some of the types of programming I really miss doing.
What a difference a day makes…
I discovered there are some notable changes for me when setting up the millinery in May rather than in July. Among them….
School is still in session. This means my preparation time is completely different. I had developed a two week staging process with a samples making build up spanning about a month. Neither of those were feasible with school in session.
Food via roadside stands is not a possibility in May. Strawberries aren’t ready. Raspberries aren’t ready. Basically, stands here are starting to have plants. That is it.
Eating leading up to the event isn’t a concern for most people. Given my digestive and migraine issues, I have to be careful. In July, I graze of vegetables and fruit with some sage carbs and protein the handful of days before an event. This doesn’t work when I need to be at work, taking lunches. I’ve discovered I am freaking hungry!
The weather is completely different. Wednesday morning, I had a thick layer of ice frost on my car. It was a cold 34 degrees on the drive in. Setting up Friday morning was quite pleasant, though, being in the 50s with a breeze. If anything, I forgot to drink enough water as I worked.
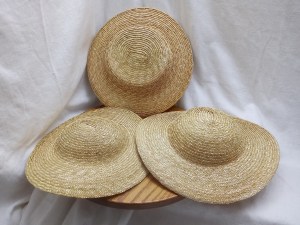
Congratulations! You have a reproduction hat. It may be one of mine. It may be one made by another talented milliner. In either case, you are ready for the next step.
This post is for you. This post will cover the most common topics and questions about reproduction straw hats for the 1850s and 1860s. Some of these answers will apply to other eras as well.
My hat is too big.
Good news – this is a fairly easy adjustment. If a hat is just a bit too big, meaning it wiggles but doesn’t flop, a lining ribbon or a lining can help it fit better. A cotton sateen or petersham ribbon around the inside is generally recommended for comfort anyway. Adding a thin layer of cotton or wool batting behind the ribbon can thicken the reduction while adding soft comfort. Adding a lining to the crown or crown and brim can also improve the fit. Choose a silk taffeta, silk organza, or cotton organdy. Light gathers will bring the size in a little, while denser gathers will bring it in even more.
My hat is too small.
First, double check how you are wearing your hat by comparing to original images. In the modern era we tend to wear hats lower on our head, coming down onto the forehead. In the mid-19th century, hats were worn much higher on the head. This can make a hat feel too small while it is actually the right size for you.
If you find a hat is truly too small, consider passing it along. A straw hat can be stretched a small amount with the aid of a hat stretcher and mist bottle. This will likely effect the shape of the crown, possibly distorting it from its blocked period shape.
I want to decorate my hat.
This is the fun part. Be sure to spend some time looking at original images before starting. You will find period fashion illustrations show densely decorated hats while period photographs show a little more restraint. Elements most often include ribbon, flowers, and feathers either center front or to one side with the ends of ribbon to the back.
Use a strong, sharp needle and thread to tack trims in place. Use large stitches that are secure yet removable. This way you can change the trims as desired. Please do not use glues on straw. Floral arrangements can be made in whole or pieces prior to attaching to the hat. They can be tacked in place with thread or with pins.
Line the interior of the crom for added comfort. This can be done with a cotton sateen or petersham ribbon around the crown edge or a silk taffeta, silk organza, or cotton organdy lining the crown or crown and brim. The lining can be added before or after the trim. Each milliner does it differently.
My hat won’t stay on my head.
As hats of the era were worn higher on the head, they often do not feel secure. Original hats show an elastic cord or ribbon ties was placed where the brim and crown meet, approximately just above the ear area. This cord or ties would go behind the head, securing under the hair arrangement. I find quarter to half inch wide cotton sateen or cotton petersham work well for this as they tie and untie easily without getti g stuck on the hair.
Period photographs show some hats also had wide, decorative ribbons sitting over the ear area, just in front of where these ties would be. These ribbons can be fairly wide, often plaid or striped. Rosettes or bows can be seen in front of the ears.
Can I wear a hairnet with a hat?
A plain hairnet is a hair accessory, an item used in arranging or dressing the hair. As such it was worn with a variety of millinery items, including hats. Remember, these nets were light weight and fine, made of silk threads or hair. Decorative nets, such as those made of woven ribbons, are also see in illustrations worn with hats. Ribbon headdresses, such as those on a foundation with pleated or ruched ribbon may not combine well with a hat as the hat will crush the ruche or the ruche will cause the hat not to sit properly
Hat FAQ Video
This video contains several helpful pieces of information on hats:
My hat might not be right.
Sadly, sometimes merchants or other reenactors sell hats that are not considered accurate. The reality is a great deal of progress has been made in understanding the fashionable hat of the 1859s and 1860s over the past two decades. Thanks to the surge in easily accessible resources, such as period fashion illustrations, photographs, and originals, we now know more about who wore hats, when they wore them, and what those hats look like. This also means that hats produced years ago are no longer considered as correct as they once were.
If you find yourself with a hat that may not be accurate, take some time to look at period images and original hats. Look at their shape and their proportions. Then go back to your hat. Honestly decide whether the hat can be improved and if you have the time, skill, and resources to do so. For some, this can be a challenge project. For some, this can be an added frustration.
Improvements can come in the form of wiring a hat’s brim edge, removing rows of plait from the edge, or shortening the crown at the base. Each of these can feel simple or overwhelming to a person. Please keep in mind sewing straw is different from sewing fabric. It may or may not be something you are comfortable with. If the answer is “no”, pass the hat along to a local theater or use it for something else.
Are you one of the many readers enjoying my millinery blog posts? Consider becoming a Patreon patron. Doing so helps support my work and helps me write more useful articles. https://www.patreon.com/AMillinersWhimsy
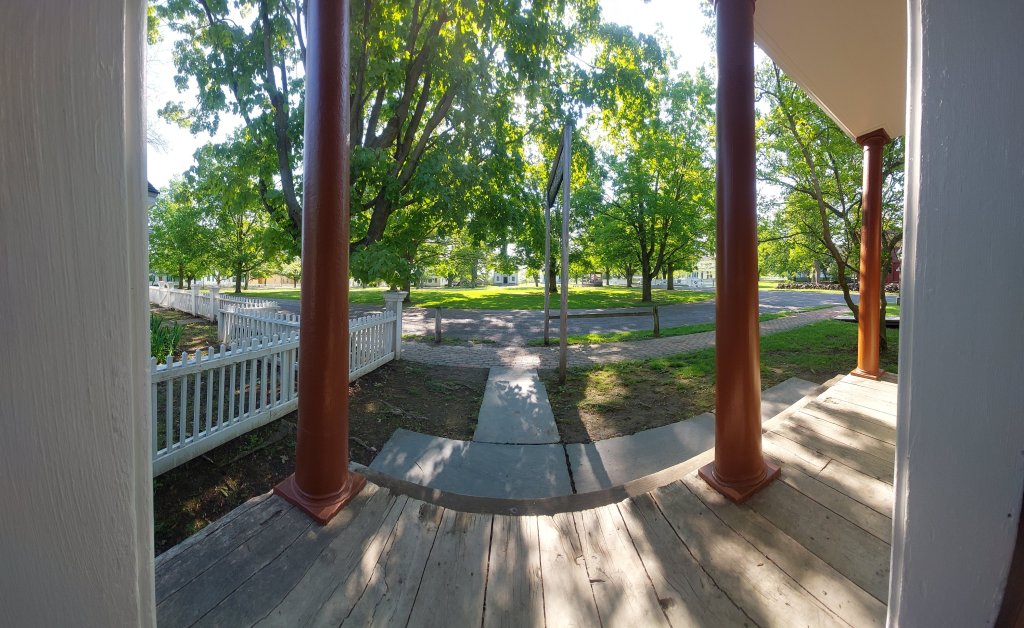
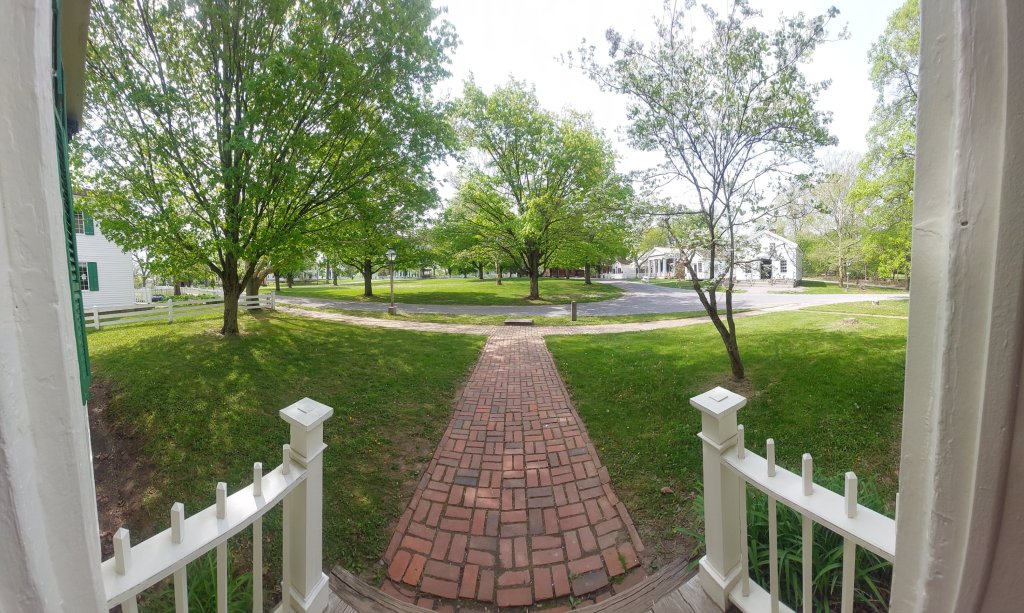
I spent today in the nineteenth century. As I walked into the historic village, I felt the tension leaving my body and soul. I had to stop for a moment to truly embrace it.
It was an absolutely perfect day to spend at the museum. (FB reel) The birds were chirping, sheep baaa-ing. Even the sound of the bees in the apple blossoms was enjoyable. (FB reel)
Today I was doing something a bit different: talking about dolls as fancy work.
When I started falling down the rabbit hole that is doll collecting, they were never supposed to be a part of my history life. After a bit, one would tag along on occasion to help accent some aspect of some of my interpretations. Then I got a phone call asking if I would talk about dolls for this weekend. Of course, I was willing.
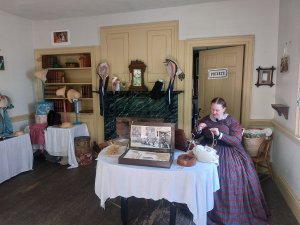
Today’s program was in two parts. For most of the day, I chatted with visitors about dolls as fancy work in the dining room of Foster. In the afternoon, I offered a talk in the Gallery: The Little Companions of Ladies: How Childhood Playthings Became Adulthood Helpmates.
In the presentation, I explored how dolls as toys were viewed in the nineteenth century and how they were made into pin cushions, pen wipers, and other useful items.
To see more about Theo’s adventures while at the museum, hop over to Don’t Paint the Cat.


 Hat blocks can be more round or more oval with the same circumference. To illustrate: Both of these shapes to the right can have a circumference of 22.5″. Yet, the same hat would fit each head differently.