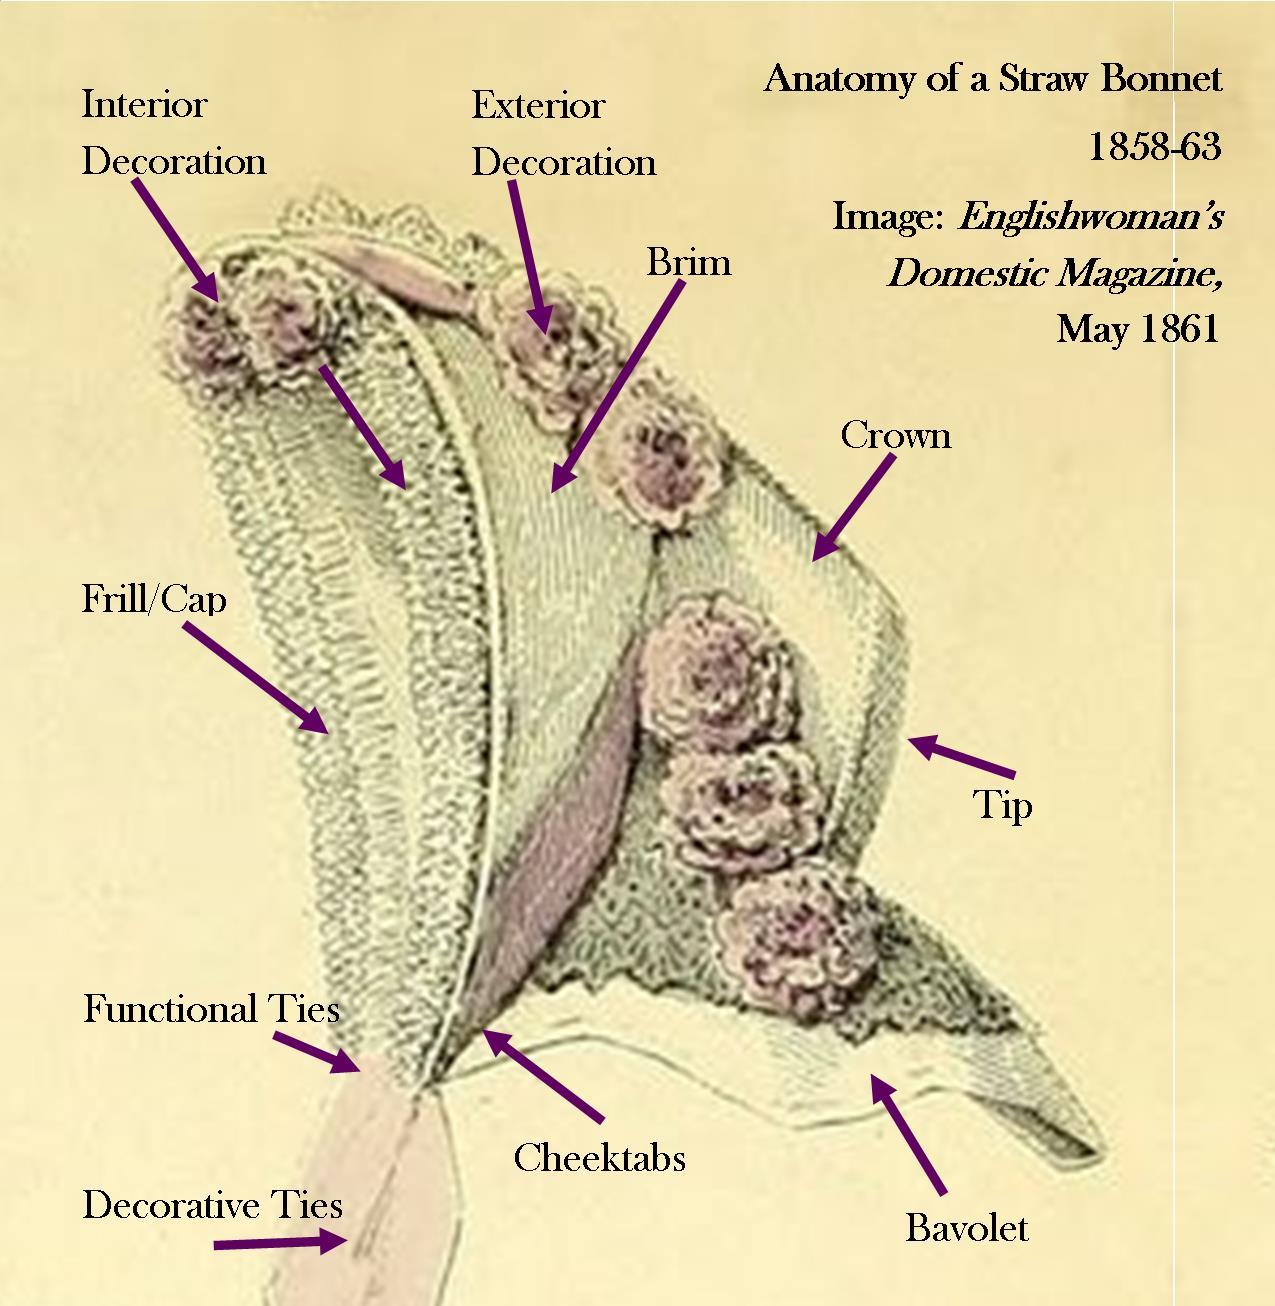
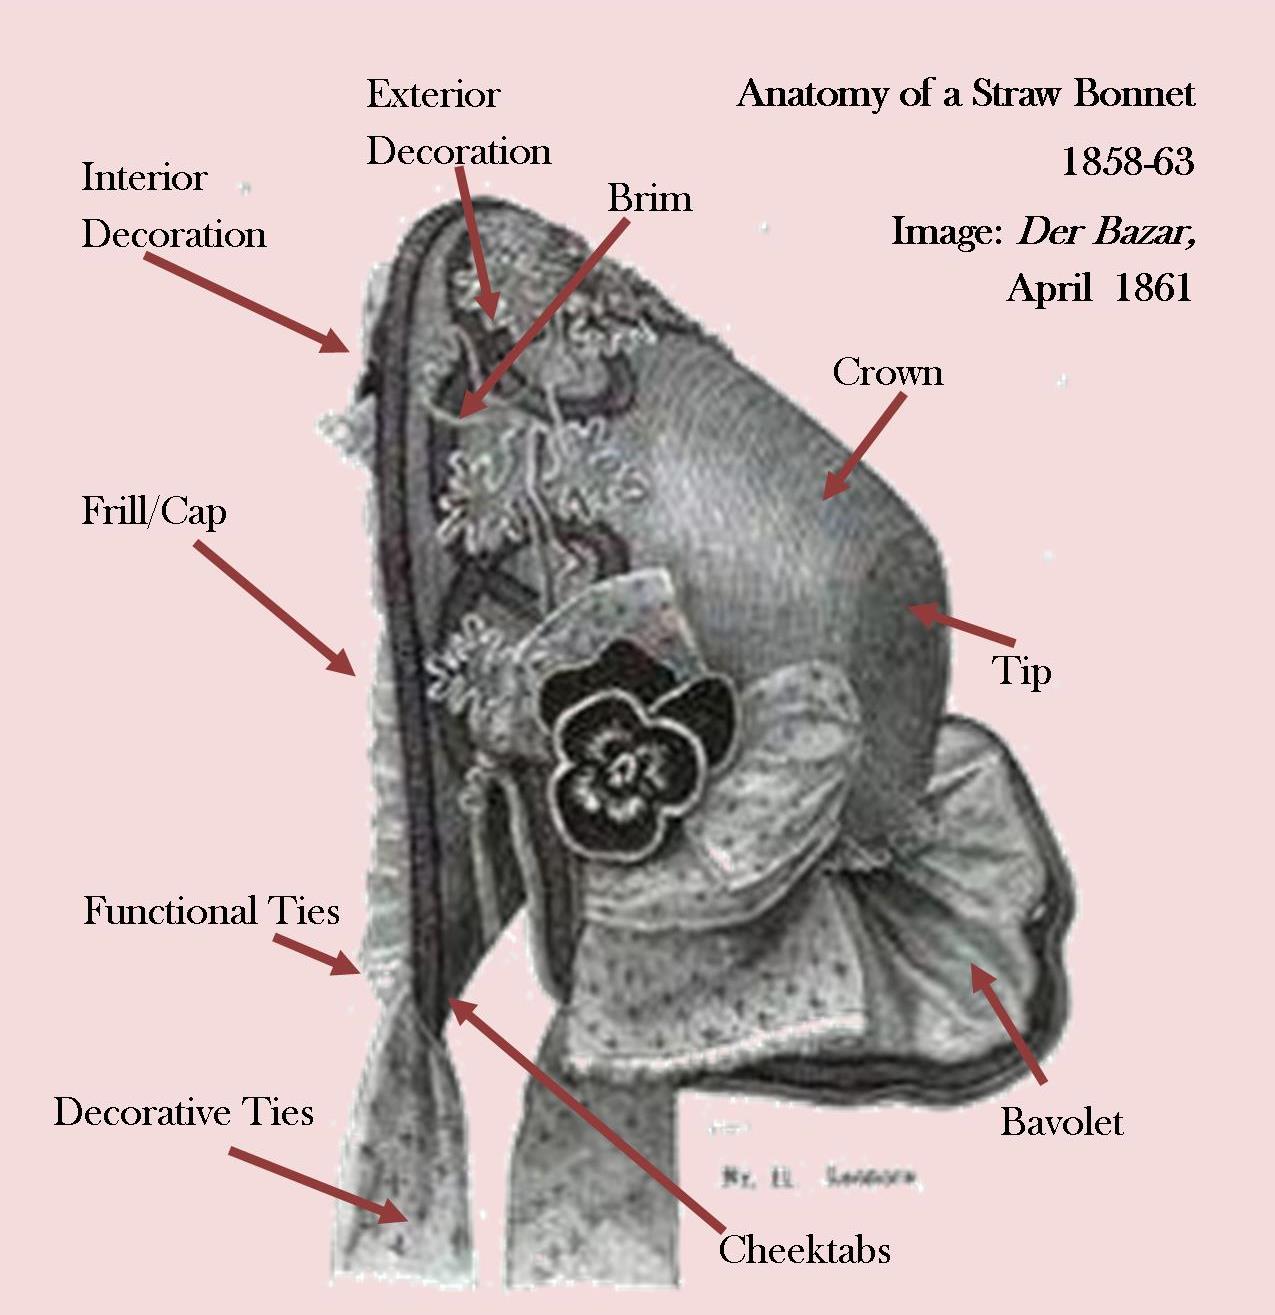
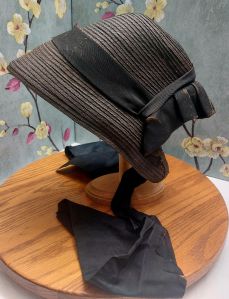
Each of these points are general for fashionable bonnets made of straw, primarily straw plait, from approx 1858 through 1863. Finer points adjust with each season’s prevailing fashion.
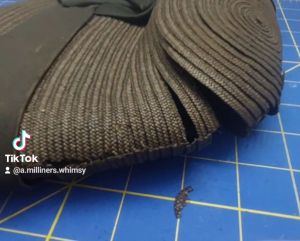
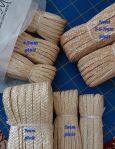
General Construction – Straw bonnets were sewn by hand in the round. Plaits ranged from 1/8″ split straw to wider whole straw and fancy plaits. Woven straw was also used.
Tip – The back section of the crown in the tip. On a straw bonnet this can either be domed, flattened at the back curving to the side of the crown. It should not have a sharp angular transition from the back to the sides.
Crown – The crown of a straw bonnet should create a smooth transition from the crown to the brim. Much of the shaping in the bonnet will be created in this transition area.
Brim – The brim of a straw bonnet will vary according to fashion. The brim’s edge should be a single or double row of straw plait. It should not have raw edges needing to be bound.
Cheek-tabs – The cheek-tabs should have a gentle curve coming from the neck edge of the crown along the side of the bonnet dropping down to roughly your jaw line meeting the brim edge. This is a graceful line, not a straight edge or angular transition. There is a variation in the twist of the cheek-tab from the fifties into the sixties. The cheek-tab is part of what helps hold a bonnet in place.
Binding – The binding on a straw bonnet should be straw plait. Raw edges were covered on the exterior and sometimes the interior along the back of the cheektabs, sides and tip. Multiple rows were used as well.
Lining – A lining is a functional layer of light weight, open-weave cotton covering most of the interior of the bonnet. It aids in keeping the straw from snagging the hair while worn. The lining can not be seen when the bonnet is worn.
Frill/Cap/Ruche –This decorative layer of gathered cotton or silk covers fills the inside of the brim. This is very fine most often net, lace or organza. The full frill aides in holding the bonnet in place.
Facing – Some bonnets have a facing of silk from the edge of the brim through the first couple inches of the interior brim.
Bavolet/Curtain – The bavolet is attached to the binding edge on a straw bonnet along the sides and crown. This silk piece should be lined with net to give it more body. The bavolet may be a single piece of fabric, most often on the bias and occasionally on the grain, or pieced from bias cuts of ribbon. The bavolet may also be decorated.
Functional Ties – The functional ties are attached to the interior of the cheek-tabs or under the decorative ties. These are narrower ribbon to hold the bonnet in place.
Decorative Ties – Decorative ribbons are wide, 3″-8″ based on a wide survey I did years ago. They are on the grain, not bias. Tied, they do not take the support of the bonnet.
Interior Decoration – Interior decoration also helps hold the bonnet in place.
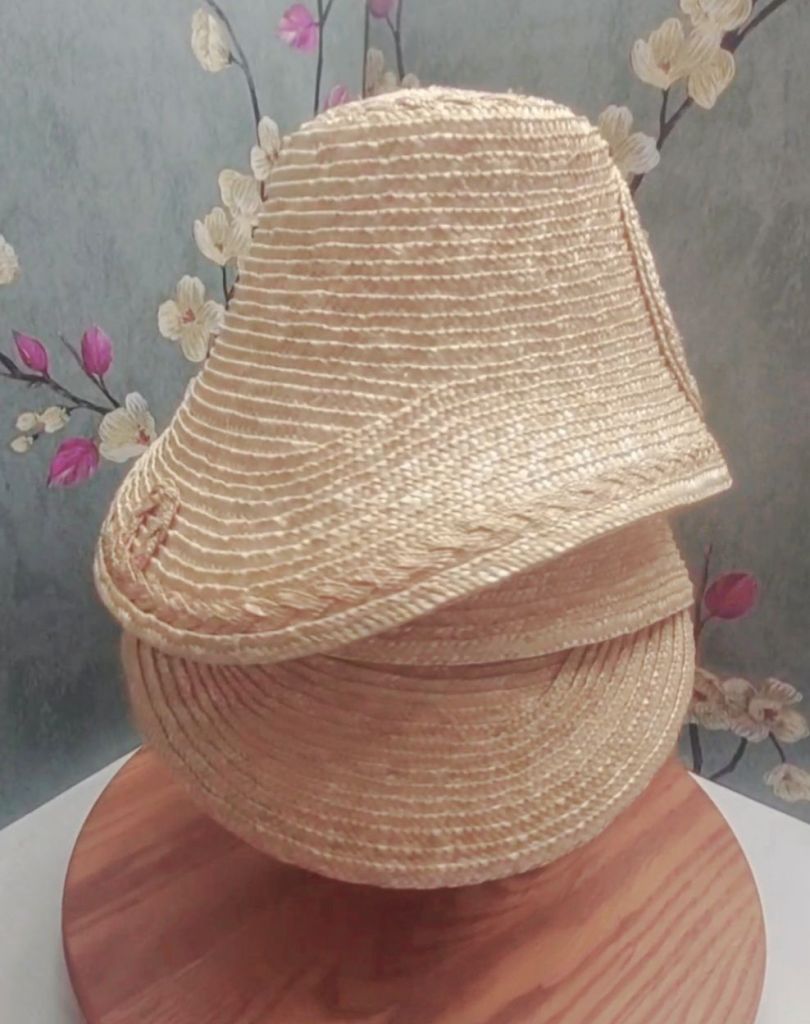
I just added a limited selection of high brim spoon straw bonnets to my Etsy shop.
I am making millinery and adding it to my shop in groups this year. Next: I will be shifting to the 18th-century to create a batch of Bergère hats for Fort Niagara and the 1840s to fill some bonnet requests.
I am diving into the history of rural and small-town milliners across New York State and a bit beyond. This ongoing research aims to piece together who owned, operated, and worked in millinery shops, exploring how this craft shaped the lives of individual women and contributed to the broader economic and social fabric of the region. This project is focused on highlighting the significance of women’s work in these communities, providing a deeper understanding of their roles in local industry and culture.
Research – Connecting Fancy Work
If I could call a research project “dabbling,” it would apply to this. I pick up and drop my on- going interest in Fancy Work throughout the year. I am fascinated by these creative yet functional projects that integrate aspects of math and science into women’s everyday lives.
Millinery – Experimenting With Conservation Techniques
I have begun appling techniques I learned in making reproduction straw millinery to repairing and conserving extant straw millinery. This venture is very much in the experiment stage. I hope to share my progress soon.
Presentations
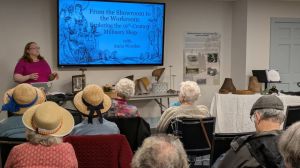
After decades of multi-day costumed interpretation programs, I am shifting to small to mid-size lecture and discussion formats. I find this format allows me to share aspects of my research more thoroughly.
Sometimes, the process of making lemonade out of lemons is a very slow one. Bringing this original 1850s-1860s black straw mourning bonnet back to life is one of those times.
This beautiful straw mourning bonnet was shipped in a soft mailer without any protection. It arrived nearly flat with a fracture down the center top and a crushed crown tip. Given my plans to have this bonnet accompany me for spring millinery presentations, I felt as crushed as the bonnet when I took it from it’s poly-mailer.
Trying to make the most of the situation and not wanting to give up on the piece, I’ve been experimenting with techniques for stabilizing the bonnet.
Left: The bonnet as it looked in December as it relaxed back to shape over one of my millinery blocks. Right: The bonnet this weekend after several multi-hour sessions.Damage to the crown tip. Left: The bonnet was basically folded in half with a straight fracture along the top of the brim. The crown tip broke in an arch around the plait spiral. Right: The majority of the straw was able to be secured to support foundation.
I had to make a difficult decision when it came to the support. Ideally, I would remove the trims and lining, then add the support. But, with the extent of the damage I knew picking out all the stitches would likely cause more damage and potentially cause the whole bonnet to fall apart. I decided to place the support over the lining and work through it. Sadly, this covered the maker number tag inside.
It still needs some work, including another spa session on a millinery block, steaming the crepe frill back to shape and carving an archival foam support.
I’ve had a couple messages about Civil War events this May, particularly GCVM’s Muster in Mumford and a Civil War encampment at Sonnenberg Gardens.
I will not be attending either event this year.
This decision came about for multiple personal reasons and should not be seen as a change in support for either museum or their programming.
As with many, my financial state is precarious. As such, I need to focus my time on paid engagements rather than volunteer. What many people don’t see is the amount of planning time behind a single interpretation. Even an interpretation done many times before needs preparation & planning (assembling display items, creating new pieces, printing, packing, set-up.)
At the same time, my responsibilities at work are demanding this time of year. I would last May, doing both full days for GCVM’s event in the midst of Regents planning, AP exams, and Field Testing was far too much.
There is a sentimental aspect to saying no to the event at Sonnenberg. I have a strong sensory memory of the gardens from my childhood. Each time I visit, I feel a connection to my Grandma and Grandpa. As much as I would love to do a dressed picnic there, I do not want to do that with an encampment on site.