I was in the mood to work with both wheat and abaca plaits this weekend. The result was a sewing fury and not one but two hats finished this evening.
The Mousquetaire style hat combines copper wheat straw and walnut brown abaca plait. I really like how this hat came out. The stripes make the crown look taller than the 5″ it is. One aspect that does make me waver is how much the contrast emphasizes the variations on the copper plait.
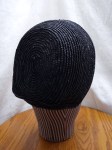
The tapered crown hat combines black wheat straw and walnut brown abaca plait. This turned out to be the more difficult of the two styles. While I can probably make this style in my sleep, and often do work in the near dark on this style, it turned out to be a challenge when using two different plaits. I find the stripes throw the eyes, making the tapered crown look more vertical and the crown look more round. Definitely learned a bit with this hat.
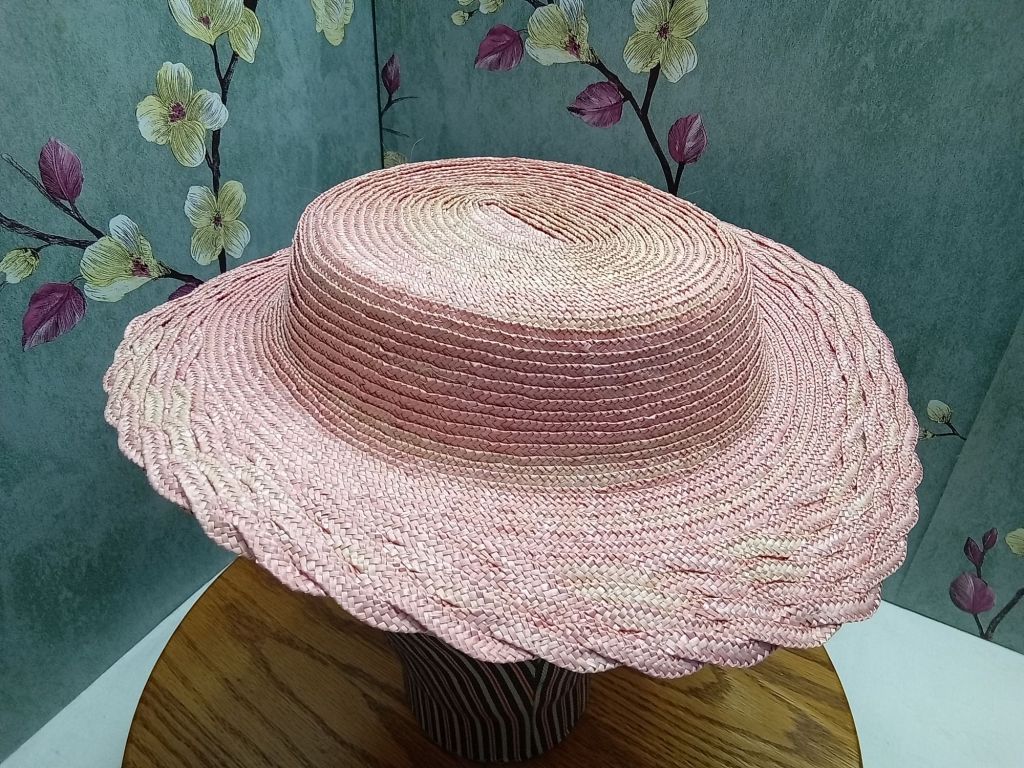
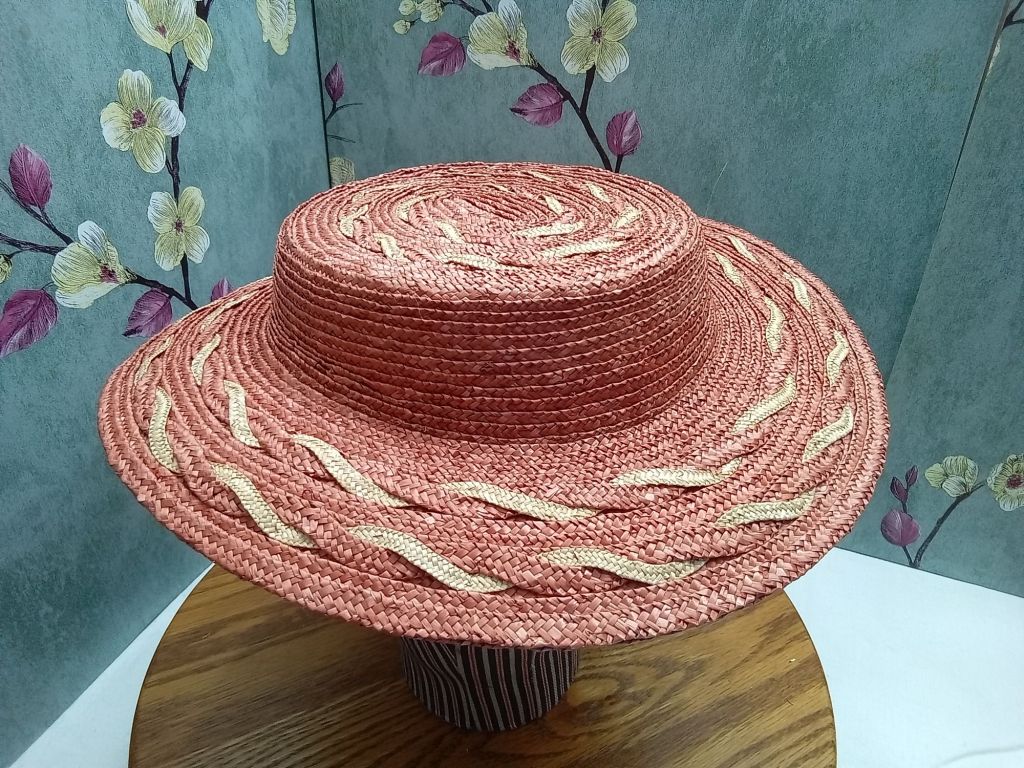
I am excited to share this hat. I purposely sun faded a hank of too-pink straw to get a straw plait with a variety of pinks in more natural hues. It worked beautifully!
Shades of pink wrap around this hat’s crown and brim.
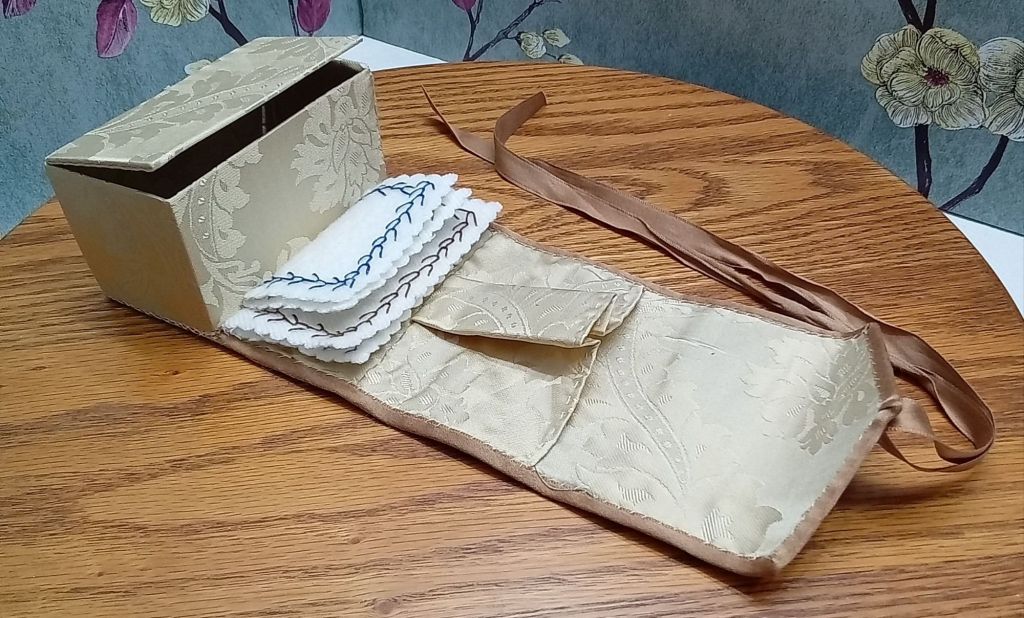
I also have a sewing case for you.
This box style sewing case, aka “housewife”, is a cream silk damask on the inside and a brown leather outside, bound in cotton sateen ribbon. The box for this case is 2″×2″×4″. The wool needle pages are hand embroidered.
If you could attend a program, presentation, or workshop in person with me, what would it be?
Why do I ask?
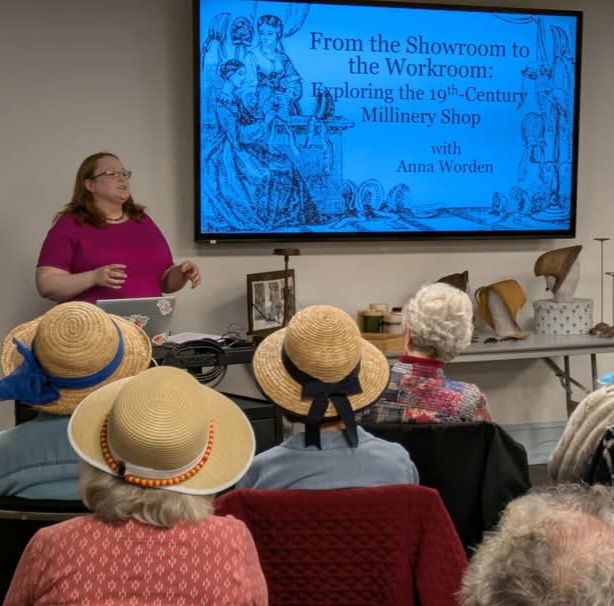
This past Saturday, I participated in GCVM’s Hometown History Expo. The one day event turned out to be an excellent opportunity to network with local history sites and program providers.
I planned a simple make-n-take combining pen wipes and buttons, drawing together fancy work, letter writing, re-use, and Rochester’s button manufacturing history. Last minute, I decided to bring along display copies of my books and one of my pinking machines.
In chatting with people from various historical societies and history sites from around the local region, numerous people asked if I do demonstration, talks, and such.
Of course, I said yes and gave them one of my old cards, which I need to replace.
In the past, I’ve done a variety of programs, including tabled demonstrations, workshops, and presentations.
If you’ve followed me for a while, you likely know promoting myself is not one of my strengths. Thus, this post and question:
If you could attend a program, presentation, or workshop in person with me, what would it be?
This tapered crown combines a dusty rose with grey vining around they crown and brim. This hat is entirely hand sewn and hand blocked. The crown is approx 20.5″ around the lined inside, making this suitable for a smaller to average size head. The brim is 11.5″ wide. Note: This straw is softer than other straws I offer.
Let’s Talk About Cheektabs: Understanding the Fit of Mid-19th Century Bonnets
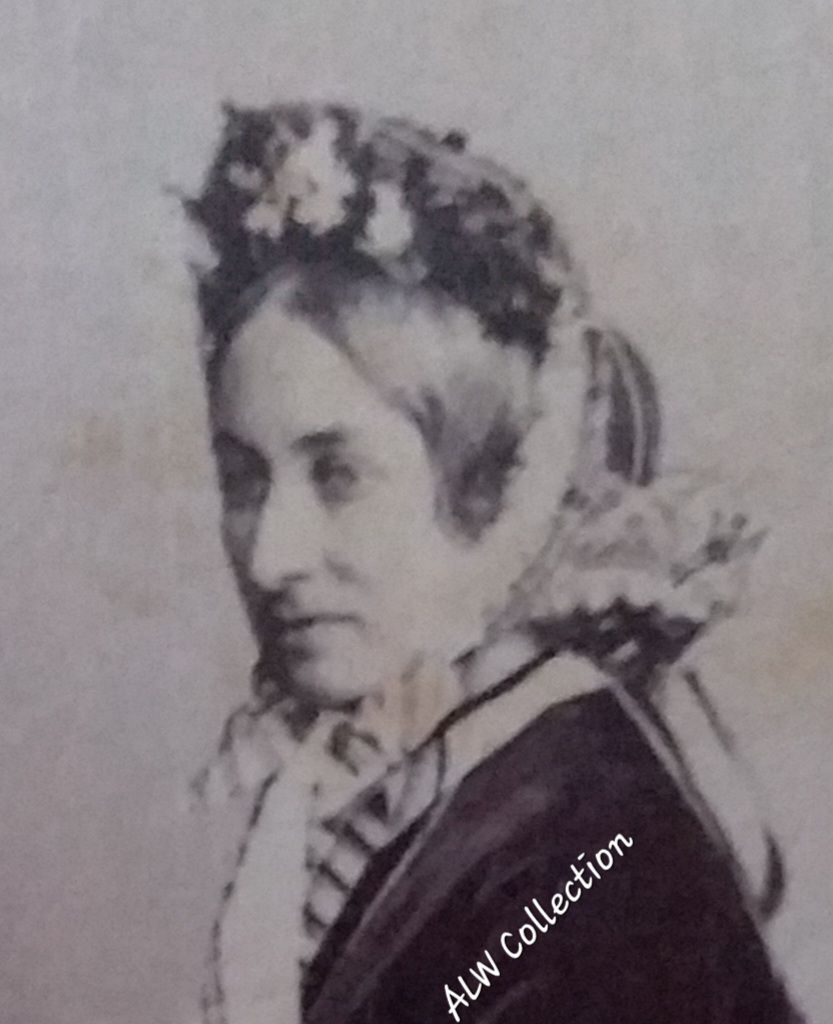
If you’ve ever tried on a faithfully reproduced 1850s or 1860s bonnet and thought, “Why is this thing poking my jaw?”—you’re not alone. For many new historical costumers and interpreters, cheektabs can feel downright awkward at first.
I often see two common mistakes. First, with modern hats worn so the brim shields the face, there is a tendency to pull the top of the brim forward, angling the cheektabs backwards towards or even behind the ears. Second, is trying to fit the crown of the bonnet to encompass the head when it should be perching on the back of the head. This can put the cheektabs in all sorts of wrong spots.
As the mid-nineteenth approached, the sides of bonnet brims began to create a distinct shape we call the Cheektab. At times, I think they may as well have been called jaw tabs because as shape progresses from the 1840s into the late 1850s, this tab narrows and elongated, essentially hugging the jawline.
This placement becomes functional as the bonnet becomes smaller, shifting position to the back of the head. As the bonnet perches of the back of the head, the cheektabs help hold it in place with their position along the jawline. The cheektabs commonly worked in tandem with the frill, a bonnet stay, and functional ribbon ties to hold the bonnet to the head.
Now, let’s be honest: this can feel strange, particularly one accustomed to 21st-century attire. The pressure of something resting against the jaw is unfamiliar for most of us today. For some, this sensation fades with wear. For others, it remains a persistent discomfort.
There are ways to alleviate the issue while staying true to period construction. First, remember that cheektabs are typically wired—this means they can be gently shaped to better follow the curve of your own jaw, reducing pressure points. A lined and bound edge (rather than raw straw) softens the contact. Further, the addition of a frill inside the brim adds both comfort and coverage, as it often did historically.
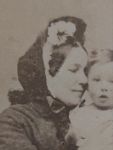
Here are a few close-ups of how cheektabs hugged the jawline, grasping alongside or underneath while the bonnet perches on the back of the head. Notice how it is the brim and front-most portion of the bonnet that encompasses the back of the head, rather than the tip and back portion of the bonnet crown. This fit wasn’t accidental—it was a defining feature of the silhouette. Learning to wear a bonnet this way, rather than reshaping it to feel more like a modern hat, can dramatically change the look and authenticity of your impression.
If you’re new to historical costuming or want to take the next steps in improving your interpretation, understanding how an accurate straw bonnet is made can help you make a confident selection in headwear.
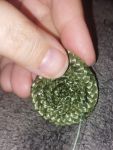
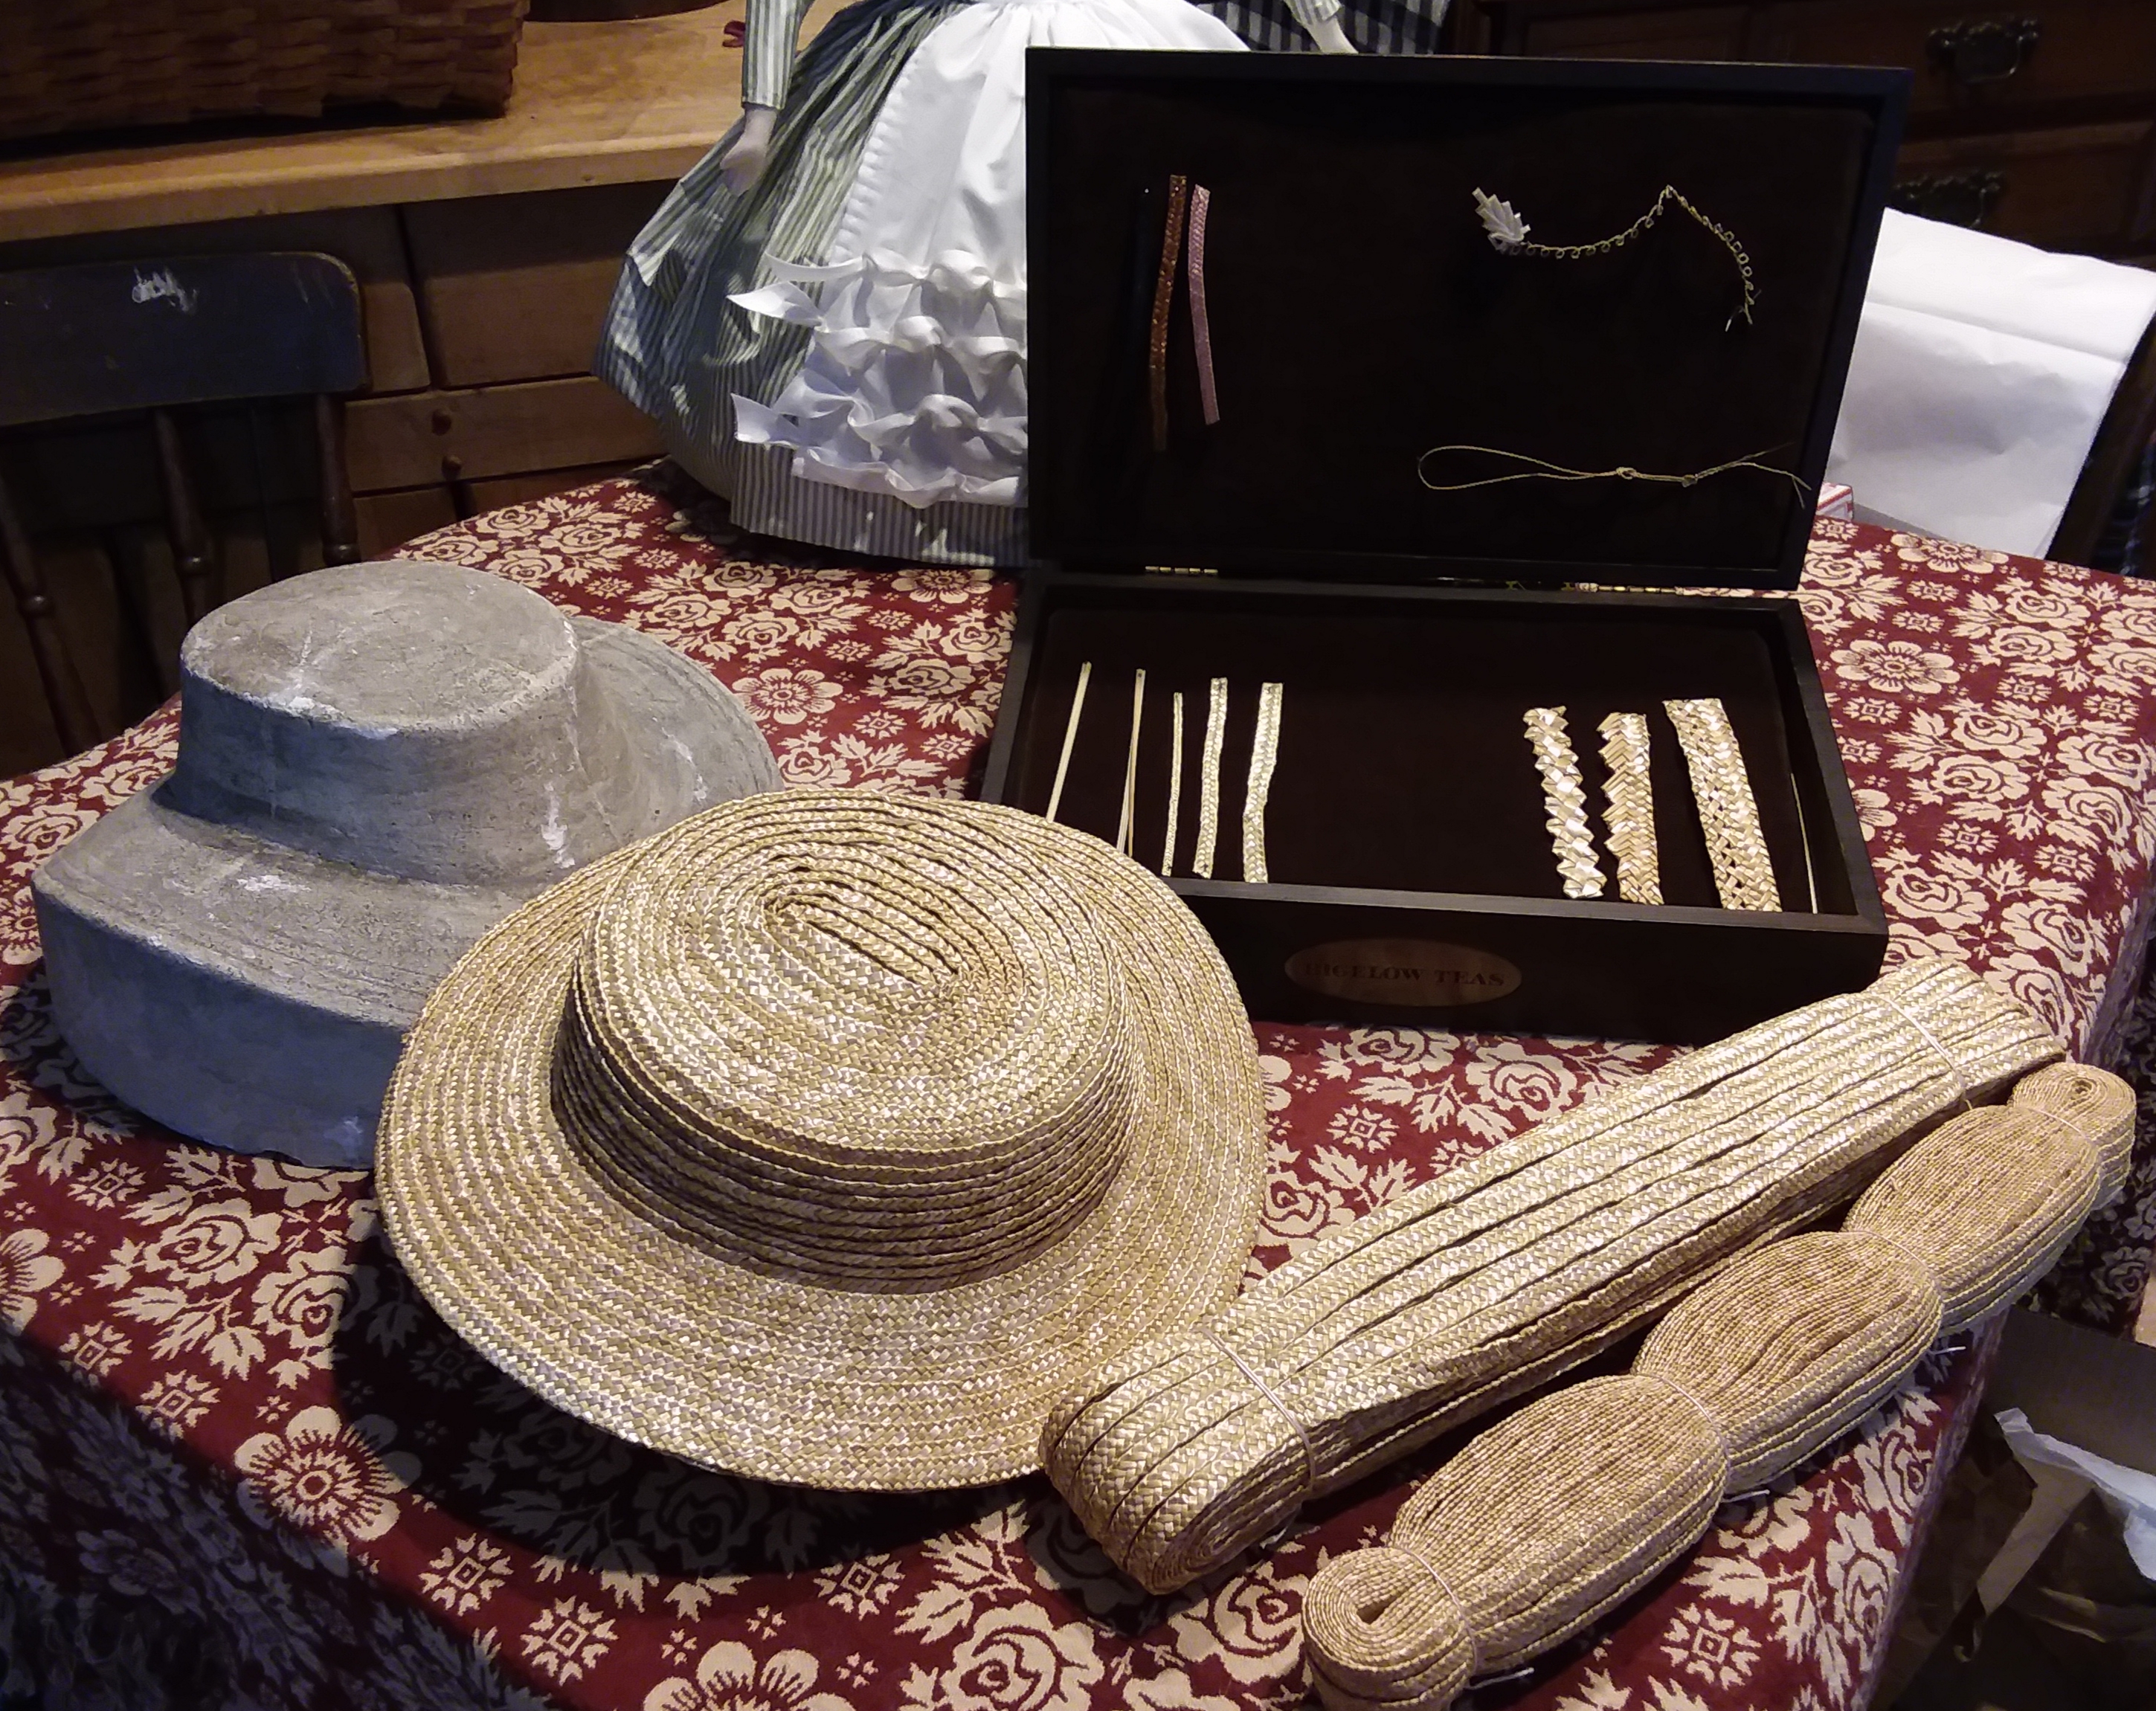
A historically accurate straw bonnet* begins with a length of plaited straw and a spiral. Wheat and/or Rye straw is braided into narrow lengths called plait. (To learn more about this process, please read From Field to Fashion.)
That tight little coil of plait you see in the center of a bonnet tip is where it all starts. I sew each length of plait by hand, working in a spiral from the center outward.
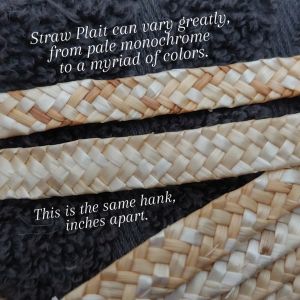
The shape must be coaxed as I go. Tension, curve, and stitch placement all matter as I create the tip, crown, cheektabs, and brim. Attention needs to be paid to variations in the straw including width, firmness, and even fragile or dry areas. There’s no shortcut, and no one-size-fits-all template.
Along the way, I check the developing shape on a millinery block. With some straws, this needs to be done frequently. With others only occasionally. The goal, of course, is to create a bonnet accurately mimicking the shape and techniques of original bonnets.
When the bonnet is sewn from tip to brim, with extended cheektabs, I dampen the straw and shape it to the millinery block. Using original and reproduction millinery blocks ensures accurate shapes and period sizing.
When the bonnet is dry, I add a single or double row of straw plait around the whole bonnet. Inside the edge of the bonnet, I attach millinery wire. For safety, this wire is then covered with another row of straw. I add a coating of sizing, a type of stiffening, to the interior of the straw. The bonnet must then rest overnight, some times over two nights, to dry.
If you want to learn to make your own mid-nineteenth century straw bonnet, please consider my Straw Bonnet Workbook.
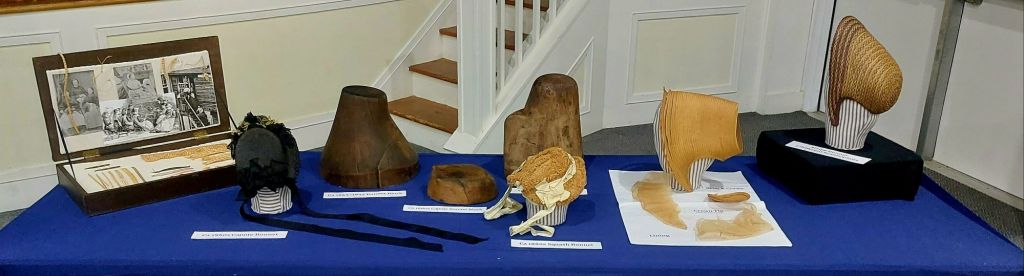
Each of the above images is of a mid-nineteenth century bonnet. I use a similar process for making mid-century hats and later bonnets.
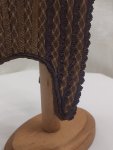
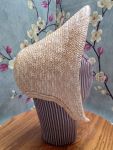
This image shows a tapered crown hat and millinery block.
This is an 1880s capote bonnet block. While it is much smaller than it’s predecessors, the same process can be used. This is the time when hand sewing decreased in straw bonnet construction as the straw sewing machine came into regular use. I feel some of the nuances in shape can not be achieved as well with machine sewing as the can with hand sewing.
Notes:
*Some straw bonnets were made from woven straw and grass fibers. These were woven directly on a block, creating the bonnet or hat shape. This style is now created using a woven capeline or hood shaped over a millinery block.
Etsy just sent me an anniversary email, reminding me I opened my shop 14 years ago on June 9th, 2011.
A Lot has happened since then:
Fanciful Utility released in July 2012
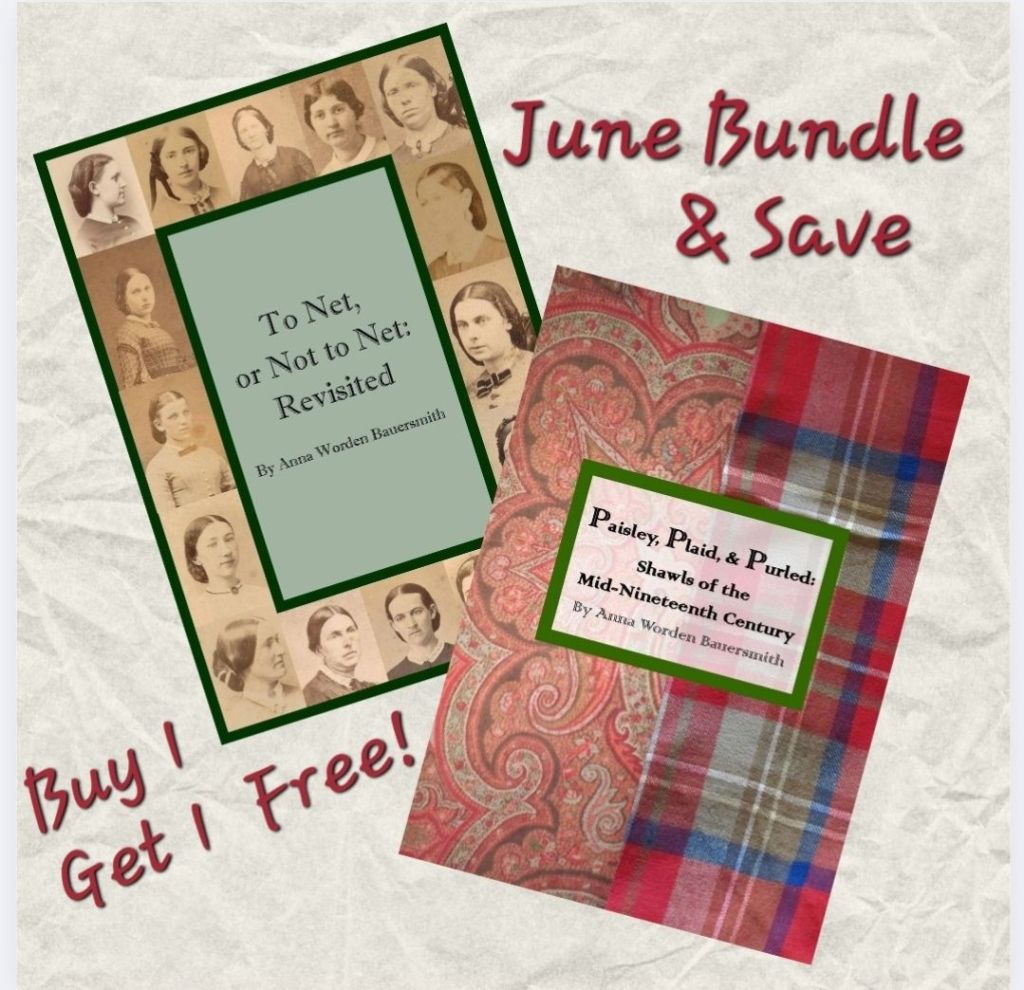
Paisley, Plaid, & Purled released in January 2016
To Net, or Not to Net released in March or 2018
Etsy says I’ve had 2,613 sales to 16 countries with 1,153 repeat customers.
I’ve lost track of the number of hats and bonnets I’ve sewn. But, I can say they span 3 centuries.
I’ve written & published 3 workbooks, 5 patterns, and numerous mini-publications
I want to thank you all from the bottom of my heart for your confidence and encouragement. Whether you’ve made a purchase, shared my site, or sent along a supportive note, you have kept me going all this time, I appreciate you!!!