I remember each summer Grandma would tuck a new lavender wand, or two, or three, here and there around the house. These fragrant, woven bouquets were quintessential tokens of summer in the historic village.
For each wand, you will want:
An odd number of lavender stalks (9, 11, 13) of about the same length and size head
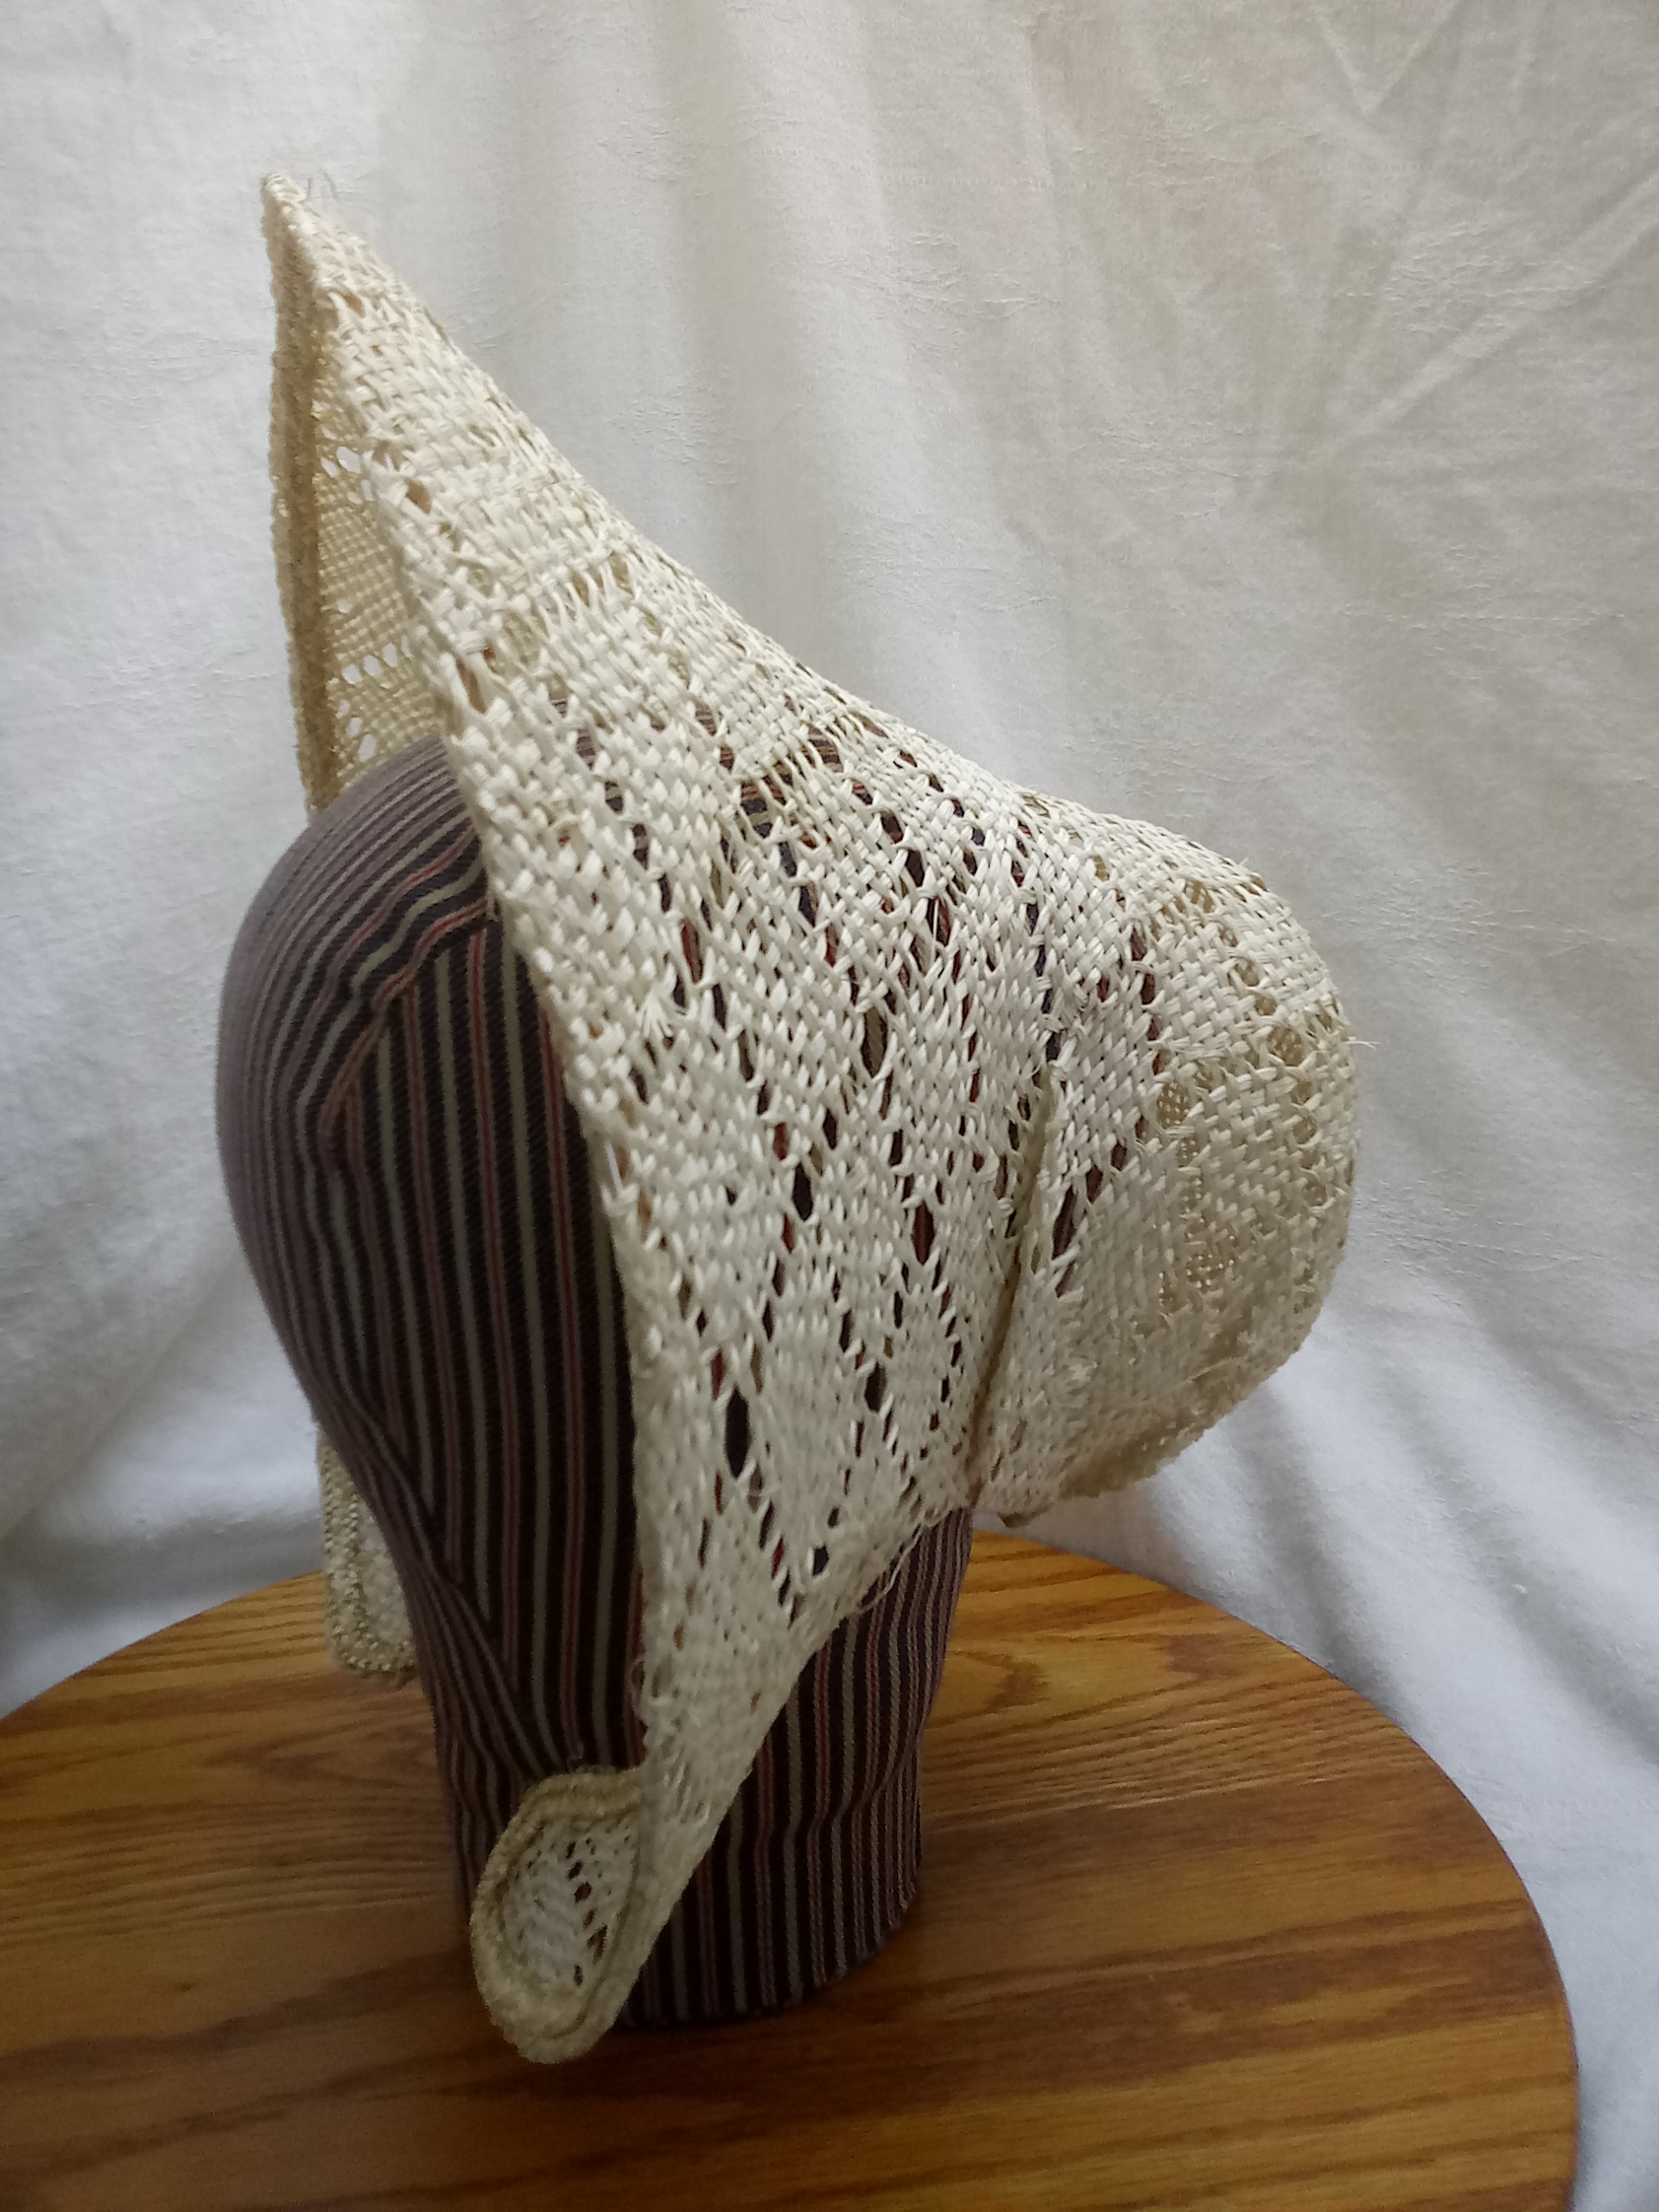
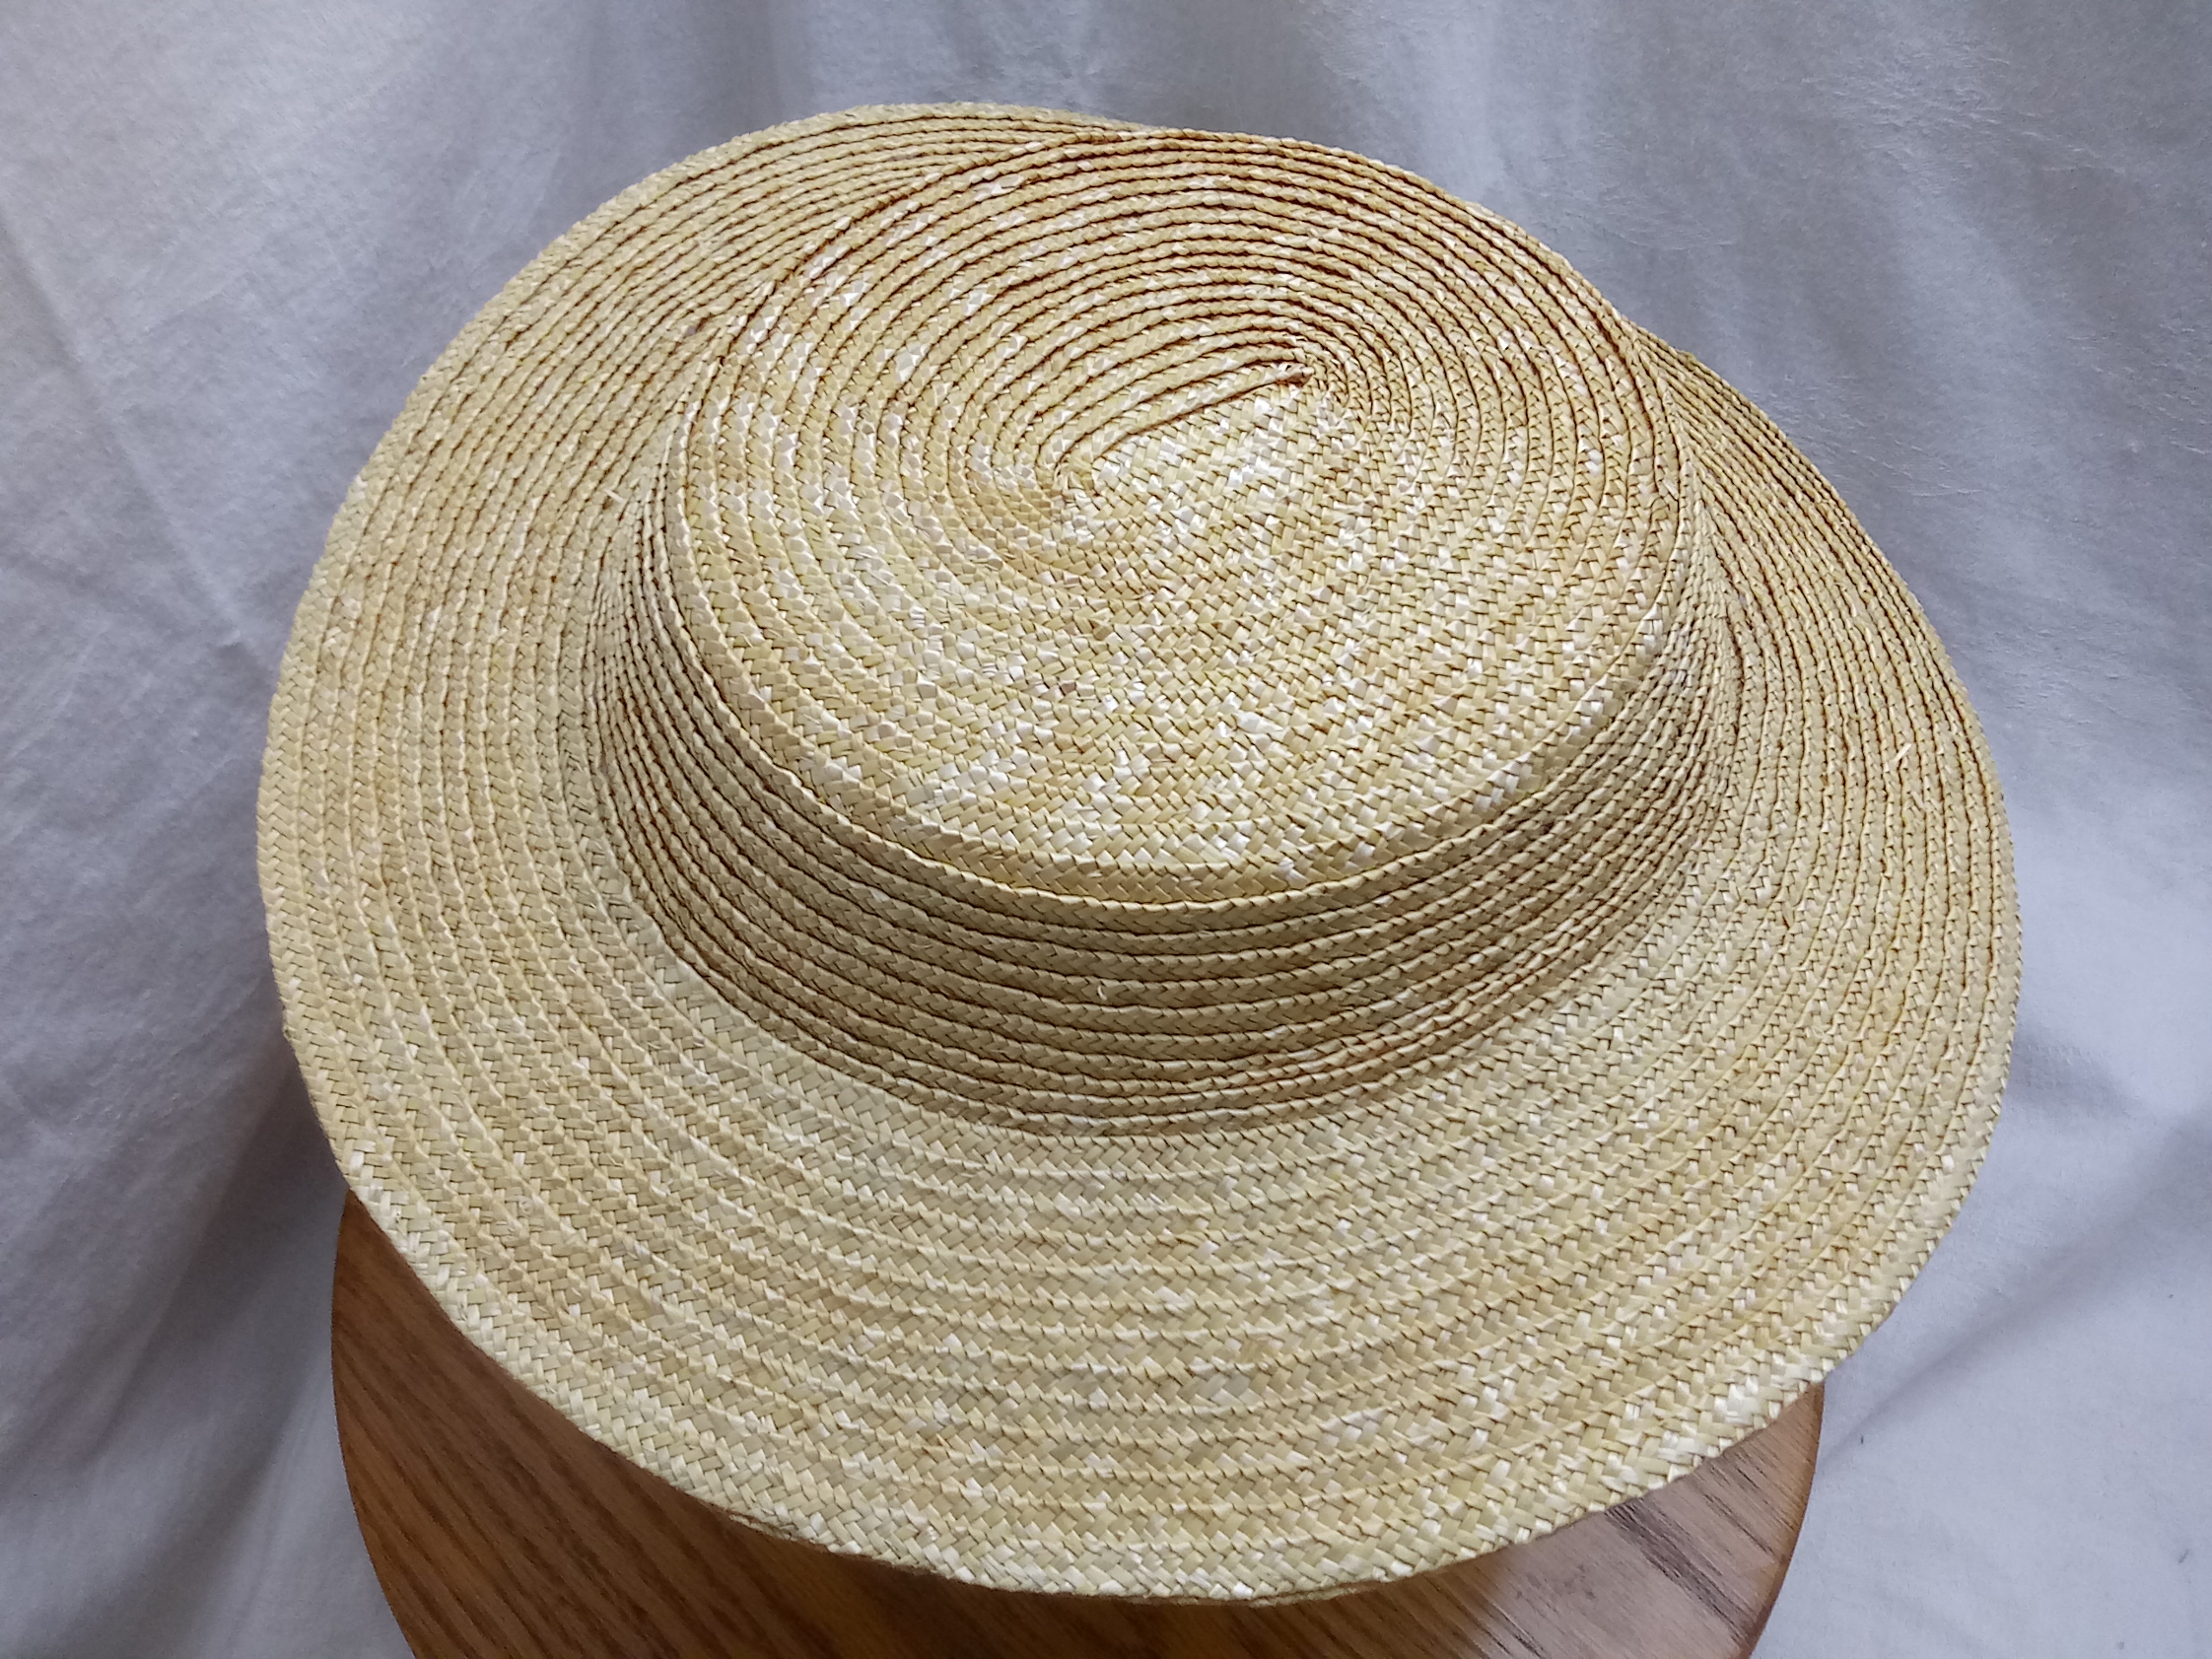
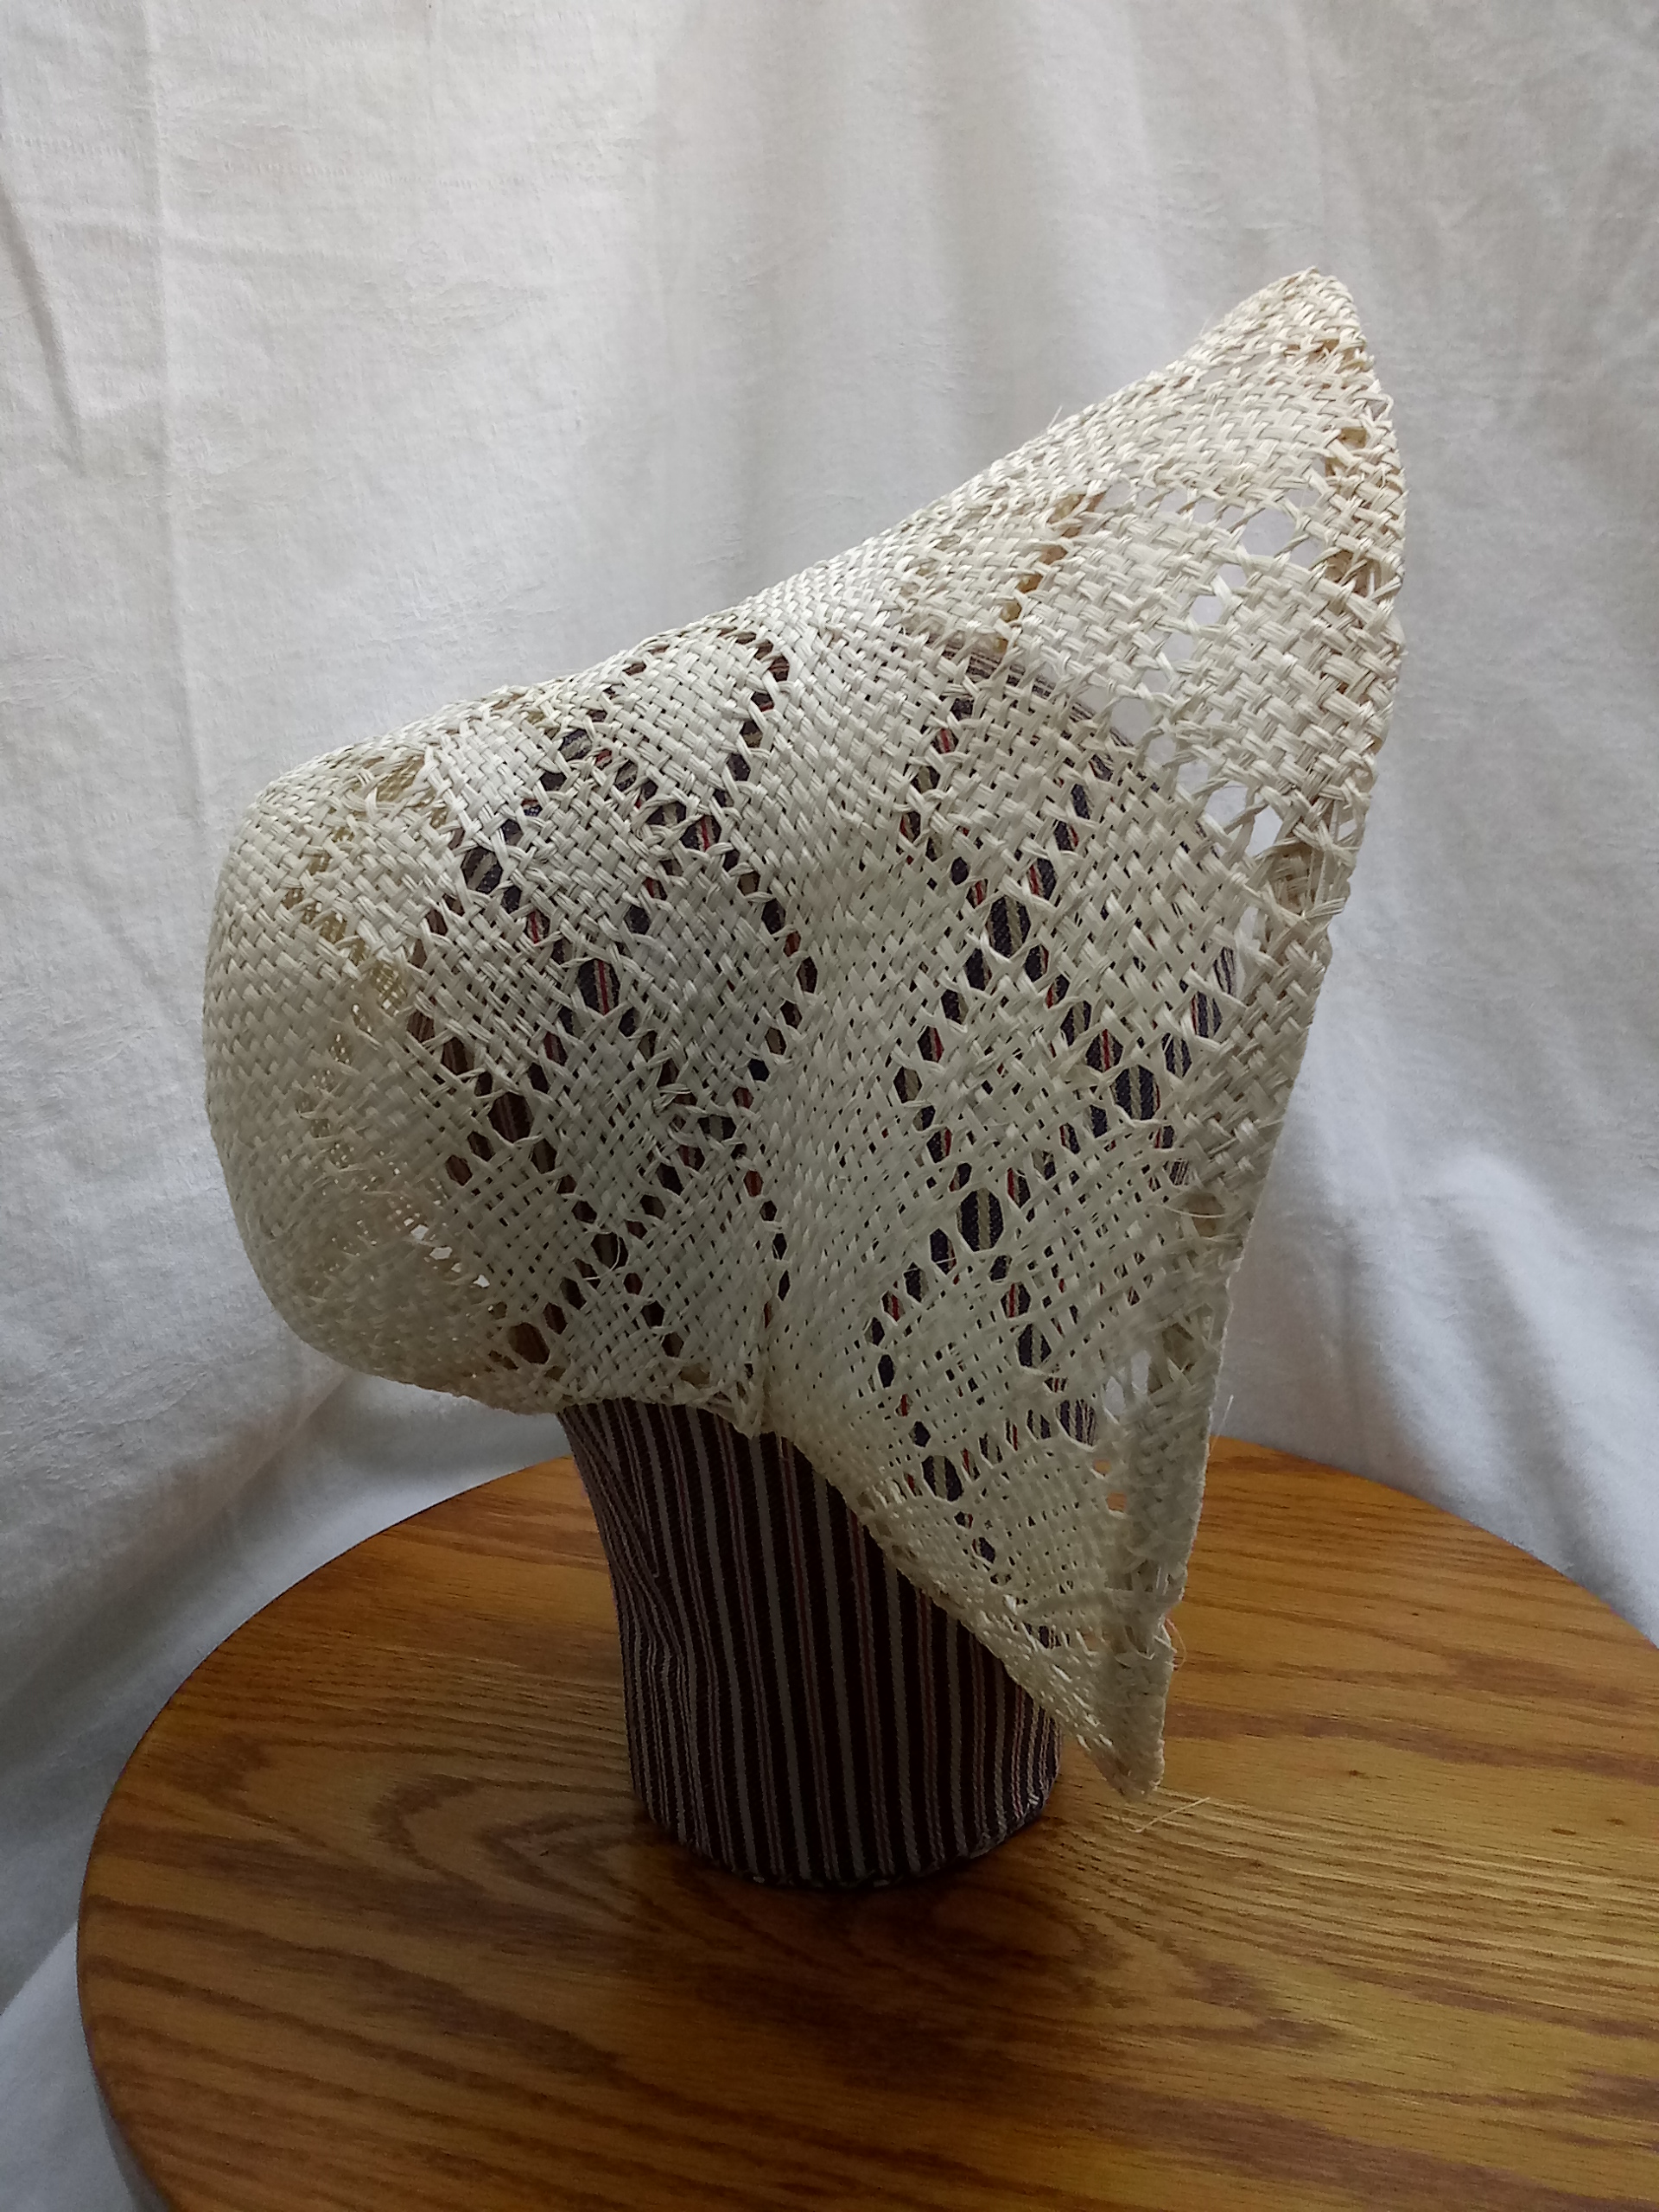
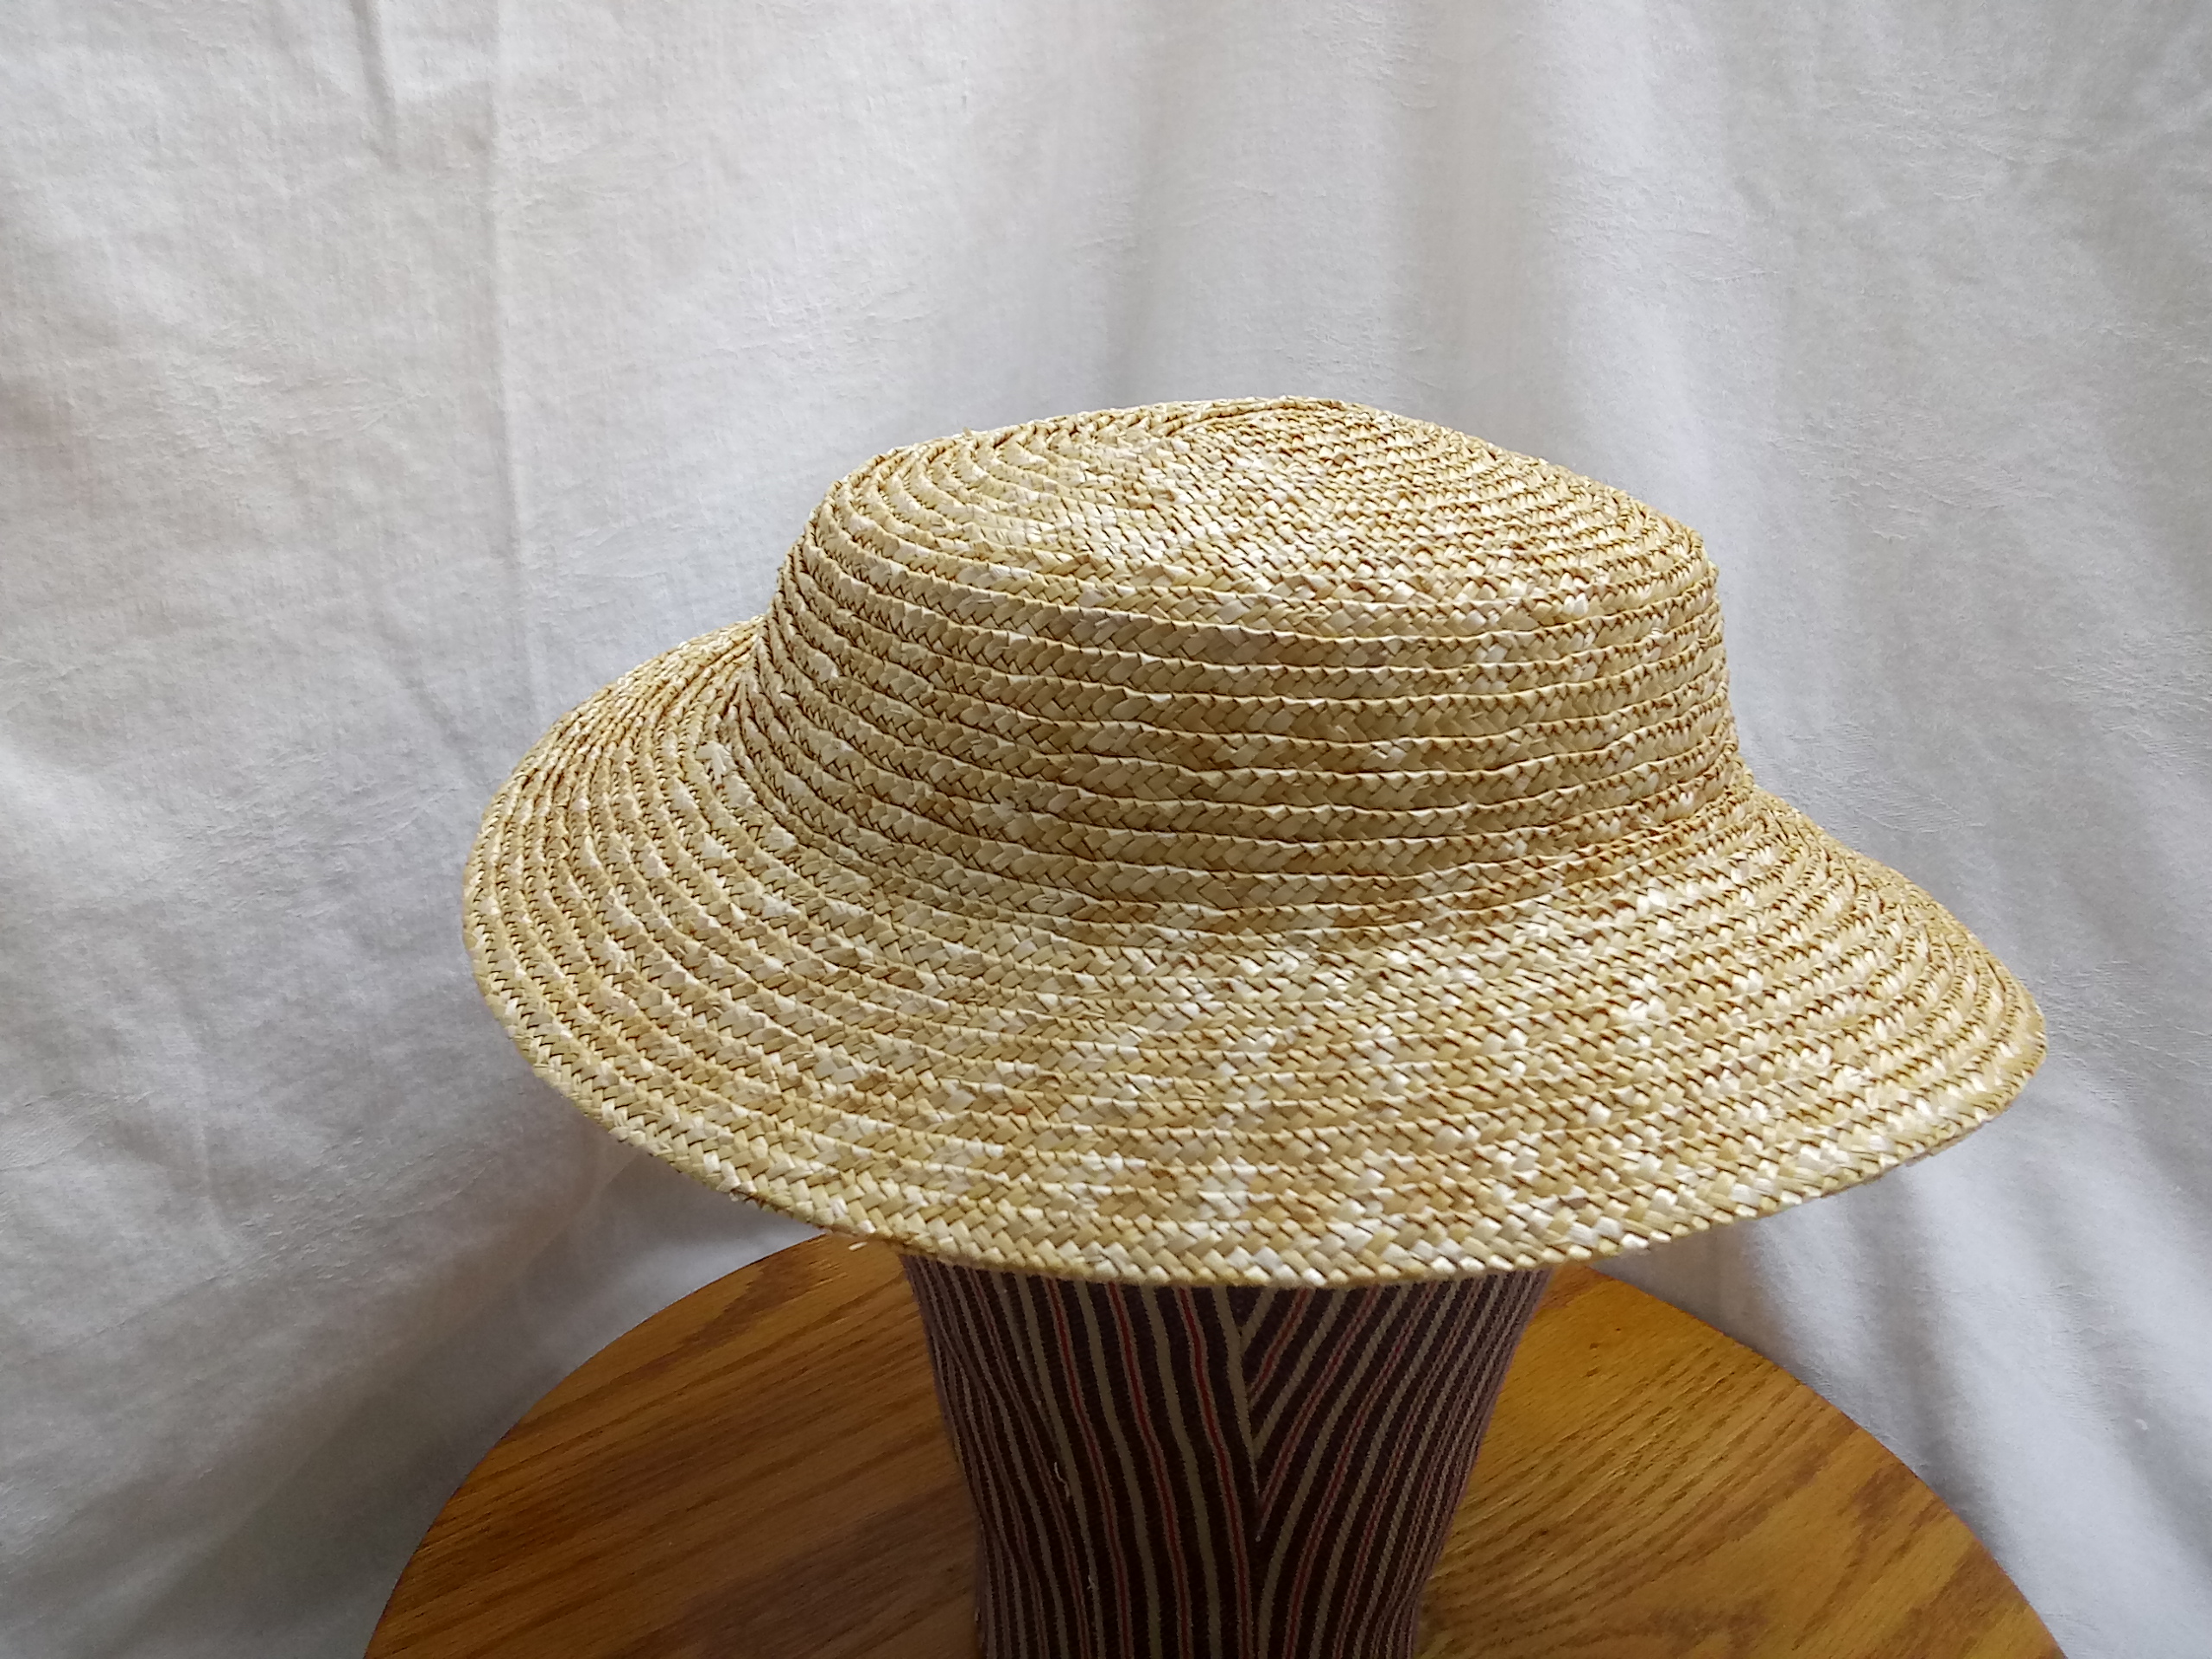
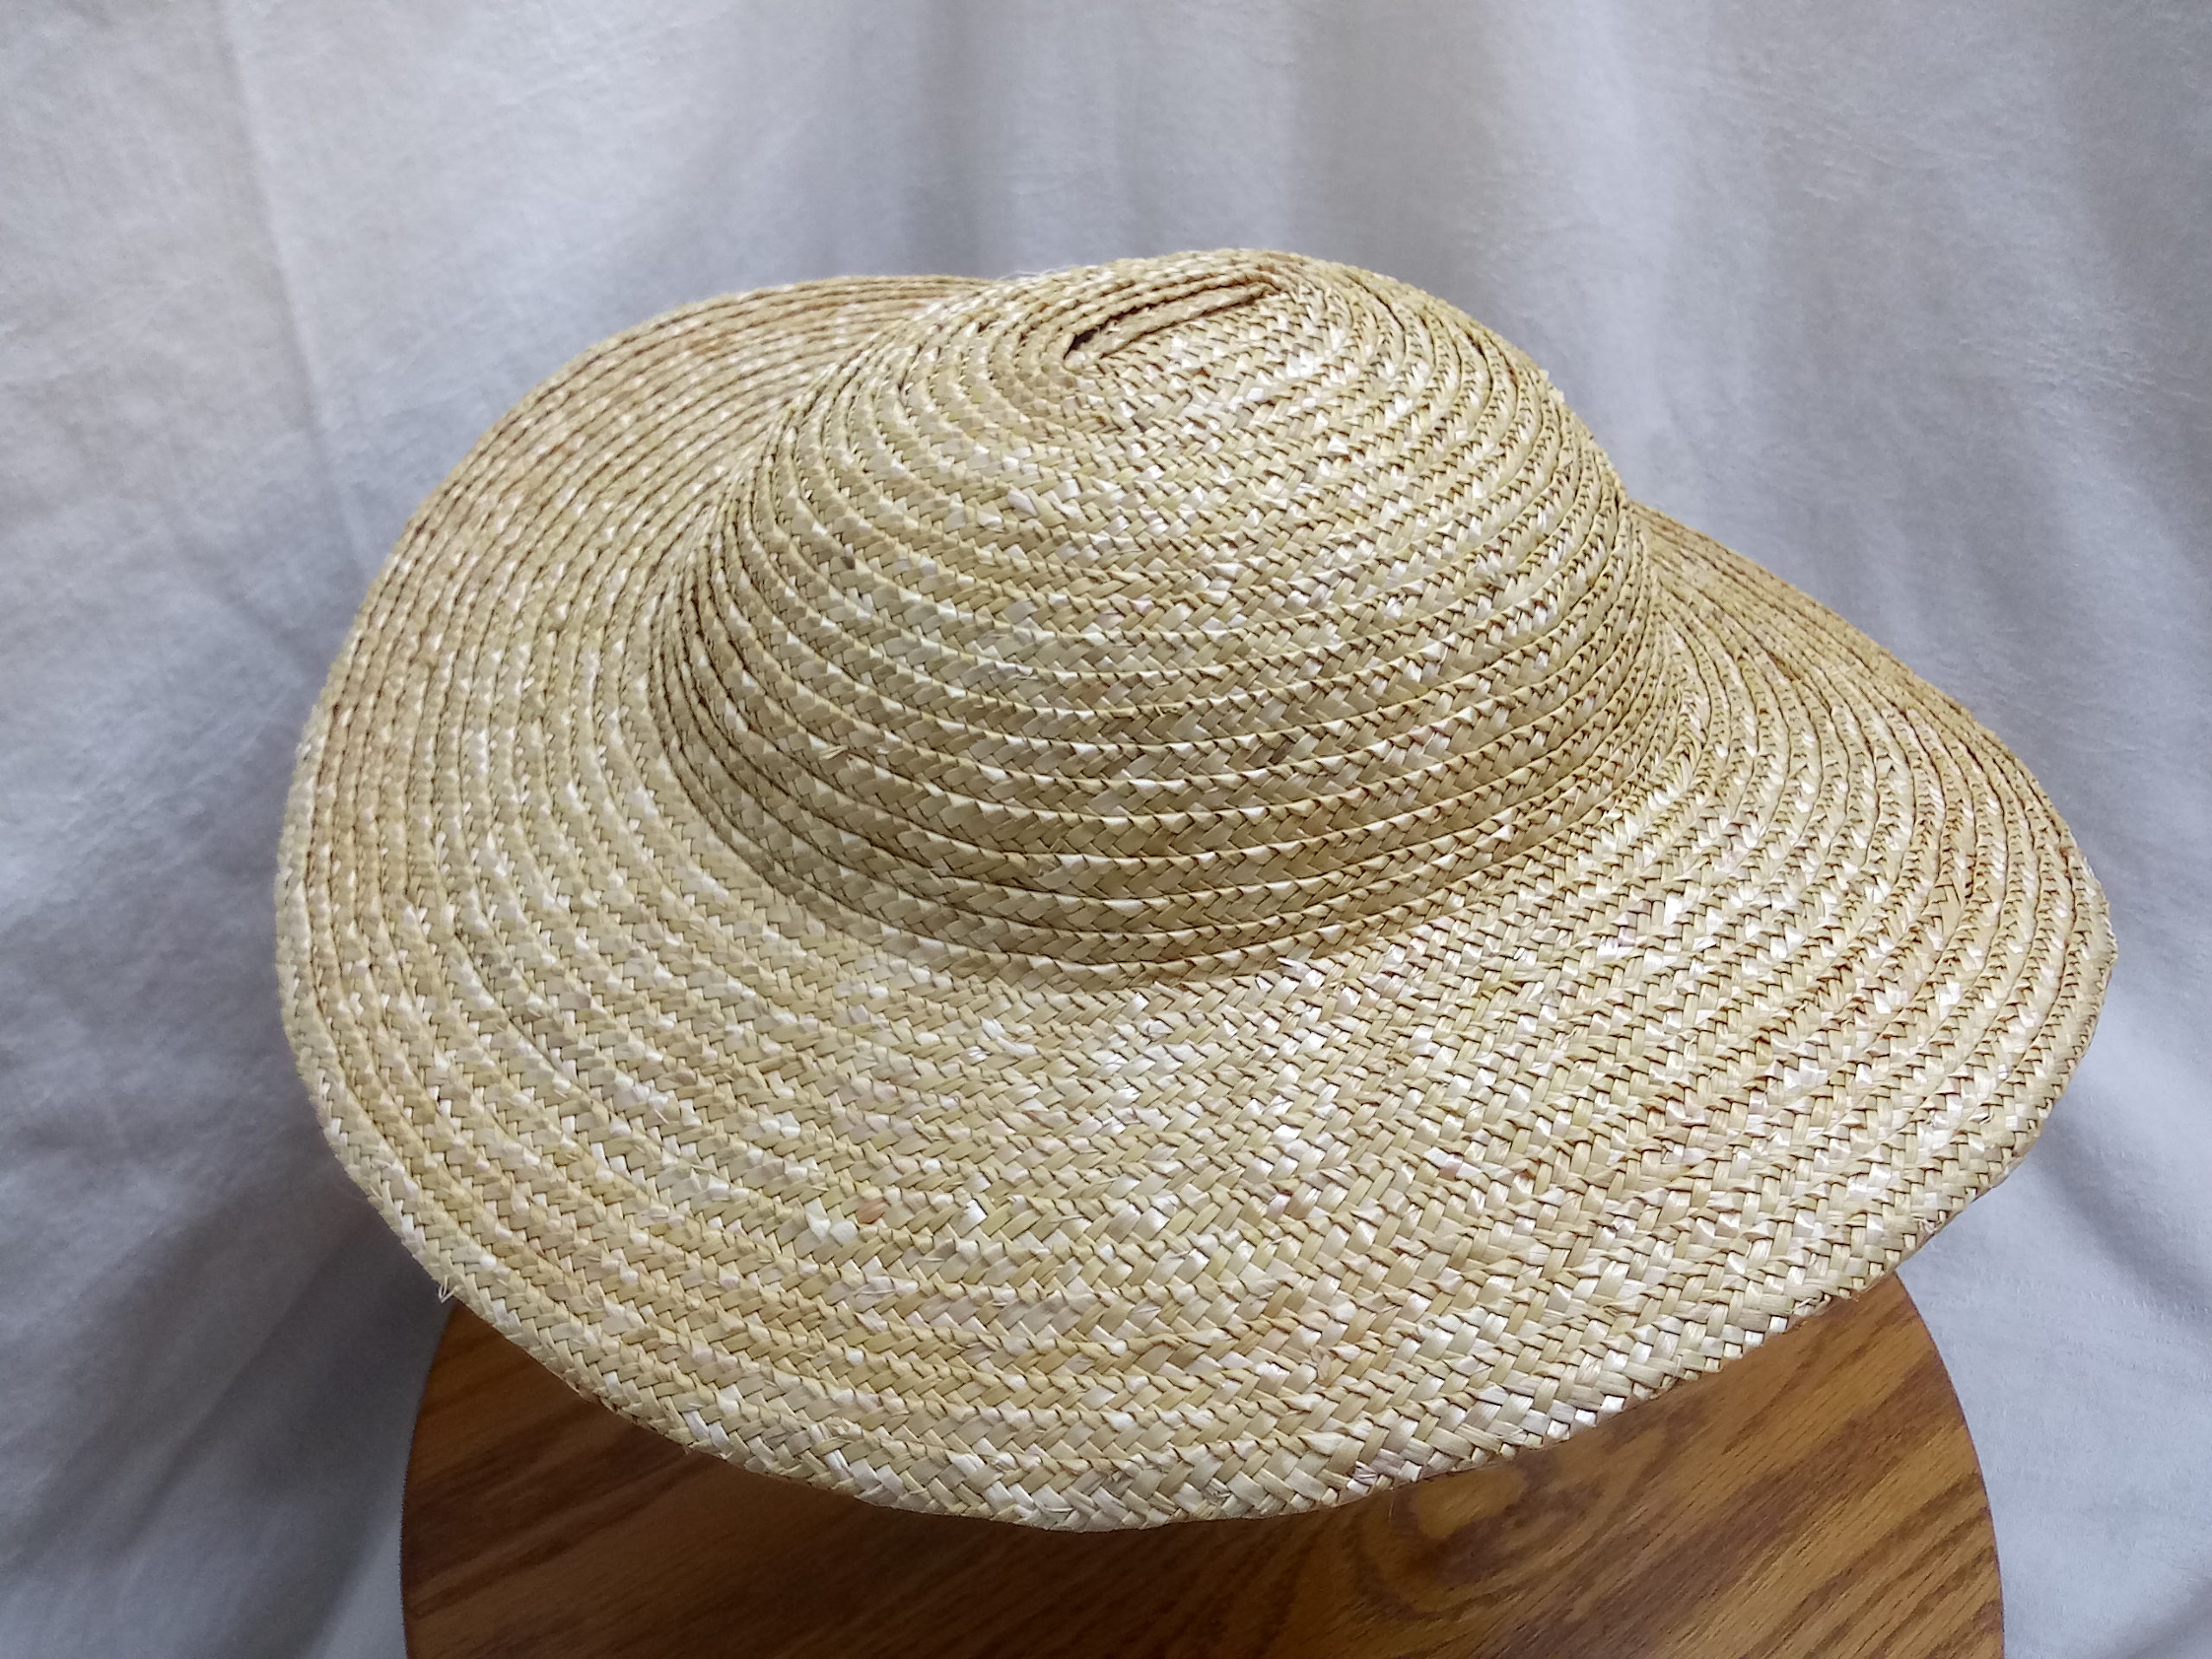
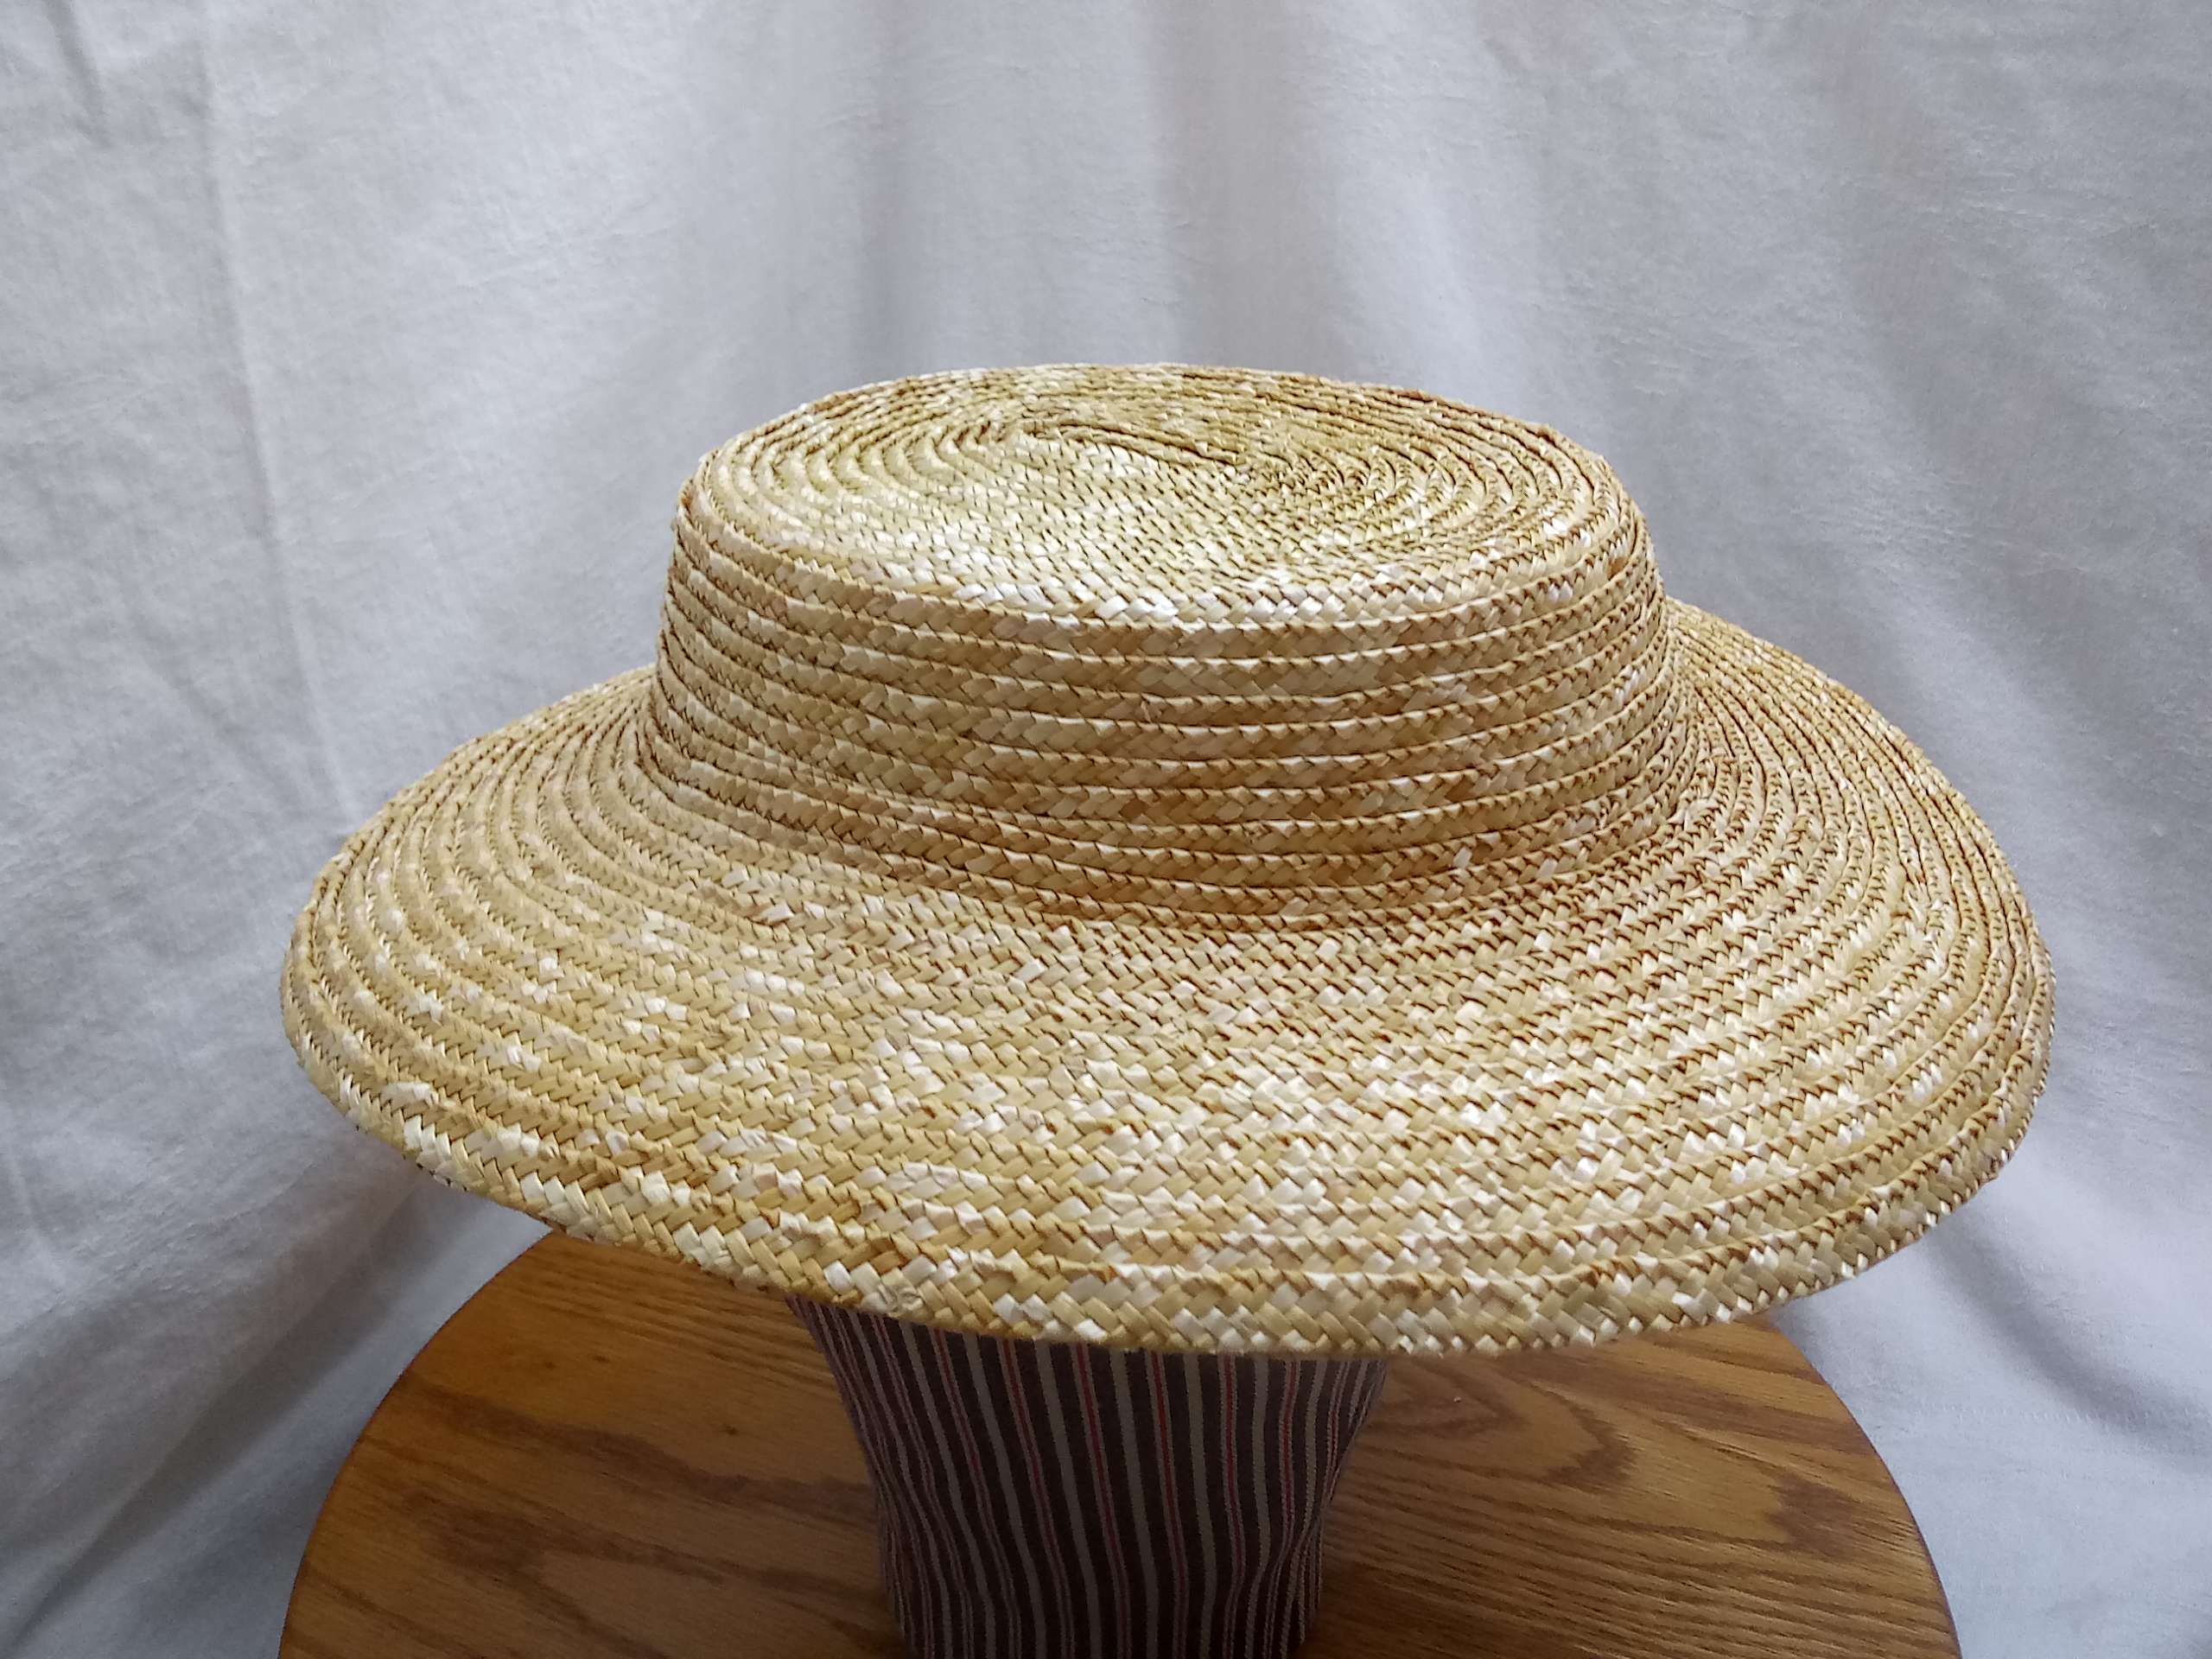
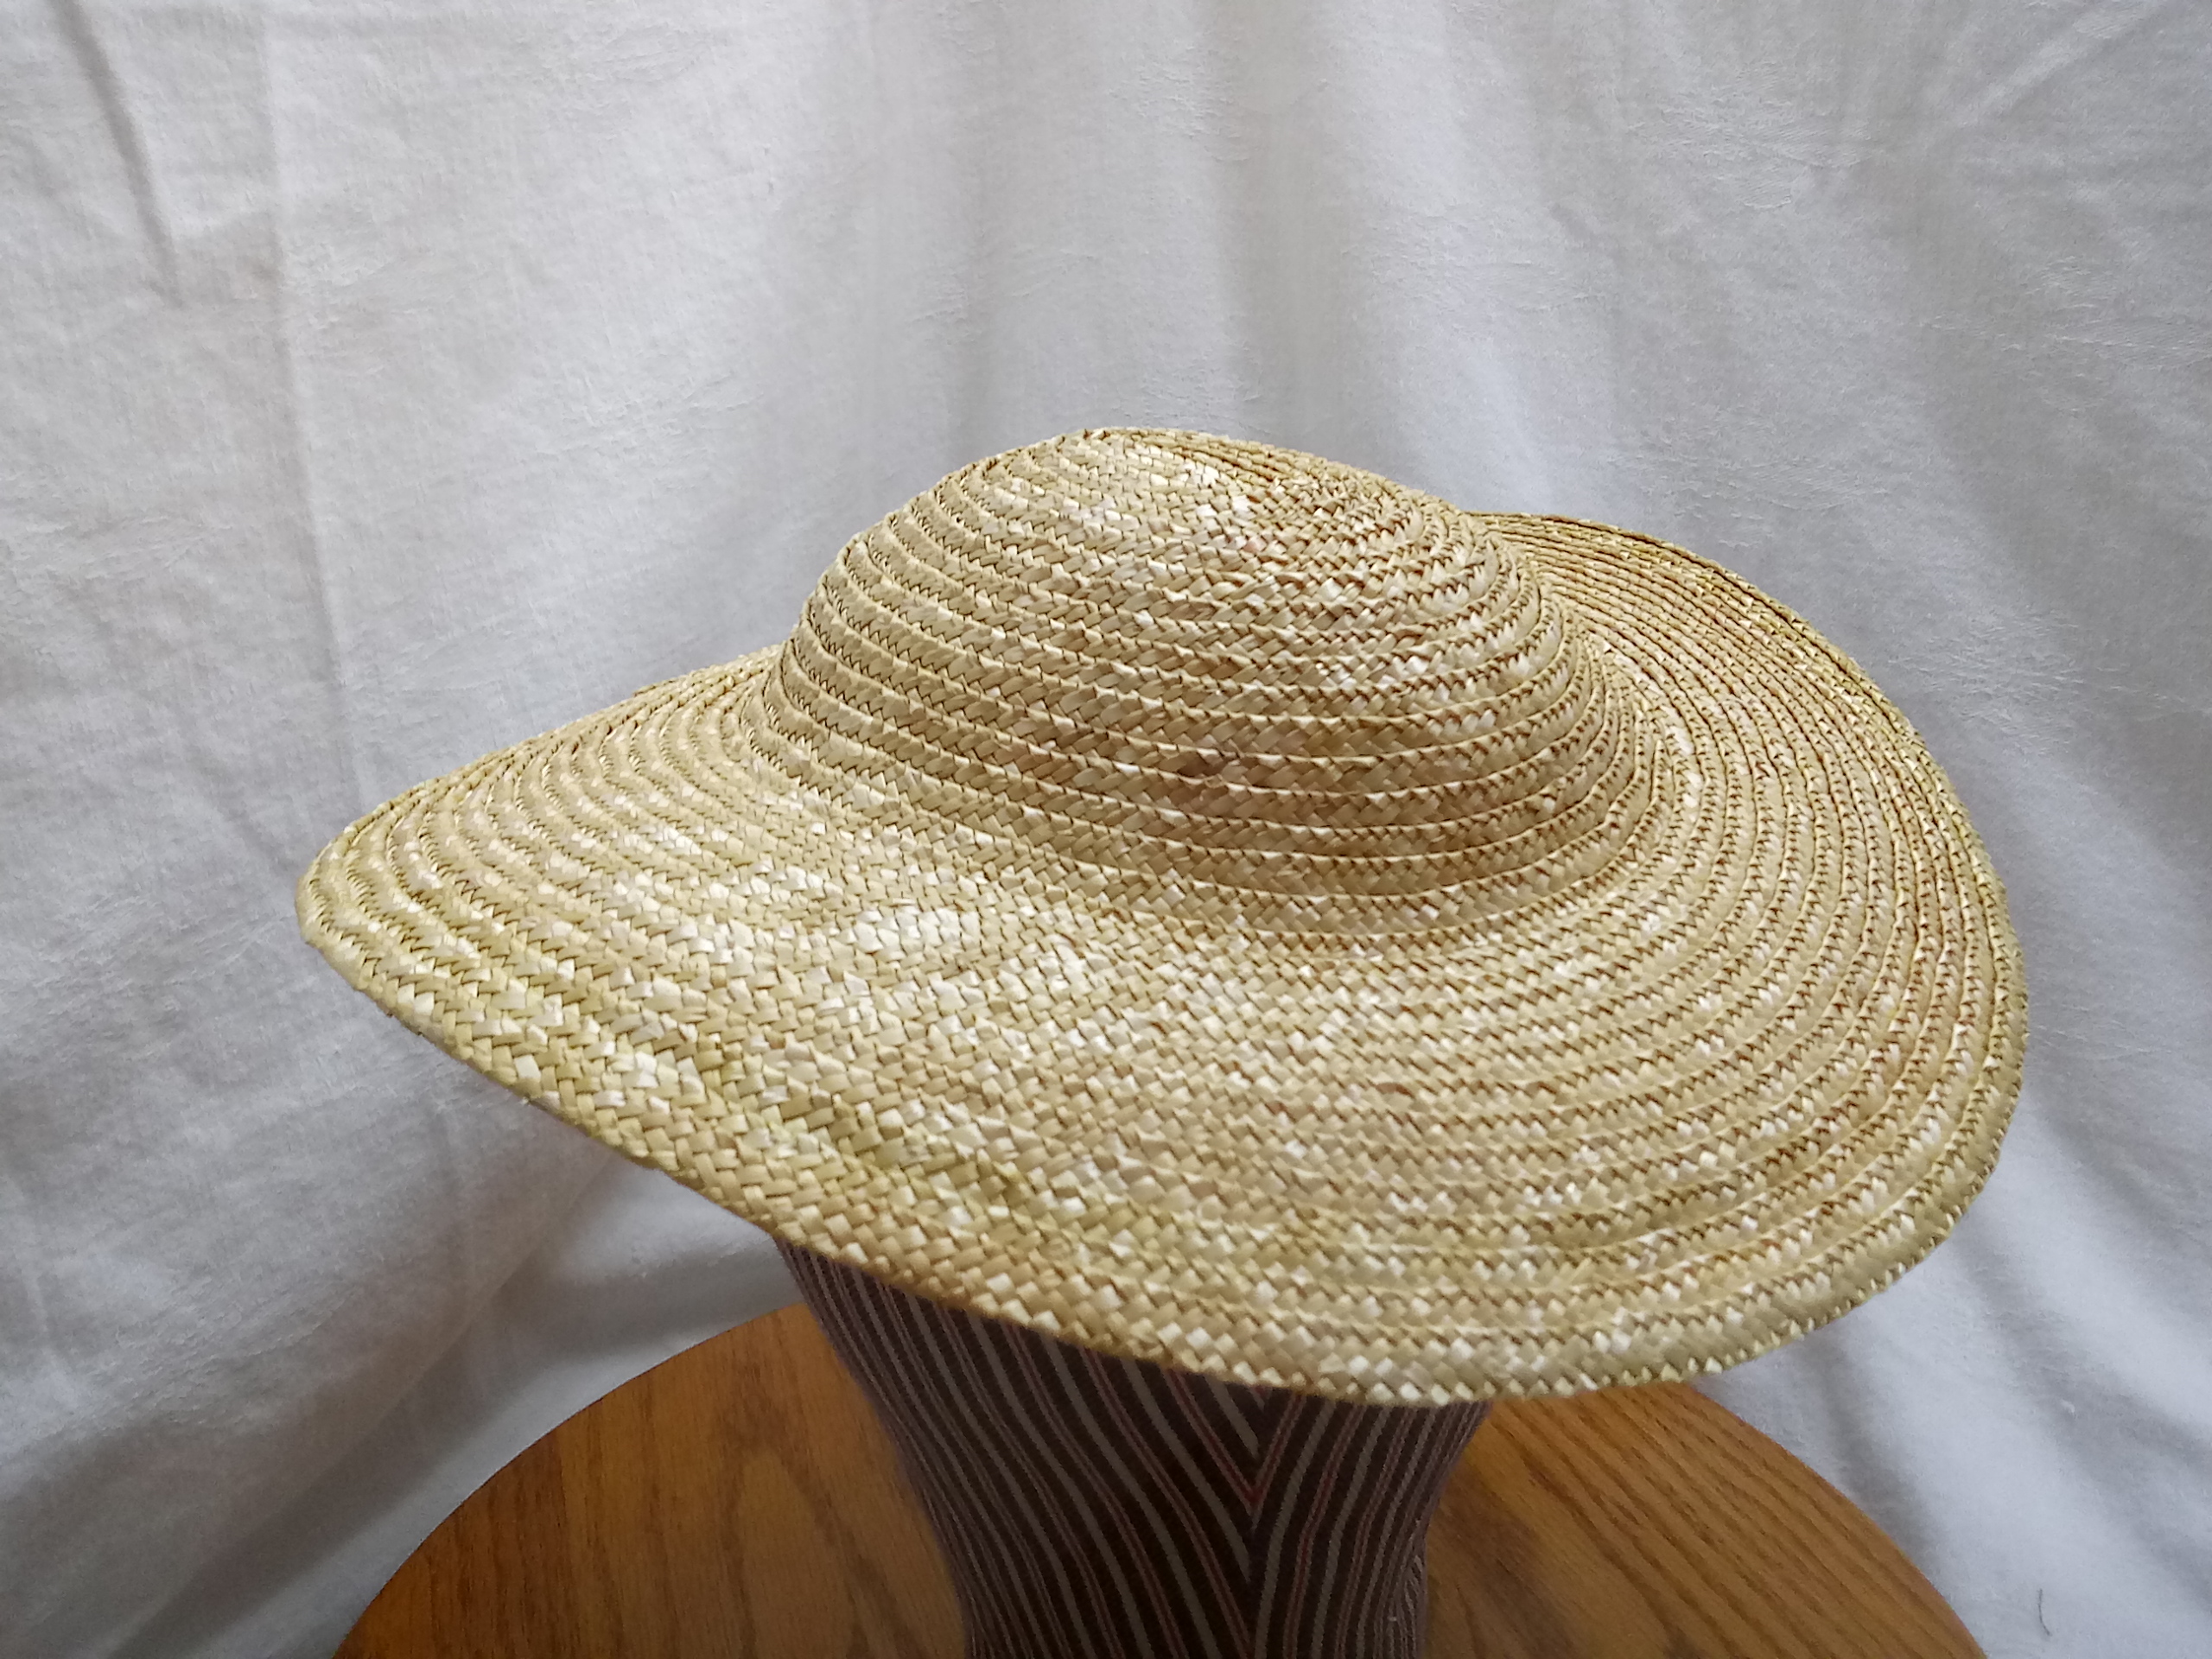
I didn’t know until I wrote it that this is going to be a new series. It won’t be a regularly scheduled series or necessarily a long series. It will be a series though. I hope to share my straw sewing with people while exploring the various aspects of straw millinery. I hope you enjoy.
New Bonnets in Shop
I also have new bonnets in the shop. I anticipate the bonnet from the video being finished later today (Monday)
If you’ve been watching or reading for a while, you may get a giggle out of today’s video. Midday I came home from my errands and hit a giant, fluffy pillow of “nope” “na” “done”. I suspect this delayed summer crashing was finally triggered by last night’s printer incident. Finally, sometime around noon I found myself not wanting to sew, stretched out on the couch enjoying an audiobook.
June Reflections:
Looking back to the beginning of June, I released my newest kit: A Corded Ball Pin Cushion. I think this makes my third kit (parasol pen wipe and embroidered velvet needle-book being the first and second.) There was a nice response with all but 5 kits being sold quickly.
Patreon supporters received a special edition of In Detail on one of my favorites from An American Girls Book.
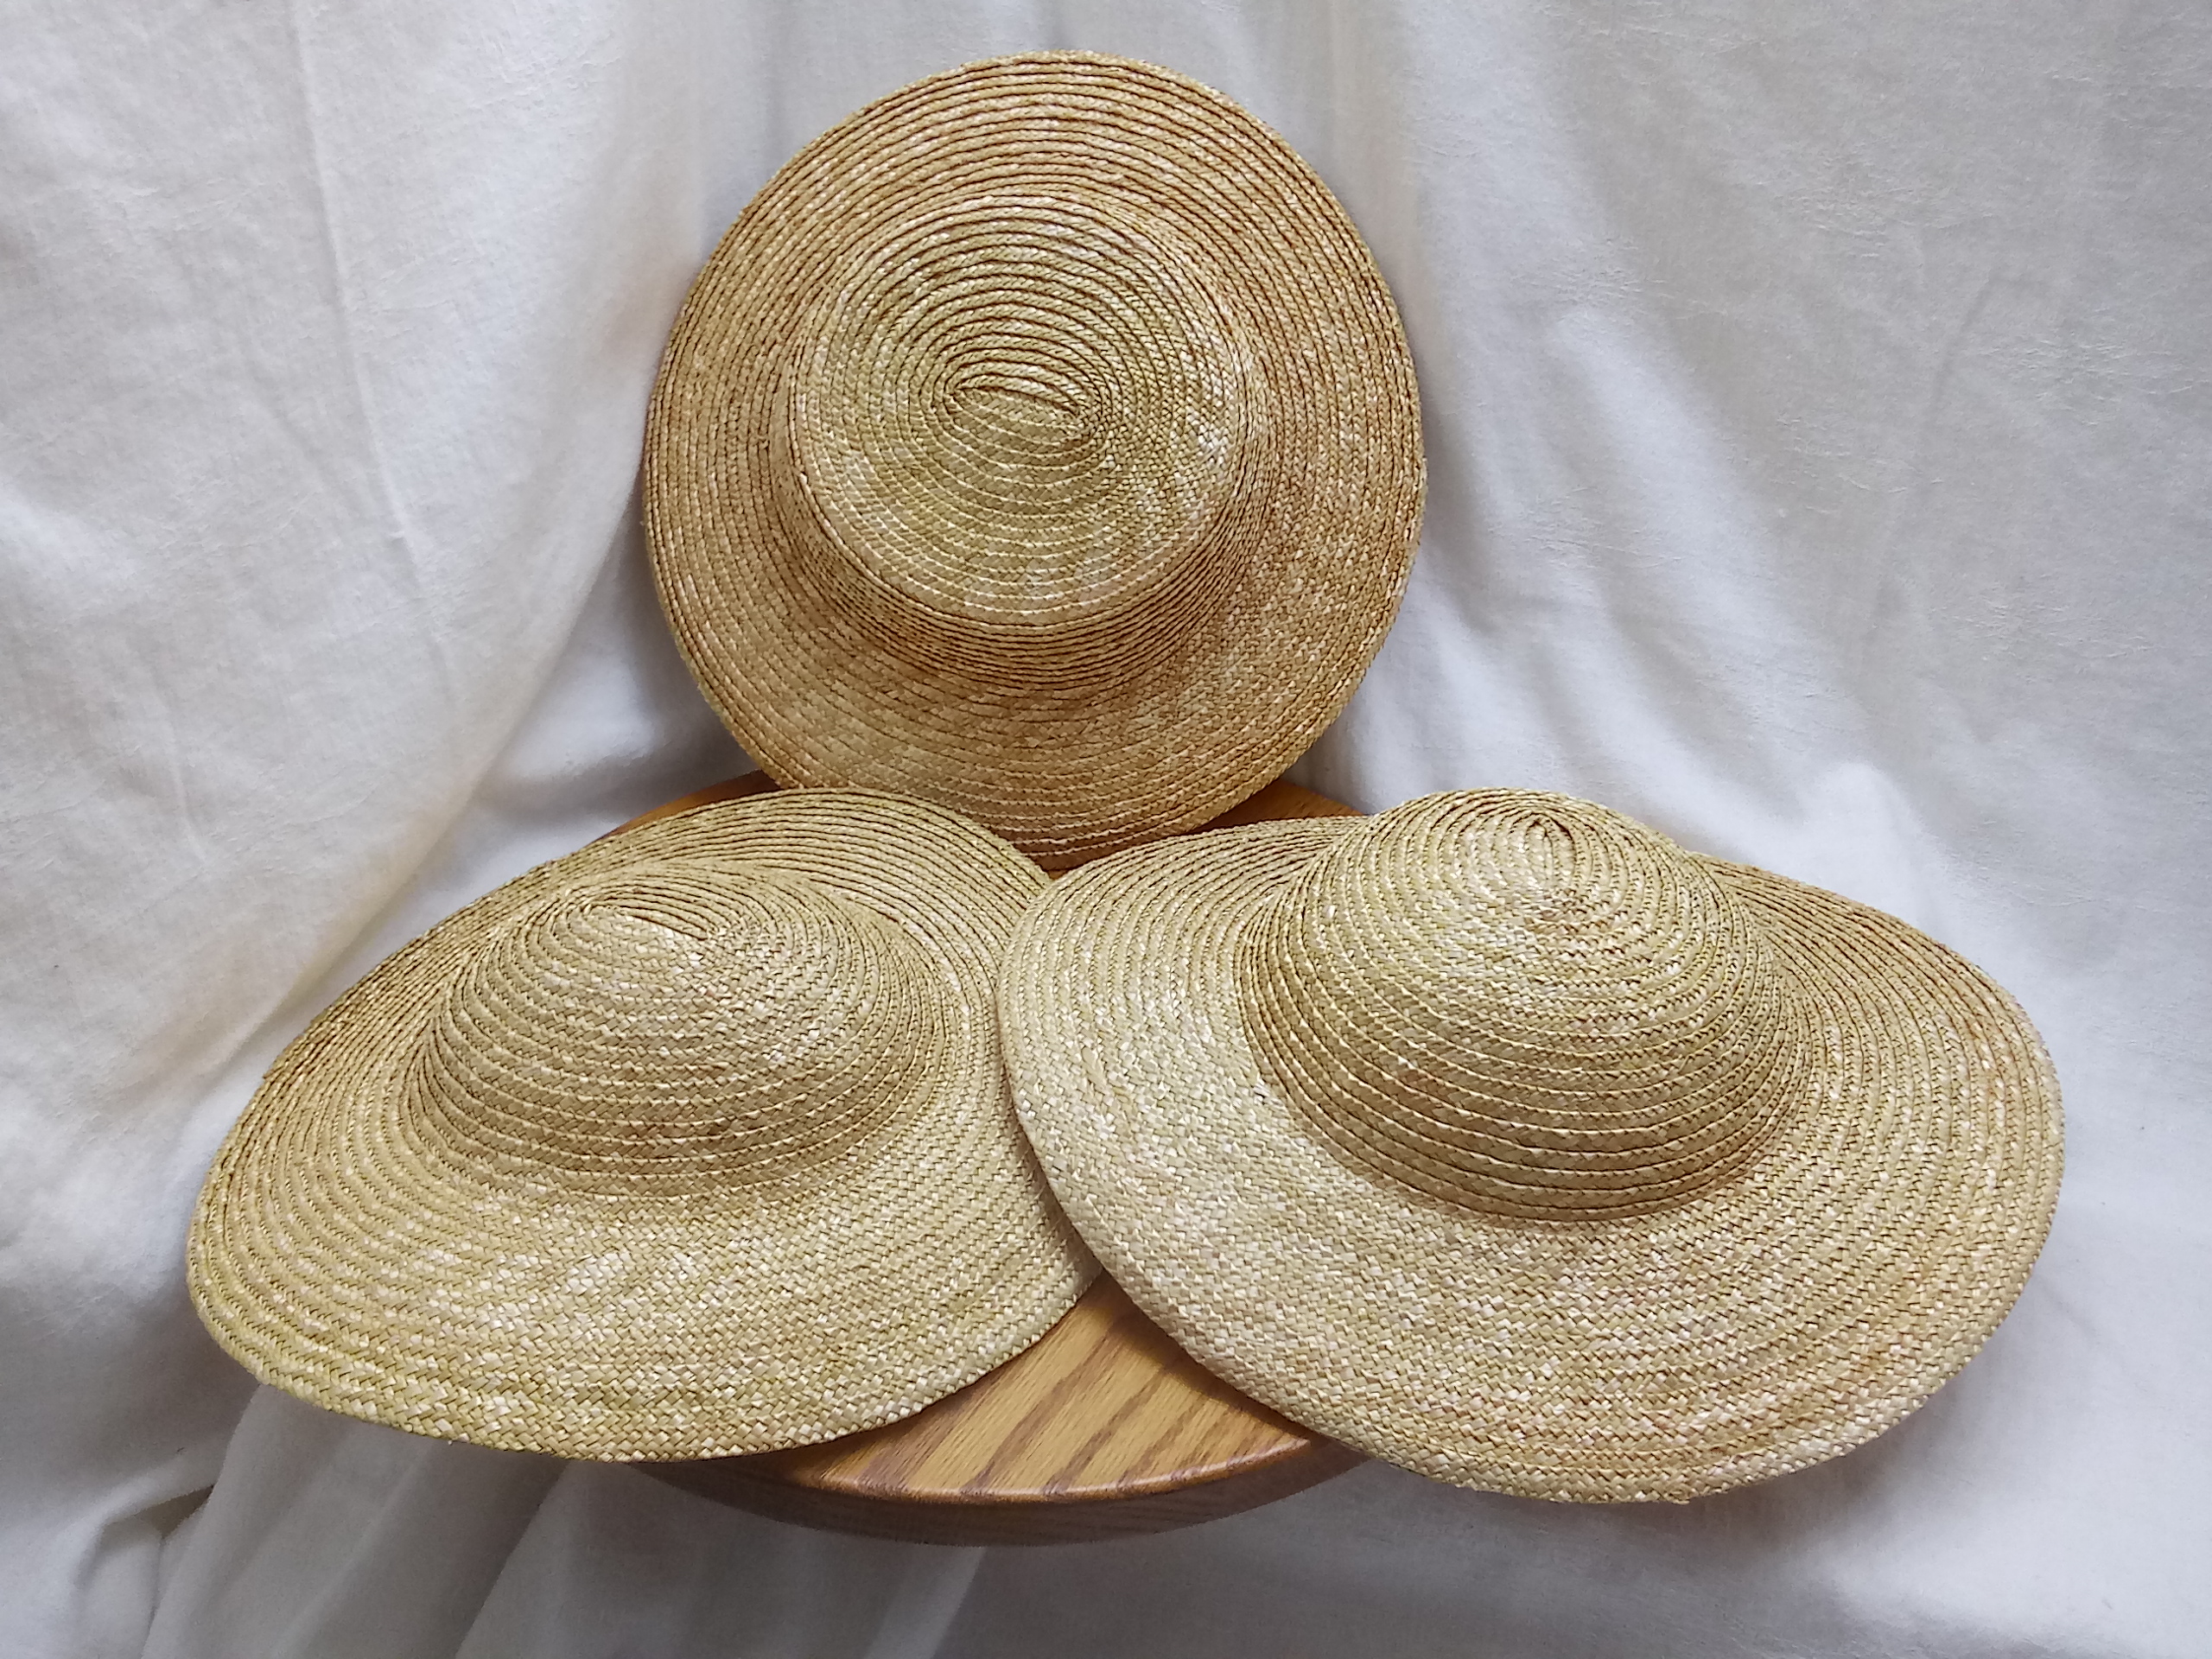
In the fog of what was June, I seem to have made several millinery pieces:
Coming up in July:
Independence Day at GCVM: This event brings be back to my first volunteer experiences at the museum with the parade and picnicking. I will be dressing in Regency attire (assuming I finish my bonnet and my dress still fits.)
Chocolate Day at GCVM: Bonnie the BonBon doll will be in attendance again. I will be doing a tbd chocolate themed demonstration. I will be dressing in 1830s attire.
Civil War Living History at GCVM: I will be presenting on women’s employment through the millinery industry, both ways women earned money away from the home and from home.
Millinery: My goal is to make 4 pieces each week, hopefully with one decorated piece.
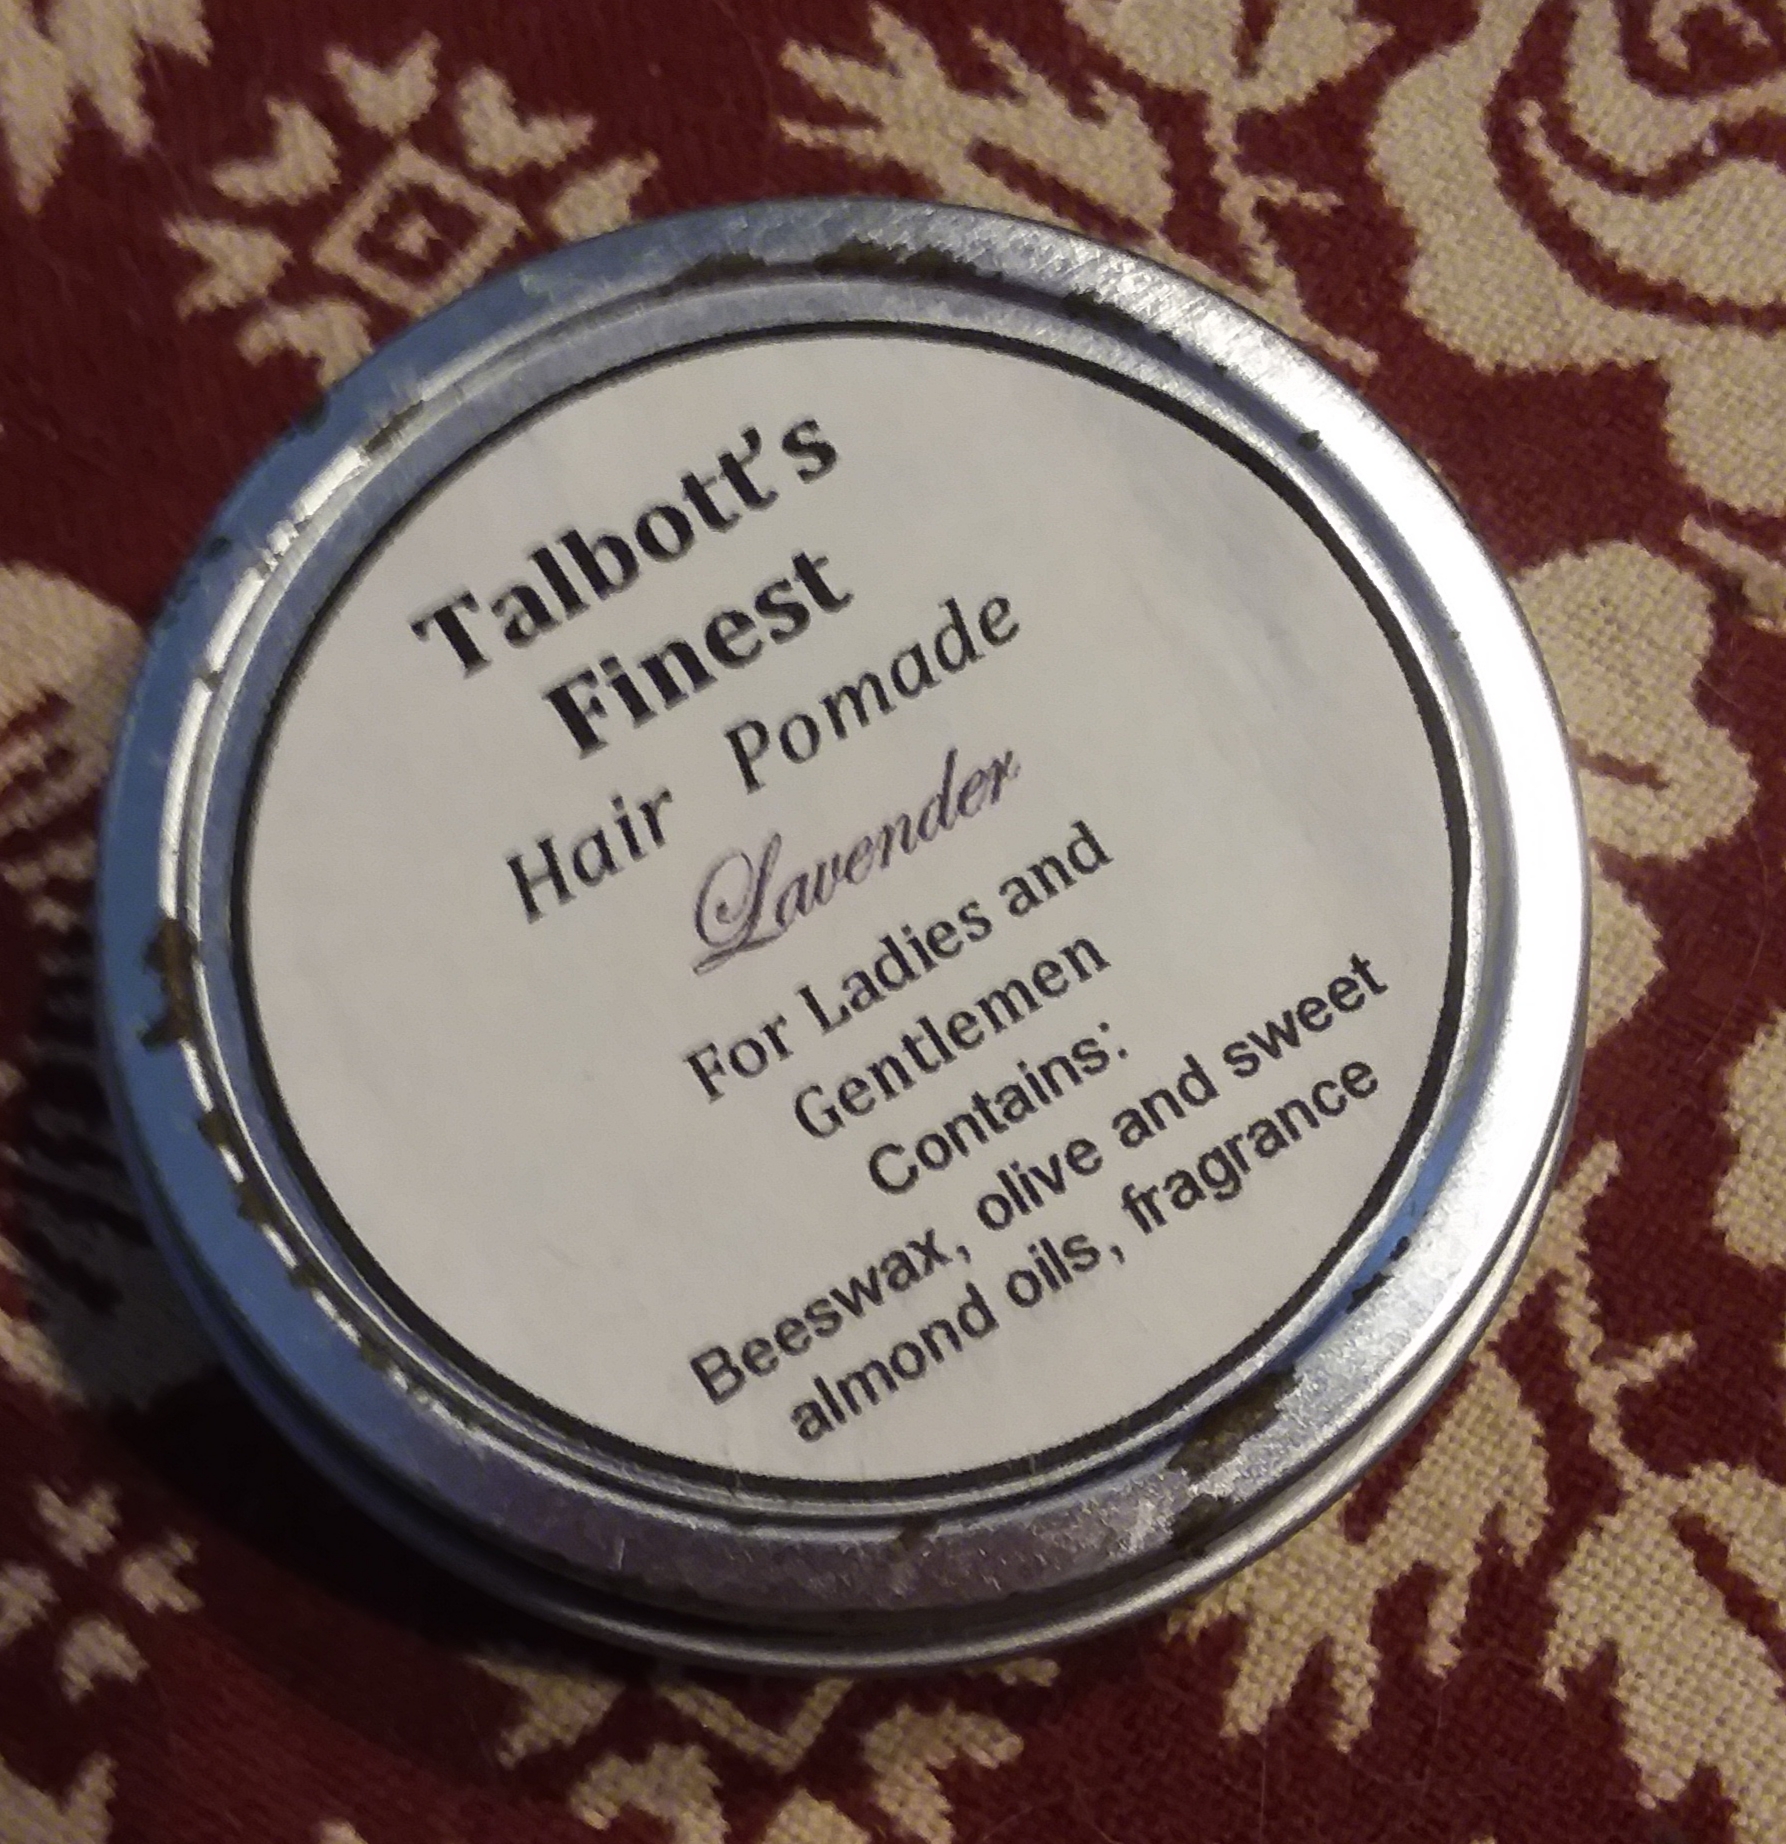
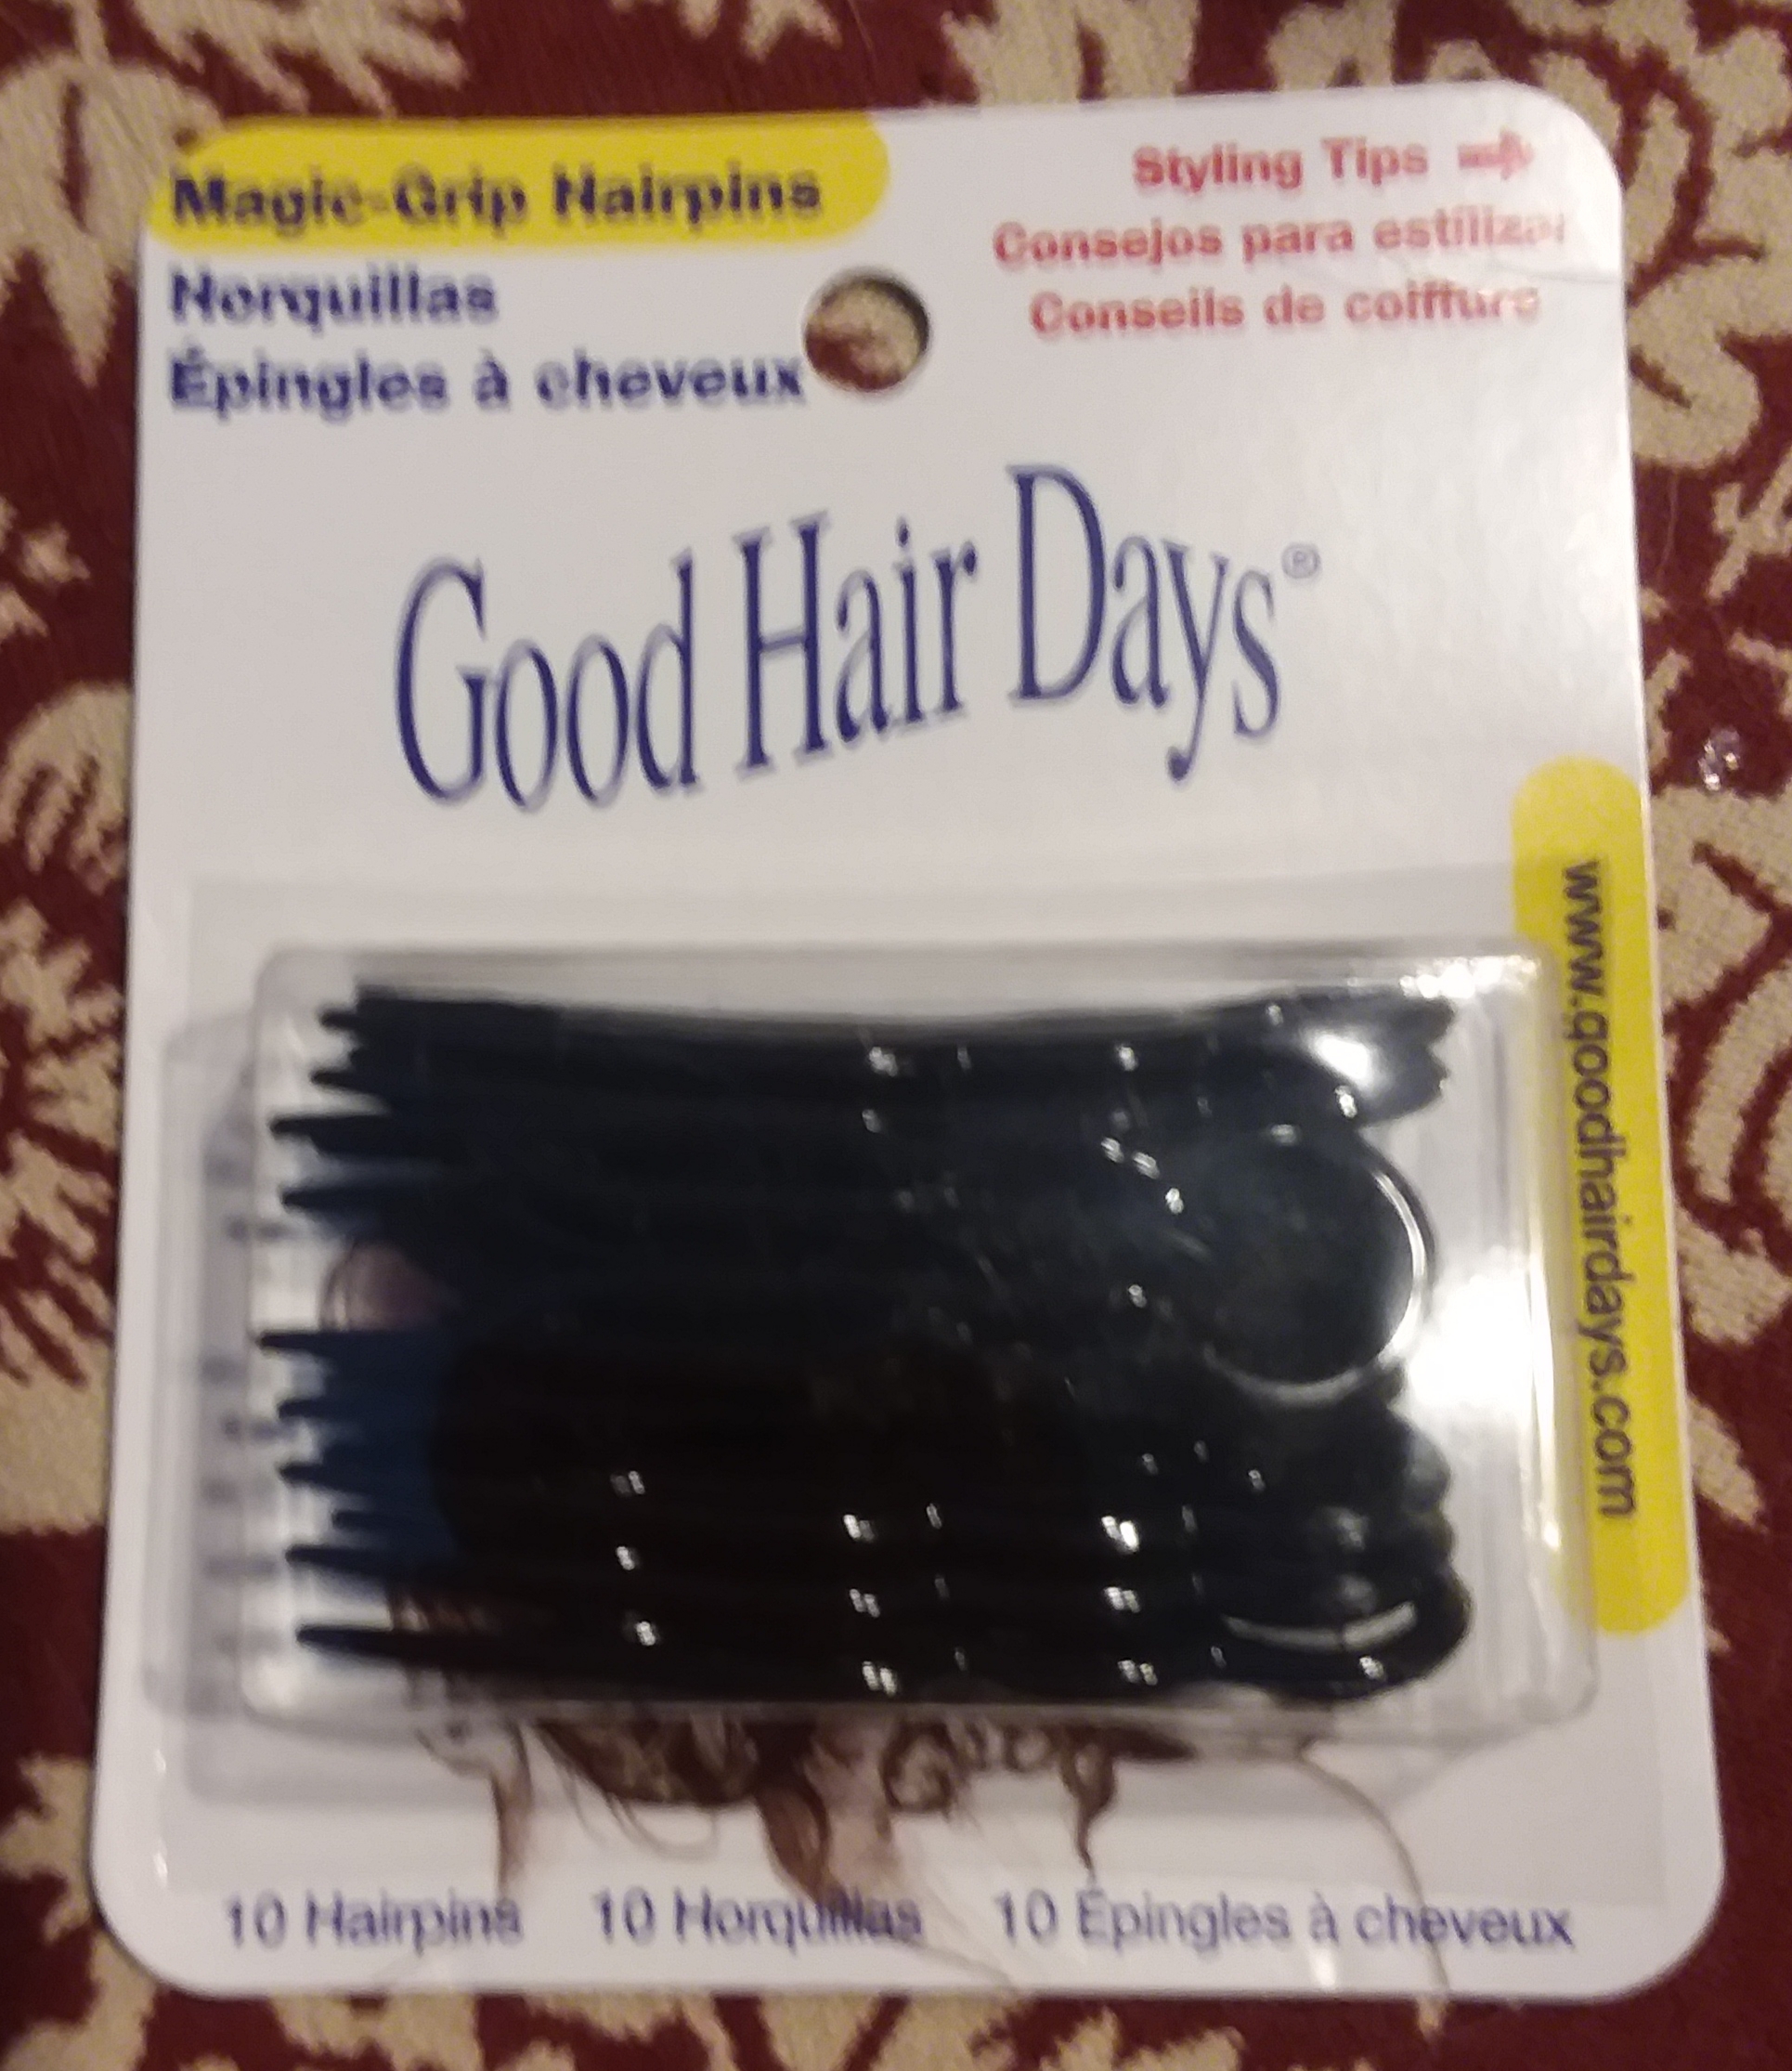
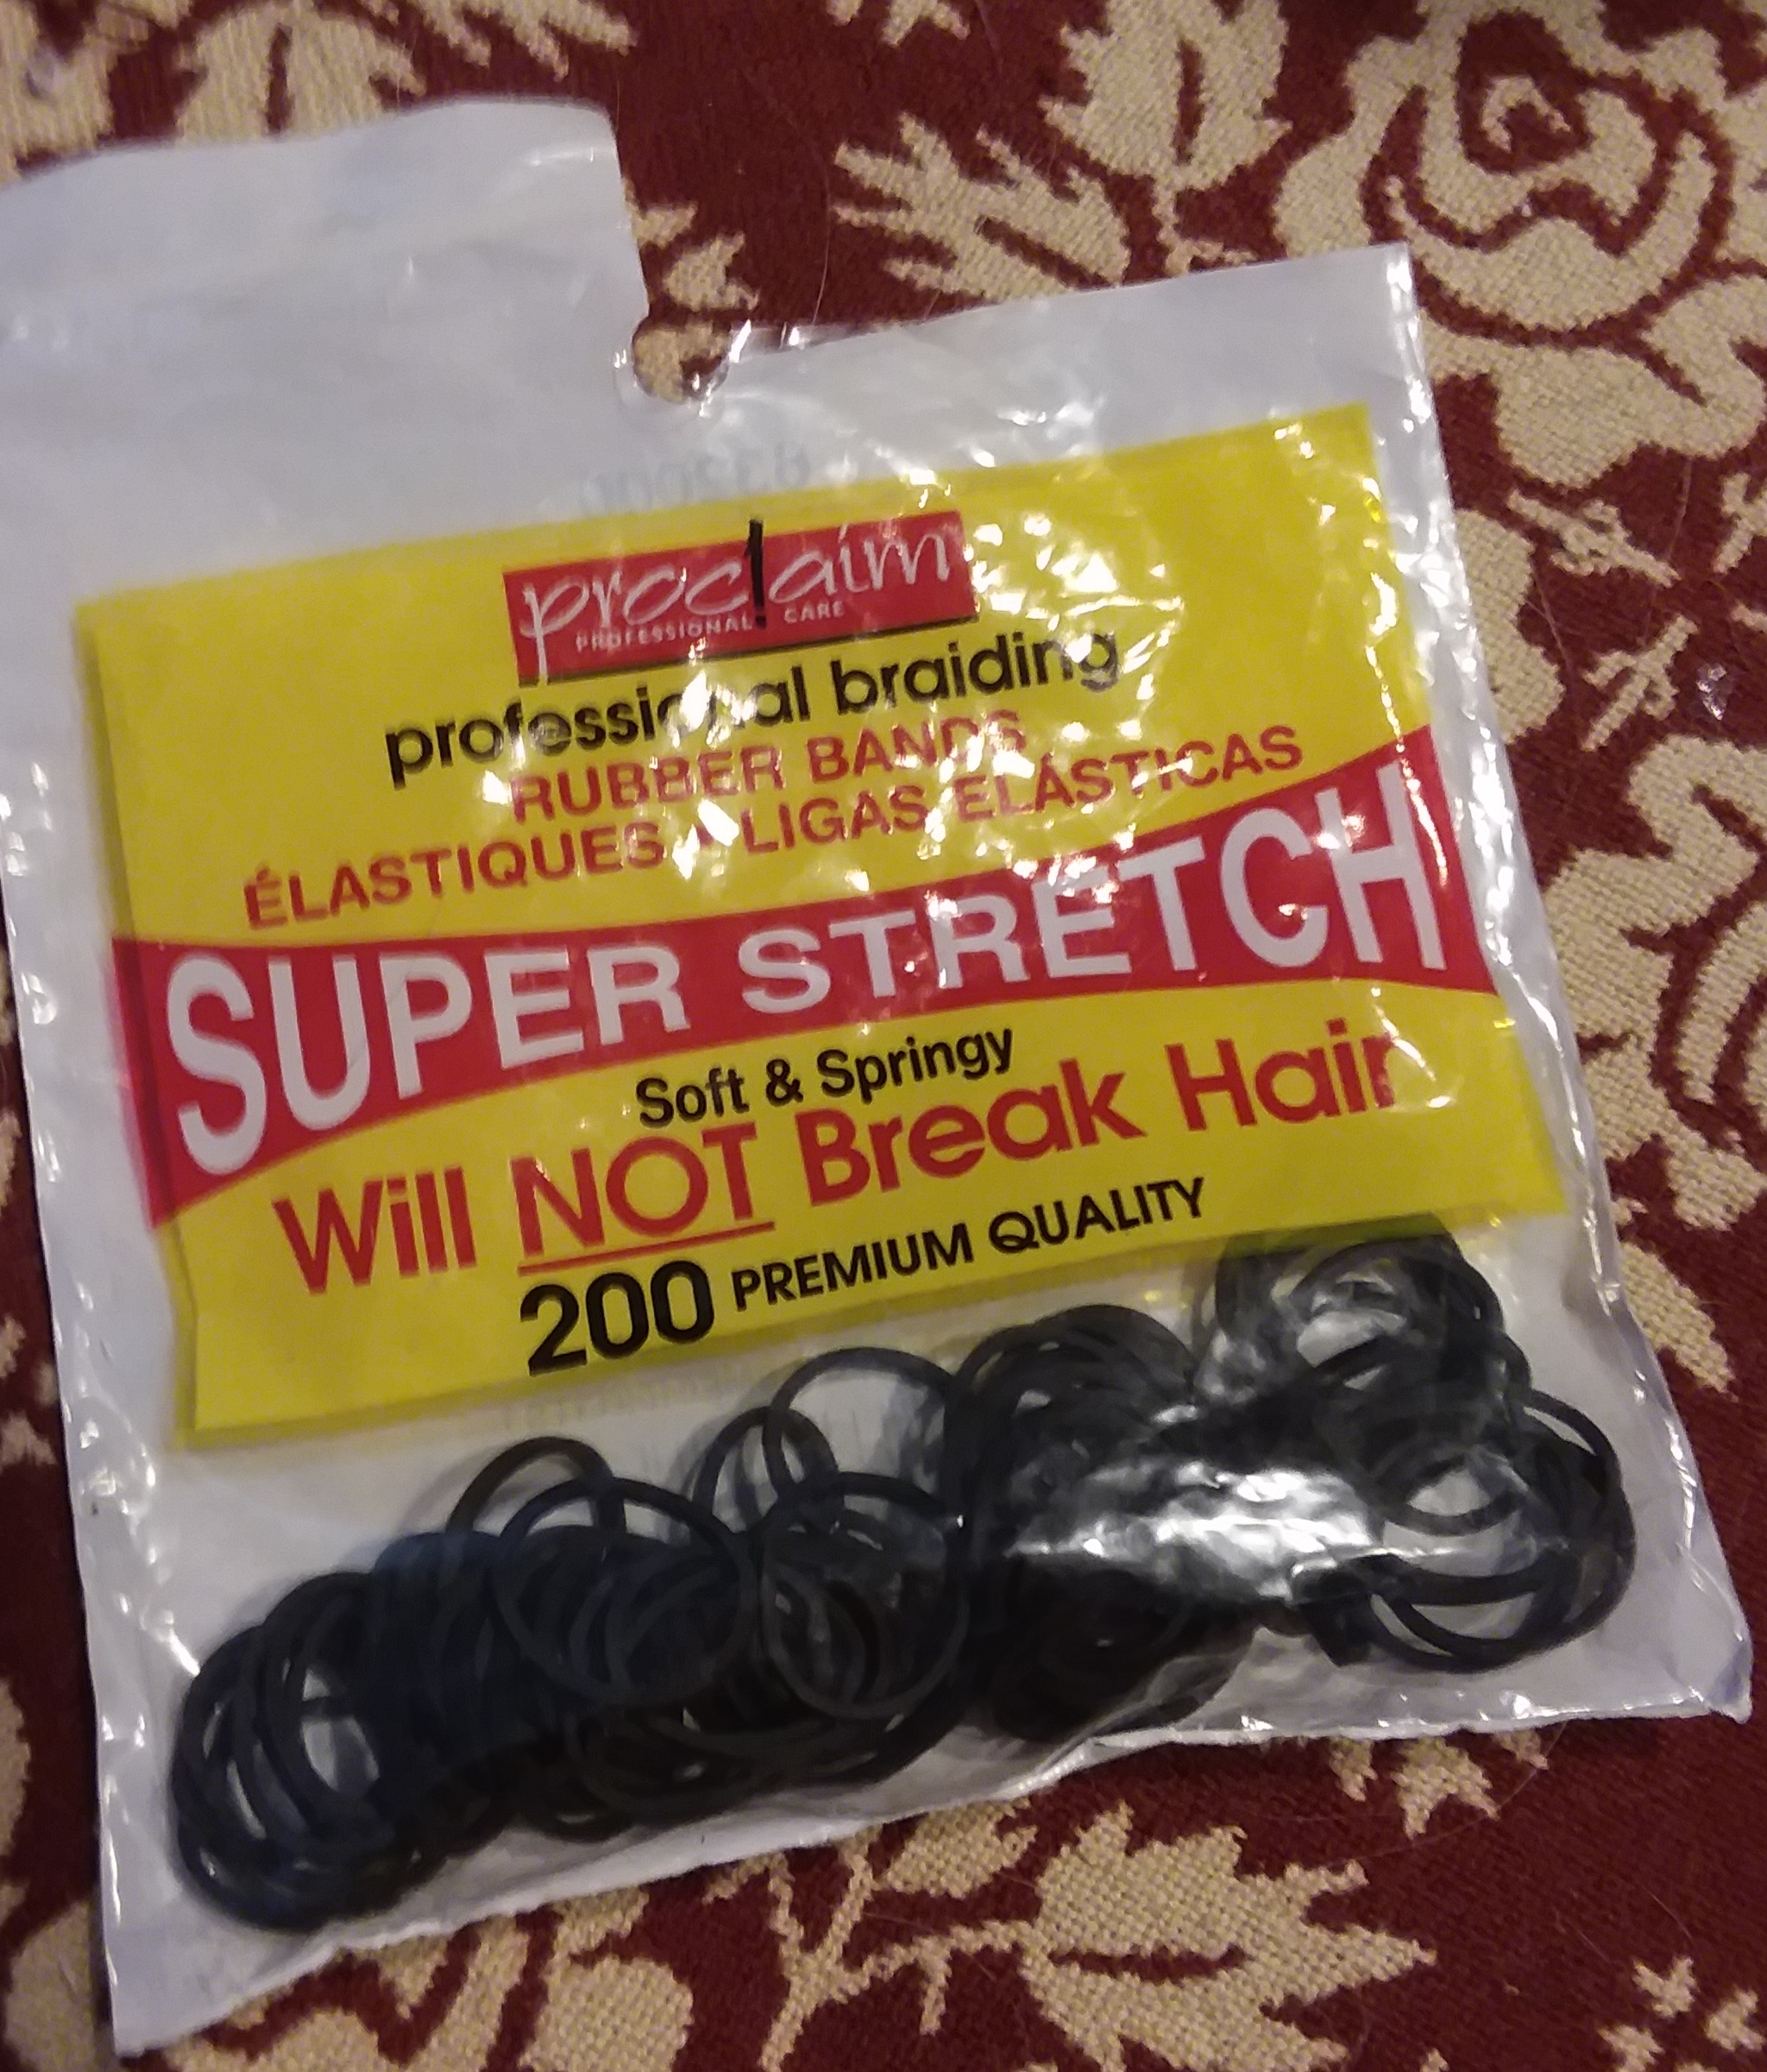
My recommendations for a basic hair kit: ● Straight hair pins ● Faux tortoise hair pins ● Plain black elastics ● Hair Pomade ● A Plain net or two ● Faux horn hair comb or two
I am lucky enough to be able to purchase these items in person, includong the straight hairpins during a day trip through the Finger Lakes. Not everyone has similar local resources. With this in mind, I am including two shopping lists: one that can be done online from home and one that can be done mostly in person. The online list supports small businesses, with the exception of one item through Amazon.
Shopping from home for approx $38.00: Order from Timely Tresses: ~~1 set of faux tortoise hair pins $4.00 or 4 chignon faux tortoise hair pins $5.00 ~~1 plain hair net $4.00 ~~1 back comb $4.00 or 2 side combs $4.00 Amazon: ~~2 sets of 12 straight hair pins in 2” or 3″ and 2.5” $12.00 Talbott and Co on Etsy: ~~1 tin of pomade $14.00
Shopping mostly in person for approx $25: Local pharmacy: ~~Plain hairnet $2 for a set of 3 ~~Faux tortoise hair pins $3 ~~Hair elastics $2 Amish dry goods shop: ~~Straight hair pins 2 sets for $4 Talbott and Co on Etsy: ~~1 tin of pomade $14.00
If you have been following even for a short while, you know I love pockets. I love making pockets. I love having pockets. For years, I carried a basket or a purse. It would get filled with a myriad of this and that, period and modern. All this stuf I thought I needed to have on me. Extra water, a camera, a little money…. You know what? It all just added up and added up. Frankly, it was heavy and a PITA. It also wasn’t accurate. Then, one glorious day, I learned about pockets. Dresses had pockets! We aren’t talking the wimpy pockets in women’s jeans that barely hold a few dollars and a small set of keys. We are talking huge, mother of all pockets! Skeptical? Don’t think they could be that big? Take a look at my dress from a few years ago. Okay, 15 years ago. (Ignore the hair falling down and the gloves for rusty nails. This was a heavy work day, building fences and moving corn.) The pocket in that dress is holding my lunch including a couple bottles of water and bananas. Can you tell?
I wear two pockets when dressed in Victorian era clothing. Each of my 1830s through 1860s dresses has a pocket on one side, preferably the right side. In this pocket goes the things I need throughout the day of the event, the period items. On the other side is a separate pocket that sits either below my skirt or below my skirt and upper petticoat. This pocket holds the modern items I hope not to need during an event but should have on me in case of emergency or when I leave.
The dress pocket with period items holds:
Building key
A small wallet/pocket with ID and cash. This is roughly 3.5”x2.5”.
Handkerchief
Possibly a workpocket
Possibly a purse (a small item that carries money)
Possibly a fan
Possibly a glass
My seperate tie-in pocket holds:
Epipen
Medications I need immediate access to
Car key (mine pop apart)
Phone if I need it
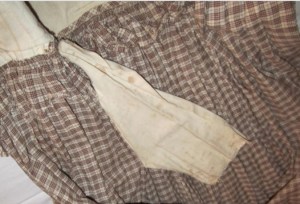
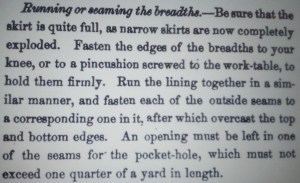
Plain cotton pocket set into the seam of a cotton plaid skirt. The pocket is nearly rectangular shape with a fold down the long side, and a seam on the bottom and short side.
Pockets were most often set into the seam of a skirt. Originals show pockets were long, wide enough for the hand to fit comfortably, and both rounded or squared on the bottom. They are often a plain or cotton print with the seam to the outside of the pocket. Sometimes a support stay attaches to the pocket part way down and to the waistband. A straight edge of the pocket lines up with the skirt seam, and the skirt edge folds over the edge of the pocket. I prefer to do two rows of stitches around the edge of my pocket for a strong pocket.
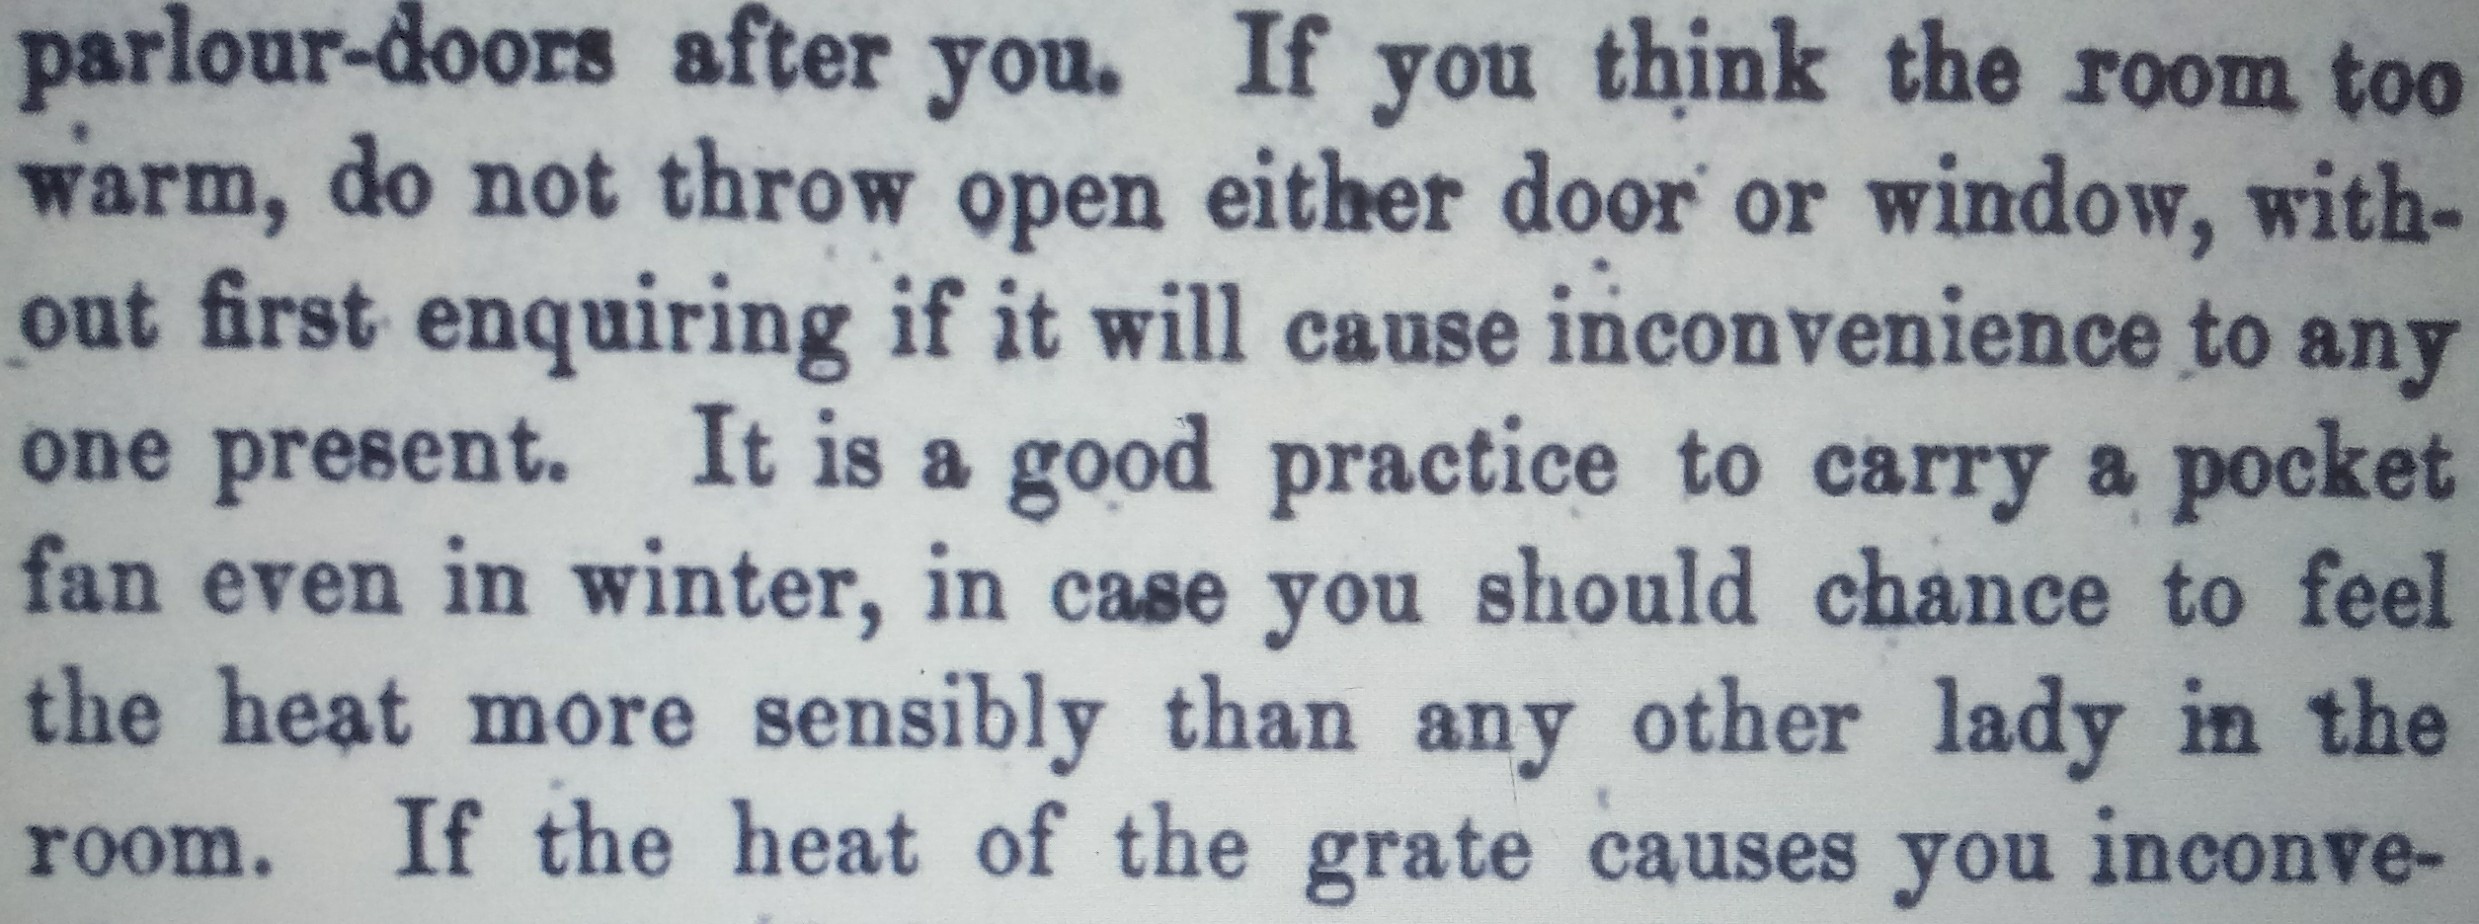
The Lady’s Guide to Perfect Gentility and Manners, by Emily Thornwell, 1859.
Seperate tie-in pockets proceed the Victorian era by many decades. While seperate pockets grew less common by the 1840s and 50s as dress pockets became more common, they were still in use and recommended for situations like travel.
A couple years ago, I wrote an article/post called “Pizza and the Piggy Bank” that looked at which items to save up for and which items could be had for less than the cost of a pizza. It was a fun article to write and helped put some perspective on the cost of things. Since writing that article, I’ve often compared items to the cost of a pizza. (I also price life expenses in comparison to the number of bonnets it will take to cover.) I thought I would revisit the “Less than a Pizza” list with some revisions. When I wrote the initial list, I could get a medium vegetable covered pizza for about $25. That price has gone up a little to about $30. So, this list will include items that can be had for $30 or less.
For the Price of a Pizza (or less)
Drawers and chemise in linen. I have recently been converted to a linen chemise lover. A linen chemise is comfortable, soft, and cooler. Subscribe tohttp://www.fabrics-store.com to receive their regular sales offers. In doing so, you will see their light, handkerchief linen come up for $6-$7/ yard. This fabric is 58” wide, so you only need 2 yards for a chemise and 2 yards for drawers. Prewash the linen for shrinkage and to soften it.
Petticoat – I am of the opinion that once can never have too many petticoats to choose from. Most of us within a few inches of average height can make a simple petticoat from four to five yards of cotton. Quality premium muslin can be had for $3.99 at certain craft stores. Using a coupon/code to save 50%, this brings a petticoat to $20. Poplin at Dharma Fabrics is $6.50 for a 55” width. A three panel petticoat would be about $26 (4yards), while a 4 panel does tip us over the pizza price at $32.50 (5 yards). I am assuming you have mother of pearl buttons laying around. If not, add $.25-$.50. But, pick these up when you see them.
Wool Petticoat. While we are talking about petticoats, I will add a wool petticoat to the list. Two yards of tropical to light weight wool is plenty for a warm wool petticoat. You may also want a yard of scrap cotton from your stash for a yoke and waistband, minimizing the bulk at the top.
Personal Linens. New personal linens can spruce up a wardrobe for little money, be it cuffs, collars, or pelerines. Purchasing a few yards of cotton lawn from Dharma ($6/yard) can result in several sets of cuffs and a few collars, or a few pelerines. These will give you a chance to practice your rolled hems too.
A Pocket. I am a big advocate of pockets, both set into the skirt and under the skirt. A pocket will get things out of your hands. It will also eliminate the need to have something to carry your things in. A simple pocket can be made from a half yard of linen or cotton.
Wool Shawl with fringed edges. This will take 2 yards of light to medium weight wool in an appropriate plaid, check, or solid. This can be found at discount fabric shops like http://www.fabricmartfabrics . I suggest waiting for wool to be under $10/ yard to keep this under the pizza limit with shipping. Or, watch for someone destashing wool. Plan on two movies during a rainy or snowy weekend to fringe the whole shawl, or do one side per evening. Check out my earlier post of fringing.
Work Pocket. I am a little bias here. But, I think everyone should have a work pocket, or sewing case, or housewife. This little roll can tuck away needed sewing tools as well as be a great interpretive device. It can act as a story all rolled up in fabric.
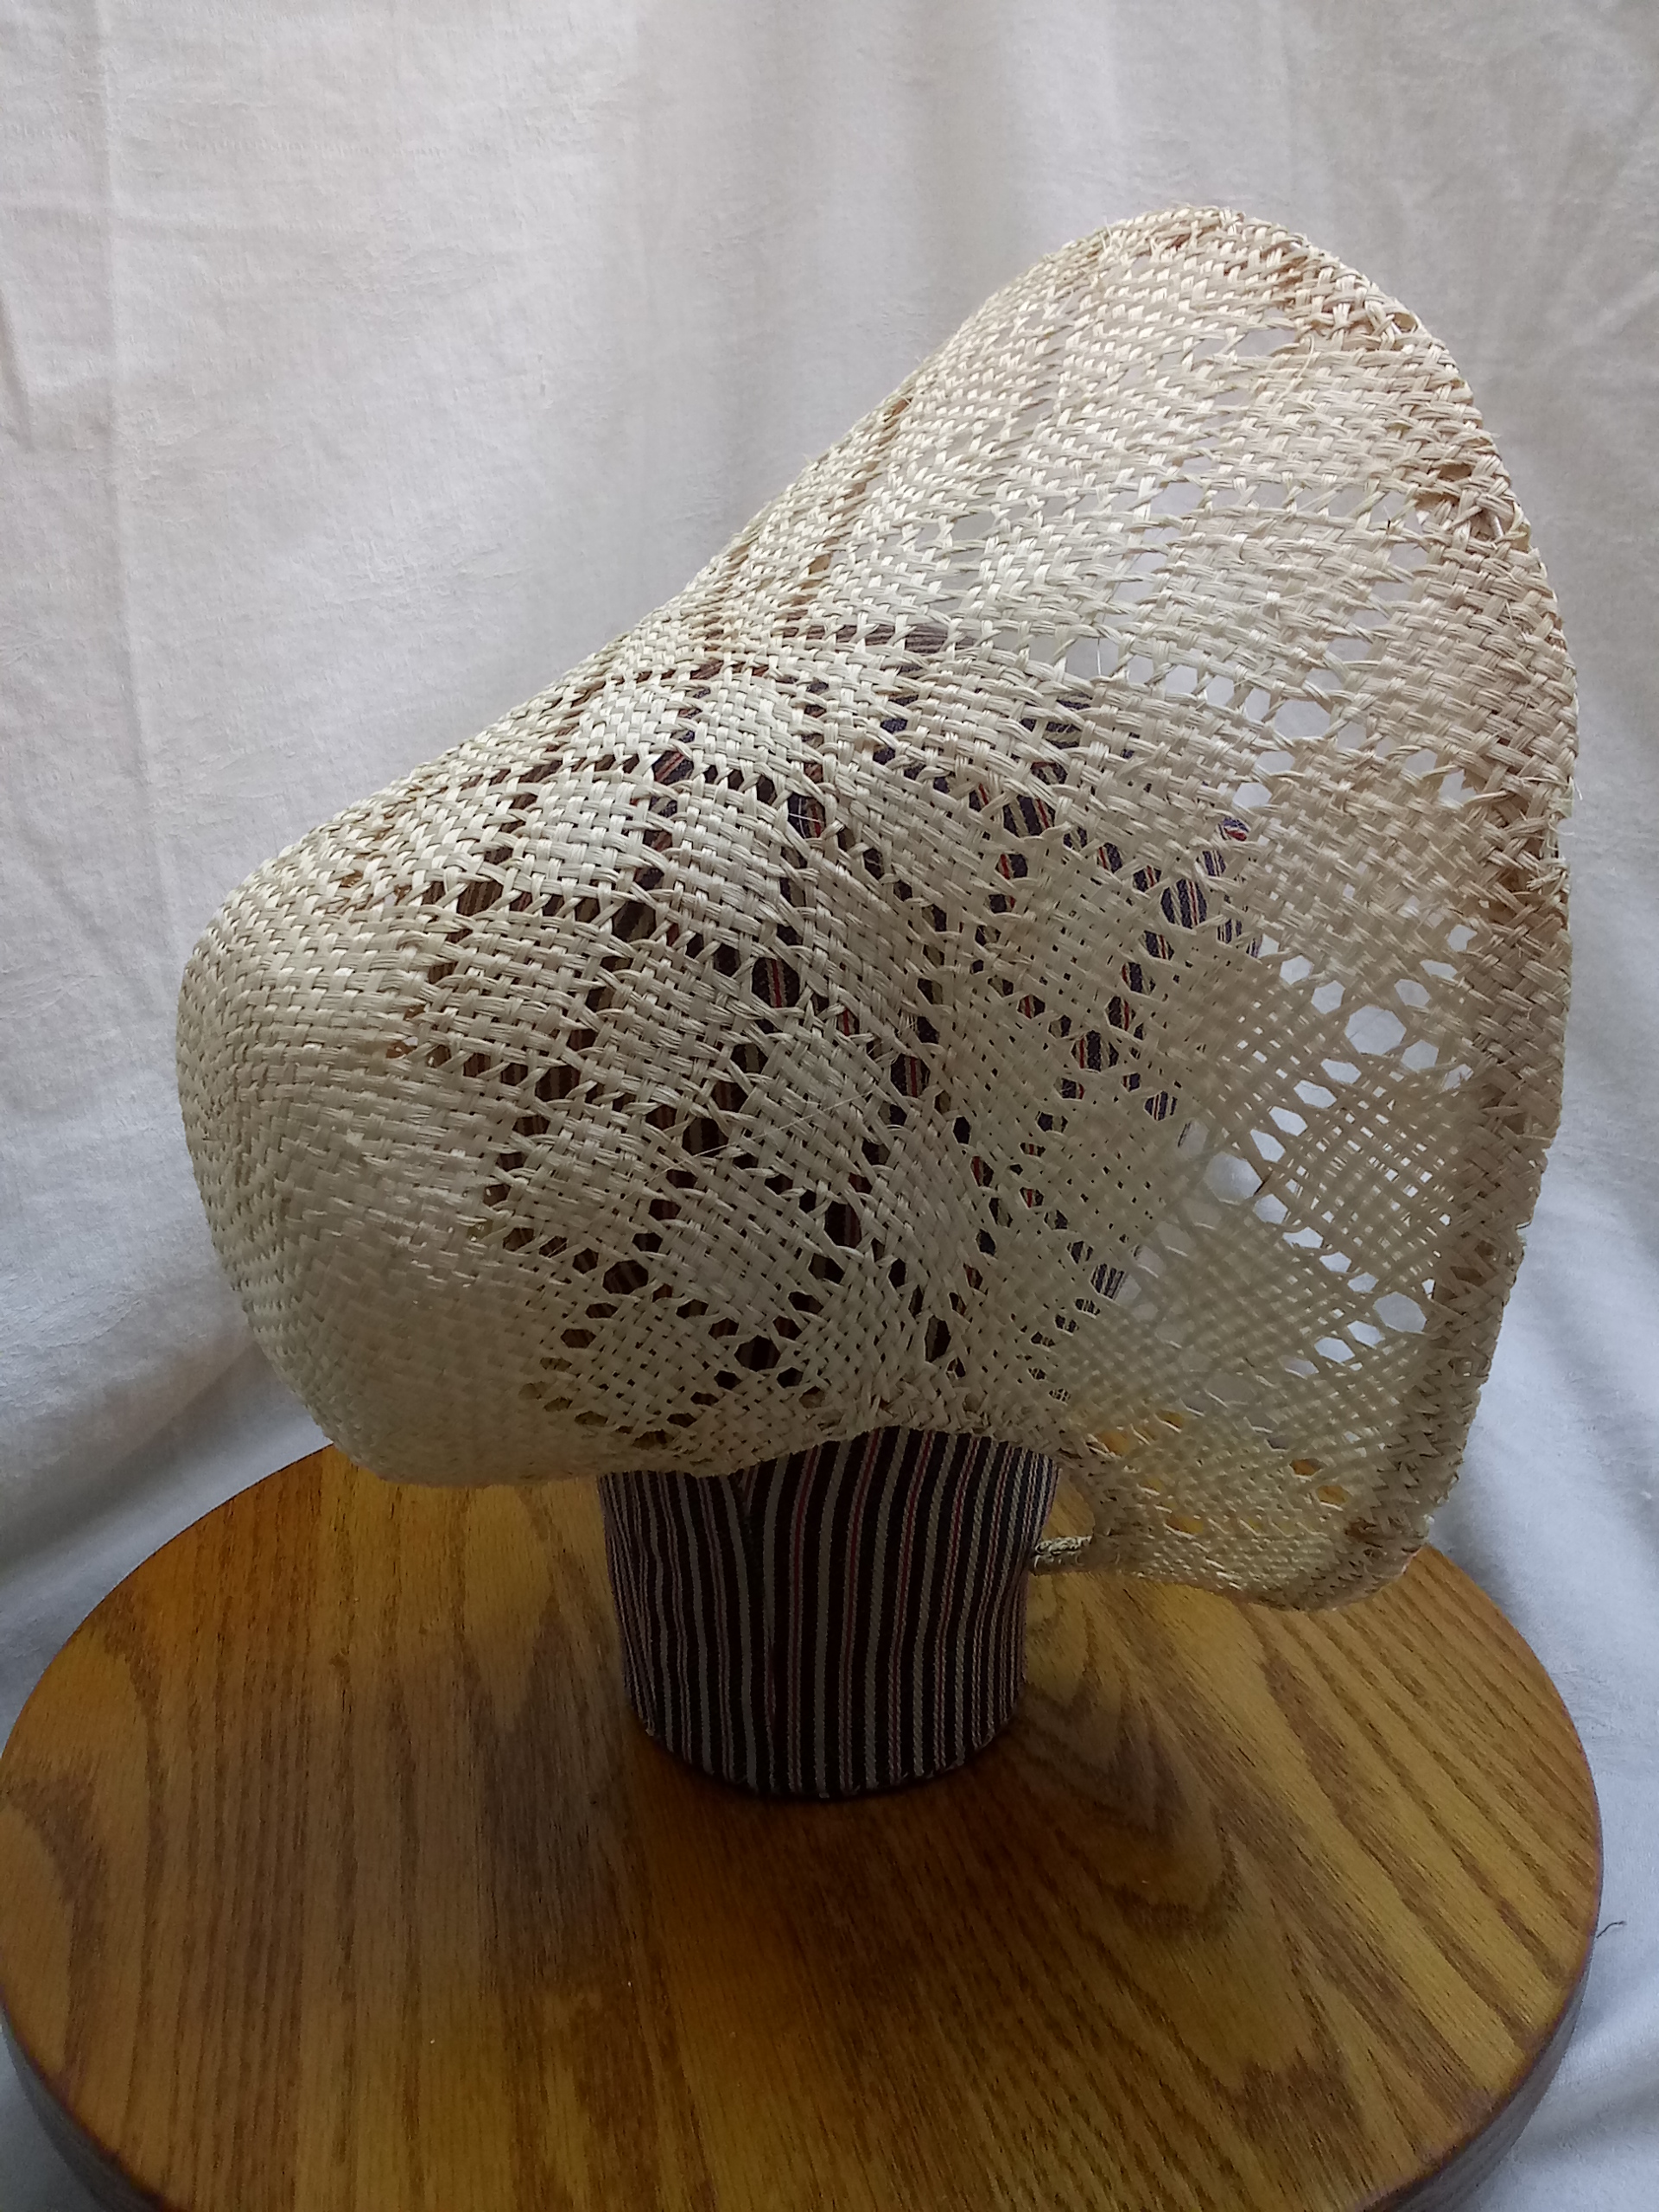
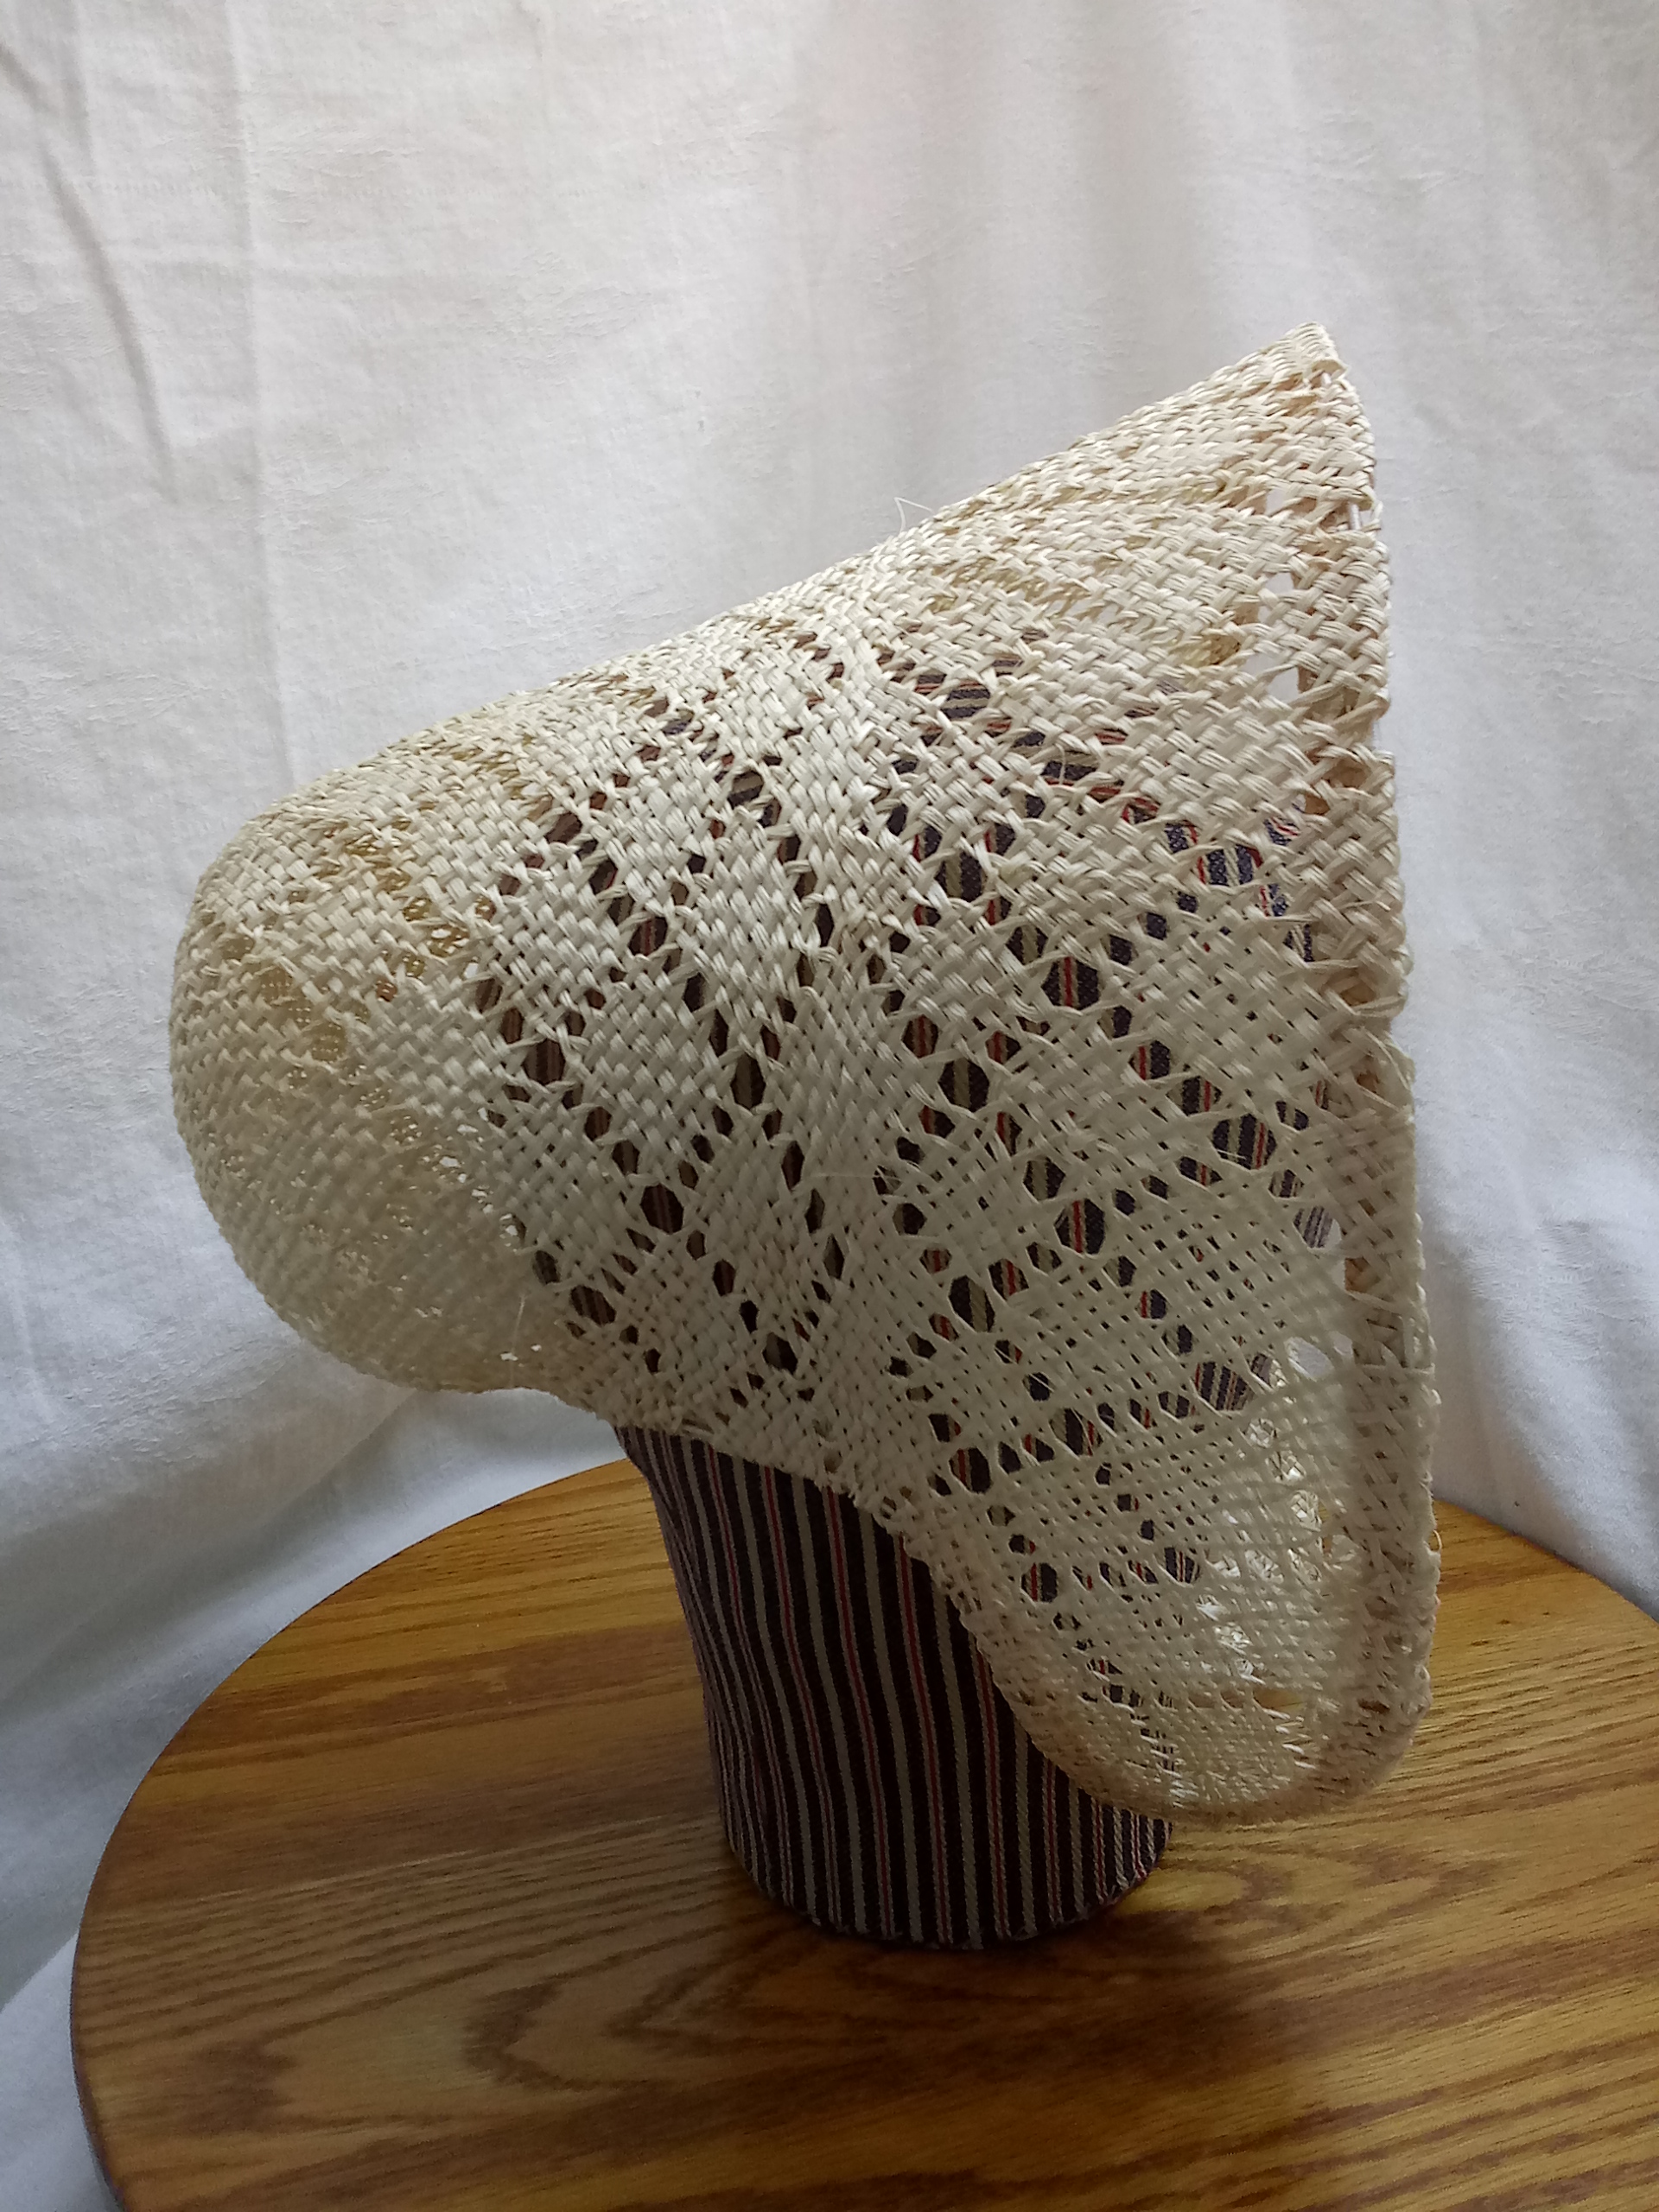
Sunbonnet. A sunbonnet is essential for protecting your head and face from the sun and elements. As much as we love the pretty, fancy bonnets and hats, some times, many times, a sunbonnet is needed. I recommend checking out the remnants or end cuts of your local quilt shop for small period prints that will work for a sunbonnet. You will want a yard and a half of 45” fabric. I also love white semi-sheer weaves for corded sunbonnets. Since this often comes 54”-60” widths, a single yard is enough. Hop over to http://www.thesewingacademy.com for directions on how to make your own corded sunbonnet.
Cap. If you interpret an era that wore caps, a new cap can be made from a yard of voile, which is currently $6.87 a yard at Dharma.
Hair Dressing Kit. I will make a point to do a video on my favorite hair dressing items in the future. The whole kit can be made for less than a pizza.
Helpful Hints
Create a sewing plan. Note where common fabrics will need to be purchased from (ie: Dharma or Fabrics-Store) so you can save up and purchase in sets.
Optimize shipping costs by pairing up with friends nearby. Plan similar projects together (all do personal linens or caps) or let each other know when you are ordering from a particular place.
Subscribe to online stores with essentials. Practice self control with their sales.
Know your local shops. Get on their mailing lists if they have sales.
Join a couple destash groups if you are on social media.
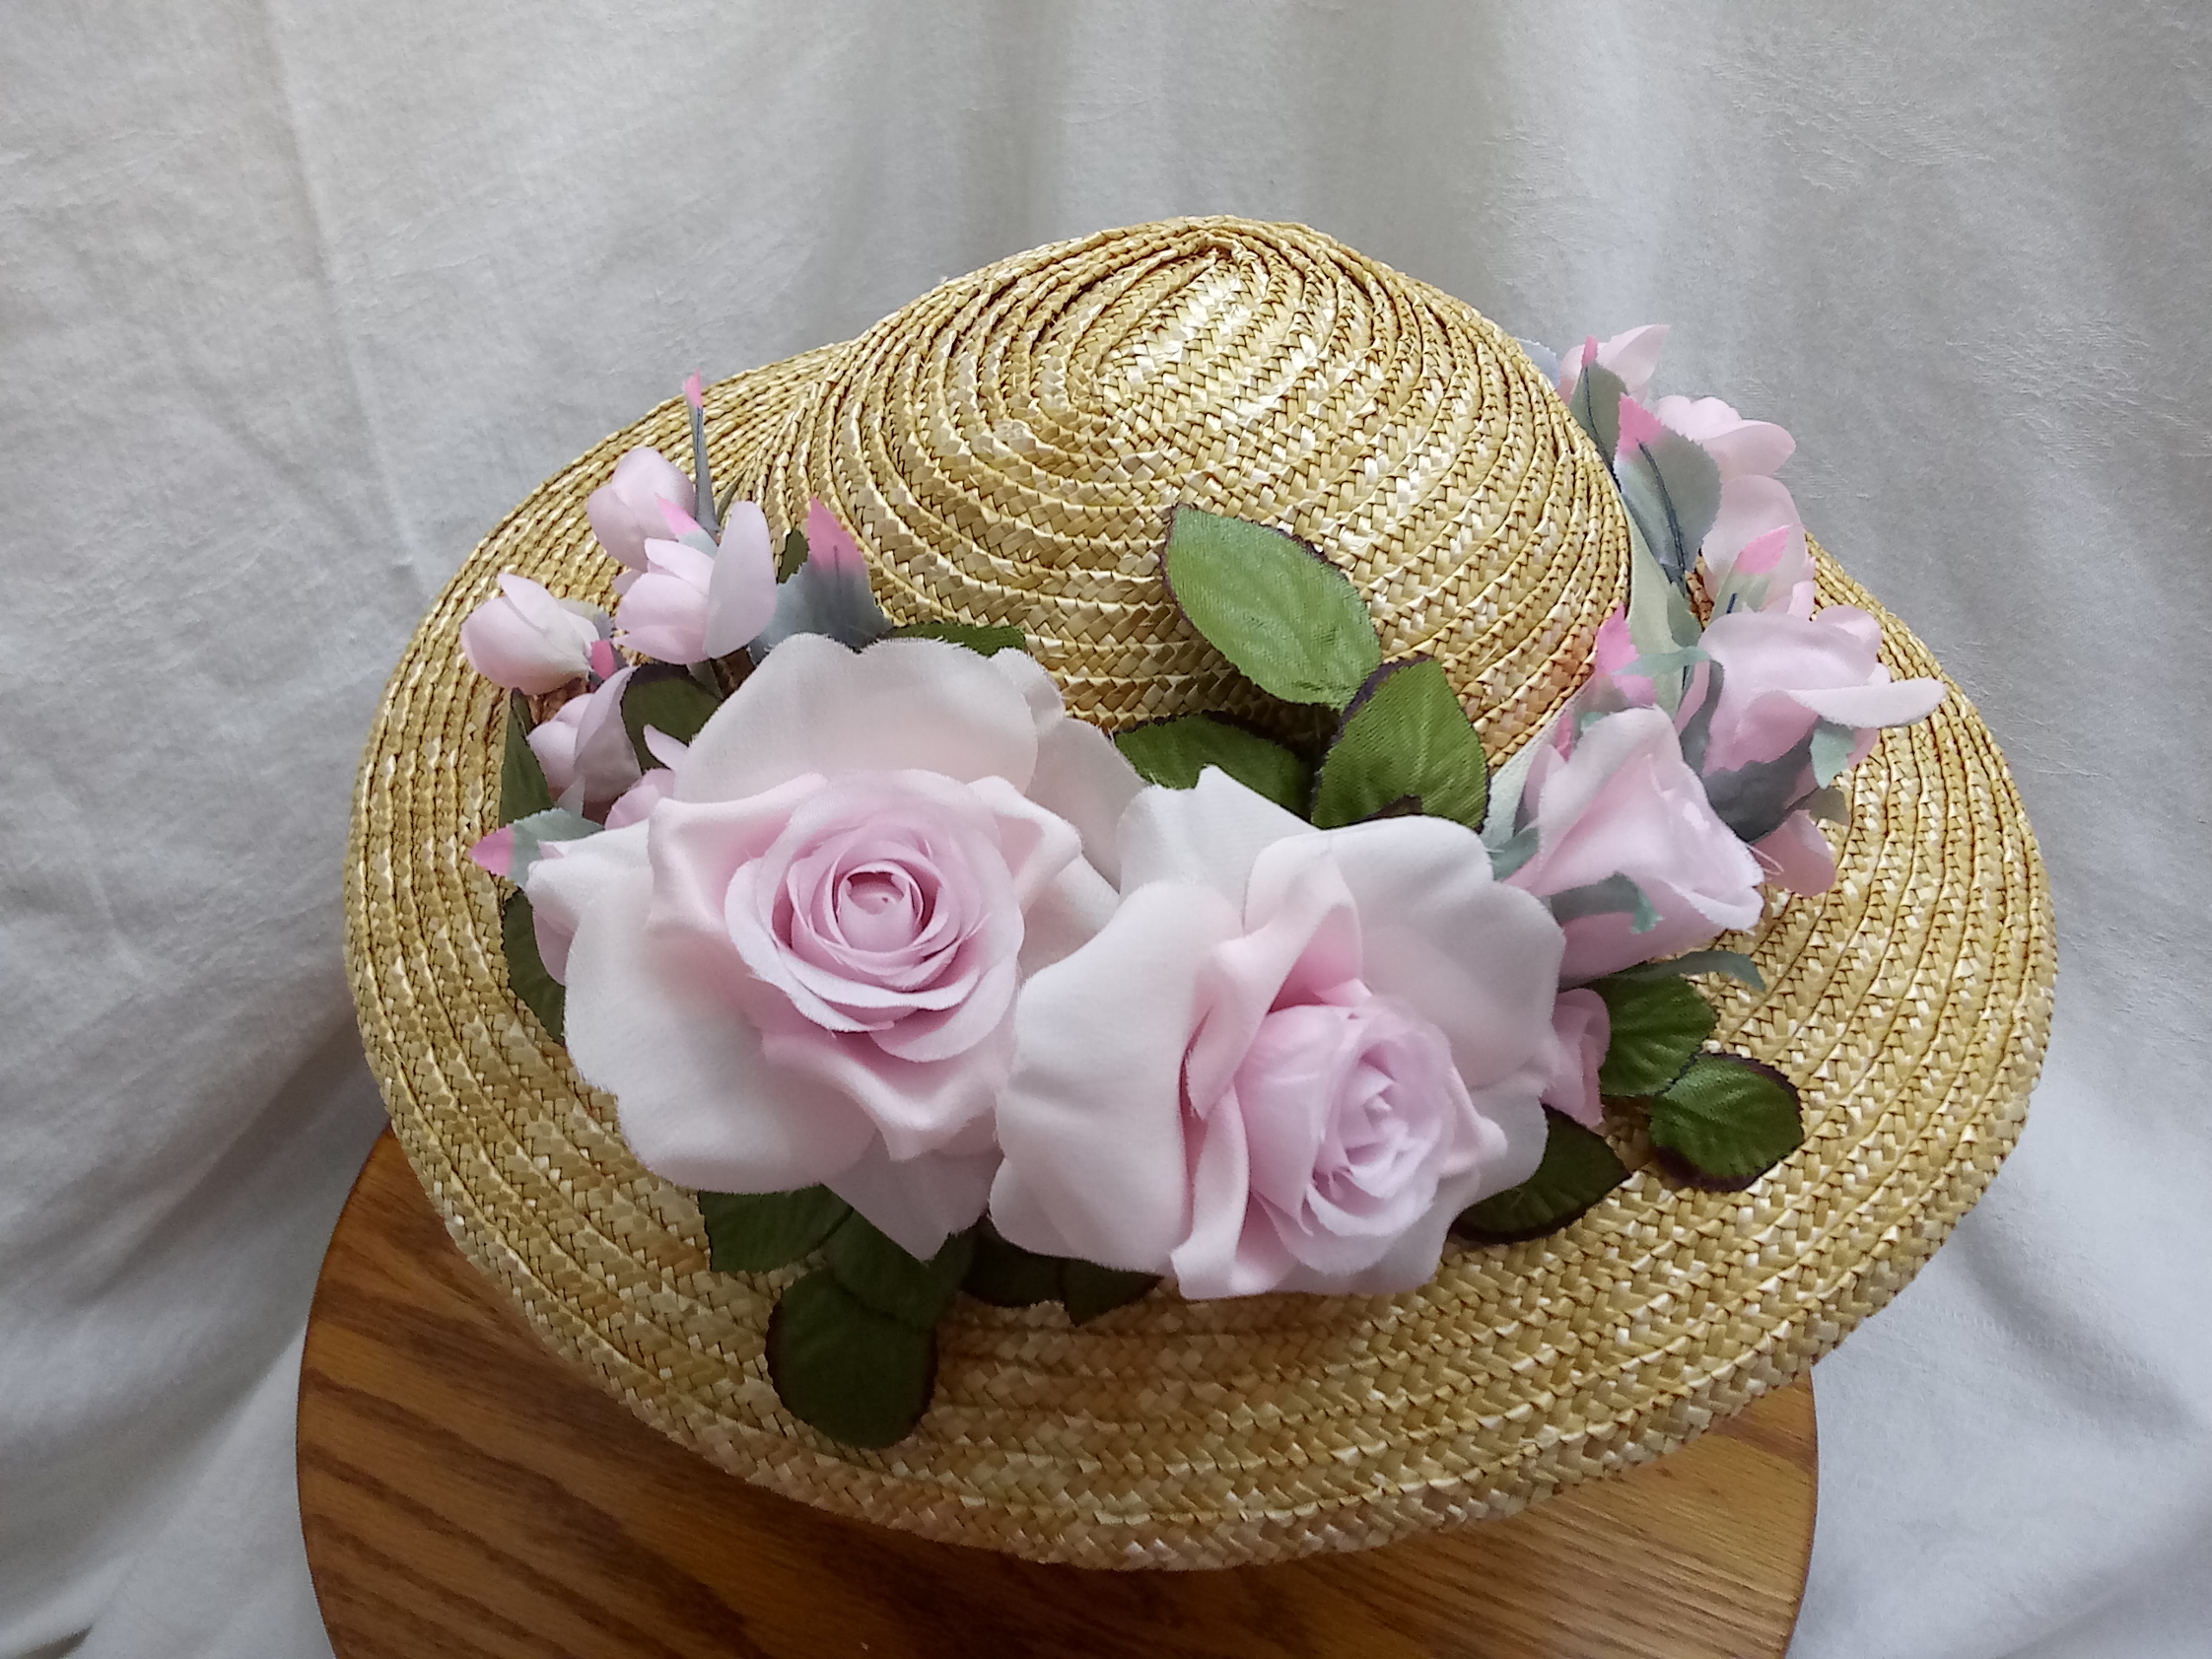
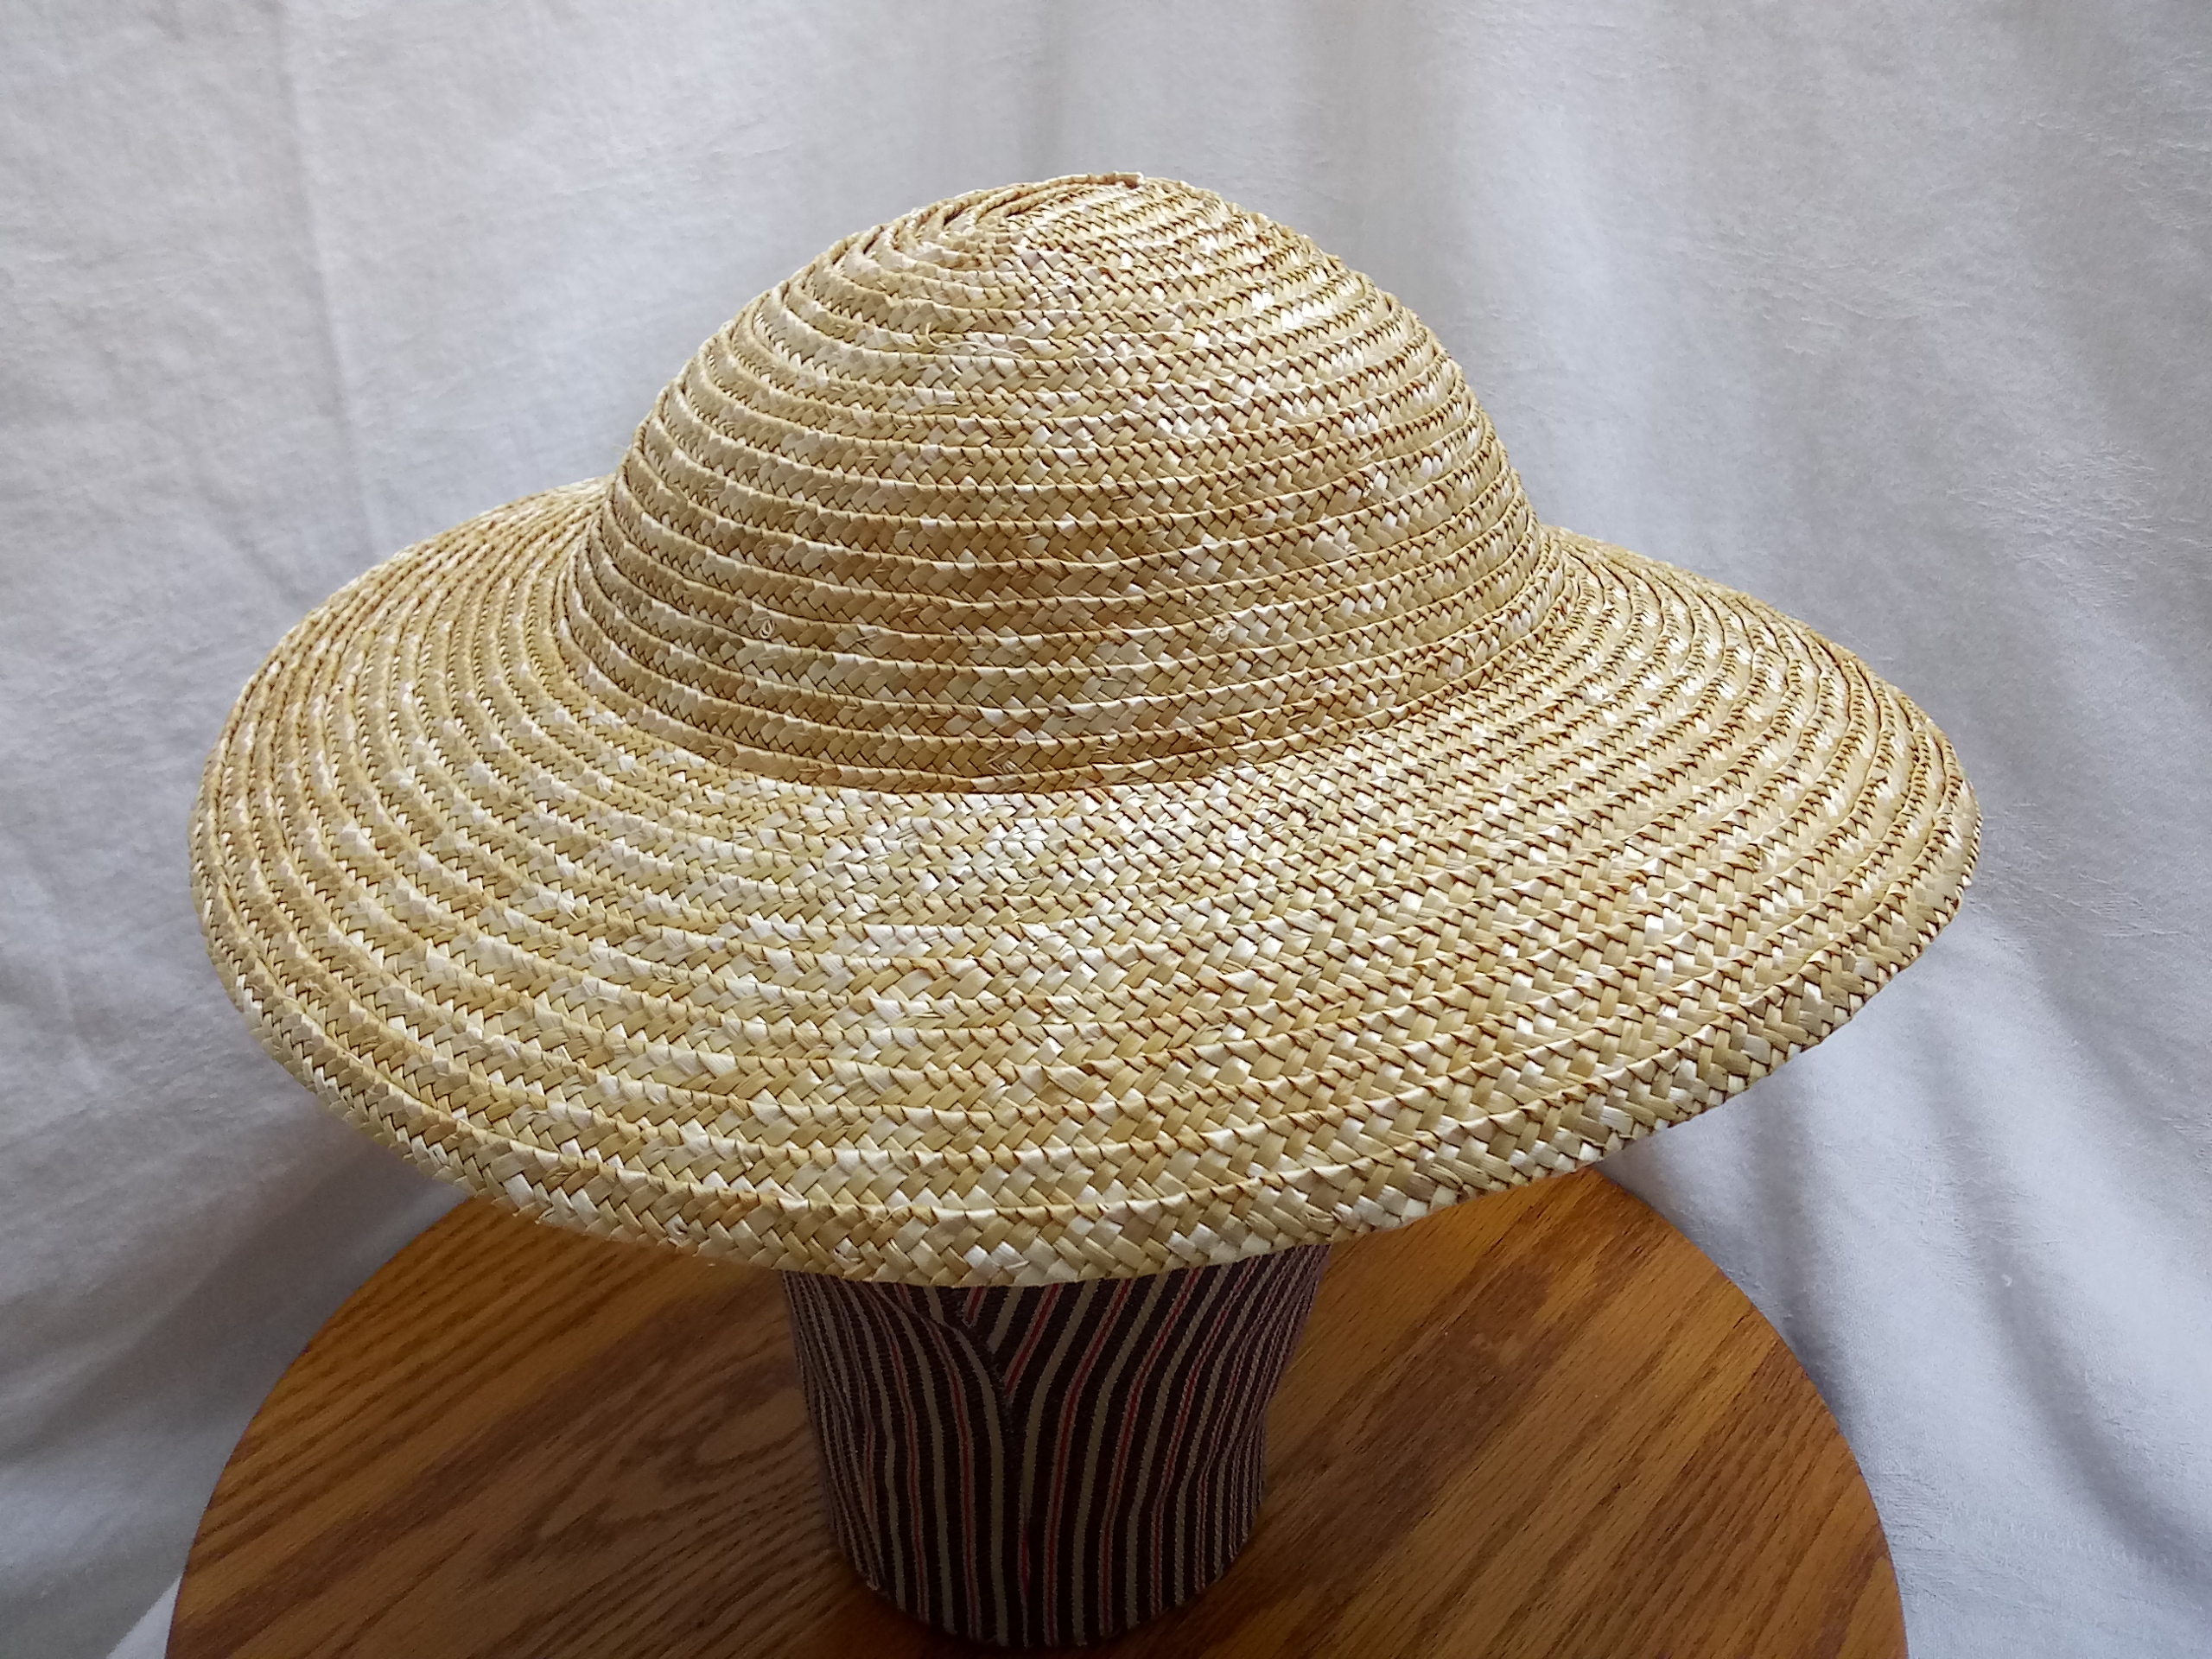
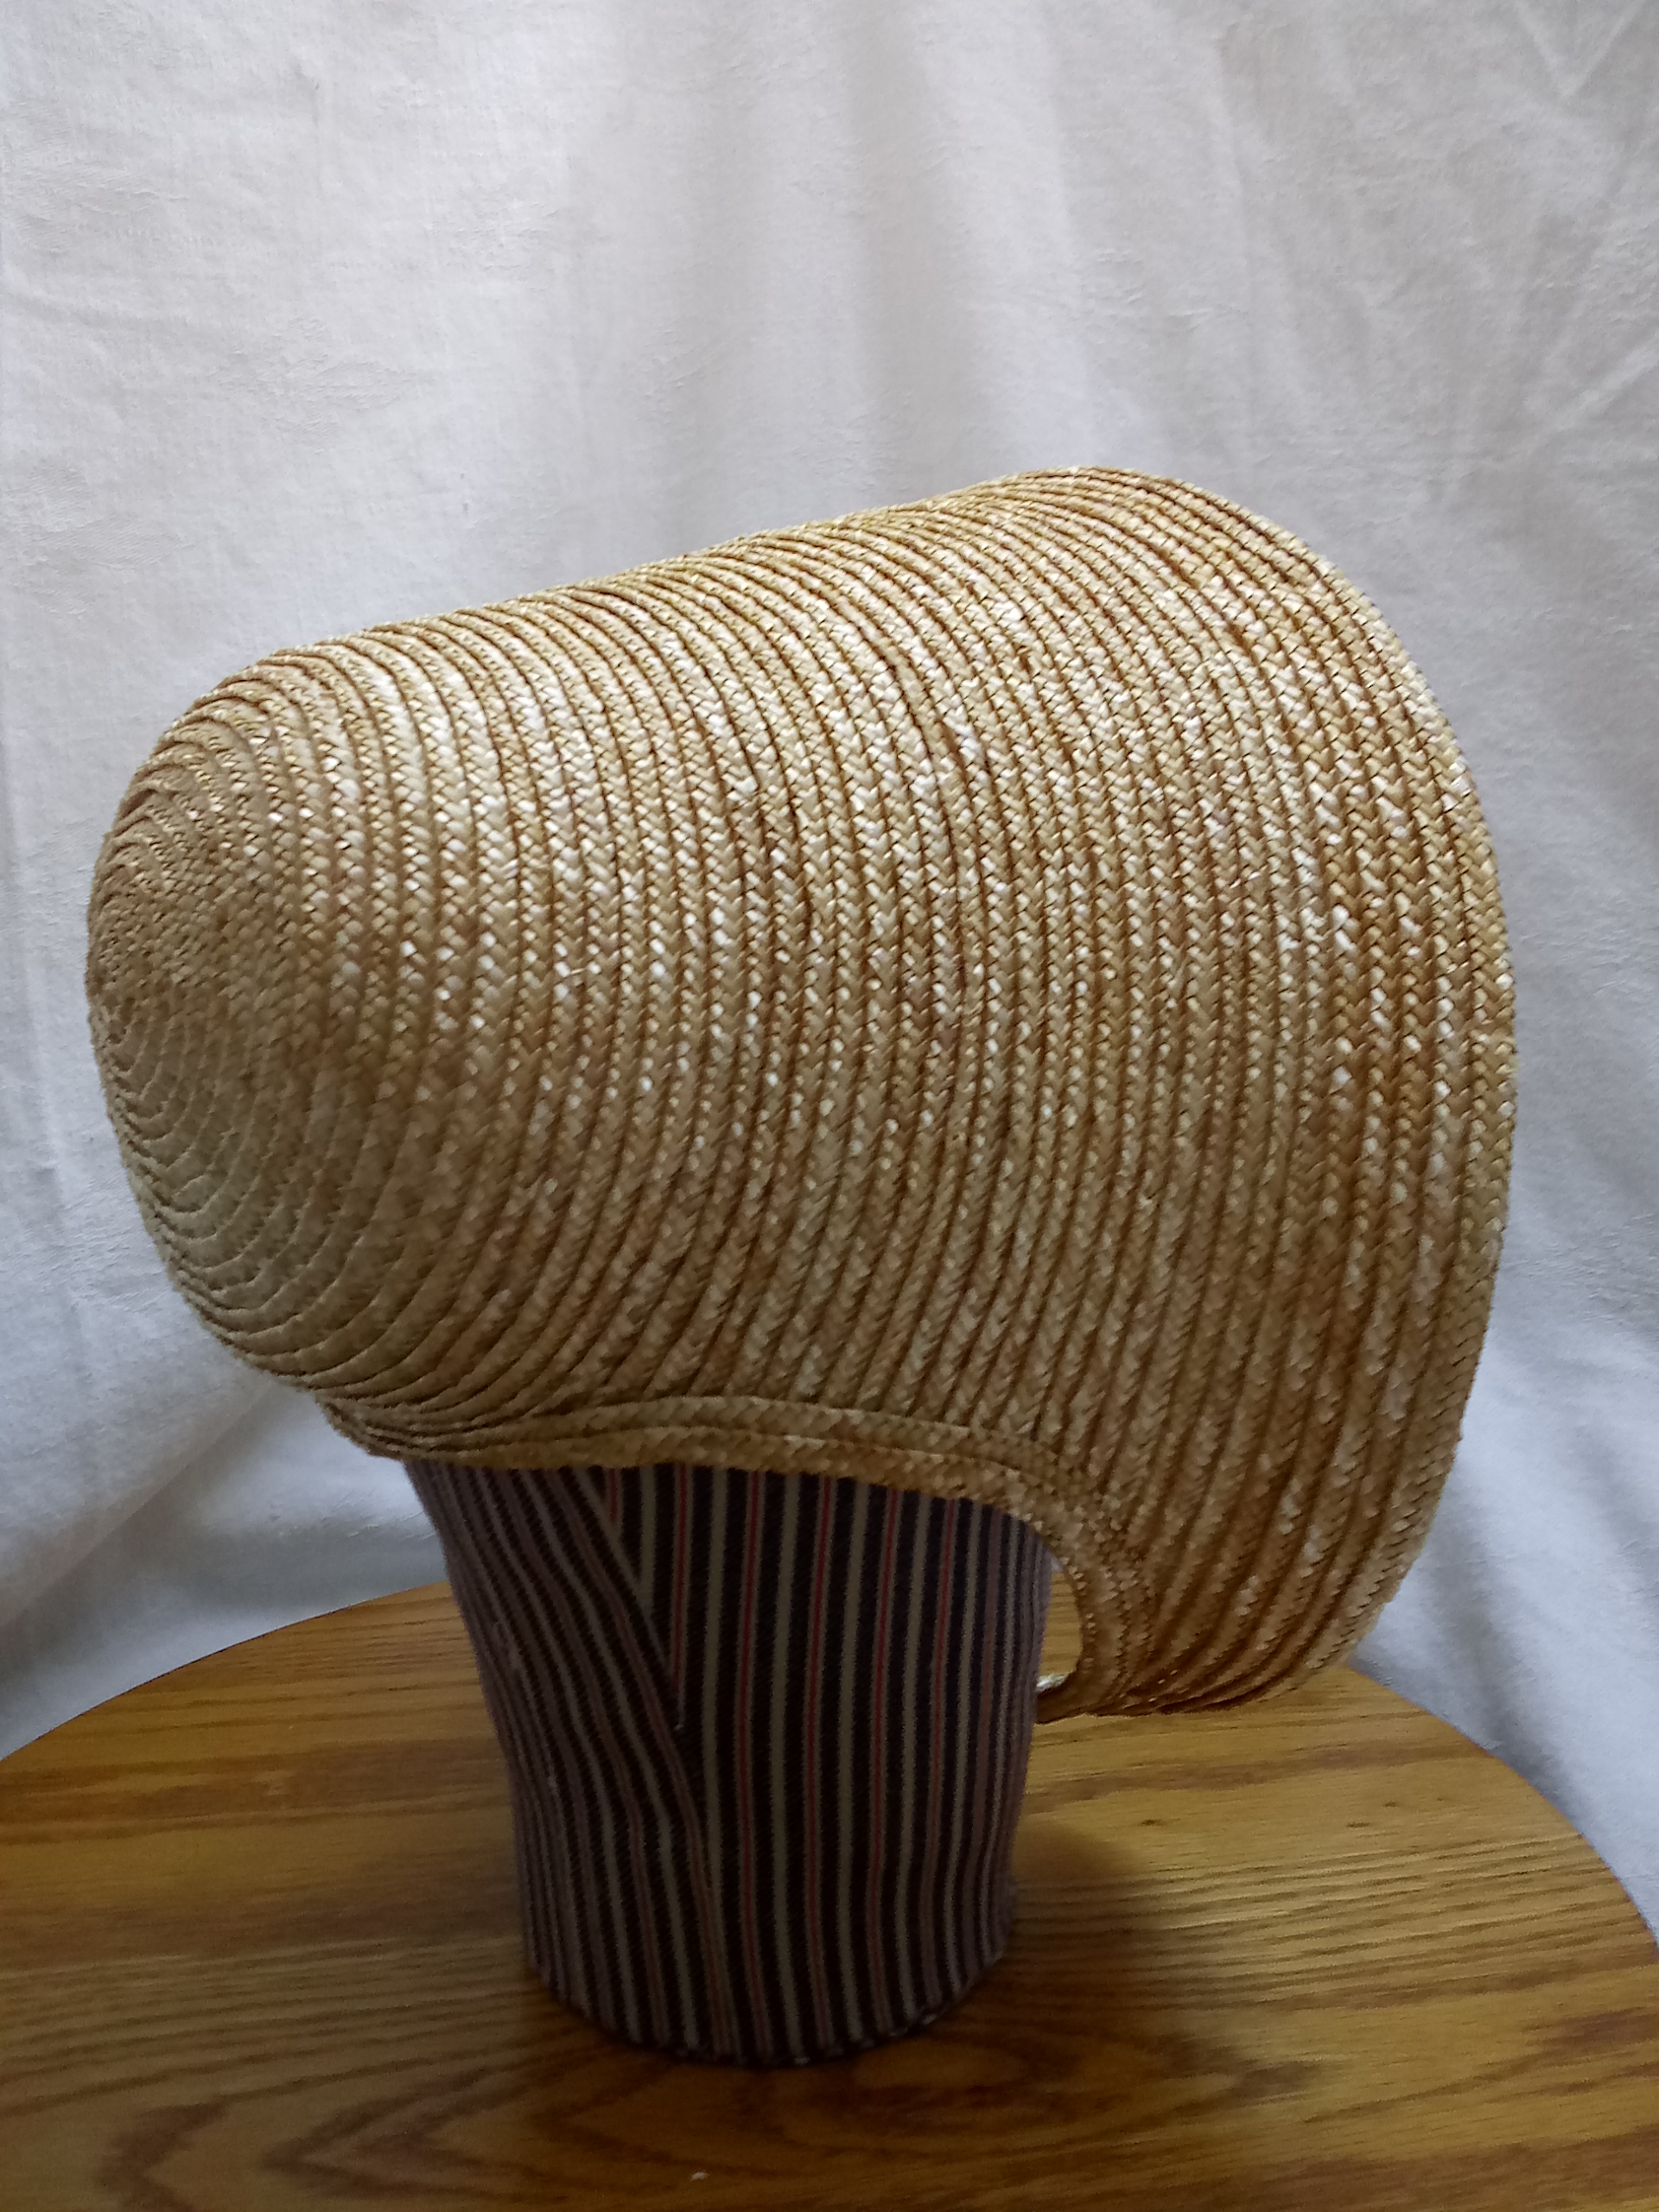
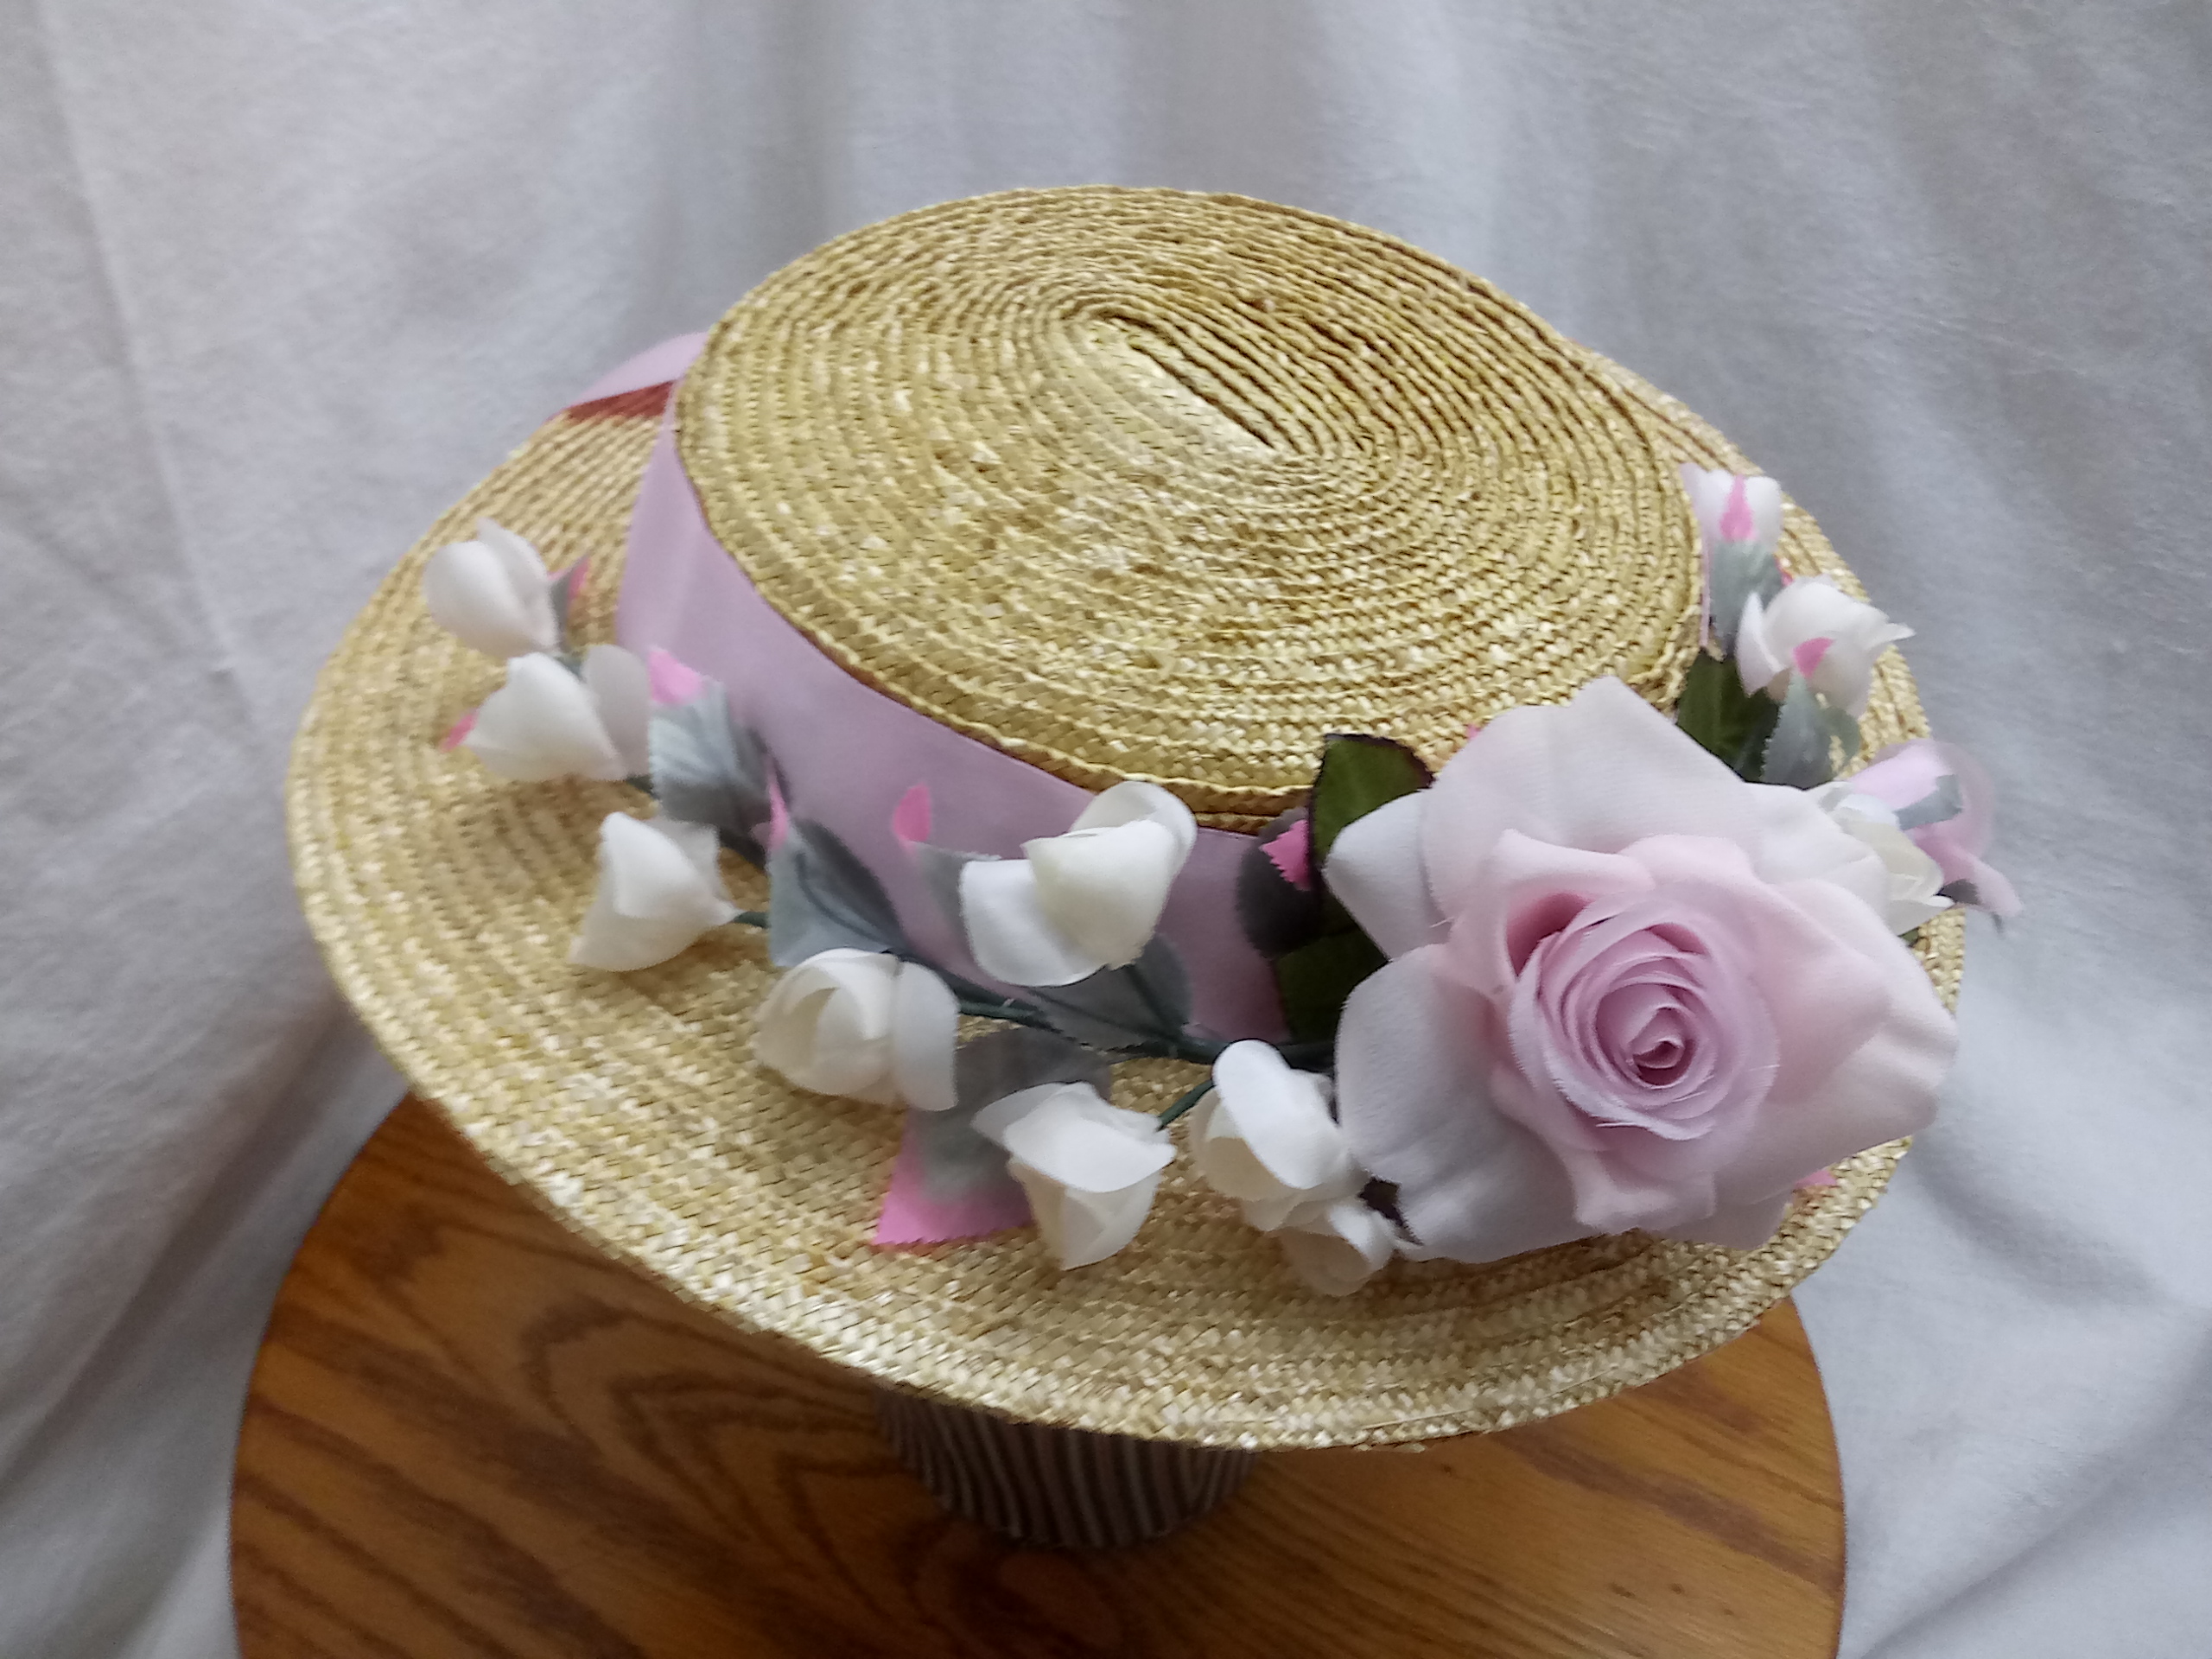
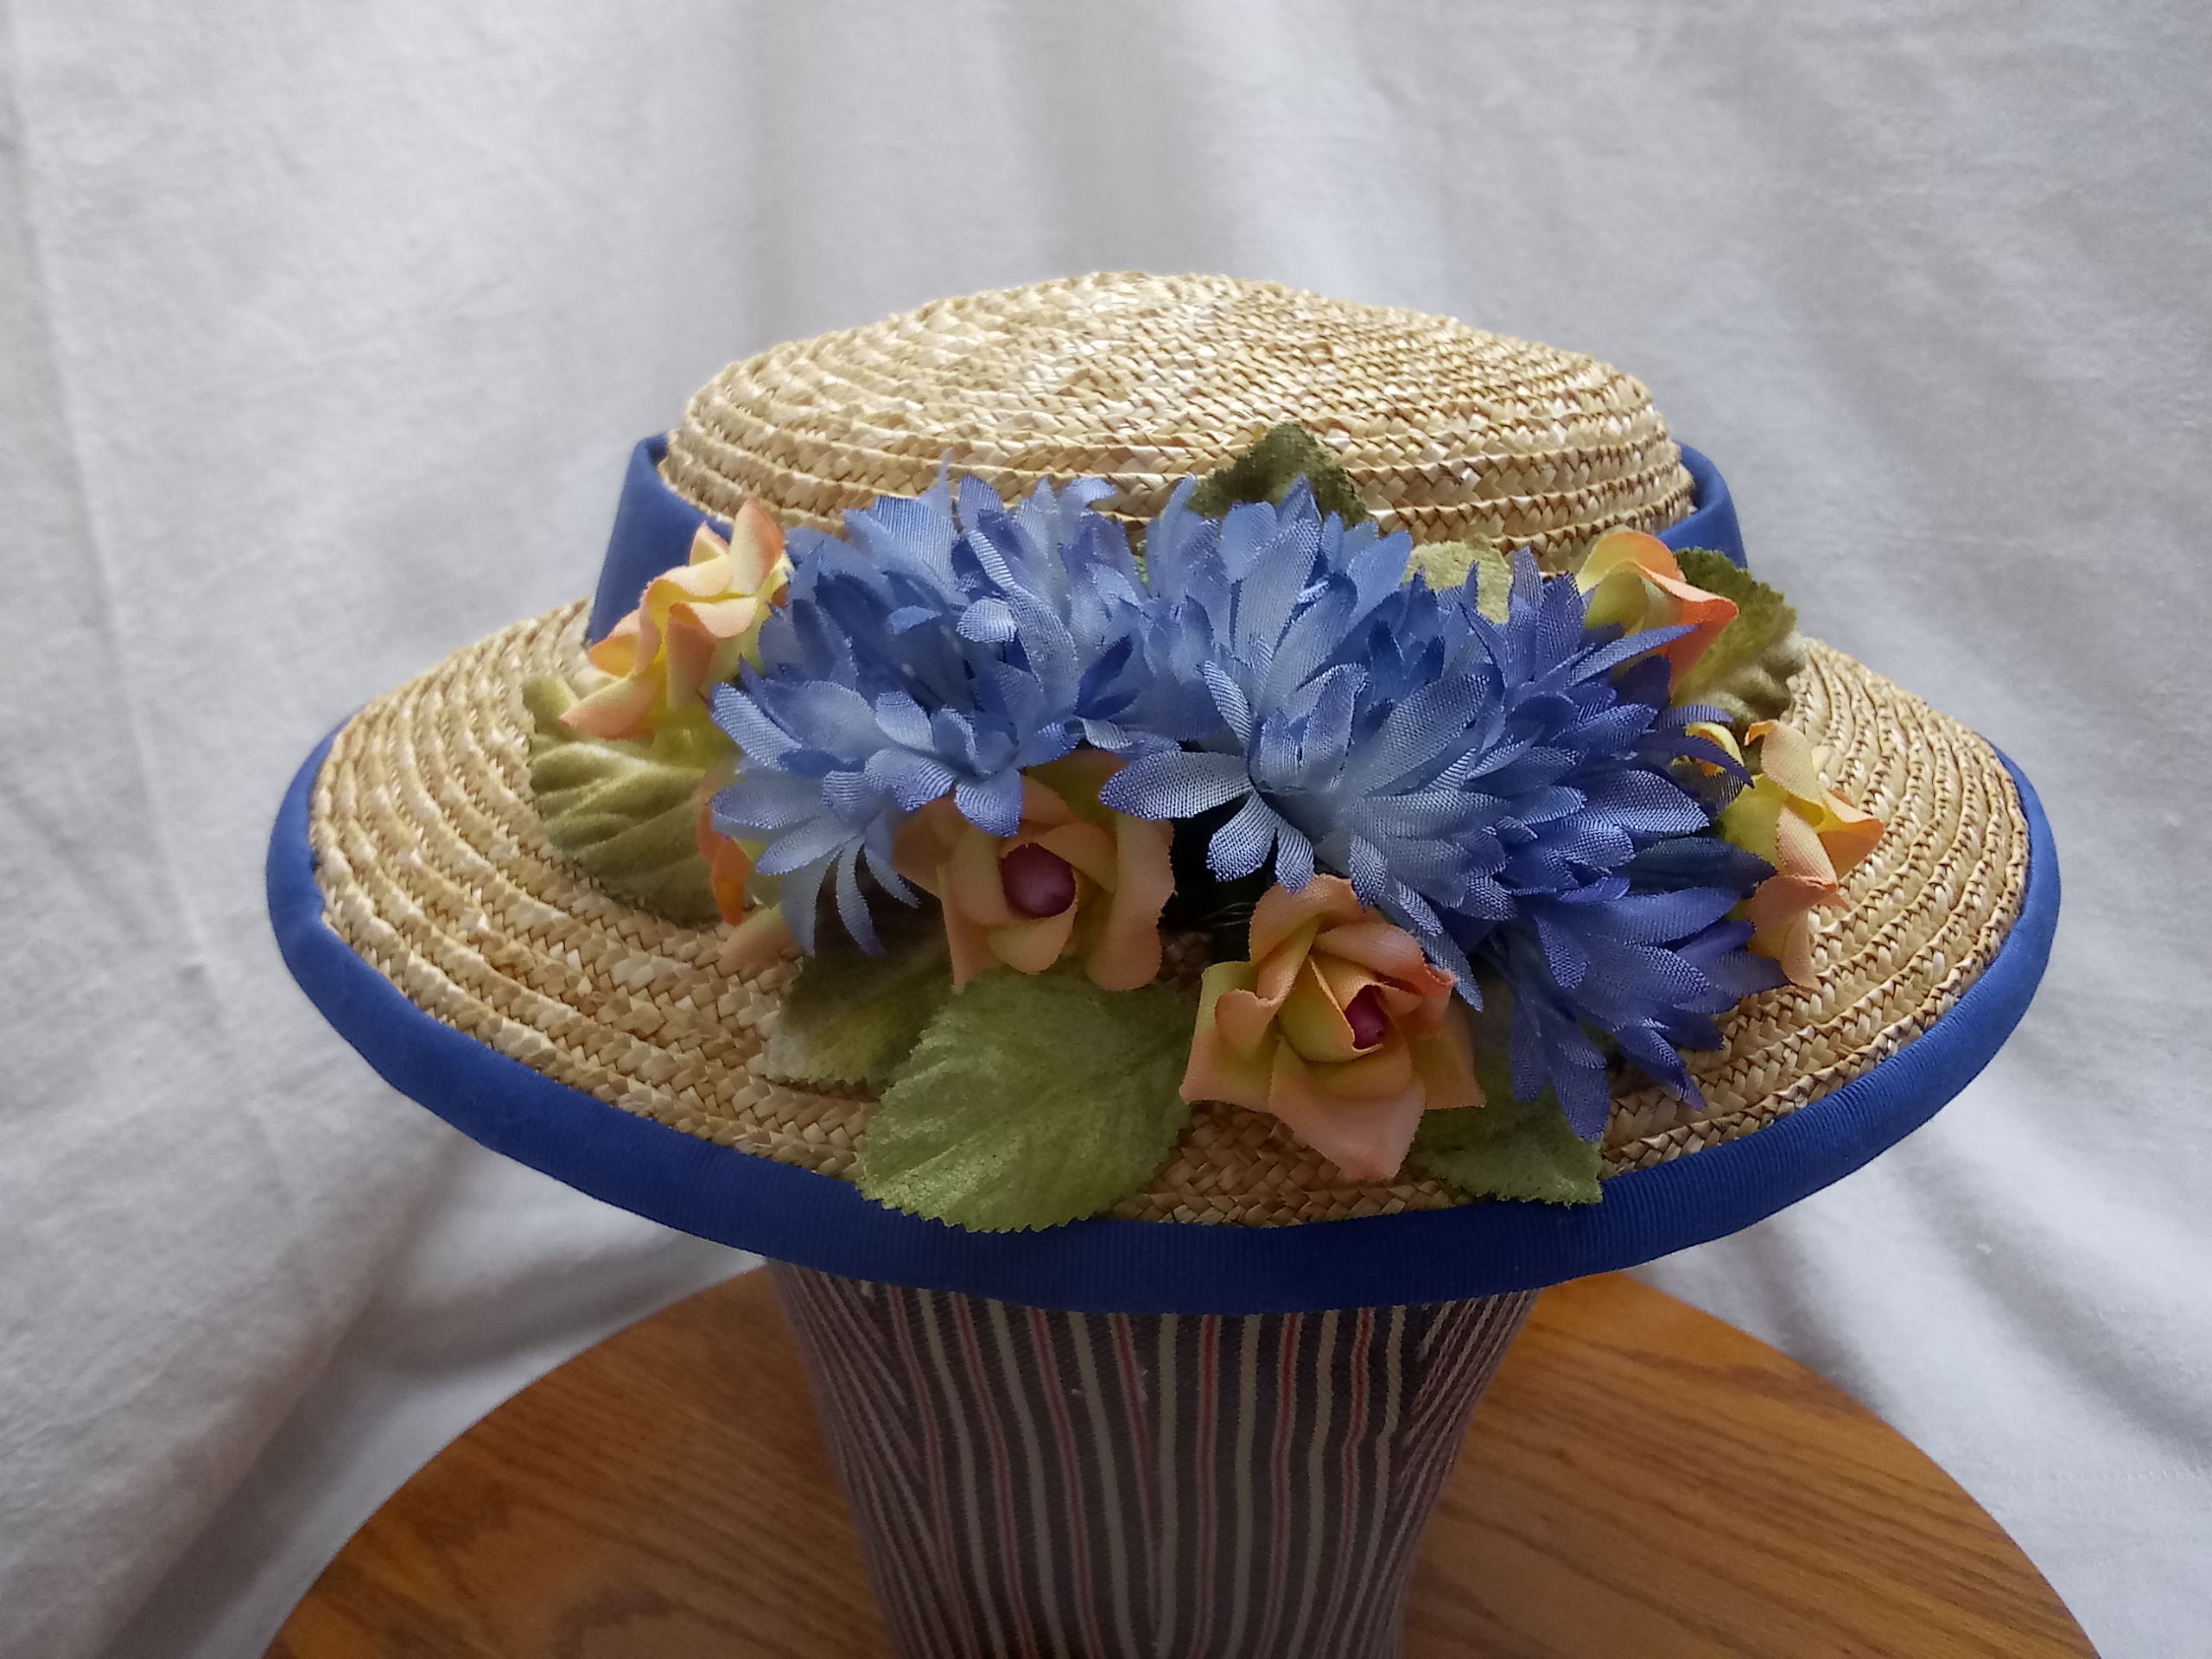
This week is a casual Hat Q&A talking about the questions I am asked most often. The focus is on American Civil War hats. I will talk about bonnets in a future video. How do I wear my hat? Which is the front? How do I measure my head? Where do I put the flowers and ribbon? How do I keep my hat on my head?
If you have more questions about straw hats or bonnets in the nineteenth century, put them in the comments below. I will do more millinery Q&As in the future.
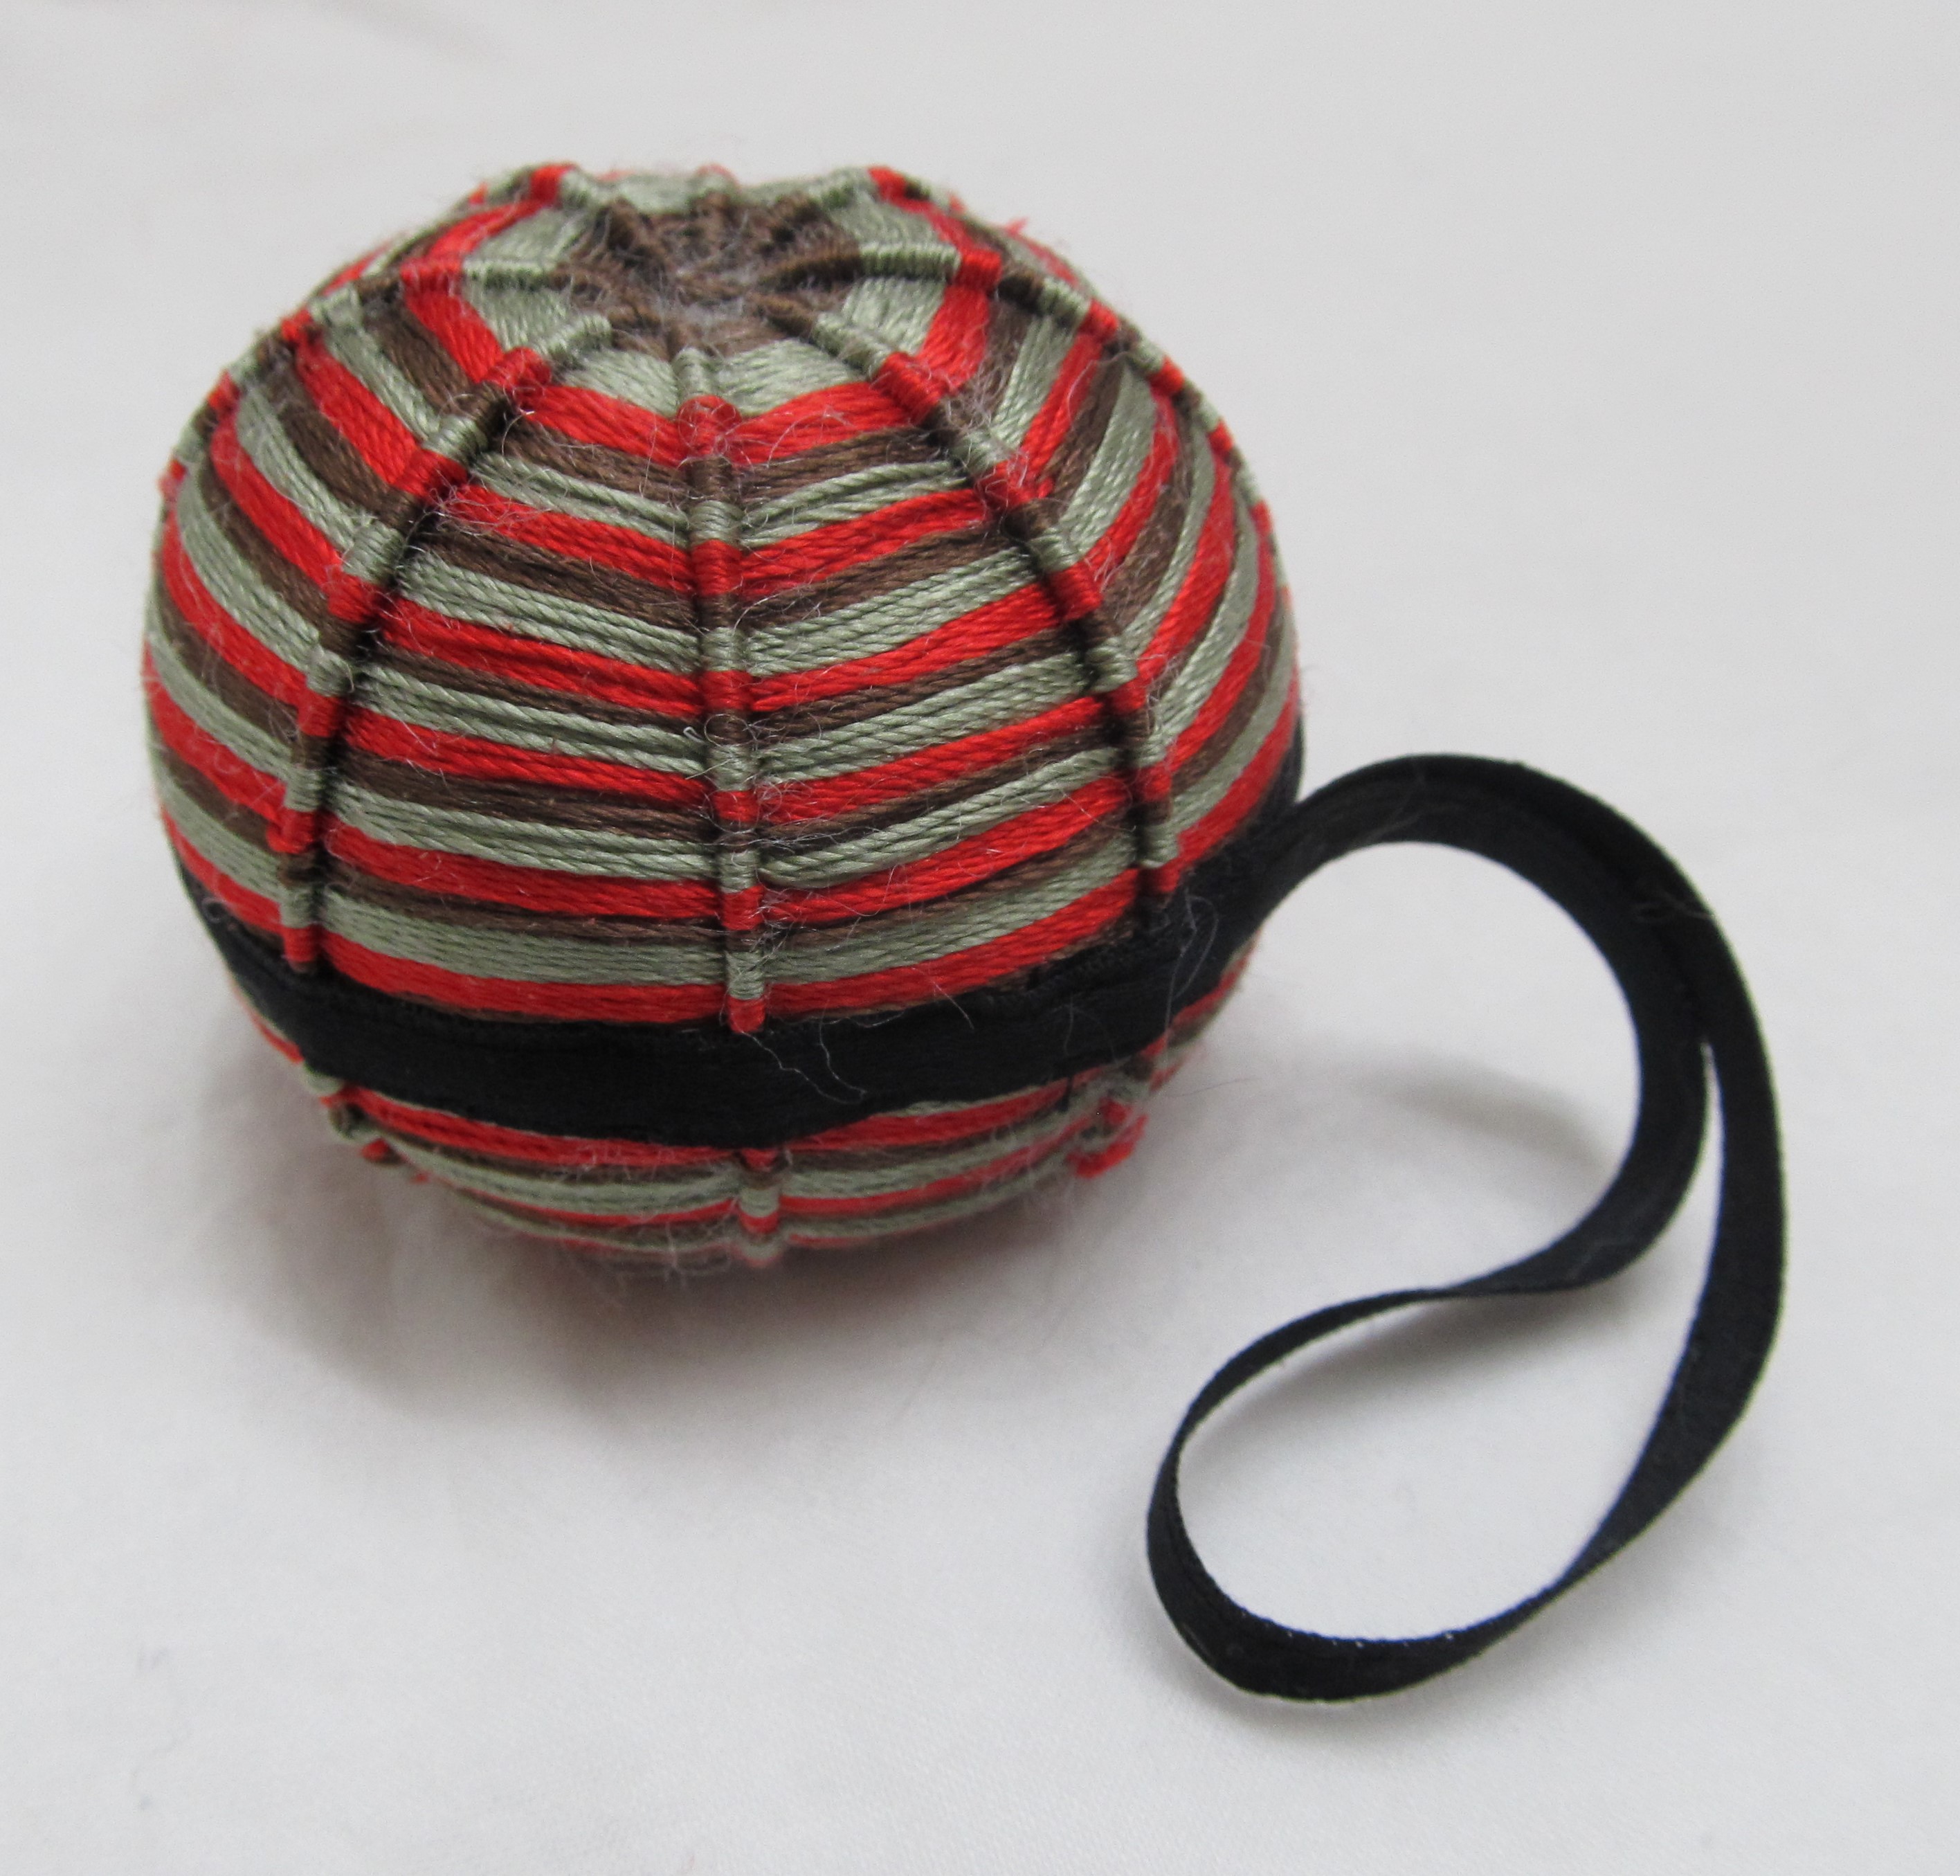
I am incredibly excited to announce both a new Corded Ball Pin Cushion Kit and a new In Detail: Earl’s Ball, both available on the morning of June 1st!
The Corded Ball Pin Cushion Kit is limited to 20 kits, one of each color combination. Each kit contains a felted wool ball approximately 2″ in diameter, cotton cord, a trio of silk threads, cotton sateen ribbon, and detailed e-directions that will be emailed seperately. The kit also comes with the e-publication In Detail: Earl’s Ball. Check my Etsy shop to see the color sets available.
This edition of In Detail is a little different as it has a surprise twist and more of a story before it explores Earl’s ball. This e-publication starts off exploring this corded ball and concludes with directions for making your own ball. Look for this e-publication in my Etsy shop.
I will be activating the kit and In Detail listings in the morning before I head off to work. If you are an earlybird, keep an eye out. If there is a delay, mornings can be rough some days. Thank you for your patience.