Share & Save Shop Link


Share & Save Shop Link
(Using the Share & Save link saves me approx $6 in fees on each hat)
(Using the Share & Save link saves me approx $6 in fees on each hat)
If I write a thing down, am I more or less likely to do it?
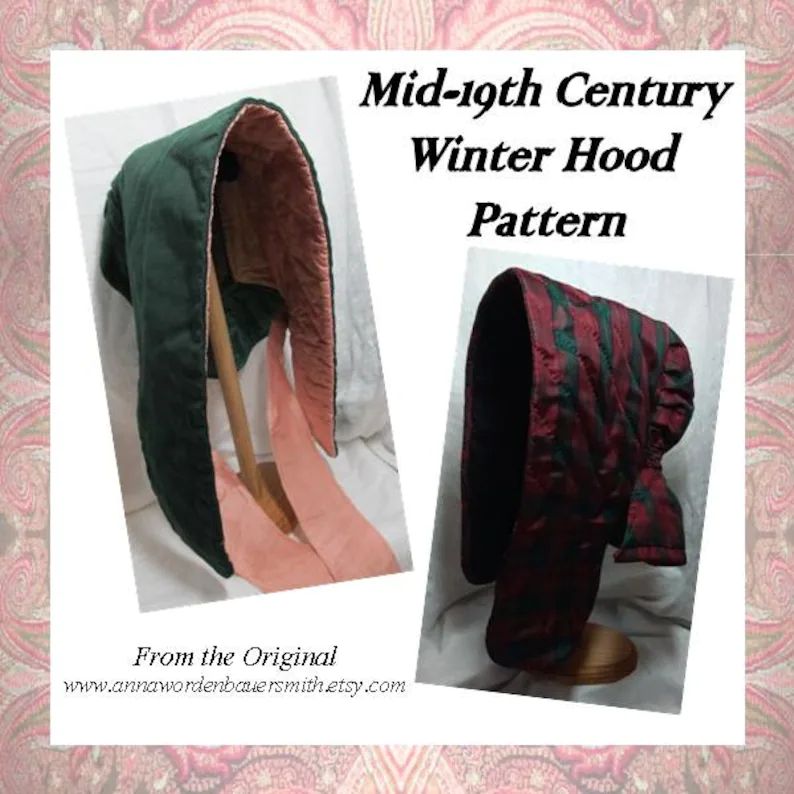
Some of you may recall this adorable winter hood that joined my collection back 2017.

Ever since I first patterned it out and started taking notes, I’ve wanted to do a published pattern with it. It is just too sweet not to share. Then, the chaos of life happened: gb drama, losing the carriage house, divorce, pandemic, etc. The sweet little hood project got set aside, or more literally, packed in an archival box and sat on a chrome shelf in the far side of the closet.
This hood will be my Holiday Recess focus project.
Step 1: Find the archival box this hood is in. The finding isn’t difficult, as the boxes are all labeled with the labels facing forward on the shelves. The doing is a little more cumbersome because a stack of totes and shipping boxes sit in the narrow space between the work table and closet wall.
Step 1.2: Take new photos of the hood.
Step 2: Pull out the pattern & notes I did years ago. (Once upon a time, I started putting my hood patterns in a large sketch book. It was an excellent move.) Do a new, 8 years later, analysis.
Step 3: Remind myself it is okay not to find the absolute perfect match for the tiny loop tape on the original.
Step 4: Make 2 hoods, remembering to take photos along the way.
Step 5: Write the directions
Step 6: Ink up the pattern. Scan. Digitize.
Step 7: Lay out the pattern & directions.
Yes, I think I can pull all of that off during the Holiday Recess and launch the pattern for January.
Baring any other life chaos, there will be a new winter hood pattern for January.
This hood will need a name.
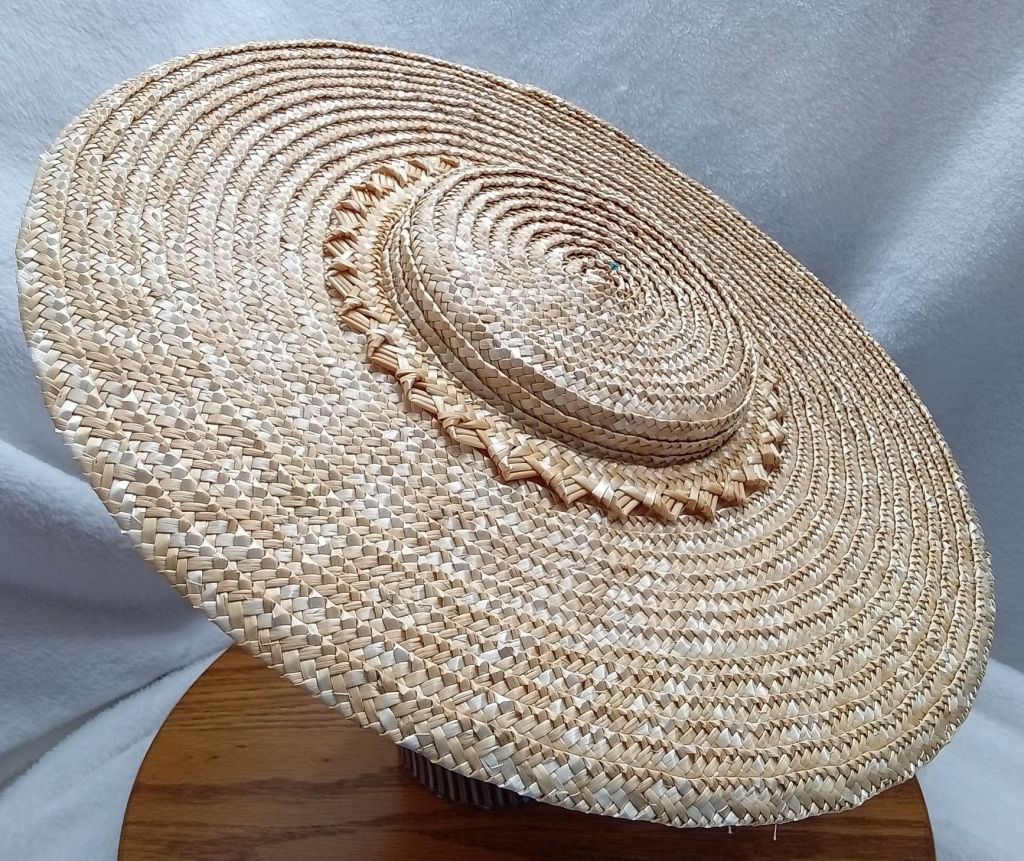
With increased interest in my Bergère hats, particularly by those not familiar with my 19th century straw millinery work, I thought it would be helpful to highlight a few aspects.
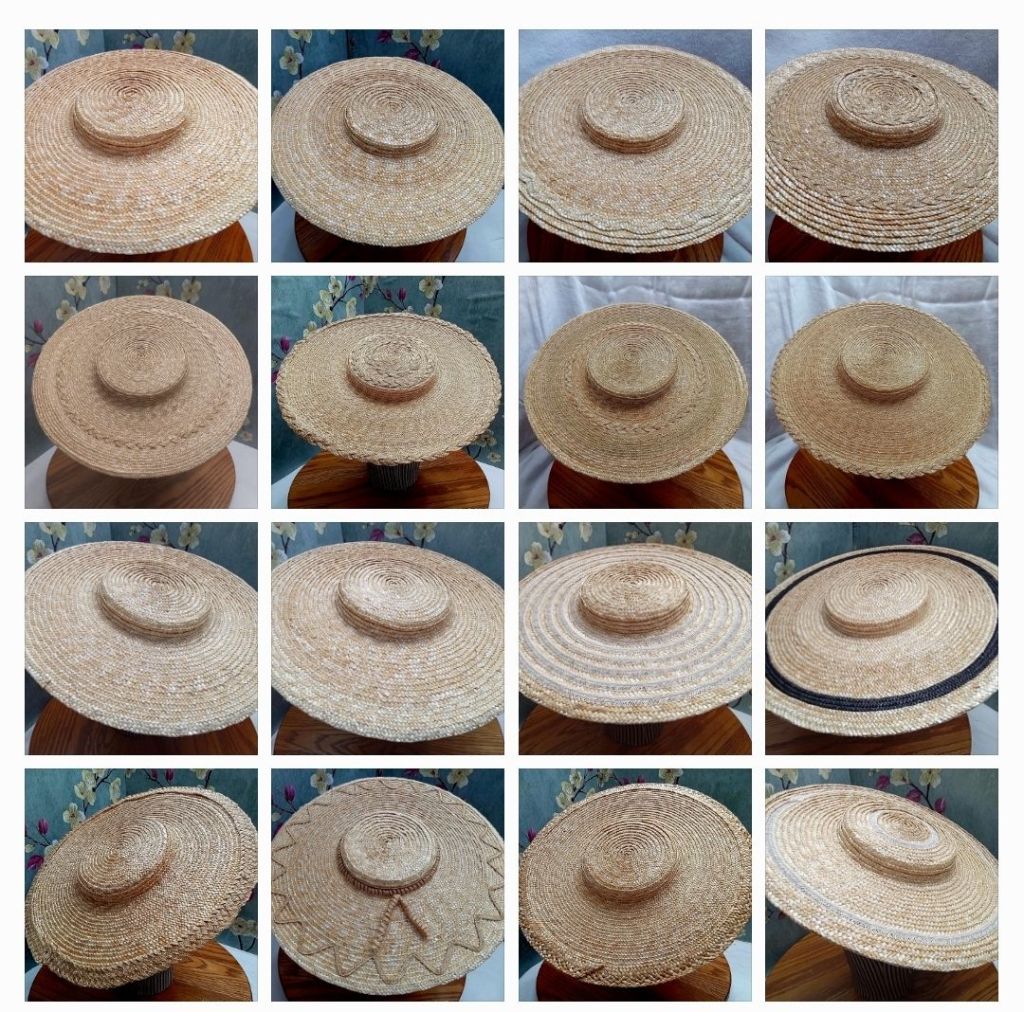
I have Bergère hats for this week’s shop drop.
One is a plain wheat plait
One is a wheat plait with abaca circling the brim
One is a small Bergère suitable for a large doll or being made into a facinator.
https://amillinerswhimsy.etsy.com/listing/4397538802
https://amillinerswhimsy.etsy.com/listing/4397498464
https://amillinerswhimsy.etsy.com/listing/4397500806

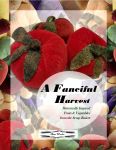
Gather your scraps and let the season inspire your needle. A Fanciful Harvest grew out of my love for small, playful projects, the kind that let your hands wander and your imagination take root. It’s a relaxed collection of hand-stitched fruits and vegetables, stitched from little bits left behind from larger work. There’s something deeply satisfying about turning a handful of scraps into something bright and full of character.
This collection being on point, on time, or on top of All The Things.
It’s about the making…
…. the moment
…. the whimsy
…. about how a few well-placed stitches and the right shade of red velvet can transform into a plump strawberry or how a tiny scrap of faded green wool might suddenly come back to life as a leaf. IA Fanciful Harvest is historically inspired, echoing the fanciful produce and stitched curiosities that once lady’s fancy work columns, yet it welcomes a bit of modern playfulness, too.
Think of it as a handful of seeds for your imagination: small, delightful, and ready to grow into something entirely your own. Whether you’re drawn to the rich textures of autumn or simply want a project that lets you use up favorite fabric bits, A Fanciful Harvest invites you to dive into your scrap stash and create something whimsical!


The weather has turned full to fall here. This turns my thoughts to the coming holiday season. I love making gifts for family and friends. Some years, I plan ahead and sew for months. Other years, I make lots of little “thinking of you” gifts.
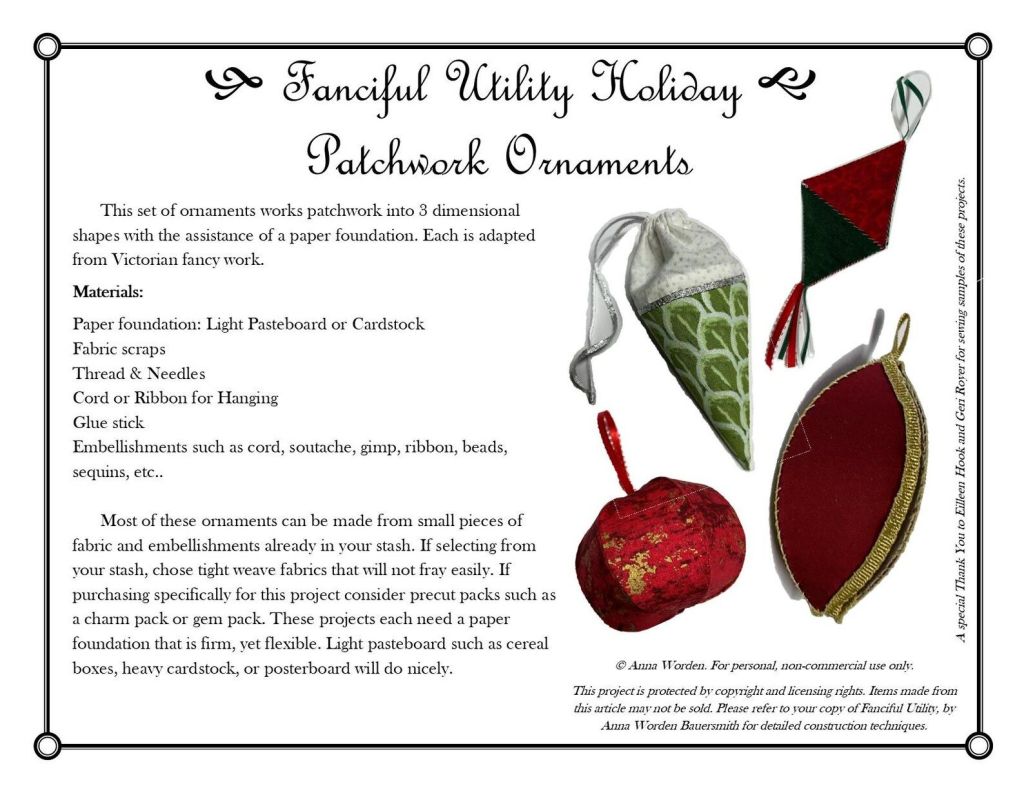
One of my favorite “thinking of you” gifts to make are ornaments. They are a great little make when you only have a little bit of time after work or in the evening to sew, or if you need to work from smaller bits in your scrap stash. If you need some ideas, I have an inexpensive instant downloads. These can work up in period fabrics or with a modern twist.


Do you want to make a gift for a history interpreter or reenactor in your life? Consider making a winter hood. If your giftee loves to sew for themselves, pair a pattern with materials. (You are welcome to print an e-publication give as a gift.)
PS – The Lappet Style Hood and One-Piece Quilted Hood work up nicely in fleece for a modern winter hood. This can make a nice gift for those who live in cold winter areas.


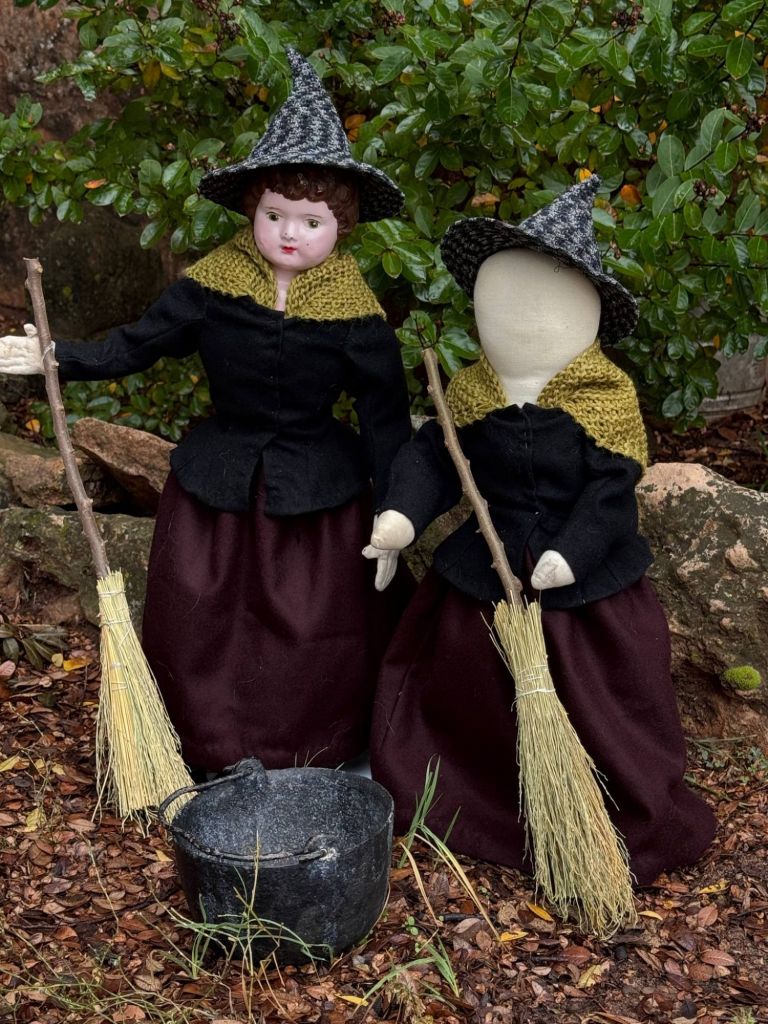
If you have a doll lover in your life, I released a series of winter hoods for dolls earlier this year.


I will be releasing a new mini-publication in the coming week or two:
I am excited to announce 4 patterns in my new Doll Millinery Pattern line are now available!


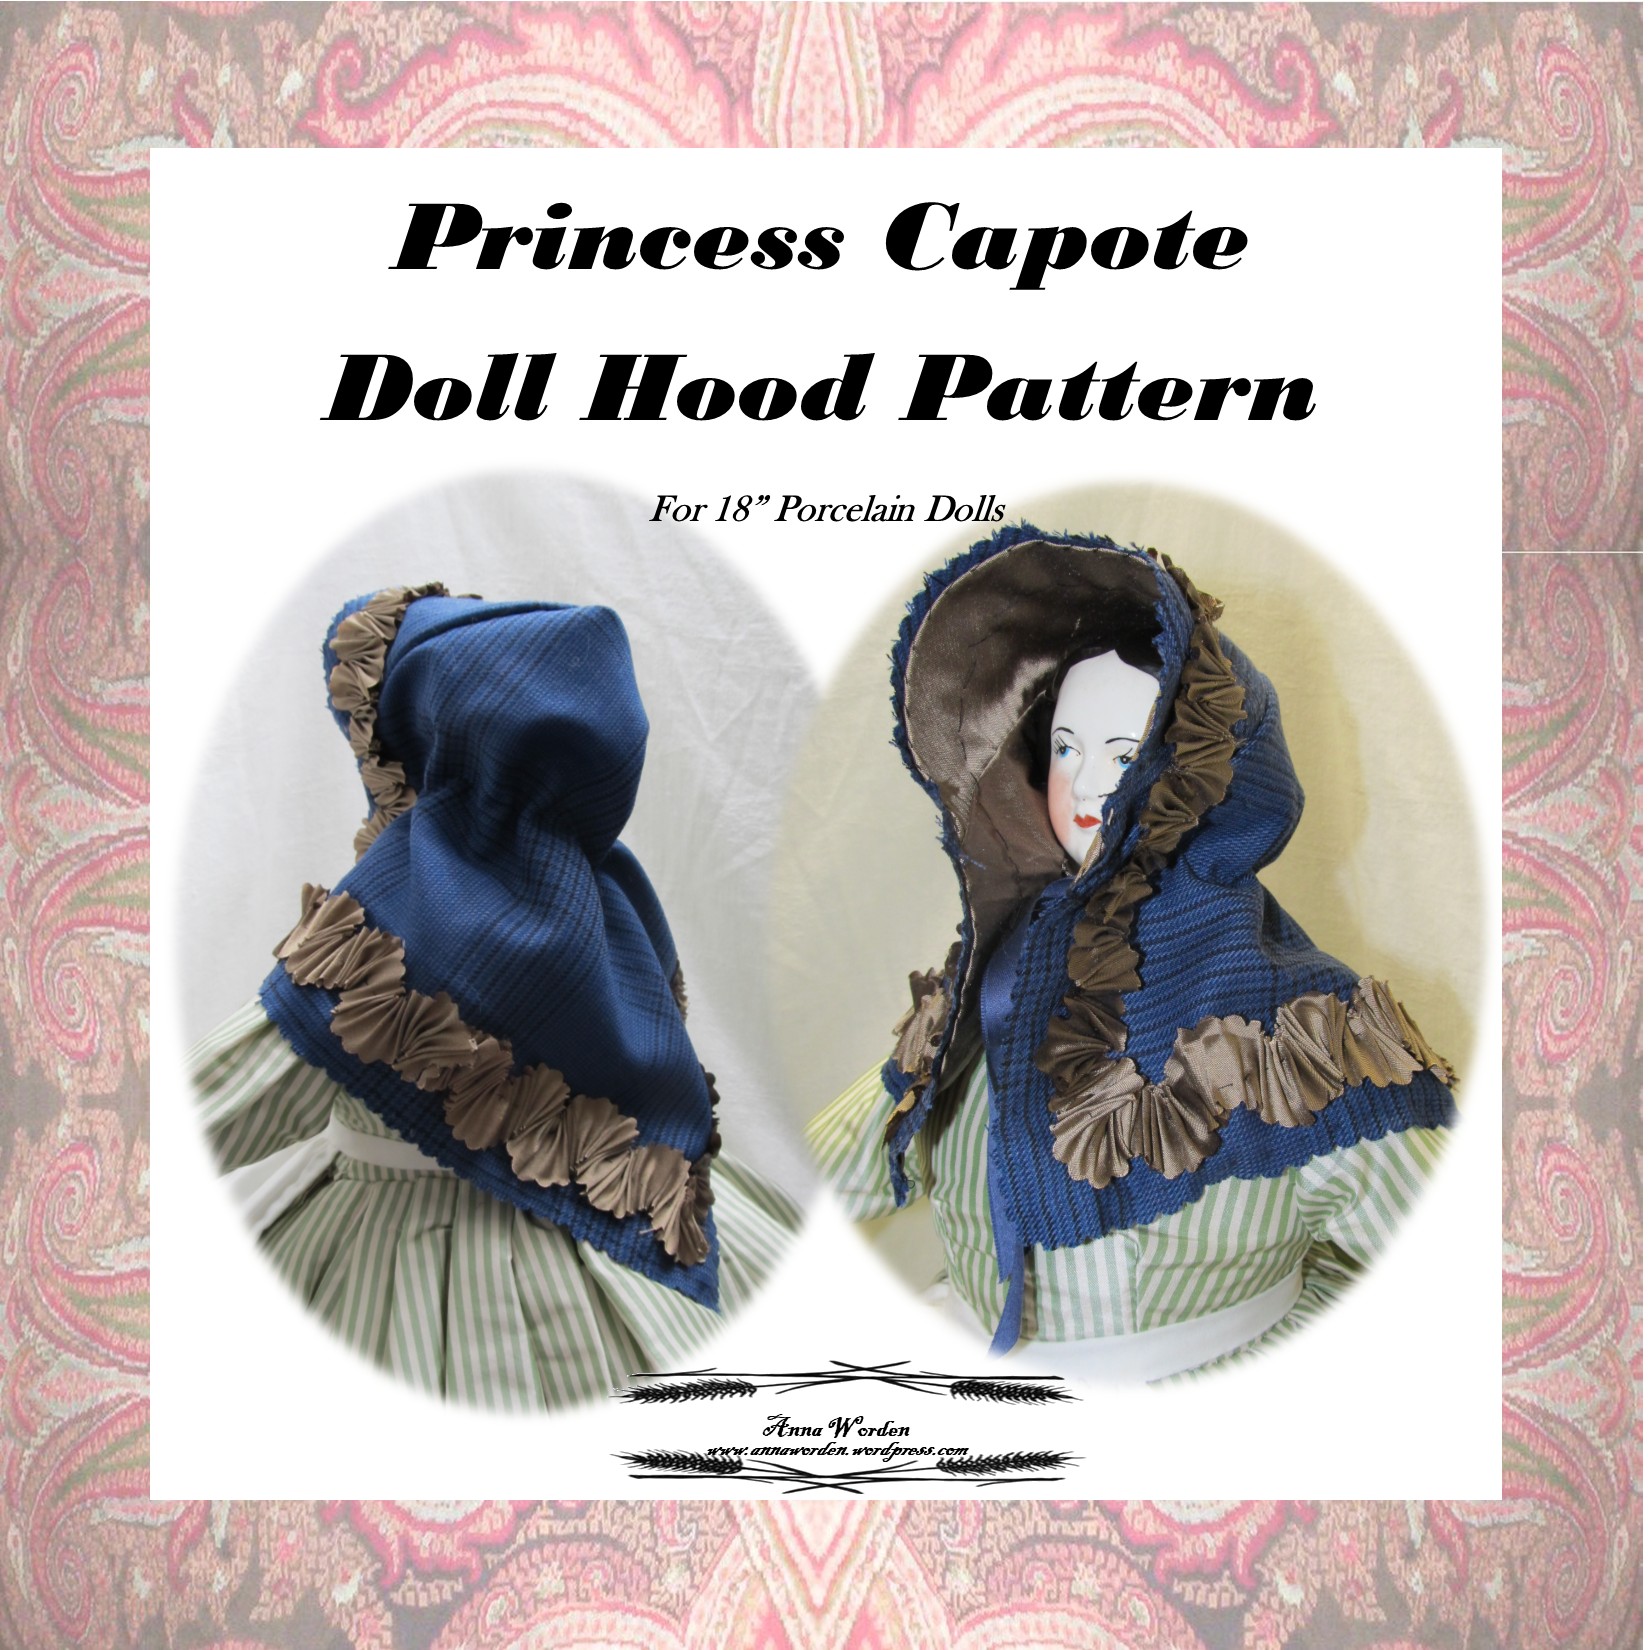
Two weeks ago, I first shared my intention to release this line, and in that time, I’ve focused intensely on bringing together my drafts and directions notes, writing and laying out for four unique patterns. The research and design process took several years to develop as each of these doll scale winter hoods parallels a full-size garment. Three of the four patterns are directly scaled from an original full-size 19th-century winter hood from my collection, while the Princess Capote pattern draws from a novelty hood featured in Godey’s Lady’s Book.
Which pattern is right for you?
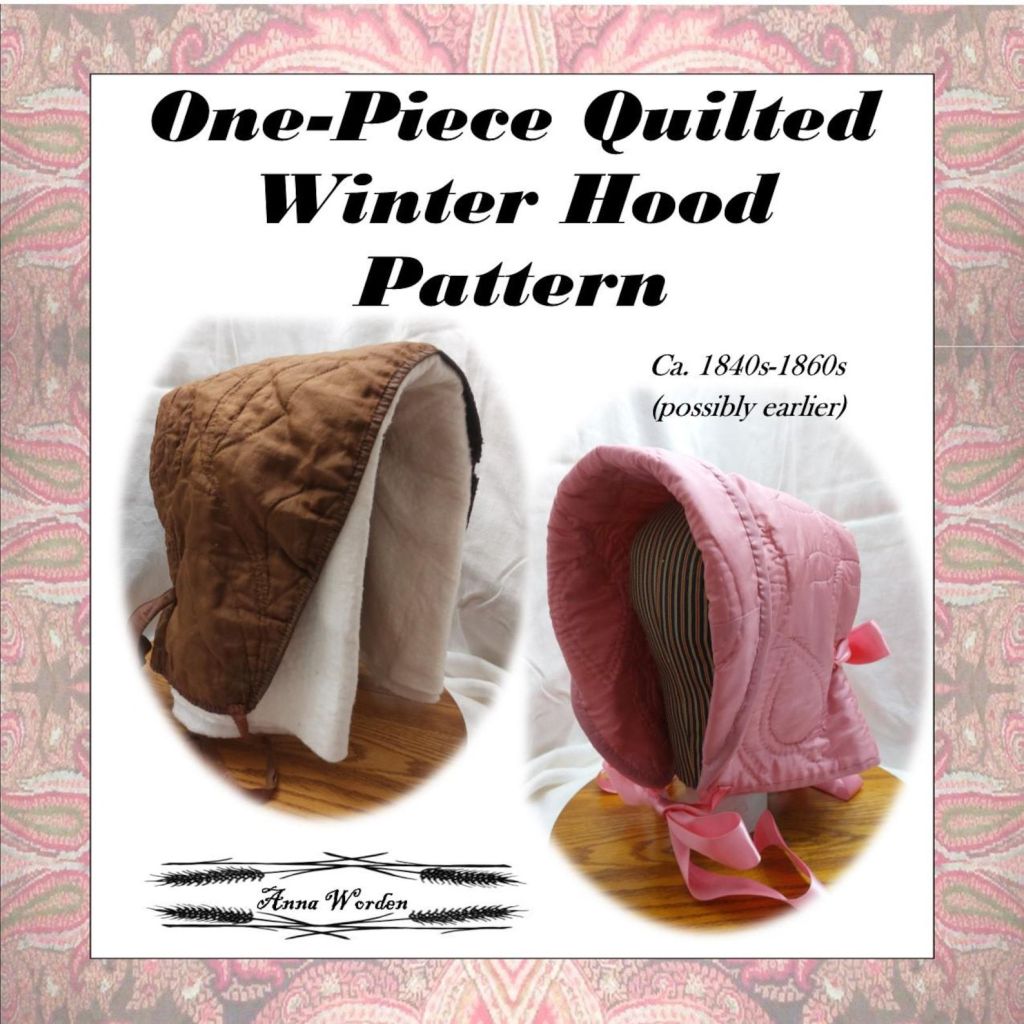
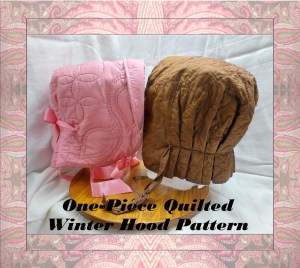
The easiest pattern is my One-Piece Quilted Winter Hood. This hood truly is made from a single piece of quilted layers. You can choose to quilt a design as simple or as complex as you like.
Don’t want to quilt? The Draped Winter Hood or the Princess Capote both can be made without any quilting.
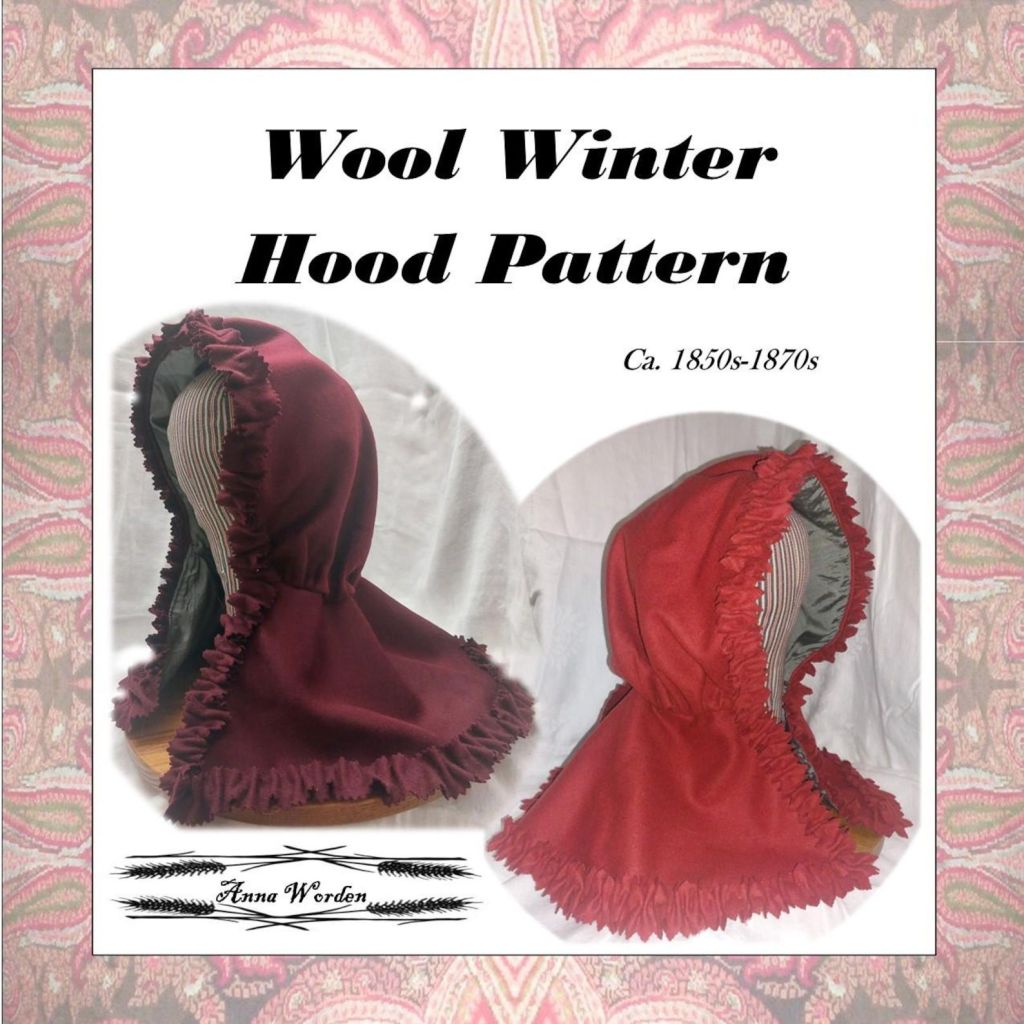
Are you an experienced sewer looking for a challenge? The Quilted Winter Hood is pulled from my full-size Quilted Winter Hood Workbook. This is the most complex of the pattern line so far. (But don’t let that discourage newer sewers.) With the basic brim, crown, and bavolet, you can vary fabrics, try out quilting designs, and even add trims.
Do you want to dress your doll as Little Red Riding Hood for Halloween? I would definitely suggest my Draped Winter Hood because the original was red wool flannel. The long, cape-like bavolet looks awesome draped around a doll’s shoulders and definitely gives those fairytale Little Red Riding Hood vibes.
This weekend is my favorite event, the Agricultural Society Fair at GCVM. I only entered 1 item in this year’s Blue Ribbon Competition. I’m not going to leave anyone guessing. Instead, I am putting the pattern on sale.

My One-Piece Quilted Winter Hood Pattern is 25% off this weekend (and into next week in case you attended the fair and want to make one for yourself.)
After much nudging and some prodding, I have finally started a Doll Millinery Pattern line.
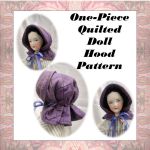
I started with last year’s popular One-Piece Quilted Winter Hood. This easy pattern makes up a pretty winter hood flattering to most doll hairstyles. This first pattern is currently available in a size for 16″-18″ dolls with 9-9.5″ heads.
My plan is to create a line of doll millinery primarily in two sizes: 16-18″ dolls and either 8″-10″ or 10″-12″ dolls. I am starting with the winter hoods I already wrote directions for, pulling them out of the full-size patterns I previously added them to as bonuses. Next, I will move on to creating doll sizes of the rest of my full-size line. If this goes well, I will move on to additional millinery.
To keep naming simple for me and selecting simple for you, I would like to name each size group within the doll millinery line after one of my dolls of that group. This way, you can know your doll wears the same size as a particular doll and look for that rather than remembering measurements. Does that make sense?
With that in mind, I think the 16″ to 18″ size group should be named after Bonnie as she will likely be the model for most pieces this size. Violet is the same size, while Theo & Lisette are closer to 16″. (I still need to name the low brow doll who is modeling the first hood in the listing.)
The smaller size line will be cut to fit Milli, Marie, & Liberty. Likely, Milli will volunteer her name for this size line.
I will still include size details for each grouping in the listings, possibly as a slide/image.