As spring approaches, many are thinking of new bonnets for the season. There are many options out there, but not all are accurately shaped or made. These annotated illustrations will help you learn about the shape of fashionable straw bonnets for the Civil War Era.
Each of these points are general for fashionable bonnets made of straw, primarily straw plait, from approx 1858 through 1863. Finer points adjust with each season’s prevailing fashion.
General Construction – Straw bonnets were sewn by hand in the round. Plaits ranged from 1/8″ split straw to wider whole straw and fancy plaits. Woven straw was also used.

Tip – The back section of the crown in the tip. On a straw bonnet this can either be domed, flattened at the back curving to the side of the crown. It should not have a sharp angular transition from the back to the sides.
Crown – The crown of a straw bonnet should create a smooth transition from the crown to the brim. Much of the shaping in the bonnet will be created in this transition area.
Brim – The brim of a straw bonnet will vary according to fashion. The brim’s edge should be a single or double row of straw plait. It should not have raw edges needing to be bound.
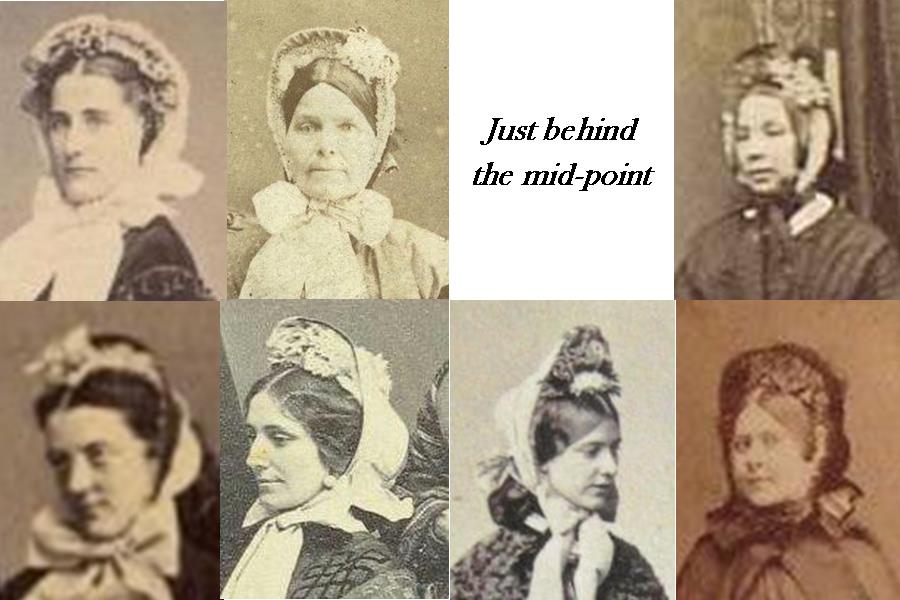
Cheek-tabs – The cheek-tabs should have a gentle curve coming from the neck edge of the crown along the side of the bonnet dropping down to roughly your jaw line meeting the brim edge. This is a graceful line, not a straight edge or angular transition. There is a variation in the twist of the cheek-tab from the fifties into the sixties. The cheek-tab is part of what helps hold a bonnet in place.
Binding – The binding on a straw bonnet should be straw plait. Raw edges were covered on the exterior and sometimes the interior along the back of the cheektabs, sides and tip. Multiple rows were used as well.
Lining – A lining is a functional layer of light weight, open-weave cotton covering most of the interior of the bonnet. It aids in keeping the straw from snagging the hair while worn. The lining can not be seen when the bonnet is worn.
Frill/Cap/Ruche –This decorative layer of gathered cotton or silk covers fills the inside of the brim. This is very fine most often net, lace or organza. The full frill aides in holding the bonnet in place.
Facing – Some bonnets have a facing of silk from the edge of the brim through the first couple inches of the interior brim.
Bavolet/Curtain – The bavolet is attached to the binding edge on a straw bonnet along the sides and crown. This silk piece should be lined with net to give it more body. The bavolet may be a single piece of fabric, most often on the bias and occasionally on the grain, or pieced from bias cuts of ribbon. The bavolet may also be decorated.
Functional Ties – The functional ties are attached to the interior of the cheek-tabs or under the decorative ties. These are narrower ribbon to hold the bonnet in place.
Decorative Ties – Decorative ribbons are wide, 3″-8″ based on a wide survey I did years ago. They are on the grain, not bias. Tied, they do not take the support of the bonnet.
Interior Decoration – Interior decoration also helps hold the bonnet in place.


 Wide wide brim hats all but disappear from fashion columns after the start of the Civil War. A single appearance in the 1861 Godey’s occurs in July with this “Brown Leghorn hat, trimmed with a very full brown feather of black velvet ribbon.” In this case, the brim still is not as wide as the previous decade’s wide brims.
 I don’t want you get to excited about the idea of wearing a late 1850’s wide brim hat as a fashionable garden hat though. The fashionable garden hats in the 1861-64 Godey’s are not as wide as their predecessors. The “April Novelties” in 1863 shows us “A garden hat, made of muslin, or barege and ribbons.” This brim is not very wide, despite its layers of fluffy ruffles. This is far from a laboring garden hat. At best, it is a “strolling as I clip a few buds” garden hat.
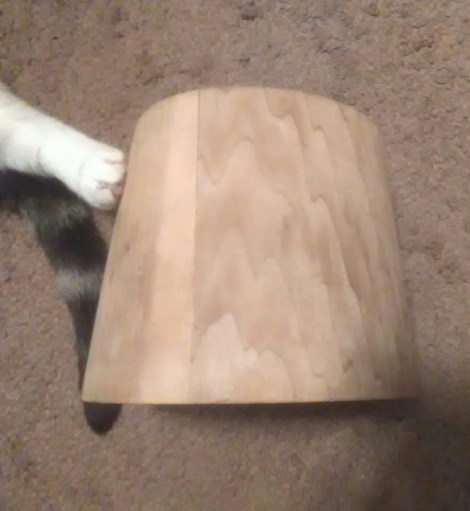
 This Valentine’s Day I went to bed with a truly warmed heart. When I took Clara to the vet earlier that day, I thought we were going to be treating hairballs. She was throwing up and had a little diarrhea. I did not expect the next few hours to unfold as they did. Her wonderful Doctor Dan showed me her xray, explaining her intestines were not in the right place, loosely filling the abdominal area. Instead, they were all balled up in one area, sound together with some areas swollen with gas. He explained what we were seeing often means an eaten thread* caused the intestines to draw up on themselves. Knowing just how much thread and other fibers are in the house, hit me in the gut.
 Clara is resting and sleeping a lot, as she should for her recovery. Last night she did not leave me at all. She was okay with being next to me, but preferred to be on my shoulder, chest, or neck. I don’t think she likes that I am getting ready for work. I’ll be putting her cone on just in case.


